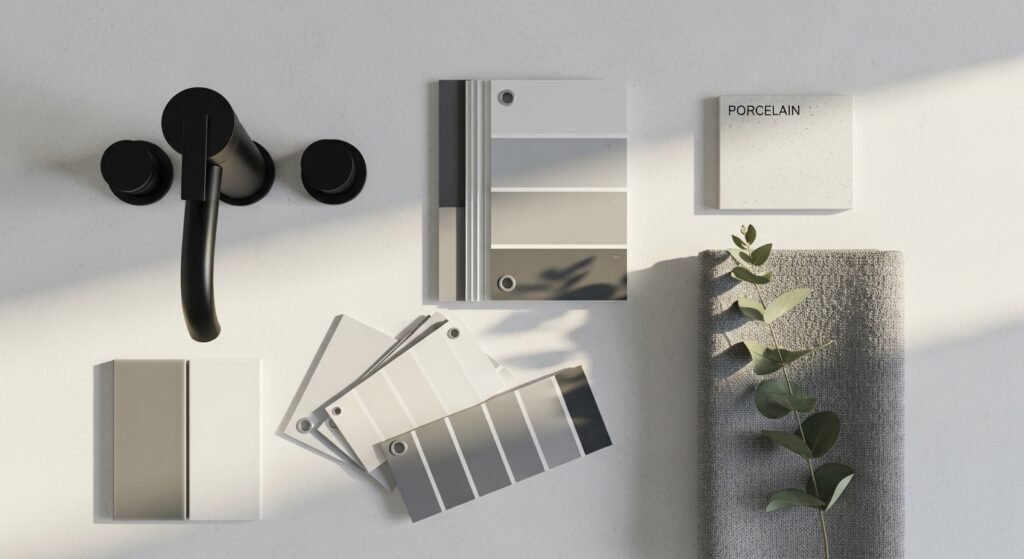
You likely picture clean lines, quiet colors, and a bathroom that feels like a calm retreat. These 28 modern bathroom remodel ideas are built for that moment — sleek, minimal, and startlingly beautiful. Whether you’re planning a full overhaul or a weekend refresh, you’ll find projects that focus on texture, light, and simple materials to make a high-end look without the drama.
You’ll see projects for floating vanities, tile accent walls, LED mirrors, matte fixtures, and clever storage solutions. Many of these modern bathroom remodel ideas use easy-to-source products like a quality painter’s tape or a precision craft knife to get razor-clean edges. I start small: press painter’s tape for sharp paint lines and use a heat gun briefly to smooth thin epoxy pours — both save hours. Try the painter’s tape I use for crisp lines or keep a compact hot glue gun handy for lightweight trim work. Ready to get practical, modern, and beautiful? Let’s go through 28 full projects with materials, step-by-step instructions, and styling tips you can pin for later.
- Floating Oak Vanity Makeover

An oak floating vanity brings warmth to a minimalist bath. This project updates an existing cabinet or creates one from a plywood box with a simple concrete-look countertop. The result feels clean and spa-like with hidden brackets for that floating effect. Beginner-friendly carpentry and a couple of power tools make this approachable.
Materials
- 1 sheet exterior-grade birch plywood, 3/4" x 4' x 8' (cut to size)
- 2 oak veneer strips, 1" x 48"
- 1 pre-formed above-counter sink or drop-in sink (measure bowl dimensions)
- 1 tube silicone adhesive, 10.1 oz
- 4 floating shelf brackets rated 100 lb each
- 1 can water-based matte polyurethane, 16 oz
- Sandpaper: 120 and 220 grit
- Wood glue: 4 oz
- Countersunk screws: #8 x 1-1/4"
- Cloth: lint-free rag
Instructions
- Cut the plywood to vanity box dimensions: typical width 36", depth 18", height 16". Sand edges with 120 then 220 grit.
- Laminate oak veneer strips to the front edges using wood glue and clamps; wipe excess glue immediately.
- Assemble the box with countersunk screws and glue; allow glue to cure 24 hours for firm bond.
- Mount floating brackets to studs at desired height (usually 32–34" from floor to top of vanity) using a stud finder.
- Fit countertop and cut sink hole using a jigsaw guided by sink template. Use a foam brush to apply one bead of silicone to the sink flange.
- Apply two coats of matte polyurethane on exposed wood with 2–4 hours drying between coats; final cure 24 hours.
- Attach vanity to brackets; caulk seams with silicone. Check for wobble; vanity should be solid and feel weightless.
How to Display or Gift It
Mount a single eucalyptus sprig in a short vase on the countertop for spa vibes. Pair with a matte black faucet and a slim tray for toiletries. If making multiple vanities for renovation, stack completed boxes in a climate-controlled space while finishes cure. Display hardware on a small craft board while testing handle placement. Consider gifting leftover oak veneer in presets sized for smaller craft projects.
- Minimal Matte-Black Hardware Swap
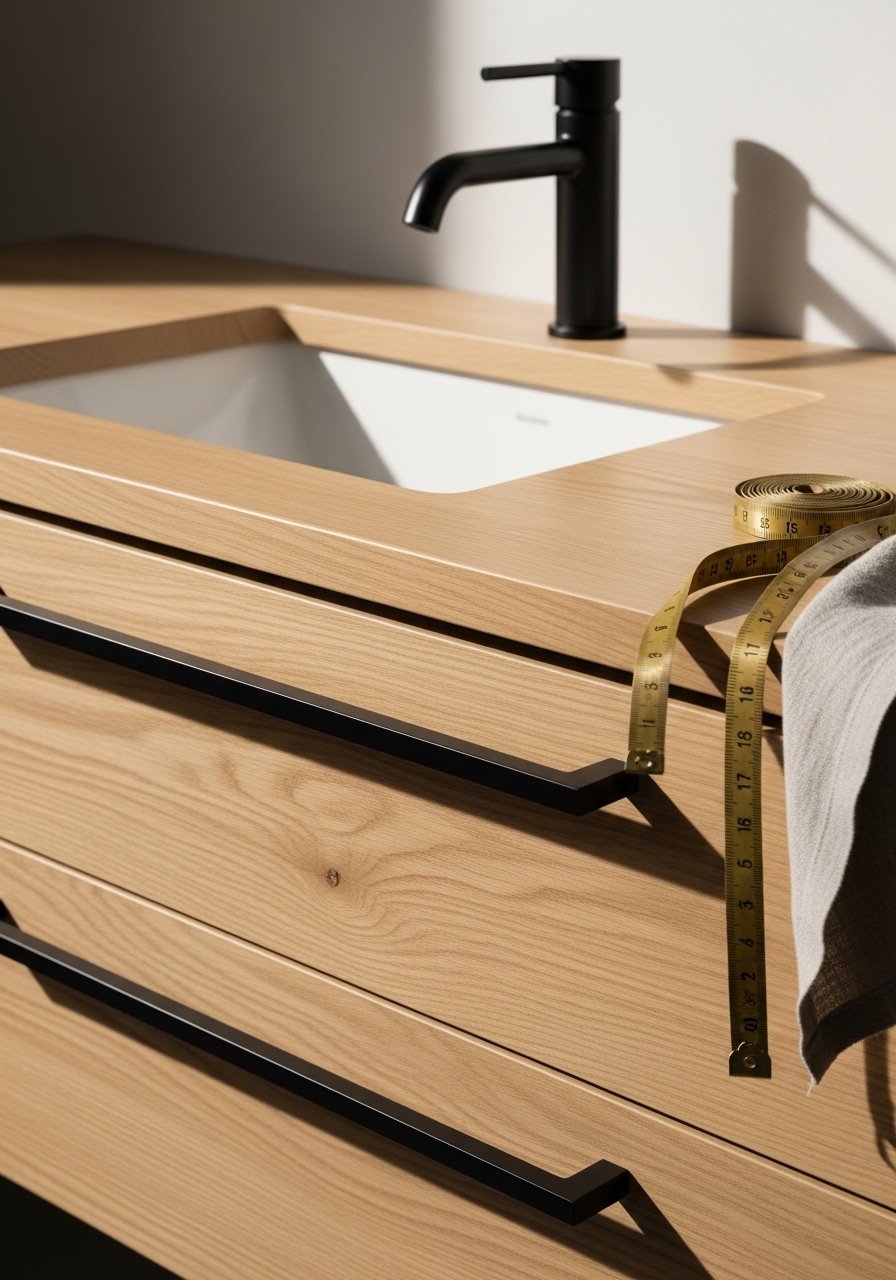
Swapping hardware instantly modernizes a bathroom. This is an affordable refresh with big visual impact. Carefully matched screw lengths and a drill make it a quick weekend project anyone can do.
Materials
- 8–10 matte-black drawer pulls (measure 3–5" centers)
- 2 matte-black cabinet knobs
- Assorted screws (3/4" and 1" lengths)
- Cordless drill with 1/8" and 3/16" bits
- Painter’s tape (to mark drill spots)
- Tape measure
- Masking template (paper or cardstock)
- Touch-up gel stain (for drilled chip coverage)
Instructions
- Create a paper template for pull spacing. Use painter’s tape on the front to mark locations.
- Pre-drill holes with the appropriate bit; start at low speed to avoid chipping finish.
- Insert screws and tighten pulls. For shallow drawer boxes use shorter screws; test before final tightening.
- Use touch-up gel stain on any visible wood chips. Wipe quickly and let dry 15–30 minutes.
- Clean hardware with a microfiber cloth; avoid harsh chemicals to preserve finish.
How to Display or Gift It
Attach a small numbered tag to extra hardware and store in a divided craft organizer. Hardware pairs beautifully with a matte black towel bar and matching mirror frame. Wrap spare knobs in tissue and add them to a homeowners’ gift kit.
- Modern Bathroom Remodel Ideas: Slab Tile Accent Wall

A single slab tile or large-format porcelain creates a seamless, low-grout look that reads minimal and luxe. Large tiles reduce visual busyness and are perfect for modern bathroom remodel ideas that favor calm surfaces. You’ll need tile adhesive, a notched trowel, and patience for straight lines.
Materials
- Slab porcelain tiles 3' x 6' each (measure wall area; allow 10% overage)
- Modified thinset mortar, 50 lb bag
- Tile spacers, 1/8"
- Grout (sanded or unsanded depending on joint width), 1–2 bags
- Tile saw or wet saw rental
- Notched trowel, 1/2" x 1/2"
- Rubber float
- Sponge and bucket of clean water
- Level
- Painter’s tape
Instructions
- Prepare wall: ensure studs and backer board are flat and waterproofed (cement board recommended).
- Mix thinset per bag instructions; work in small batches. Apply with notched trowel.
- Back butter large tiles if manufacturer recommends. Set tiles using spacers and level each as you go.
- Allow thinset to cure 24–48 hours before grouting.
- Mix grout to a peanut butter consistency and apply with rubber float, removing excess.
- Wipe haze with a damp sponge after 15–20 minutes; finish haze removal after 24 hours.
How to Display or Gift It
Keep a sample tile and grout card stored in a labeled box for future touch-ups. Pair the slab wall with a frameless mirror and minimal LED light to maintain the modern palette. If gifting tiles to a contractor, include a spare tile for future repairs.
- Frameless Glass Shower Installation
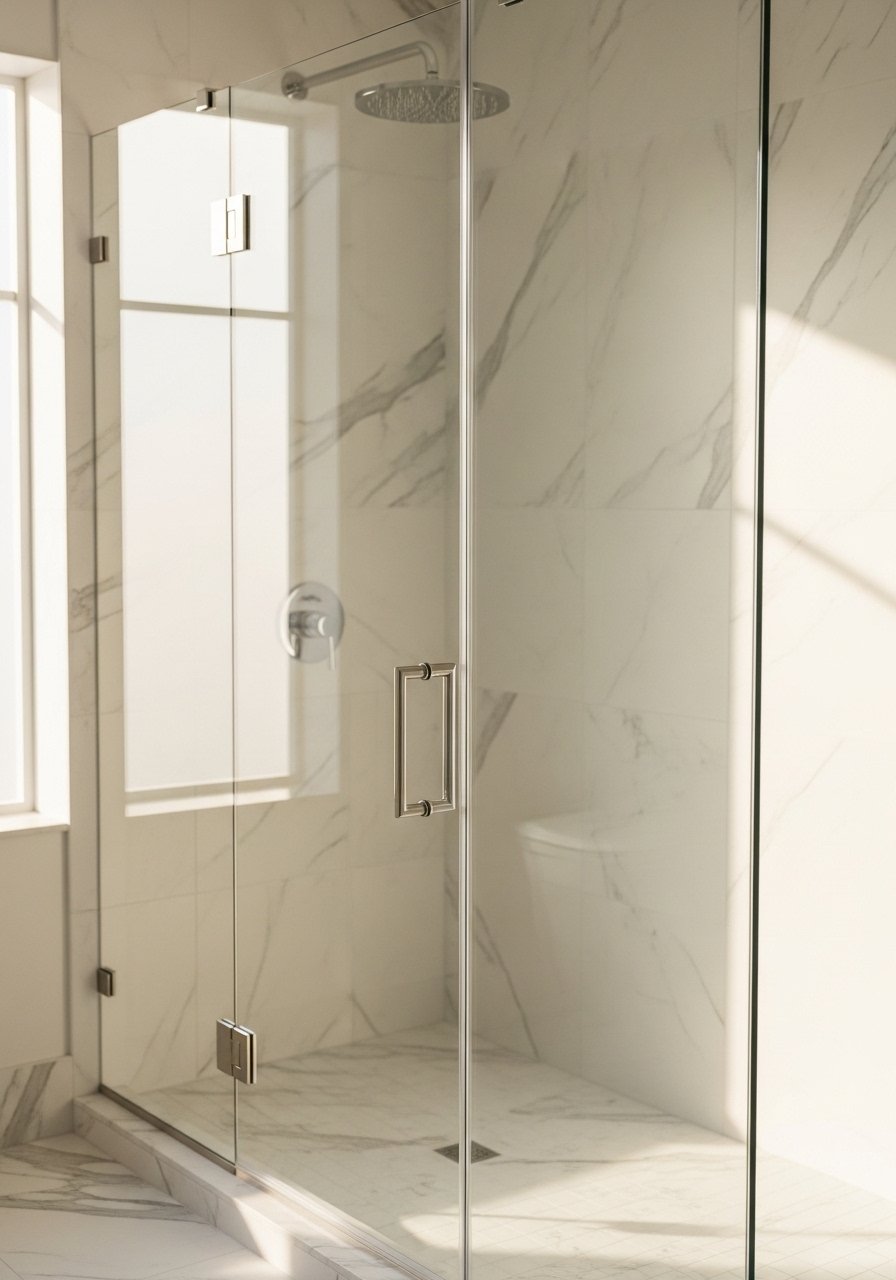
A frameless glass panel opens sightlines and keeps the space feeling airy. This project ranges from DIY-friendly to contractor-level depending on glass size. Precision measurements and sturdy anchors matter.
Materials
- 1 tempered frameless glass panel (measure exact opening)
- Glass clamp hardware kit (stainless steel)
- Silicone sealant (neutral cure), 10.1 oz
- Wall anchors rated for glass hardware
- Level
- Glass suction cups for installation
- Tape measure
- Glass cleaner
Instructions
- Measure twice, order glass with factory-polished edges.
- Mark wall studs and install clamps into studs or masonry anchors.
- Place glass using suction cups; fit into clamps and tighten per hardware instructions.
- Apply a thin bead of neutral-cure silicone along the vertical seam; allow tack-free 6–8 hours, full cure 24 hours.
- Clean glass with mild cleaner; avoid abrasive pads.
How to Display or Gift It
A slim squeegee hung on a hook keeps glass pristine. Pair with a towel hook set for continuity. If gifting for a remodel, include a small bottle of glass cleaner in the handoff kit.
- Matte Concrete Countertop Pour (Thin Overlay)

A thin concrete overlay gives a smooth, industrial look without heavy structural work. You’ll use a microtopping system and a sealer for water resistance. Expect a two-day project with cure time.
Materials
- Microtopping concrete kit, covers up to 10 sq ft
- Bonding agent (included or separate)
- Trowel and polishing pad
- Fine sandpaper, 220 grit
- Water-based concrete sealer, satin finish, 16 oz
- Foam brush
- Protective gloves and mask
- Mixing bucket and drill mixer
Instructions
- Prep the existing surface: sand, clean, and apply bonding agent. Let bonding agent dry 15–30 minutes.
- Mix microtopping per kit; create thin, even coats with a trowel.
- Apply two coats, each 1–2 mm thick; wait 1–2 hours between coats depending on humidity.
- Lightly sand after final coat with 220 grit to smooth.
- Apply two thin coats of sealer with a foam brush. Dry to touch 2–4 hours, full cure 48–72 hours.
How to Display or Gift It
Display a small tray with soaps and a potted plant on the finished countertop. Store leftover sealer for future touch-ups in a labeled craft organizer. If giving as a homeowner favor, include a pair of finishing pads for maintenance.
- Recessed LED Mirror Install

A backlit mirror brings even, flattering light to a minimalist bathroom. Wiring must be up to code; a simple installer kit often includes a hardwired or plug-in option.
Materials
- LED backlit mirror, 24–30" diameter
- Mirror mounting brackets
- Wire connectors (if hardwiring)
- Stud finder
- Cordless drill
- Silicone bead for perimeter
- Outlet or hardwire kit (as required)
- Wire stripper
Instructions
- Choose mirror location and check for studs and wiring.
- Install mounting brackets per manufacturer instructions.
- Hardwire or plug in the LED driver. If hardwiring, turn off breaker and follow local codes.
- Hang mirror and seal the perimeter with a thin bead of silicone. Allow silicone to cure 24 hours.
- Test LED function; the light should be even with no flicker.
How to Display or Gift It
Pair the mirror with a small dimmable switch for mood lighting. Pack the mirror’s installation kit and instruction sheet into a labeled folder for future owners. A battery-powered backup light is useful for power outages.
- Floating Shelf Nook with Hidden Lighting
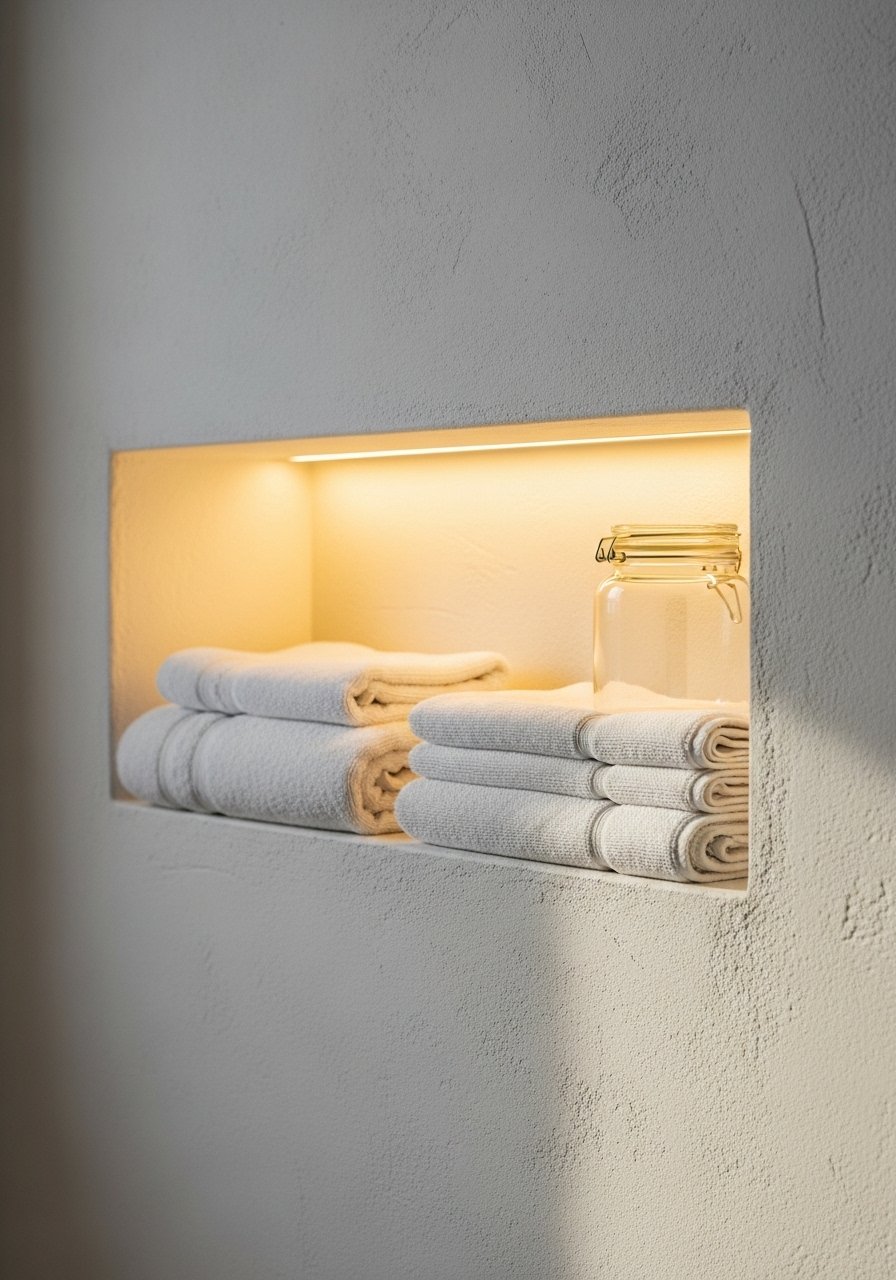
A recessed floating shelf keeps toiletries contained while maintaining a minimal vibe. Hidden LED tape adds a soft glow that reads modern and calm.
Materials
- 1 pre-cut recessed niche box (or build from 1/2" backer board)
- 1 roll LED strip light (cuttable), 16.4 ft
- LED driver
- Silicone sealant
- 1 small trimless shelf surface (3/4" plywood)
- Painter’s tape
- Screws and anchors
- Wire nuts
Instructions
- Cut the opening and install the recessed niche frame. Ensure studs and plumbing clearance.
- Install shelf surface and secure with screws into studs or anchors.
- Stick LED strip under the shelf edge and connect to driver. Conceal wiring behind niche.
- Seal edges with silicone. Test lights. Allow silicone to cure 24 hours.
- Tuck towels and small jars; keep heavier items off the niche shelf to prevent sag.
How to Display or Gift It
Use small glass jars for cotton pads and place a narrow eucalyptus sprig for scent. A tiny battery-powered reed diffuser works if wiring isn't possible. Store LED spare strips in a small craft organizer.
- Wall-Mounted Tap and Minimal Faucet Wall

Moving the faucet to the wall clears counter space and sharpens the look. This requires rerouting plumbing, but the visual payoff is high. Choose a depth that comfortably reaches the sink bowl.
Materials
- Wall-mounted faucet set (in chosen finish)
- In-wall valve compatible with the faucet model
- Plumbing fittings and flexible supply lines
- Adjustable wrench
- Pipe thread tape
- Silicone caulk
- Tile or wall patch materials if needed
- Stud finder
Instructions
- Turn off water and remove old faucet.
- Open wall and install in-wall valve at the correct depth and distance above sink (typically 6–8").
- Once wall finishes are complete, install faucet per manufacturer instructions and connect supply lines with thread tape.
- Test for leaks. If none, seal edges with silicone. Allow silicone to cure 24 hours.
- Adjust flow and aerator as needed.
How to Display or Gift It
A matching soap dispenser and a slim tray keep the area tidy. Store a small bottle of thread tape and spare washers in the vanity for future maintenance.
- Matte Tile Grout Swap (Dark vs Light)

Changing grout color alters the tile’s visual weight. Dark grout can make a geometric pattern pop; light grout reads seamless. Regrouting is a medium-difficulty task with visible results.
Materials
- Grout (sanded or unsanded as appropriate), 1–2 bags
- Grout saw or oscillating tool for removal
- Rubber float
- Sponge and bucket
- Grout sealer, 8–16 oz
- Gloves
- Protective eyewear
Instructions
- Remove old grout to a depth of 2–3 mm using a grout saw.
- Clean joints and vacuum dust. Dampen joints slightly.
- Mix grout to correct consistency and spread with rubber float at a 45-degree angle.
- Remove excess with a damp sponge after 10–20 minutes; finish up hazing removal after 24 hours.
- Apply grout sealer after 72 hours of full drying for water resistance.
How to Display or Gift It
Keep an extra small tube of matching grout sealer in a labeled container for touch-ups. If gifting the project outcome, include grout color swatches and care tips.
- Modern Bathroom Remodel Ideas: Large Format Porcelain Floor
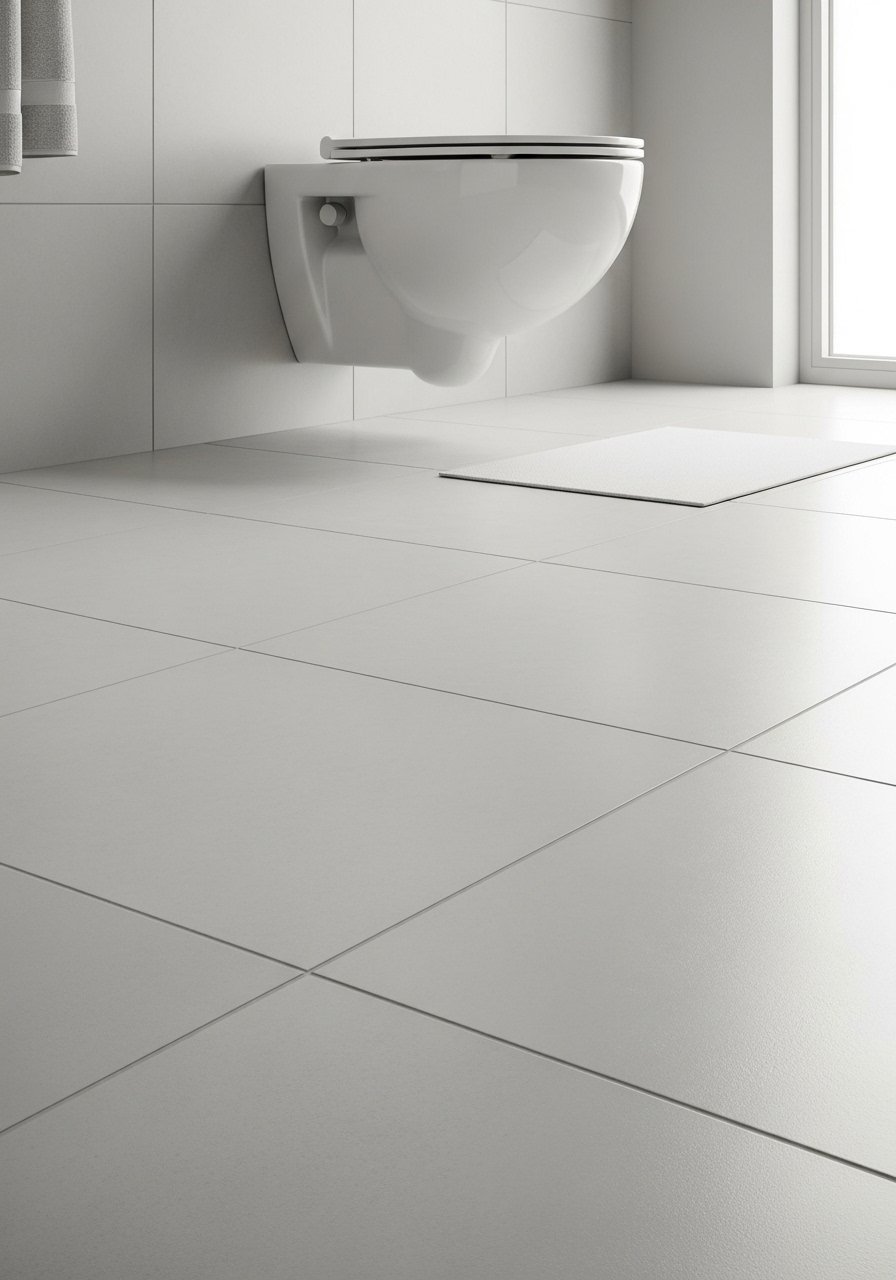
Large-format porcelain reduces grout lines for a clean, modern floor that's easier to maintain. It’s ideal for small bathrooms where visual continuity matters. Use leveling clips for a perfectly flat finish.
Materials
- Large-format porcelain tiles, size as chosen (allow 10% overage)
- Tile leveling system
- Modified thinset for porcelain (1 bag)
- Grout, low-profile joint width
- Wet saw rental
- Notched trowel
- Rubber mallet
- Floor primer if needed
Instructions
- Level and prime subfloor as directed. Lay out tiles dry to plan cuts.
- Mix thinset and apply with a large notched trowel.
- Use tile leveling clips to ensure evenness; tap tiles with a rubber mallet.
- Allow thinset to cure 24–48 hours before grouting.
- Grout and clean as standard; full performance after 72 hours.
How to Display or Gift It
Add a low-profile bath mat or a slim wooden stool for contrast. Keep spare tiles and a labeled bag of leveling clips for repairs.
- Minimal Shower Niche with Floating Edge

A clean shower niche organizes essentials without clutter. Build shelves at ergonomic heights and tile the inside to match the shower for a built-in look.
Materials
- Cement backer board for niche surround
- Waterproofing membrane (RedGard or similar), 1 quart
- Thinset mortar
- Tile for niche interior
- Silicone sealant
- Measuring tape
- Notched trowel
Instructions
- Frame the niche between studs at desired height; typical center is 48–54" from floor.
- Install cement board and apply waterproofing membrane per manufacturer instructions; allow membrane cure 24 hours.
- Set tile with thinset and grout after 24 hours cure.
- Seal edges with silicone and allow cure 24 hours.
How to Display or Gift It
Use matching tile edge trim for a polished finish. Keep a small jar of travel-size shampoo for guests inside a decorative basket.
- Black Hexagon Tile Shower Floor

A black hex tile floor anchors a minimalist shower and creates subtle texture. Proper slope and waterproofing are critical here.
Materials
- Hexagon porcelain tile sheets, enough for shower floor
- Deck mud for slope (pre-mixed)
- Waterproof membrane
- Thinset mortar
- Grout (white or contrasting)
- Floor drain flange
- Trowel
- Sponge
Instructions
- Install waterproof membrane over the sloped deck mud. Ensure slope to drain 1/4" per foot.
- Thinset tile and set mesh sheets, cutting as needed with a tile saw.
- Grout after thinset cures 24–48 hours; remove haze after 24 hours.
- Seal grout after 72 hours for best water resistance.
How to Display or Gift It
Pair with a steam-resistant shower bench and a teak mat outside the shower. Keep an extra sheet of tile in a small labeled box.
- Frameless Medicine Cabinet with Hidden Storage
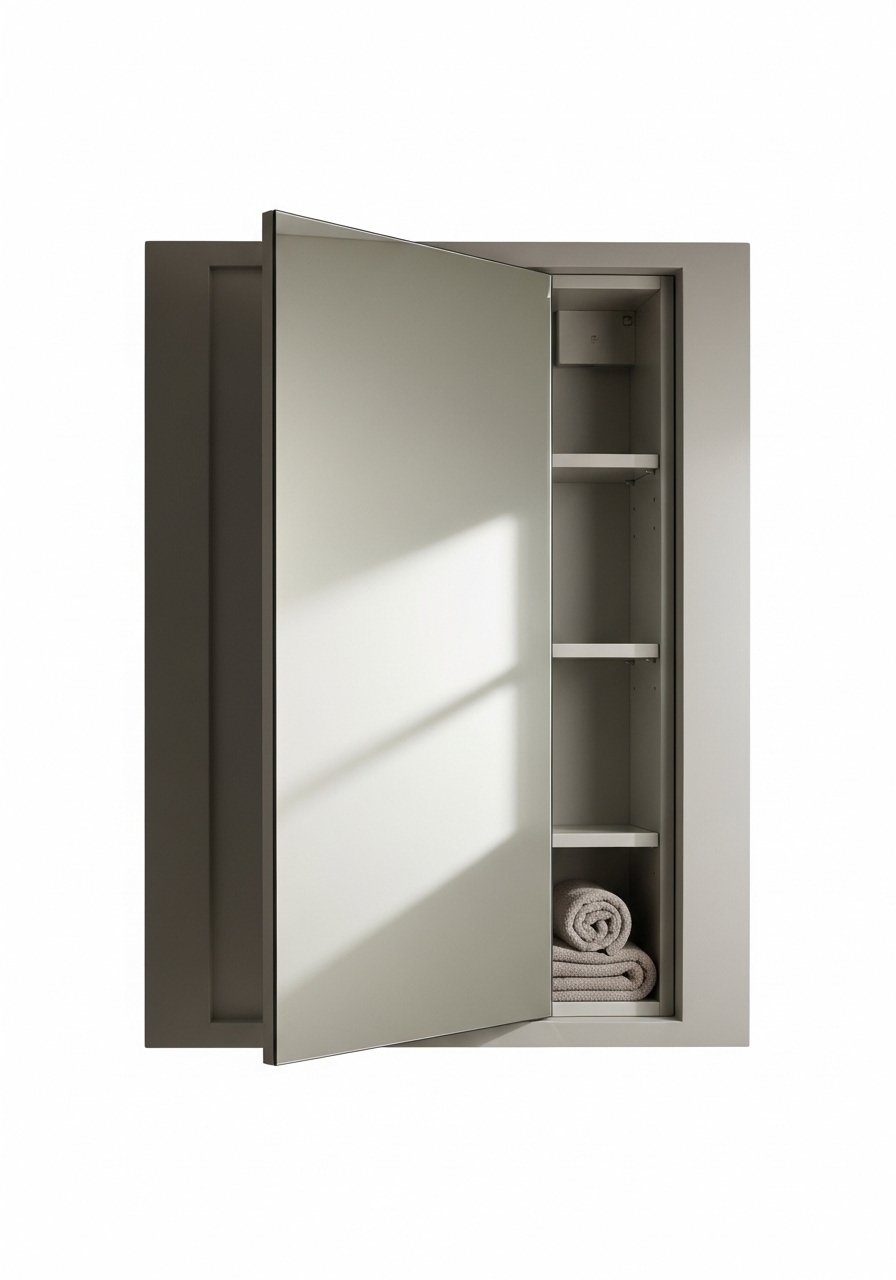
A recessed medicine cabinet frees counter space while keeping toiletries hidden. Adjustable shelving and soft-close hinges make it feel high-end.
Materials
- Recessed mirrored medicine cabinet, 24" wide typical
- Stud finder
- Level
- Drywall saw
- Screws
- Silicone sealant
Instructions
- Cut wall opening and ensure cabinet fits between studs.
- Secure cabinet frame into studs with screws.
- Install shelves and door; adjust soft-close hinges if present.
- Caulk perimeter with silicone. Allow cure 24 hours.
How to Display or Gift It
Use small labeled acrylic bins to keep shelves tidy. Gift a set of refillable toiletry bottles as a thoughtful complement.
- Heated Towel Rack Addition

A heated towel rack adds comfort and helps dry towels more quickly. Electric plug-in models simplify installation.
Materials
- Electric heated towel rail (wall-mounted)
- Mounting hardware
- Level
- Screwdriver
- GFCI outlet or plug-in kit
- Measuring tape
Instructions
- Choose mounting height (typically 48–52" from floor).
- Secure bracket to studs or anchors.
- Mount towel rail and connect to power safely. If hardwiring, hire a licensed electrician.
- Test function; heating to touch within 5–10 minutes is normal.
How to Display or Gift It
Roll towels and stack on the lower bar for layered texture. If gifting, include a small detachable plug-in cable for easy installation.
- Pebble Shower Floor Insert

A pebble insert adds tactile contrast underfoot while staying minimal. Proper sealing prevents mold and preserves sheen.
Materials
- Pebble mosaic sheet, cut to size
- Thinset mortar
- Grout, color-matched to pebbles
- Penetrating sealer for stone, 8–16 oz
- Sponge and bucket
- Notched trowel
Instructions
- Install pebble sheet over properly sloped mud bed with thinset.
- Grout pebbles carefully; remove excess grout after 10–20 minutes.
- Allow grout cure 24 hours then apply penetrating sealer two coats with 1–2 hours between coats. Full cure 48–72 hours.
How to Display or Gift It
Pair with a teak bath mat just outside the shower. Keep sealer on hand for annual refresh.
- Open Slatted Wood Storage Ladder
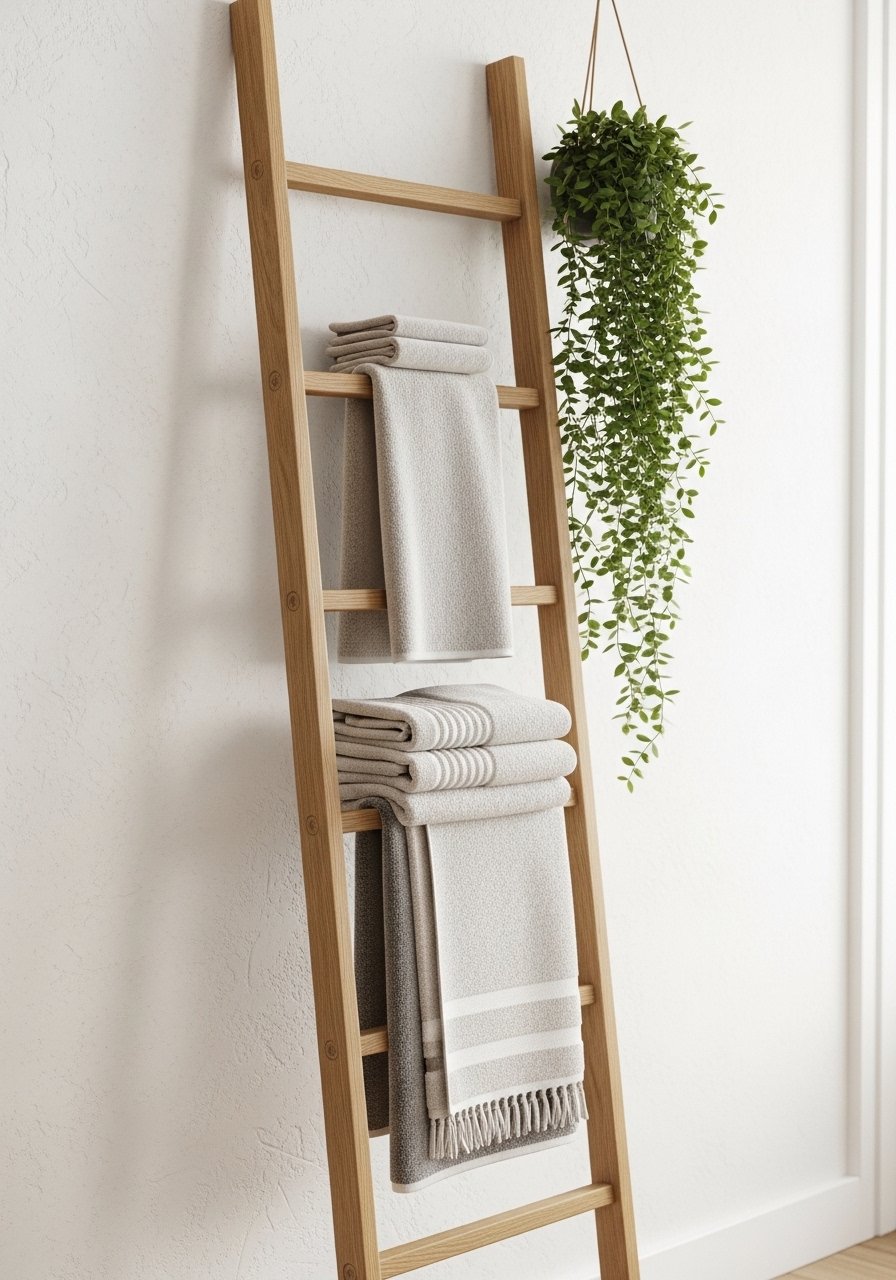
A slatted ladder provides storage and a tactile wooden element to a minimal bath. It’s lightweight, moveable, and great for renters.
Materials
- Wood ladder (3–5 rungs) or build from 1" x 2" oak
- Sanding block, 120 and 220 grit
- Clear water-based satin polyurethane, 8 oz
- Cloth and wood glue
- Optional rubber feet to prevent slipping
Instructions
- Sand wood smooth and assemble ladder rungs with wood glue and clamps; allow glue cure 24 hours.
- Apply two thin coats of satin polyurethane with 2–4 hours drying between coats; final cure 24 hours.
- Add rubber feet to protect floor.
How to Display or Gift It
Drape towels over rungs and add a small hook for a loofah. Store extra towels in a matching basket nearby.
- Frameless Floating Medicine Shelf
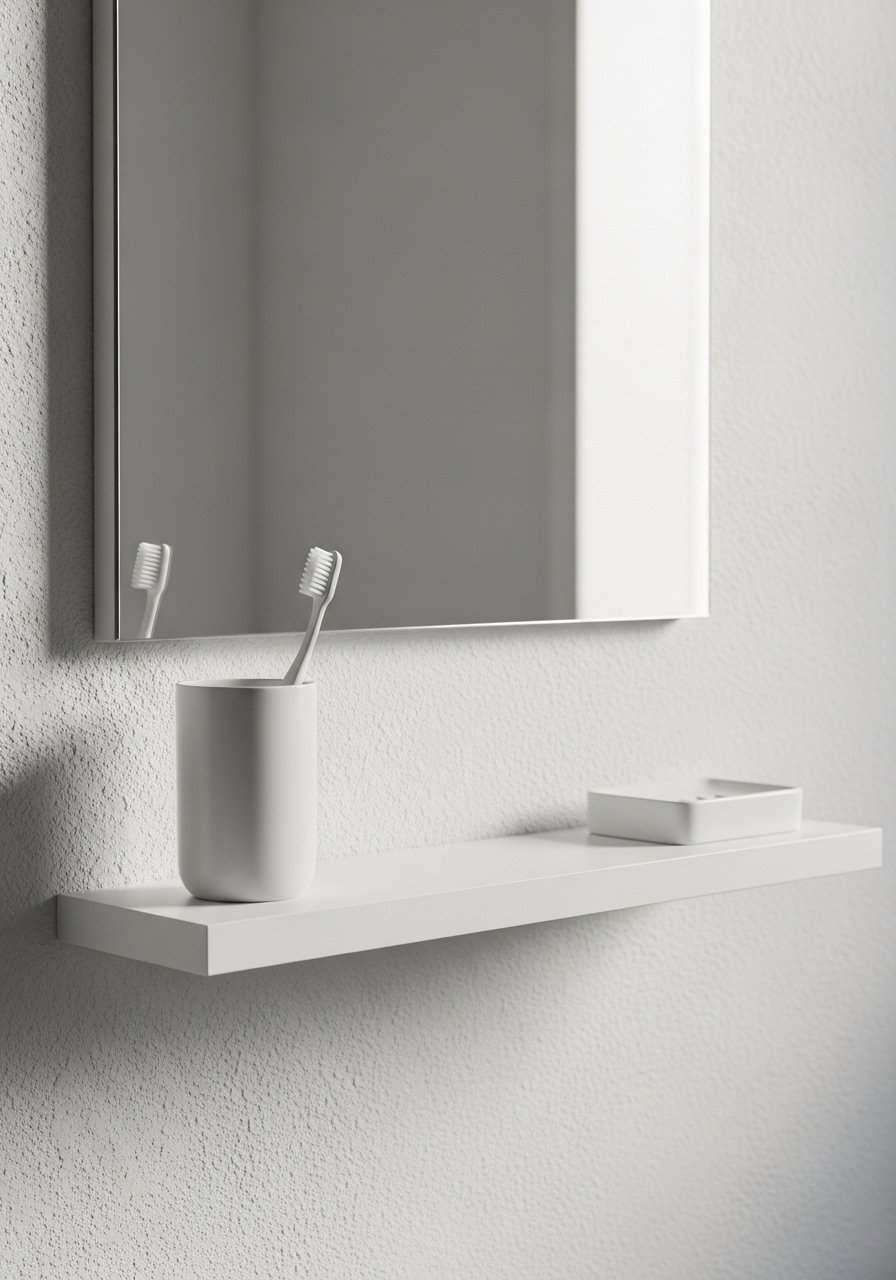
A thin floating shelf under a mirror gives a clean landing spot for daily items without cluttering the vanity. Concealed brackets keep it minimal.
Materials
- Floating shelf, 3/4" thickness x desired length
- Concealed bracket kit
- Level
- Stud finder
- Screws and anchors
- Silicone to seal edge
Instructions
- Find studs and mount bracket securely.
- Slide shelf onto bracket and adjust for level.
- Seal underside edges with a thin silicone bead if near sink. Cure 24 hours.
How to Display or Gift It
Use small ceramic trays to corral items. Store extra brackets for future shelves.
- Modern Bathroom Remodel Ideas: Terrazzo Shower Floor Panel

Terrazzo panels offer a minimal, artful floor with speckled texture. Pre-cast panels reduce labor and cut install time.
Materials
- Pre-cast terrazzo shower panel sized to fit
- Deck mud or adhesive recommended by panel maker
- Waterproof membrane
- Silicone sealant
- Notched trowel
- Level
Instructions
- Ensure subfloor is flat and waterproofed.
- Set panel on thinset or manufacturer-recommended adhesive. Check level.
- Seal seams with silicone. Allow sealant to cure 24 hours.
How to Display or Gift It
Pair with a minimal black drain and a teak floor mat. Keep a sample chip for future repairs.
- Minimal Pocket Door Install

A pocket door frees swing space for compact bathrooms. Framing is required, so plan early in remodels.
Materials
- Pocket door kit (track and frame)
- 6–8 ft interior door pre-hung or slab
- Screwdriver and drill
- Stud finder
- Drywall repair materials
Instructions
- Frame the pocket per kit instructions (may require moving studs).
- Install track and hang door. Ensure smooth sliding and adjust rollers.
- Patch drywall and finish paint. Allow compound to dry 24 hours between coats.
How to Display or Gift It
Use a slim recessed pull for the clean look. Keep a spare roller kit in a labeled bag.
- Wall-Hung Toilet Conversion
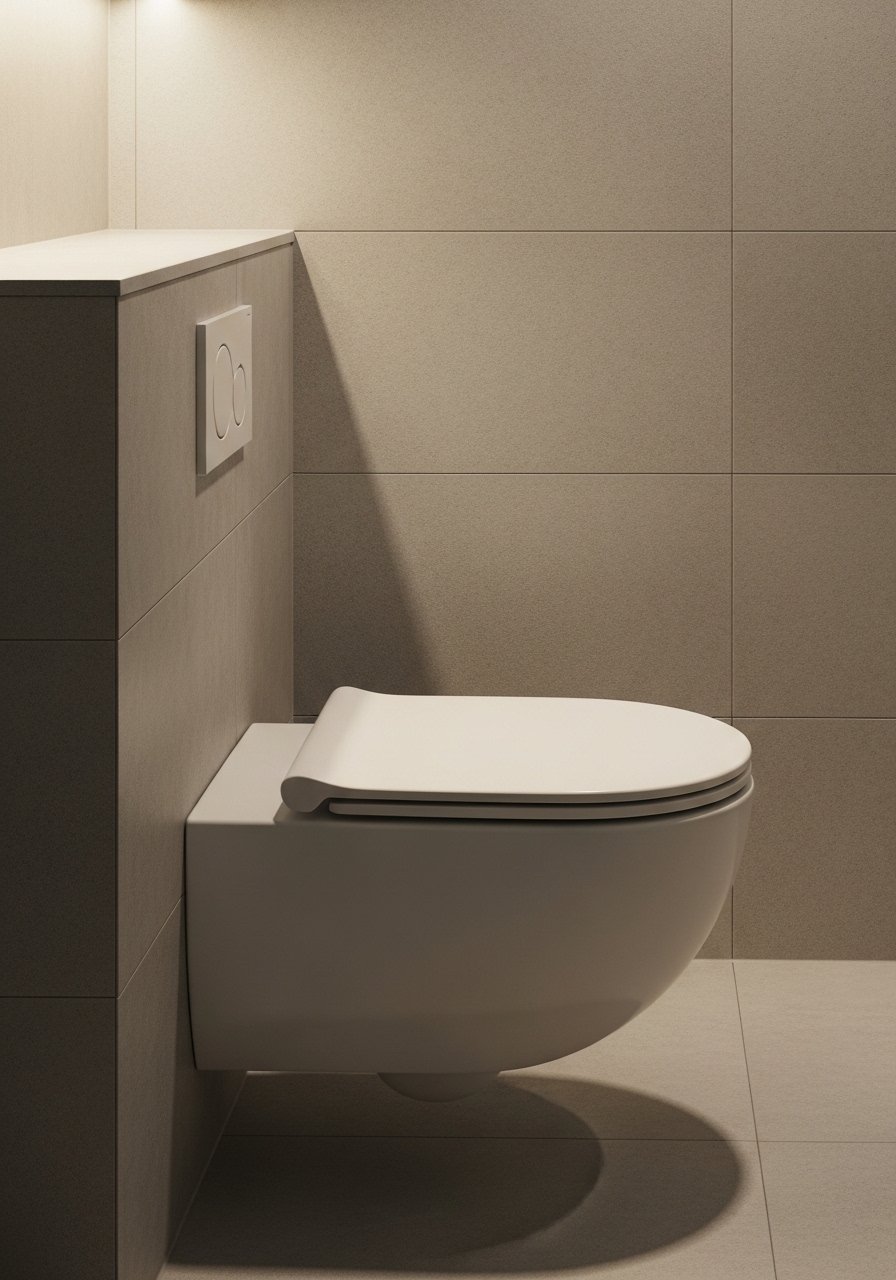
A wall-hung toilet frees floor space and creates easy cleaning lines. This is a significant plumbing change; plan for in-wall carrier support.
Materials
- Wall-hung toilet and in-wall carrier
- Plumbing connectors
- Cement backer board
- Tiles for finish wall
- Screws and anchors
- Caulk
Instructions
- Install carrier between studs and secure it to floor and studs.
- Connect plumbing and fit the bowl per manufacturer specs.
- Finish wall surface and tile. Allow tile adhesives to cure 24–48 hours before toilet use.
How to Display or Gift It
Keep a small bag of spare bolts and the flush valve instruction sheet in a labeled pouch.
- Minimal Free-Standing Tub Surround

A free-standing tub paired with a slim surround or platform creates a sculptural focal point. Consider floor protection and plumbing routing.
Materials
- Freestanding tub
- Freestanding tub filler
- Platform material (waterproof plywood)
- Floor protection pads
- Silicone caulk
Instructions
- Position tub and rough-in floor plumbing.
- Install filler and test for leaks.
- Build a low platform if desired and waterproof it. Seal all seams with silicone and allow cure 24 hours.
How to Display or Gift It
Add a slim teak stool holding a candle and book. If gifting, include a small bath salt jar.
- Minimalist Wall Tile Herringbone Accent

A herringbone pattern adds subtle interest while staying classic. Precision cuts and spacers help keep the pattern tight.
Materials
- Subway tile, 2" x 8"
- Thinset mortar
- Tile saw
- Tile spacers (1/16")
- Grout
- Notched trowel
Instructions
- Lay out dry and plan cuts.
- Apply thinset and place tiles in herringbone pattern. Use spacers.
- Grout after thinset cures 24–48 hours. Clean haze after 24 hours.
How to Display or Gift It
Pair with a thin shelf or slim mirror. Pack leftover tile in a labeled box.
- Waterproof Paint Refresh for Small Baths

A waterproof paint refresh brightens small bathrooms quickly. Use high-quality mildew-resistant paints for longevity.
Materials
- Bathroom-grade mildew-resistant paint, 1 quart (covers ~100 sq ft)
- Foam roller, 4" trim brush
- Painter’s tape
- Sandpaper, 120 grit
- Drop cloths
Instructions
- Clean walls and sand glossy spots lightly.
- Tape edges and apply two thin coats of paint allowing 2–4 hours between coats.
- Final cure 24–48 hours before regular use.
How to Display or Gift It
Keep a small leftover sample can for touch-ups. Gift a mini roller set for quick maintenance.
- Minimal Countertop Tray and Organizer Build

A simple tray keeps counters tidy and looks tailored. This quick build is perfect for a weekend project.
Materials
- 1 wood board 12" x 6" x 3/4"
- Wood glue
- Small router for edge detail (or sand by hand)
- Paint or oil finish, 2 oz
- Sandpaper, 120/220 grit
- Clamps
Instructions
- Cut board to size and rout edges or sand smooth.
- Glue on small side rails (1" x 12") and clamp for 24 hours.
- Sand final and apply two thin coats of finish. Dry 2–4 hours between coats.
How to Display or Gift It
Use as a catchall for daily items or wrap in kraft paper for a housewarming gift with a soap bar tucked inside.
- Slim Vanity Drawer Organization Inserts
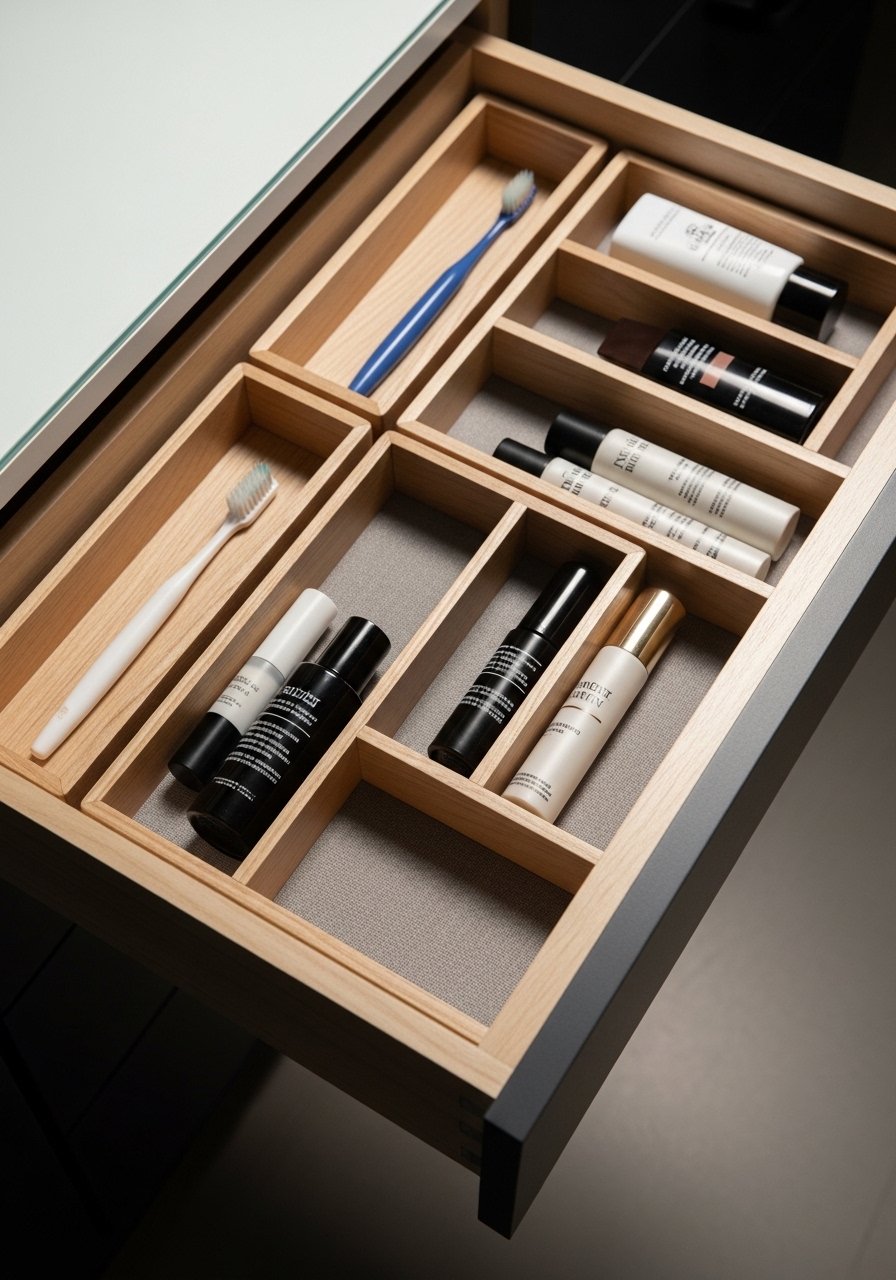
Drawer inserts keep essentials organized and reinforce the minimalist look. Custom-fit inserts maximize shallow vanity drawers.
Materials
- Balsa or plywood sheets, 1/8" (cut to fit)
- Measuring tape
- Precision craft knife
- Wood glue
- Drawer liner (non-slip)
Instructions
- Measure drawer interior and sketch compartments.
- Cut inserts and dry-fit, then glue parts together. Allow glue to cure 24 hours.
- Place drawer liner and slide insert in.
How to Display or Gift It
Make several inserts and store extras in a labeled box. Gift assembled sets for friends moving into new homes.
- Minimal Black Shower Trim Swap
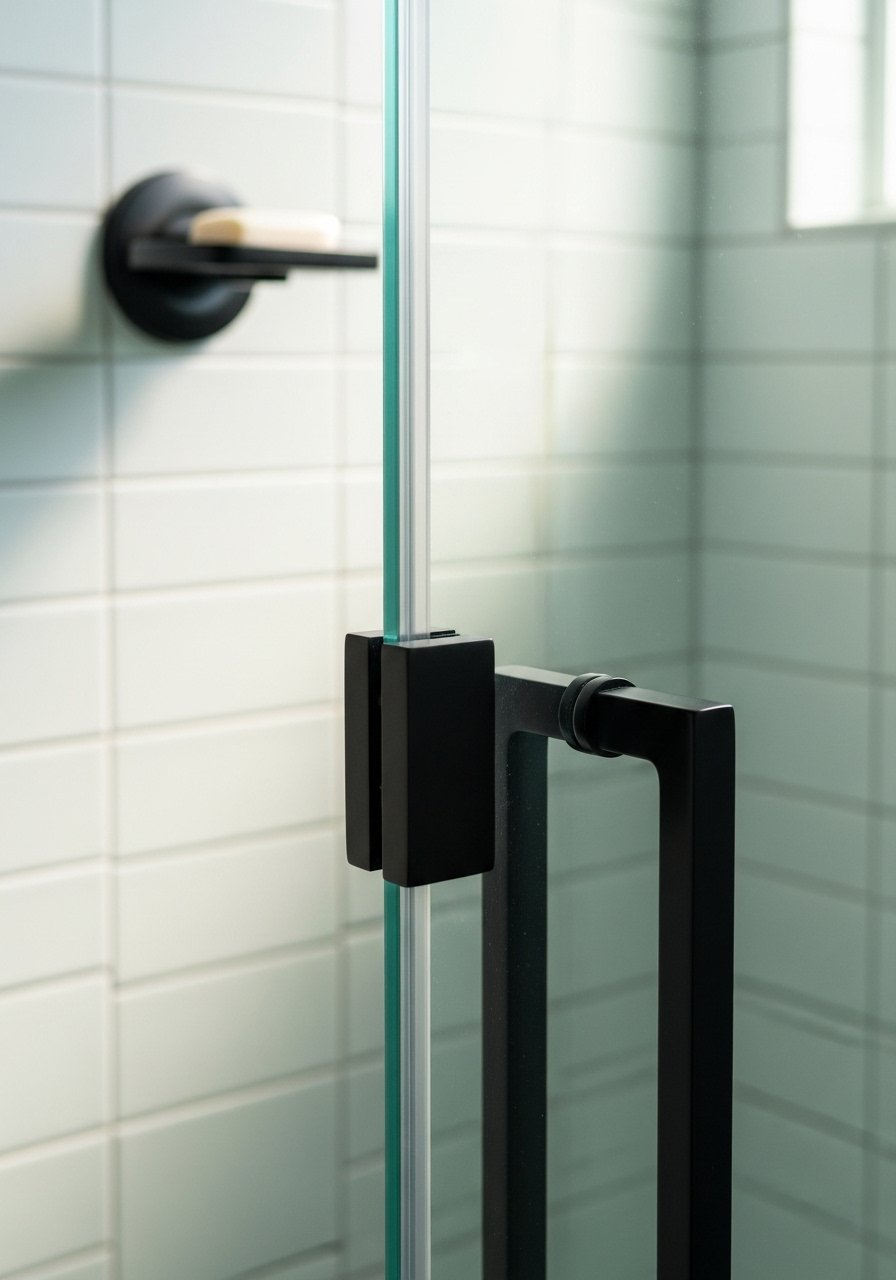
Switching chrome trim to matte black unifies fixtures and sharpens the palette. Handles and hinges are easy to replace if compatible.
Materials
- Matte black hinges and shower handle
- Screwdriver
- Thread tape
- Soft cloth for cleaning
Instructions
- Remove old hardware and clean mounting surfaces.
- Install matte-black hardware per kit instructions. Use thread tape where needed.
- Test motion and seals; clean with a damp cloth.
How to Display or Gift It
Coordinate towel bars and light switches in the same finish. Keep spare screws and plates together in a small pouch.
- Integrated Plant Ledge (Low-Maintenance)

A narrow ledge with low-light plants softens a minimalist bathroom. Use moisture-tolerant species and plan for watering access.
Materials
- Narrow ledge board, 6" deep x length of wall
- Waterproof finish
- Small planters with drainage trays
- Low-light houseplants (pothos, snake plant)
Instructions
- Install ledge securely into studs. Seal with waterproof finish and allow cure 24 hours.
- Place planters with trays to capture runoff. Water sparingly.
How to Display or Gift It
Add a hygrometer nearby to monitor humidity. Gift a small plant care card with watering tips.
- Slim Vertical Radiator Panel
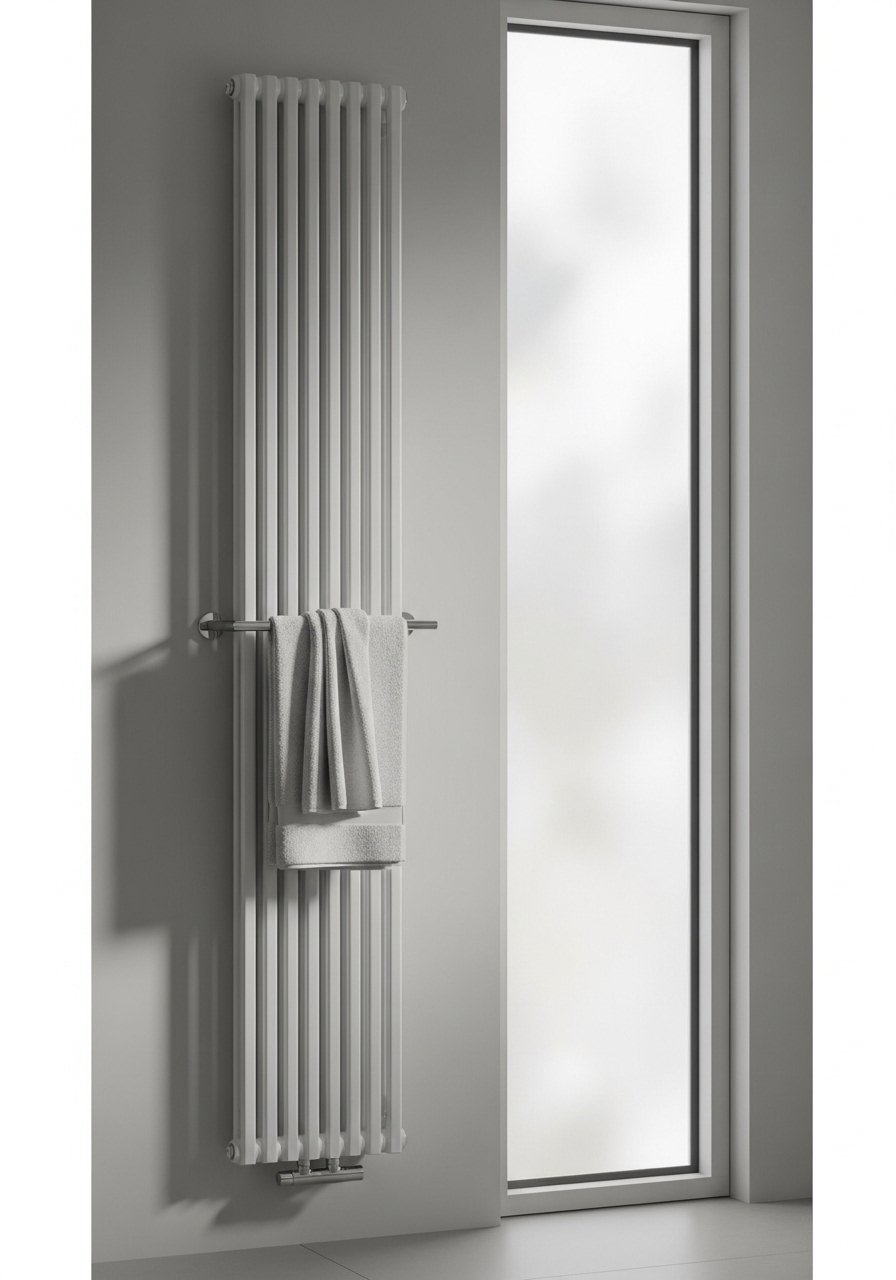
A vertical radiator warms and adds a sleek architectural line. Choose low-profile models that blend with wall surfaces.
Materials
- Vertical radiator panel sized for wall
- Mounting kit
- Plumbing supplies or electric kit if electric model
- Level
Instructions
- Mount panel per instructions; if hydronic, connect to existing heating circuit with a pro.
- If electric, hardwire to GFCI-protected circuit or use plug-in model.
- Test heat and bleed radiators if required. Allow systems to stabilize overnight.
How to Display or Gift It
Use a single towel loop for simplicity and avoid overloading the radiator. A small instruction packet for guests is a thoughtful touch.
Thank you for sticking with all 28 modern bathroom remodel ideas. You’ve got projects that range from quick visual updates to full functional changes — floating vanities, slab tile walls, recessed lighting, and minimal hardware swaps that maintain a calm, modern palette. Pin this for your next reno and pick one or two projects to combine for a cohesive look.
Which idea will you try first? Save this pin and share it with a friend who’s planning a remodel. And one last tip: a temperature-controlled hot glue gun or a good set of polyurethane foam brushes consistently makes finishing details so much easier — they cut cleanup time and keep edges crisp.





