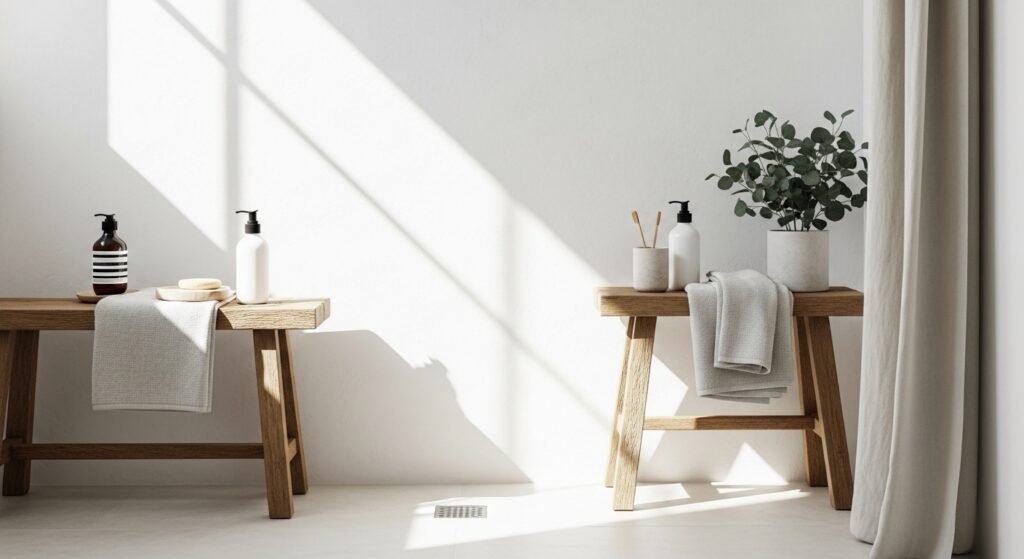
You’re staring at an outdated shower and dreaming of a sleek, spa-worthy space — without a full demo or huge budget. Whether you want a one-afternoon facelift or a full tile refresh, you can remodel a bathroom shower to feel calm, modern, and easy to keep clean. The trick is planning simple swaps that look high-end: think bright grout lines, a new handheld showerhead, and a tidy niche.
Start small with time-saving products like peel-and-stick subway tile for a quick wall refresh and low-tack painter's tape to protect glass and fixtures while you work. This guide walks you through prepping, resurfacing, upgrading fixtures, and finishing touches — with realistic timeframes and product tips you can use today.
Gather, measure, and prep for a smooth refresh
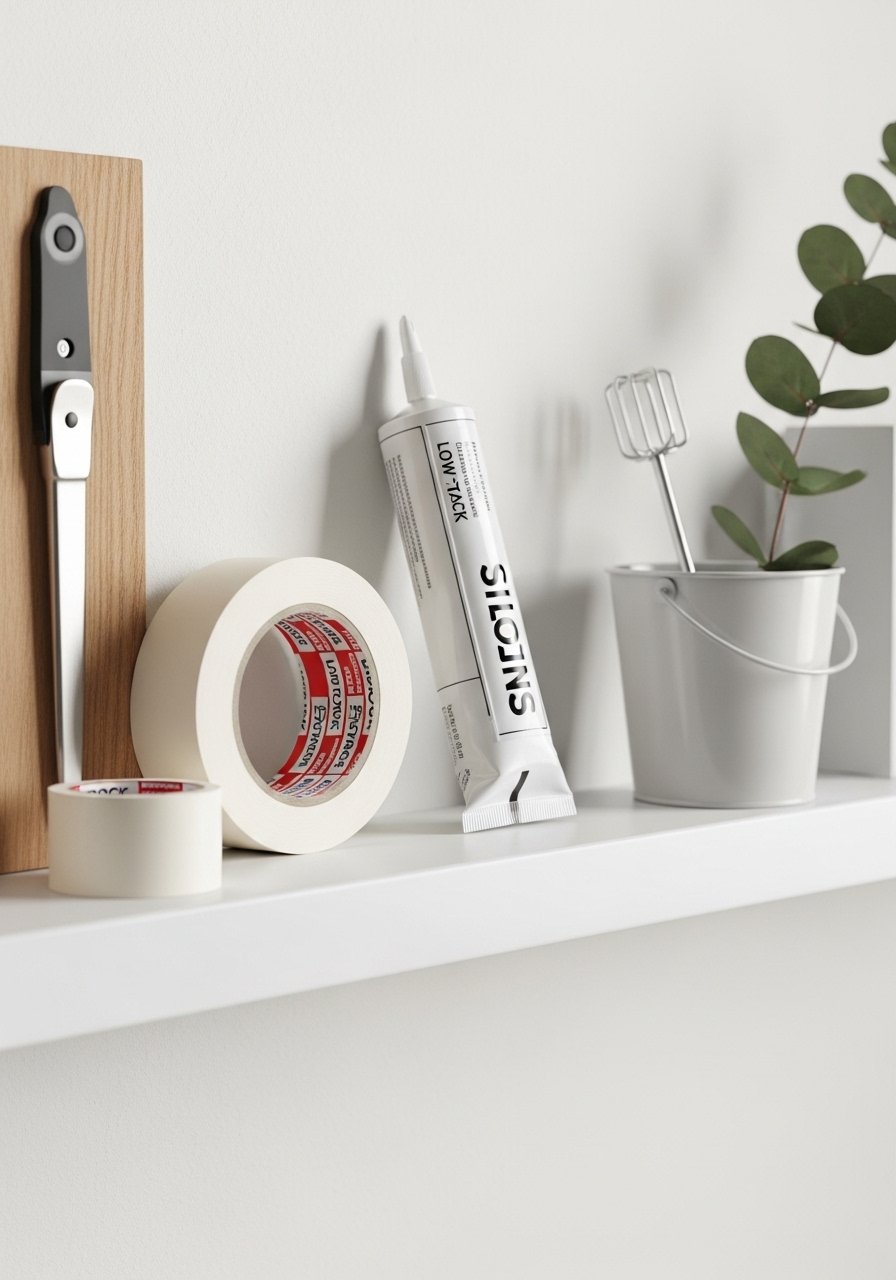
First, measure the shower walls and take photos for planning. If you’re using peel-and-stick tile, measure wall square footage and add 10–15% for cuts. For a full tile job, plan for thin-set and membrane.
- Use a precision craft knife to trim peel-and-stick tiles cleanly.
- Protect edges and glass with low-tack painter's tape.
- Remove soap scum with a degreaser and let surfaces dry 24 hours before applying adhesives.
Tip: If grout is the only issue, you can refresh grout lines in one afternoon with sanded grout and a grout sealer later.
Resurface or retile: budget and pro routes
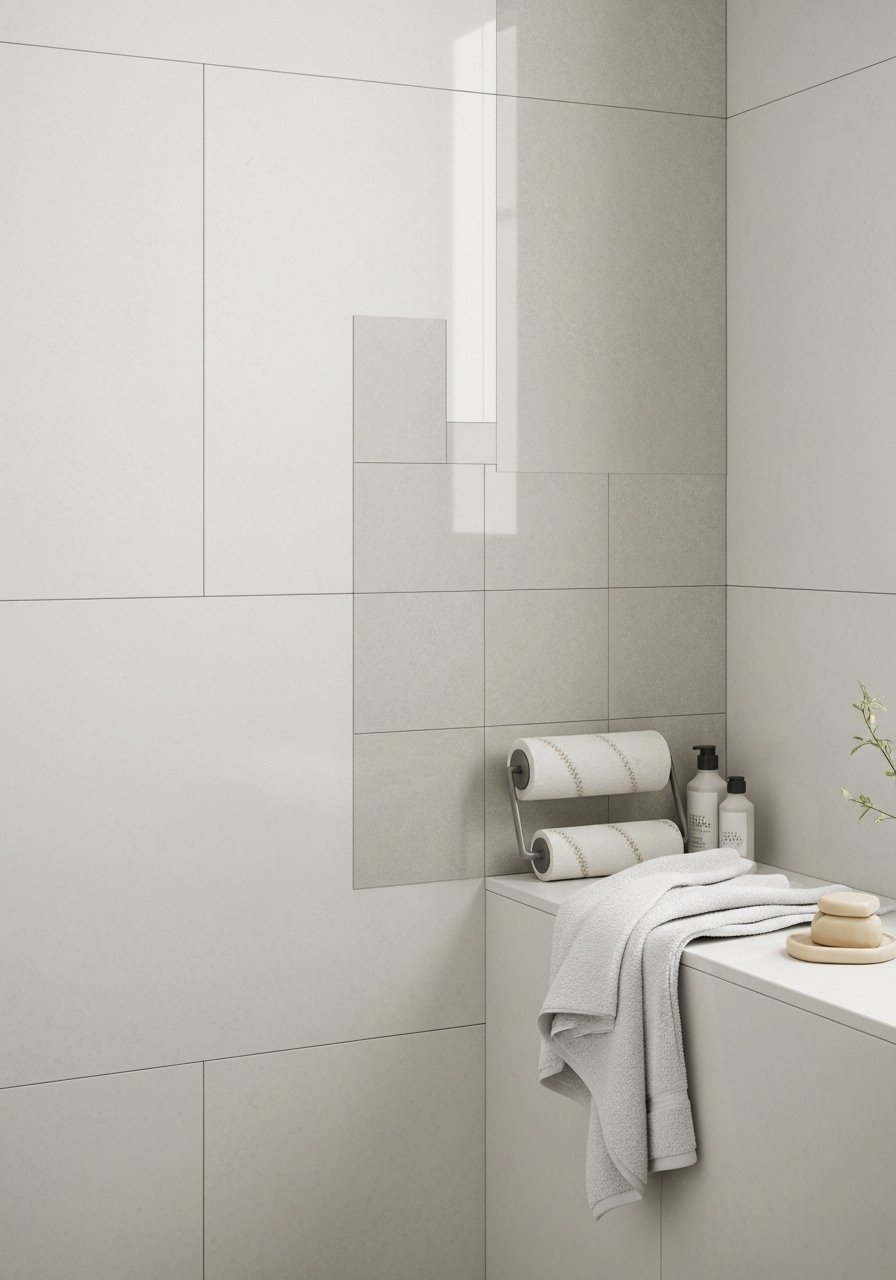
Choose a method based on budget and skill:
Option A — Peel-and-stick (beginner-friendly, 1–2 days)
- Clean and dry surface for 24 hours.
- Start at a vertical center line; peel and press each tile.
- Use a small roller to remove bubbles and ensure adhesion.
- Helpful item: peel-and-stick subway tile
- Trim with a precision craft knife
Option B — Re-tile (more durable, 2–4 days)
- Apply a shower waterproofing membrane to prevent leaks.
- Spread thin set mortar with a 1/4" notch trowel.
- Set tiles, wait 24 hours to cure, then grout and let grout set 24–48 hours.
Pro tip: Use a small bead of silicone sealant where tile meets tub or glass; silicone cures in about 24 hours.
Upgrade fixtures and storage for that spa feel
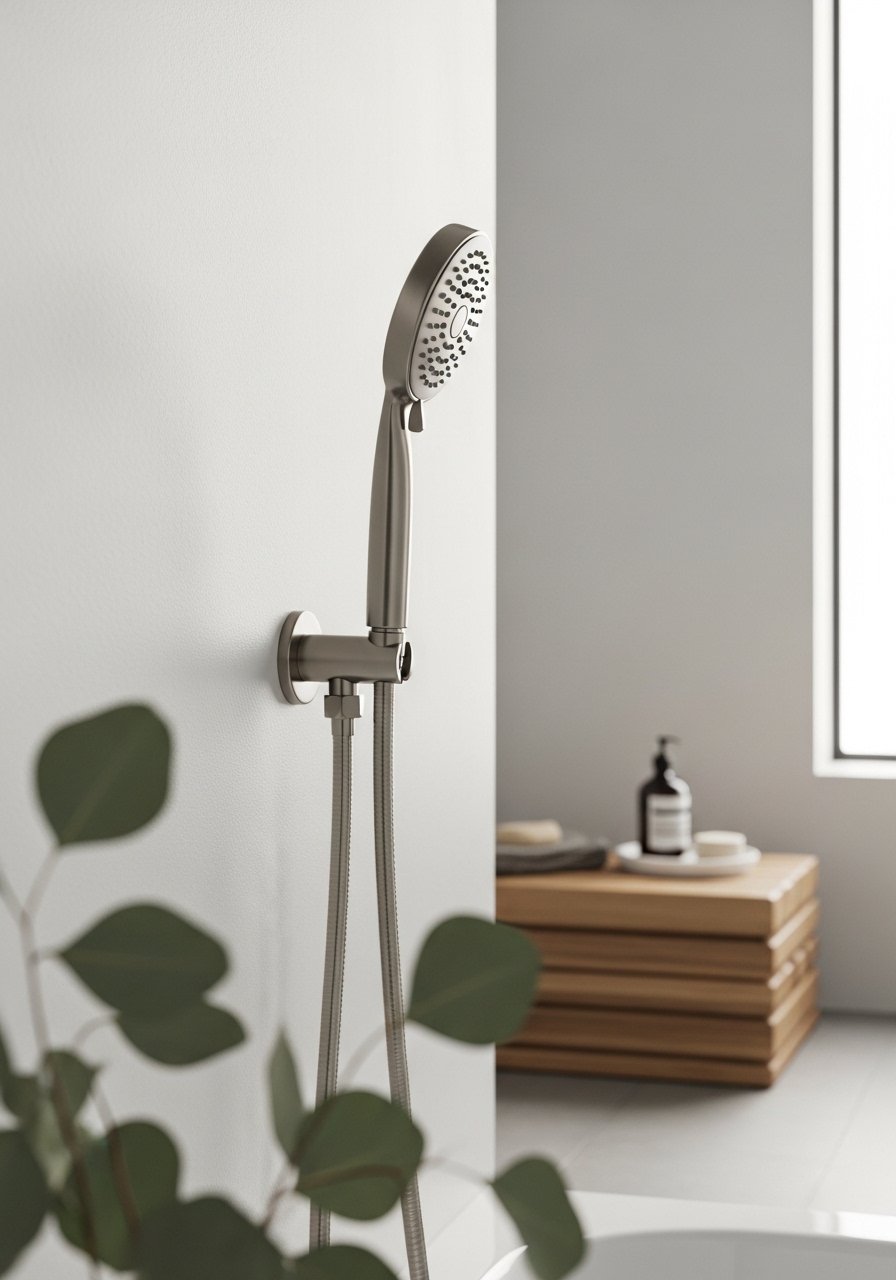
Swapping fixtures instantly modernizes the shower. Install a high-pressure handheld shower head with an adjustable slide bar for flexibility. It’s an easy DIY: unscrew the old hose, thread on the new one, and tight-seal with plumber’s tape.
Add storage that looks intentional:
- Corner solution: stainless steel shower caddy corner shelf keeps bottles organized.
- Use a shower squeegee after each use to prevent water spots and soap scum.
Tip: Mount your caddy at eye level and keep shampoos grouped by height for a neat visual.
Finish, seal, and maintain for long-lasting results
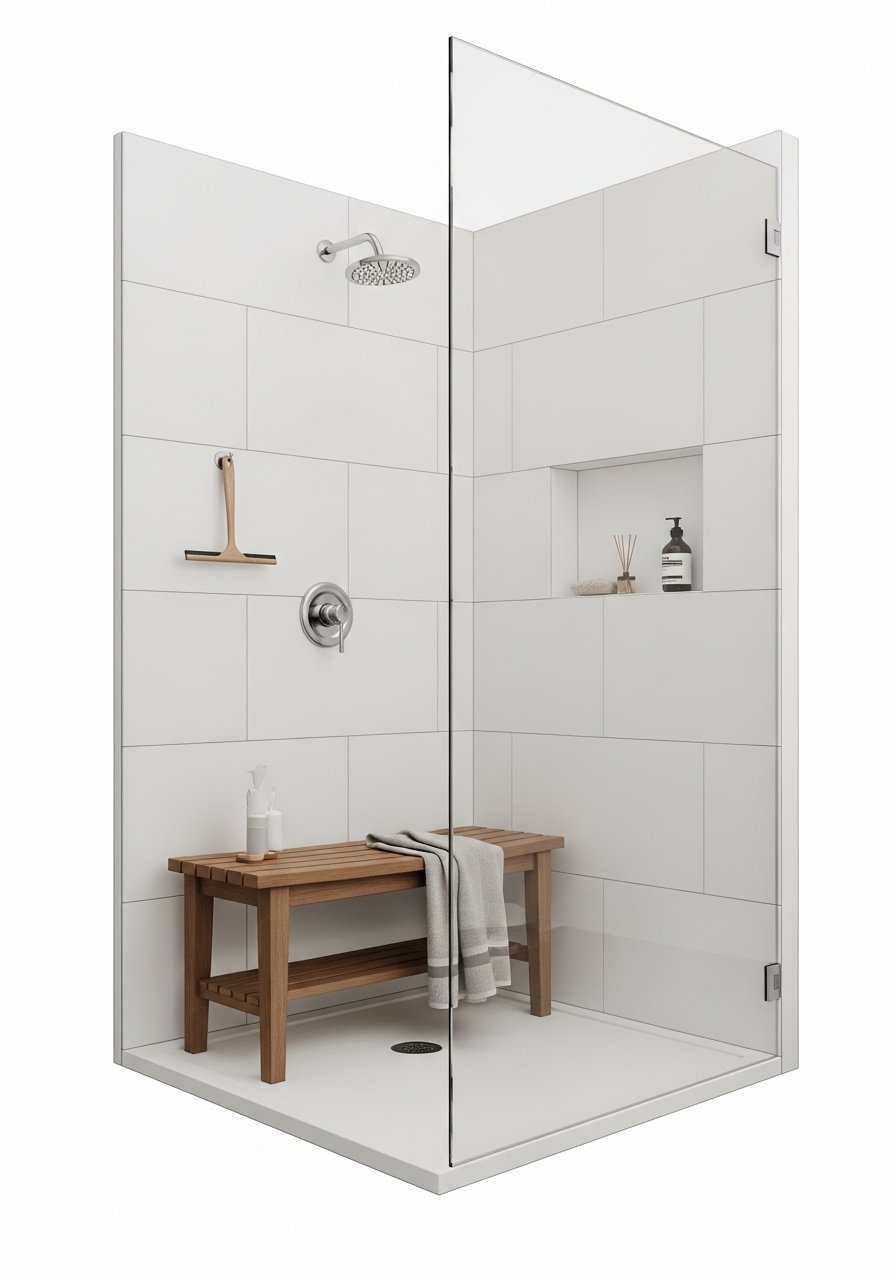
Seal everything to protect your work. Brush on a grout sealer and let it dry 24 hours before use. Run a bead of silicone sealant at all joins; allow 24 hours to cure fully.
Maintenance routine:
- Squeegee glass and tiles after each shower.
- Deep clean and re-seal grout every 12–18 months.
- Replace showerhead filter or cartridge per manufacturer recommendations for water quality.
Small time-savers: keep extra tiles and sealant in a labeled clear zip pouch for quick repairs, and use stackable craft organizer trays for spare hardware.
You just learned how to remodel a bathroom shower on any budget — from a fast peel-and-stick refresh to a pro re-tile with waterproofing. Save this guide, pin it for your weekend project, and start with one small swap: try a new handheld shower head or a fresh grout sealer. Which upgrade will you try first? Pin this guide for a calm, spa-worthy shower you’ll actually enjoy.





