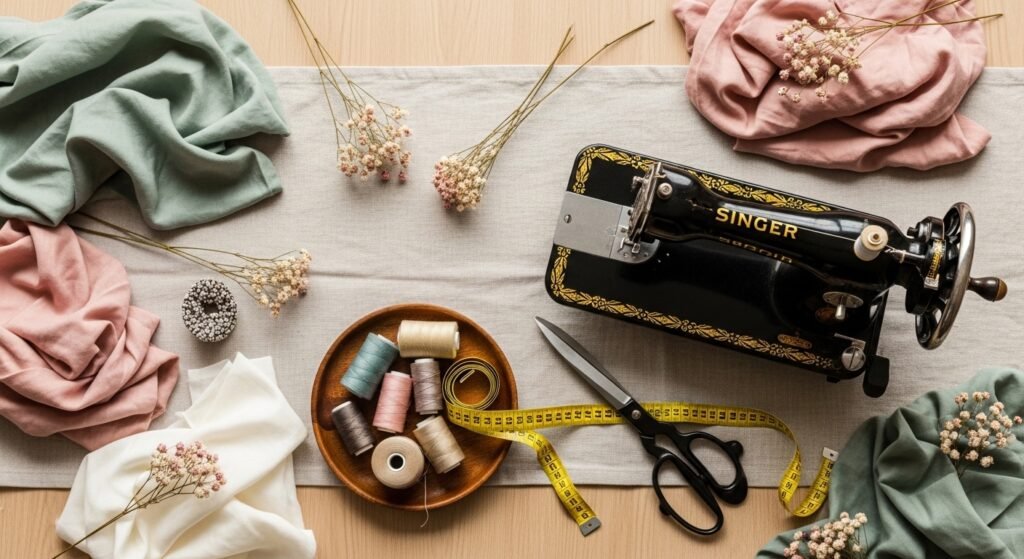
Sewing feels friendlier than it looks — especially once you start with small wins. These easy sewing projects for beginners are designed to build momentum: each uses basic stitches, simple patterns, and minimal supplies so you’ll finish something beautiful in a single afternoon. Whether you want quick gifts, practical home items, or little wardrobe add-ons, you’ll find approachable ideas that teach seams, hems, zippers, and elastic without confusing jargon.
I use my Cricut Joy cutting machine for fast fabric shapes, but a rotary cutter and ruler work just as well. Keep a reliable hot glue gun close by for no-fuss trims — it’s a good backup when hand-stitching gets tedious. Read on for 27 solid projects, each with exact materials, step-by-step instructions, troubleshooting tips, and display or gifting ideas. Pin the ones you love and start small: a scrunchie today, a tote next weekend. Let’s stitch.
- Reversible Envelope Pillow Cover
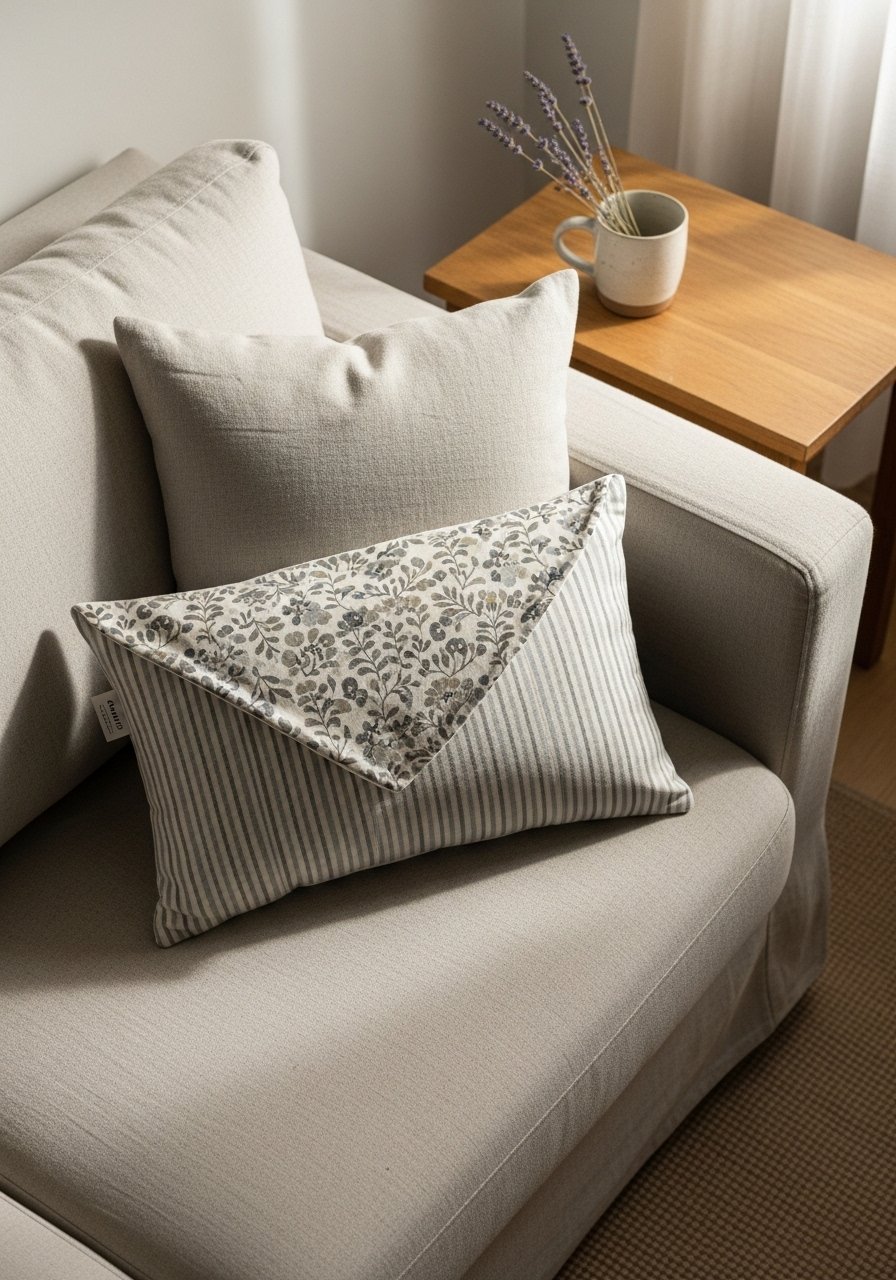
This envelope-style pillow cover flips to show two fabrics, so one project gives two looks. It finishes with a neat overlap at the back — no zipper fuss. The feel is soft and slightly structured, perfect for cottagecore, farmhouse, or modern eclectic sofas. Beginners love the plain seams and easy measuring.
Materials
- Two cotton fabrics, 18" x 18" squares (one for front, one for back)
- Coordinating thread, 50-yard spool
- Basic sewing machine or needle for hand-sewing
- Pins or Clover Wonder Clips
- Fabric scissors or rotary cutter
- Measuring tape / quilting ruler
- Iron and ironing board
Instructions
- Cut two fabric squares 19" x 19" for a snug 18" pillow finish (allow 1/2" seam allowance).
- Fold one square right sides together; stitch 1/2" seam along two adjacent edges. Repeat with the other square but make an overlap on the back (one piece 19" x 12", other 19" x 9").
- Hem the short edges of the overlapping back pieces by folding 1/4" then 1/4" and pressing; topstitch.
- Assemble right sides together: align front square with back pieces; pin.
- Sew all the way around with 1/2" seam allowance, leaving a small gap for turning if hand-finishing.
- Turn right side out, press seams flat, insert pillow insert, and fluff.
How to Display or Gift It
- Style on an entry bench with a co-ordinating throw.
- Wrap a finished pillow in kraft tissue and tie with twine for gifting.
- Store spare covers flat in a fabric storage box until season swaps.
- Make a batch in different prints for rotating decor.
- No-Fuss Scrunchies (elastic hair ties)
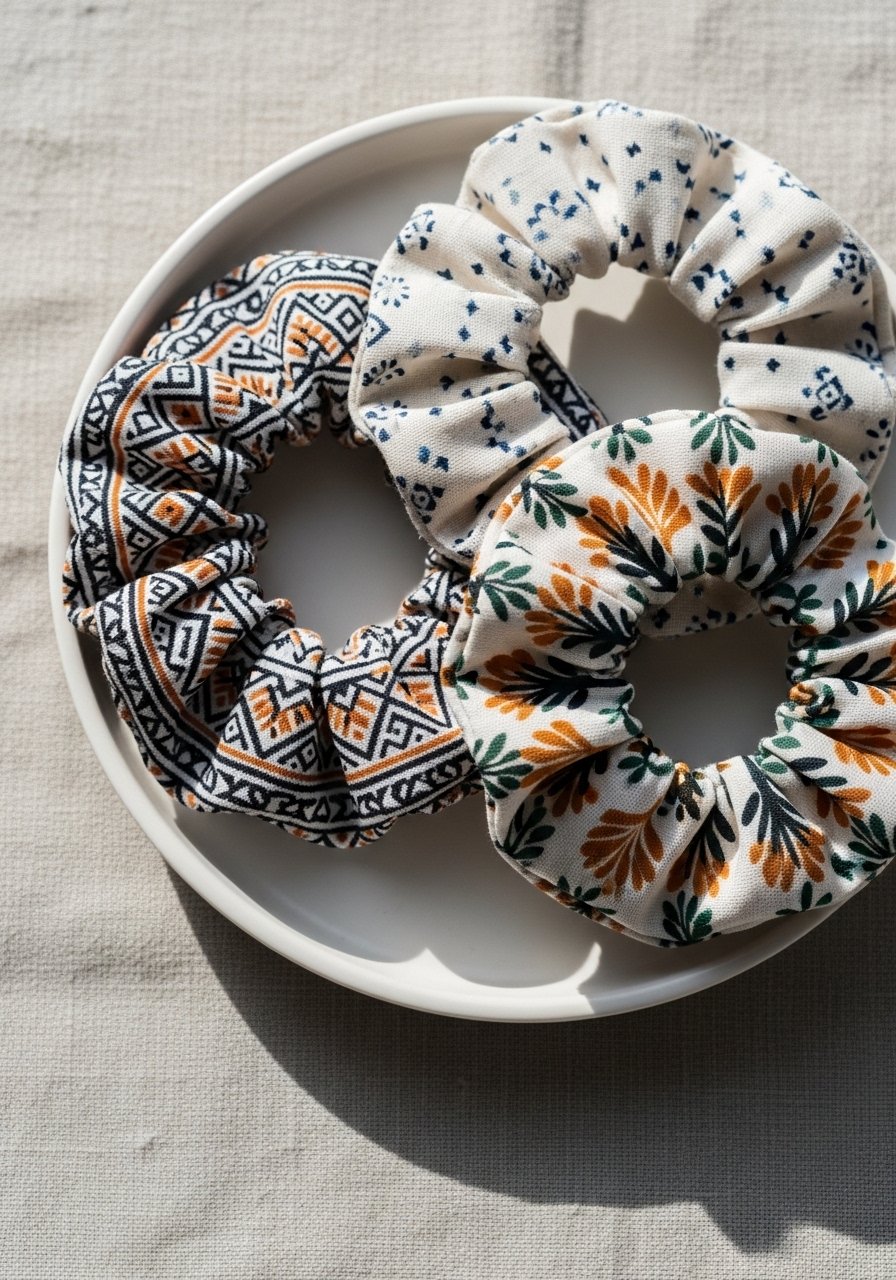
Scrunchies are fast, addictive, and a great way to practice straight seams and casing. They feel soft against hair and add a pop of texture to wrists. Kids and beginners love making sets — and they sew up in under 20 minutes.
Materials
- Fabric strip: 18" x 4" per scrunchie (cotton, rayon, or silk)
- 1/4" elastic, 8" per scrunchie
- Coordinating thread
- Safety pin
- Sewing needle or machine
- Pins or clips
- Scissors / rotary cutter
Instructions
- Fold fabric strip lengthwise, right sides together, pin.
- Stitch along long edge with 1/4" seam allowance, leaving short ends open.
- Turn tube right side out using a safety pin.
- Attach safety pin to elastic; thread through tube; overlap elastic ends by 1/2" and sew securely.
- Tuck raw fabric edges into the tube and hand-stitch closed with ladder stitch, or machine topstitch close to edge.
- Fluff scrunchie and trim stray threads.
How to Display or Gift It
- Present scrunchies in small kraft boxes tied with ribbon.
- Store sets in a clear mason jar by your dresser.
- Mix fabrics to match seasonal palettes (cottagecore florals in spring).
- Easy sewing projects for beginners: Zipper Pouch
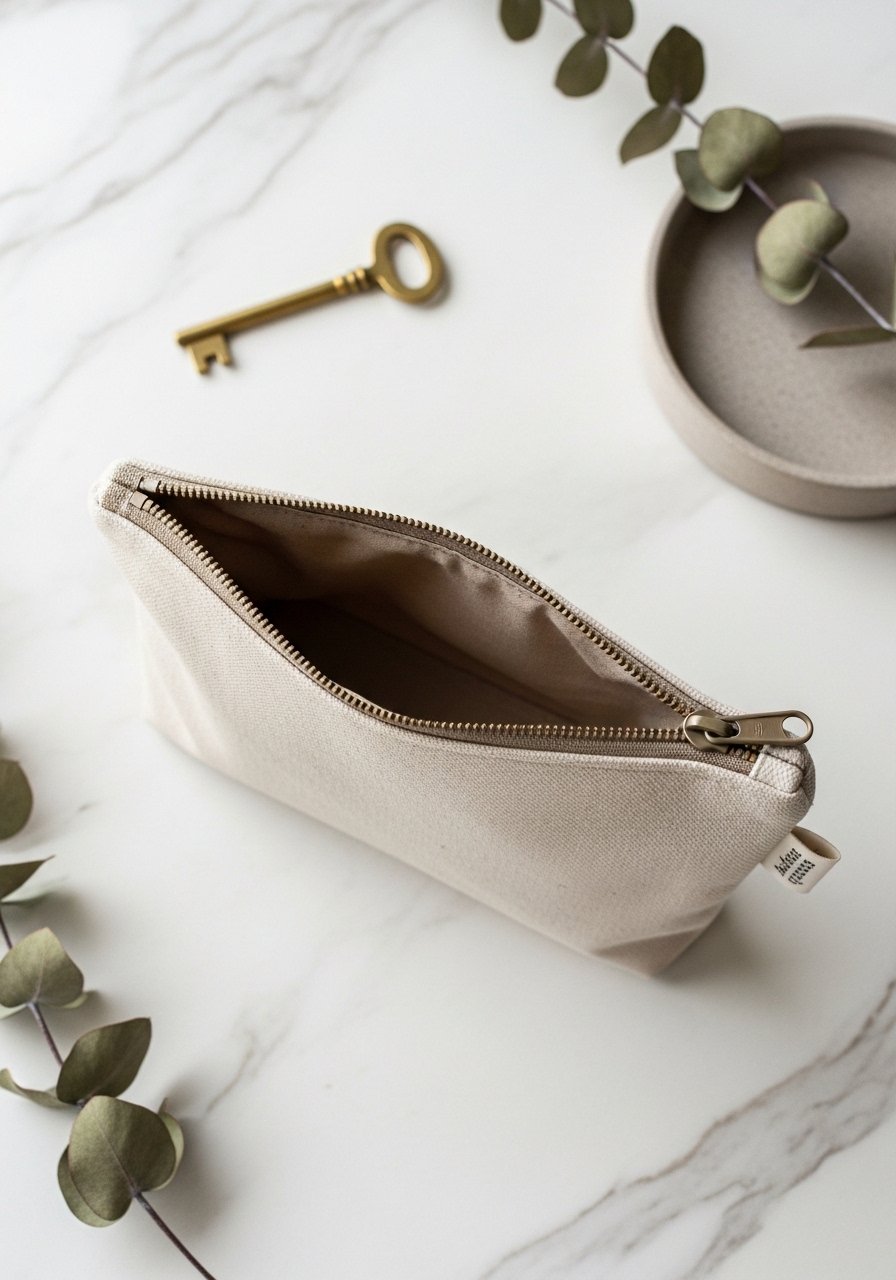
A zipper pouch teaches you lining, centering a zipper, and topstitching — foundational skills for many projects. Finished pouches are smooth, tactile, and excellent for gifts. Use canvas for structure or quilting cotton for a softer feel.
Materials
- Outer fabric: two 8" x 6" rectangles
- Lining fabric: two 8" x 6" rectangles
- 1/8" to 1/4" zipper, 8"
- Coordinating thread
- Pins or Wonder Clips
- Seam ripper (handy for zipper tweaks)
- Fabric scissors / rotary cutter
Instructions
- Place zipper face up; align one outer piece (right side down) along zipper, pin.
- Layer lining piece on top (right side up) to sandwich zipper; stitch with zipper foot.
- Repeat with the other side.
- Open zipper halfway; fold outer sides right sides together, lining right sides together, pin.
- Sew around edges with 1/4" seam allowance, leaving a 2" opening in lining.
- Turn pouch right side out through lining gap; press and topstitch near zipper for a clean finish.
- Hand-stitch lining gap closed with slip stitch.
How to Display or Gift It
- Fill with small treats and present in kraft gift wrap.
- Use a small wooden easel to display on a craft table or market stall.
- Make several as coordinating sets for travel or makeup.
- Simple Drawstring Project Bag
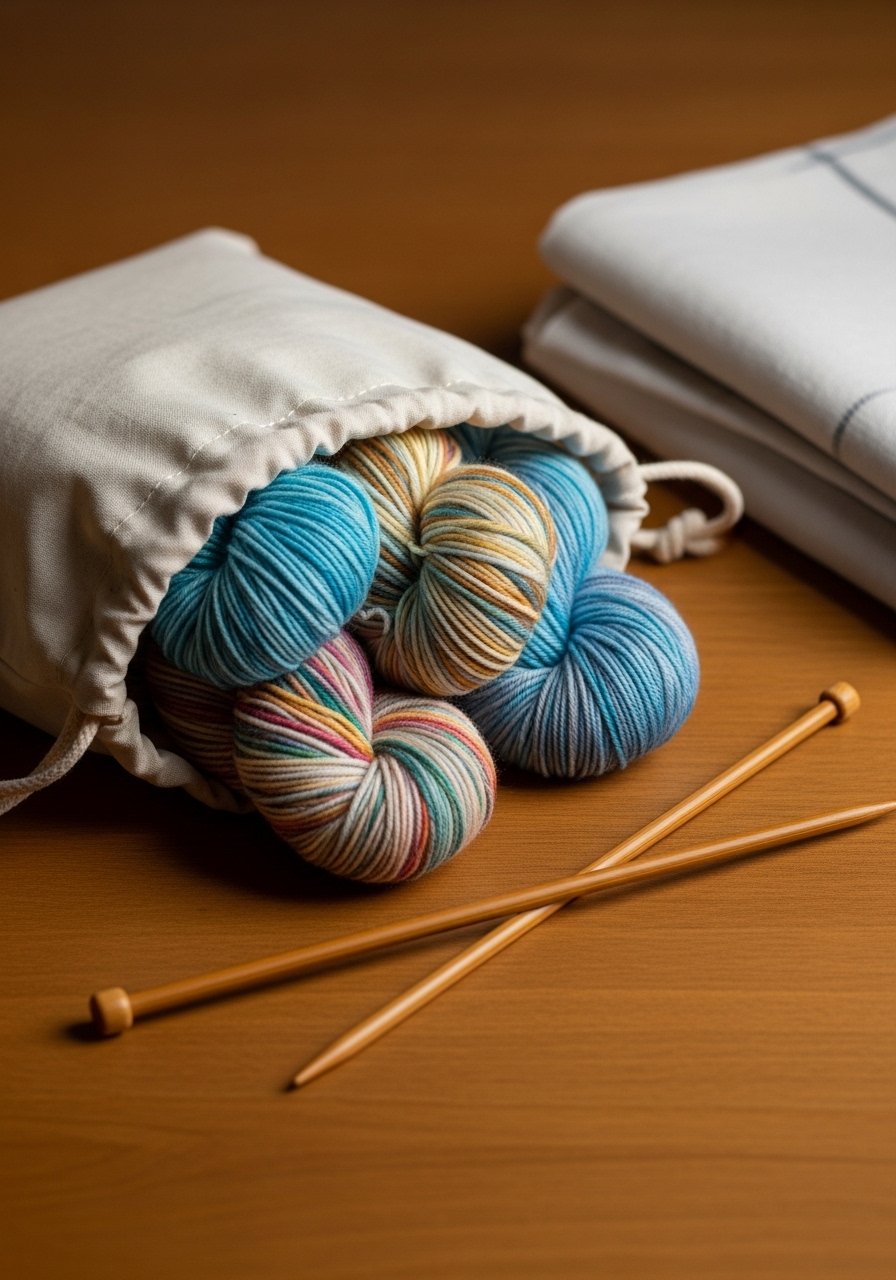
Drawstring bags are versatile for storage, gift wrap, or travel. They practice hemming and casing creation, and the finished fabric has a soft, handy texture. Great for beginners looking to sew something usable fast.
Materials
- Cotton fabric: 15" x 18"
- Bias tape or casing strip
- 1/4" cord or thin cotton rope, 40"
- Thread
- Pins
- Safety pin (for threading)
- Scissors / rotary cutter
Instructions
- Fold fabric right sides together along the long edge; sew 1/2" seam.
- Press seam open; fold down top edge 1/4", then 1" to create a casing; press and pin.
- Stitch casing close to raw edge, leaving a 1/2" gap to thread cord.
- Turn bag right side out.
- Attach safety pin to cord and thread through casing; knot both ends.
- Tie a decorative knot and trim cord if needed.
How to Display or Gift It
- Use as zero-waste gift wrap for bottles or baked goods.
- Stack small bags in a craft drawer; keep in a fabric storage box to stay organized.
- Add a wooden bead to the drawstring for a polished look.
- Fold-Over Tote Bag
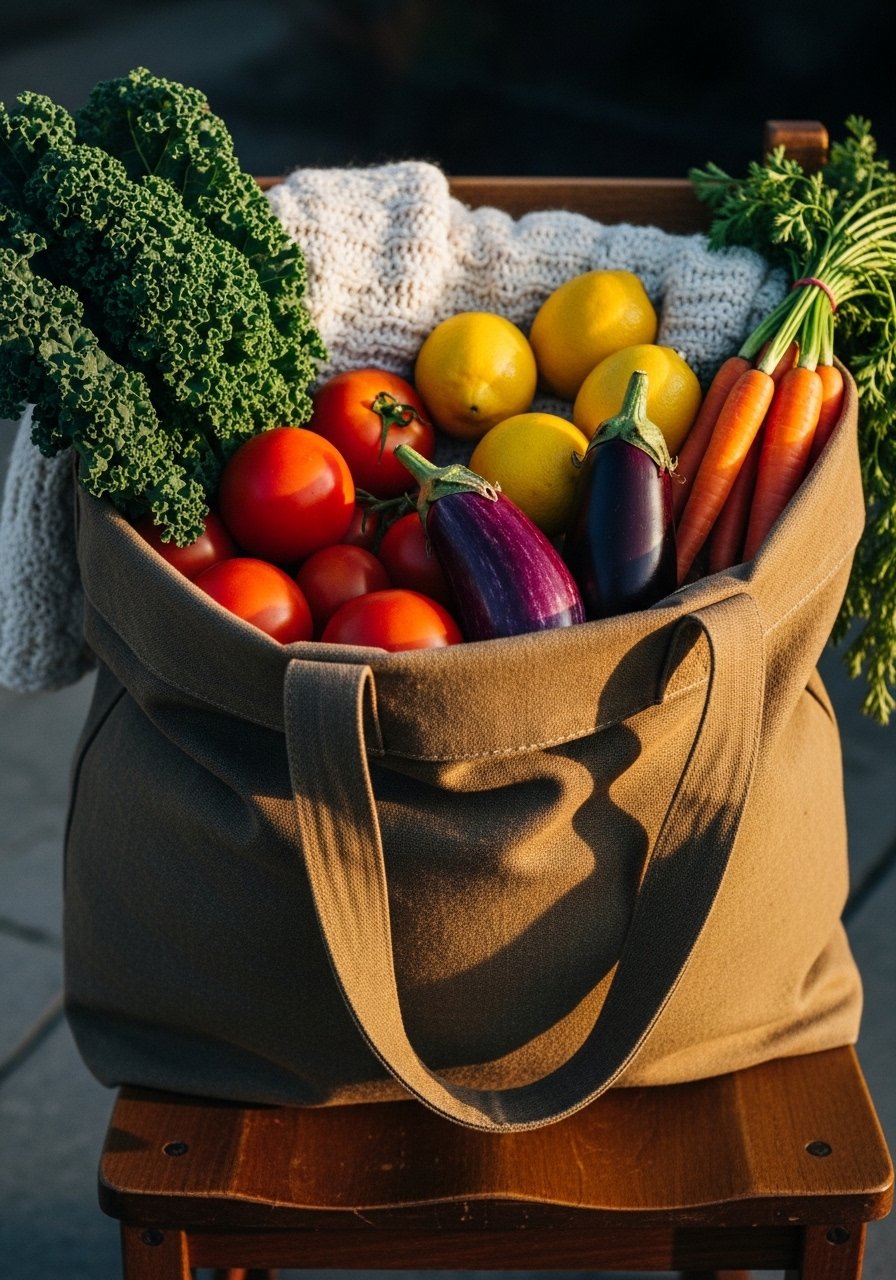
A fold-over tote introduces longer seams and boxed corners for depth. The sturdy canvas gives a tactile, structured feel. This bag is perfect for farmers’ market runs or as a beginner sewing portfolio piece.
Materials
- Canvas or duck cloth: 18" x 20" for body, 4" x 18" for strap
- Thread heavy-duty
- Interfacing (optional for heavyweight canvas)
- Pins or clips
- Measuring tape / ruler
- Scissors / rotary cutter
- Sewing machine with heavy-duty needle
Instructions
- Fold main fabric right sides together; sew side seams with 1/2" seam.
- To box the corners, flatten a corner so side seam and bottom seam align; measure 1.5" from tip, draw a line across, and stitch; trim excess.
- Turn right side out and press.
- Prepare strap: fold strap fabric lengthwise, press, stitch long edge, turn right side out, topstitch.
- Attach strap ends to bag top, reinforced with box stitch.
- Topstitch along bag opening for firmness.
How to Display or Gift It
- Fold and hang on a peg or display with a tag for markets.
- Fill with local produce and tie with twine for a gift.
- Store folded flat or roll and place in a craft organizer tray.
- Patchwork Placemats (Beginner Quilting)
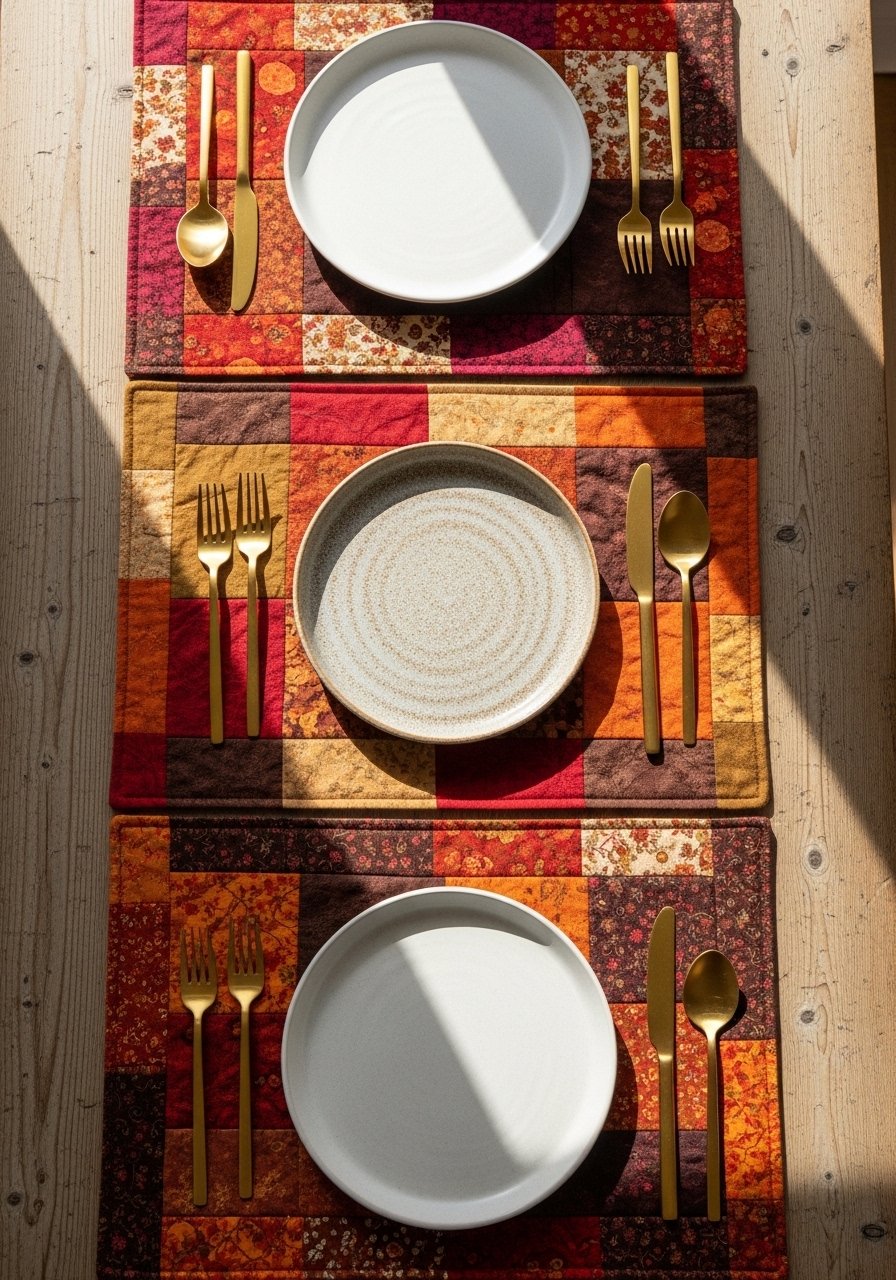
Patchwork placemats are forgiving and teach consistent seam allowances, cutting, and basic quilting. They add handcrafted charm to dining tables and are excellent for using up fabric scraps.
Materials
- Assorted cotton scraps totaling 18" x 12" per placemat
- Quilting cotton for backing, 18" x 12"
- Batting: 18" x 12"
- Coordinating thread
- Rotary cutter and quilting ruler
- Pins or quilting clips
- Iron
Instructions
- Cut fabric scraps into consistent strips (e.g., 2" x 6") and sew together into a patchwork panel slightly larger than 18" x 12", using 1/4" seams.
- Trim panel to exact 18" x 12".
- Layer right side up (top), batting, and backing (right side down). Pin or baste.
- Quilt with straight lines 1" apart or simple free-motion if confident.
- Trim edges and bind using bias binding: attach, miter corners, and stitch.
- Press and finish with topstitching.
How to Display or Gift It
- Set a table with matching napkins for seasonal decor.
- Stack placemats tied in ribbon for hostess gifts.
- Store flat in a fabric storage box to prevent creases.
- Easy Sewing Projects for Beginners: Fabric Napkins
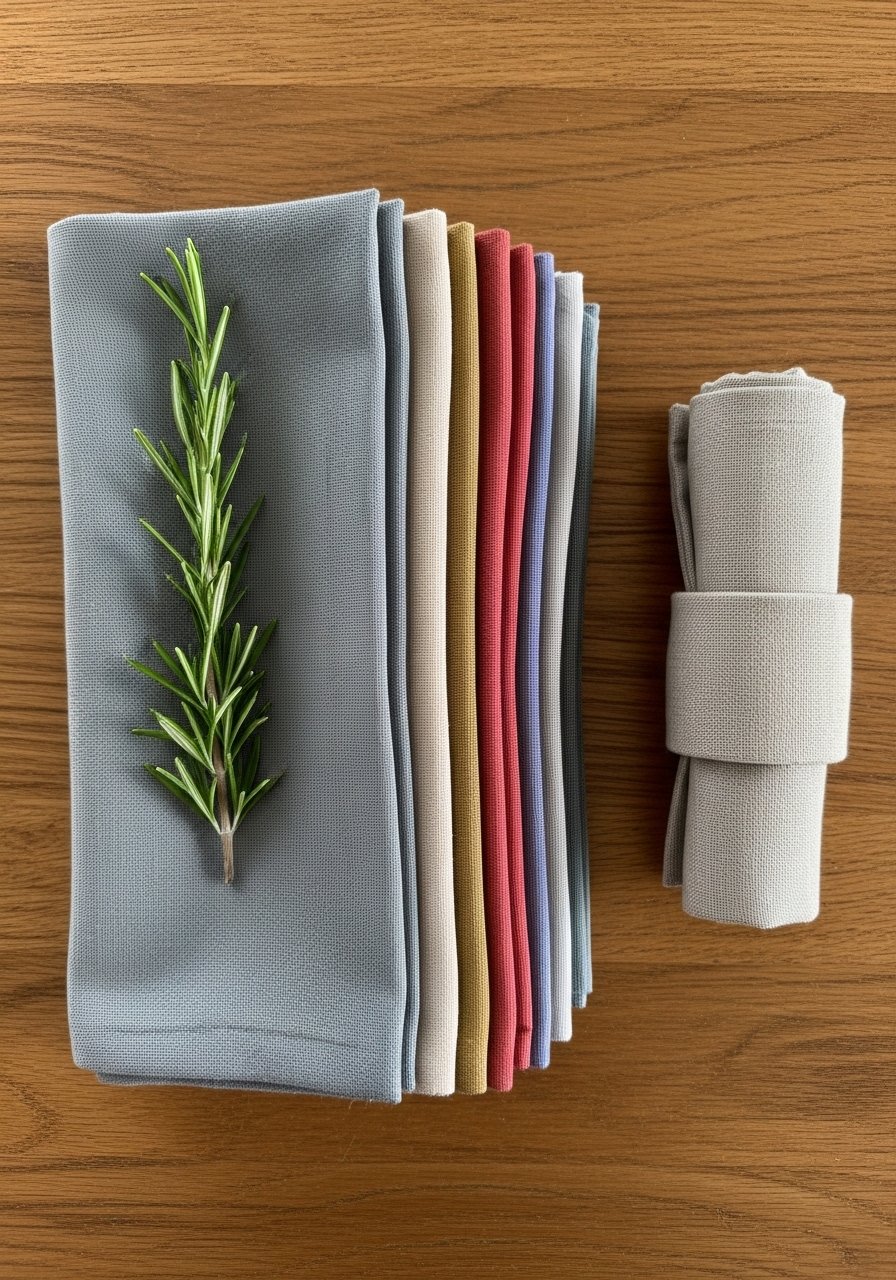
Fabric napkins teach crisp hems and give an instant handmade touch to dining. They’re fast to stitch and make practical, thoughtful gifts. Use linen or cotton for lovely drape.
Materials
- Fabric: 4 fat quarters or 18" x 18" squares (prewash)
- Coordinating thread
- Fabric scissors or rotary cutter
- Iron
- Pins
- Measuring ruler
- Topstitching needle or machine
Instructions
- Cut squares to 18" x 18" after prewashing for shrinkage.
- Fold edges 1/4" then 1/4", press to encase raw edge.
- Pin and topstitch close to the inner folded edge.
- Repeat for all four sides, pivoting at corners for neatness.
- Press final napkin and trim loose threads.
- Stack evenly for gifting.
How to Display or Gift It
- Tie napkins in sets with twine and a rosemary sprig.
- Pair with a set of cloth napkin rings for hostess gifts.
- Store flat in a drawer or roll and place in a basket.
- Quick Potholders with Insulating Batting
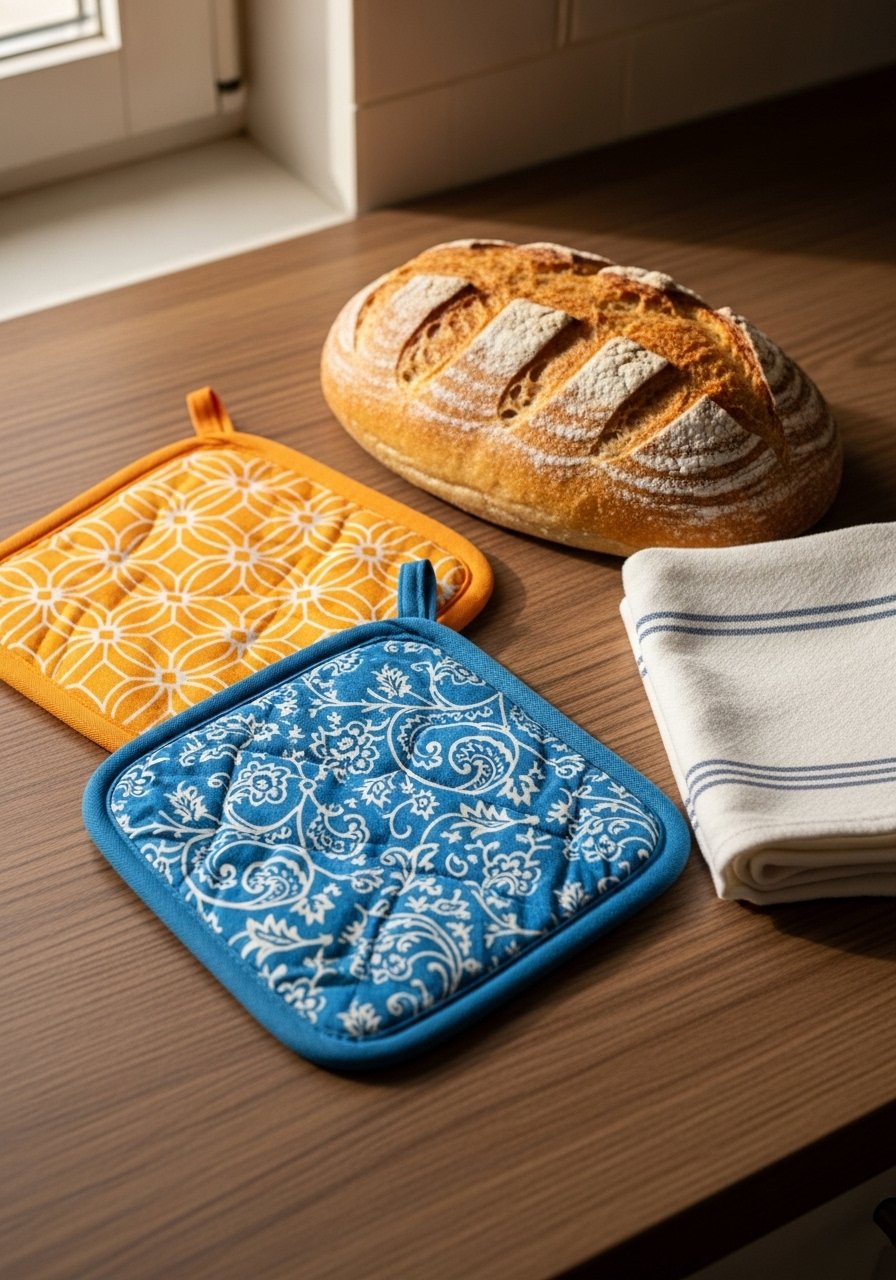
Potholders teach layering, quilting, and working with Insul-Bright batting for heat resistance. They’re tactile and practical — whip up several to match your kitchen aesthetic.
Materials
- Outer fabric: two 9" x 9" squares
- Insul-Bright batting: 9" x 9"
- Cotton batting (optional): 9" x 9"
- Bias trim or binding
- Thread
- Pins or clips
- Rotary cutter / ruler
Instructions
- Layer one outer fabric (right side up), Insul-Bright, optional cotton batting, then lining (right side down).
- Quilt lines across the square 1" apart.
- Trim to 9" x 9".
- Attach bias binding or trim: align, stitch, miter corners and finish.
- Add a hanging loop by folding a fabric strip, stitching to corner before binding.
- Give a final press; Insul-Bright remains firm but pliable.
How to Display or Gift It
- Hang on a wall hook for kitchen decor.
- Bundle in sets with woven tea towels and present in a kraft gift box.
- Store flat in a utensil drawer or hang on a pegboard.
- Simple Elastic-Waist Skirt
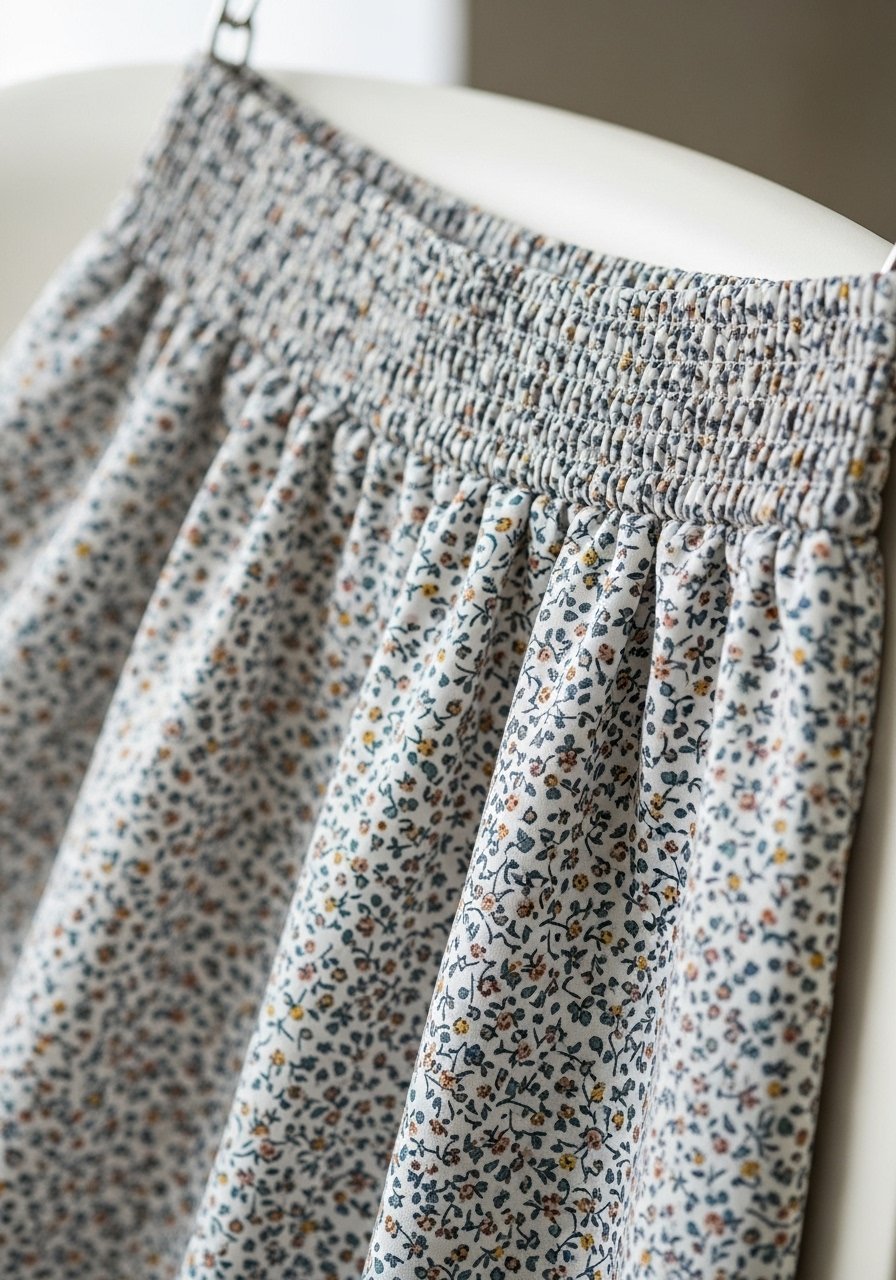
An elastic-waist skirt is a beginner’s garment introducing gathering and casing. It feels airy and comfortable — a quick wardrobe win that suits boho and cottagecore aesthetics.
Materials
- Lightweight cotton: 2 yards for knee-length skirt (adjust length)
- 1" elastic, length equal to waist minus 2" (measure)
- Coordinating thread
- Pins
- Measuring tape / ruler
- Sewing machine and universal needle
- Safety pin
Instructions
- Measure waist and desired length. Cut fabric widthwise so the length becomes the skirt’s panel; use fabric width for fullness.
- Hem bottom by folding 1/4" then 1/2", press and stitch.
- Fold top edge 1/4" then 1.25" to create a casing for 1" elastic; stitch leaving a 2" gap to insert elastic.
- Attach safety pin to elastic and thread through casing; overlap elastic ends by 1" and machine stitch securely.
- Stitch casing gap closed and distribute gathers evenly.
- Give a final press for neatness.
How to Display or Gift It
- Pair with a simple tee and ankle boots for a seasonal capsule.
- Gift in a tissue-lined box with a fabric belt.
- Store folded in a garment bag or on a hanger with padded hangers.
- Easy Block-Style Baby Bib
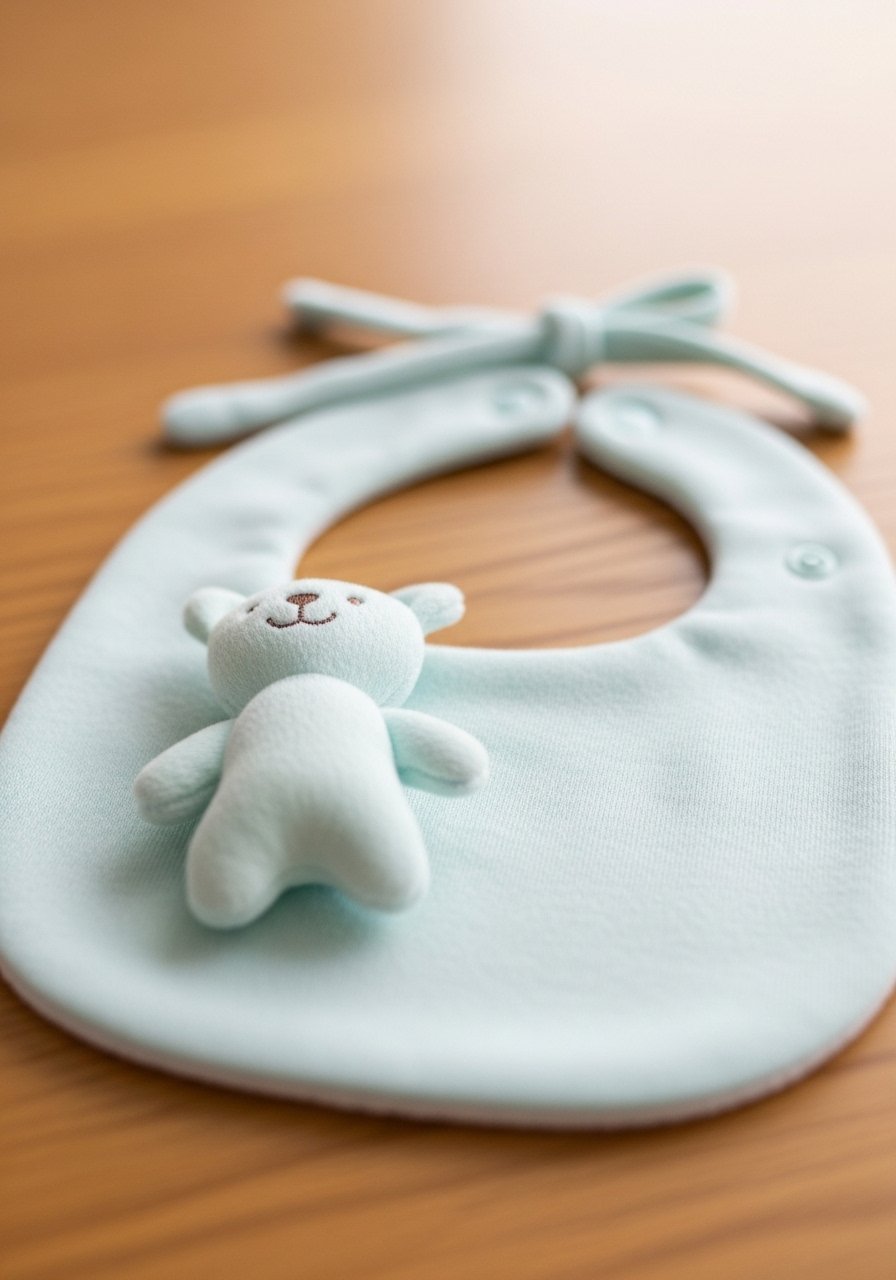
A baby bib builds small-seam skills and topstitching. It’s soft, washable, and allows for adorable fabric choices. Perfect for quick gifting for baby showers.
Materials
- Outer cotton: 10" x 8" per bib (approx)
- Terry cloth or flannel backing: 10" x 8"
- Bias tape for edging or snap closures (two)
- Thread
- Pins
- Scissors
- Sewing machine
Instructions
- Cut outer and backing pieces to the same rounded bib shape (use a simple template).
- Place right sides together; stitch around leaving neck opening.
- Clip curves and turn right side out.
- Topstitch around edge to secure and shape.
- Attach snaps with a snap tool or sew ties to finish.
- Press and check seams for durability.
How to Display or Gift It
- Stack bibs and tie with ribbon in a gift basket.
- Pair with a small plush and package in a kraft gift box for showers.
- Store in a drawer organizer for easy grabbing.
- Magnetic Needle Book and Pincushion
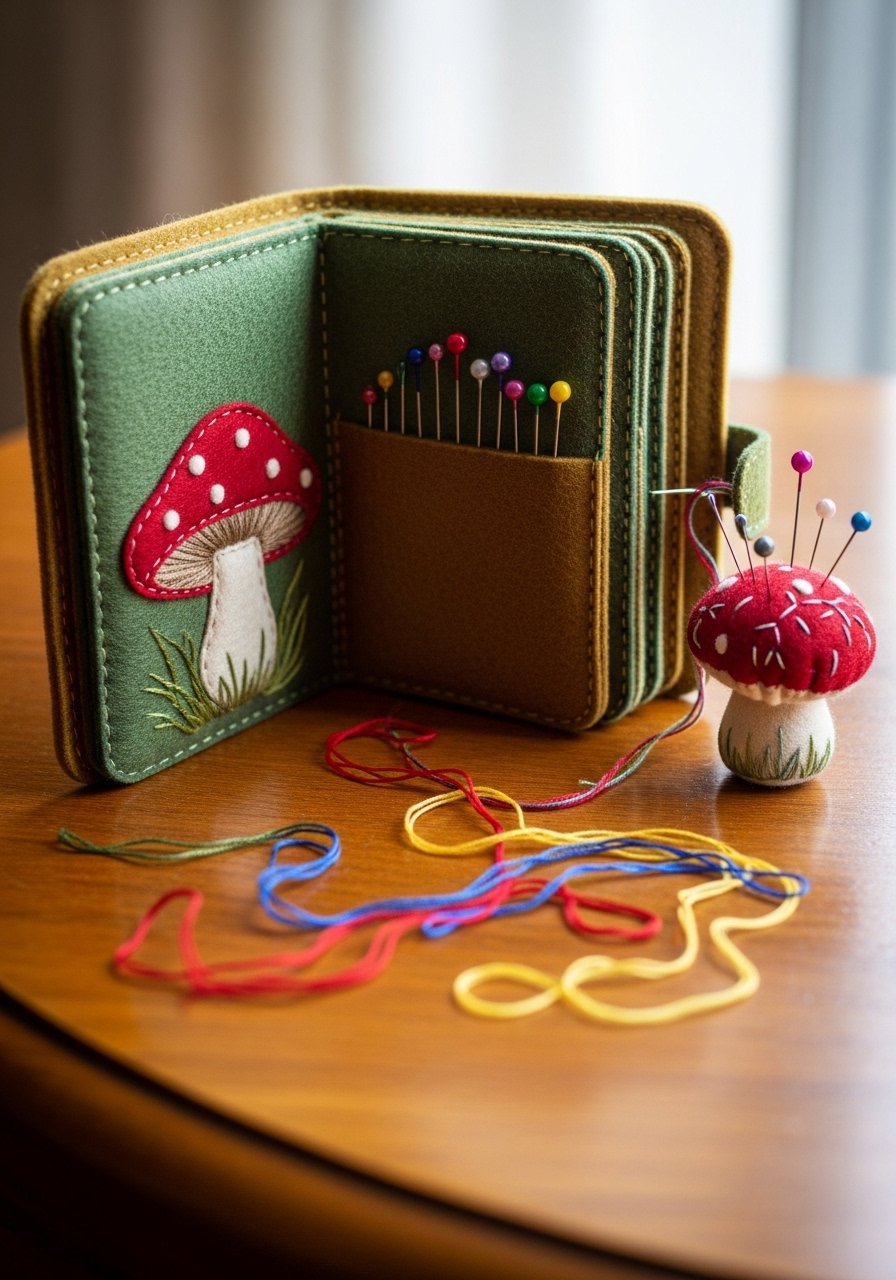
This tiny project is great for hand-sewing practice and gives neat storage for needles and straight pins. The added magnet or felt pocket keeps everything tidy.
Materials
- Felt sheets: two 4" x 6"
- Small magnet (disc) or extra felt for interior pages
- Embroidery floss
- Needles / pins
- Scissors
- Glue (fabric glue) for interior magnet
- Needle and thread for hand-stitching
Instructions
- Cut felt to desired book size and interior pages.
- If using a magnet, glue it inside the cover using fabric glue; allow 24 hours to cure.
- Stack pages and whipstitch the spine with embroidery floss.
- Add a small pin cushion by stuffing a felt circle and stitching closed.
- Attach the pincushion on the inside cover or keep as a separate piece.
- Embellish with simple embroidery for personality.
How to Display or Gift It
- Keep in a small sewing kit or gift with a beginner needle set.
- Store on a shelf or inside a craft organizer tray.
- Make matching sets with fabric-covered scissor fobs.
- Simple Phone Sleeve (Padded)
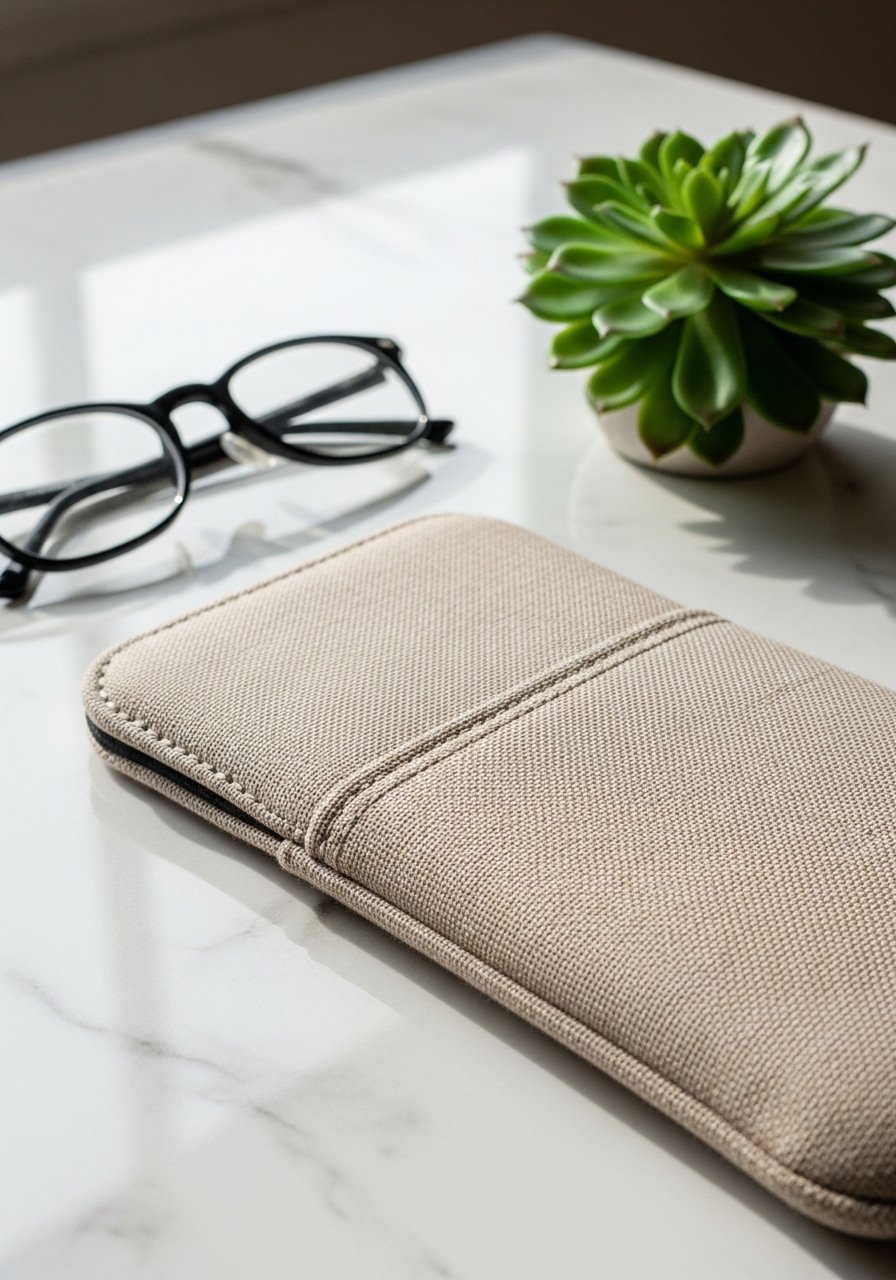
A padded phone sleeve teaches working with batting and topstitching. It’s sleek in every fabric and protects devices from scratches.
Materials
- Outer fabric: 9" x 6"
- Lining fabric: 9" x 6"
- Thin batting: 9" x 6"
- Thread
- Pins
- Sewing machine
- Scissors / rotary cutter
Instructions
- Stack outer (right side up), batting, and lining (right side down) and quilt with simple stitch lines.
- Trim to final 8.5" x 5.5" for snug fit.
- Fold in half widthwise; stitch sides with 1/4" seam.
- Turn right side out through opening; topstitch along opening.
- Consider adding a magnetic snap or button closure; attach per instructions.
- Press and test fit with phone.
How to Display or Gift It
- Pair with a charging cord tied in twine and give as a tech gift.
- Store in a drawer or bag organizer.
- Gift in a small fabric gift bag.
- Reusable Sandwich Wraps (Fabric + Snap)
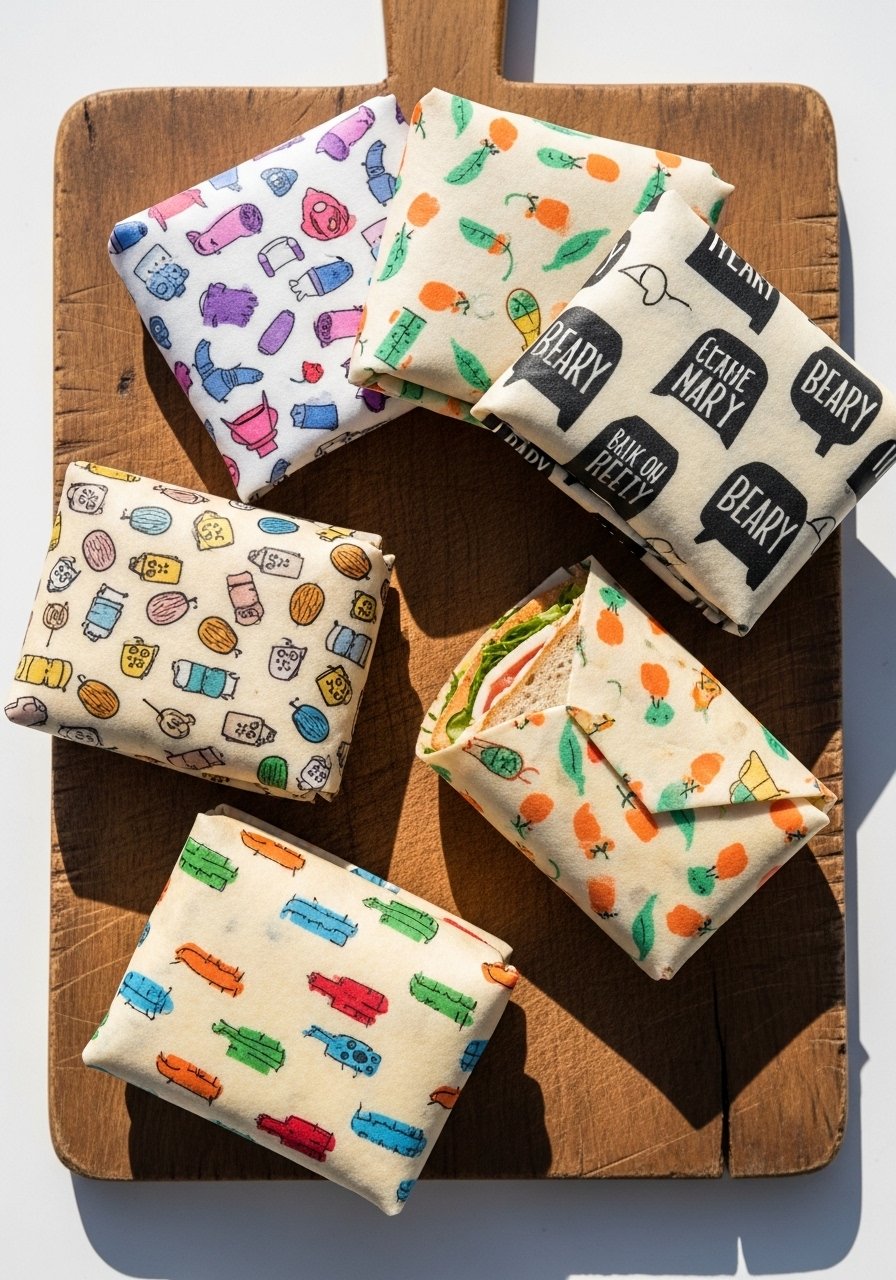
Reusable wraps cut down waste and are easy to sew. Use cotton with a food-safe coating or add wipeable laminate for spills. Snaps make them handy for kids.
Materials
- Cotton fabric: 12" x 12"
- PUL or wipeable laminate: 12" x 12" (optional)
- Bias binding
- Snaps (2 per wrap)
- Thread
- Sewing machine
- Scissors / rotary cutter
Instructions
- Layer outer fabric (right side down), PUL (if used), and backing.
- Bind edges with bias tape, folding and stitching securely.
- Install snaps at opposite ends so wrap folds and snaps closed.
- Test for secure closure and wipe clean per PUL instructions.
- If not using PUL, recommend hand-wash and air dry; expect drying time ~24 hours.
- Make a few in different prints for lunch rotations.
How to Display or Gift It
- Bundle a set with a reusable cutlery set and deliver in a kraft box.
- Store flat in a kitchen drawer or lunch tote.
- Label for school lunches or picnics.
- Simple Eye Mask (Sleep Mask)
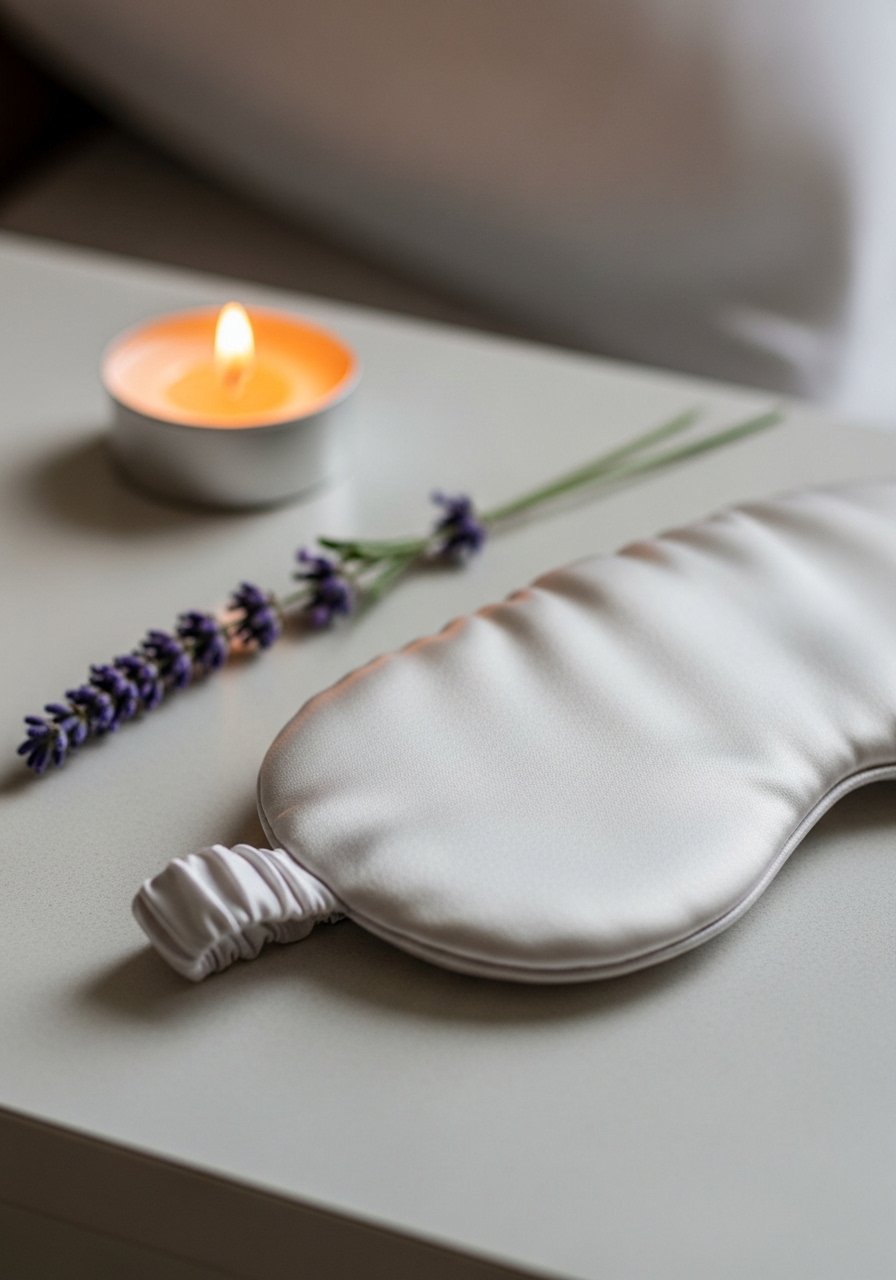
A sleep mask is gentle on the skin and easy to make, combining curved seams and elastic attachment. Choose silk for luxe feel or cotton for breathability.
Materials
- Outer fabric: 8" x 4" curved template
- Lining fabric: same size
- Thin batting: one piece
- 1/4" elastic, 12"
- Thread
- Pins
- Scissors
Instructions
- Cut outer, lining, and batting using a template.
- Layer outer (right side down), batting, and lining (right side up); stitch around leaving small gap.
- Clip curves and turn right side out.
- Insert elastic ends into sides and stitch securely, reinforcing with bar tack stitches.
- Close turning gap with ladder stitch and press gently.
- Test for comfort and adjust elastic length if needed.
How to Display or Gift It
- Pair with lavender sachets and gift in a small kraft box.
- Store on a bedside tray or in a drawer organizer.
- Make matching sets with pillowcases.
- Simple Kids’ Drawstring Backpack
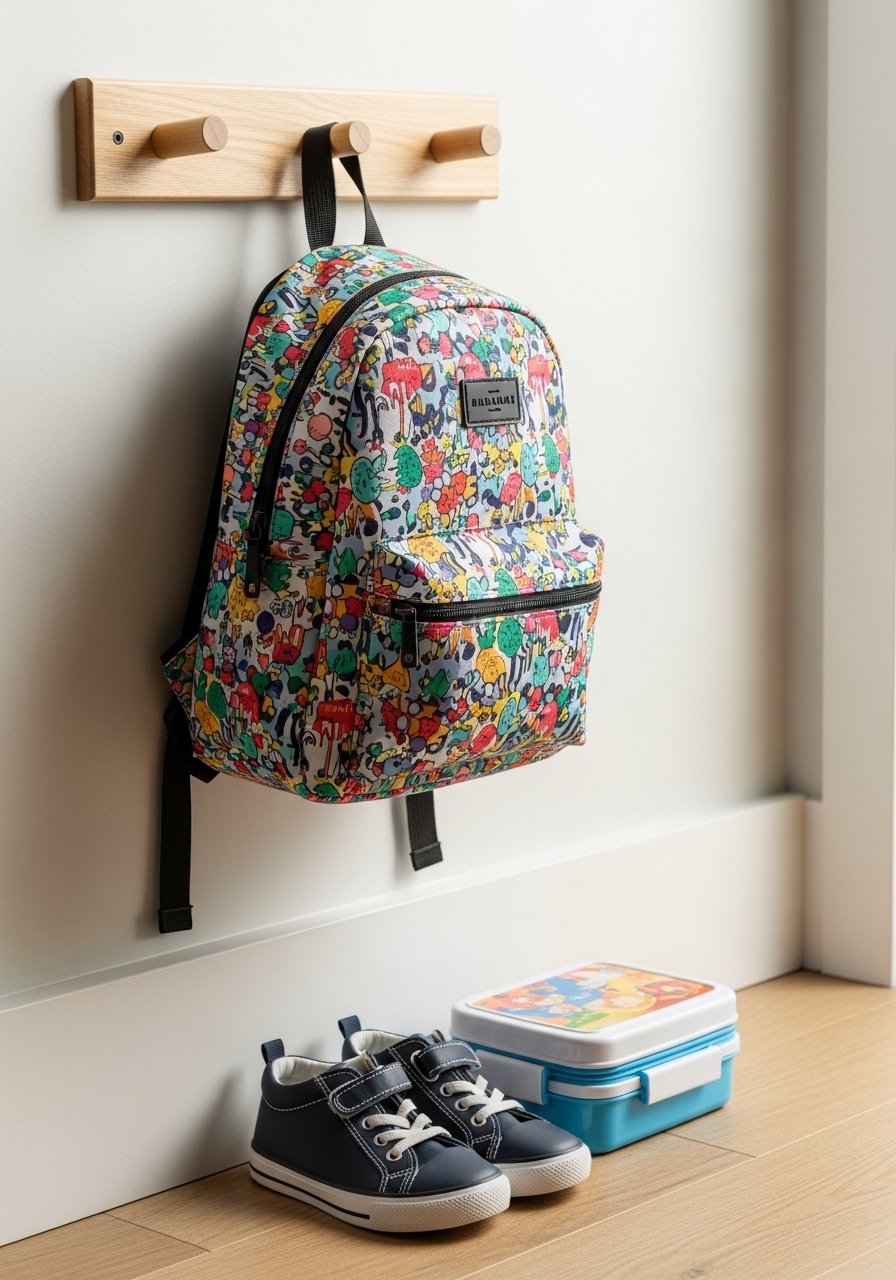
A child-sized drawstring backpack is durable and quick. It’s great for practice with reinforced seams and casing, and kids enjoy choosing prints.
Materials
- Fabric: 14" x 16"
- 1/4" cord, 60"
- Thread
- Pins
- Safety pin
- Scissors / rotary cutter
- Sewing machine
Instructions
- Fold fabric lengthwise and sew side seam with 1/2" seam allowance.
- Hem top edge and fold 1" to make casing; stitch leaving a small gap.
- Turn bag right side out.
- Thread cord through casing using a safety pin, creating two loops that act as straps.
- Knot cord ends and reinforce with a few hand stitches.
- Test load-bearing and reinforce corners if packing heavy items.
How to Display or Gift It
- Fill with activity supplies for a small birthday gift.
- Hang on a peg rack for quick grab-and-go.
- Store in a cubby or label with a fabric tag.
- Simple Fabric Headband (Knotted or Twisted)
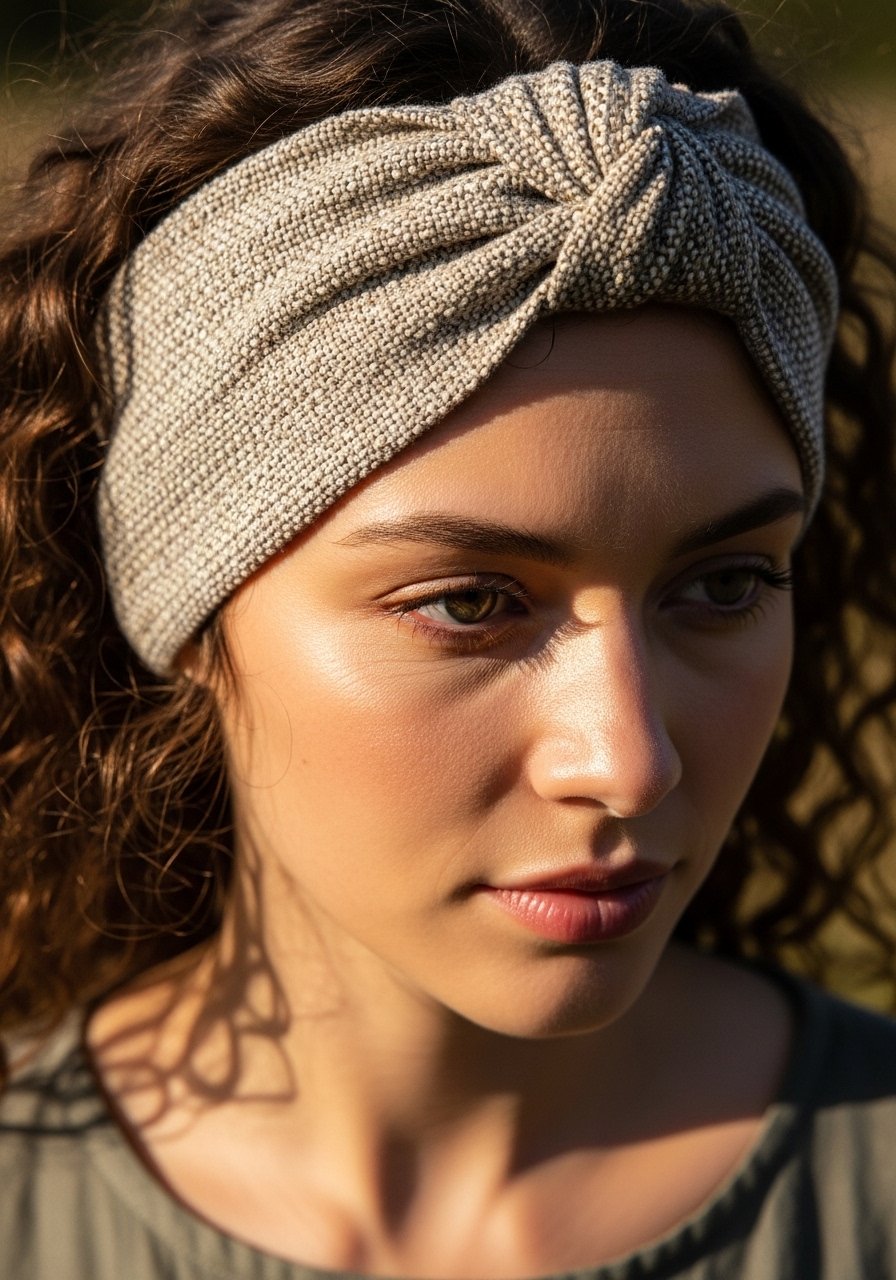
Headbands are a fast win, introducing curves and hand-finishing. They feel comfortable and can be styled for casual or dressy looks depending on fabric.
Materials
- Fabric strip: 22" x 4" for knotted, adjust for thickness
- Interfacing (optional)
- Elastic small piece if using back elastic
- Thread
- Pins
- Scissors
Instructions
- Fold fabric lengthwise, stitch long edge and turn right side out.
- Tuck ends into a short tube and hand-stitch or topstitch to close.
- For knotted style, twist center and secure with a few hand stitches.
- Optionally insert a short elastic at inner back for snug fit and stitch closed.
- Press gently and trim stray threads.
- Try different fabrics for seasons.
How to Display or Gift It
- Present in a small fabric gift bag.
- Store on a headband stand or in a drawer organizer.
- Make a set to match outfits or moods.
- Simple Wine Bottle Gift Bag
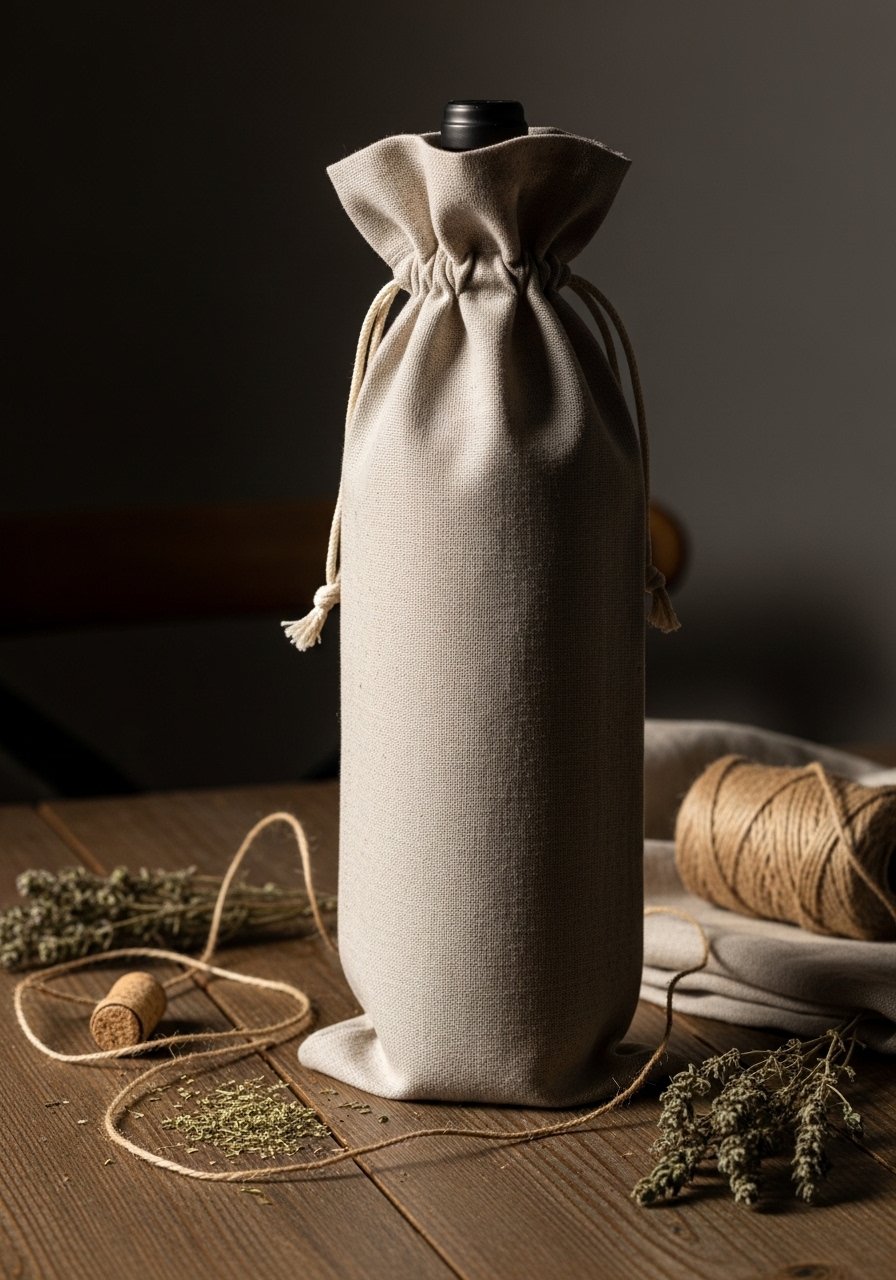
Wine gift bags sew quickly and add a thoughtful touch to celebrations. They teach vertical seams and finishing hems.
Materials
- Fabric: 10" x 16"
- Thread
- Pins
- Ribbon or cord for tie, 24"
- Scissors
- Sewing machine
Instructions
- Fold fabric right sides together along long edge; stitch 1/2" seam.
- Hem top edge by folding 1/4" then 1/2".
- Turn right side out and press.
- Fold top down and stitch to create decorative cuff if desired.
- Thread ribbon through top with a safety pin and tie around bottle neck.
- Make a set for party gifts.
How to Display or Gift It
- Add a sprig of dried herbs and a gift tag.
- Use a kraft tag set for personal messages.
- Store flat and reuse with care.
- Easy sewing projects for beginners: Fabric Coasters
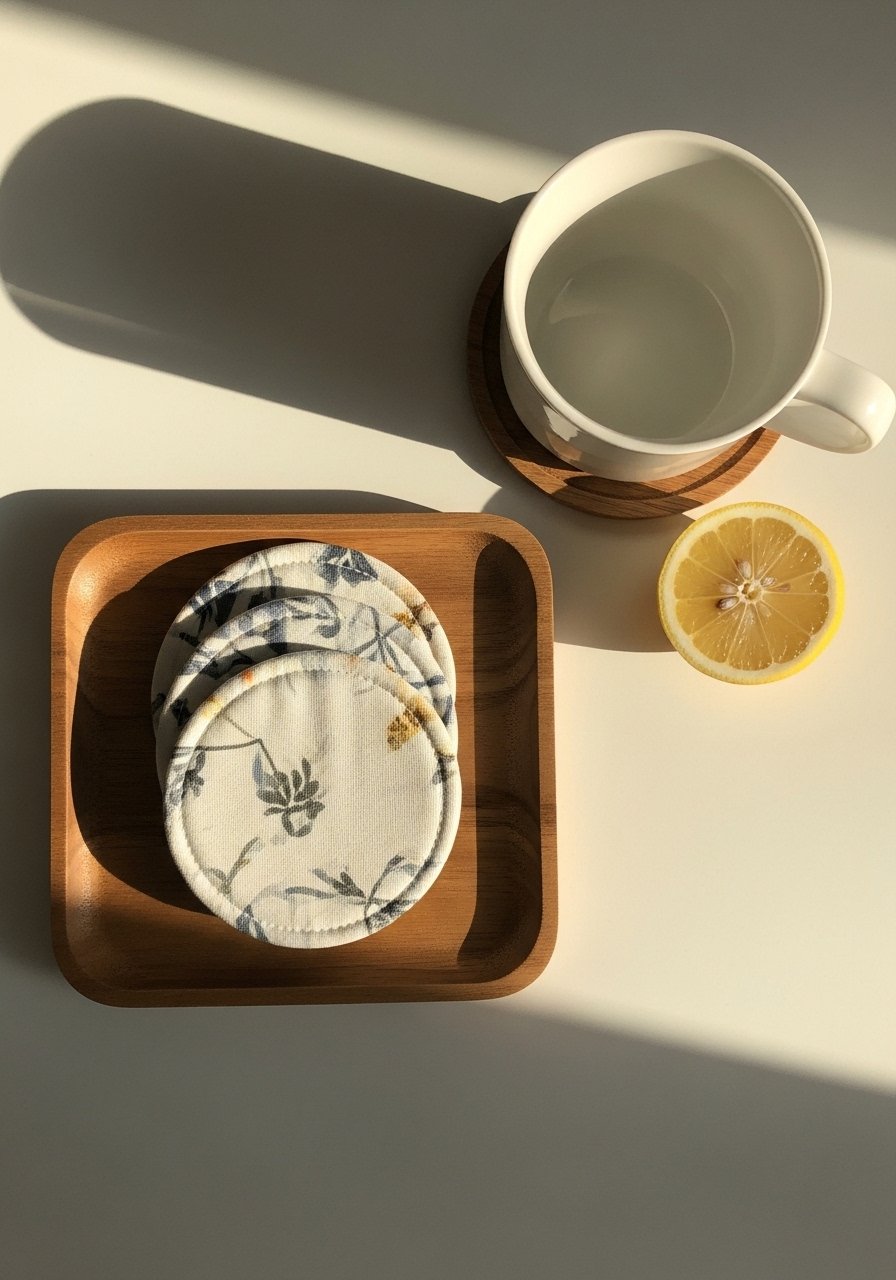
Coasters are tiny projects that reinforce circle cutting, interfacing use, and topstitching. They feel smooth and practical, perfect for gifting sets.
Materials
- Fabric: 4" diameter circles, two per coaster
- Fusible interfacing: same size
- Thread
- Rotary cutter and circle template
- Pins
- Sewing machine
Instructions
- Cut two fabric circles and one interfacing circle per coaster.
- Fuse interfacing to one fabric circle per manufacturer instructions (press for ~10 seconds).
- Sandwich circles right sides together and sew around with 1/4" seam, leaving a small gap.
- Clip seam allowance curves carefully, turn right side out, and press.
- Topstitch around edge to close gap and add finished look.
- Make a set of four or six with coordinating prints.
How to Display or Gift It
- Stack coasters and tie with twine or place in a small wooden tray.
- Add a matching mug for a cozy gift.
- Wash on gentle cycle if using cotton.
- Simple Fabric Bookmark with Tassel
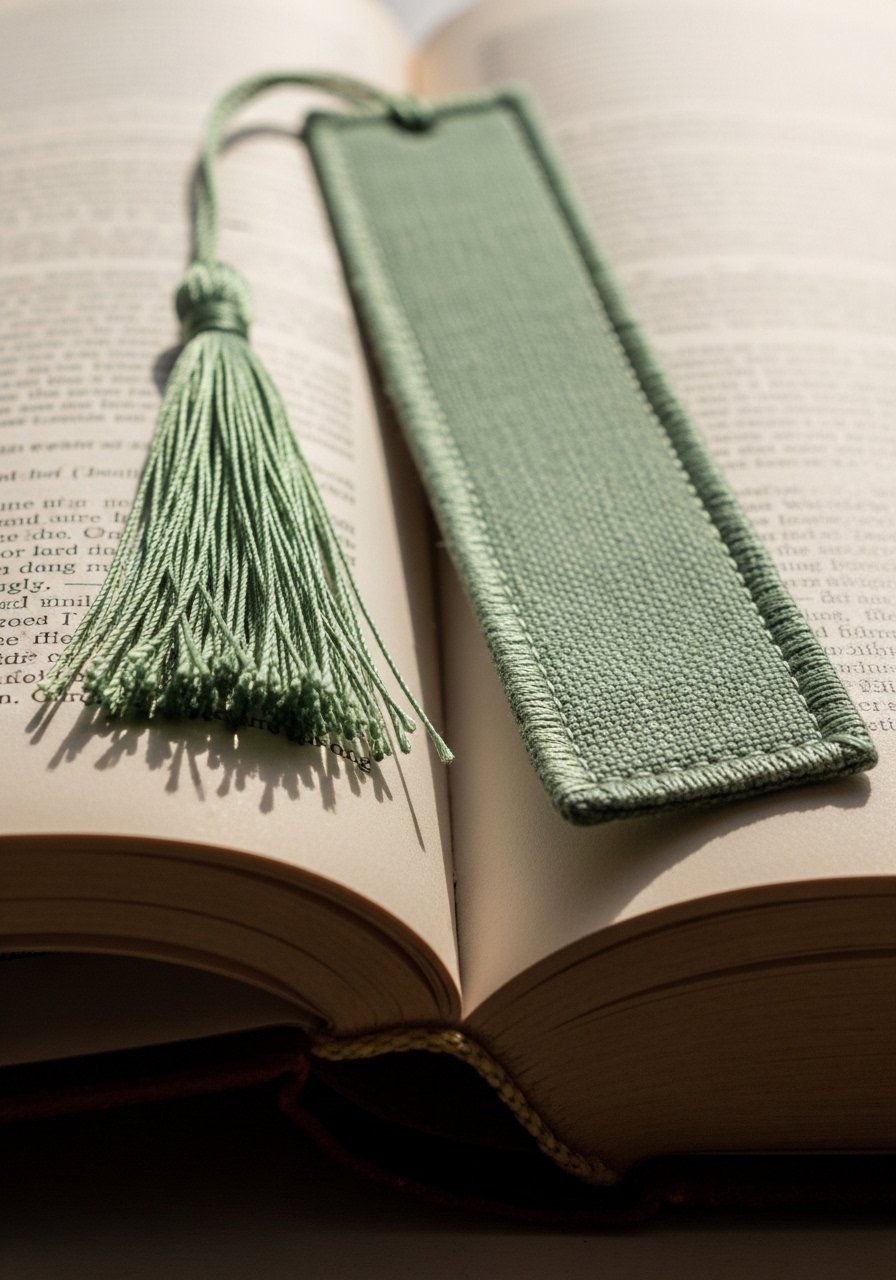
Bookmarks make quick gifts and teach narrow seams and topstitching. They feel soft in hand and are a lovely use of scrap fabric.
Materials
- Fabric strip: 7" x 2"
- Interfacing small piece
- Embroidery floss for tassel
- Thread
- Scissors
- Sewing machine or hand-sewing needle
Instructions
- Fuse interfacing to one side of the strip.
- Fold strip lengthwise, stitch long edge, turn right side out.
- Press flat and topstitch close to edge for neatness.
- Make a small tassel with embroidery floss and attach to end.
- Trim and tidy threads.
- Make a batch for book-loving friends.
How to Display or Gift It
- Slip bookmarks into books and wrap for gifting.
- Store in a small craft organizer tray.
- Personalize with stamped kraft tags.
- Simple Kids’ Stuffed Toy (Flat Animal)
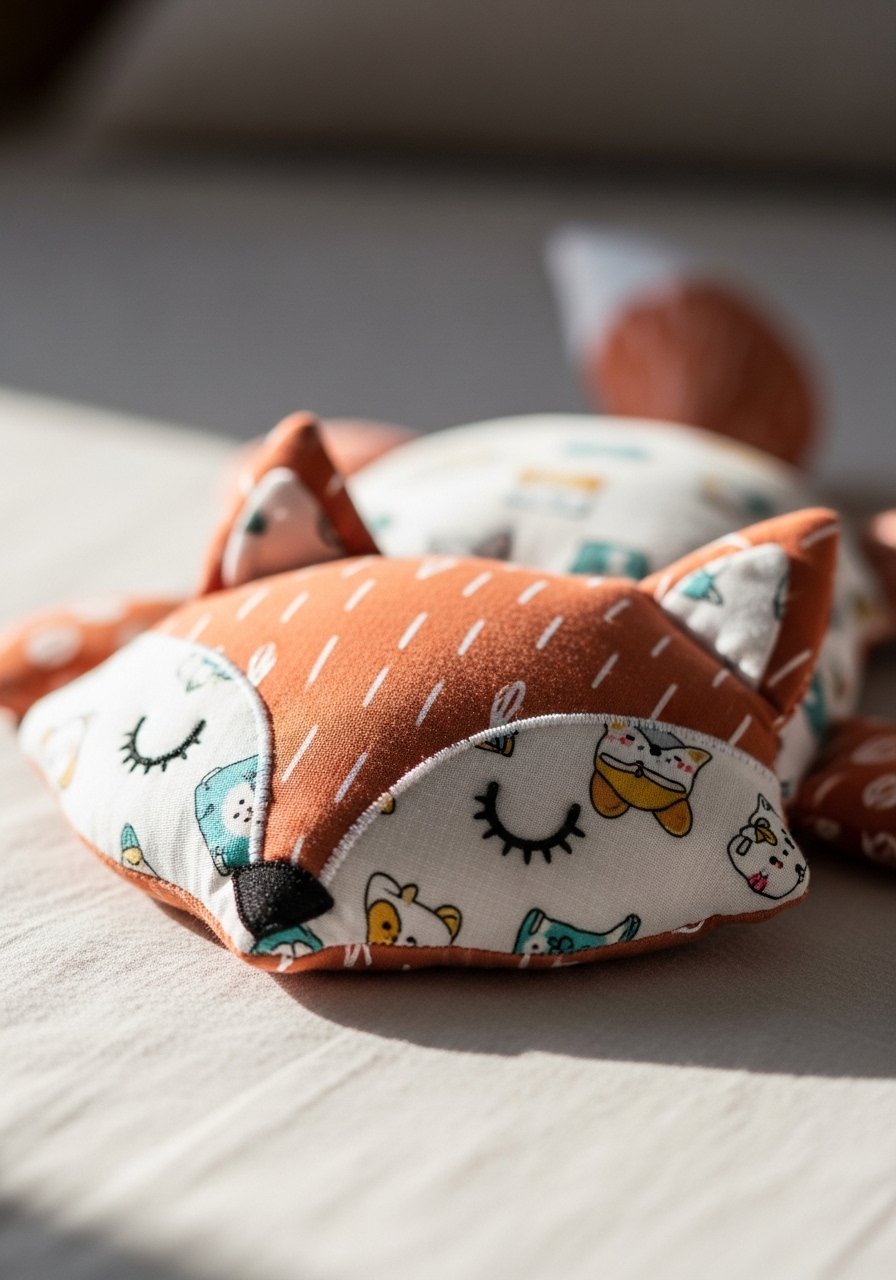
Flat stuffed toys are great for beginner stitching and simple shaping. They feel soft and personal and are excellent for beginner hand-stitching practice.
Materials
- Outer fabric: two cutouts of animal shape
- Stuffing: polyester fiberfill, small amount
- Thread
- Pins
- Embroidery floss for facial features
- Needle
- Scissors
Instructions
- Cut two identical shapes; place right sides together and pin.
- Sew around edges with 1/4" seam, leaving a small gap for stuffing.
- Clip curves and turn right side out.
- Stuff lightly and hand-stitch gap closed.
- Add embroidered eyes, nose, or simple appliqué details.
- Test seams and tidy threads.
How to Display or Gift It
- Tuck a toy into a gift box with a coordinating blanket.
- Store on a nursery shelf or in a fabric storage bin.
- Make small versions as stocking stuffers.
- Simple Apron with Pocket
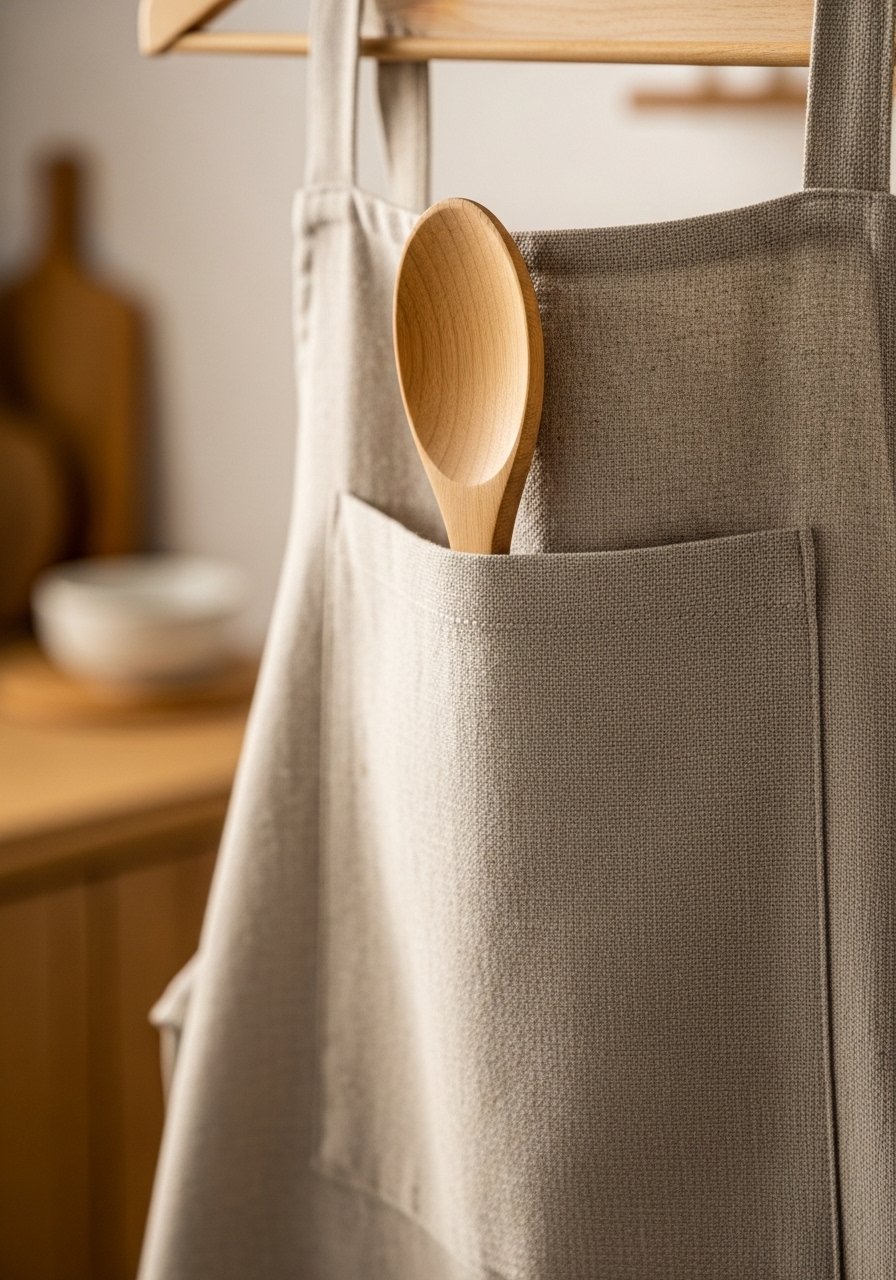
A basic apron teaches large pieces, topstitching, and pocket placement. It feels homey and protective — great for cooking or crafting.
Materials
- Fabric: 1 yard lightweight canvas or linen
- Thread
- Strap fabric: 2" x 30" for neck and waist ties
- Pins
- Scissors
- Sewing machine
Instructions
- Cut apron body about 24" x 28" (adjust length).
- Hem edges by folding 1/4" then 1/2" and stitching.
- Create straps by folding and stitching long strips; attach to apron top corners and sides, backstitching for strength.
- Sew a pocket 8" x 8", hem top edge, and stitch onto apron front.
- Topstitch around straps and pocket for reinforcement.
- Press and adjust straps for comfortable fit.
How to Display or Gift It
- Pair with wooden spoons and wrap in craft gift wrap.
- Hang on a peg rack for kitchen decor.
- Make matching child/adult sets.
- Simple Linen Tea Towel with Appliqué
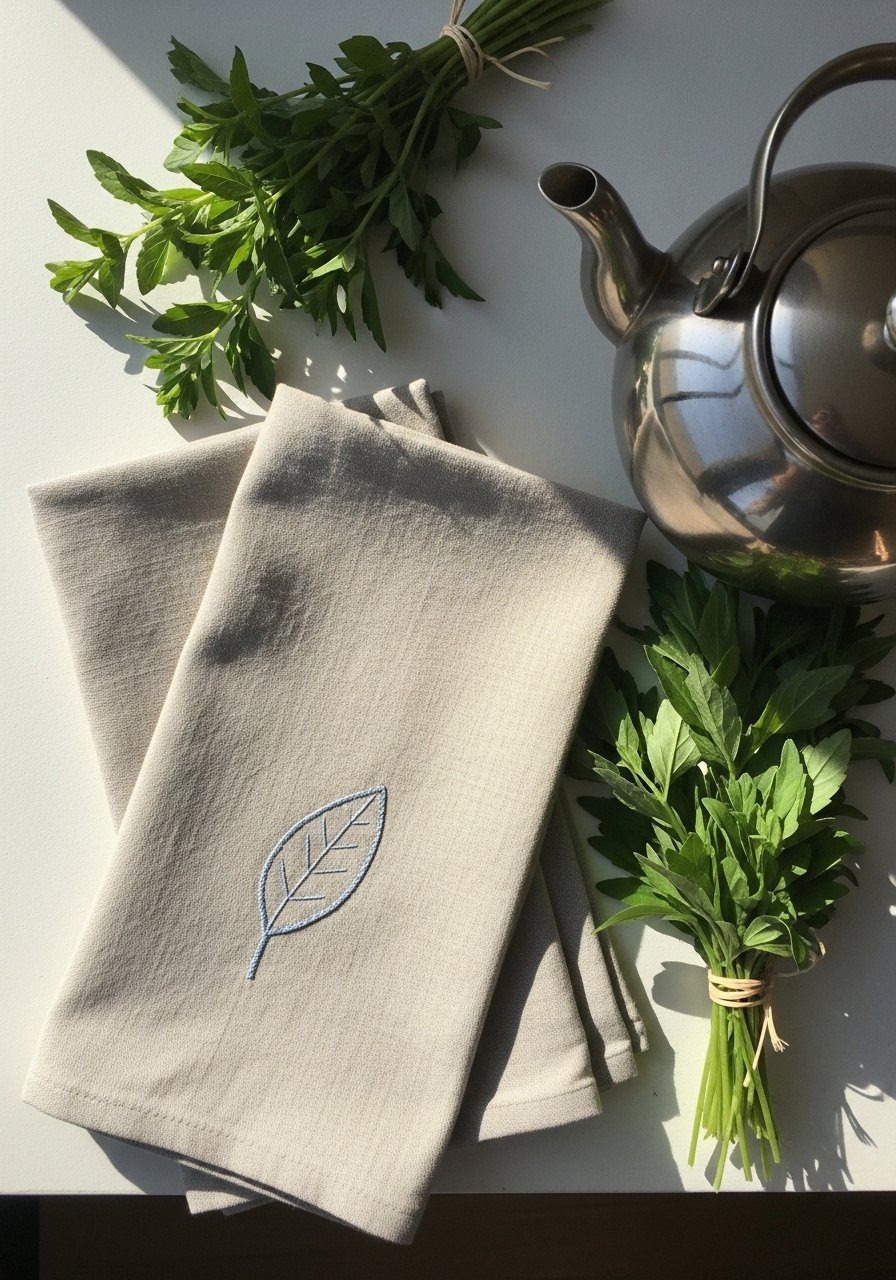
Tea towels let you practice appliqué and decorative stitching. Linen offers a tactile, slightly rustic finish that suits farmhouse and japandi aesthetics.
Materials
- Linen or cotton tea towel, 18" x 28"
- Appliqué fabric scraps
- Fusible webbing
- Thread
- Pins
- Iron
- Sewing machine with zigzag stitch
Instructions
- Cut appliqué shapes and fuse to towel per fusible webbing instructions.
- Stitch around shapes with a tight zigzag or blanket stitch.
- Press towel and trim stray threads.
- Wash gently before gifting to remove any fusible residue; expect a 24-hour cool-down after pressing.
- Make a set using seasonal motifs.
- Label with care instructions.
How to Display or Gift It
- Roll towels and tie with twine for market presentation.
- Store in a kitchen drawer or hang on a bar.
- Pair with a matching potholder in a kraft gift box.
- Simple Fabric Key Fob
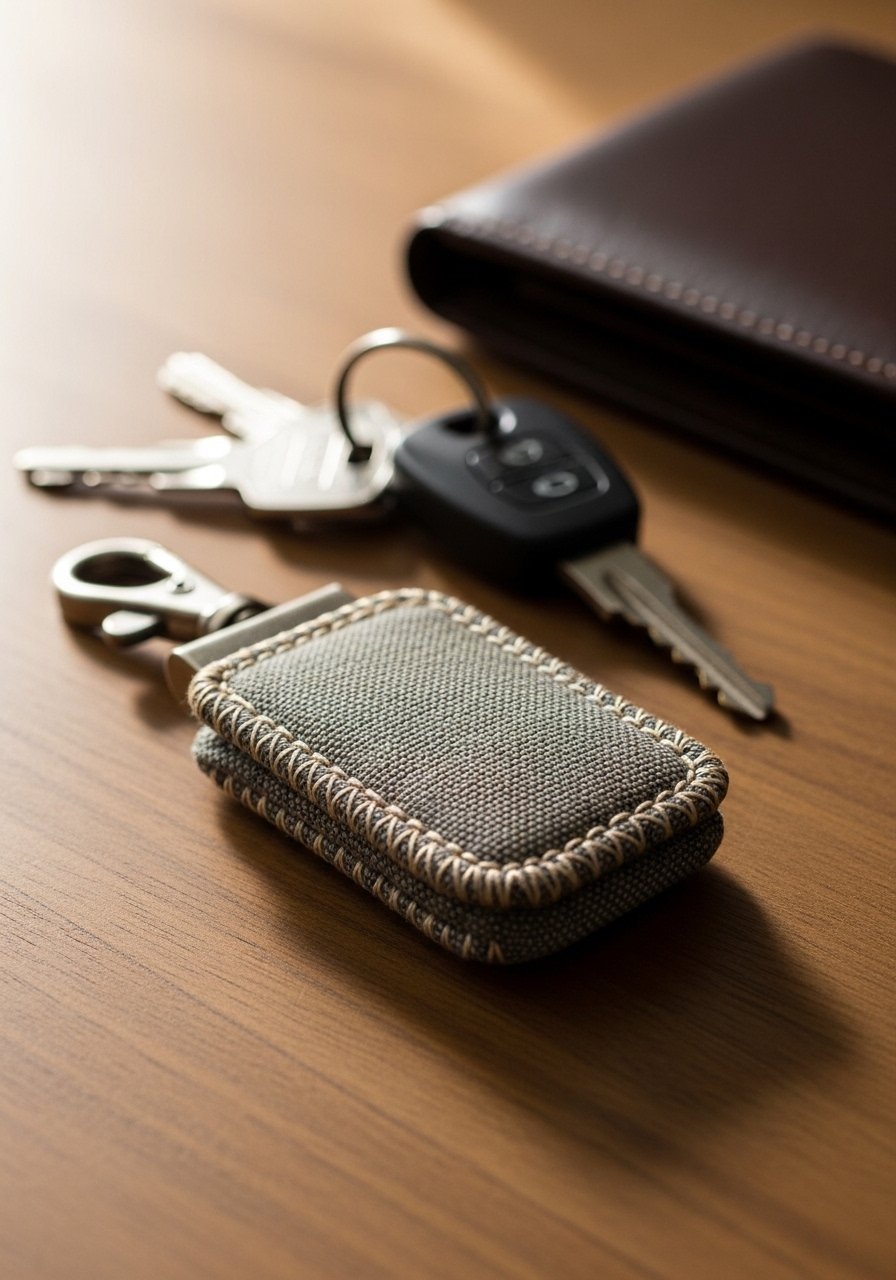
Key fobs are tiny, satisfying projects that practice narrow seams and attaching hardware. They’re tactile and great as quick gifts.
Materials
- Fabric strip: 4" x 2"
- Interfacing small piece
- Key fob hardware (clip and ring)
- Thread
- Scissors
- Sewing machine
Instructions
- Fuse interfacing to fabric and fold strip lengthwise; stitch long edges.
- Turn right side out and press.
- Fold one end around hardware and topstitch securely multiple times.
- Trim threads and test hardware for security.
- Repeat for multiple designs.
- Attach to keys and use daily.
How to Display or Gift It
- Attach a small tag with initials and present on a kraft tag set.
- Keep a few in a purse or make matching sets for friends.
- Store spare hardware in a labeled container.
- Simple Fabric Gift Wrap (Furoshiki)
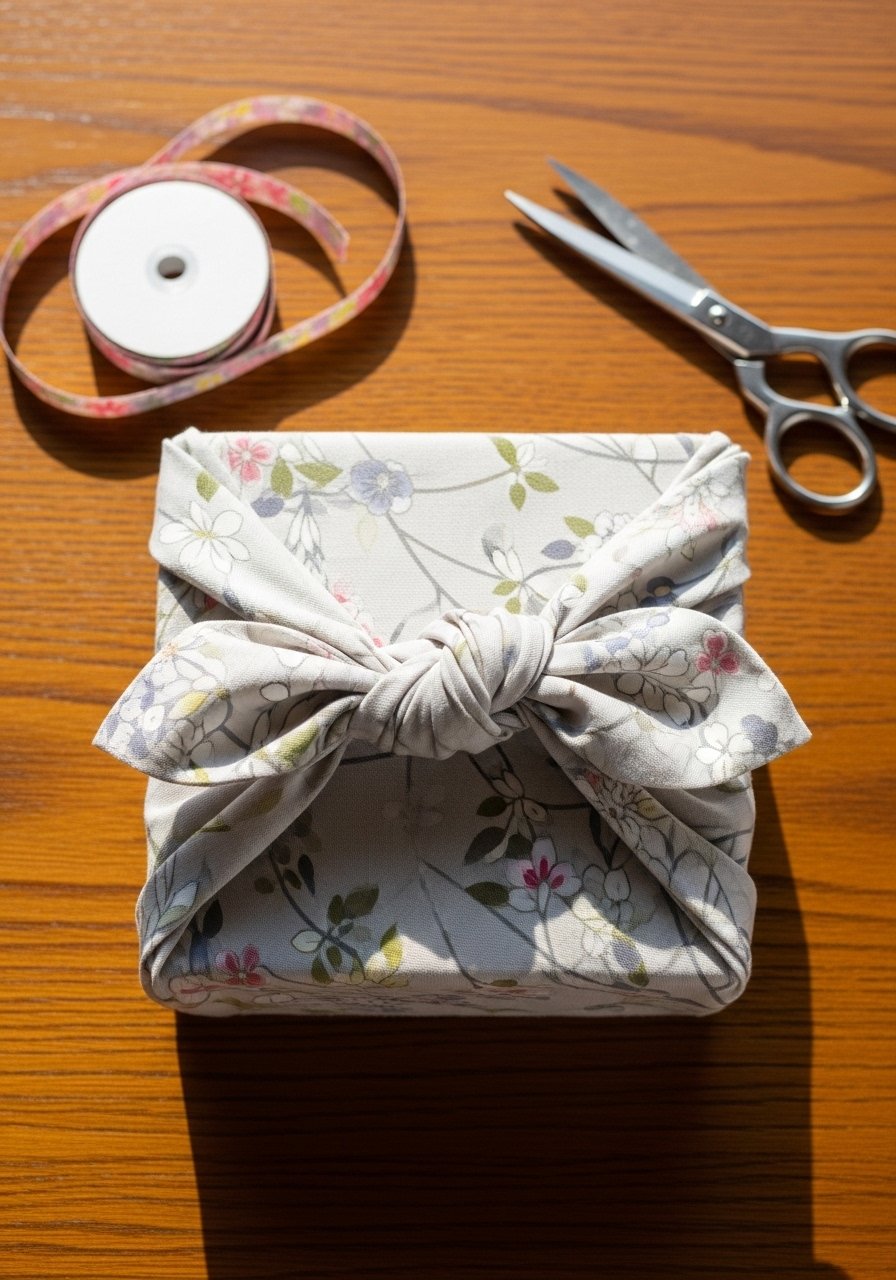
Furoshiki wraps teach clean folding and present a sustainable gift option. Fabric feels luxe and reusable, with a pleasant tactile finish.
Materials
- Square fabric: 20" x 20"
- Iron
- Scissors
- Optional ribbon
- Fabric-friendly tag
- Pins (for temporary hold)
Instructions
- Prewash and press fabric square.
- Place box diagonally on fabric; fold opposite corners over the box and tie a knot.
- Tuck ends neatly and adjust for a snug fit.
- Add ribbon or a sprig of dried florals for finishing touches.
- Store wraps folded flat between acid-free tissue.
- Reuse for future gifts.
How to Display or Gift It
- Use in place of paper gift wrap for a memorable presentation.
- Store in a fabric storage box.
- Pair with a handwritten note tucked under the knot.
- Simple Padded Laptop Sleeve
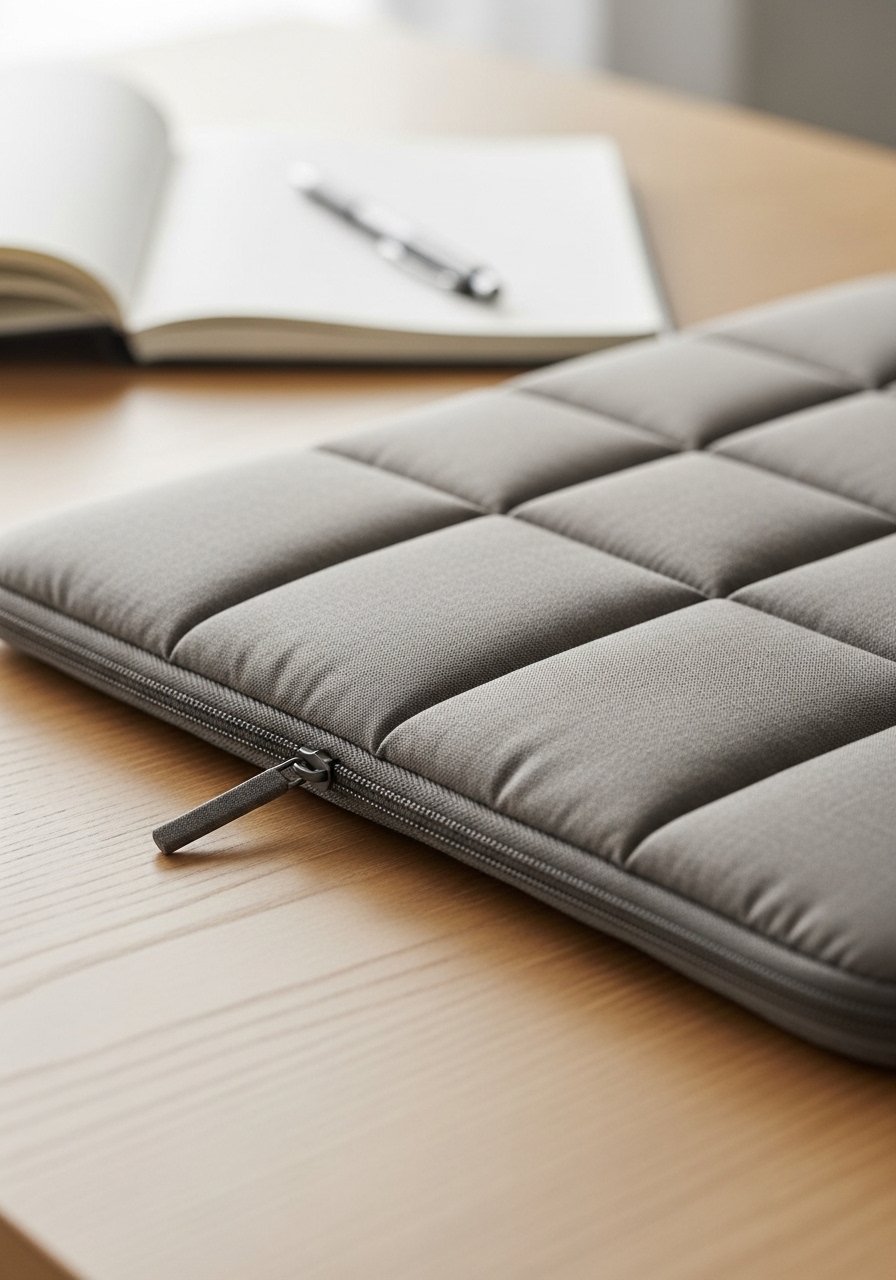
A laptop sleeve introduces structured sewing and zipper installation on a larger scale. It’s practical and protective when padded well.
Materials
- Outer fabric: 15" x 11" for 13" laptop (adjust)
- Lining fabric: same size
- Felting batting: 15" x 11"
- 12" zipper
- Thread
- Sewing machine and zipper foot
- Rotary cutter and ruler
Instructions
- Layer outer (right side up), batting, and lining (right side down); quilt as desired.
- Trim to final dimensions for snug fit.
- Install zipper across top by sandwiching as for a pouch.
- Sew side seams with 1/4" seam allowance.
- Turn right side out and press; test fit with laptop.
- Reinforce zipper and seams and add a tab for pulling if desired.
How to Display or Gift It
- Pair with a matching mouse pad or cable organizer.
- Present in a kraft gift box for gifting.
- Store on a desk or in a laptop bag.
- Simple Patch Pocket Shirt (Upcycle)
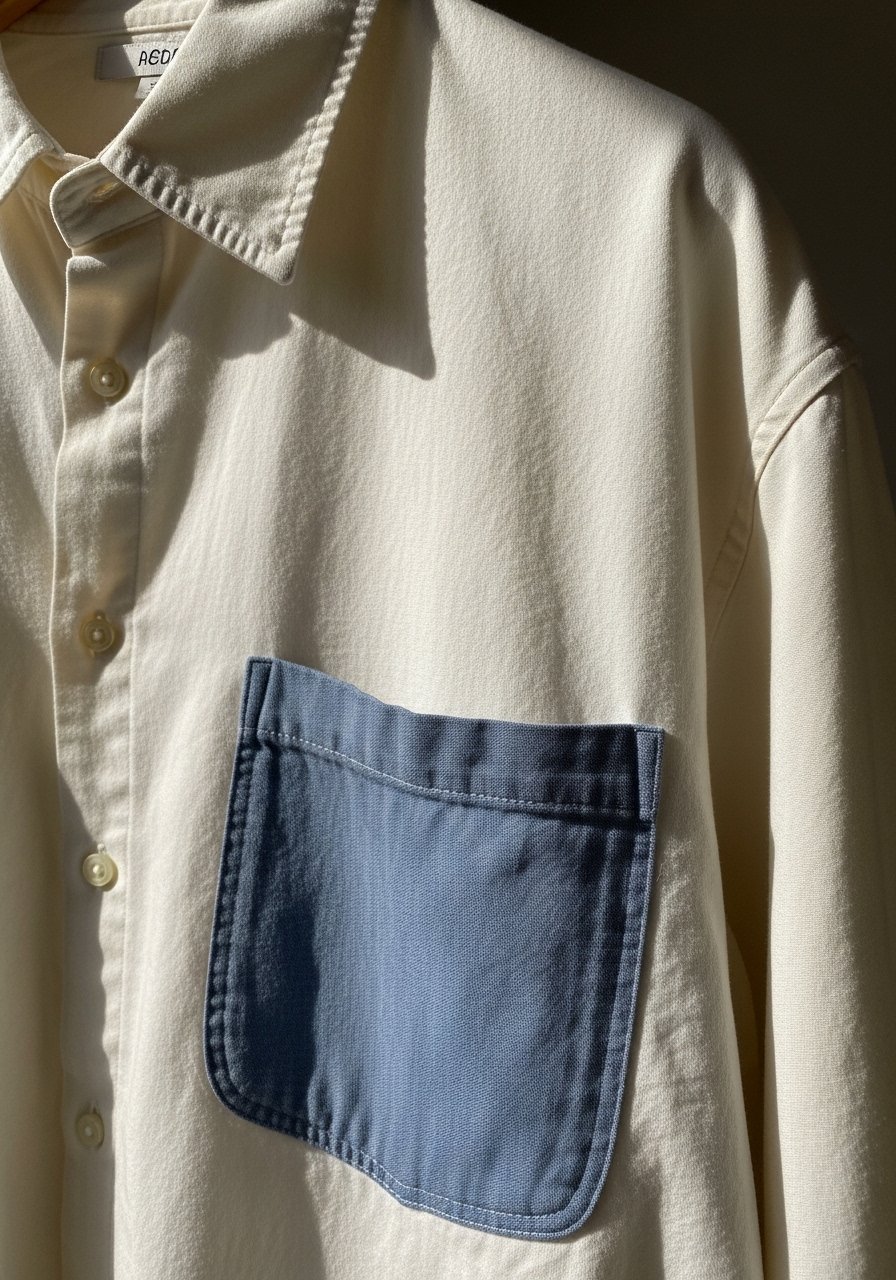
Adding a patch pocket is a simple upcycle and introduces precise placement and topstitching. It’s a subtle detail that personalizes garments.
Materials
- Pocket fabric: 5" x 6" per pocket
- Shirt to alter
- Thread
- Pins
- Iron
- Sewing machine
Instructions
- Fold pocket edges 1/4" then 1/4" and press.
- Place pocket on shirt at desired height; pin securely.
- Topstitch three sides (leave top open) with 1/8" from edge, reinforcing top corners with a small bar tack.
- Press pocket flat.
- Repeat for additional pockets.
- Wash and press to check durability.
How to Display or Gift It
- Add a monogram or small appliqué.
- Gift the upcycled shirt in a fabric gift bag.
- Store with other altered garments in a separate drawer.
- Simple Linen Drawstring Sachets (Lavender)
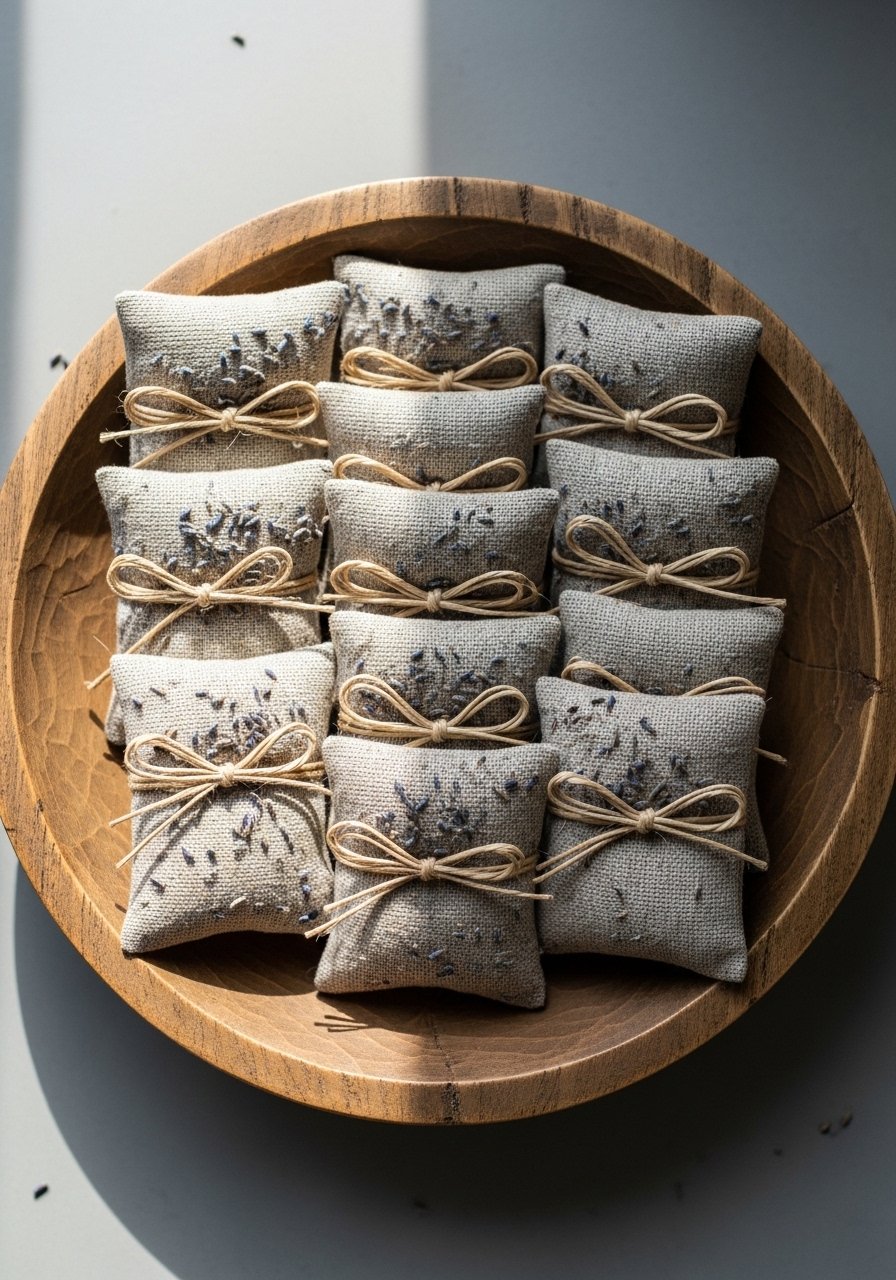
Tiny sachets are perfect for scenting drawers and introducing hand finishing and tiny seams. They feel soothing and fragrant.
Materials
- Linen fabric: 5" x 7" per sachet
- Dried lavender: 1/4 cup per sachet
- Thread
- Pins
- Scissors
- Sewing machine or hand-sewing needle
- Ribbon or twine
Instructions
- Fold fabric right sides together and stitch sides with 1/4" seam, leaving top open.
- Turn right side out and press.
- Fill with dried lavender (about 1/4 cup), leaving room to close.
- Fold top edge and stitch closed, or tie with ribbon after folding over to create a cuff.
- Trim threads and tie a small label if gifting.
- Refresh scent every few months by adding a few drops of essential oil.
How to Display or Gift It
- Tuck sachets into linen drawers or wardrobes.
- Bundle several in a small kraft box for hostess gifts.
- Use as wedding favors or closet fresheners.
You’ve just got a full season of quick wins and practical pieces to build your confidence with basic seams, hems, elastic, and zippers. Try one project this weekend and pin the page so you can come back when you’re ready for the next. Which of these easy sewing projects for beginners will you make first — a cozy pillow, a zipper pouch, or a set of napkins? Share with a friend and make it a mini-sewing night.
Trust me, picking up a quality hot glue gun with temperature control changed how I finish trims and attach tiny details across many of these projects — no stringy mess, fewer burns, and faster finishing. Happy stitching!





