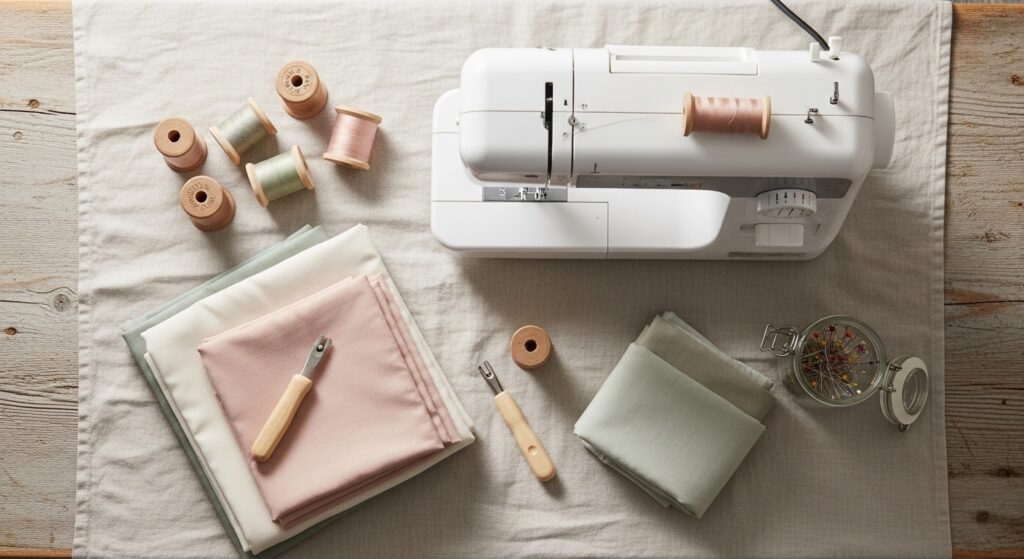
You want to start sewing for beginners but feel intimidated by machines, patterns, and weird fabric names. You’re not alone — most beginners worry they’ll waste time or mess up right away. This guide gets you stitching confidently in a weekend with simple, practical steps and projects that actually look finished.
The secret? Start with a reliable beginner sewing machine and a tidy cutting setup. A beginner sewing machine gives you straight stitches and built-in guides, and a self-healing cutting mat plus a rotary cutter makes cutting fabric fast and accurate. Read on to learn how to start sewing for beginners and walk away with a simple tote or pillow in an afternoon.
Gather and prep materials the beginner-friendly way
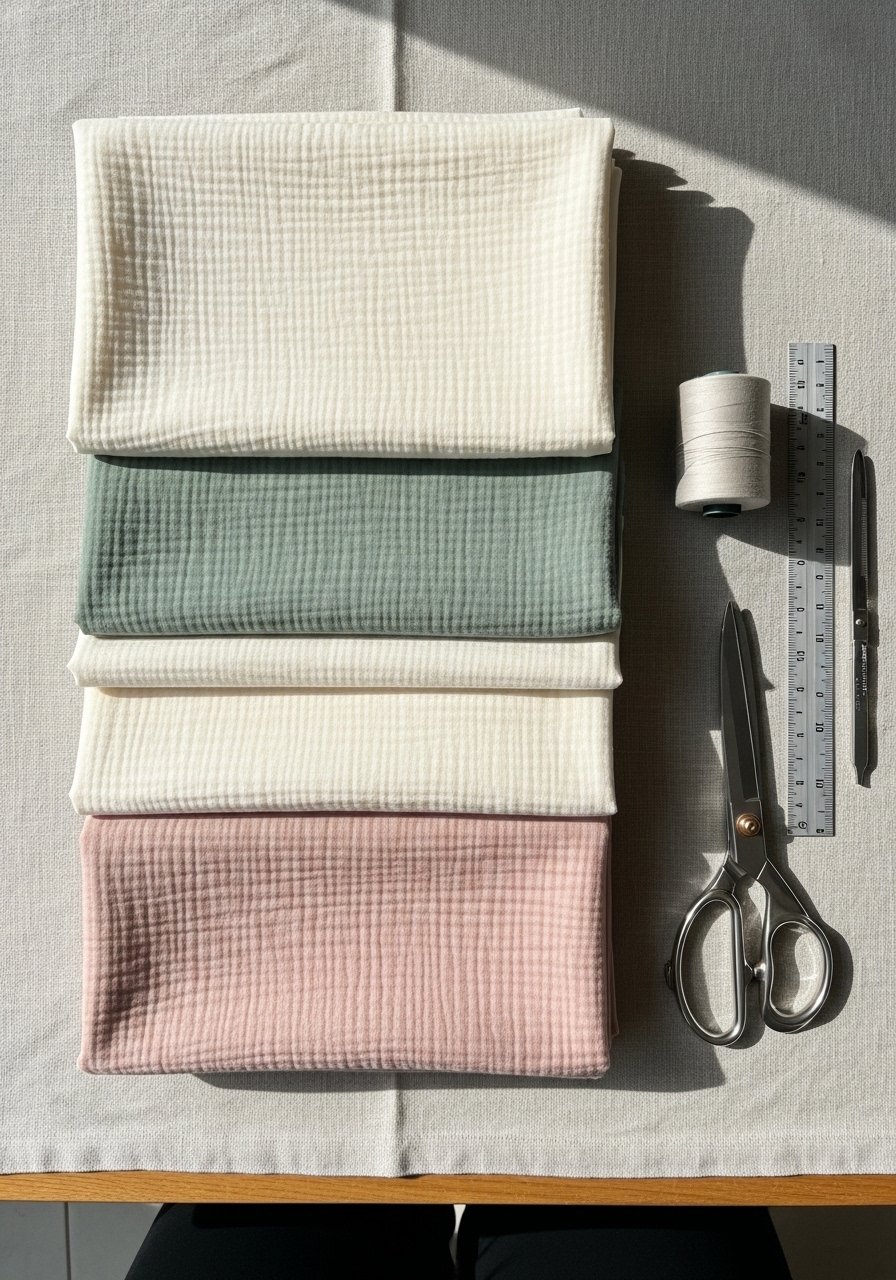
Start sewing for beginners by choosing forgiving fabrics: cotton or muslin. Cut a practice square of 12" x 12" to test thread tension and stitch length. Use a fabric scissors set for clean edges and a sewing gauge ruler to mark seam allowances.
Quick tips:
- Prewash fabrics to avoid shrinkage — most cotton shrinks 2–4%.
- Label scraps with a masking pen and store in clear zip pouches for future practice.
- Keep a seam ripper close; ripping is part of learning.
Set up your machine and workspace for fast wins
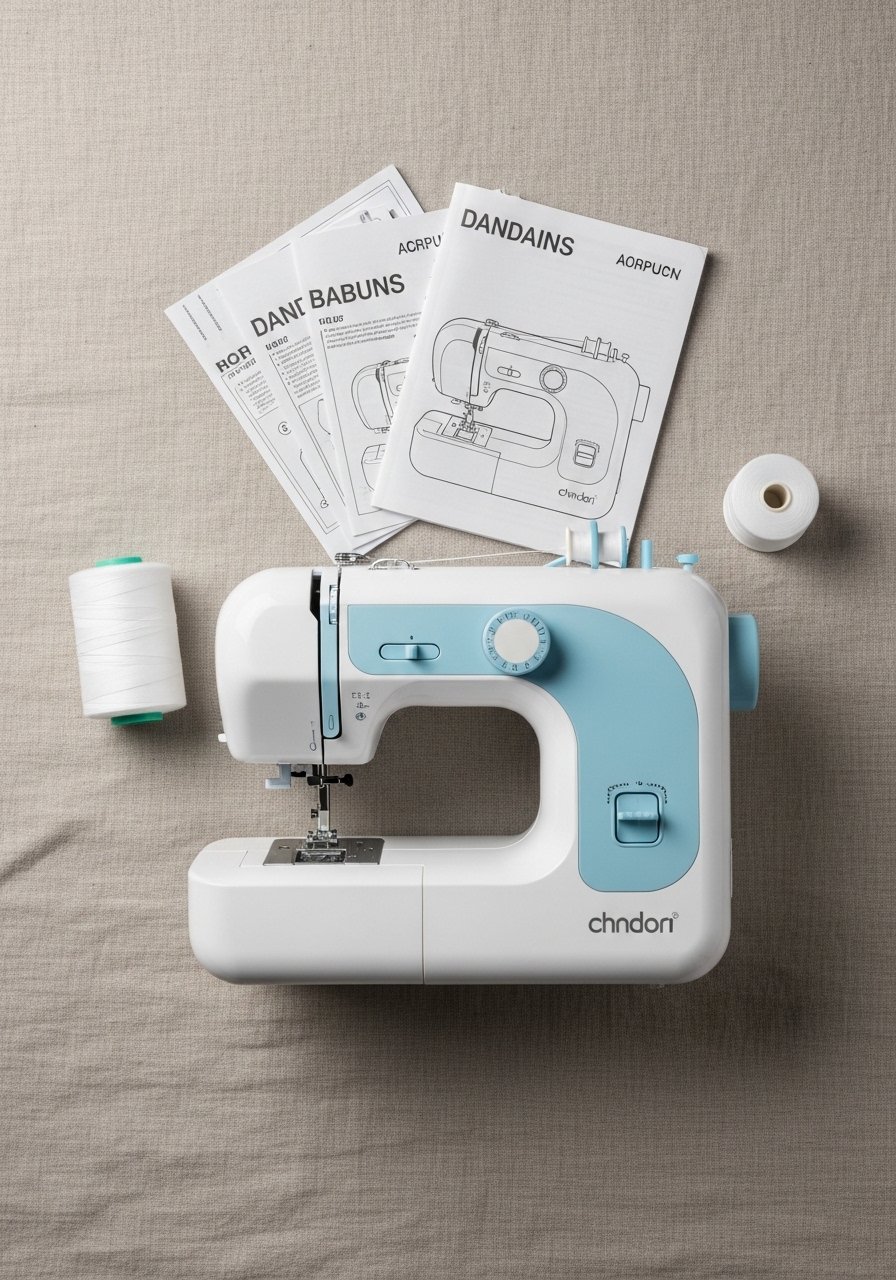
A clean, well-lit table speeds progress. Place your beginner sewing machine near a window and keep a small craft organizer tray for needles, pins, and bobbins.
Machine setup steps:
- Thread the machine following the manual — take photos with your phone if you get lost.
- Wind and insert a bobbin; use all-purpose polyester thread.
- Test on a 12" x 12" scrap at 2.5–3.0 mm stitch length.
Pro tricks:
- Press seams with a steam iron for 5–10 seconds per seam — crisp seams make projects look polished.
- Use quilting pins to hold layers instead of clumsy clips.
Master three core stitches and practice smart
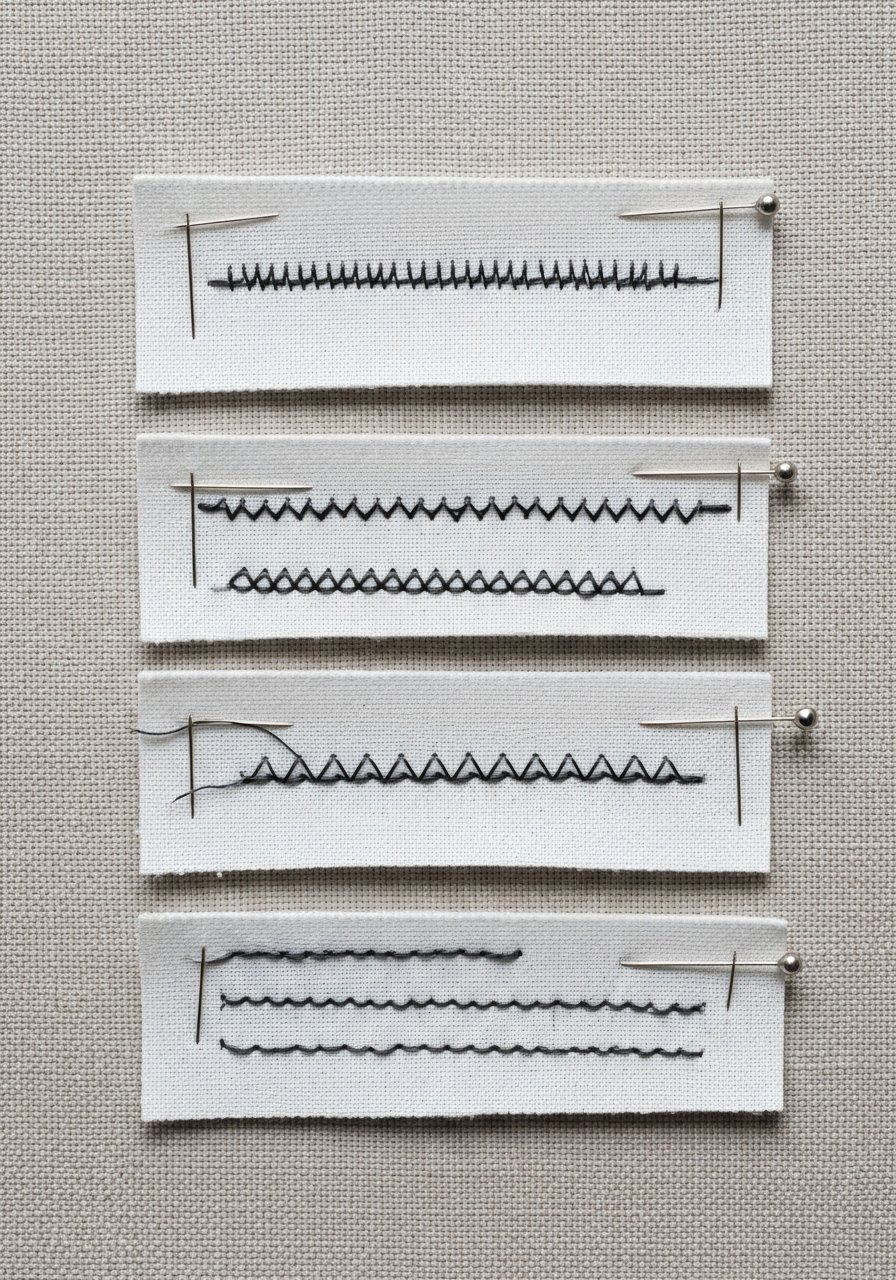
To start sewing for beginners, practice these stitches:
- Straight stitch — for seams (set to 2.5–3.0 mm).
- Zigzag stitch — for stopping fray on woven fabrics.
- Backstitch (use the machine reverse) — for secure starts/ends.
Practice routine:
- Sew five 12" straight lines and trim to see consistency.
- Test zigzag on a raw edge to stop fraying.
- Use a sewing machine needles pack and change needles after about 8 hours of sewing or when stitches pucker.
Troubleshoot common problems:
- Puckering? Loosen upper tension slightly or use a finer needle.
- Skipped stitches? Replace the needle and test again.
- Thread breakage? Use fresh polyester thread and rethread.
Make an easy one-afternoon project: simple tote or pillow
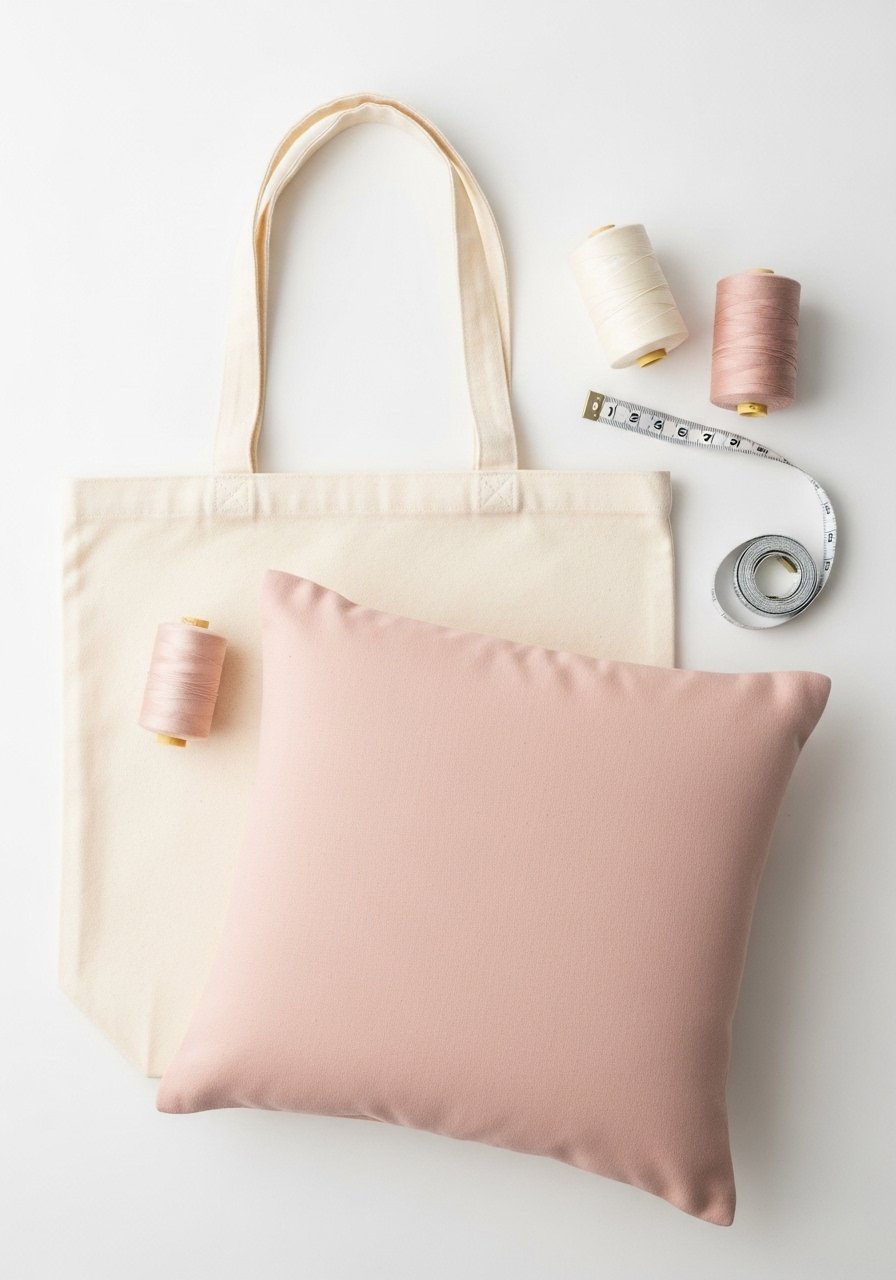
Choose a tote or pillow to finish in one afternoon. Tote dimensions: cut two panels 14" x 15" with 1/2" seam allowances and two handles 4" x 22". Pillow cover: cut fabric 19" x 19" for an 18" pillow insert with 1/2" seams.
Assembly steps (tote):
- Pin right sides together and sew three sides with a 1/2" seam.
- Box the corners by folding a 1" square and sewing across for a flat base.
- Attach handles securely and topstitch 1/8" from edge.
Helpful products:
- Use a rotary cutter and self-healing cutting mat combo to cut accurate panels.
- Press finished seams with a steam iron for a crisp finish.
Finish with neat edges, trim threads with a fabric scissors set, and store extras in a clear zip pouch.
You just learned how to start sewing for beginners and complete a project in one afternoon. Give yourself credit for setting up, threading a machine, and finishing seams — that's progress. Pin this guide for your next craft afternoon and grab a beginner sewing machine if you haven't yet. Which one-afternoon project will you try first?





