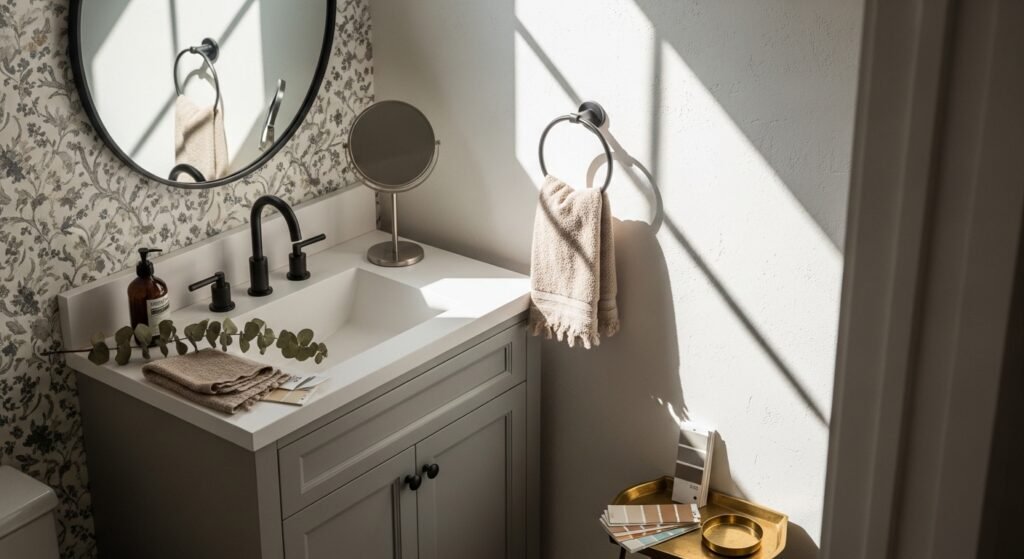
Half bathrooms are the tiny canvases of the home. One well-chosen change — a new mirror, a peel-and-stick tile, or a sleek faucet — can make the whole room feel intentional and luxe. These 21 half bathroom remodel ideas pack serious style into small footprints, with projects you can finish in an afternoon or over a weekend.
You’ll find a mix of quick cosmetic swaps and craft-forward DIYs that fit modern looks like Japandi, cottagecore, boho, and farmhouse. Many projects use common tools like a precision craft knife for clean cuts or a painter’s tape for crisp paint edges — both great helpers when space is tight. Each idea includes exact materials, measurements, step-by-step instructions, drying times, and display tips so you can pin the ones you’ll try first.
Ready to skim, save, and remodel one corner at a time? Grab your small toolbox and a hot glue gun, and let’s start styling that tiny bathroom with big personality.
- Statement Wallpaper Accent Wall

This removable wallpaper accent creates a focal point without committing forever. It’s perfect if you rent or like to switch patterns with the seasons. The peel-and-stick has a slightly textured, matte finish that reads custom-made.
Materials
- 1 roll removable peel-and-stick wallpaper (20.5 in x 16.4 ft) — pattern of choice
- Masking paper or drop cloth to protect floor
- 1 smoothing tool or plastic brayer
- 1 tape measure (steel, 24")
- 1 utility knife with replacement blades
- Painter’s tape (1" width)
- Rubbing alcohol and lint-free cloth (for surface prep)
- Optional: seam roller (small)
Instructions
- Clean wall with rubbing alcohol; let dry 15 minutes. Remove any loose paint or dust.
- Measure wall width and height; cut wallpaper panels +1/2" extra at top/bottom.
- Start at one edge; peel 6–8 inches of backing and align top edge. Use painter’s tape to temporarily hold top.
- Smooth down with a plastic brayer while peeling more backing. Work top to bottom to avoid air pockets.
- Trim excess at ceiling and base with a utility knife; use a straightedge for a clean cut.
- Use a seam roller over overlaps and edges; press firmly but don’t overstretch.
- Let set 24 hours before mounting anything on the wall.
How to Display or Gift It
- Pair with a simple round mirror to keep the wallpaper the star.
- Add a floating shelf in warm wood to hold a plant and guest soaps.
- For small bathrooms, match towels to a subtle tone in the pattern.
- Store unused wallpaper in original tube for future swaps.
- Floating Nook Shelf with Hidden Towel Bar
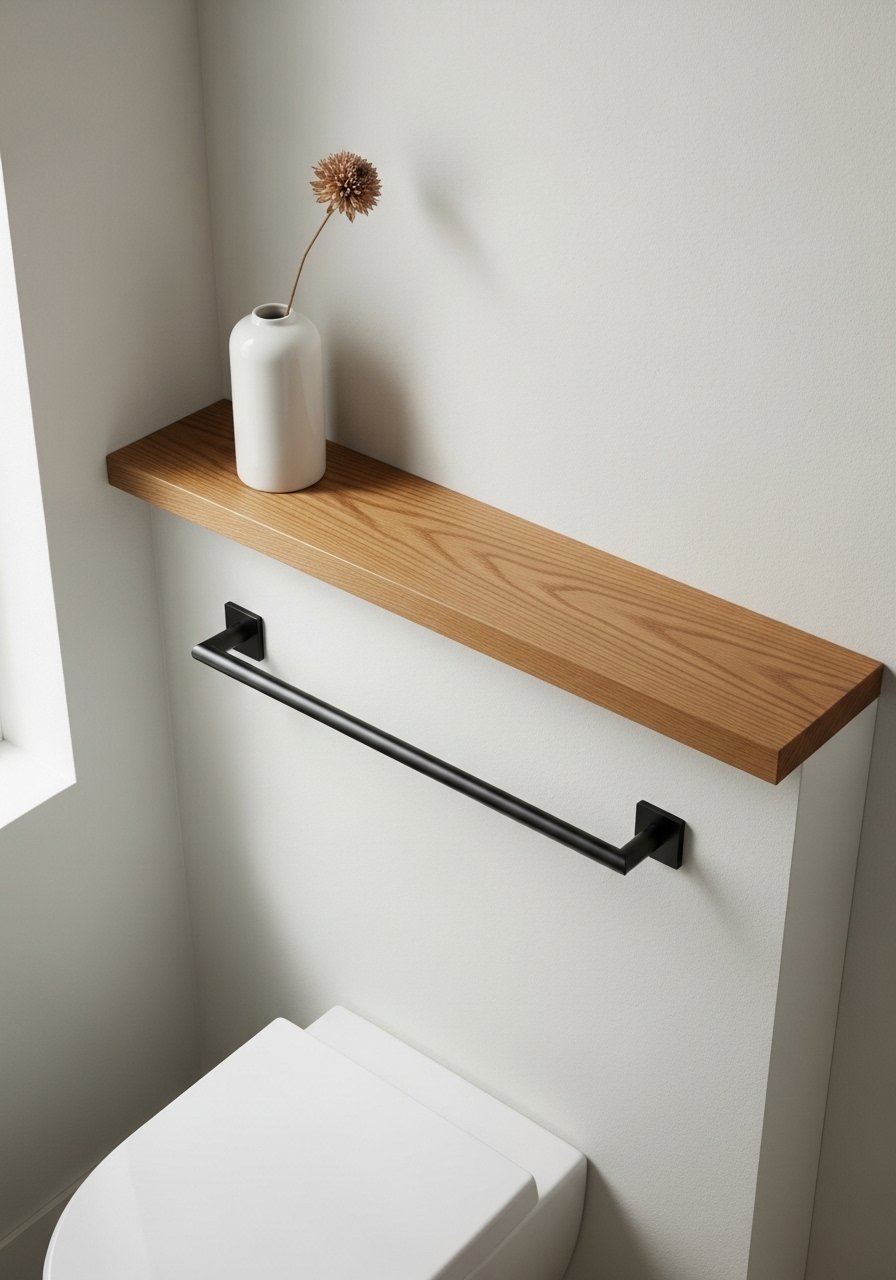
A slim floating shelf with a hidden towel bar gives storage without bulk. It looks custom and keeps essentials within easy reach. I use a cordless drill and a stud finder for secure mounting.
Materials
- 1 24" x 6" oak wood shelf (pre-finished or sanded; 3/4" thick)
- 1 matte black towel bar (18" length)
- 2 heavy-duty floating shelf brackets rated 50 lb
- 1 stud finder
- 4–6 2.5" wall screws + anchors (included with brackets)
- Sandpaper (220 grit)
- Clear matte polyurethane, 1 coat (8 oz)
- Wood glue (PVA)
Instructions
- Locate studs and mark shelf height; use level to mark bracket placement.
- Sand shelf edges lightly; apply one thin coat of matte polyurethane. Dry 2 hours.
- Attach towel bar to underside of shelf using supplied screws and a pilot hole.
- Mount brackets to wall, screwing into studs where possible; use anchors if not.
- Slide shelf onto brackets and secure with set screws.
- Let glue/sealer cure 24 hours before placing glass items.
How to Display or Gift It
- Style with a small tray for soap and a folded hand towel.
- For guest-ready look, roll two face cloths and tuck one on the bar.
- Store seasonal decorative sprigs in a labeled craft box when changing decor.
- A small wooden easel displays a framed quote beside the sink.
- Bold Geometric Paint — half bathroom remodel ideas
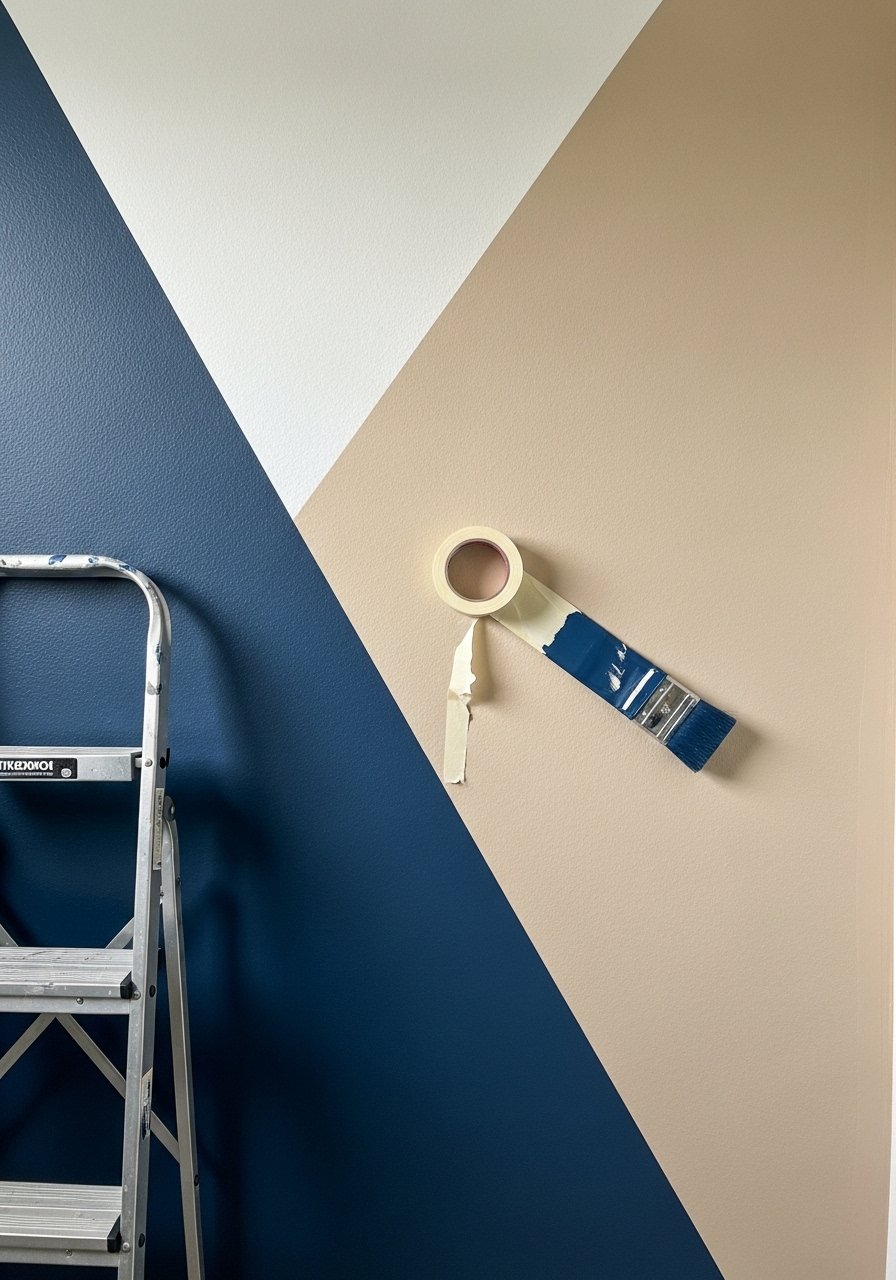
Geometric paint instantly modernizes a tiny space. With a laser level and painter’s tape you’ll get sharp lines that mimic tile or wallpaper at a fraction of the cost. A foam roller helps achieve a flat finish.
Materials
- Sample cans: 1 pint matte navy, 1 pint warm beige
- Painter’s tape (1/4"–2" widths, various)
- Laser level or chalk line
- Foam roller (4" mini)
- Angled sash brush 1"
- Sanding block (120 grit)
- Drop cloth and small ladder
- Primer (1 coat) — 1 quart if wall was previously unpainted
Instructions
- Sand and wipe walls; apply primer if needed. Dry 2–3 hours.
- Plan geometric layout with pencil and laser level. Mark key anchor points.
- Apply painter’s tape along lines; press edges firmly for crisp lines.
- Roll first color in thin even coats. Let dry 2 hours, then apply second coat for full coverage.
- Remove tape after second coat is dry-to-touch (about 1 hour) for the sharpest edges.
- Touch up with a 1" brush if needed; allow 24 hours before hanging items.
How to Display or Gift It
- Pair with a matte black mirror and brass hardware for contrast.
- Add a small plant in a white ceramic pot to soften angles.
- Store leftover paint in labeled jars for touch-ups.
- This makes a great backdrop for styled photos if you sell handmade soaps.
- Slim Vanity Refresh with New Hardware
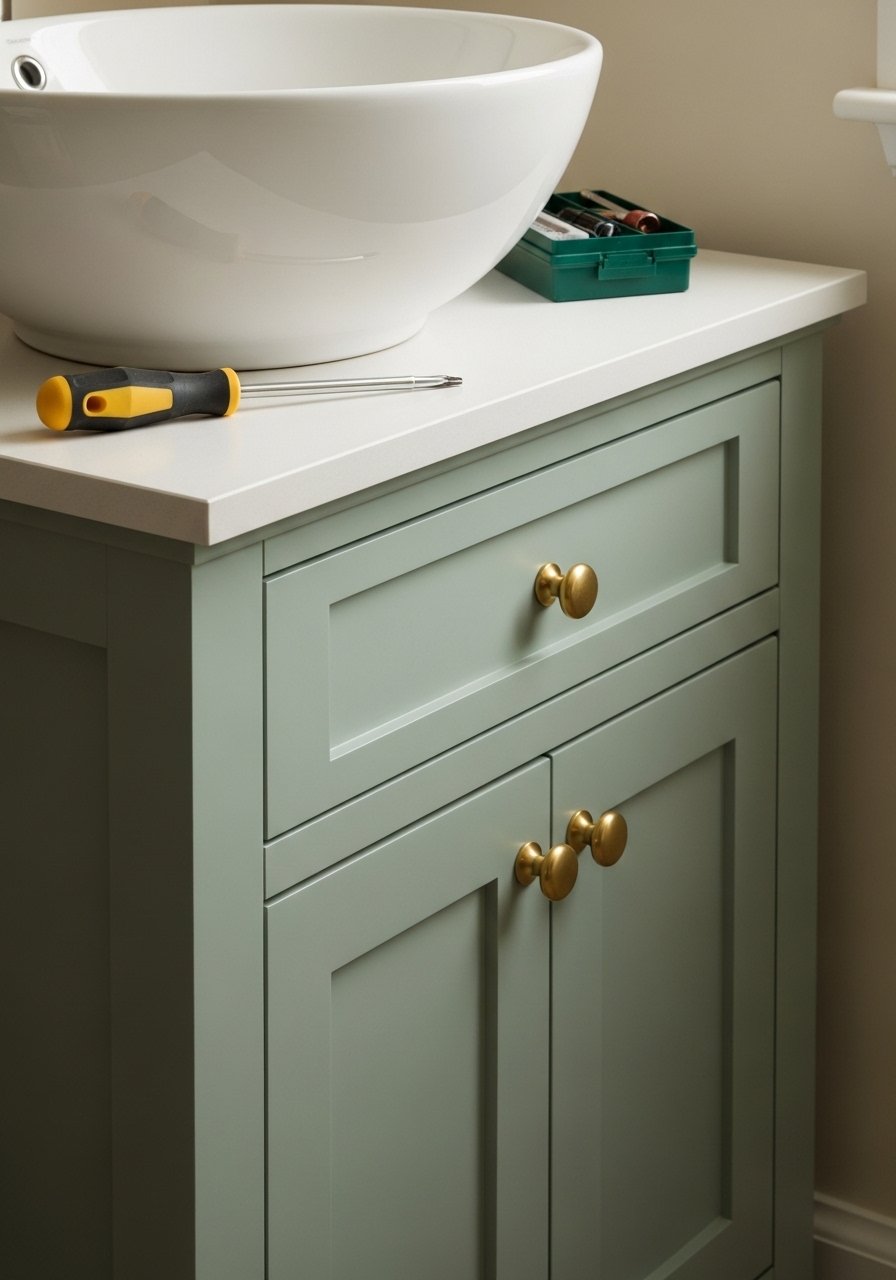
Painting the vanity and swapping hardware is a high-impact, low-effort upgrade. Use chalk paint for minimal sanding. I reach for a screwdriver set and a measuring tape for perfect placement.
Materials
- 1 quart chalk paint (color of choice)
- Sandpaper (120 grit)
- Degreasing cleaner (citrus-based)
- 2–4 cabinet knobs or pulls (brass or matte black)
- Drill with 1/8" and 3/16" bits
- Painter’s tape and drop cloth
- Clear wax or matte topcoat (8 oz)
Instructions
- Remove doors and hardware; label hinges. Clean with degreaser and let dry 30 minutes.
- Lightly sand surfaces to scuff; wipe dust.
- Apply chalk paint in thin coats with a flat foam brush. Two thin coats usually cover. Dry 2 hours between coats.
- Wax or topcoat once paint is dry-to-touch (about 3 hours). Cure 24–48 hours for handling.
- Measure and mark knob positions; drill pilot holes and attach new hardware.
- Rehang doors and enjoy.
How to Display or Gift It
- Style with a brass soap pump and hand towel that echo the new hardware.
- Store spare knobs and screws in a small divided craft organizer drawer.
- Make-ahead: paint cabinet faces separately for easier handling.
- Gift idea: paired with a bottle of artisan hand soap in a kraft bag.
- Frameless Round Mirror with Leather Strap Hanger

A round mirror on a leather strap adds softness and an artisan vibe. It’s surprisingly simple to hang and keeps the wall feeling open.
Materials
- 1 18" frameless round mirror (safety-backed)
- 1 24" leather hanging strap (pre-cut with rivets) or leather belt
- 1 brass peg or wall hook
- Drill and 3/16" bit
- Level and pencil
- Screw and anchor (if no stud)
- Soft cloth for cleaning mirror
Instructions
- Choose mirror height (center at ~58–60" from floor for adults). Mark spot.
- Attach brass peg into stud or use anchor. Tighten securely.
- Fit leather strap over mirror and clip rivets per manufacturer. Thread strap onto peg.
- Adjust so mirror hangs level; mark and retighten if necessary.
- Clean mirror with lint-free cloth and glass cleaner.
How to Display or Gift It
- Use a small vase with single stem beside sink to complement the leather tone.
- Store extra hooks and straps in a craft drawer labeled Mirrors.
- Perfect as a housewarming gift when bundled with an artisan soap.
- Peel-and-Stick Mosaic Tile on Vanity Backsplash
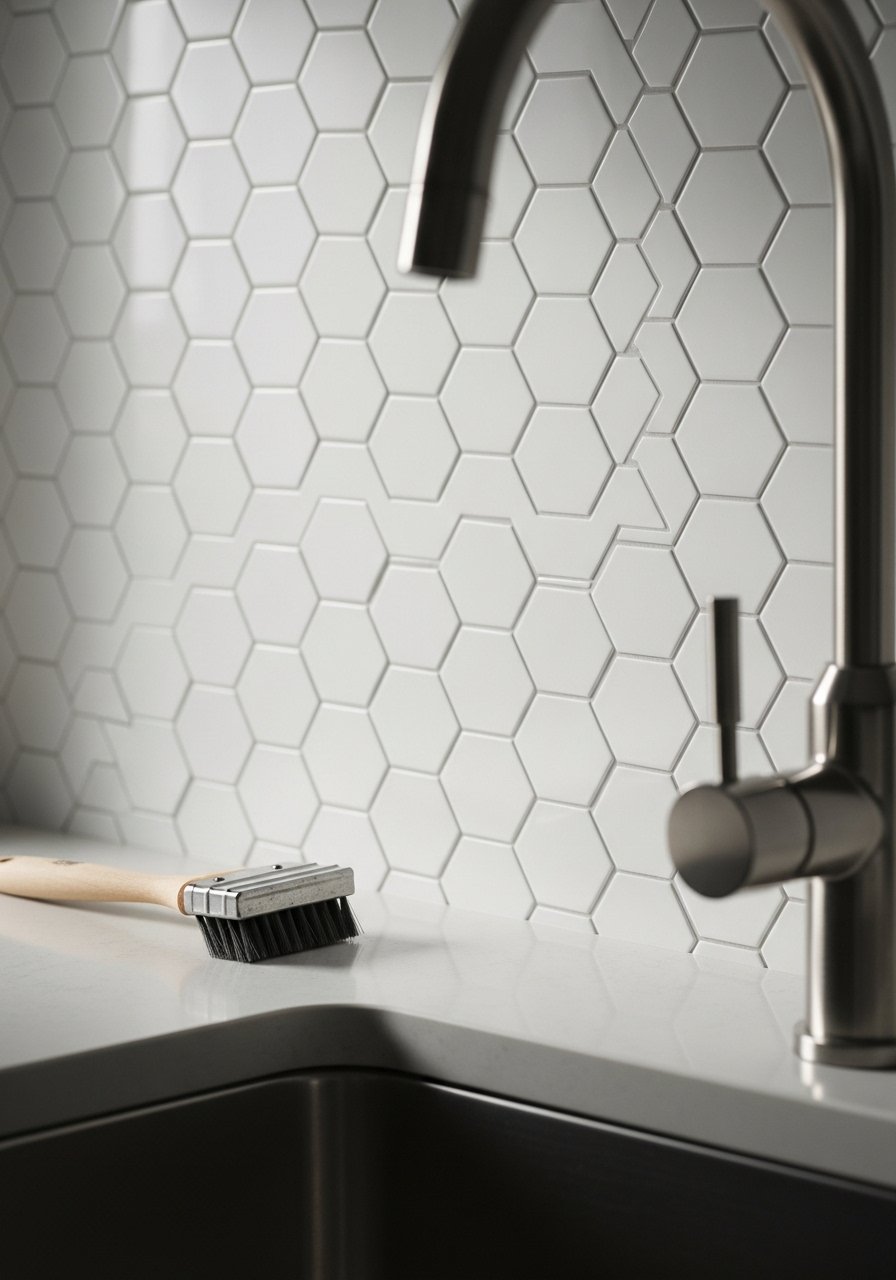
Peel-and-stick mosaic tiles give the look of grout without demolition. They’re ideal behind vanities where backsplash space is narrow.
Materials
- 1 peel-and-stick tile sheet pack (enough for 2–3 ft²)
- Rubbing alcohol and cloth
- Straightedge and utility knife
- Measuring tape and pencil
- Small grout float (optional for seam pressing)
- Clear silicone caulk (tub and tile) — 1 tube
Instructions
- Clean wall with alcohol; ensure surface is fully dry.
- Measure backsplash area and cut tile sheets to fit with a 1/16" gap for expansion.
- Peel and press starting from center; use a straightedge to trim edges.
- Run a bead of clear silicone caulk at bottom edge to seal.
- Let adhesive set 24–48 hours before splashing water.
How to Display or Gift It
- Keep spare tiles in original box for matching repairs. Store in a craft organizer.
- Pair backsplash with a coordinating soap dispenser and toothbrush cup.
- This tile pack also makes a pretty tray base if you have leftovers.
- Floating Vanity Upgrade — half bathroom remodel idea
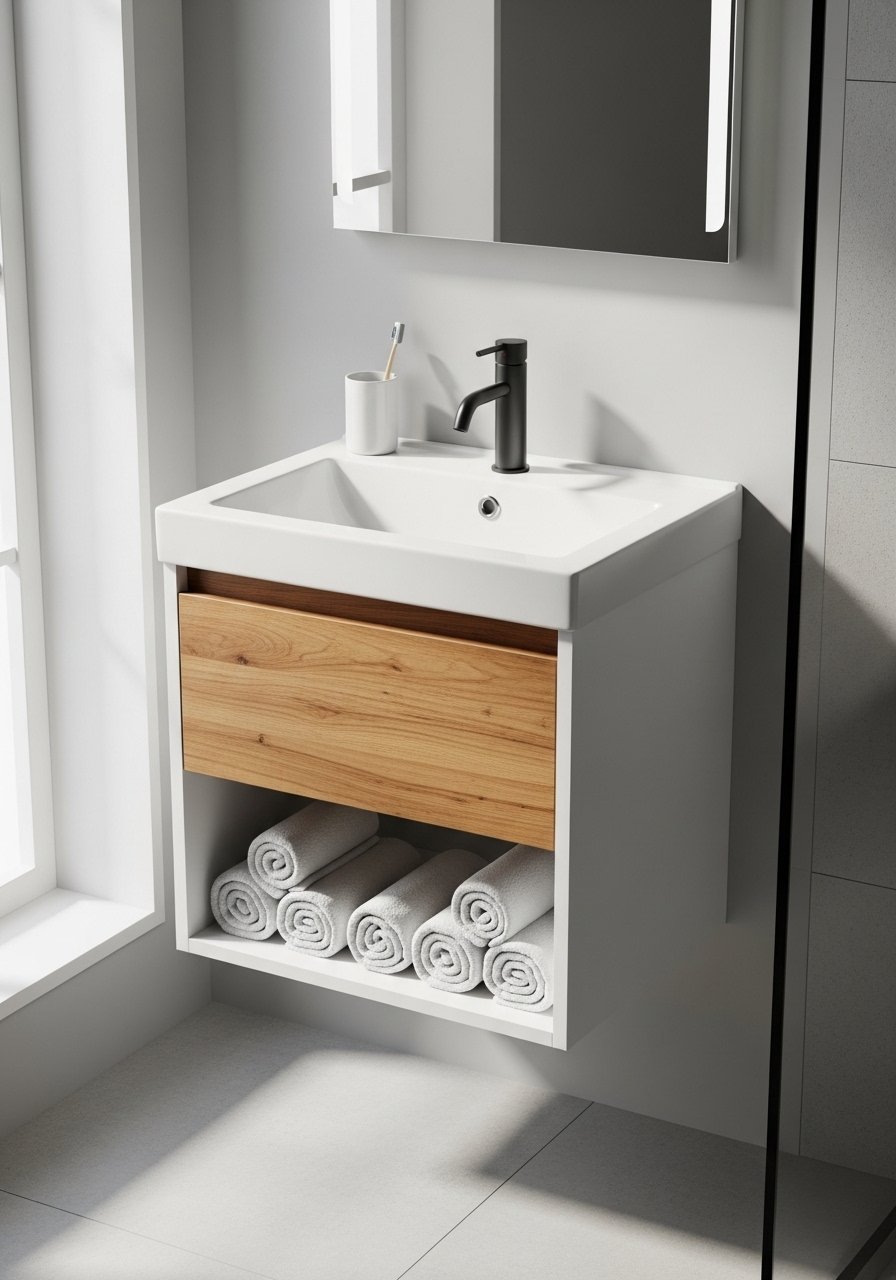
A floating vanity saves floor space and creates an airy feel. It’s a small carpentry project if your room has accessible plumbing.
Materials
- 1 floating vanity cabinet (24" wide) or build kit
- Mounting cleat (2" x 4" oak, cut to stud spacing)
- 4 3.5" lag screws for cleat
- Silicone sealant (clear)
- Adjustable wrench and socket set
- Level and stud finder
- P-trap plumbing coupling and supply lines (if replacing)
- MDF backer board (if needed)
Instructions
- Turn off water and remove old vanity. Keep existing plumbing if possible.
- Locate studs and attach mounting cleat level to studs using lag screws.
- Position vanity on cleat and check level. Fasten vanity to cleat per manufacturer instructions.
- Reconnect plumbing; use new supply lines if old ones show corrosion.
- Seal edges with silicone; test for leaks. Allow sealant to cure 24 hours.
- Reinstall hardware and style shelf.
How to Display or Gift It
- Use the open space beneath for baskets labeled in a small craft organizer.
- Add a rug runner in matching tones to warm the floor.
- This upgrade pairs well with wall-mounted faucets for a modern look.
- DIY Wainscoting for Half Bath Charm

Wainscoting gives a cozy, finished look. Pre-cut MDF panels speed the job and are forgiving for beginners.
Materials
- MDF beadboard panels to cover lower 36" of wall
- Chair rail molding (1" x 3") — length equal to wall width
- Construction adhesive and finishing nails
- Wood filler and sandpaper (220 grit)
- Caulk and paint (satin, 1 quart)
- Miter saw or hand miter box
- Nail set and hammer
Instructions
- Measure and cut panels to height (36" standard). Dry-fit before gluing.
- Apply construction adhesive to back and press panels to wall. Nail every 12".
- Install chair rail on top of panels with finishing nails. Fill holes and seams with wood filler and caulk.
- Sand filled areas; prime bare MDF edges then paint two coats. Dry 2 hours between coats.
- Touch up seams after the paint is dry. Cure 24 hours before hanging items.
How to Display or Gift It
- Paint the top wall a contrasting color for an intentional look.
- Add small framed botanical prints hung at eye level.
- Store spare molding lengths and leftover paint in a labeled project bin.
- Matte Black Faucet Swap

Changing the faucet is a small upgrade with big style payoff. I use an adjustable basin wrench for tight spaces.
Materials
- 1 matte black single-handle faucet (centerset or widespread to match holes)
- New supply lines (1/2" x 3/8") if old ones are 10+ years
- Plumber’s tape (Teflon)
- Basin wrench and adjustable wrench
- Silicone plumber’s putty or clear silicone sealant
- Bucket and towels
Instructions
- Turn off water, open faucet to drain lines. Place bucket under P-trap.
- Disconnect supply lines and remove old faucet with basin wrench.
- Clean sink deck and apply plumber’s putty/sealant as directed.
- Set new faucet, secure nuts from below, and attach supply lines using plumber’s tape.
- Turn water back on and check for leaks. Tighten connections if needed.
- Let sit 1 hour; retest. Cosmetic cure not necessary, but caulk fully cures 24 hours.
How to Display or Gift It
- Pair with a matching soap pump and toothbrush holder.
- Keep an extra set of supply lines in a plumbing drawer for quick fixes.
- A small tray collects daily items and keeps the sink tidy.
- Open Shelving with Brackets

Open shelving adds storage and visual interest without taking up floor space. Brackets give an industrial touch that suits many styles.
Materials
- 2 pine shelves (24" x 6")
- 2 black iron shelf brackets (6" depth)
- Wall anchors (if not into studs) and 2" screws
- Level, drill, stud finder
- Sandpaper and clear wax (optional finish)
- Small woven baskets (for under-shelf storage)
Instructions
- Find studs and mark bracket positions for level placement.
- Pre-drill holes in shelves for bracket screws. Stain or wax shelves if desired; dry 2 hours.
- Mount brackets to wall; secure shelves to brackets with screws.
- Load heavier items close to wall to avoid sagging.
- Check bracket tightness after one week and retighten if needed.
How to Display or Gift It
- Use baskets to hide toiletries and keep a spa-like look.
- Change styling seasonally with small framed art and greenery.
- Store extra baskets in a craft organizer for rotation.
- Soft-Closing Toilet Seat Swap
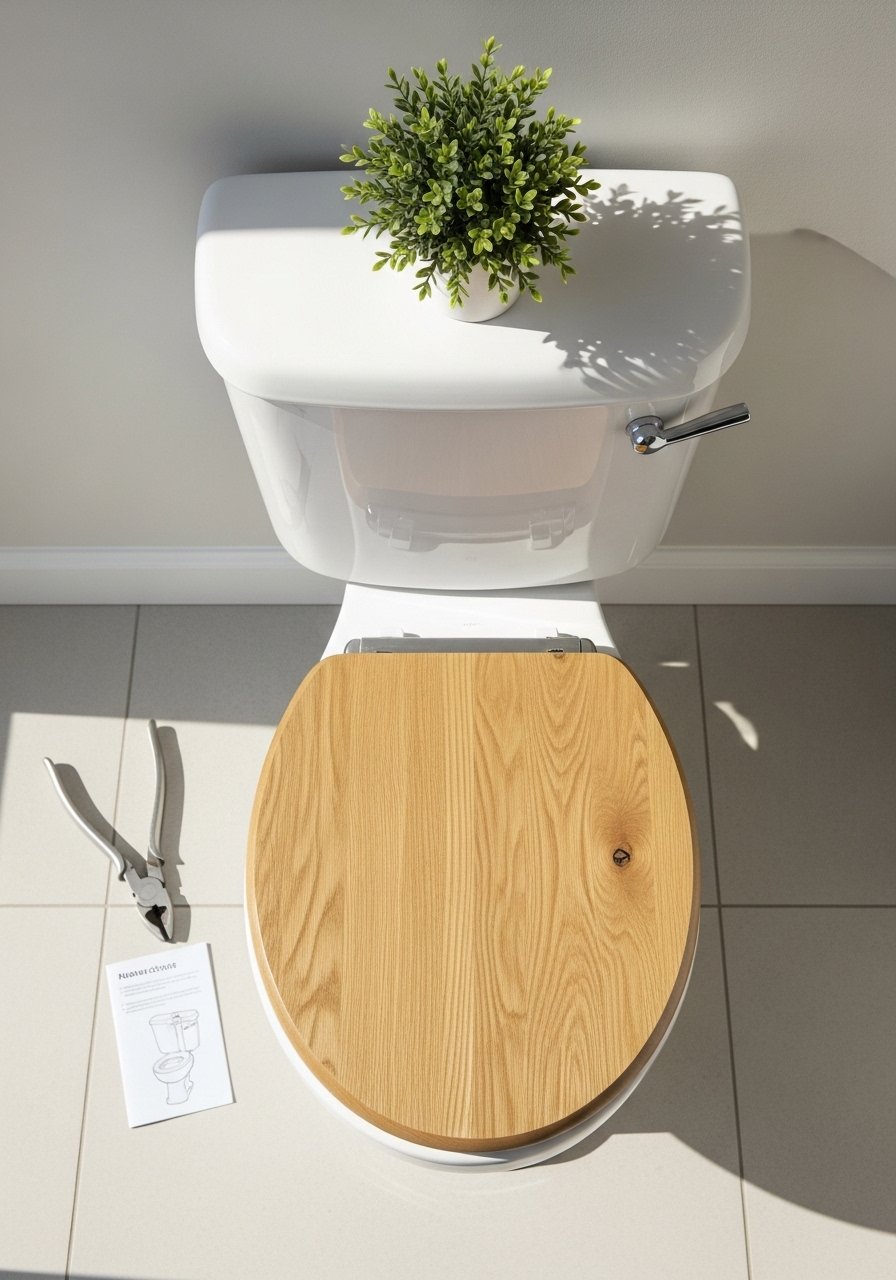
A soft-close seat is a practical upgrade that adds a refined finish. Installation usually takes under 15 minutes.
Materials
- 1 soft-closing toilet seat (wood or molded) sized to toilet (round or elongated)
- Adjustable wrench
- Cleaning wipes
- Measuring tape to confirm size
Instructions
- Measure current seat (round vs elongated) and order matching size.
- Remove old seat by unscrewing nuts under hinge and cleaning area.
- Place new seat over holes and hand-tighten bolts first.
- Use wrench to finish tightening; do not overtighten.
- Test soft-close function. Adjust hinge screws if alignment is off.
How to Display or Gift It
- Keep a sealed spare seat in the garage for quick replacements.
- Makes a practical, low-cost gift for a friend updating their bath hardware.
- Painted Floorboards (Stenciled)
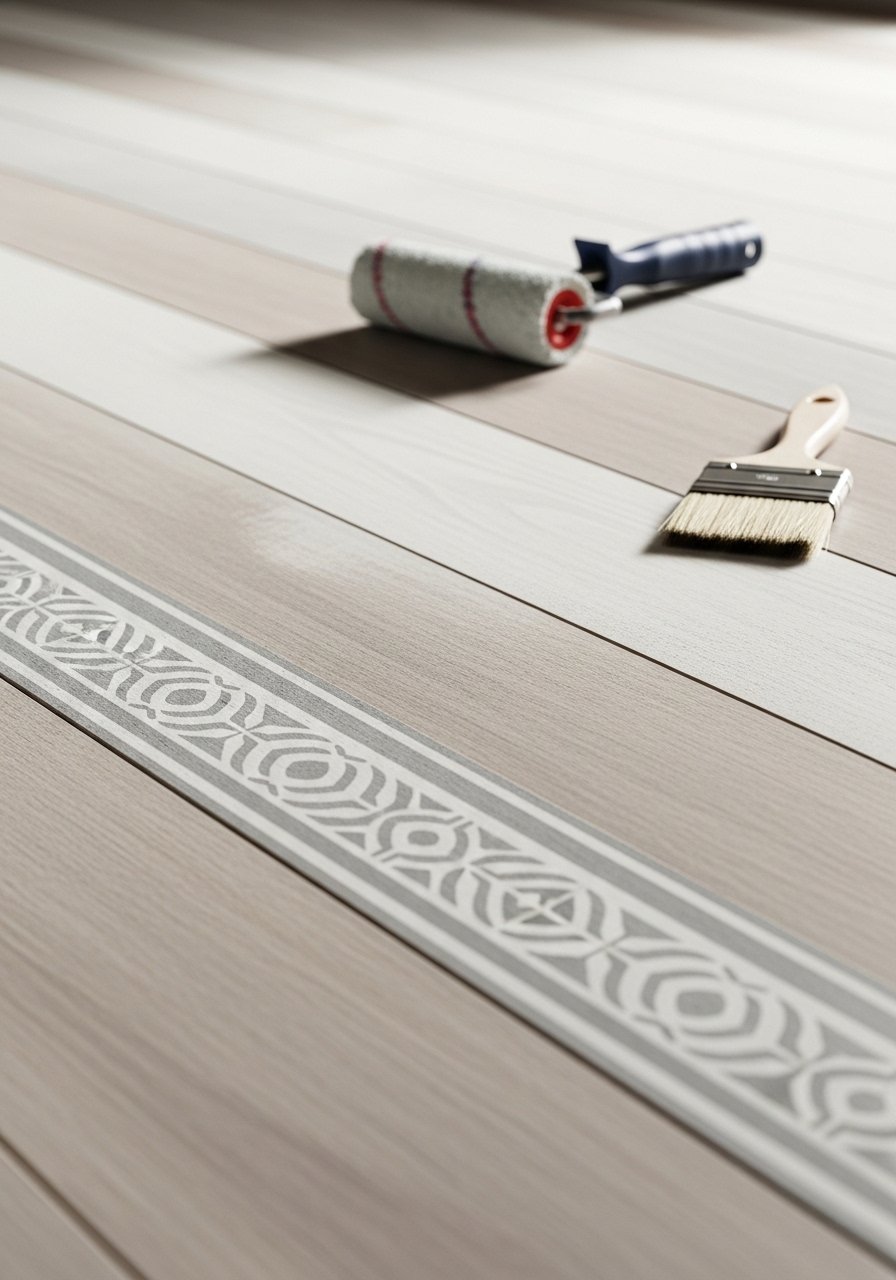
Painting floorboards with a stenciled border gives vintage charm without replacing flooring. Use floor enamel paint for durability.
Materials
- Floor enamel paint (quart) — base and accent color
- Stencil for border (reusable plastic)
- Roller (mini) and stencil brush
- Sandpaper (80–120 grit) and vacuum
- Painter’s tape and drop cloth
- Polyurethane floor sealer (water-based) — 1 pint
Instructions
- Sand floor lightly to remove gloss; vacuum thoroughly.
- Tape perimeter to protect walls. Apply base coat with roller; dry 4 hours.
- Position stencil and secure with tape; apply accent color with stencil brush in dabbing motion.
- Remove stencil carefully; let dry 3–4 hours between sections.
- Apply two coats of water-based polyurethane for durability. Cure 48–72 hours before heavy use.
How to Display or Gift It
- Use a low-profile rug in front of sink to protect painted area.
- Keep spare paint labeled for touch-ups stored flat in a craft cabinet.
- Consider a reversible stencil for seasonal swaps.
- Soapstone or Marble-Look Countertop Overlay

A countertop overlay mimics stone without the cost. Use a thin, adhesive-backed product or do a faux-marble finish with paint and glaze.
Materials
- Adhesive countertop overlay sheet (36" x 24") or countertop paint kit
- 120 and 220 grit sandpaper
- Contact cement (if adhesive-backed) or bonding primer
- Clear epoxy topcoat or polyurethane (as recommended)
- Foam roller and small artist brushes for veining
- Painter’s tape and utility knife
Instructions
- Clean and sand existing countertop; remove caulk. Wipe clean.
- If adhesive overlay, cut to shape leaving 1/8" excess; apply contact cement per directions.
- For faux-marble paint kit, apply base color and create veins with a feathered brush. Let dry 4–6 hours.
- Seal with clear epoxy or polyurethane per product; cure time 72 hours for epoxy.
- Re-caulk sink edge with silicone and let cure 24 hours.
How to Display or Gift It
- Add a coordinating soap dish and tray to tie the look together.
- Keep leftover epoxy sealed tightly for future repairs.
- This is a popular weekend refresh you can gift as a "room refresh" service.
- Hand-Towel Ladder from Reclaimed Wood
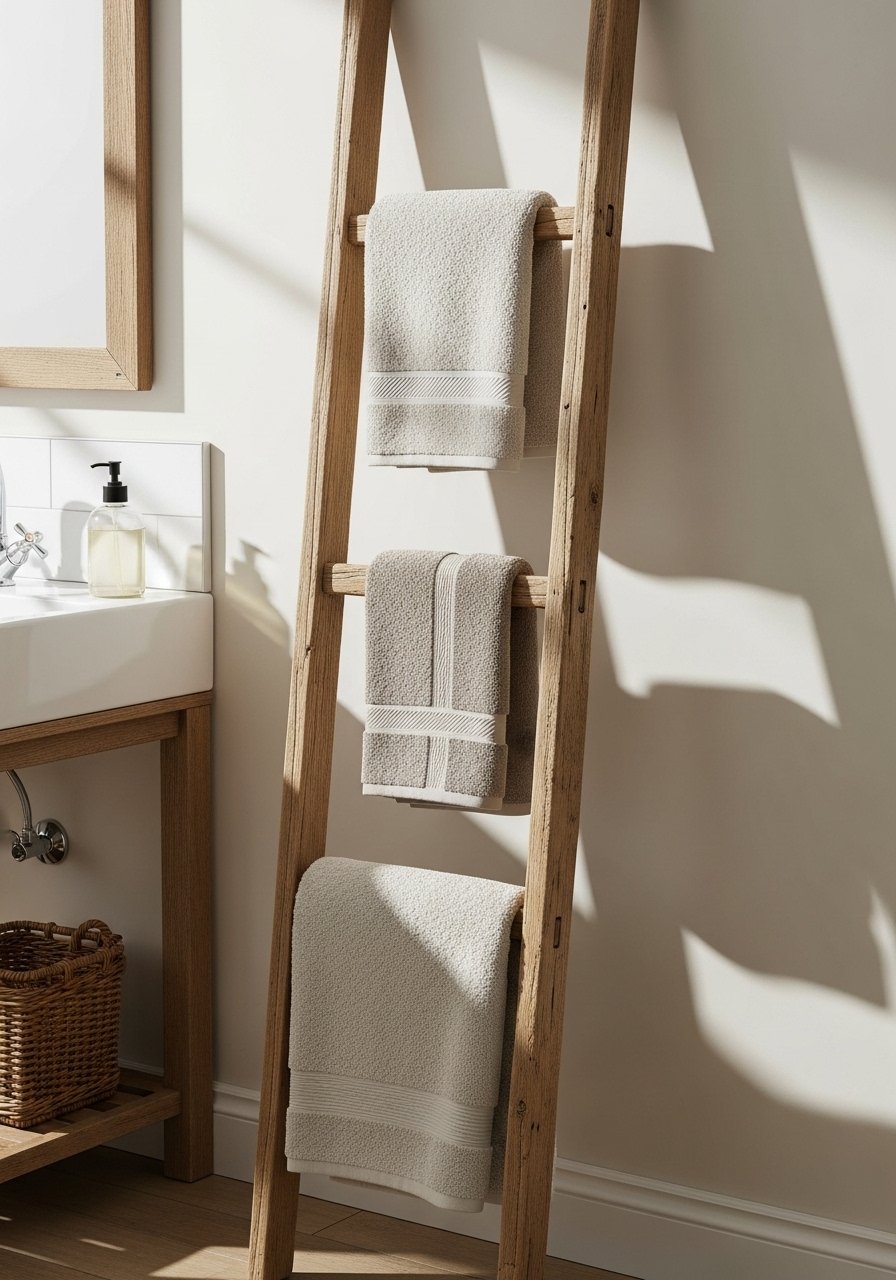
A small ladder is a charming way to store towels without mounting racks. It's an easy woodworking weekend build.
Materials
- Two 48" ladder side rails (1" x 2")
- Three rungs (18" dowels or reclaimed wood) — 3/4" diameter
- Wood glue and 1.25" screws
- Sandpaper (120–220 grit) and finish (clear wax)
- Drill with 3/4" spade bit or dowel jig
- Measuring tape and clamp
Instructions
- Mark rung positions evenly along side rails (e.g., 6", 24", 42" from bottom).
- Drill holes for dowels using a spade bit or jig; dry-fit dowels.
- Apply wood glue into holes and insert dowels; clamp and let dry 2 hours.
- Reinforce with 1.25" screws from inside if using thicker rails.
- Sand and finish with clear wax; cure 12 hours before use.
How to Display or Gift It
- Lean ladder in a corner; roll towels on rungs.
- Gift a small ladder with hand towels as a hostess present.
- Store spare rungs and small hardware in a labeled toolbox.
- Mini Gallery Wall — half bathroom remodel ideas
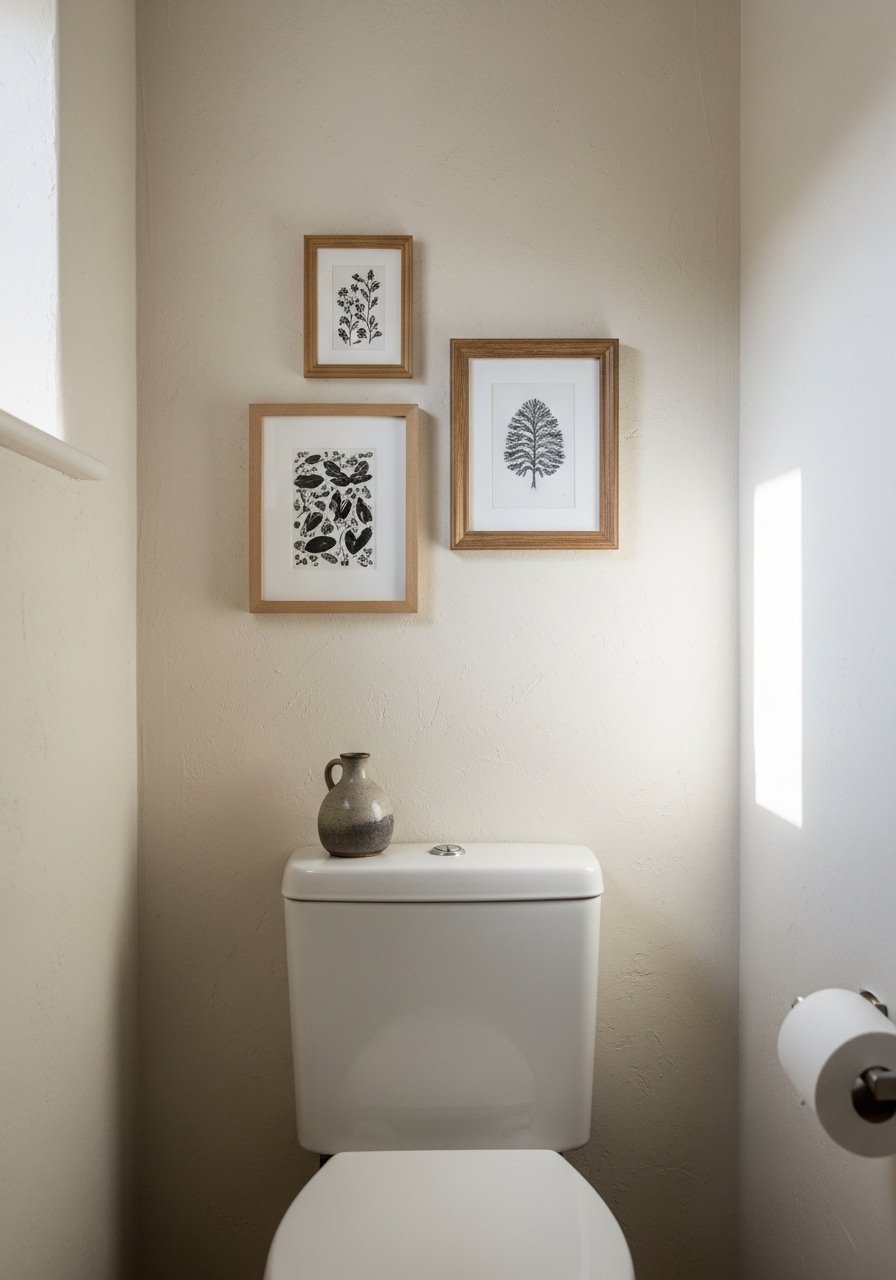
A curated mini gallery personalizes the room and makes the space feel designed. Mix frames and small shelves for depth.
Materials
- 3–5 small frames (5" x 7" or 4" x 6")
- Lightweight art prints or vintage postcards
- Picture hanging kit (small hooks and nails)
- Level and measuring tape
- Small wooden shelf or ledge (optional)
- Pencil and painter’s tape for layout
Instructions
- Lay prints on floor to plan composition; use painter’s tape on wall to mock up.
- Measure spacing (2–3" between frames) and mark nail positions.
- Use appropriate hooks for your wall type. Hang frames and check level.
- Add a small shelf below for a plant or candle, secured into stud or with anchors.
- Rotate artwork seasonally. Use removable hooks if rental.
How to Display or Gift It
- Frame small botanicals for a cottagecore touch.
- Store spare frames in a flat organizer box for quick swaps.
- Great gift: assemble a ready-to-hang mini gallery for a friend.
- DIY Macramé Toilet Paper Holder
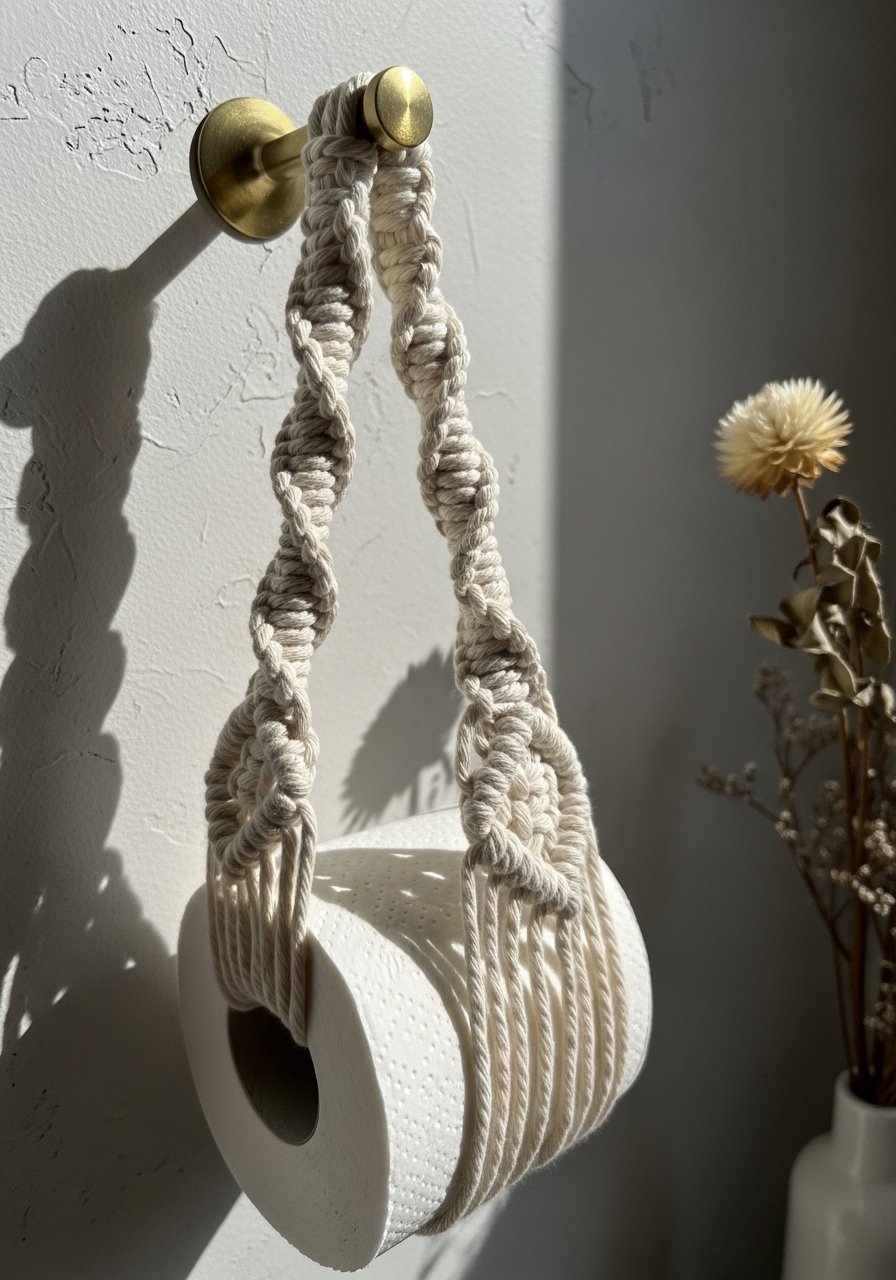
Macramé adds a boho, tactile accent that’s easy and crafty. Use 3mm cotton cord and simple square knots.
Materials
- 3mm cotton macramé cord — 20 yards
- 1 wooden dowel (6" length) or brass ring
- Scissors and ruler
- Measuring tape
- Optional: wooden beads (6mm) — 6 beads
Instructions
- Cut four cords at 3.5 ft each. Fold in half and attach to dowel using lark’s head knots.
- Create square knots in alternating pattern down 8–10 inches to form the pouch.
- Thread beads onto two central cords for decoration if desired.
- Tie off ends with a secure overhand knot and trim to desired fringe length.
- Hang on a hook; loop the roll through the pouch. Practice on scrap cord first if new to knots.
How to Display or Gift It
- Pair with a small basket of extra rolls on a shelf.
- Wrap finished holder in kraft tissue and tie with twine for gifting.
- Store spare cord and beads in a craft organizer for future projects.
- Mini Faux Window Nook with Mirror and Shutters
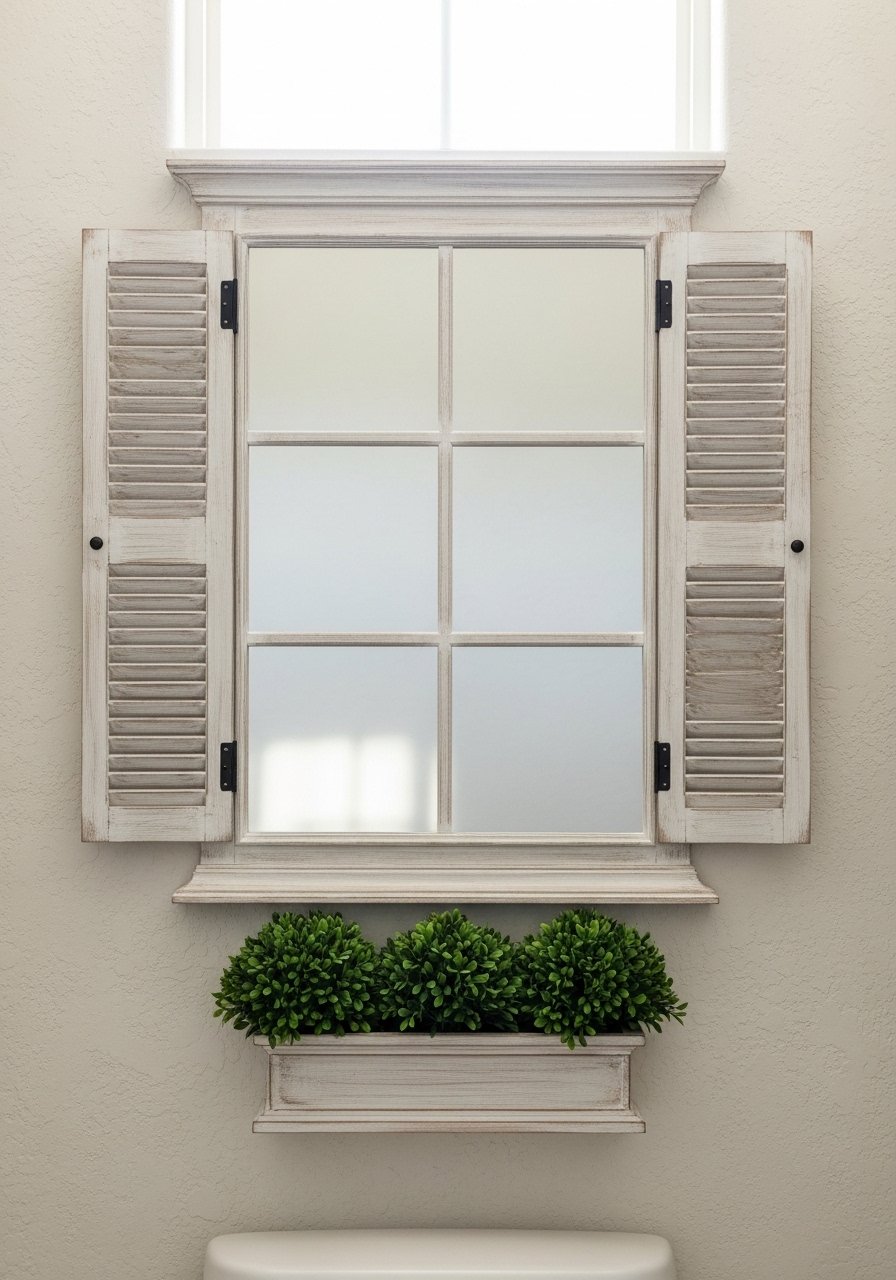
A faux window makes a tiny bathroom feel larger and more charming. Lightweight shutters and a mirror create the look without structural work.
Materials
- 1 rectangular mirror (16" x 12")
- 2 small decorative shutters (10" x 16")
- Picture-frame moulding to create window trim (pre-cut lengths)
- Construction adhesive and small finishing nails
- Small faux boxwood planter (or real if light allows)
- Level and measuring tape
Instructions
- Measure and mark the "window" area; assemble frame using moulding.
- Mount mirror in center using adhesive and nails for safety.
- Attach shutters on each side with small hinges or fixed in place for convenience.
- Install a narrow shelf or planter box below and add faux greenery.
- Step back and adjust for symmetry.
How to Display or Gift It
- Style with seasonal faux greenery for year-round charm.
- Store extra trims in a small flat bin labeled Window Trim for later projects.
- Great as a rental-friendly decorative upgrade.
- Resin Tray Vanity Catchall
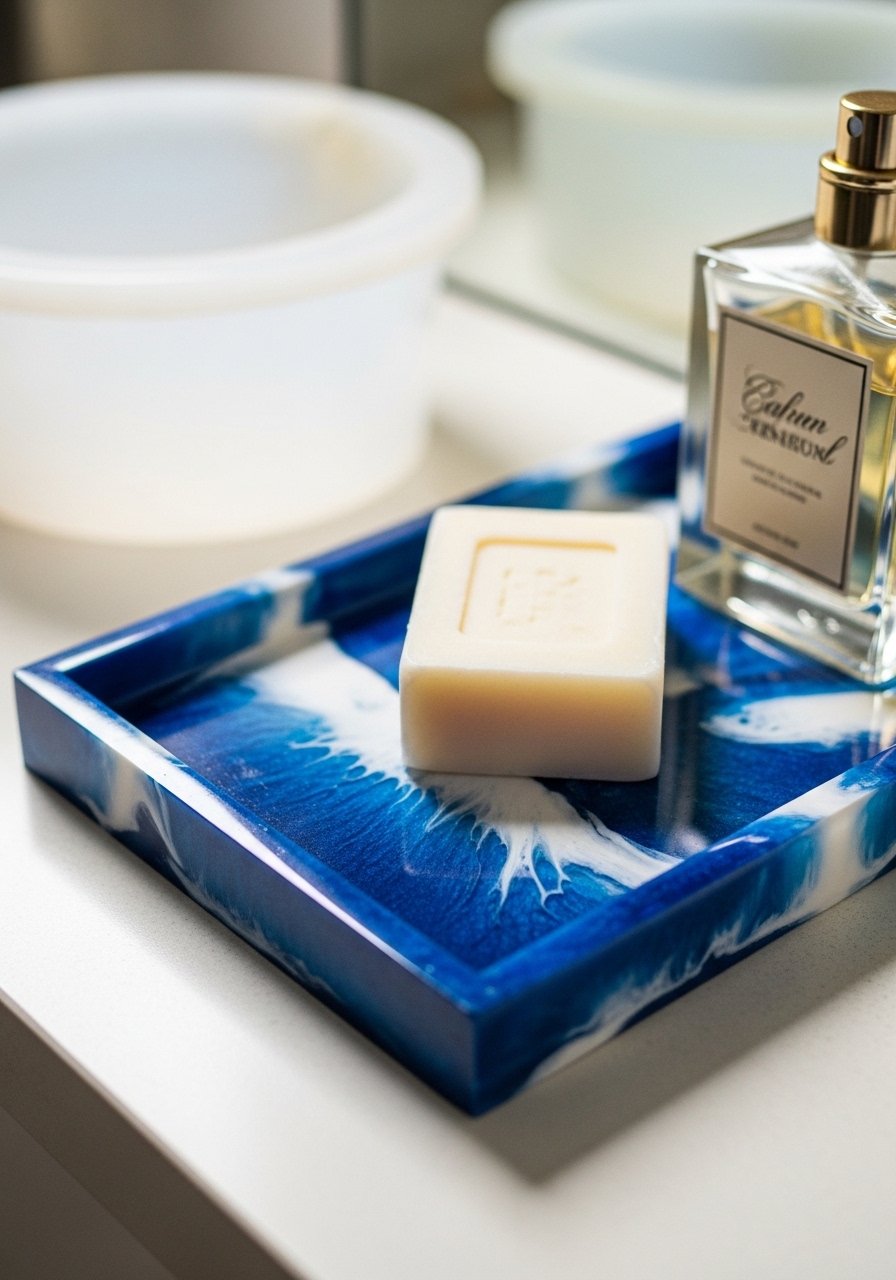
A resin catchall adds a polished, custom accessory to the vanity. Epoxy cures to a durable glossy finish if mixed properly.
Materials
- Silicone tray mold (5" x 7")
- Two-part epoxy resin kit (8 oz)
- Mica powder or alcohol ink (2–3 colors)
- Disposable mixing cups and stir sticks
- Nitrile gloves and respirator mask
- Silicone mat for workspace
Instructions
- Work in a ventilated area. Mix resin per kit instructions (typically 1:1 by volume).
- Divide resin into cups and color with mica powder or ink.
- Pour base layer slowly, use a toothpick to swirl. Fill to mold edge.
- Remove air bubbles with a heat gun at low setting for 5 seconds.
- Let cure 24 hours to hard set; full cure usually 72 hours.
- Demold and sand edges if needed; re-polish with resin gloss if necessary.
How to Display or Gift It
- Use as a soap/pump catchall to protect countertops.
- Wrap in tissue paper and kraft box for gifting.
- Keep unused resin sealed and stored upright in a cool place.
- Sconces Flank Mirror for Ambient Lighting
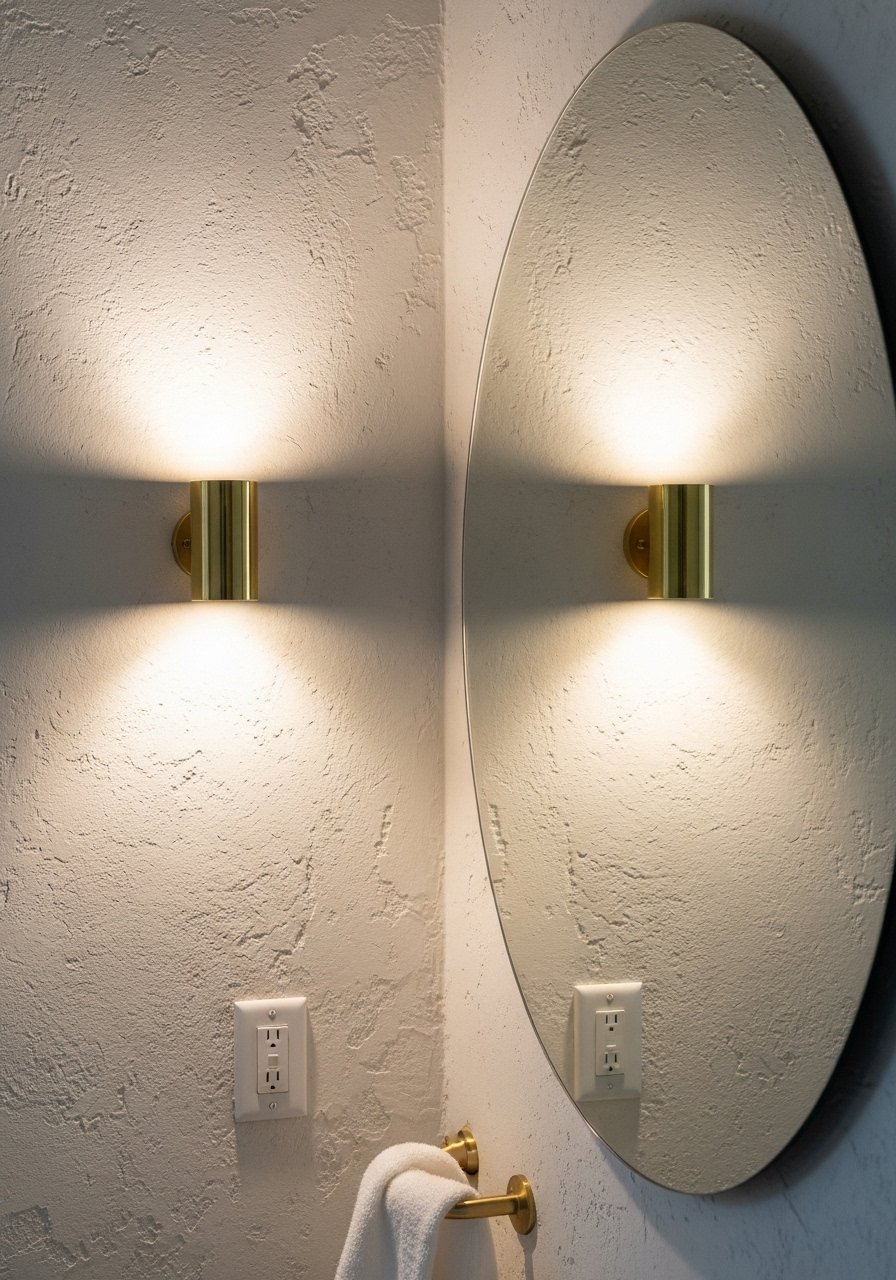
Adding sconces balances lighting and makes the mirror area more flattering. Hardwired installation is best, but plug-in options work for rentals.
Materials
- 2 wall sconces (hardwired or plug-in) with LED bulbs
- Voltage tester and basic wiring tools (if hardwiring)
- Wall anchors and screws for mounting
- Wire nuts and electrical tape (for hardwired)
- Optional: wall switch timer or dimmer
Instructions
- If hardwiring, turn off breaker and confirm with voltage tester.
- Mount bracket per sconce instructions and attach wiring (follow local code or hire electrician).
- For plug-in, route cord neatly and use cable covers or a favorite hide.
- Install LED bulbs and test light. Adjust height so center of fixture is ~66" from floor.
- If installing dimmer, follow dimmer manufacturer instructions and voltage rating.
How to Display or Gift It
- Use warm 2700K LED bulbs for flattering light.
- Pair with a dimmer for evening ambiance.
- Keep spare bulbs and a small screwdriver in a labeled drawer for quick maintenance.
- Space-Saving Pocket Door Paint and Trim
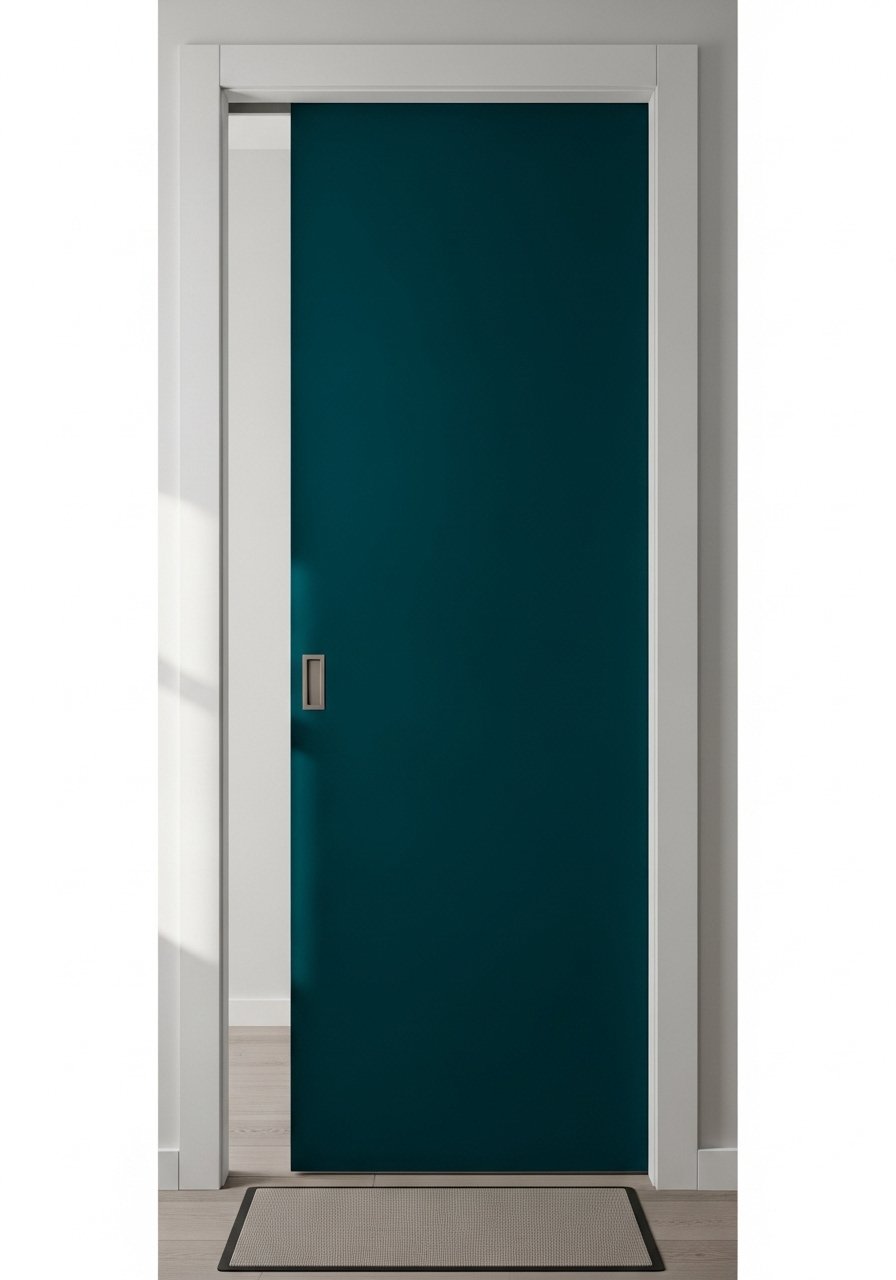
Refreshing a pocket door with paint and new trim gives the whole bathroom a pulled-together look. Use a foam brush for clean edges.
Materials
- 1 quart paint (satin) for door
- New flush pocket door hardware or knob (if replacing)
- Paintable caulk and painter’s tape
- Sandpaper (120–220 grit)
- Foam brush and 2" sash brush
- Drop cloth and small roller
Instructions
- Remove old hardware and clean door. Sand lightly to dull sheen.
- Tape edges and apply two thin coats of paint, 2 hours dry between coats.
- Install new flush hardware per manufacturer; adjust latch alignment.
- Caulk gaps and touch up paint as needed.
- Allow paint to cure 24–48 hours before heavy use.
How to Display or Gift It
- Add a slim hook behind the door for a robe or towel.
- Keep a small paint touch-up pen for scuffs stored near the door.
- A painted pocket door can be a subtle focal point that complements the rest of the room.
- Tiny Plant Shelf with Built-In Grow Light

Bring life into the smallest bathroom with low-light plants and a discreet grow light. A small LED helps plants thrive without a window.
Materials
- 1 narrow floating shelf (18" x 4")
- 1 LED strip grow light (12" with adhesive backing)
- Small potted succulents (3) in 2" pots
- Adhesive cable clips and small power adapter
- Small level and measuring tape
- Watering dropper or mini watering can
Instructions
- Mount shelf level to wall, secure with anchors or into studs.
- Attach LED strip to underside of shelf and route cable to outlet; use cable clips.
- Place succulents with trays to catch water. Water sparingly (every 2–3 weeks).
- Set timer on grow light for 6–8 hours a day. Check plants weekly for signs of overwatering.
- Replace plants seasonally or rotate with faux pots if humidity is high.
How to Display or Gift It
- Use small plant markers and store extra pots in a craft organizer.
- Gift this mini shelf with a set of small succulents in a kraft box.
- Great for renters who want greenery without a full windowsill.
Trust the list of small upgrades here as a playbook — a mix of cosmetic, crafty, and functional moves that suit tight layouts and tight schedules. Try one or three: swap a faucet, add wallpaper, and build a simple shelf, then step back and enjoy how much personality a half bathroom can hold. Save or pin this guide for future mini-renovations, and share the projects with a friend who’s planning their own small-space refresh. Which idea are you most likely to try first — the geometric paint or the resin catchall? And if you’re equipping your craft station, picking up a quality hot glue gun with temperature control will smooth so many of these projects.





