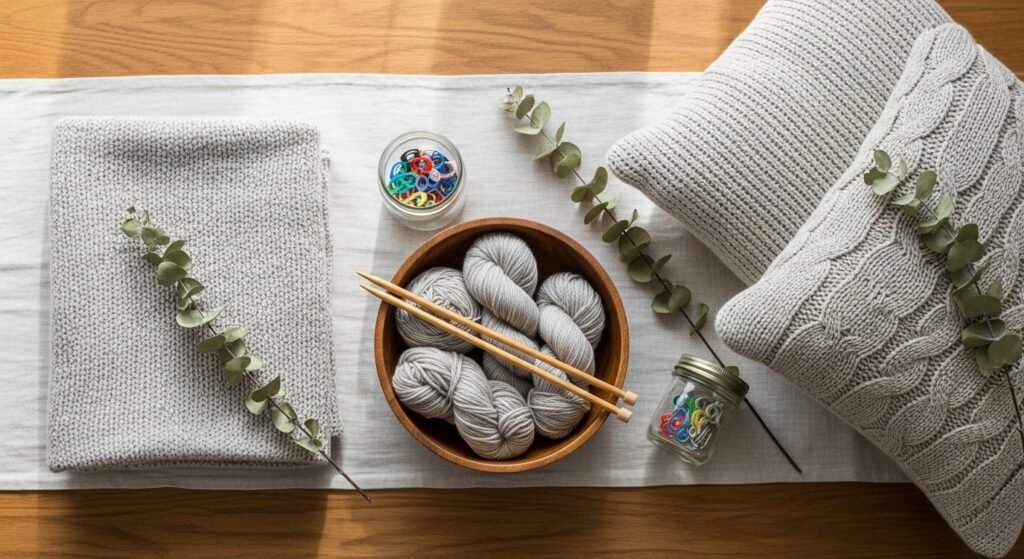
Welcome—if your living room needs a little handmade warmth, you're in the right place. These 29 magical projects cover knitting for beginners home decor with simple stitches, clear measurements, and pretty styles from boho to farmhouse and japandi. You’ll find pillows, baskets, wall hangings, and quick accents that look handmade but are totally doable.
Gather a few basics and you’ll be set: I reach for my favorite US size 10 knitting needles for bulky yarn projects, and a set of blunt tapestry needles makes finishing tidy. Each project below lists exact yarn weights, needle sizes, stitch counts, and step-by-step instructions so you get predictable results. Save this pin, grab a skein, and let’s add handmade charm to every room.
- Chunky Knit Throw Blanket
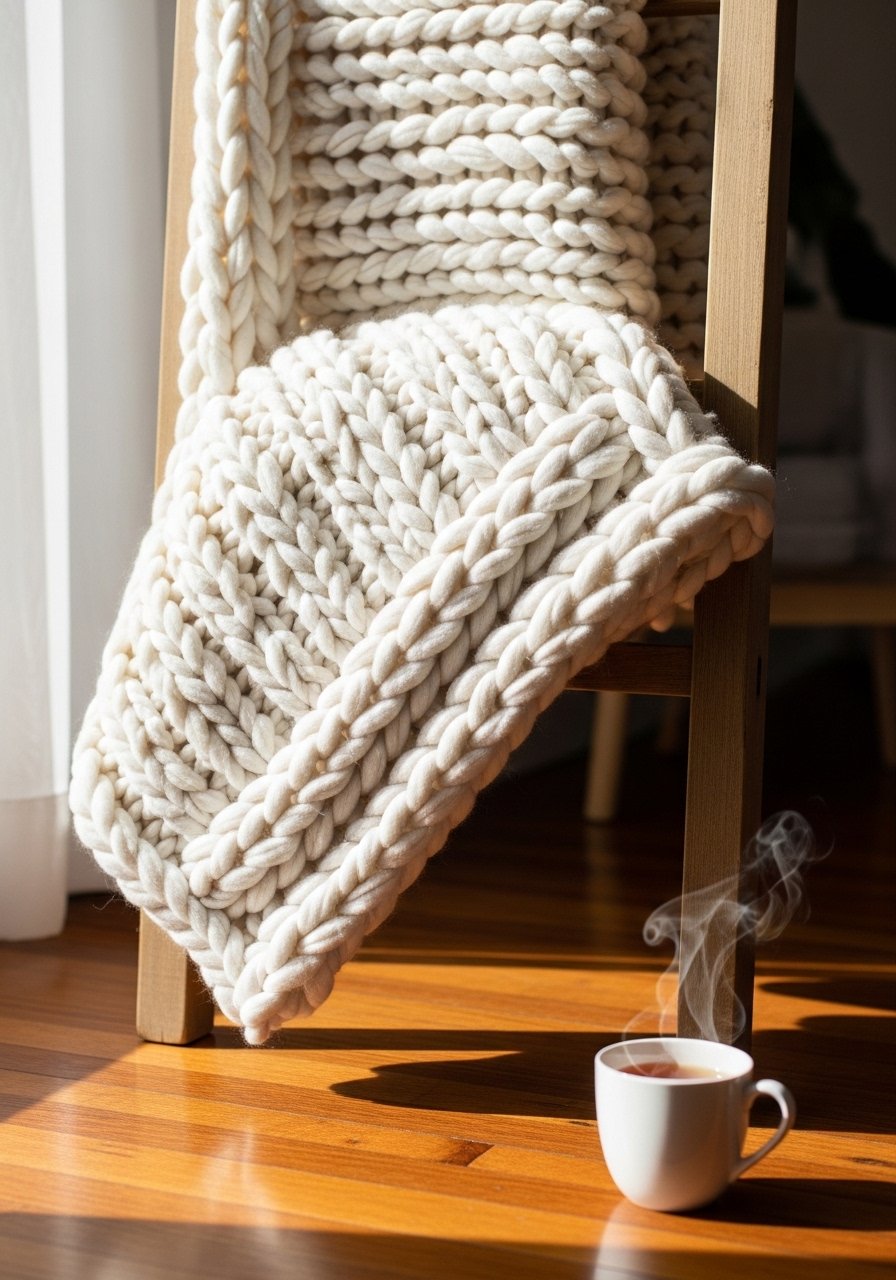
This oversized throw is all about texture and snuggle appeal. Worked in bulky yarn with large needles, it finishes fast and adds instant warmth to a sofa or bed. Beginners love the repetitive garter stitch—it's rhythmic and forgiving. The finished blanket is soft, heavy, and slightly drapey, perfect for cottagecore or modern farmhouse spaces. I use a pair of US size 17 needles for a cozy gauge.
Materials
- 6–9 skeins bulky-weight yarn (approx 900–1,200 yards, e.g., Lion Brand Wool-Ease Thick & Quick)
- US size 17 (12 mm) straight knitting needles
- 1 blunt tapestry needle
- Measuring tape
- Scissors
- Blocking pins (optional)
Instructions
- Cast on 60 stitches loosely with long-tail cast-on on US 17 needles.
- Work garter stitch (knit every row) until blanket measures 50 inches or desired length. Keep tension even.
- Bind off loosely when finished; don’t pull tight or edge will pucker.
- Weave in ends with the tapestry needle; leave about 6–8 inches of tail when finishing each skein.
- Optional: Wet block by laying flat on a blocking mat and pinning edges to shape; allow to dry 24–36 hours.
- Fluff gently after dry; avoid high-heat drying.
How to Display or Gift It
Drape over the arm of a sofa or fold at the end of a bed. For gifting, wrap in kraft paper and tuck a sprig of dried lavender under twine. Store folded in a breathable fabric bin when not in use—avoid plastic to keep fibers fresh. A small wooden ladder stand makes a pretty display and doubles as storage.
- Faux-Fur Knit Pillow Cover
This pillow pairs a simple stockinette panel with a faux-fur trim for a luxe touch. The texture contrast—smooth knit against fluffy fur—reads designer-made, but it’s easy. It's a great first zipper or envelope-back practice piece for beginners who want polished results. I grab a short zipper and my blunt tapestry needles for seaming.
Materials
- 2 skeins worsted-weight yarn (approx 300 yards)
- US size 8 (5 mm) knitting needles
- 1 faux-fur trim strip 20 x 4 inches
- 18 x 18 inch pillow insert
- 1 18-inch zipper or 1 package of fabric hook-and-loop
- Blunt tapestry needle
- Scissors
Instructions
- Cast on 44 stitches on US 8 needles.
- Work in stockinette stitch (alternate knit and purl rows) until piece measures 18 inches.
- Bind off and make a second identical panel.
- Lay panels right sides together; sew three sides with mattress stitch using tapestry needle, leaving one side open.
- Attach faux-fur trim along the open edge with small whipstitches; insert cushion and either sew zipper in or stitch closed with hidden stitches.
- Clip stray fibers from faux fur and gently brush.
How to Display or Gift It
Pair with a textured throw and a rattan tray on your sofa for a cozy vignette. For gifting, slip into a kraft box with tissue paper. Store pillow covers flat in a breathable bin to avoid crushing fur.
- Quick Knit Tassel Wall Hanging — knitting for beginners home decor
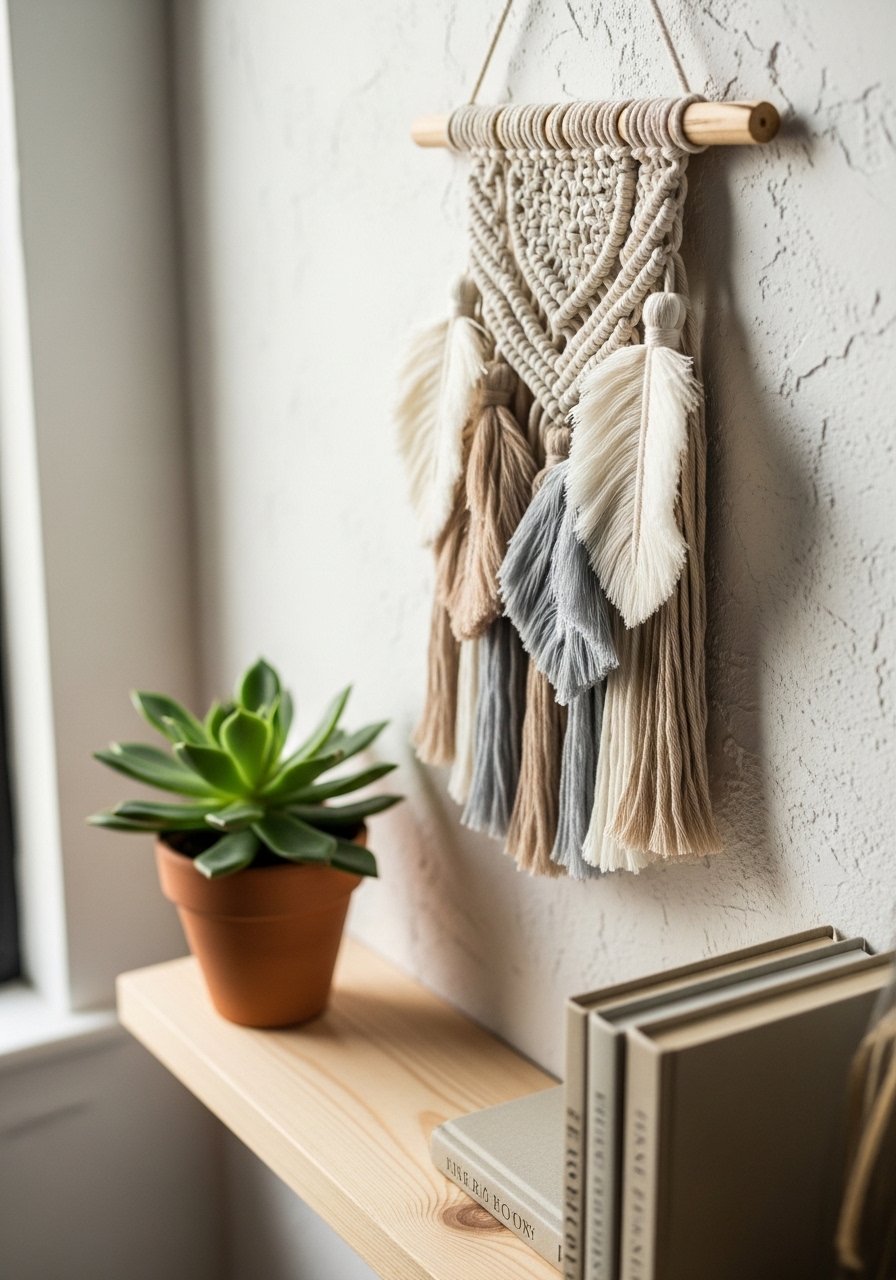
A compact wall hanging with chunky tassels gives a handmade focal point without complicated stitches. It’s a gentle introduction to shaping and attaching elements to a dowel—very on-trend in boho and cottagecore rooms. Use an embroidery hoop or wooden dowel and your scissors with a fine tip for crisp tassels.
Materials
- 150 yards bulky or chunky yarn (single color or two)
- Wooden dowel 10–12 inches
- US size 11 (8 mm) knitting needles or arm knit loops
- Sharp scissors
- Measuring tape
- Tapestry needle
Instructions
- Cast on 20 stitches and work garter stitch for 6 inches, or make a 10-inch arm-knit strip.
- Bind off and leave a long tail to attach to the dowel.
- Wrap tassels: cut yarn into 6-inch lengths, fold sets of 8–10 strands and tie at midpoint to form tassels.
- Attach the knitted panel to the dowel by sewing the long tail around it and hiding stitches with a tapestry needle.
- Trim tassels to even length and fluff by gently combing with fingers.
- Hang by a short yarn loop tied to the dowel; adjust tassel spacing.
How to Display or Gift It
Hang above a bedside table or over a small gallery wall. Tie a dried flower sprig to the dowel for a seasonal flourish. For gifting, include a card with care instructions to avoid snagging.
- Simple Knit Plant Cozy
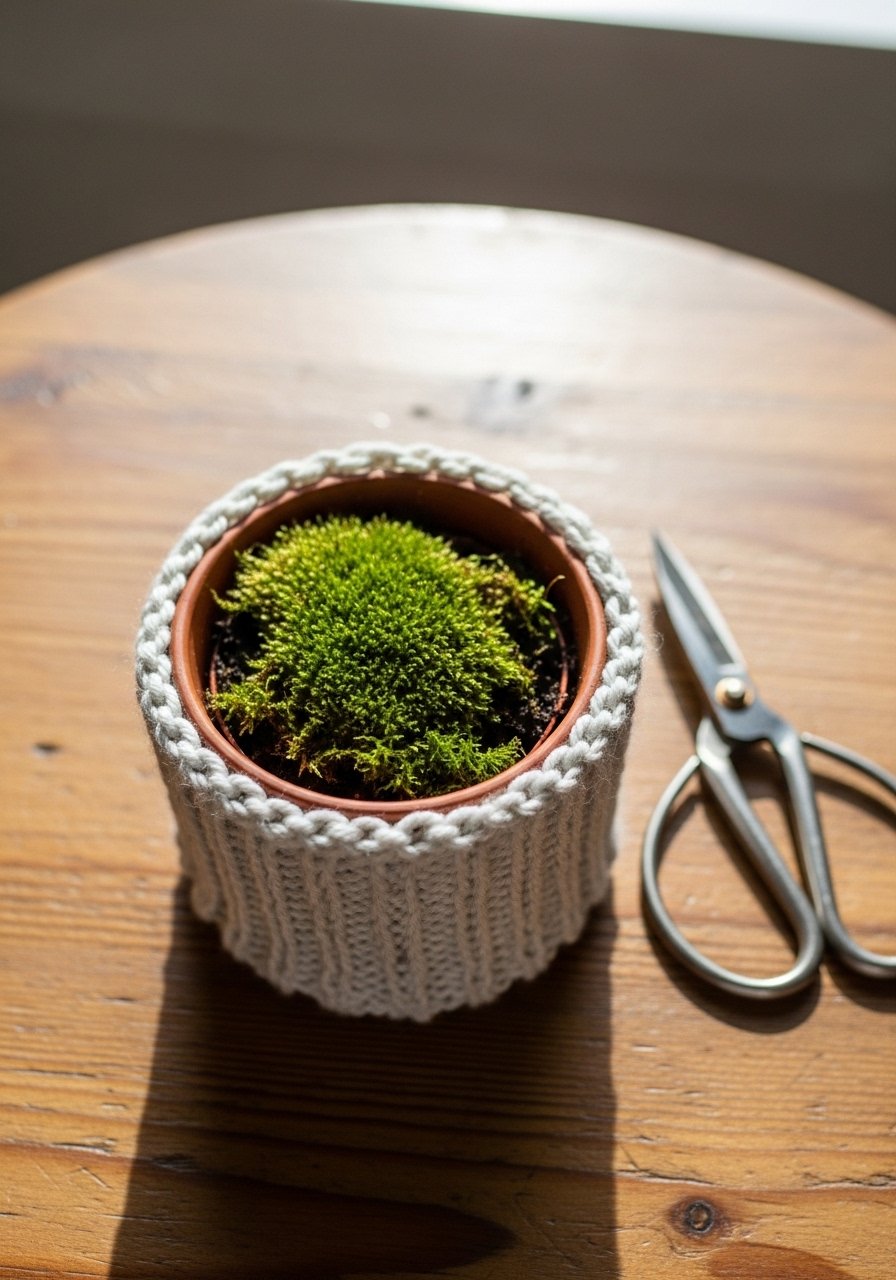
A snug plant cozy updates a thrifted pot and gives greenery a soft base. Knit in worsted yarn with ribbing for stretch, it fits snugly and can be swapped seasonally. The knit adds a tactile layer and looks lovely in a grouping of pots. I use a set of stitch markers when shaping.
Materials
- 50–100 yards worsted-weight yarn
- US size 6 (4 mm) circular needles 16-inch or DPNs
- Stitch markers
- Tapestry needle
- Scissors
- Small terracotta pot (4–6 inch diameter)
Instructions
- Cast on 56 stitches in the round.
- Work k2, p2 ribbing for 1.5 inches.
- Switch to stockinette in the round (knit every round) until piece measures 6 inches from cast-on.
- Decrease round: k8, k2tog repeat to shape base until cozy measures slightly shorter than pot height.
- Bind off, weave in ends, and slip over the pot.
- Tip: if pot will be watered directly, use a plastic liner to protect the knit.
How to Display or Gift It
Cluster several plant cozies on a window sill in varying colors. For gifting, include a small plant and pot in a kraft bag. Store flat in a basket when not in use.
- Knitted Shelf Garland

This cheerful garland mixes small knitted motifs and pom-poms to brighten shelves or mantels. You can make motifs in different shapes—hearts, stars, or leaves—using leftover yarn. A small pom-pom maker speeds things up.
Materials
- Varied leftover yarn (25–75 yards per motif)
- US size 6 (4 mm) needles for motifs
- Pom-pom maker (optional)
- Tapestry needle
- Measuring tape
- Scissors
Instructions
- Knit small squares: cast on 10 stitches, garter stitch 6–8 rows, bind off.
- Make 8–12 motifs in assorted colors.
- Create 6–8 pom-poms using a pom-pom maker or by wrapping yarn around cardboard; trim to shape.
- Arrange motifs and pom-poms on a 3-foot length of yarn and sew in place.
- Tie small loops at each end for hanging.
- Finish by trimming any stray strands.
How to Display or Gift It
Drape along a bookshelf, across a headboard, or on a party table. Roll up and store in a small craft organizer until next season. This makes a sweet handmade party decoration when paired with kraft gift wrap.
- Ribbed Knit Lumbar Pillow
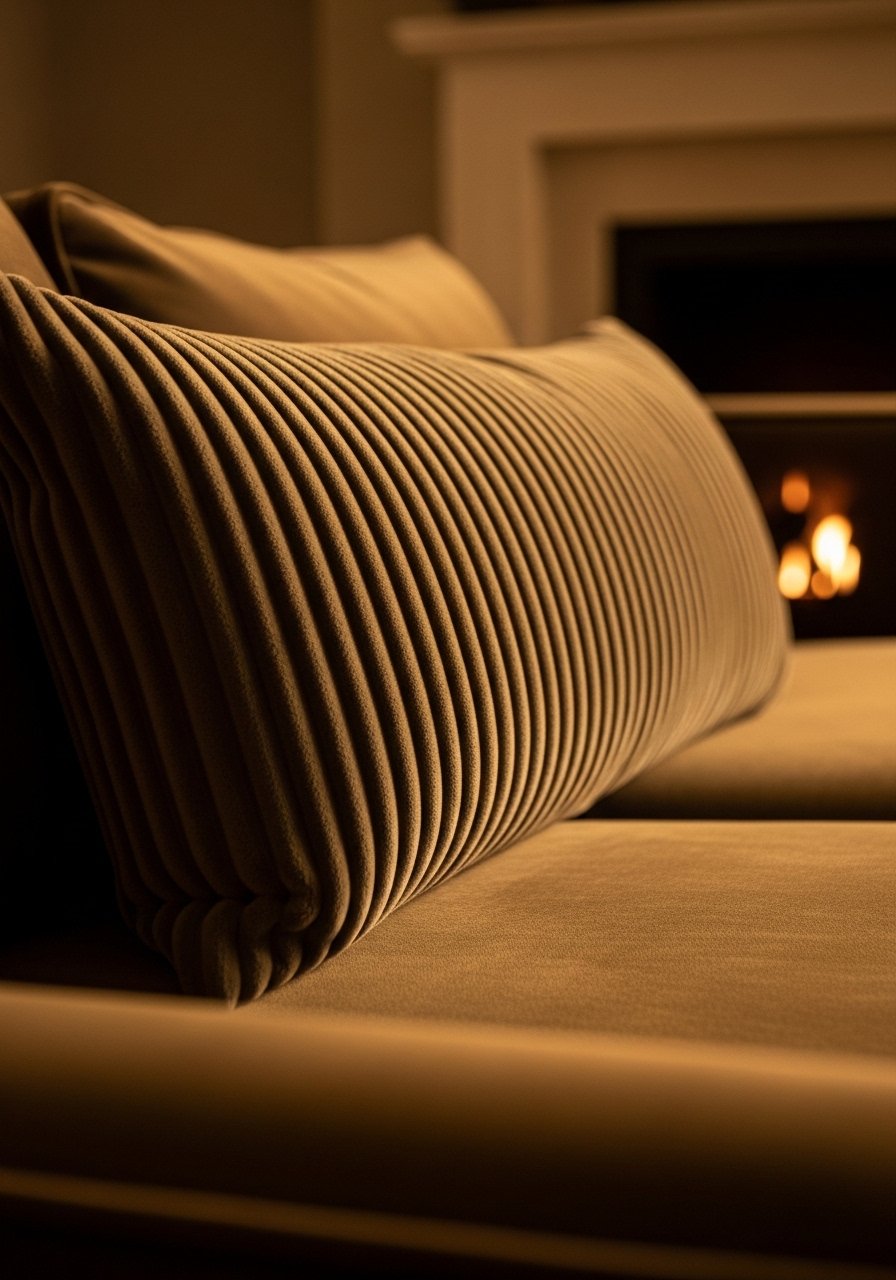
A long lumbar pillow uses simple rib stitch for a tailored look. The vertical ribs add a refined texture that fits modern, japandi, and farmhouse palettes. It’s a satisfying first pillow project that teaches consistent rib tension. I like using fabric glue for hidden seams when mobility is limited.
Materials
- 4 skeins worsted-weight yarn (approx 600 yards)
- US size 7 (4.5 mm) needles
- 18 x 12 inch lumbar pillow insert
- Tapestry needle
- Scissors
- Measuring tape
Instructions
- Cast on 40 stitches.
- Work k2, p2 rib until piece measures 12 inches.
- Bind off in pattern, making a second identical panel.
- Sew panels together along two long edges with mattress stitch, insert pillow, and close remaining edge with hidden stitch or a few whipstitches.
- Weave in ends and block lightly if edges curl.
- Let rest 1–2 hours before fluffing.
How to Display or Gift It
Place across the middle of a sofa or bed to add shape. For gifting, include a small care note: spot clean yarn with a mild detergent and reshape while damp. Store flat to avoid creased ribs.
- Knitted Table Runner
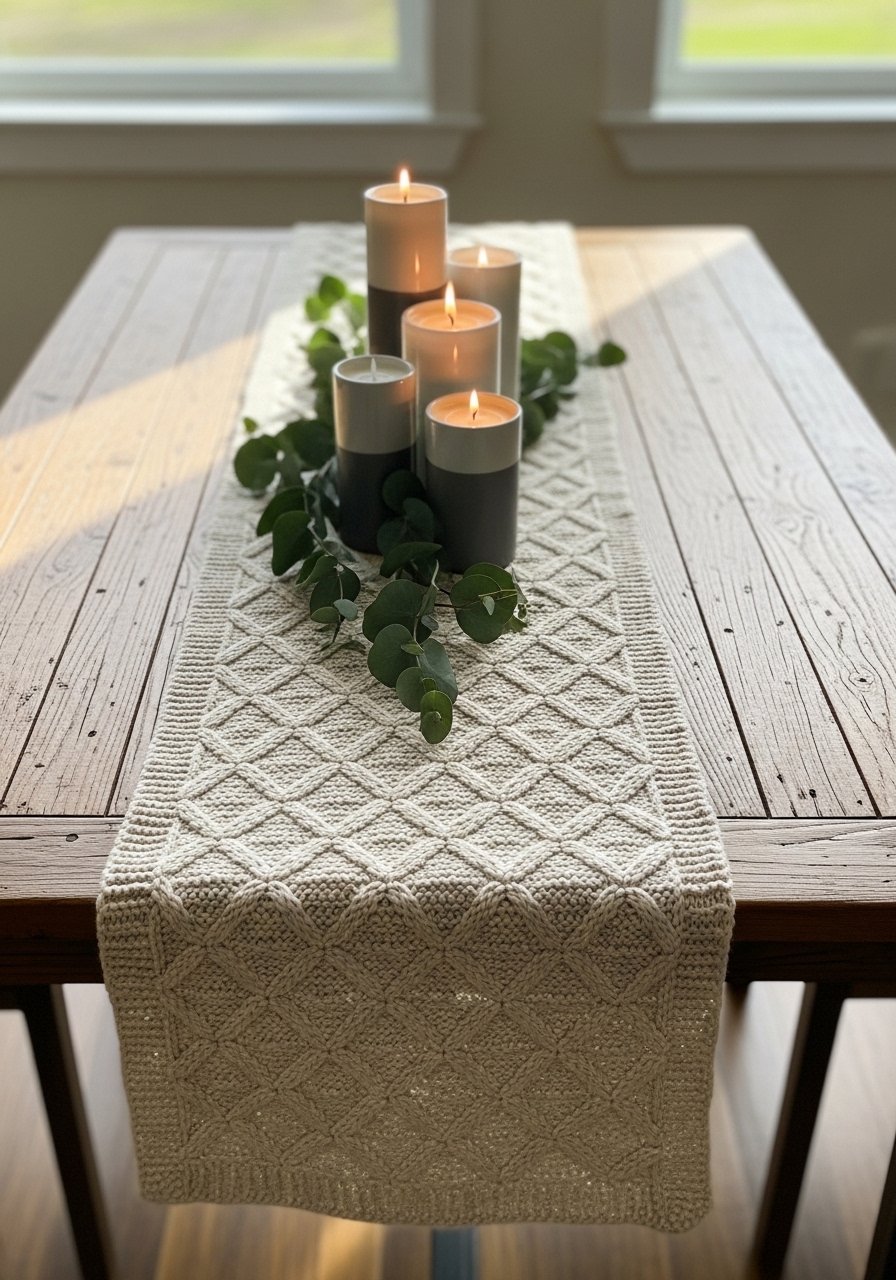
A textured table runner softens wood surfaces and brings a handmade feel to dining areas. Use aran weight yarn for body and a seed-stitch border for visual interest. Blocking gives crisp edges—lay flat for 24 hours to set.
Materials
- 5 skeins aran-weight yarn (approx 800 yards)
- US size 9 (5.5 mm) needles
- Measuring tape
- Blocking mat and pins
- Tapestry needle
- Scissors
Instructions
- Cast on 48 stitches.
- Work border: seed stitch 4 rows.
- Continue with pattern: Row A: k2, p2, repeat; Row B: k across; alternate for diamond texture for 60 inches.
- Finish with seed stitch border 4 rows and bind off.
- Wet block and pin to shape; allow to dry 24 hours.
- Trim any uneven ends and weave in tails.
How to Display or Gift It
Center on your dining table with candles and ceramic plates. Store rolled in a cotton bag to protect the texture. Runner makes a thoughtful housewarming gift when paired with a wooden salad bowl.
- Knitted Baskets (set of 2)
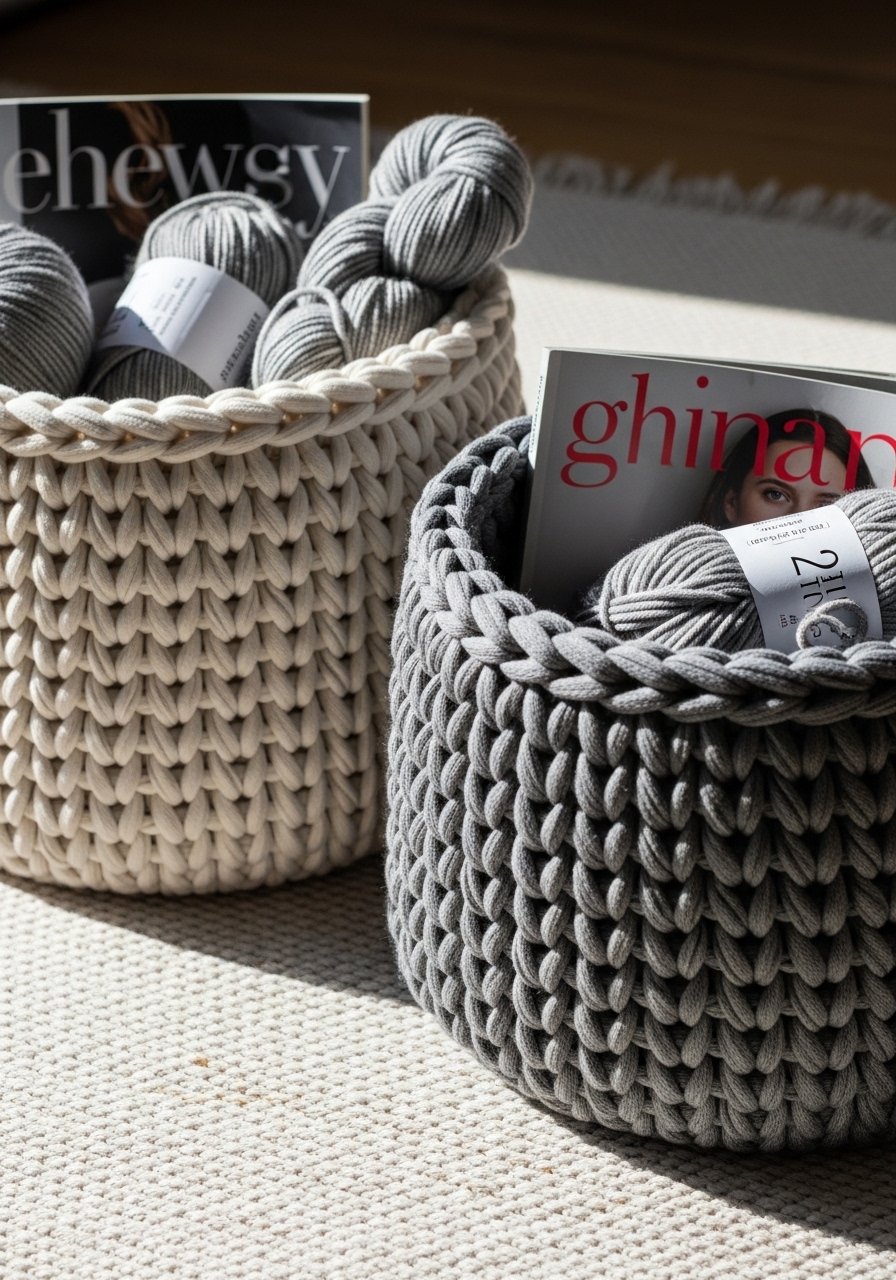
Knit sturdy baskets in chunky yarn for corralling remotes, yarn, or kid’s toys. Use tighter tension to create a firm fabric and fold the top edge for structure. These are perfect for small storage and styling collections.
Materials
- 2–3 skeins super bulky yarn per basket (approx 200–300 yards)
- US size 17 (12 mm) circular needles or straight needles
- Tapestry needle
- Measuring tape
- Scissors
- Optional: plastic canvas insert for structure
Instructions
- Cast on 30 stitches.
- Work in garter stitch in the round or flat until basket height is 8–10 inches.
- For base, pick up 30 stitches and knit base in garter for a firm bottom.
- Fold top 1.5 inches inward and sew with tapestry needle to form rim.
- Optional: Insert plastic canvas cut to base measurements for extra structure.
- Trim loose ends and reshape.
How to Display or Gift It
Use on a shelf to corral throws or on a coffee table as a stylish catch-all. Stack small baskets inside a craft storage tray for neatness. For gifting, include a small linen sachet inside.
- Knit Cozy Candle Sleeve
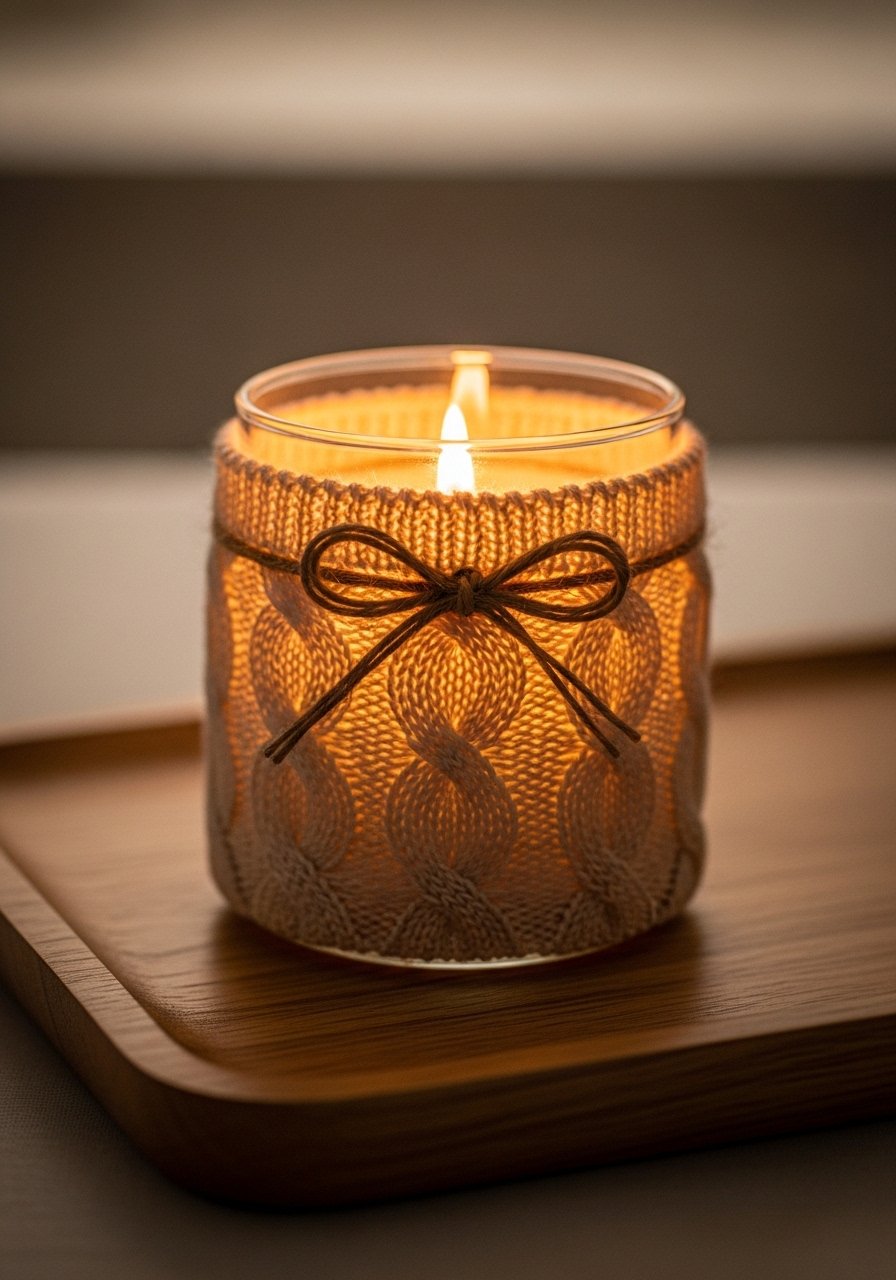
A little knitted sleeve turns plain jar candles into cozy accents and hides mismatched labels. Use heat-safe caution—never let yarn contact flame. This project is fast and makes a sweet small gift.
Materials
- 20–50 yards worsted yarn
- US size 6 (4 mm) double-pointed needles or circulars for small circumference
- Tapestry needle
- Scissors
- Glass jar candle (with lid)
- Optional: jute twine for bow
Instructions
- Measure candle circumference and cast on appropriate stitches to fit snugly.
- Work 1 inch ribbing (k2, p2), then stockinette until cover reaches candle height minus 0.5 inch.
- Bind off, seam edges with mattress stitch.
- Slip over candle jar—keep yarn above flame level and never burn unattended.
- Add jute twine bow and a dried citrus slice for scent accent.
- When candle is finished, remove sleeve and wash gently by hand.
How to Display or Gift It
Group several cozy candles on a tray to style a coffee table. Wrap as a small hostess gift with a note about burning safety. Store sleeves flat in a small craft organizer when not in use.
- Knit Coasters (set of 6)
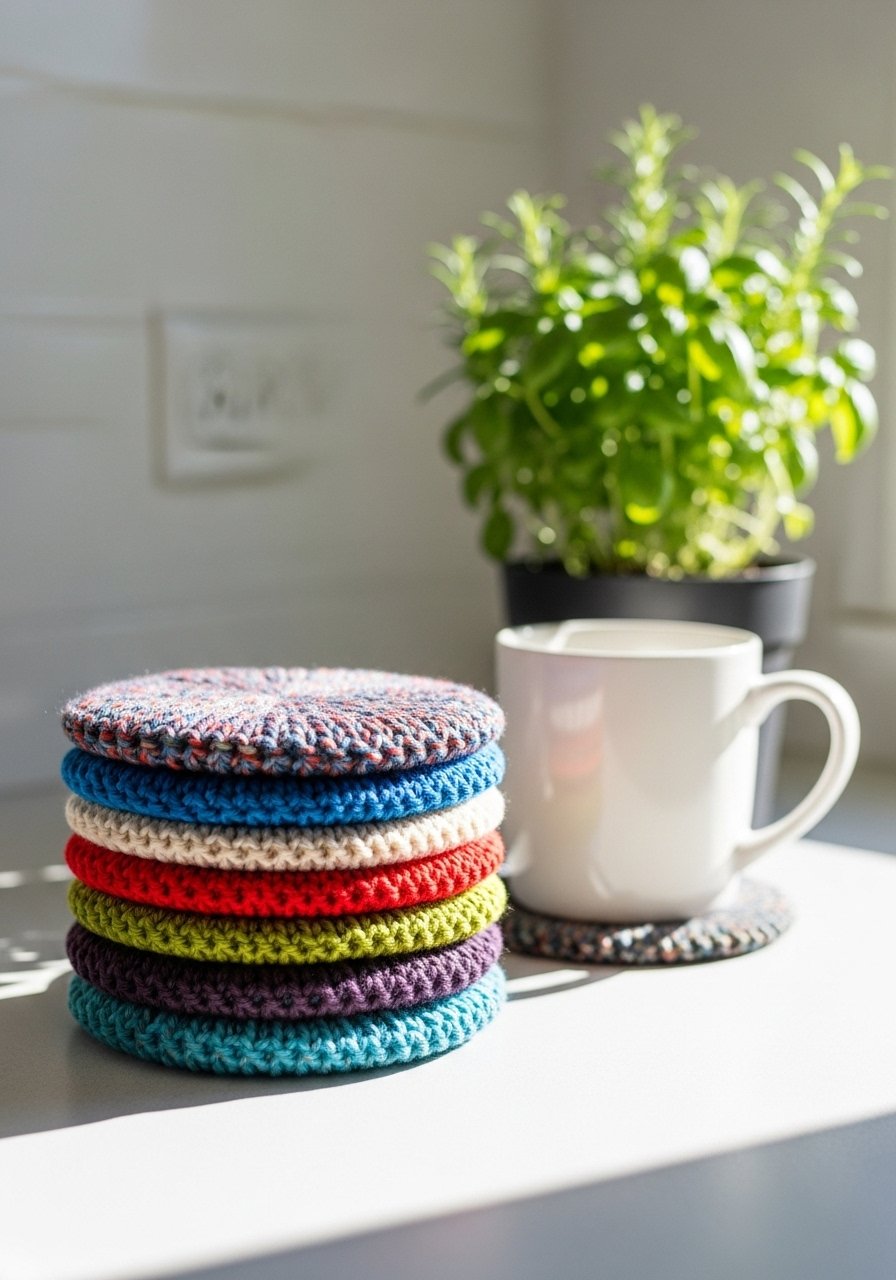
Knit coasters are quick, practical projects that let you experiment with colors and stitch patterns. Use cotton yarn for absorbency and durability. Make a set in under two hours.
Materials
- 100 yards cotton worsted-weight yarn
- US size 7 (4.5 mm) needles
- Tapestry needle
- Scissors
- Blocking mat and pins
Instructions
- Cast on 36 stitches, knit garter stitch for 12 rows.
- Pick up stitches around edges and work in rounds to shape a neat circle, or knit square coasters by binding off after desired size.
- Block on a mat for 2–4 hours to flatten and set shape.
- Weave in ends and trim.
- For extra absorbency, make double-layered coasters by knitting two squares and seaming them together.
- Wash by hand or machine on gentle cycle.
How to Display or Gift It
Stack on a small wooden coaster holder or tie with ribbon as a housewarming gift. Store flat in a drawer or basket to avoid creases.
- Knit Market Tote
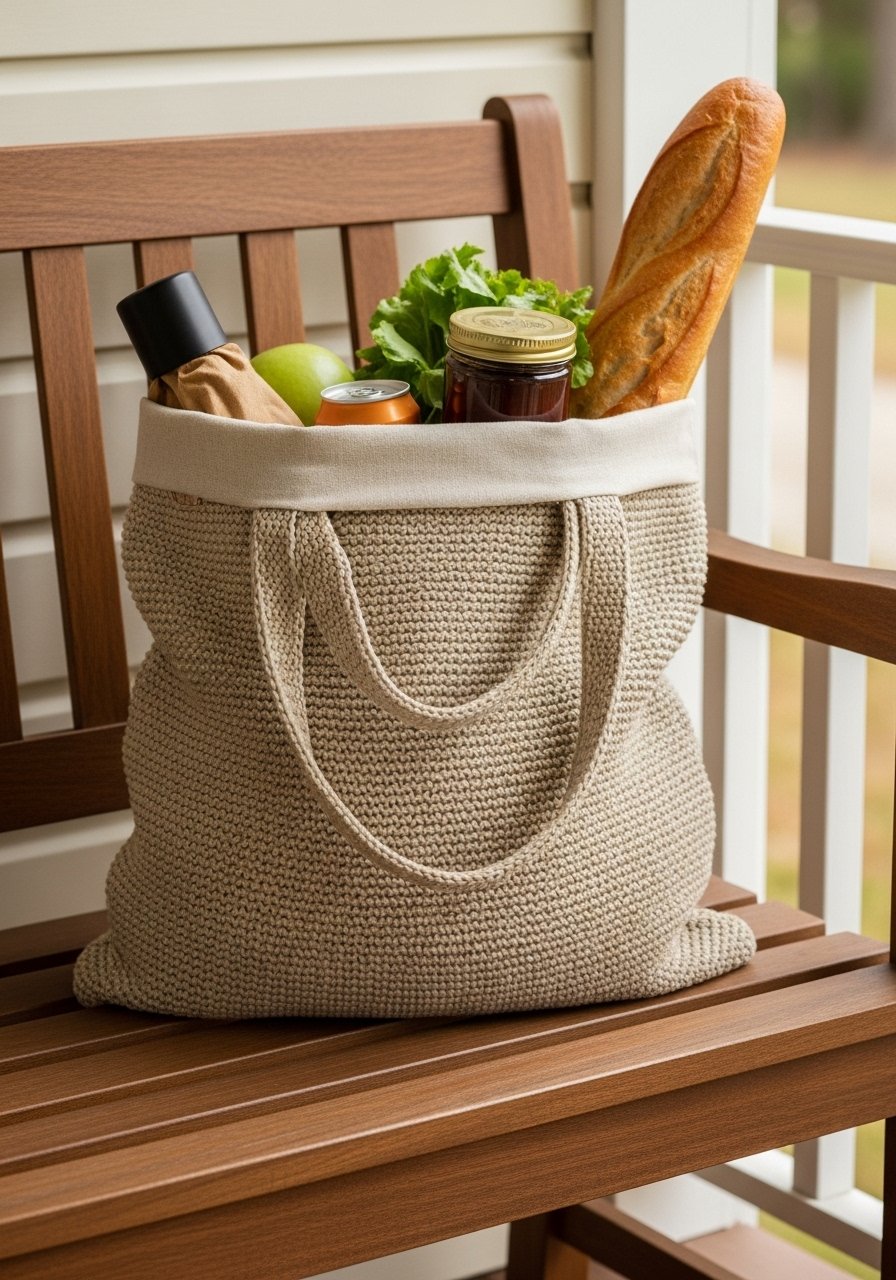
A market tote uses sturdy yarn and simple knit panels to carry produce or library books. Add a fabric lining for durability and to prevent stretching. A sewing machine speeds lining installation; I often use my basic sewing machine for quick finishing.
Materials
- 400–600 yards worsted or aran-weight yarn
- US size 8 (5 mm) needles
- Fabric for lining: 1/2 yard cotton canvas
- Sewing needle or machine
- Fabric scissors
- Tapestry needle
- Measuring tape
Instructions
- Cast on 60 stitches and knit in stockinette or seed stitch until bag measures 14 inches.
- Make a second panel identical for the back.
- Seam sides and base with mattress stitch, leaving top open.
- Measure and sew a cotton canvas lining to 13 x 15 inches and attach to the inside top with small stitches.
- Create handles: pick up 8 stitches at handle areas and knit 16-inch straps, or knit flat straps and sew on.
- Reinforce handles with extra stitching; test with weight before full use.
How to Display or Gift It
Use as an everyday tote or market bag. For gifting, tuck in a wooden produce brush or a set of mesh produce bags. Store folded in a closet.
- Knit Candle Mat — knitting for beginners home decor
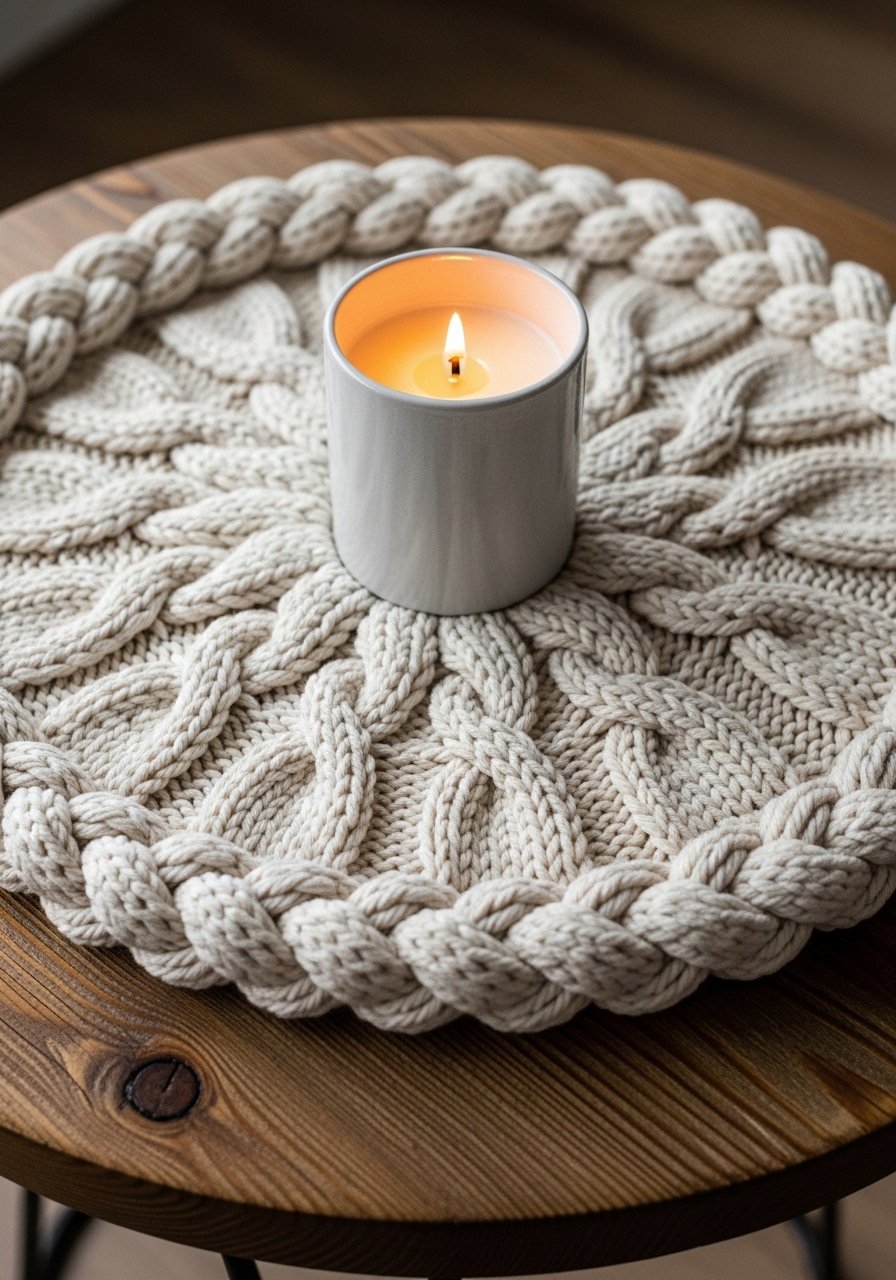
A candle mat protects surfaces and anchors a candle visually. Knit in cotton for heat resistance and weave in a backing if desired. It’s a fast, satisfying project that shows off simple patterns.
Materials
- 50–100 yards cotton yarn
- US size 7 (4.5 mm) needles
- Tapestry needle
- Scissors
- Optional: iron-on cork backing for extra protection
Instructions
- Cast on 40 stitches, work in garter or star stitch until piece measures 6–8 inches diameter.
- For a round, pick up stitches and work decreases evenly to shape circle.
- Bind off, weave in ends, and press flat.
- Optional: iron-on a small cork circle to the back using a low heat setting.
- Let any glue or backing cure 24 hours before placing hot candle.
- Test with a cool candle first to ensure no snagging.
How to Display or Gift It
Place under pillar candles or a vase on a console table. Wrap as a small gift with a matchbox and candle. Stack several mats for seasonal color swaps.
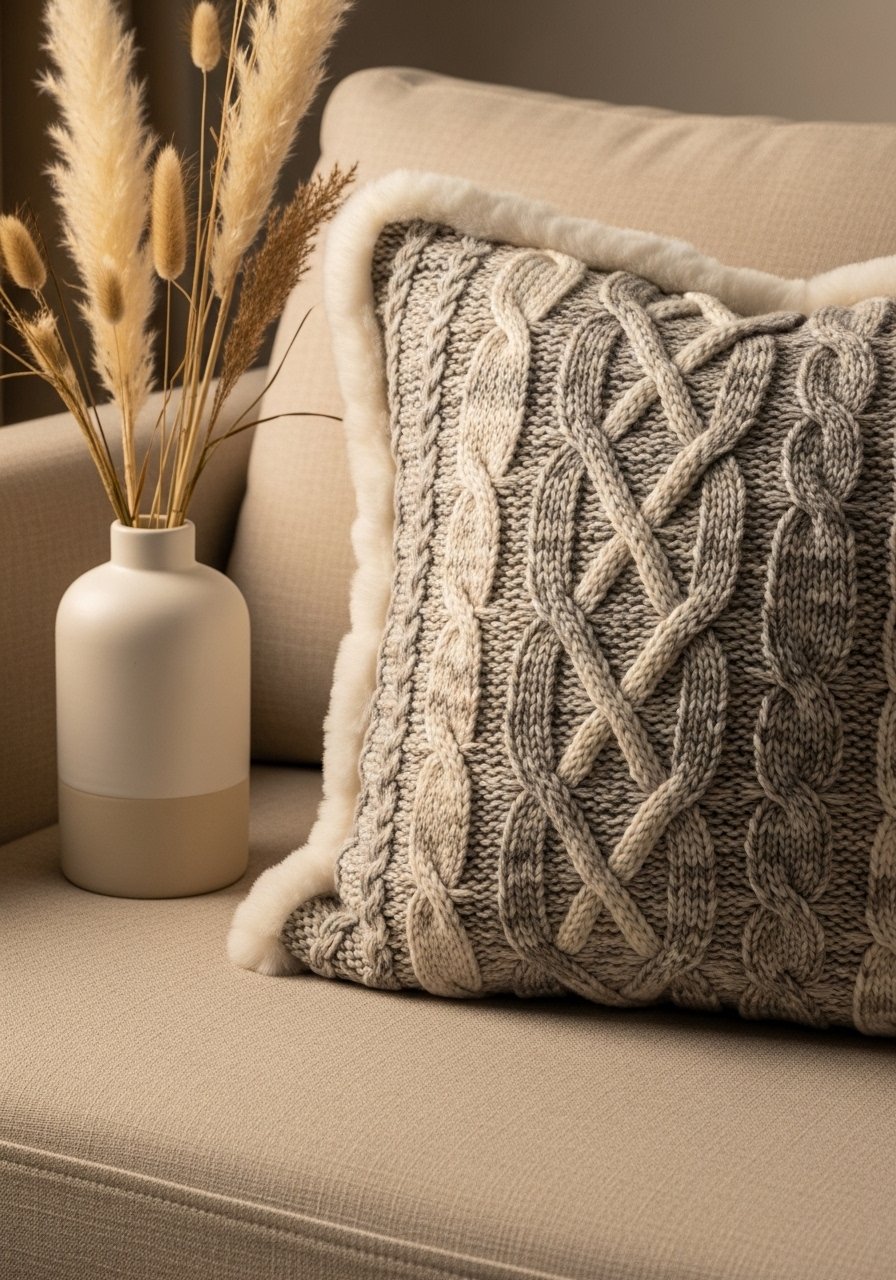
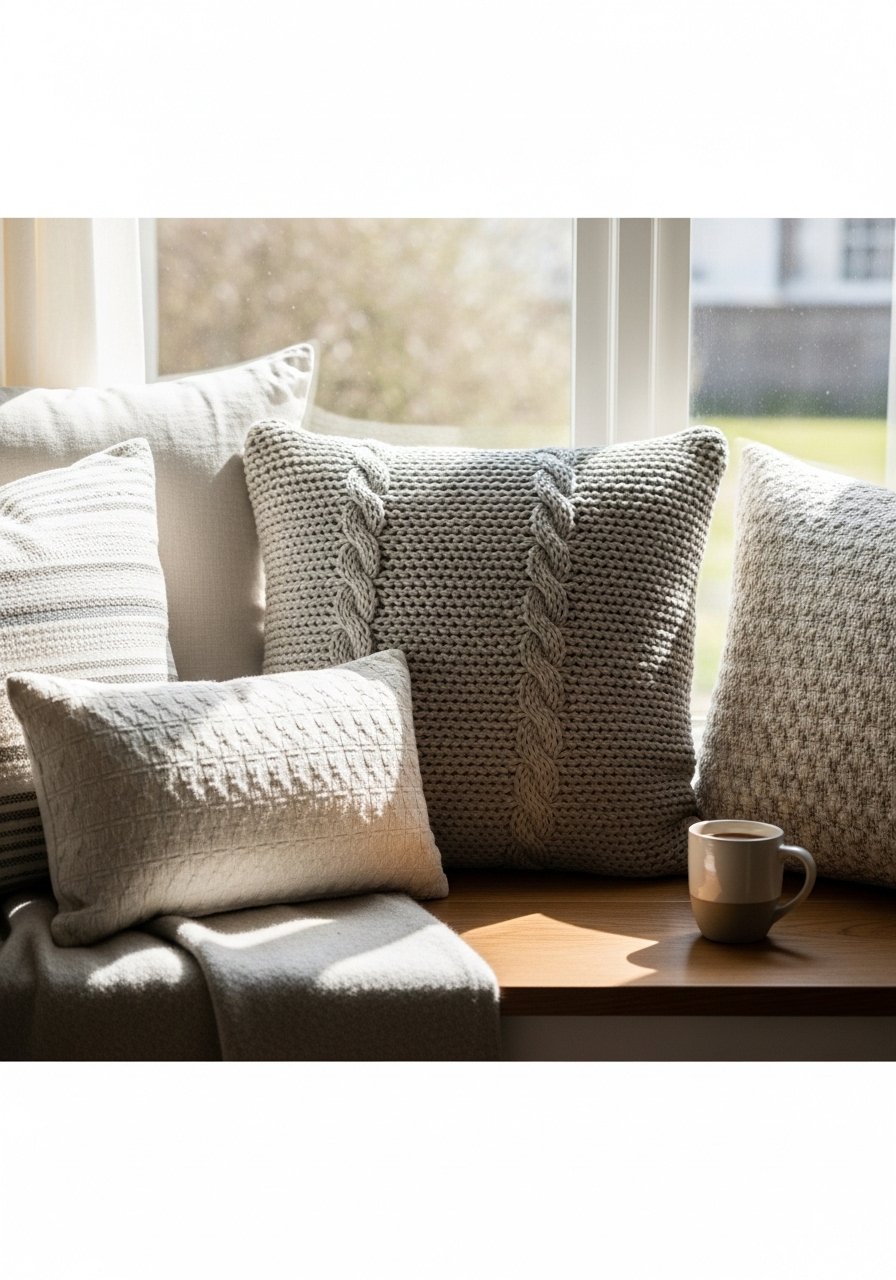
- Cable Knit Throw Pillow
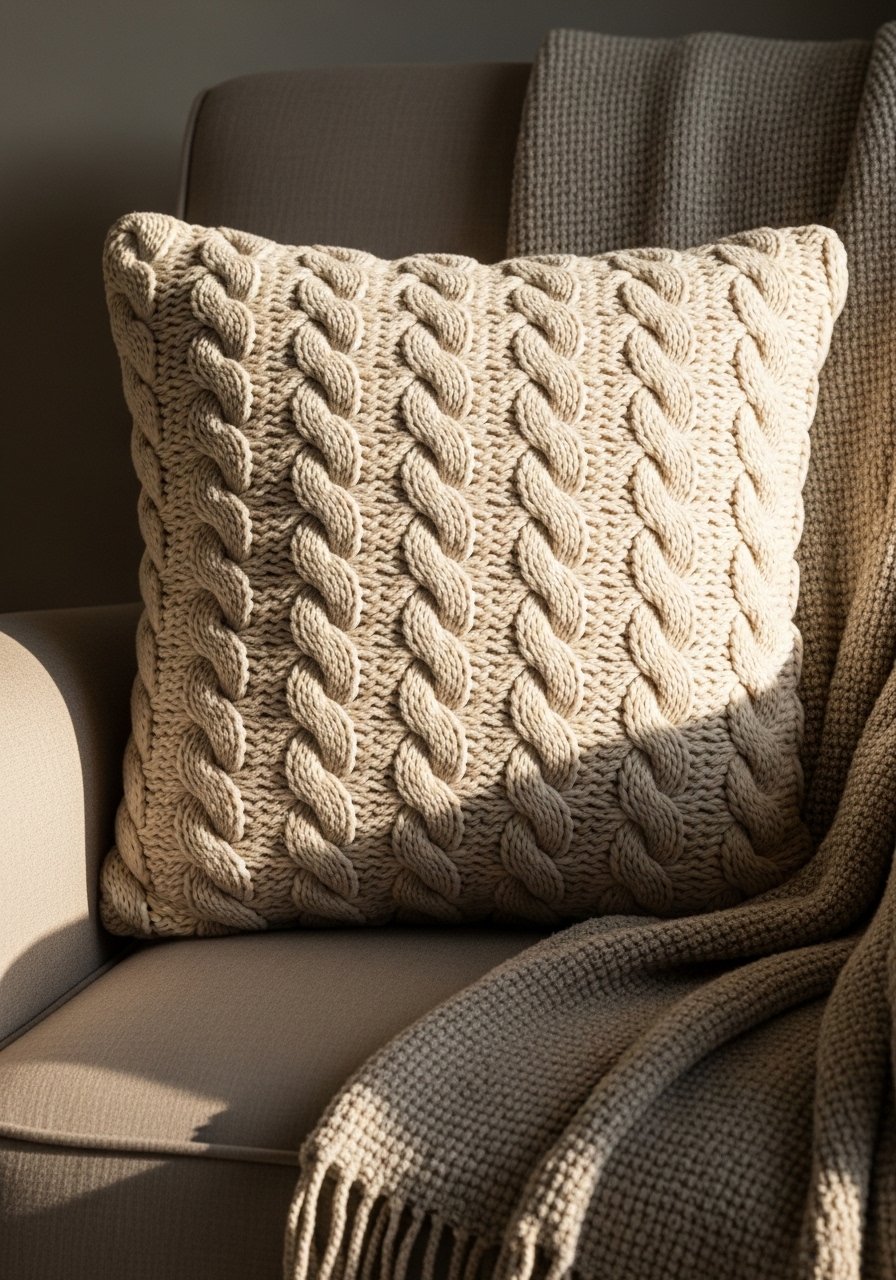
Cables add an impressive look and teach stitch patterns beyond knits and purls. Use a cable needle for twists and a medium-weight yarn. This pillow suits cozy farmhouse or classic interiors.
Materials
- 4 skeins worsted yarn (approx 600 yards)
- US size 8 (5 mm) needles
- Cable needle
- 18 x 18 inch pillow insert
- Tapestry needle
- Scissors
Instructions
- Cast on 44 stitches.
- Work a 6-row cable pattern: follow chart or Row 3: slip 3 sts to cable needle, hold behind, k3, then k3 from cable needle.
- Repeat pattern until piece measures 18 inches.
- Make second panel or work back as a single piece and seam.
- Sew edges, insert pillow, and finish seam using mattress stitch.
- Block lightly 2–3 hours if needed and fluff.
How to Display or Gift It
Pair with a neutral velvet pillow for texture contrast. For gifting, pack pillow cover with a ribbon and care card. Store folded in a breathable bin.
- Knit Wine Bottle Cozy
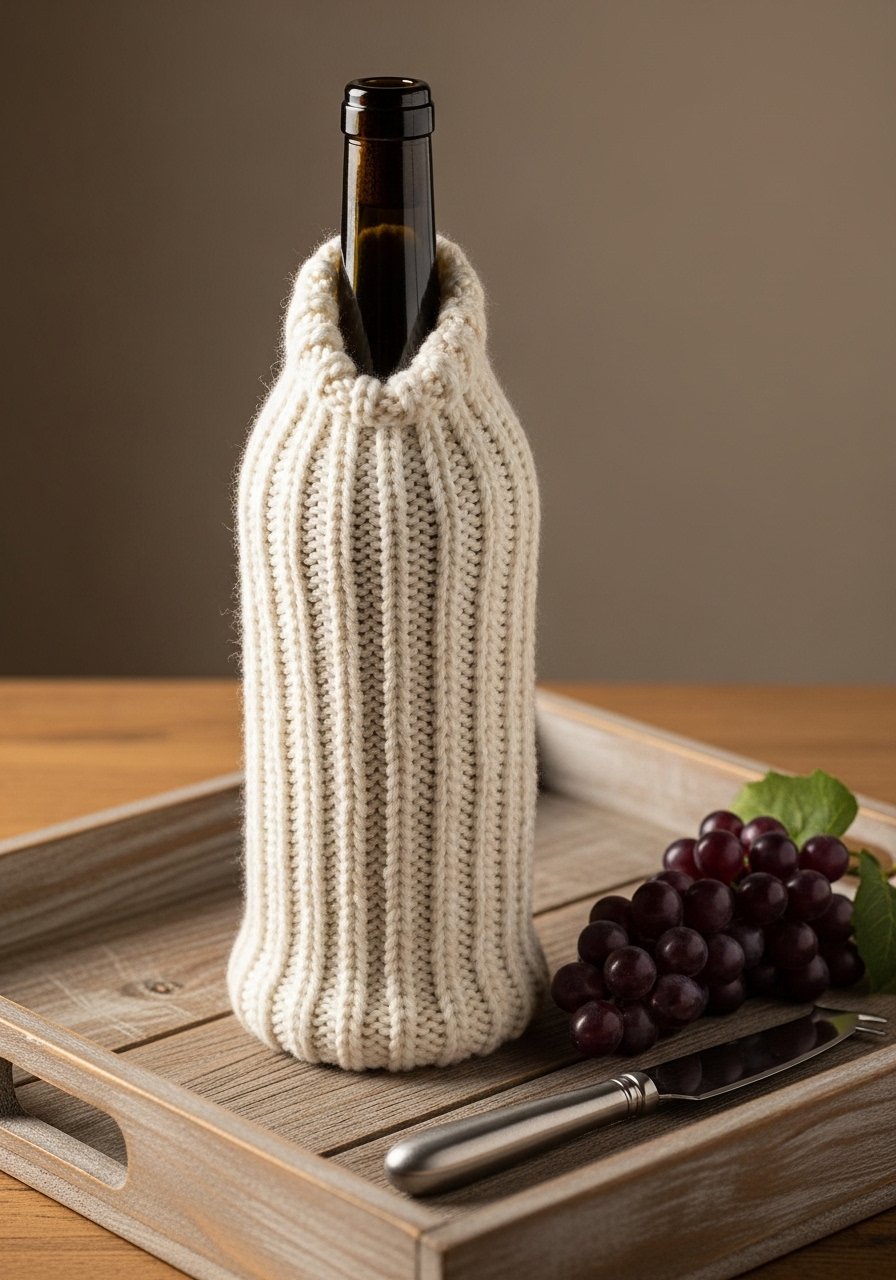
This slim cozy wraps a bottle for hostess gifts. Add a button or ribbon closure for easy removal. Cotton or acrylic yarn works fine.
Materials
- 25–50 yards worsted yarn
- US size 6 (4 mm) needles or DPNs
- Tapestry needle
- 1 decorative button
- Scissors
Instructions
- Cast on 36 stitches in the round.
- Work 2 inches of ribbing then stockinette until length covers bottle height (10–12 inches).
- Bind off and sew a button loop at the top; add button to body to secure.
- Trim ends and test fit on bottle.
- For a snug fit, pick up a few decreasing rounds to taper at the neck.
- Hand wash and reshape if needed.
How to Display or Gift It
Slip over a favorite bottle of wine and tie with twine and a small tag. Keep several ready-made cozies in a craft storage drawer for last-minute gifts.
- Knit Rug (small entry mat)
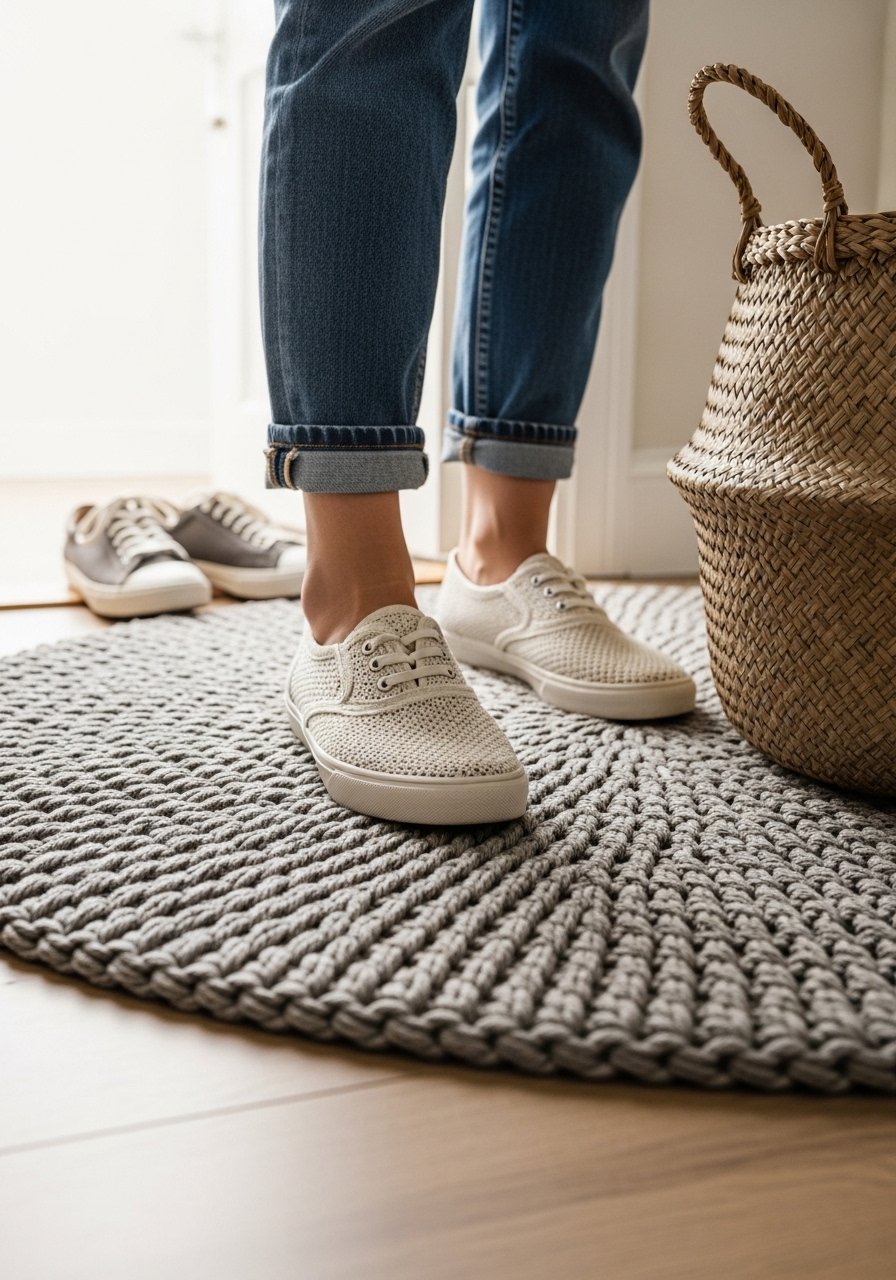
A small entry rug in super-bulky yarn provides a soft welcome. Work flat with tight tension and consider a cotton blend for durability. Blocking isn’t necessary; simply shape and lay flat.
Materials
- 600–800 yards super-bulky yarn
- US size 19 (15 mm) knitting needles or arm knitting
- Tapestry needle
- Scissors
- Non-slip rug pad (cut to size)
Instructions
- Cast on 24 stitches and work garter in the round or flat increases to create a circle.
- Increase evenly every other row to widen the rug until diameter is 24 inches.
- Finish with a firm bind off and weave in ends.
- Attach a non-slip pad underneath using craft adhesive or double-sided rug tape; cure 24 hours.
- Shake out debris and spot clean as needed.
- Rotate periodically to even wear.
How to Display or Gift It
Place in front of an entry or beside the bed. For gifting, pair with a small key bowl. Store rolled in a dry place to keep shape.
- Knit Pot Holders (heat-safe)
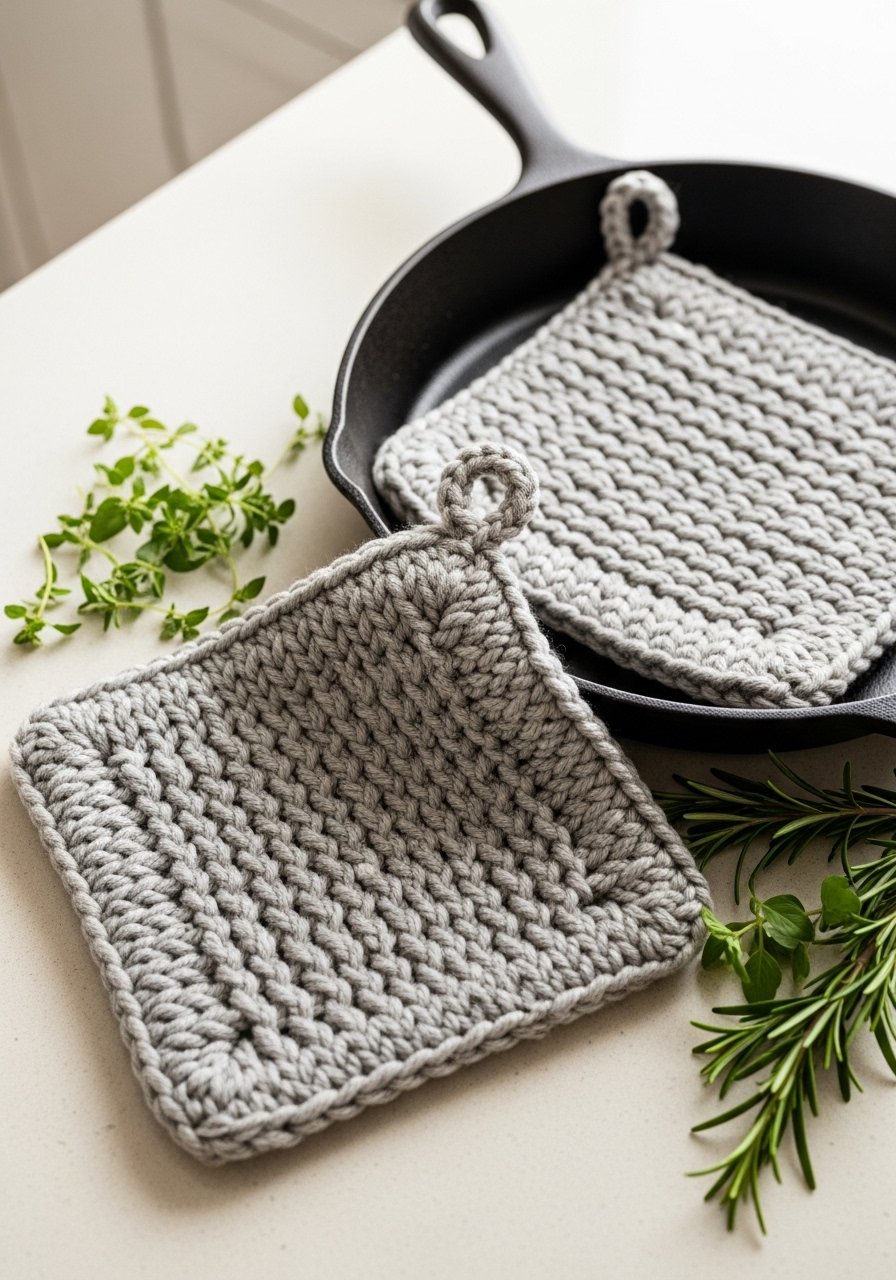
Thick pot holders need doubled cotton layers to resist heat. Knit two squares and seam them together for a padded finish. Always test heat tolerance carefully.
Materials
- 150–200 yards 100% cotton yarn
- US size 6 (4 mm) needles
- Tapestry needle
- Scissors
- Quilting cotton for inner pad (optional) and sewing supplies
Instructions
- Cast on 36 stitches and knit garter stitch until square measures 8 inches.
- Make a second identical square.
- Optional: cut a cotton pad to fit and sandwich between squares.
- Seam three sides, insert pad, and close last side with mattress stitch.
- Add a small loop in the corner for hanging.
- Test briefly with handle edges; avoid direct flame contact.
How to Display or Gift It
Hang near the stove or fold into a recipe gift bundle with a wooden spoon. Store flat in a kitchen drawer away from grease.
- Knit Macramé-Style Plant Hanger
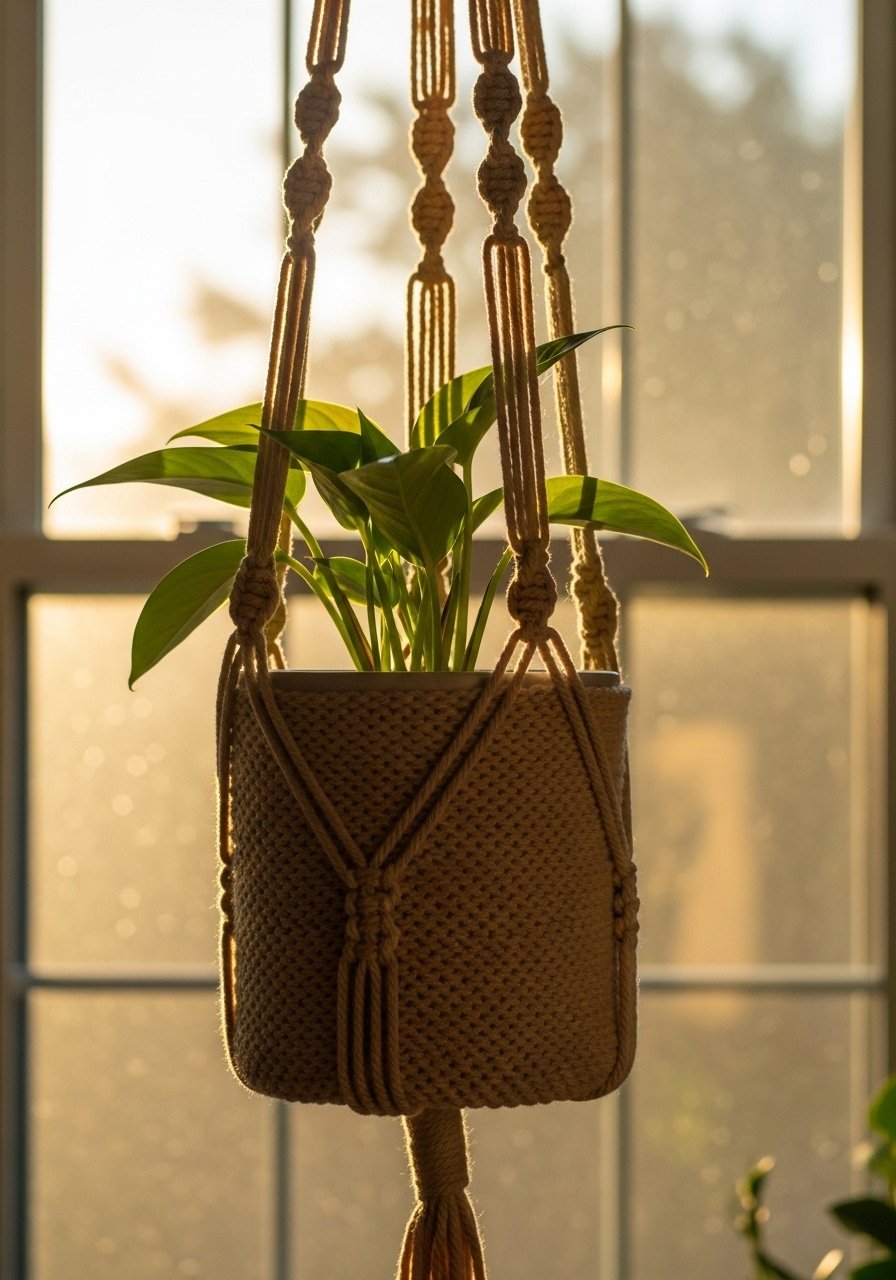
This hybrid uses knitted tubes and knots to mimic macramé with knitting skills. It’s decorative and secure for small planters. Use a sturdy yarn and reinforce where cords meet.
Materials
- 150–200 yards cotton macramé cord or chunky cotton yarn
- US size 11 (8 mm) needles for i-cord
- Wooden ring for top
- Tapestry needle
- Scissors
- Small pot (with plastic liner)
Instructions
- Make four knitted i-cords about 30 inches long each.
- Thread cords through wooden ring and tie a gathering knot to secure.
- Divide cords into pairs and create three square knots or simple braided segments about 6 inches down.
- Bring pairs together and tie a final knot creating a cup for the pot.
- Trim and tuck loose ends.
- Hang and test with a lined pot before placing real plants.
How to Display or Gift It
Cluster several plan hangers at varying heights for a dramatic window display. For gifting, include a small succulent and a care tag. Store cords rolled to avoid tangles.
- Knit Storage Bins (boxy)
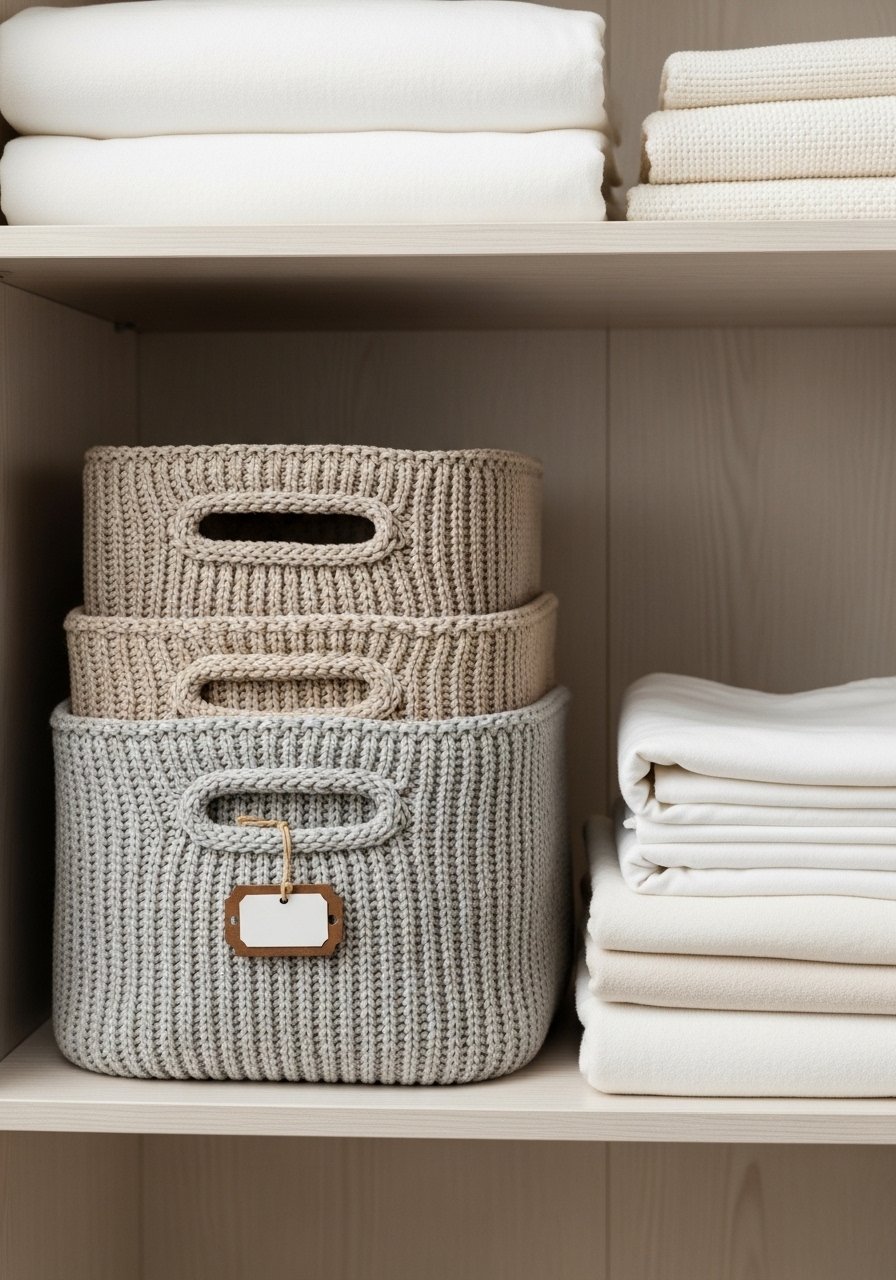
Boxy bins need firm fabric for shape; use tighter gauge and optional interfacing. They’re perfect for organizing craft supplies, toiletries, or baby items.
Materials
- 400–600 yards worsted yarn
- US size 7 (4.5 mm) needles
- Plastic canvas or interfacing for bottoms
- Tapestry needle
- Scissors
- Measuring tape
Instructions
- Cast on 48 stitches and knit in seed stitch until panel measures 12 inches.
- Seam sides together to form a box shape, leaving top open.
- Cut plastic canvas to fit base and insert for structure.
- Fold top edge inward and sew for a finished rim.
- Add a small sewn-on label or handle if desired.
- Test load capacity and reinforce base stitching if needed.
How to Display or Gift It
Group on closet shelves or in a bathroom. For gifting, fill with small bath products and wrap in cellophane.
- Knit Window Seat Cushion
A tailored seat cushion gives your window nook instant coziness. Work flat as panels and stuff with foam or batting for support. Measure precisely for a fitted look.
Materials
- 1,200–1,800 yards worsted or aran yarn depending on size
- US size 9 (5.5 mm) needles
- High-density foam cut to seat size or batting
- Measuring tape
- Tapestry needle
- Fabric for lining (optional)
Instructions
- Measure seat width and depth carefully.
- Cast on stitches to match seat width and knit until depth plus seam allowance is achieved.
- Make a bottom panel and seam three sides together.
- Insert foam and seam final side.
- Add a fabric lining if you want a washable interior.
- Secure seams and trim excess thread.
How to Display or Gift It
Place on a window seat with layered pillows in different textures. For gifting, include a small matching lumbar pillow. Store in an airing closet when not using seasonally.
- Knit Candle Lantern Wrap

Lace patterns cast pretty shadows when paired with battery candles. Use a glass insert and battery tea lights for safety. This project stretches your stitch repertoire with yarn-overs and simple decreases.
Materials
- 50–100 yards light-weight yarn
- US size 5 (3.75 mm) needles
- Battery tea light
- Glass hurricane or jar
- Tapestry needle
- Scissors
Instructions
- Cast on to fit the circumference of your glass (measure carefully).
- Work a simple lace repeat (e.g., k2, yo, k2tog) until desired height.
- Bind off loosely and seam the short edge.
- Slip over the glass and place a battery tea light inside.
- Avoid using real flames with yarn wraps.
- For evening use, test with light to check shadow effect.
How to Display or Gift It
Cluster several lanterns on a coffee table or use as a centerpiece. For gifting, package with a set of battery tea lights and a small instruction card.
- Round Knit Pouf — knitting for beginners home decor

A knitted pouf is a sculptural accent that also works as an ottoman. Use super-bulky yarn or work with multiple strands held together. Keep filling firm for best sit-ability.
Materials
- 800–1,200 yards super-bulky yarn or 3 strands worsted held together
- US size 19 (15 mm) needles or arm knitting
- Pouf stuffing (beanbag filler or foam beads, about 6–8 lbs)
- Tapestry needle
- Scissors
- Measuring tape
Instructions
- Cast on 40 stitches and knit a flat circle, increasing evenly each row to create a round base.
- Knit up the sides until pouf height is 16 inches, then decrease to close the top, leaving a small opening.
- Stuff firmly with foam beads or stitched-in pillows.
- Close opening with mattress stitch.
- For durability, insert a firm inner cushion before final seam.
- Avoid using as primary seating—test weight distribution.
How to Display or Gift It
Place as an extra seat near a reading nook. For gifting, include a care note: spot clean and avoid dragging across rough floors. Store in a dry place to keep stuffing fresh.
- Knit Headboard Accent Panel
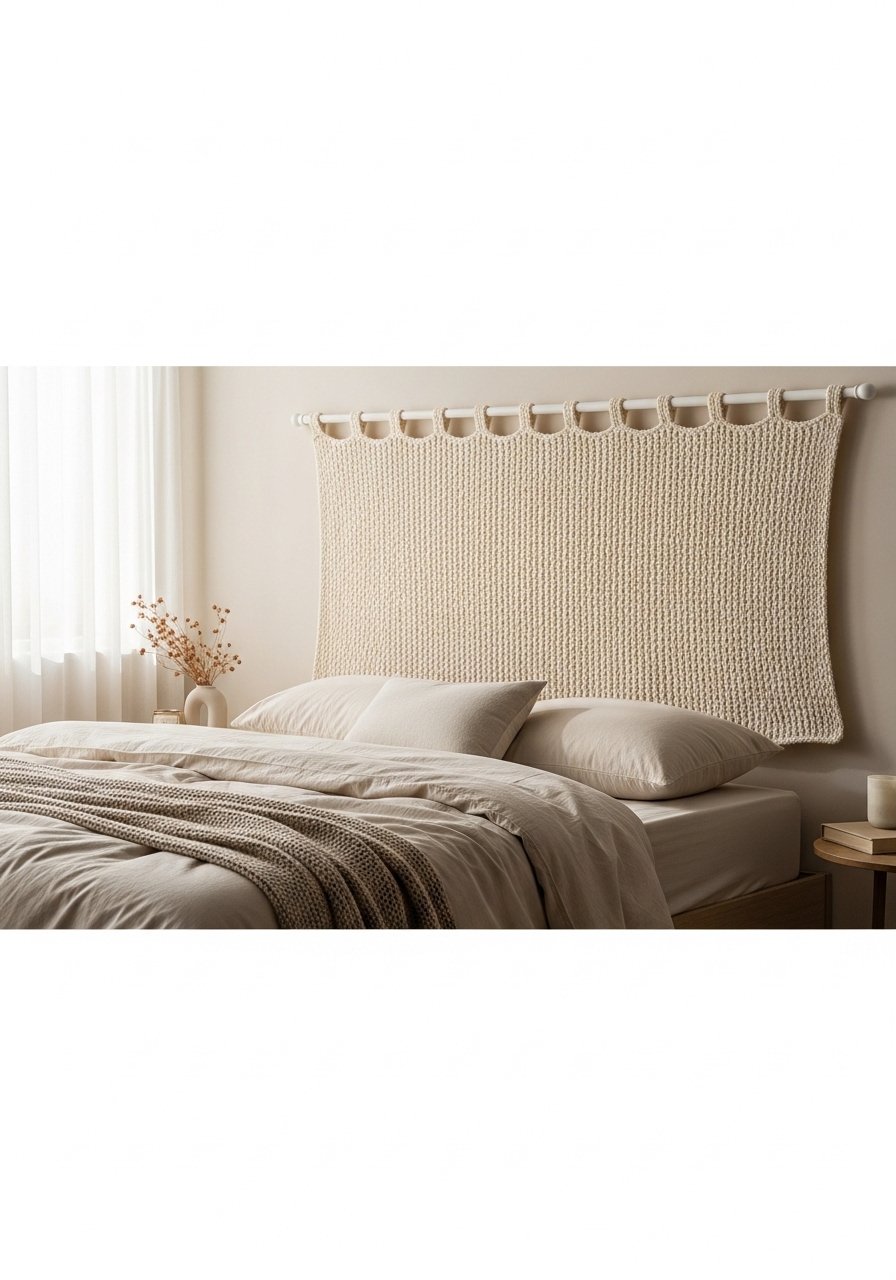
A knit panel is an easy way to soften a headboard wall. Mount on a wooden dowel or frame for a clean install. Neutral colors and simple stitches suit japandi and modern bedrooms.
Materials
- 800–1,200 yards worsted yarn
- US size 9 (5.5 mm) needles
- Wooden dowel or small curtain rod matching width of panel
- Tapestry needle
- Scissors
- Hanging hardware
Instructions
- Cast on stitches to match panel width (e.g., 120 stitches).
- Work desired stitch pattern until panel length matches headboard (30–36 inches).
- Bind off and sew a sleeve across the top to slide dowel through.
- Mount using secure brackets and picture wire.
- Lightly steam-block if needed to relax stitches.
- Check hanging for evenness and adjust.
How to Display or Gift It
Anchor bed styling—pair with layered pillows and a throw. For gifting, offer fabric mounting hardware with the panel. Store rolled to avoid fold lines.
- Knit Key Basket for Entry
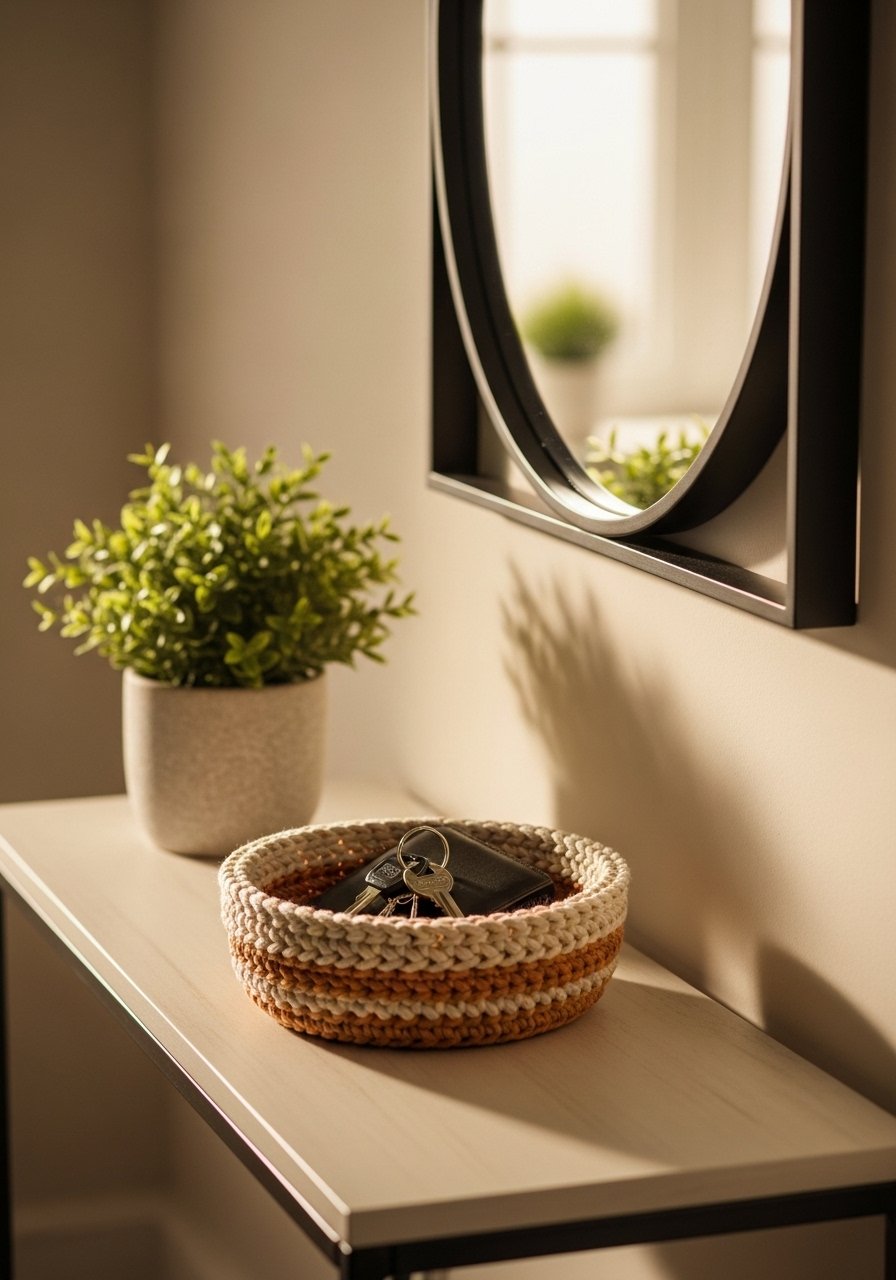
A shallow knit basket by the door gives a soft spot to drop keys and loose change. Use a tight gauge for firmness and a contrasting liner if you like.
Materials
- 100–200 yards worsted yarn
- US size 7 (4.5 mm) needles
- Tapestry needle
- Scissors
- Optional: leather patch for label
Instructions
- Cast on 28 stitches, knit in garter stitch and increase every other row until diameter is 6–8 inches.
- Work sides up a few rows and bind off.
- Fold rim and mattress stitch for a finished edge.
- Sew on a small leather patch if desired.
- Place by the door and test with daily items.
- Keep away from wet or greasy pockets.
How to Display or Gift It
Pair with a small tray for sunglasses and mail. For gifting, fill with a small candle and note.
- Knit Bedside Cable Runner
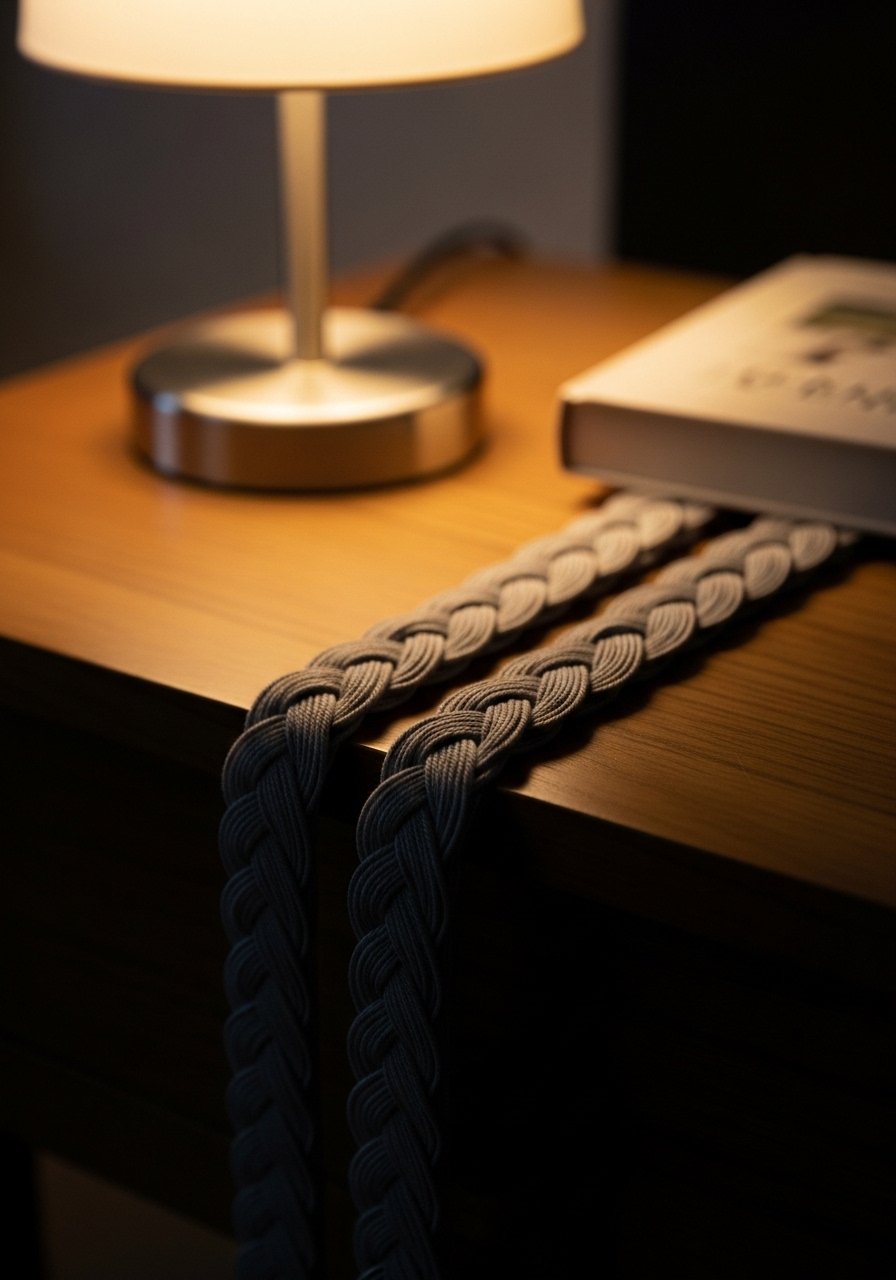
A bedside runner protects wood and adds a tailored touch. Cable patterns look luxe but are manageable with a cable needle and practice.
Materials
- 150–250 yards worsted yarn
- US size 7 (4.5 mm) needles
- Cable needle
- Tapestry needle
- Scissors
- Measuring tape
Instructions
- Cast on 24 stitches.
- Work cable repeat across runner until length is 24 inches.
- Finish with garter stitch edges and bind off.
- Block flat for 2–4 hours to set cables.
- Place under lamp and small objects to protect table finish.
- Rotate periodically to even wear.
How to Display or Gift It
Pair with a small bedside tray or ceramic dish. For gifting, include a small sleep-themed book.
- Knit Window Valance
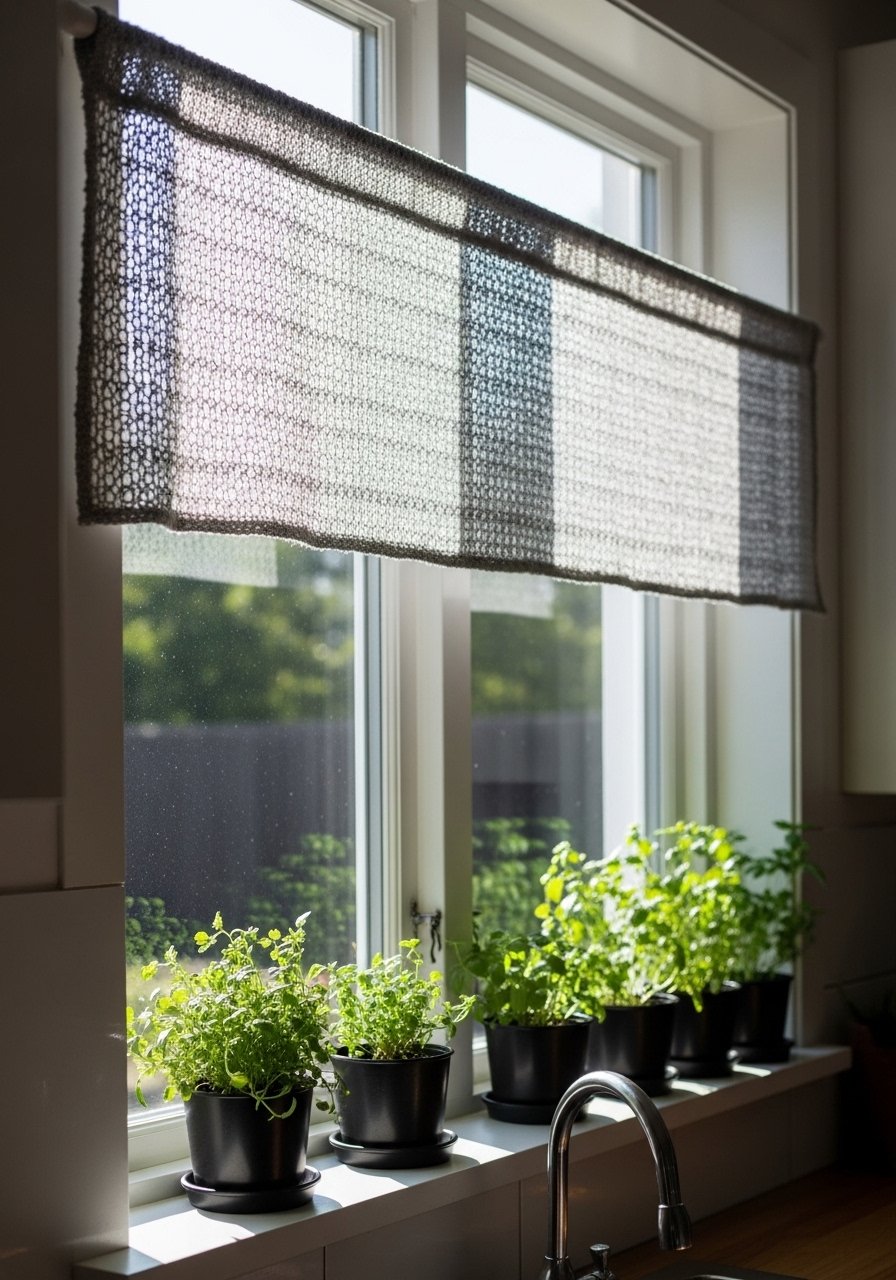
A knitted valance softens window lines and can be swapped seasonally. Use cotton or linen-blend yarn for lightness. Mount on a slim rod and install hooks.
Materials
- 200–400 yards light-weight cotton yarn
- US size 5 (3.75 mm) needles
- Dowel or thin curtain rod
- Sewing needle
- Scissors
- Measuring tape
Instructions
- Measure window width and cast on appropriate number of stitches.
- Knit pattern (lace or eyelets) until desired valance drop 8–12 inches.
- Sew a top pocket to slide the rod through or add small loops.
- Hem bottom with garter stitch for weight.
- Hang and adjust so it sits evenly.
- Wash gently and reshape as needed.
How to Display or Gift It
Use in kitchen or bathroom for a soft, casual window finish. For gifting, pair with a small matching tea towel.
- Knit Napkin Rings (set of 6)

Napkin rings are a fast way to add handmade detail to holiday tables. Knit small tubes or tiny motifs and sew closed.
Materials
- 50–100 yards fingering or sport yarn
- US size 3–4 (3.25–3.5 mm) needles
- Tapestry needle
- Scissors
- Optional: small button accents
Instructions
- Cast on 12 stitches, knit in the round for 2 inches.
- Bind off and seam ends overlapping slightly.
- Add button or small embellishment.
- Make 6 rings in coordinating colors.
- Slide on napkins and place at each setting.
- Hand wash and dry flat after use.
How to Display or Gift It
Bundle set with linen napkins and tie with twine for gifting. Store flat in a small drawer or organizer.
- Knit Mantel Garland with Stars
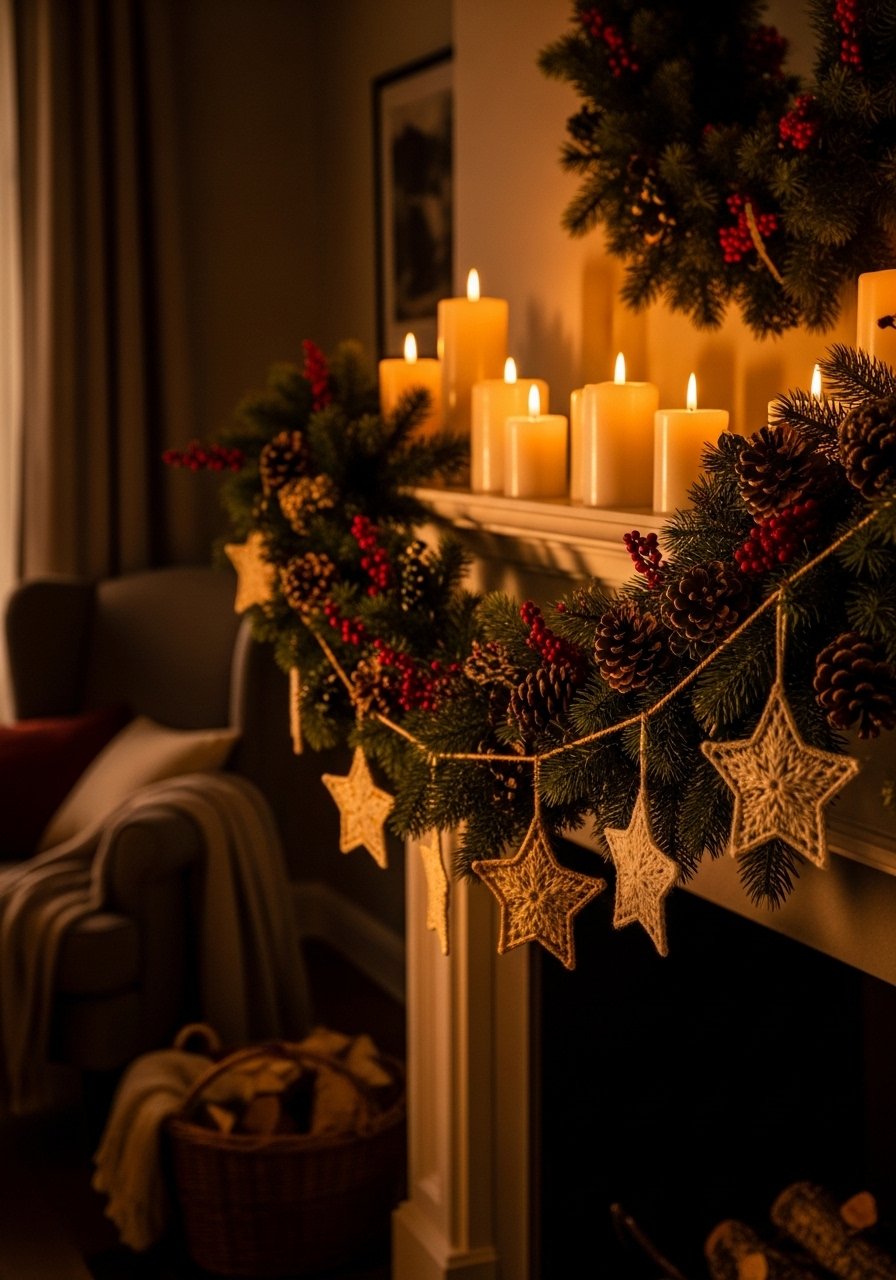
Tiny knitted stars make a charming mantel garland for holidays or year-round accents. Use scrap yarn and hand-sew them onto cord.
Materials
- 50–150 yards leftover yarn
- US size 5 (3.75 mm) needles
- Tapestry needle
- Scissors
- Jute cord or thin rope for garland
Instructions
- Knit small star motifs by casting on 8–10 stitches and shaping with short rows.
- Make 8–12 stars.
- Sew stars onto jute cord at 3–4 inch intervals.
- Hang along the mantel with small hooks or removable adhesive.
- For a winter glow, tuck in fairy lights behind the garland.
- Store flat in a seasonal décor box.
How to Display or Gift It
Drape across the mantel with fresh greenery. For gifting, include a small set of hooks for easy hanging.
- Knit Drawer Liners
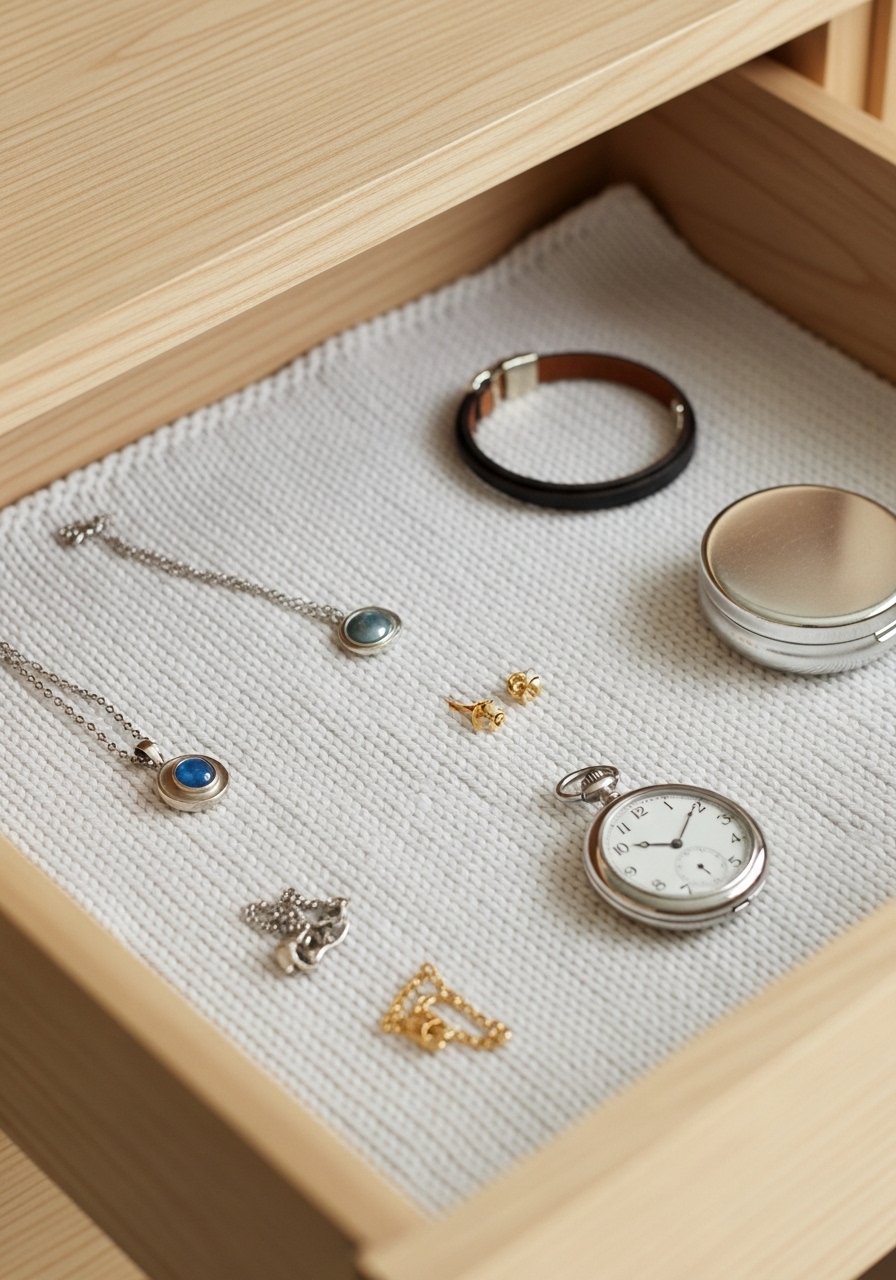
Soft-lined drawers prevent jewelry from scratching and add a tactile surprise. Use fine yarn to fit shelves exactly.
Materials
- 100–200 yards fingering yarn
- US size 3 (3.25 mm) needles
- Measuring tape
- Tapestry needle
- Scissors
Instructions
- Measure drawer base and cast on stitches to match width.
- Knit a rectangle the exact dimension and bind off.
- Trim to fit and optionally glue a thin non-slip backing with fabric glue; let cure 24 hours.
- Place liner in drawer and smooth edges.
- Wash gently if needed.
- Replace liners seasonally to keep freshness.
How to Display or Gift It
Line jewelry or desk drawers for tidy organization. For gifting, place in a box with a small sachet of dried lavender.
- Knit Minimalist Shelf Tray
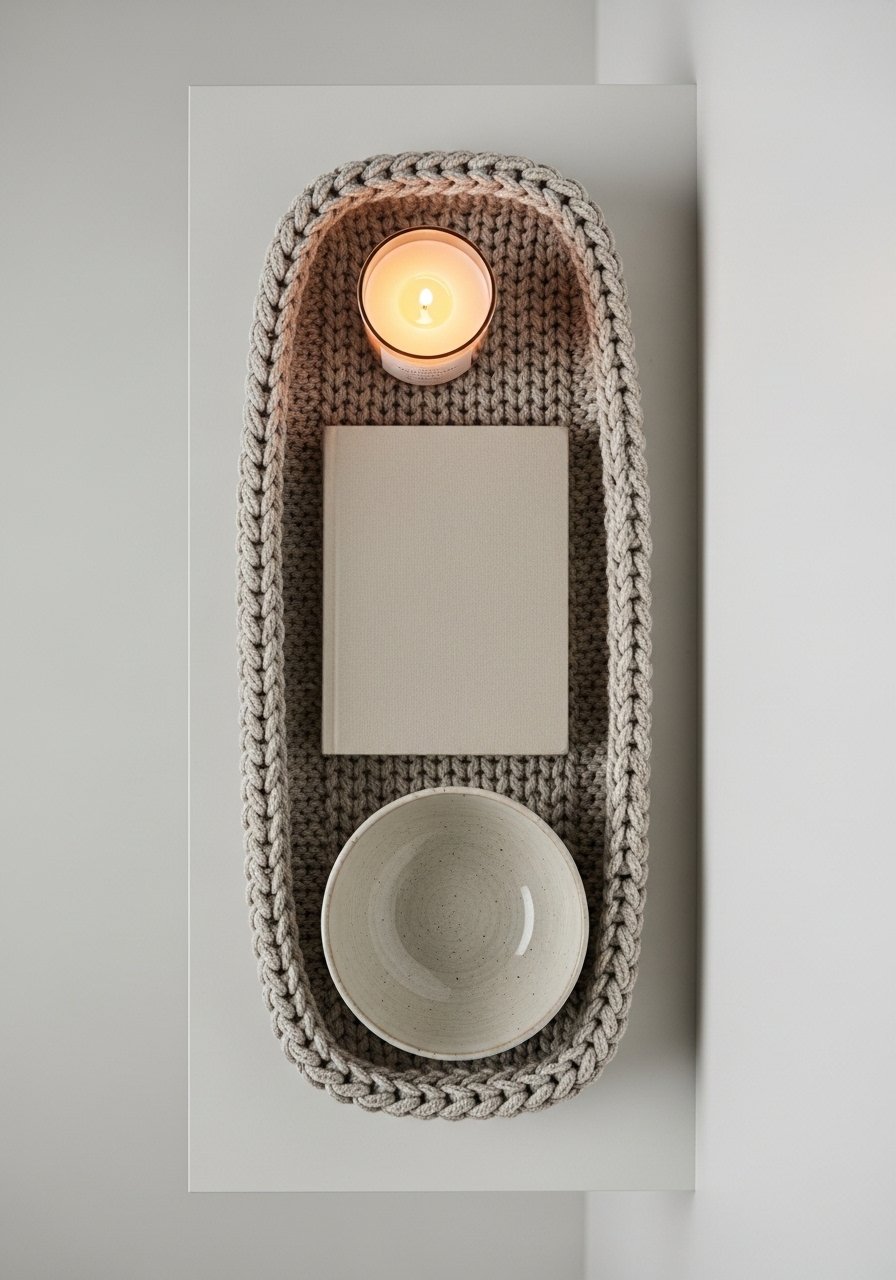
A shallow knitted tray corrals small objects and softens hard surfaces. Knit a firm base and slightly raised edges for function.
Materials
- 150–250 yards worsted yarn
- US size 7 (4.5 mm) needles
- Tapestry needle
- Scissors
- Optional: stiffener or thin cardboard for base
Instructions
- Cast on 40 stitches and knit a rectangle 10 x 6 inches.
- Fold up short edges and sew with mattress stitch to form a tray.
- Insert thin cardboard base if you need stiffness, sealing edges inside.
- Finish seams neatly and weave in ends.
- Place on shelf to hold keys or a candle (use battery candles).
- Refresh shape by lightly steaming if necessary.
How to Display or Gift It
Use on open shelving or a console table. For gifting, fill with small home items like a mini candle and soap.
Thanks for knitting through the list—29 projects to bring handmade warmth to every room! There’s something here for every preference: quick single-evening pieces, thoughtful gifts, and a few larger builds. Try one or plan a weekend of small projects. Pin this for your next cozy day and share it with a friend who loves crafts.
If you’ll pick one tool that helps across many projects, a reliable set of blunt tapestry needles and a good pair of US size needle sets make finishing faster and neater. Which project are you trying first—a pouf, pillow, or a quick coaster set? Share your progress and pin this for later!


