You know that moment when your kid asks, “Can you teach me to draw?” and you want something simple, fun, and actually effective? Learning how to teach kids to draw doesn’t need expensive classes or perfect talent — just a friendly plan, short practice sessions, and the right kid-sized tools. If you show them one clear technique at a time, they’ll gain confidence fast.
Start with a good sketchbook and a forgiving marker or pencil set so lines feel satisfying from the first try. I like a smooth spiral sketchbook and a basic graphite pencil set for line practice — small gear that makes a big difference. Expect to spend 15–30 minutes per session and you’ll see results in weeks, not months.
Here’s a step-by-step plan for how to teach kids to draw with confidence, including quick exercises, clever tools, and simple display ideas that keep them excited.
Set up a kid-friendly drawing workspace (beginner-friendly)
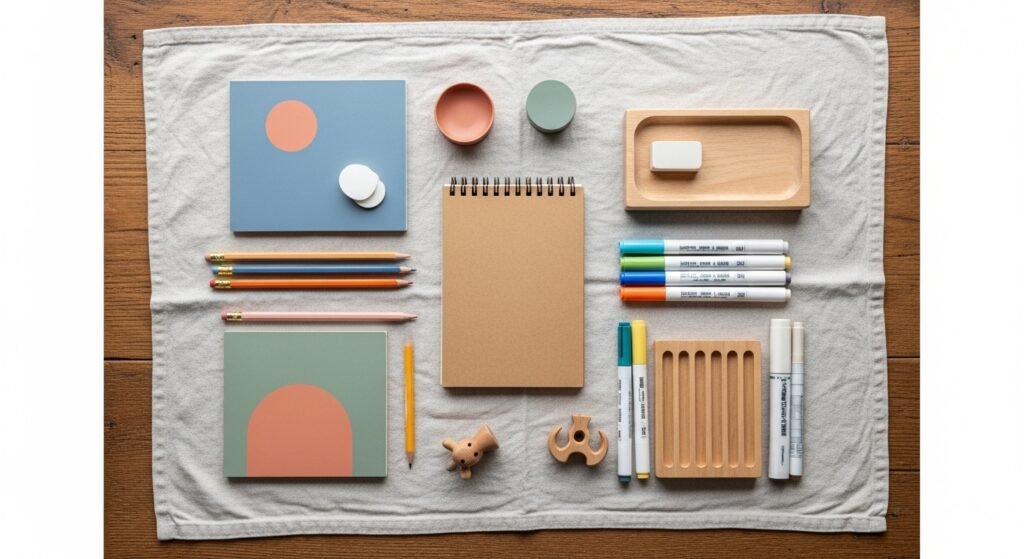
Create a calm, reachable station so practice is easy to start. Keep supplies in small containers within arm’s reach and limit choices to three tools at first. Use a stackable craft organizer tray so clean-up is fast and inviting.
Quick setup tips:
- Tape the page lightly with painter’s tape to keep paper from slipping.
- Use a self-healing cutting mat underneath for a flat, forgiving surface.
- Limit to 3 tools: a pencil, a washable marker, and a stencil to avoid overwhelm.
Gather and prep supplies without the fuss (easy, budget)
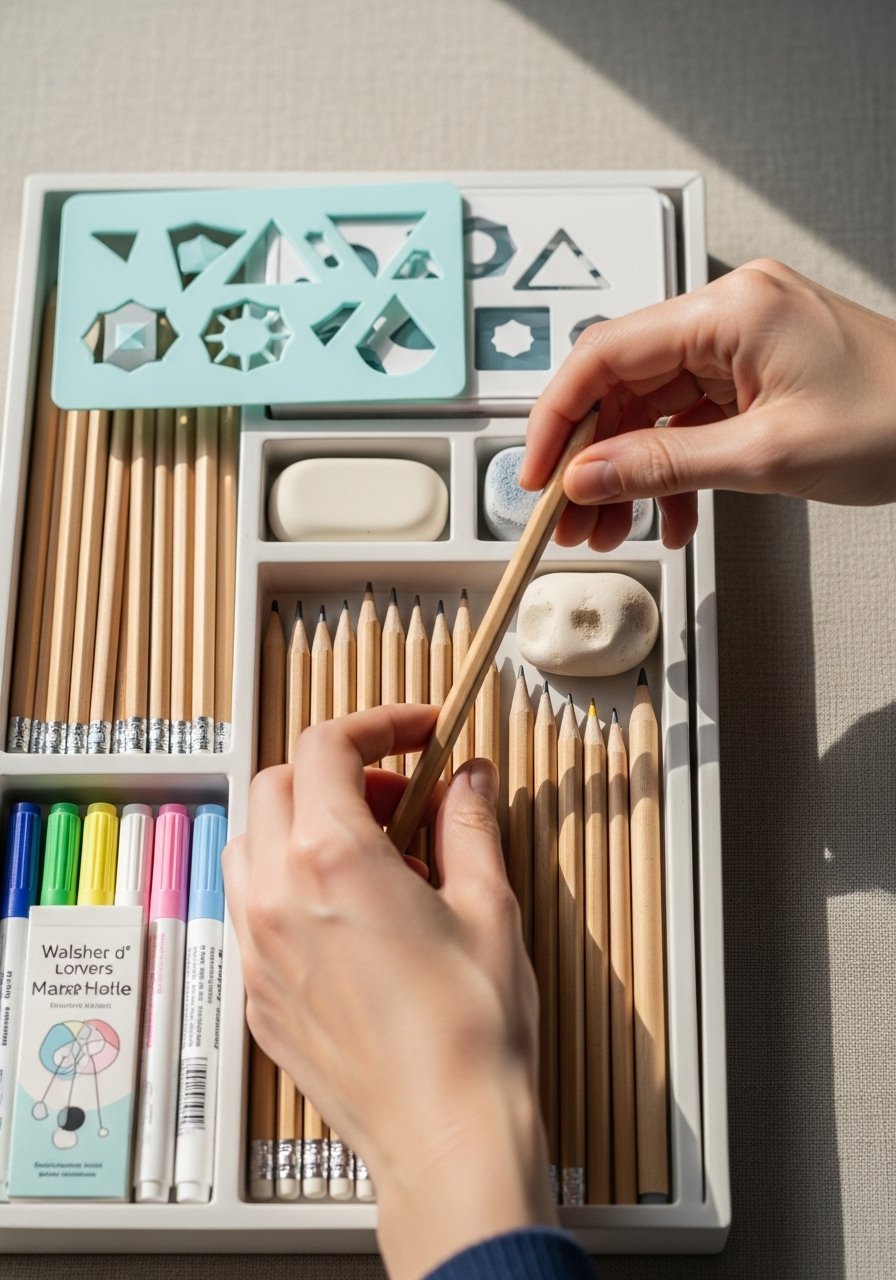
You don’t need fancy gear — pick supplies that help kids feel successful right away. A smooth spiral sketchbook and a bright washable marker set are perfect starters. Add a stencil set for early shape confidence and a kneaded eraser so corrections feel like play.
Prep shortcuts:
- Pre-draw faint guiding lines with a light pencil.
- Cut simple shape prompts on the self-healing cutting mat to reuse.
- Store extra pages in clear zip pouches by theme (animals, faces, plants).
Core technique: simple exercises kids love (one-afternoon wins)
Teach drawing as a sequence of tiny wins — shapes, features, then character:
- Start with 5 minutes of warm-ups: circles, lines, and squiggles.
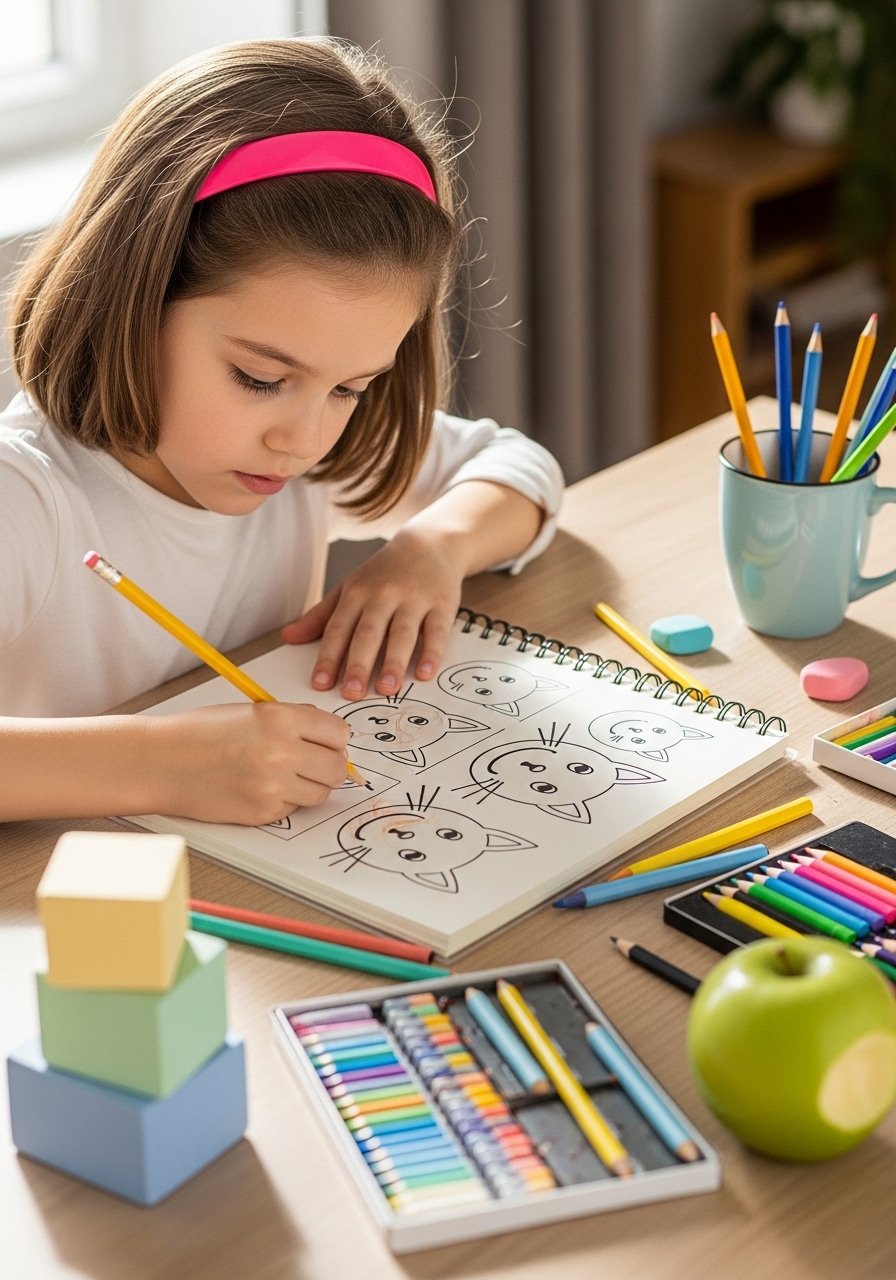
- Move to shape-building: show how a cat is two circles and triangles. Have them try 3 times.
- Add detail: eyes, whiskers, a simple pattern.
Use these tools to remove friction:
- Let them trace with a stencil set when shapes feel hard.
- Swap to a colorful washable marker set for bold lines that hide shaky strokes.
- Encourage layering: pencils first, then marker for outlines, sealed quickly with a dab of Mod Podge for keepsakes — try Mat Mod Podge sparingly.
Practice plan:
- 15 minutes, 2–3 times a week
- Focus each session on one small skill
- Celebrate the attempt, not the outcome
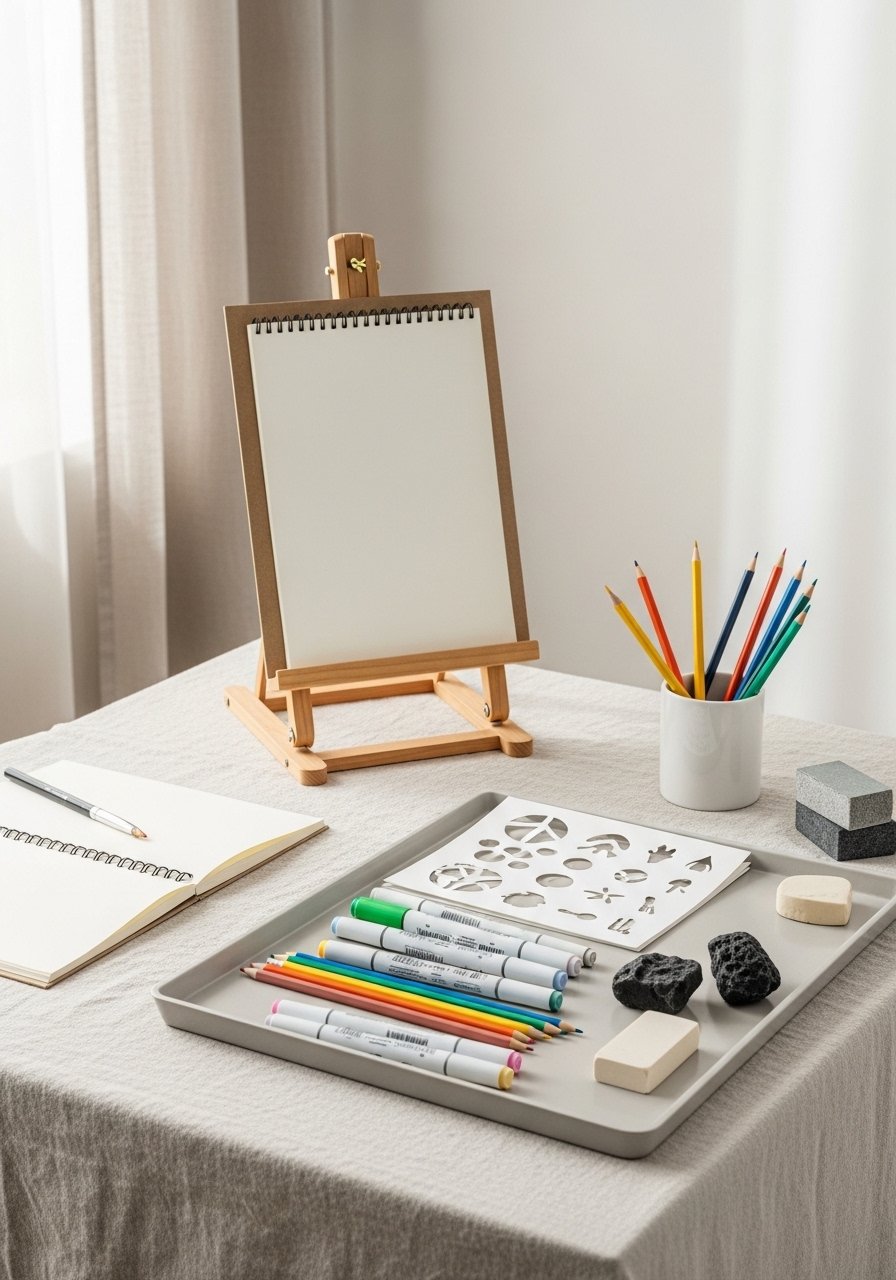
Finish, display, and keep the momentum (pin-worthy presentation)
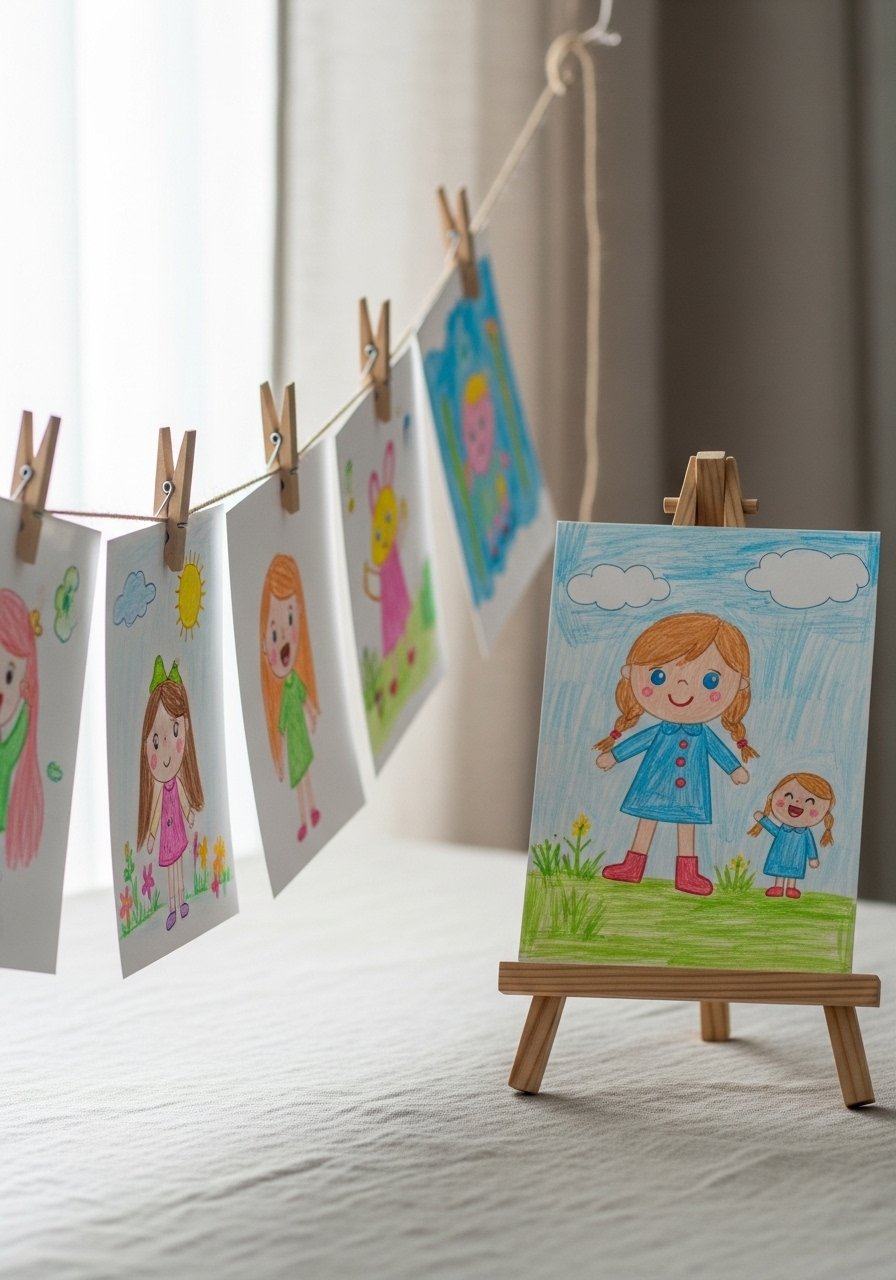
Sharing results boosts confidence. Frame or prop the best piece on a small wooden easel and rotate the gallery weekly. Use stackable craft organizer trays to keep originals and copies separate for gifting.
Display and storage tips:
- Snap a photo for a digital portfolio before you store a page.
- Wrap keepsakes in kraft paper or a clear zip pouch for safe gifting.
- Try a mini “gallery night” once a month to show progress.
You’ve just learned a simple, repeatable plan for how to teach kids to draw: set up a calm workspace, prep forgiving supplies, practice tiny steps, and celebrate finished art. Pin this guide for your next craft afternoon and try a 15-minute session tonight — which simple shape will you practice first?


