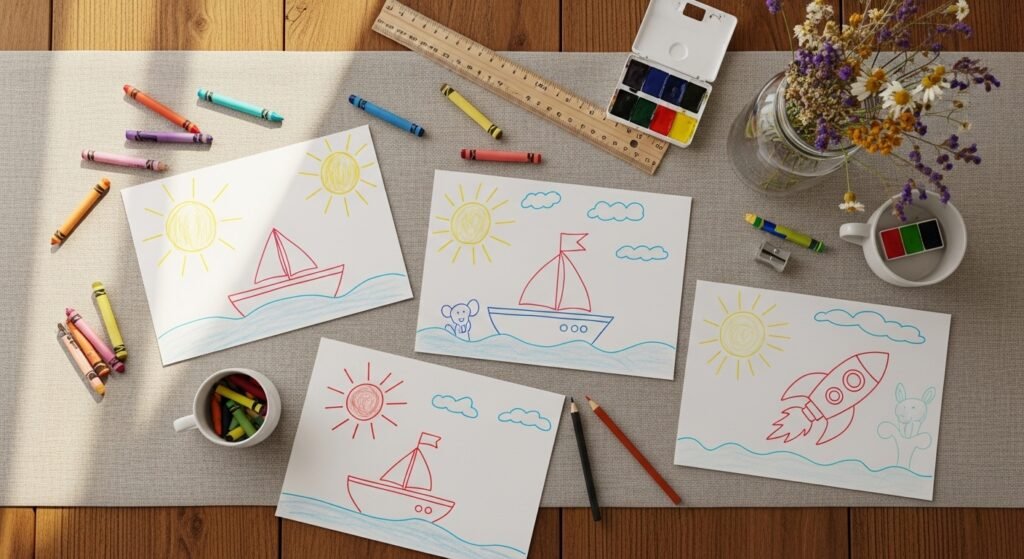
Welcome—grab a pencil and a scrap of paper. These 27 easy drawing ideas for kids are built from single lines, simple shapes, and zero artistic experience. They’re perfect for rainy afternoons, quick classroom warm-ups, or homemade cards that look surprisingly polished.
Across this list you’ll find projects that teach kids about shapes, negative space, and playful composition. Each idea includes a short materials list and step-by-step instructions so you can jump right in. I often start with a basic sketch pencil and a smooth eraser, but I also find colorful markers bring these tiny drawings to life—try a set of Crayola broad line markers for crisp, kid-friendly color.
If you like tidy edges, keep painter’s tape on hand for masking, or reach for a self-healing cutting mat when trimming tiny cards. These easy drawing ideas for kids use common supplies, take 5–30 minutes each, and are easy to repeat for batches of gifts or classroom activities. Let’s make something simple and cheerful.
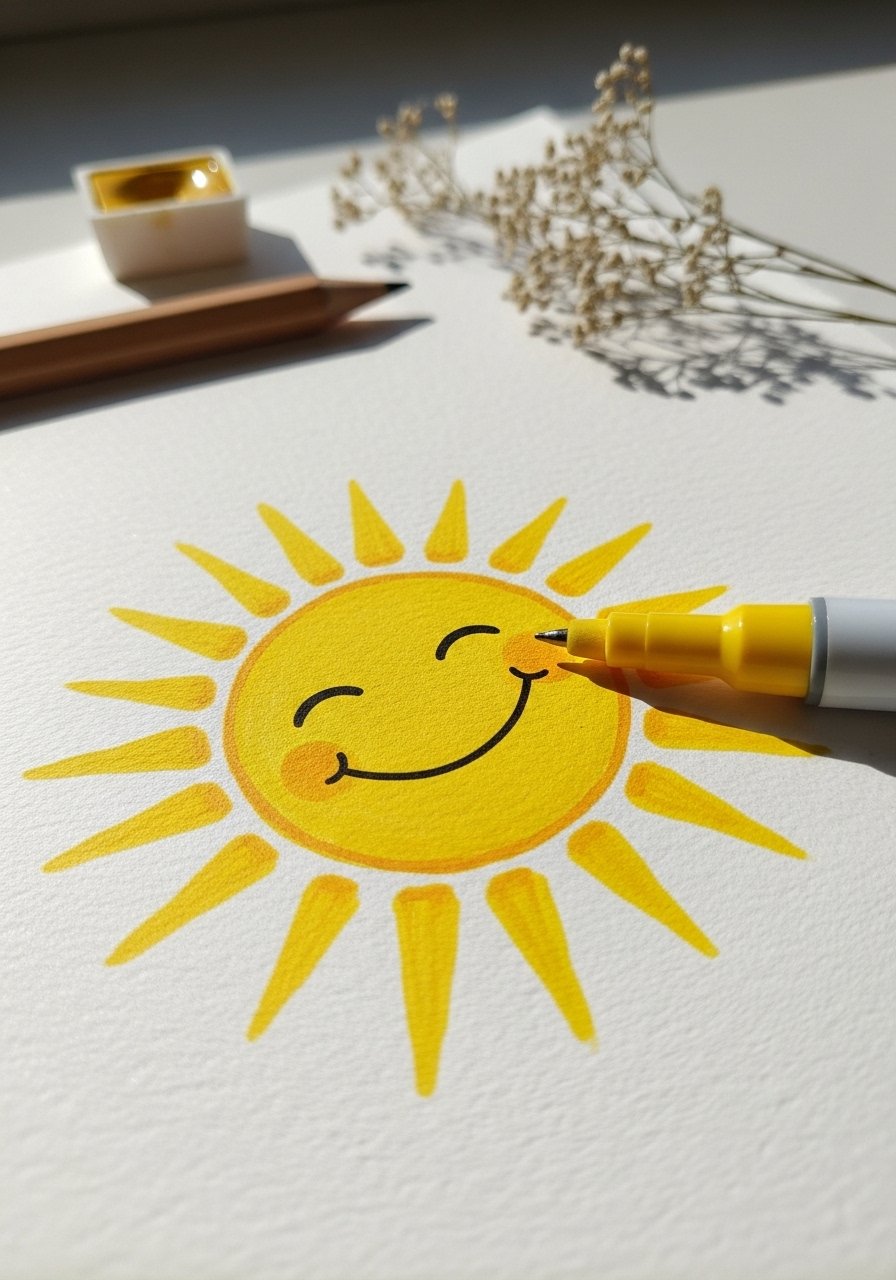
- Smiling Sun — an easy drawing idea for kids
This smiling sun uses single strokes and a circle. It’s cheerful, forgiving, and great for preschoolers who love repetition. The finished look is bright and graphic—warm yellows with a black outline. Kids learn to steady a line and repeat shapes. I use a fine black pen to finish the face for crisp contrast; a pack of fine point black drawing pens works well.
Materials
- White sketch paper — 8.5 x 11 inches, 80 lb (one sheet)
- Pencil — HB for initial sketch
- Eraser — soft white eraser
- Yellow marker — broad tip (1)
- Orange marker — thin tip for rays (1)
- Fine black pen — 0.3 mm (1)
- Ruler — 6-inch for centering (optional)
Instructions
- Fold the paper lightly in half to find the center. Unfold and mark with a tiny dot.
- Draw a simple circle about 2.5 inches across using freehand. Don’t worry about perfection.
- Add short straight rays around the circle—alternate long and short strokes.
- Color the circle with the yellow marker; leave a small white highlight near the top.
- Use the orange marker to trace outer rays for contrast.
- Once dry (markers are immediate), use the fine black pen to add two dots and a curved smile.
- Erase remaining pencil marks gently.
- Completed cue: colors are even, black lines are crisp and dry to the touch.
How to Display or Gift It
Frame on a small wooden easel for a sunny desk accent. Layer the drawing on kraft cardstock and tie with twine for an easy gift. Store extras flat in a stackable craft organizer so edges don’t curl. A little wooden display easel makes a cute presentation.
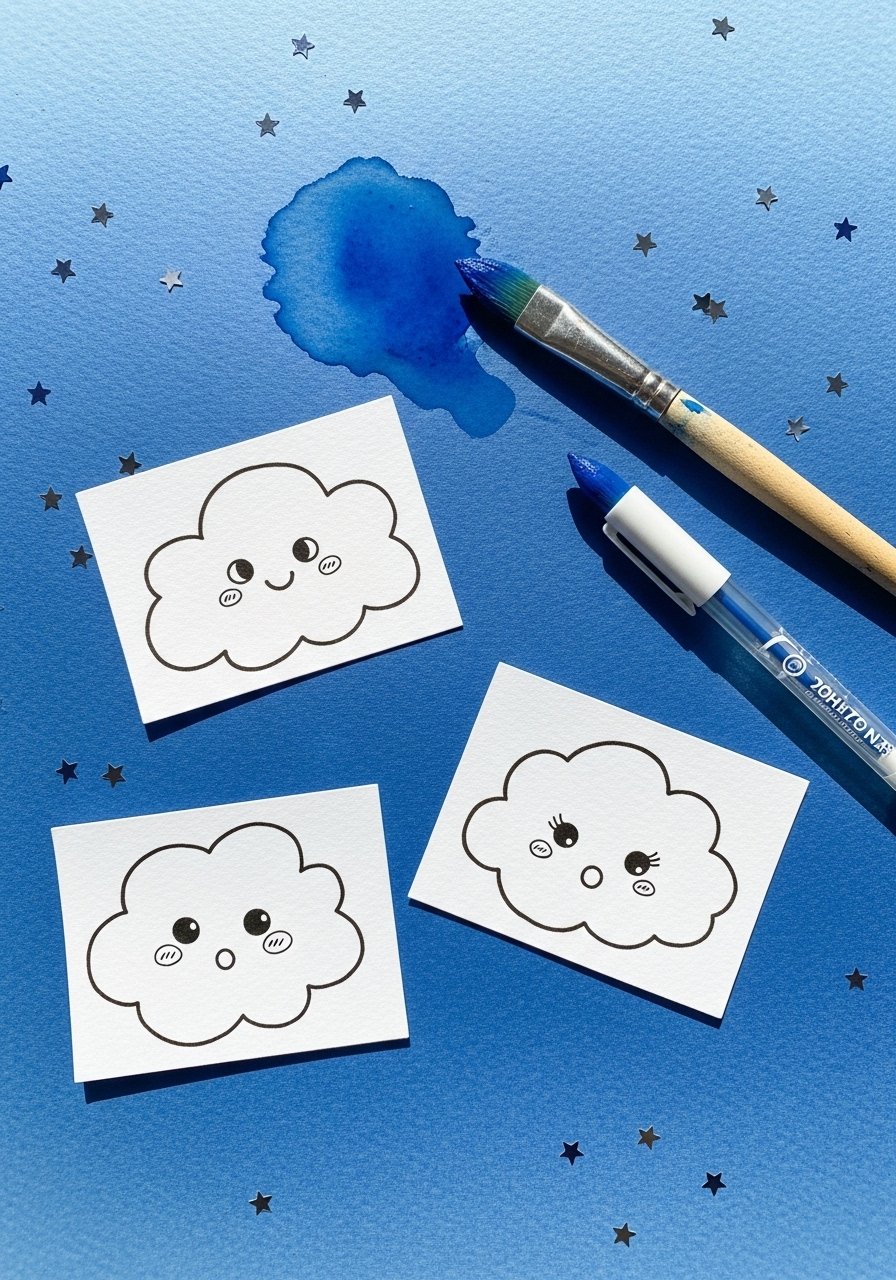
- Puffy Cloud Faces
These clouds are soft, simple shapes with tiny faces. The puffy curves teach kids to make connected lines and smooth loops. The finished effect is whimsical and slightly cottagecore when done on blue paper. Use a white gel pen for highlights—mine is a go-to for small details.
Materials
- Blue watercolor paper — 5 x 7 inches (3 sheets)
- Pencil — HB
- White gel pen — medium tip
- Black micron pen — 0.3 mm
- Small watercolor set — blue shade
- Round paintbrush — size 4
- Paper towel
Instructions
- Wet the blue paper lightly with a damp brush for a soft wash.
- Paint an even blue wash and let dry 20 minutes.
- Sketch a cloud shape with connected bumps—three or four humps.
- Trace with the black micron pen and add tiny eyes and a smile.
- Dot small highlights with the white gel pen.
- Erase pencil lines.
- Finished cue: ink lines dry, highlights opaque.
- Optional: add star stickers around the clouds.
How to Display or Gift It
Glue the cloud to a white 4 x 6 card for a weather-themed stationery set. Stack cards in a kraft gift box with tissue paper. Keep unused paper in a craft drawer to avoid bending.
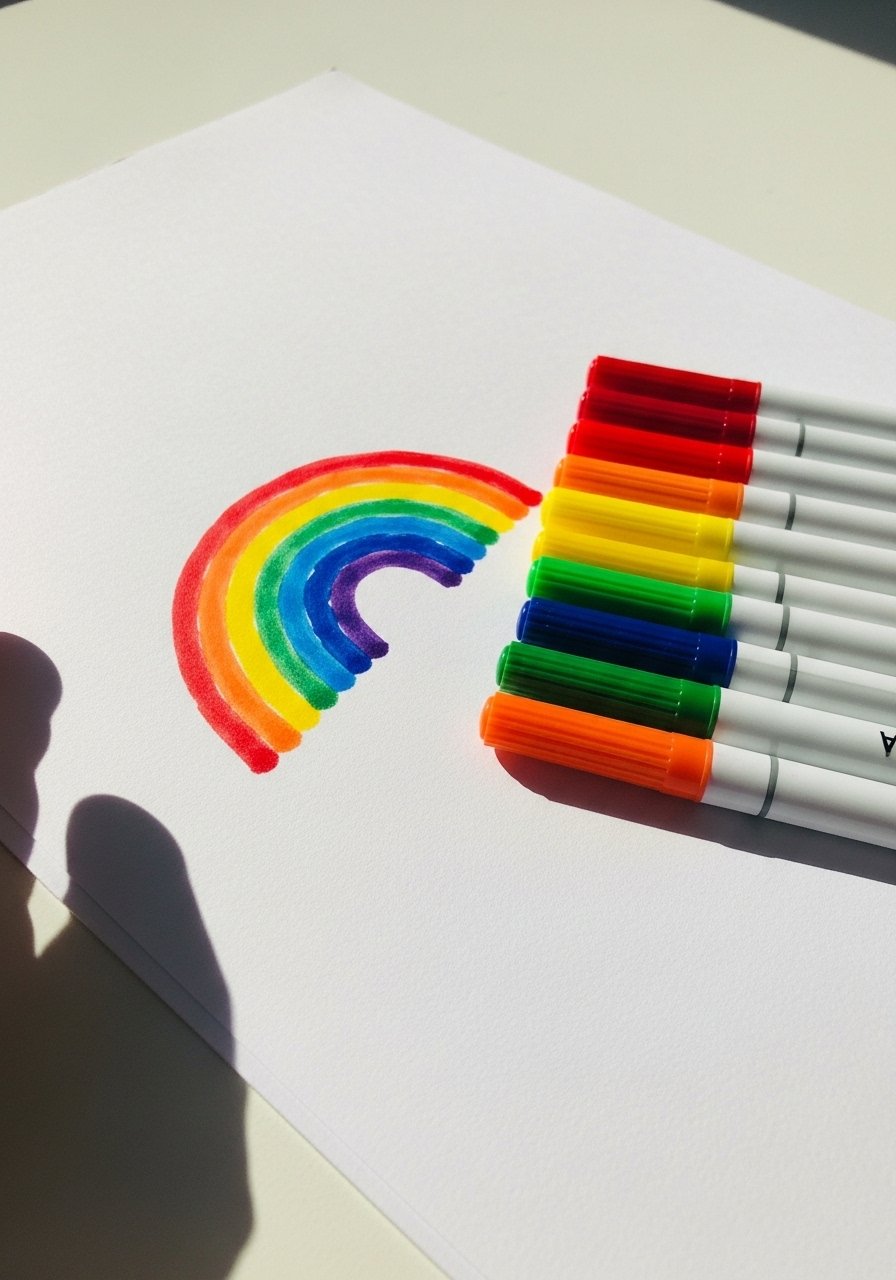
- One-Line Rainbow
A one-line rainbow is a calm, rhythmic drawing—great for fine motor practice. The finished stripes are bold and tidy. I like using broad-tip markers so each arc looks full. Try a washable marker set for easy cleanup.
Materials
- Heavyweight white paper — 8.5 x 11 inches (1 sheet)
- Pencil
- Washable marker set — 10 colors
- Fine black pen — optional outline
- Ruler — optional for spacing
- Wipeable placemat
Instructions
- Lightly draw a semi-circle arc with pencil as a guide.
- Draw four more concentric arcs inside the first, keeping equal space.
- Color each band with a different marker.
- Let marker inks sit 1 minute; they’re dry to touch quickly.
- Optionally outline the outer edge in black for contrast.
- Erase pencil marks if visible.
- Finished cue: bands look uniform and edges are filled.
- Clean markers and close caps to avoid drying.
How to Display or Gift It
Punch a hole at the top and add ribbon for a hanging mobile. Pair several rainbows on a bulletin board for a gallery display.
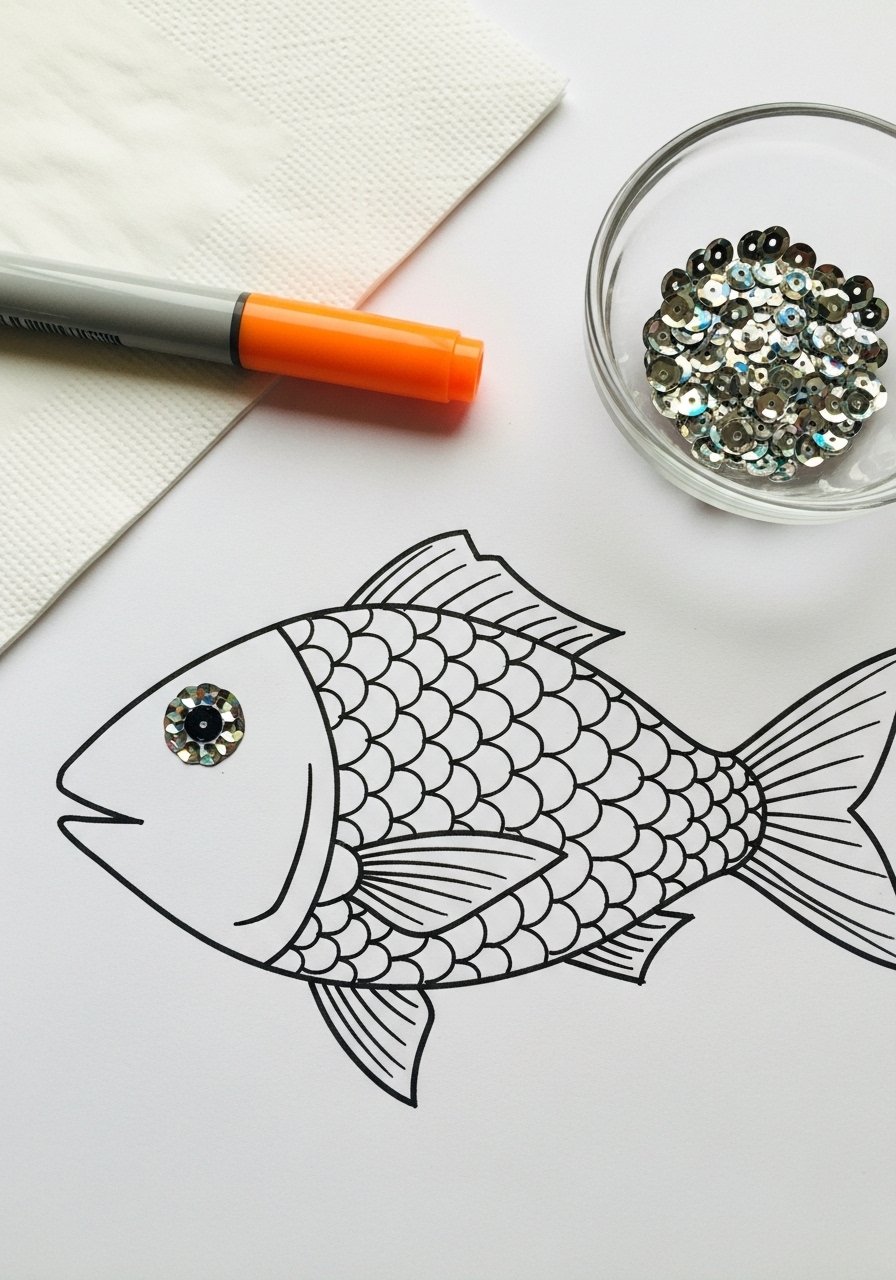
- Friendly Fish
This fish is built from an oval and repeated scale marks—so repetitive strokes make it meditative. The finished fish is textured and playful. Add a sequin eye for sparkle or use a pack of child-safe sequins for extra shine.
Materials
- White cardstock — 5 x 7 inches (1)
- Pencil & eraser
- Orange marker — broad tip
- Blue marker — thin tip
- Fine black pen — 0.3 mm
- Sequins or dot sticker — 1
- Glue stick — small
Instructions
- Draw an oval for the fish body.
- Add a triangle tail at one end.
- Sketch a curved line for the mouth.
- Fill the body with short curved “scale” strokes.
- Color the scales orange and outline lightly in blue.
- Glue a sequin or place a dot sticker for the eye.
- Let glue set 5 minutes.
- Finished cue: scale pattern is obvious and sequin sits flat.
How to Display or Gift It
Glue onto a folded card with a watery blue painted background. Store finished cards flat in a craft organizer tray.
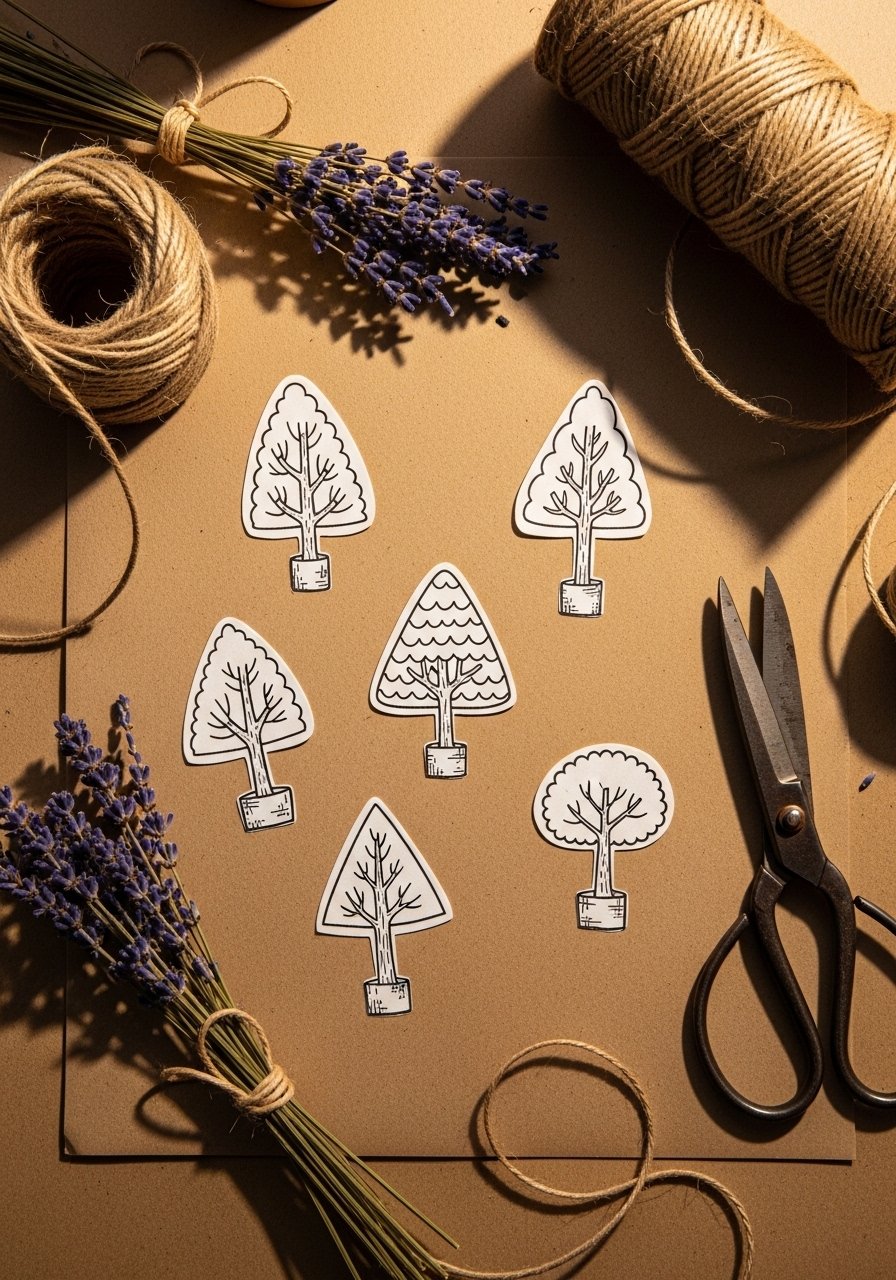
- Tiny Tree — easy drawing ideas for kids
Compact and repetitive, these tiny trees teach kids shape balance. They look charming in groups—great for nature-themed projects or holiday cards. I like using a set of colored pencils for soft texture that feels woodsy.
Materials
- Kraft paper — 6 x 8 inches (3)
- Pencil
- Colored pencils — green, brown, light green
- Fine black pen — 0.3 mm
- White gel pen — for tiny snow (optional)
- Scissors — for trimming edges
Instructions
- Sketch a small triangle or scalloped canopy.
- Draw a short trunk below.
- Repeat shapes to create different sizes.
- Shade with colored pencils—use light strokes for texture.
- Add tiny black dots for knots or a white dot for snow.
- Trim edges if you plan to layer on cards.
- Finished cue: trees vary in size and have visible pencil texture.
How to Display or Gift It
Group trees into a mini forest scene on a card. Tie a set of cards with twine and tuck in dried lavender for a nature-forward gift. Store colored pencils in a roll-up crayon pouch.
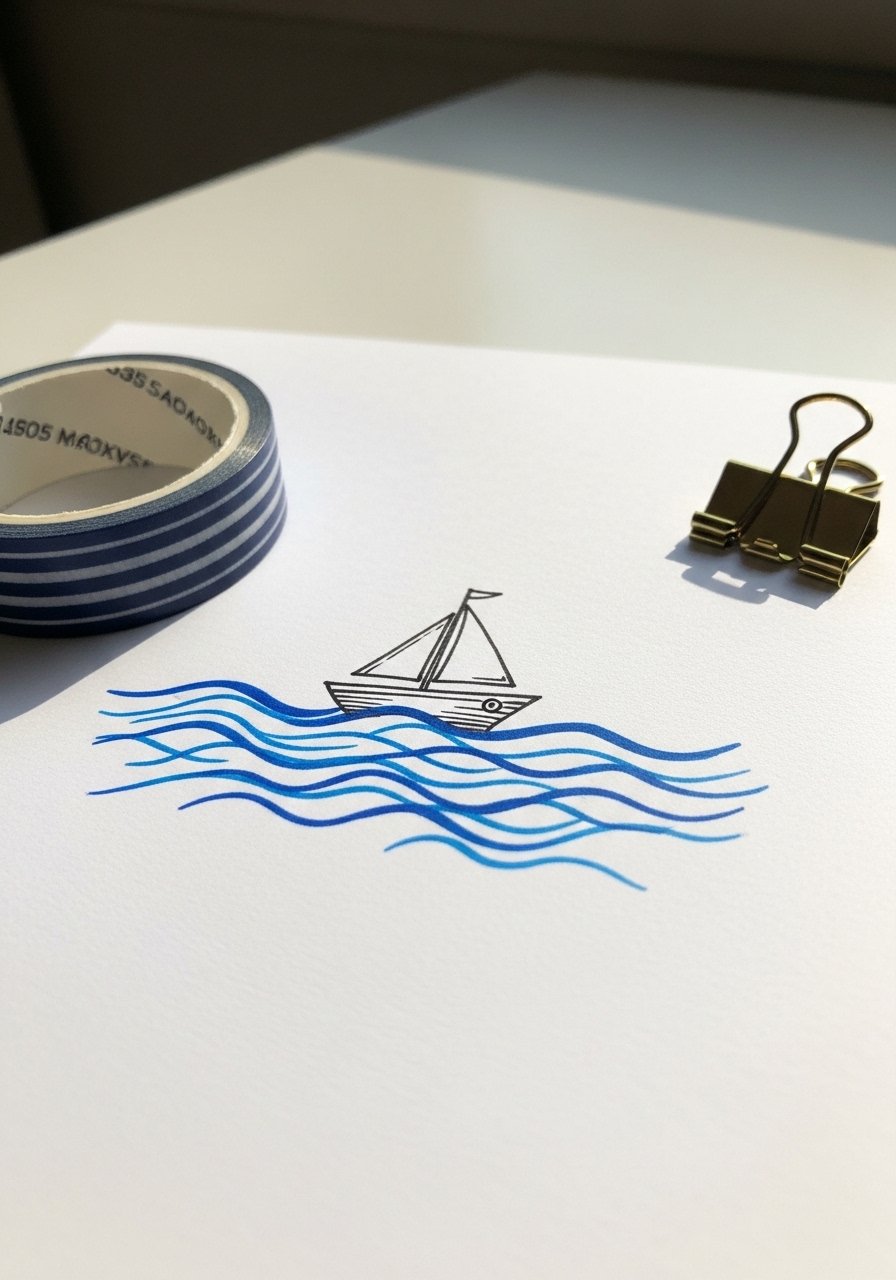
- Sailboat with Single Lines
A boat uses triangles and a rectangle—easy to teach the idea of overlapping shapes. The final image is crisp and nautical. Use a medium acrylic marker for bold water strokes that won’t bleed.
Materials
- White paper — 8.5 x 11 inches (1)
- Pencil
- Acrylic markers — blue, red, black
- Fine liner pen — 0.3 mm
- Washi tape — small roll
- Ruler — optional
Instructions
- Draw a small horizontal rectangle for the hull.
- Add a triangle mast above the hull and a smaller sail triangle.
- Sketch simple curved waves beneath with a blue marker.
- Add flags or stripes to the sail.
- Trace with fine liner for clarity.
- Let marker dry 2 minutes.
- Finished cue: waves have even color and lines are neat.
How to Display or Gift It
Mount on navy cardstock and use a washi tape border for a little sailor’s gift card. Keep drawings in a flat portfolio sleeve.
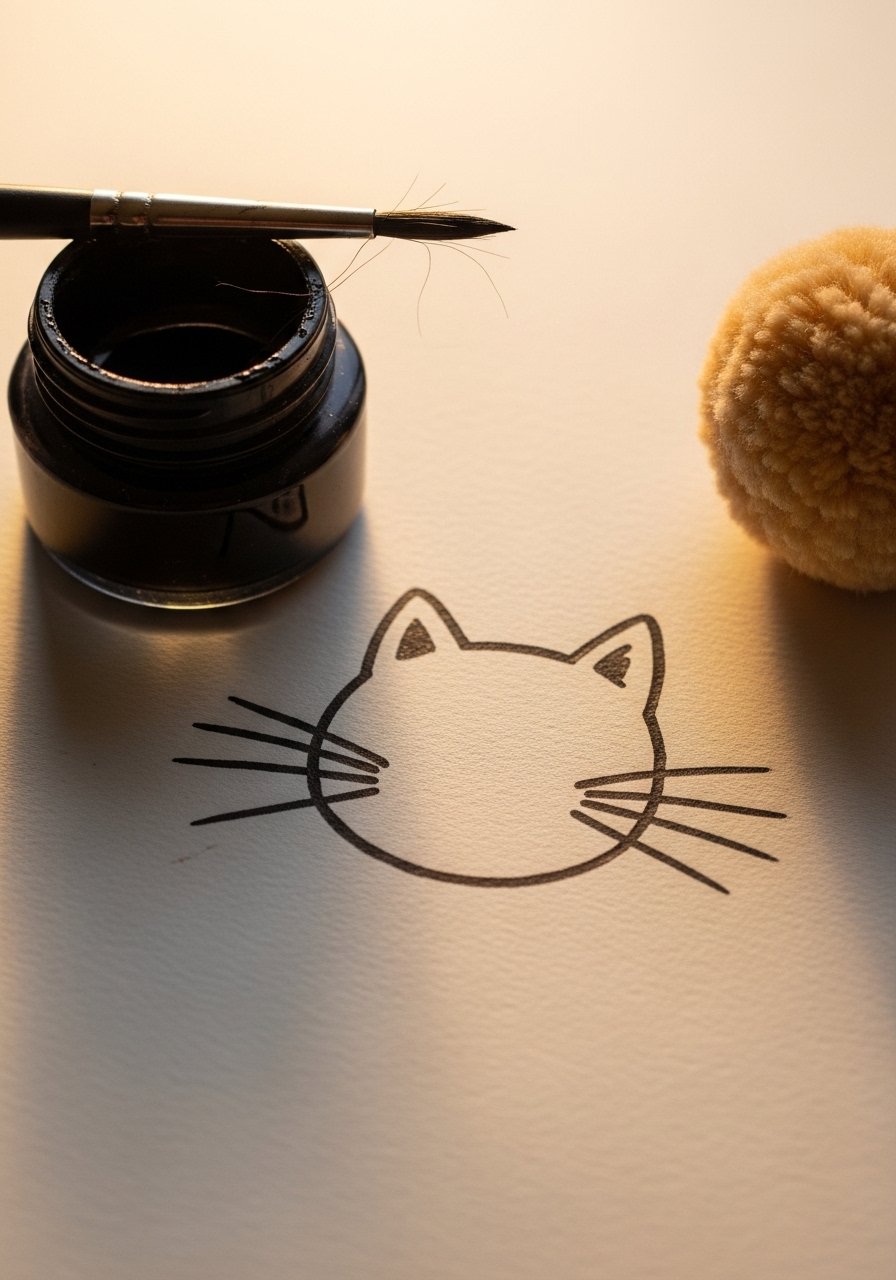
- Cute Cat Face
A simple cat face uses circles and triangles—kids love the instant animal personality. The finished look is soft and friendly. If you like bold lines, try a set of black brush pens for varied strokes.
Materials
- Cream sketch paper — 5 x 7 inches (1)
- Pencil & eraser
- Black brush pen — 1
- Pink marker — thin tip
- White gel pen — for whisker shine
- Blending stump — optional for soft shading
Instructions
- Draw a circle for the face.
- Add two small triangles for ears at the top.
- Sketch almond eyes and a triangle nose.
- Add whiskers with quick, confident strokes.
- Color inner ears lightly with pink marker.
- Use white gel pen to dot eyes.
- Finished cue: face reads expressive and lines are steady.
How to Display or Gift It
Turn the drawing into a bookmark—laminate on thin plastic. Slide into a kraft sleeve with a ribbon for gifting.
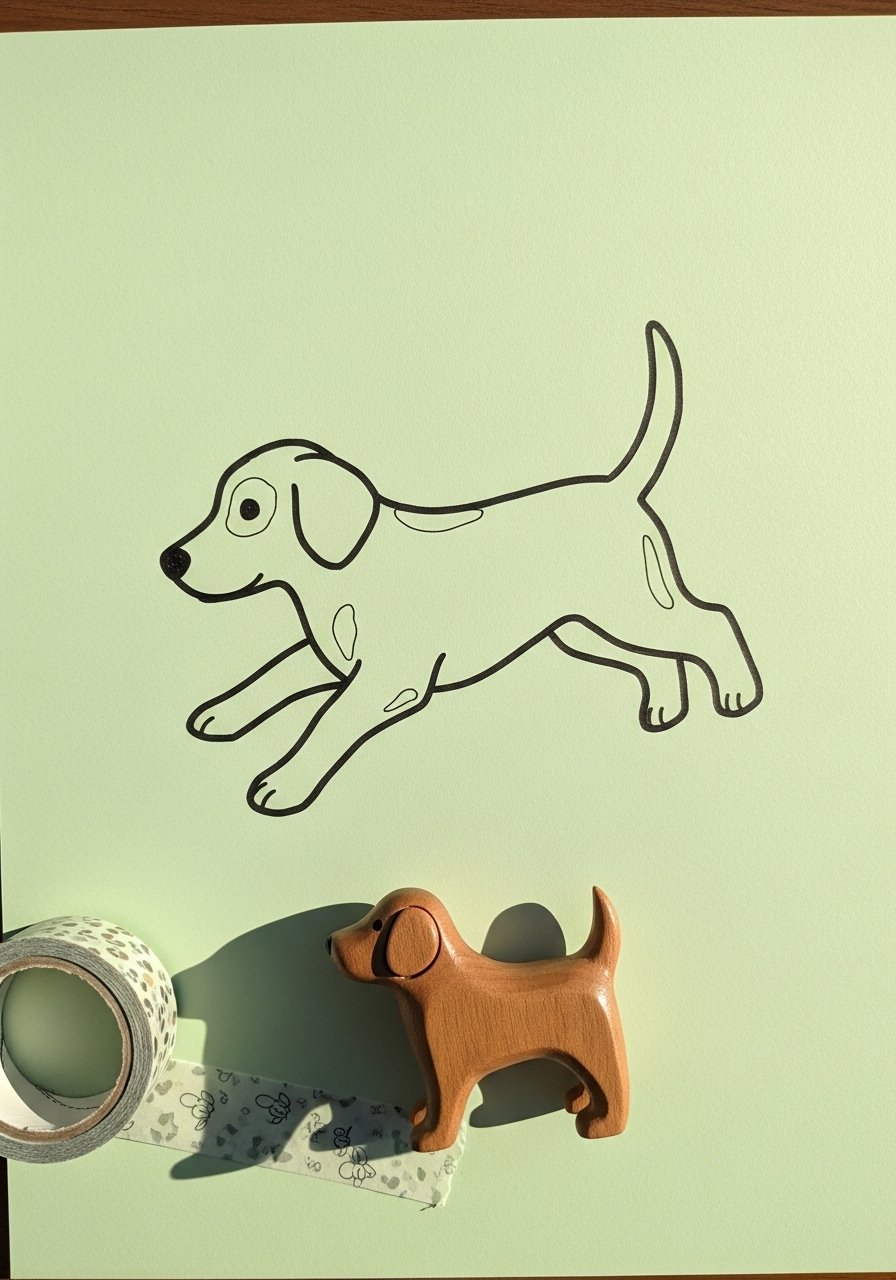
- Happy Dog Silhouette
This dog silhouette is about contour lines and negative space—great for older kids. The finished silhouette looks modern and graphic. A black micron pen gives crisp edges.
Materials
- Pale green cardstock — 6 x 8 inches (1)
- Pencil
- Black micron pen — 0.5 mm
- White correction pen — optional
- Scissors
- Masking tape — for holding paper
Instructions
- Lightly sketch a side profile silhouette of a dog.
- Check proportions—head, body, tail.
- Trace the outline boldly with the micron pen.
- Fill the interior with solid black if desired.
- Use the white correction pen for a small eye dot.
- Trim edges if mounting.
- Finished cue: silhouette reads clearly and ink is dry.
How to Display or Gift It
Mount on a wooden backing and display on a small easel for a simple mantle accent. Keep finished pieces in a portfolio tube to avoid creasing.
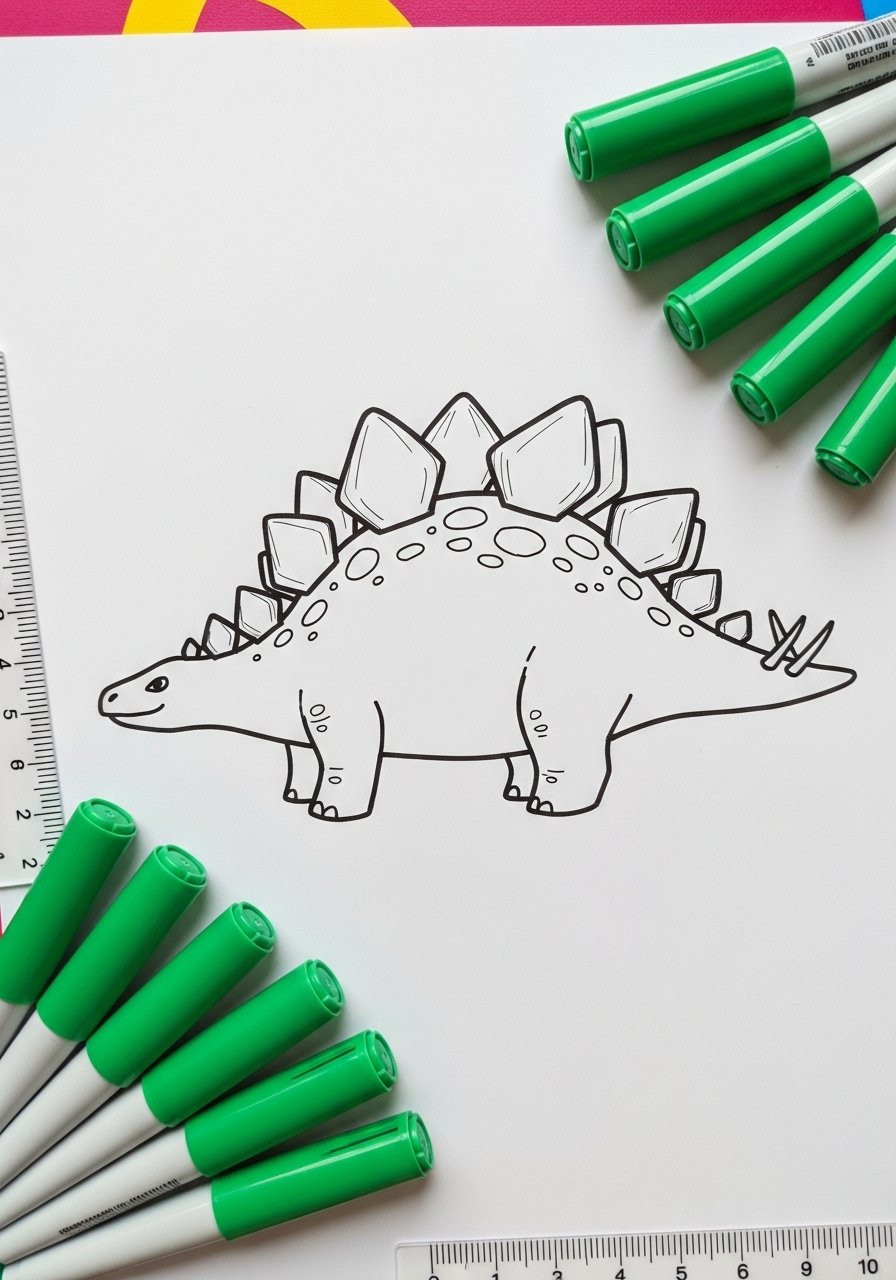
- Friendly Dinosaur
This rounded dino is cute and non-intimidating—great for dinosaur fans. The texture comes from repeated U-shaped plates. Use a washable marker set so cleanup stays easy.
Materials
- White paper — 8.5 x 11 inches (1)
- Pencil
- Green markers — two shades
- Black fineliner — 0.3 mm
- White gel pen — for teeth or dots
- Paper towel
Instructions
- Sketch an oval body with a small neck and head.
- Add four stubby legs and a tail.
- Draw U-shaped plates along the back.
- Trace with black fineliner.
- Color body with lighter green; shade plates with darker green.
- Add white dots on plates for texture.
- Finished cue: coloring is even and lines bold.
How to Display or Gift It
Turn into a sticker by laminating and cutting close to the outline. Store unused markers in a vertical pen cup.
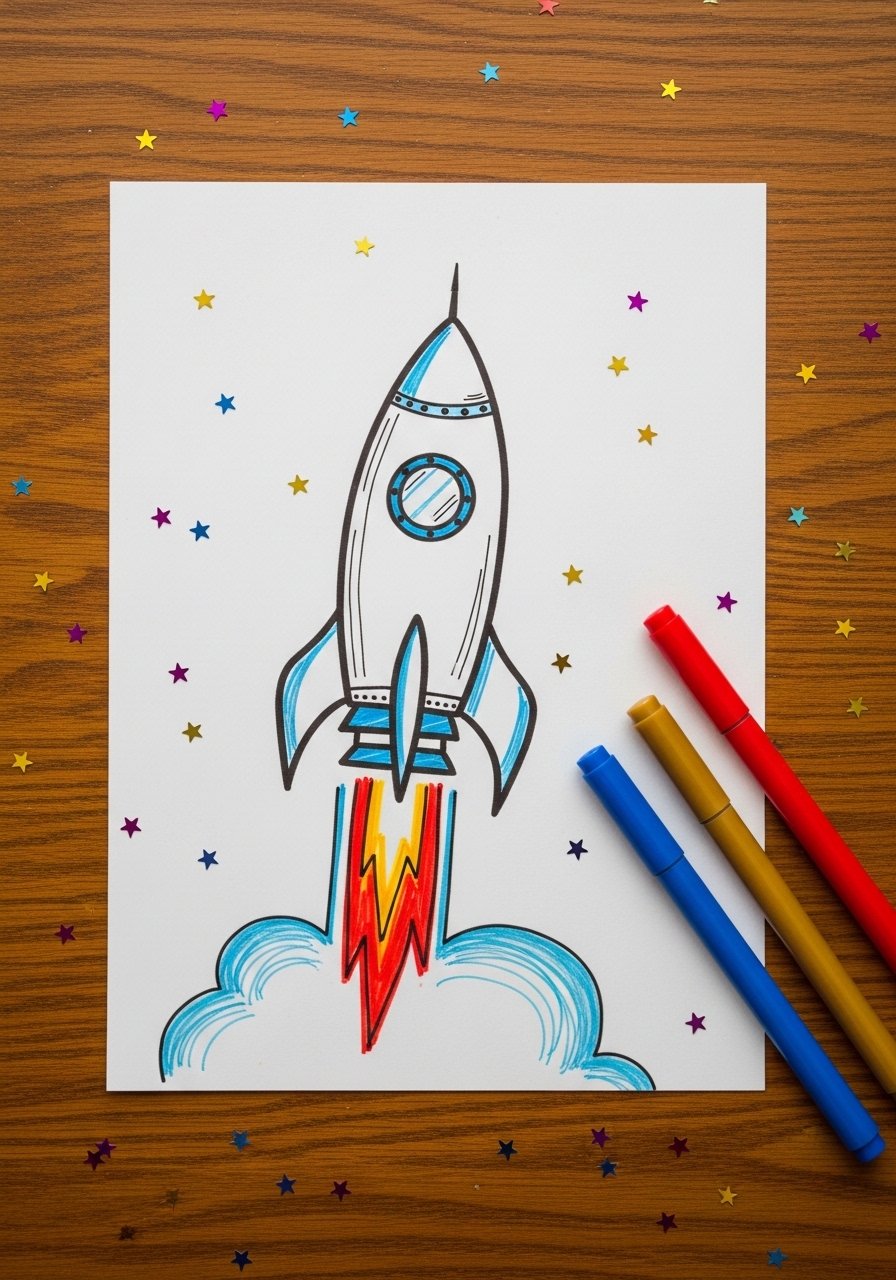
- Rocket Ship Blast
A rocket uses triangles and ovals—kids can customize fins or windows. The finished rocket feels energetic with flame strokes. A metallic gold marker gives a fun boost for windows.
Materials
- White cardstock — 5 x 7 inches (1)
- Pencil
- Red, blue, gold markers
- Black pen — 0.3 mm
- Ruler
- Star stickers — optional
Instructions
- Draw a vertical oval for the rocket body.
- Add a pointed cone nose and small triangular fins.
- Sketch round windows down the center.
- Add flame strokes at the base.
- Color body, fins, and flames.
- Trace outlines with black pen.
- Finished cue: colors are bright and flame lines show motion.
How to Display or Gift It
Glue two rockets on a concertina strip to make a mini pop-up mobile. Pack within a clear sleeve for gifting.
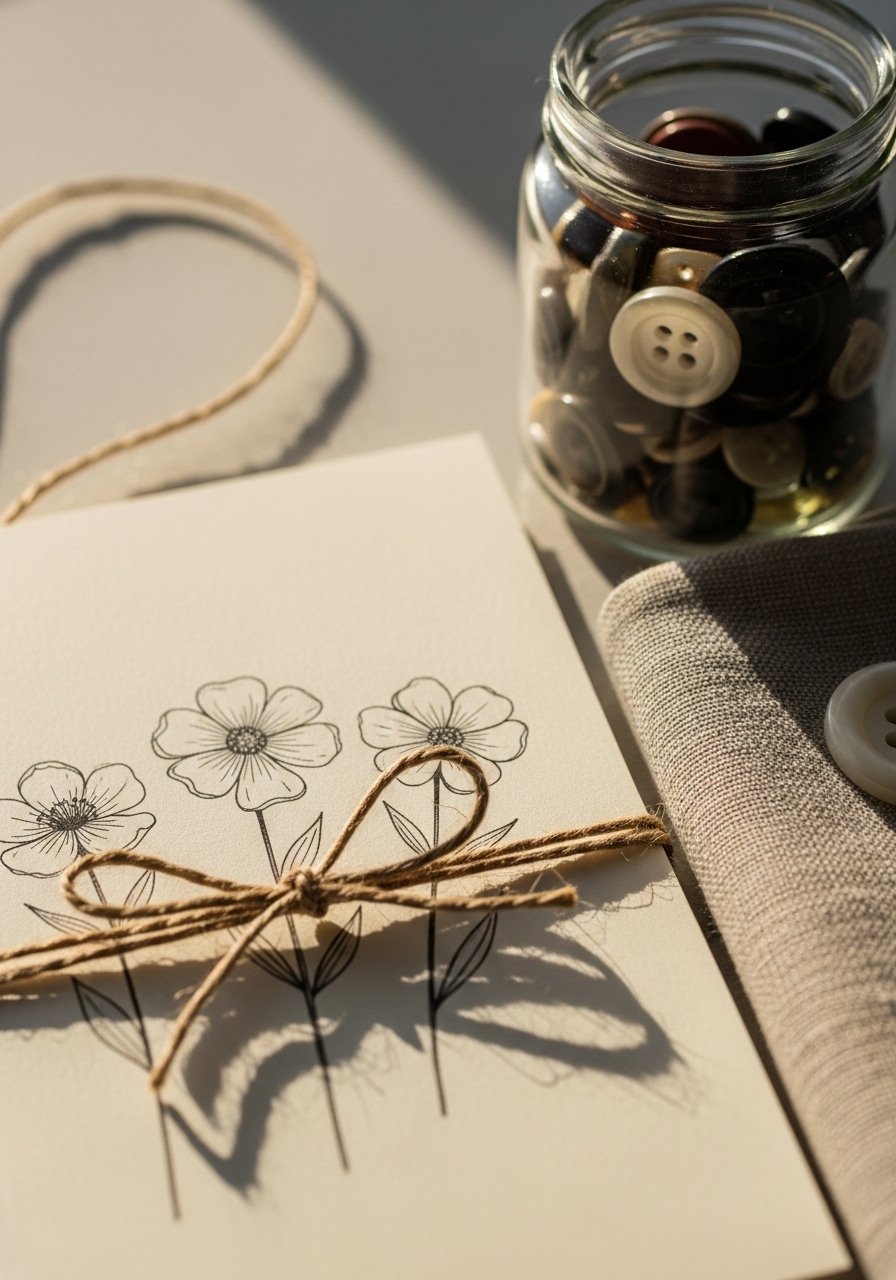
- Simple Flower Bouquet
A bouquet made from circles and ovals teaches composition and layering. The tactile look comes from colored pencil shading. Try a set of watercolor pencils for blended color.
Materials
- Cream card — 4 x 6 inches (1)
- Pencil & eraser
- Watercolor pencils — small set
- Fine black pen — 0.3 mm
- Twine — natural, 12 inches
- Button embellishments — 3
Instructions
- Sketch three flower heads as circles in a cluster.
- Add short stems converging near the base.
- Color petals and stems with watercolor pencils.
- Activate color slightly with a damp brush; dry 10 minutes.
- Trace outlines with fine pen once dry.
- Tie twine around stems and glue a button center for one bloom.
- Finished cue: colors sit smoothly and card is dry to touch.
How to Display or Gift It
Slip into a 4 x 6 photo frame as a quick gift. Keep cards flat in a stackable organizer until ready to use.
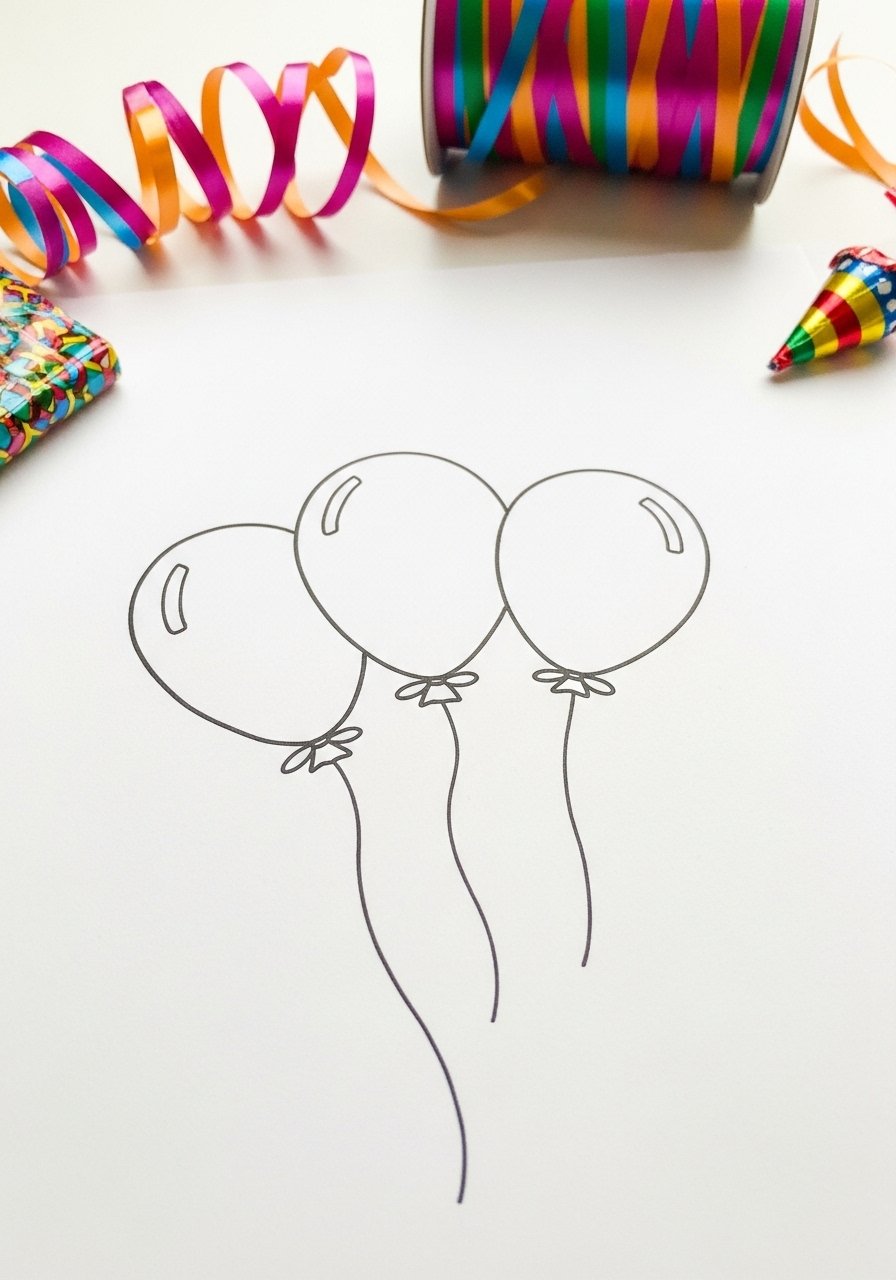
- Balloon Bunch — easy drawing ideas for kids
Balloons teach oval shapes and long looping lines for strings. They make a cheerful party card. I often use a set of gel pens for metallic highlights on balloons.
Materials
- White cardstock — 5 x 7 inches (1)
- Pencil
- Colored gel pens — 6-pack
- Fine liner — 0.3 mm
- Ribbon — 6 inches
- Glue
Instructions
- Lightly sketch three overlapping ovals.
- Draw thin curved strings downward.
- Color each balloon with a gel pen.
- Add a small white glint using the gel pen for highlight.
- Glue a short piece of ribbon at the base as a bow.
- Let glue set 5–10 minutes.
- Finished cue: highlights are visible and ribbon sits flat.
How to Display or Gift It
Attach to a birthday gift or tuck into a party favor bag. Store gel pens horizontally to avoid ink pooling.
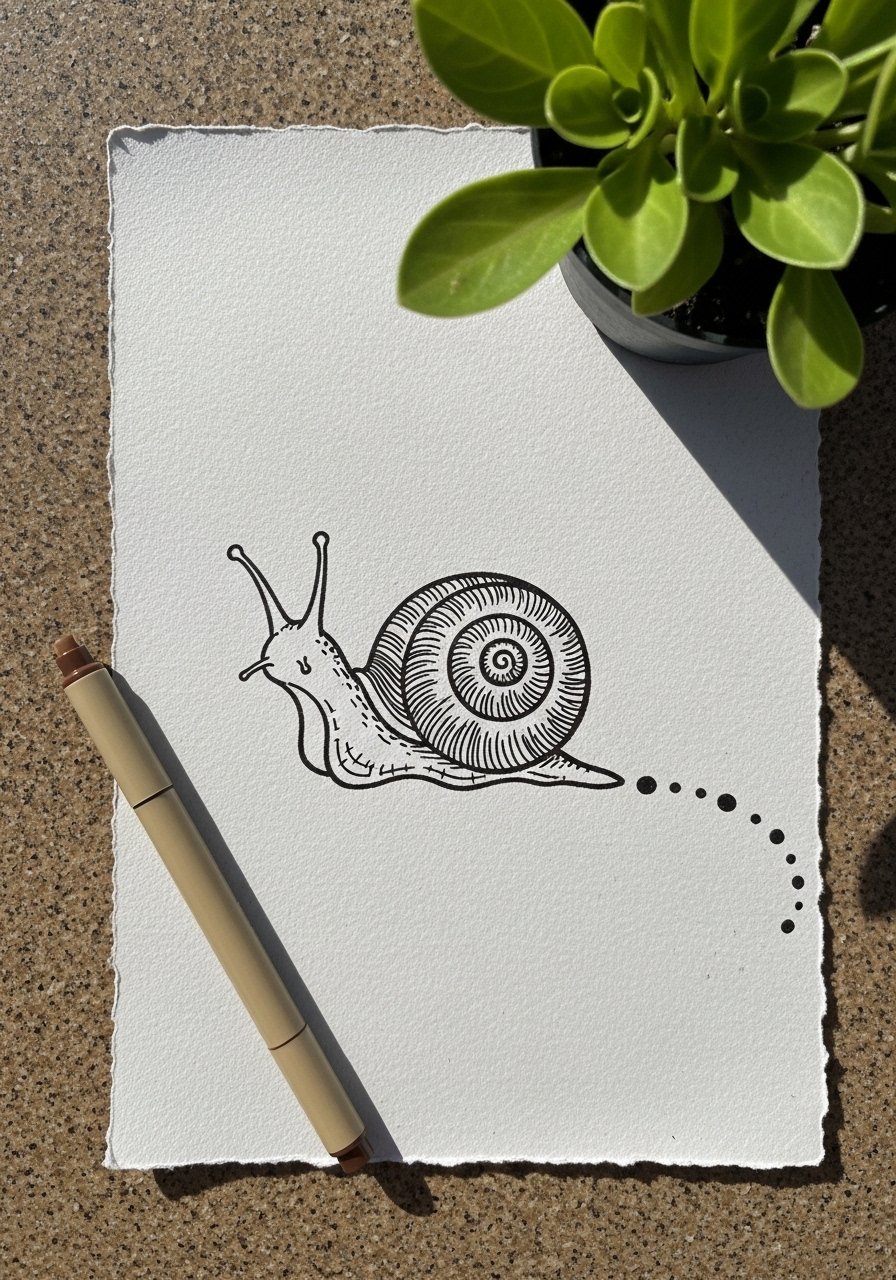
- Snail Trail
The snail is all about a simple spiral and a curved line trail—great for preschoolers practicing circular motion. You can add texture by dotting along the trail. A set of fine tip markers is handy for the trail details.
Materials
- Recycled sketch paper — 6 x 8 inches (1)
- Pencil
- Brown and green fine tip markers
- Black pen — 0.3 mm
- White gel pen — optional
- Ruler — optional
Instructions
- Draw a spiral for the shell.
- Add a small head and two short antennae.
- Sketch a dotted trail behind the snail.
- Outline with black pen.
- Color shell and body lightly.
- Add a tiny white dot on the eye with the gel pen.
- Finished cue: spiral is neat and trail dots are dry.
How to Display or Gift It
Make a set of snail postcards to send as slow-mail notes. Keep finished cards in a mason jar upright to avoid bending.
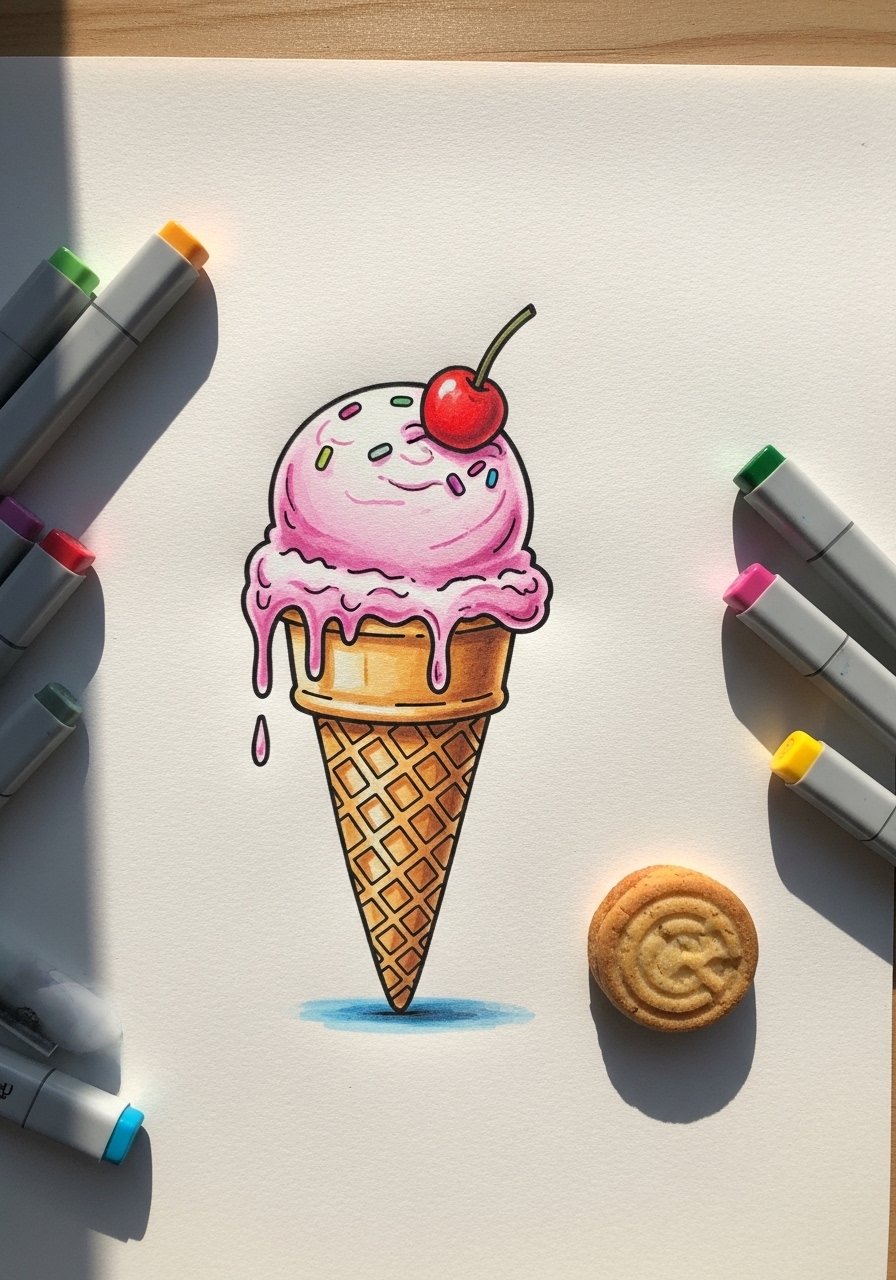
- Ice Cream Cone Doodle
This ice cream uses a circle and a textured cone grid—fun to repeat with different flavors. The waffle texture looks best with a fine brown pen. I like a set of pastel markers for soft scoops.
Materials
- White paper — 6 x 8 inches (1)
- Pencil
- Pastel markers — 3 colors
- Brown fineliner — 0.3 mm
- White gel pen — for sprinkles
- Paper towel
Instructions
- Draw a circle for the scoop above a triangle for the cone.
- Add diagonal lines across the cone to form a grid.
- Color scoop with a pastel marker.
- Trace cone lines with the brown fineliner.
- Dot small sprinkles with the white gel pen.
- Finished cue: waffle texture is visible and scoop color is even.
How to Display or Gift It
Glue onto a folded card for a sweet thank-you. Store pastel markers capped tightly in a zipper pouch.
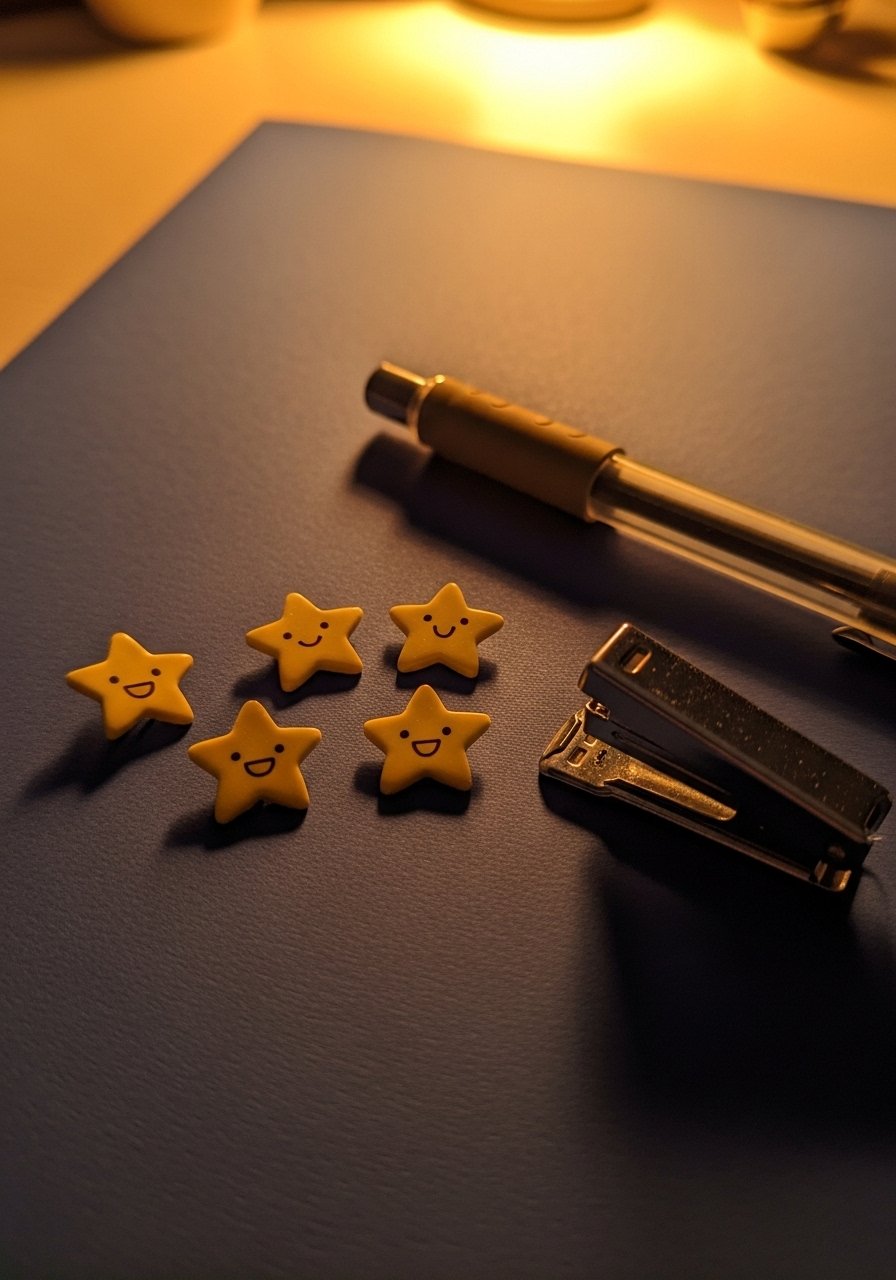
- Little Star Faces
Stars are quick five-point shapes with simple faces—perfect for sticker sheets. Metallic pens make them pop on dark paper. Try a metallic gel pen set for shimmer.
Materials
- Navy paper — 5 x 7 inches (1)
- Pencil
- Yellow marker — fine tip
- Metallic gel pen — silver or gold
- Black micron pen — 0.3 mm
- Stickers — optional
Instructions
- Lightly sketch a five-point star.
- Fill with yellow marker.
- Add tiny eyes and a mouth with the micron pen.
- Trace one edge with the metallic gel pen for a halo.
- Repeat for a cluster.
- Finished cue: stars are bright against the navy background.
How to Display or Gift It
Cut into tiny stickers by laminating and trimming. Store navy paper in a flat folder to prevent curling.
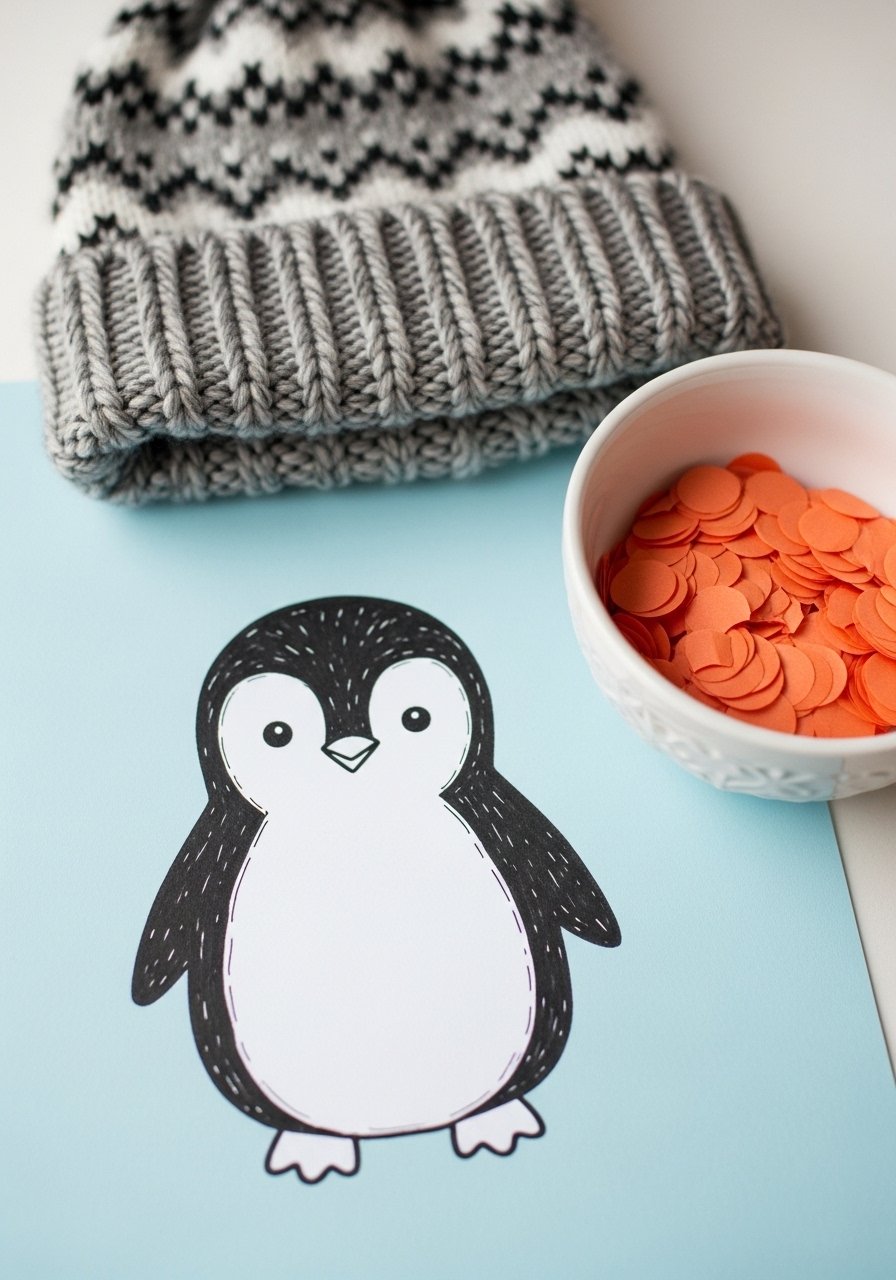
- Simple Penguin
The penguin is made from an oval body and a smaller white belly—cute and very forgiving. Use a pair of rounded-tip markers for smooth fills.
Materials
- Light blue paper — 6 x 8 inches (1)
- Pencil
- Black and orange markers
- White gel pen
- Fine liner — 0.3 mm
- Scissors — if trimming
Instructions
- Draw a vertical oval for the body.
- Add a smaller white oval inside for the belly.
- Sketch tiny wings and short feet.
- Color body with black marker; leave belly white.
- Add an orange beak and feet.
- Use white gel pen for small highlights.
- Finished cue: belly stands out and lines are clean.
How to Display or Gift It
Make a set of winter cards or gift tags. Store paper flat and capped markers upright.
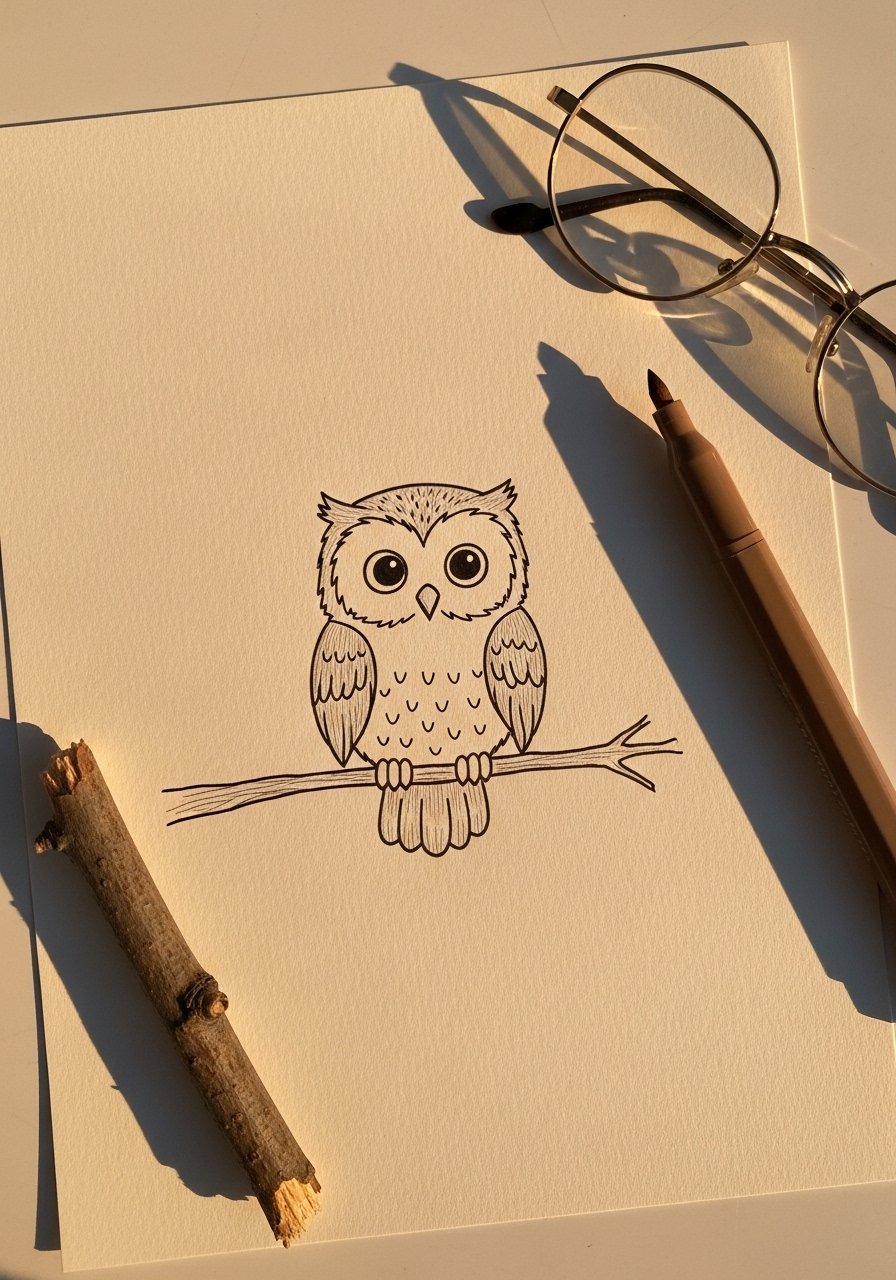
- Little Owl on a Branch
Owl shapes combine rounded bodies and large eyes—perfect for learning symmetry. The textured branch adds a tactile feel. A brown brush pen helps create woodgrain.
Materials
- Cream sketch paper — 5 x 7 inches (1)
- Pencil
- Brown brush pen
- Black fineliner — 0.3 mm
- Yellow marker — for eyes
- White gel pen
Instructions
- Sketch a large oval for the body and two big round eyes.
- Add small feather marks around the chest.
- Draw a short branch under the owl.
- Ink with the brown brush pen and black fineliner.
- Color the eyes yellow and add white highlights.
- Finished cue: feathers read textured and eyes pop.
How to Display or Gift It
Mount on a wooden craft stick for a puppet craft. Keep brushes in a mug to dry between sessions.
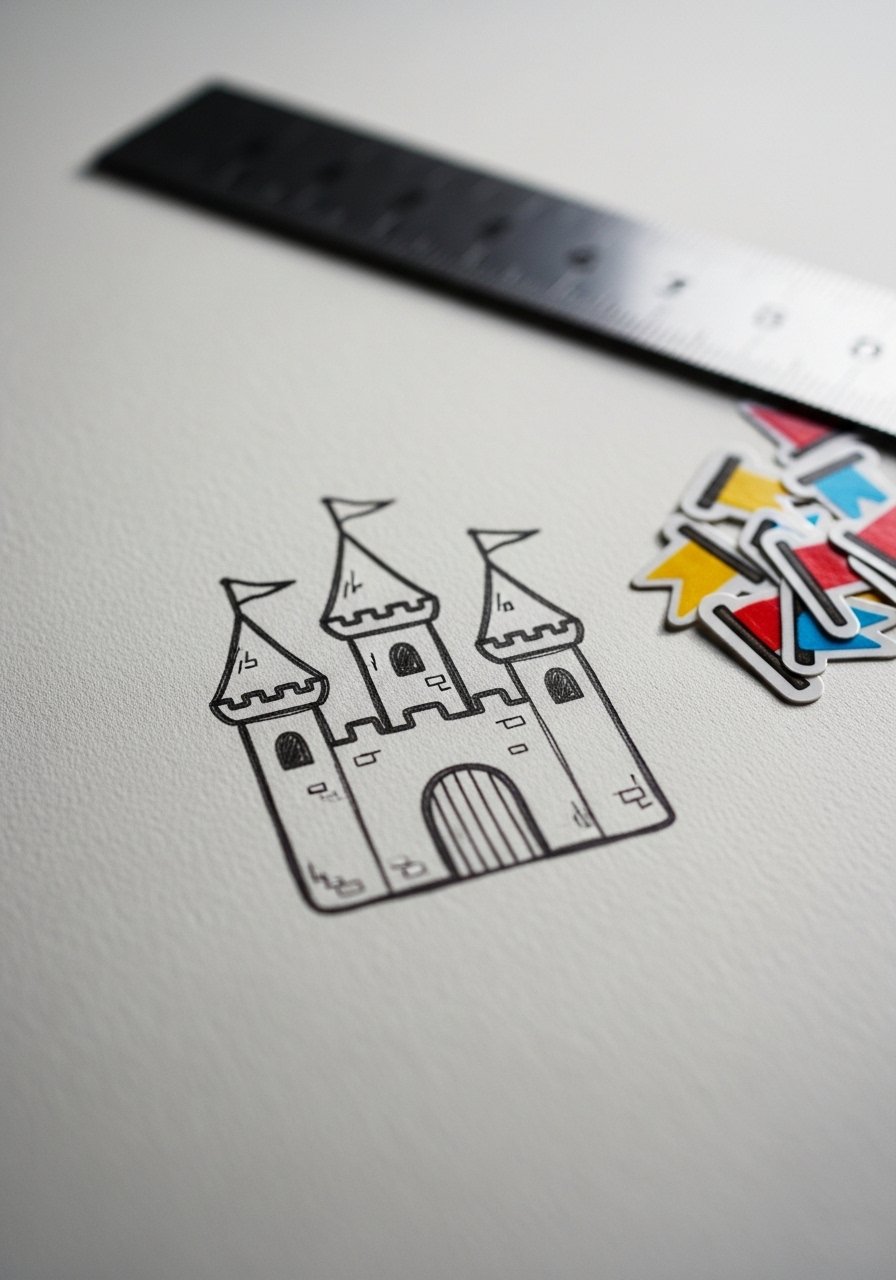
- Tiny Castle
Castles are rectangles and triangles—it’s architectural play at a kids’ level. Flags add movement. A set of fine colored markers works well for turret details.
Materials
- Gray paper — 6 x 8 inches (1)
- Pencil
- Fine colored markers
- Black fineliner — 0.3 mm
- Ruler
- Sticky note — for masking small flag shapes
Instructions
- Draw three stacked rectangles for towers.
- Add triangle roofs and small rectangular doors.
- Sketch tiny windows and battlements.
- Color with fine markers.
- Trace with the black fineliner.
- Finished cue: buildings are balanced and colors stay inside lines.
How to Display or Gift It
Create a storybook page by repeating castles with different colors. Store markers in a divided organizer.
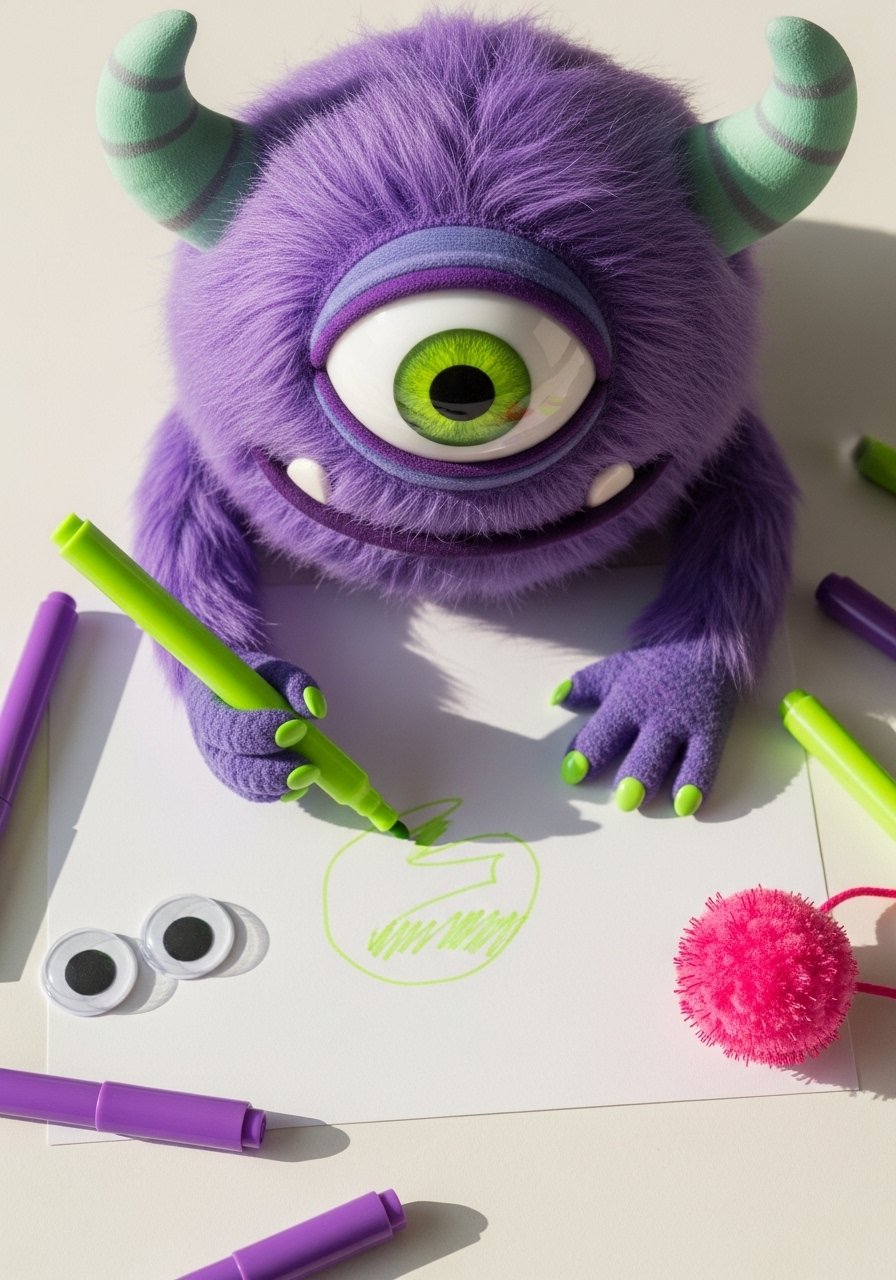
- Funny Monster
Monsters are a freedom exercise—mix shapes, eyes, and a big smile. They’re silly and encourage imaginative detail. Try a washable paint marker for neon effects.
Materials
- White sketch paper — 8.5 x 11 inches (1)
- Pencil
- Neon markers or paint markers
- Black pen
- Googly eye — optional
- Glue — craft glue
Instructions
- Sketch an irregular blob shape for the monster body.
- Add one or multiple eyes and a toothy grin.
- Draw limbs or horns.
- Color with neon markers.
- Glue on a googly eye if desired; let set 10 minutes.
- Finished cue: colors are bright and glue is dry.
How to Display or Gift It
Turn into a refrigerator magnet by mounting to a thick backing and adding a magnet strip. Keep paint markers capped and upright.
- Robot Doodle
Robots are squares, circles, and rectangles—great for teaching symmetry and repeating parts. The pixel face looks neat with a fine liners. I like using a mechanical pencil for precise initial lines.

Materials
- Graph paper — A4 or 8.5 x 11 inches (1)
- Mechanical pencil — 0.5 mm
- Black fineliner — 0.3 mm
- Silver metallic pen — optional
- Ruler
- Eraser
Instructions
- Sketch a rectangle body and square head.
- Add circular eyes and a rectangular mouth grid.
- Draw jointed limbs with small circles for connectors.
- Trace with the fineliner.
- Add metallic accents with the silver pen.
- Finished cue: robot reads geometric and lines match the grid.
How to Display or Gift It
Create a robot parade by drawing a row of robots on a long strip of paper. Store graph paper stack in a clear file.
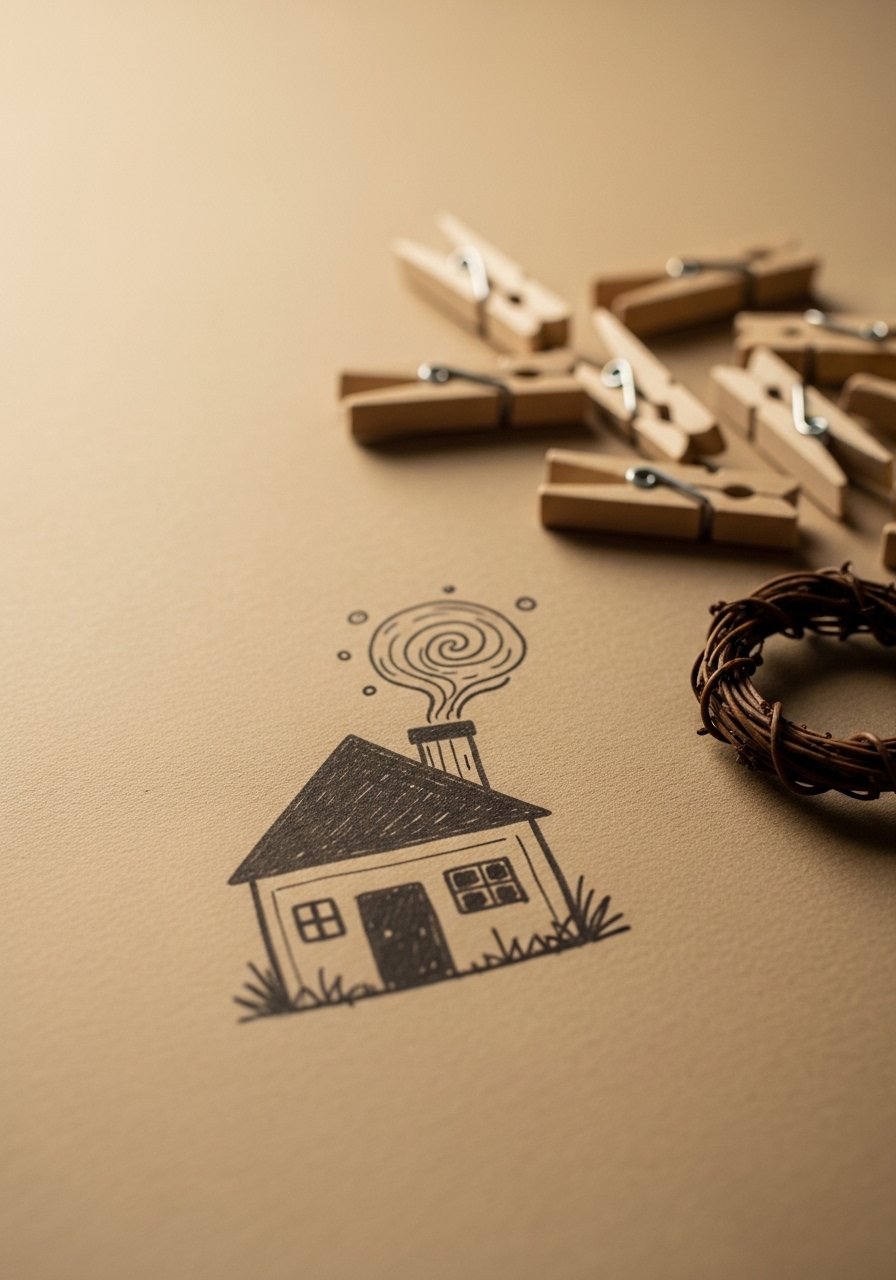
- Cozy House
Houses are rectangles, triangles, and little details like shutters. The smoke swirl adds motion. A pencil set with charcoal option can give soft shading.
Materials
- Kraft paper — 6 x 8 inches (1)
- Pencil
- Charcoal pencil — soft
- Black pen
- Colored pencil — red for roof
- Glue — for attaching twig wreath
Instructions
- Draw a rectangle for the house base.
- Add a triangular roof and a small chimney.
- Sketch windows, shutters, and a door.
- Shade lightly with charcoal for depth; blend gently.
- Trace outlines with black pen.
- Finished cue: house has a cozy shaded look.
How to Display or Gift It
Attach a tiny twig wreath to the door with glue for a rustic ornament. Store kraft paper flat to keep edges neat.
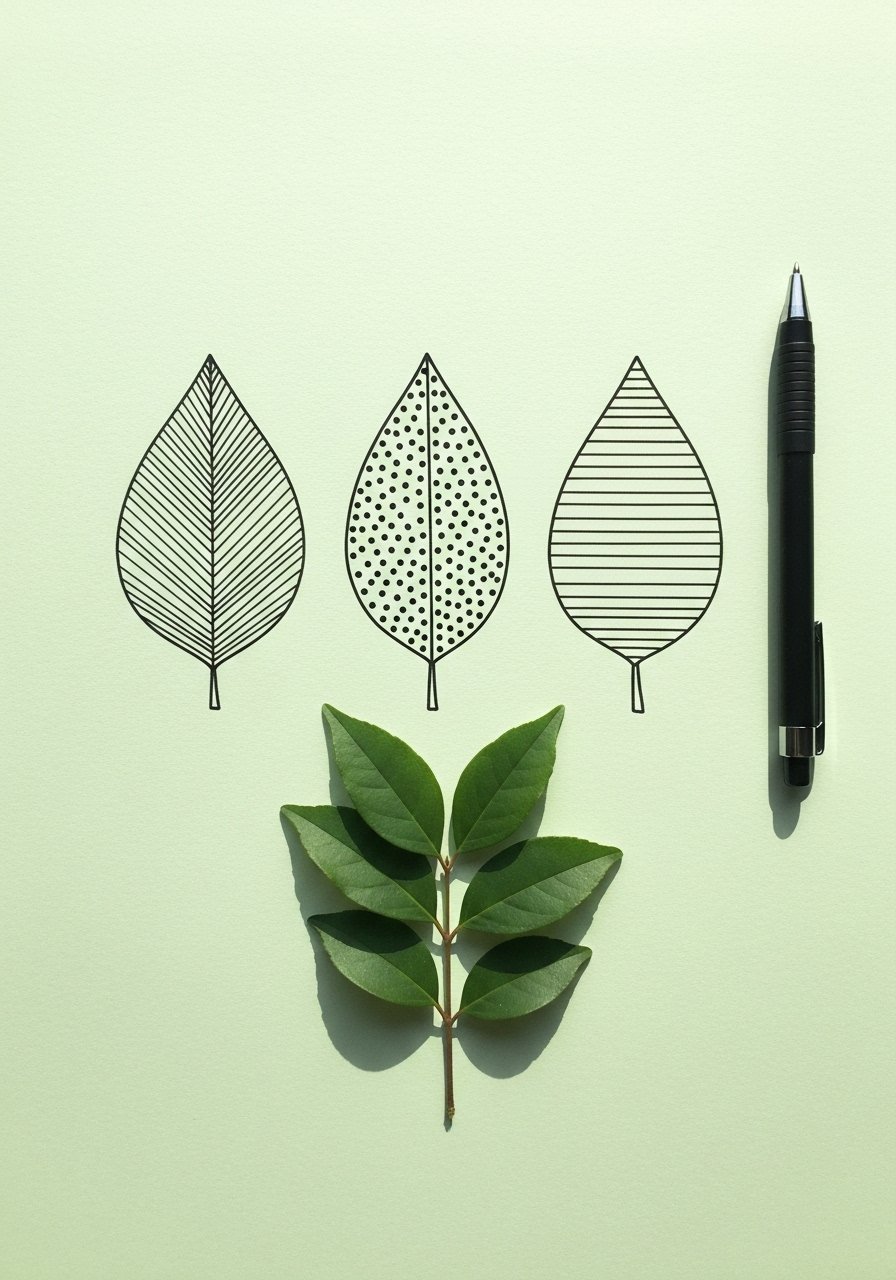
- Leaf Patterns
Leaves help with repeating veins and internal patterns—great for quiet focus. Mixing pattern types teaches design choices. Use a set of fine pens for varied line weights.
Materials
- Pale green paper — 5 x 7 inches (3)
- Pencil
- Fine pen set — assorted tip sizes
- Colored pencil — dark green
- White gel pen
- Blending stump — optional
Instructions
- Sketch simple leaf outlines elongated or round.
- Add a central vein and branching veins.
- Fill sections with stripes, dots, or crosshatch.
- Trace main veins with a thicker pen.
- Shade lightly with colored pencil along edges.
- Finished cue: patterns are visible and lines clean.
How to Display or Gift It
Cluster leaves into a nature study page. Store finished pages in a protective sleeve.
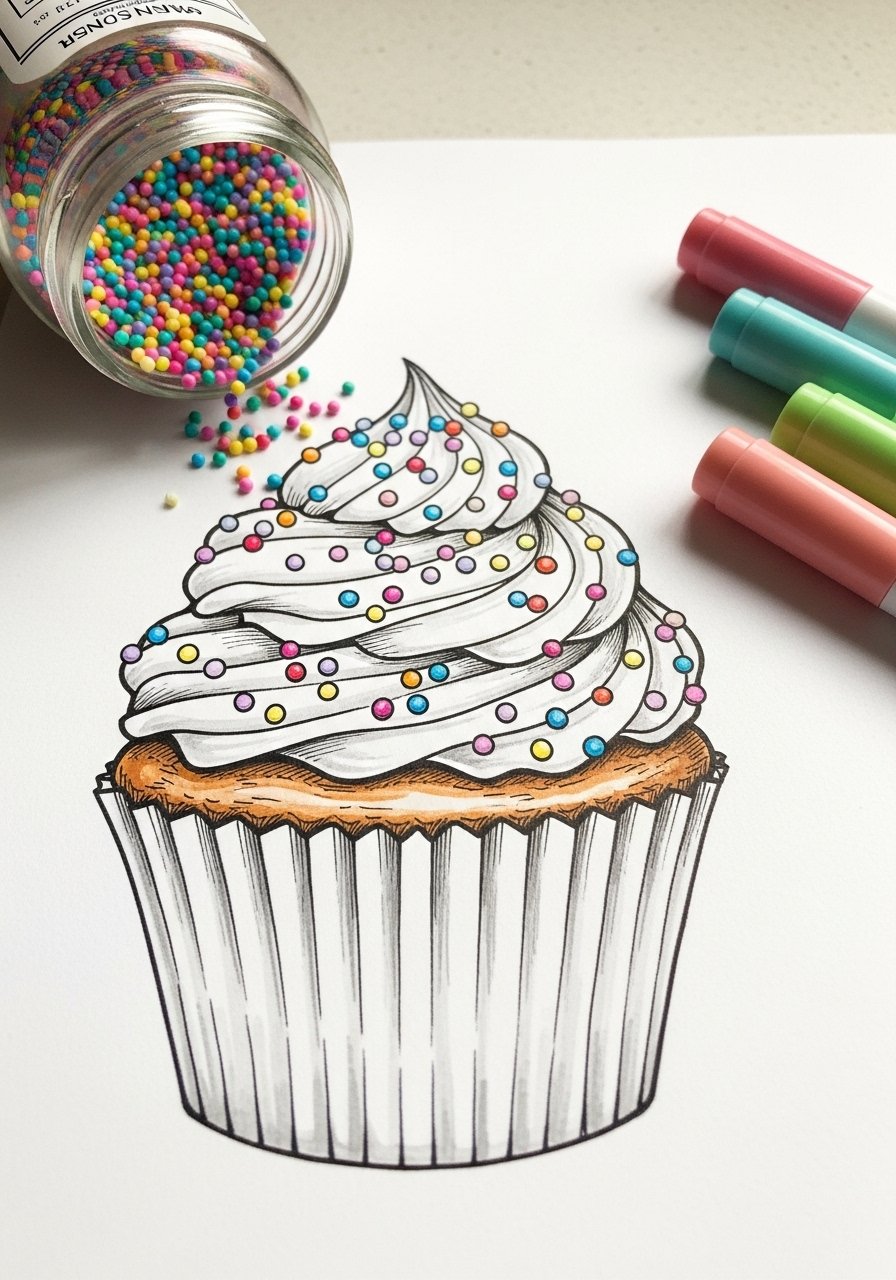
- Cupcake with Sprinkles
Cupcakes are soft curves and small dots for sprinkles—a perfect celebration doodle. A set of pastel markers gives nice soft frosting shades.
Materials
- White paper — 6 x 8 inches (1)
- Pencil
- Pastel markers
- Black fineliner — 0.3 mm
- Dot stickers — optional for sprinkles
- Glue — if adding stickers
Instructions
- Draw a semi-circle for frosting atop a trapezoid for the liner.
- Add curved lines to show fluffy texture.
- Dot sprinkles across the top with different colors.
- Trace edges with the fineliner.
- Let ink dry 1–2 minutes.
- Finished cue: frosting looks fluffy and sprinkles are colorful.
How to Display or Gift It
Make a set of mini cupcake tags for party favors. Keep markers in a zip pouch to prevent drying.
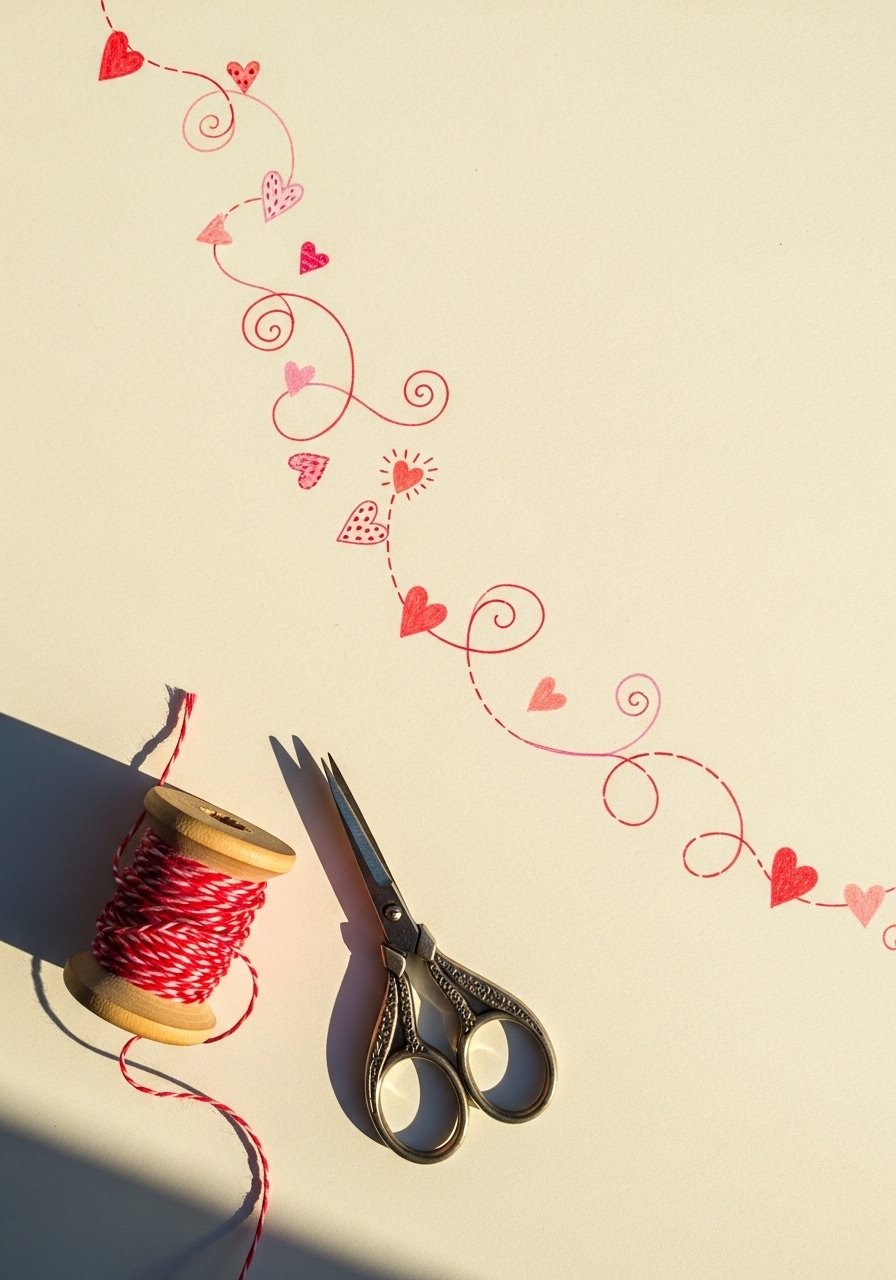
- Little Heart Garland
Hearts teach curve consistency and rhythm—great for making garlands or gift toppers. Use a red twine spool to create a tactile element.
Materials
- Cream paper — 8.5 x 11 inches (1)
- Pencil
- Red fine marker
- Black pen
- Red twine — 12 inches
- Glue dots
Instructions
- Sketch a gentle curving line for the garland.
- Draw evenly spaced hearts along the curve.
- Color hearts with the red marker.
- Trace garland line with a black pen.
- Glue a length of twine along the drawn line using glue dots for texture.
- Finished cue: hearts align and the twine follows the curve.
How to Display or Gift It
Cut into small tags and thread with twine to tie on gifts. Store twine on a spool in a drawer.
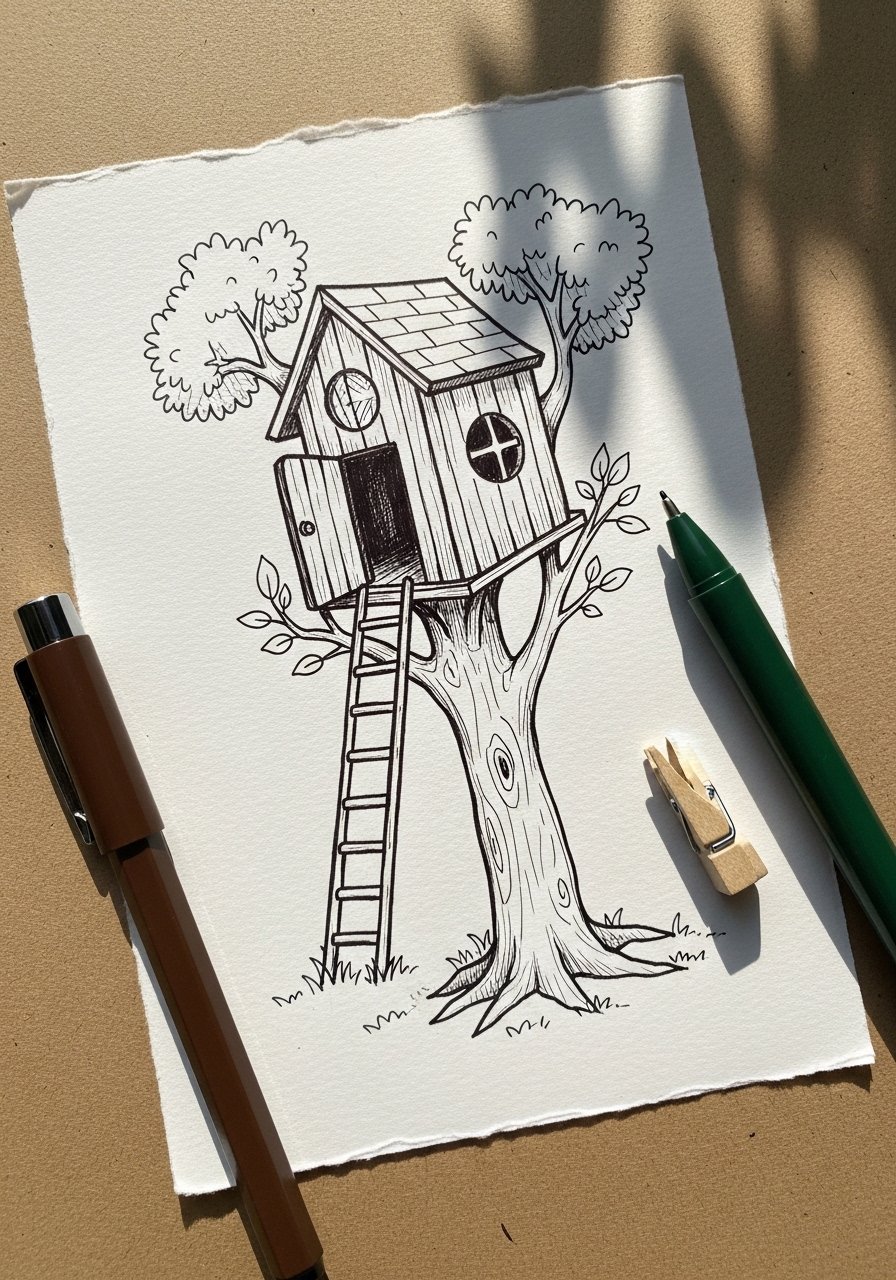
- Simple Treehouse Sketch
Treehouses combine shapes and tiny architecture details—fun for older kids who want a scene. A brown fineliner helps suggest woodgrain.
Materials
- White paper — 8.5 x 11 inches (1)
- Pencil
- Brown fineliner
- Green marker
- Ruler
- Eraser
Instructions
- Sketch a vertical trunk with a rectangle for the house platform.
- Add a ladder and small window.
- Draw simple foliage around the platform.
- Ink with the brown fineliner and color leaves green.
- Finished cue: structure reads like a tiny scene and lines are sturdy.
How to Display or Gift It
Scan and print as party invitations for a backyard adventure theme. Keep drawings in a flat pad to avoid smudges.
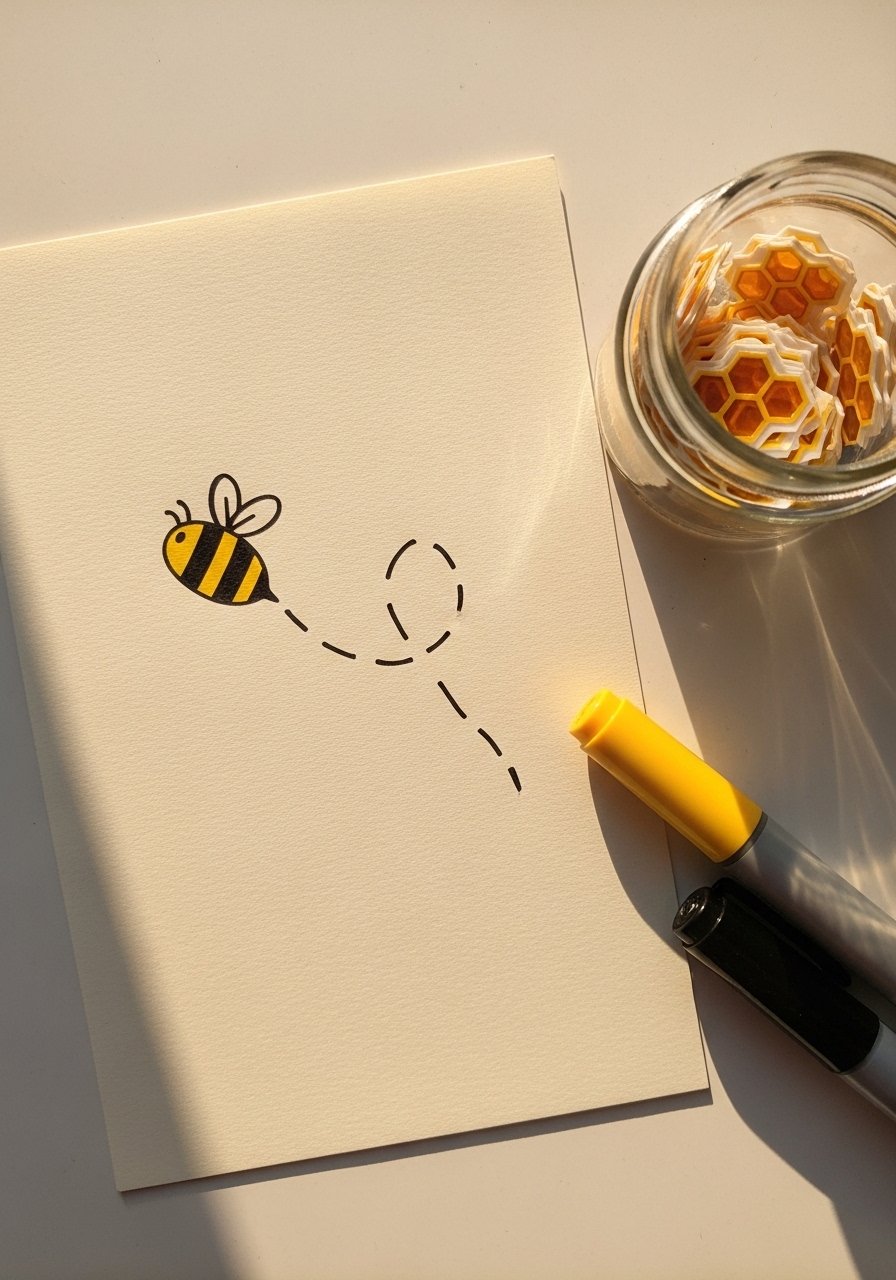
- Little Bee with Dashes
Bees teach stripe repetition and motion with a dashed flight line. A yellow marker and black fineliner make the stripes pop.
Materials
- Cream paper — 5 x 7 inches (1)
- Pencil
- Yellow marker
- Black fineliner — 0.3 mm
- Fine white gel pen
- Honeycomb stickers — optional
Instructions
- Draw an oval for the bee body and a small head.
- Add stripes across the body with pencil guide marks.
- Draw tiny wings and a dashed flight path.
- Color stripes with the yellow marker and outline with black fineliner.
- Add white dots on wings for shine.
- Finished cue: flight path suggests motion and bee stripes are even.
How to Display or Gift It
Create matching note cards for little gifts. Store stickers and papers together in a small craft bin.
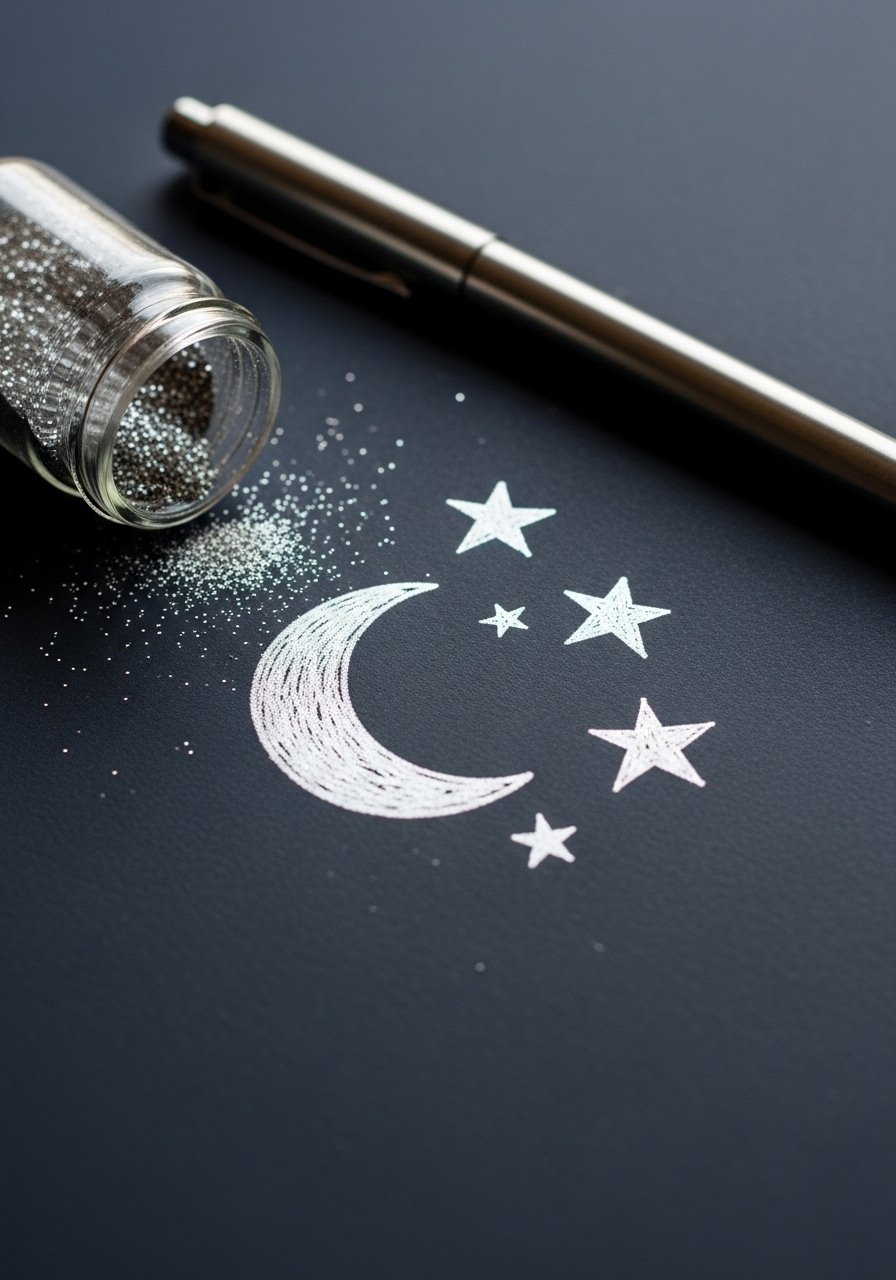
- Moon and Stars Night Scene
A crescent moon and tiny stars teach curved line control and spacing. Metallic accents add a dreamy feel. I use a metallic pen set for the moon’s shimmer.
Materials
- Navy paper — 6 x 8 inches (1)
- Pencil
- Silver metallic pen
- White gel pen
- Small brush — size 0 for tiny dots
- Fine black pen — optional for shadow
Instructions
- Lightly sketch a crescent moon shape.
- Add three small stars around the moon.
- Trace moon and stars with the silver metallic pen.
- Dot tiny star sparks with the white gel pen.
- Let metallic ink dry 2–3 minutes.
- Finished cue: metallic areas catch light and paper isn’t smudged.
How to Display or Gift It
Frame as nursery art or glue to the front of a dark-toned greeting card. Store metallic pens in a separate pouch to avoid transfer.
I hope these 27 easy drawing ideas for kids gave you playful projects that are fast, repeatable, and satisfying. Try a few in quick succession to build confidence, or create an entire themed set to gift. Pin the page so you can come back when you need a simple creative rescue, and share your favorites with a friend who crafts with kids.
Trust me, a basic hot glue gun with temperature control changed how I finish small mixed-media pieces—less string, better hold. Which drawing will you try first?


