You’ve bought the yarn you love but the idea of turning a heel feels scary. Learning How to Knit Socks for Beginners is easier than you think—you’ll go from cuff to toe with a wearable, cozy result. Picture this: a snug cuff, a smooth heel, and a sock that actually fits your foot.
The secret is choosing the right yarn and needles. I recommend starting with fingering-weight sock yarn and a set of double-pointed needles or a short 9-inch circular needle for the magic loop method.
You’ll learn measuring for fit, casting on, managing the heel and gusset, and finishing so your socks are comfy and long-lasting. Plan 4–8 hours for your first pair; most beginners finish a single sock in 2–4 hours after the first one.
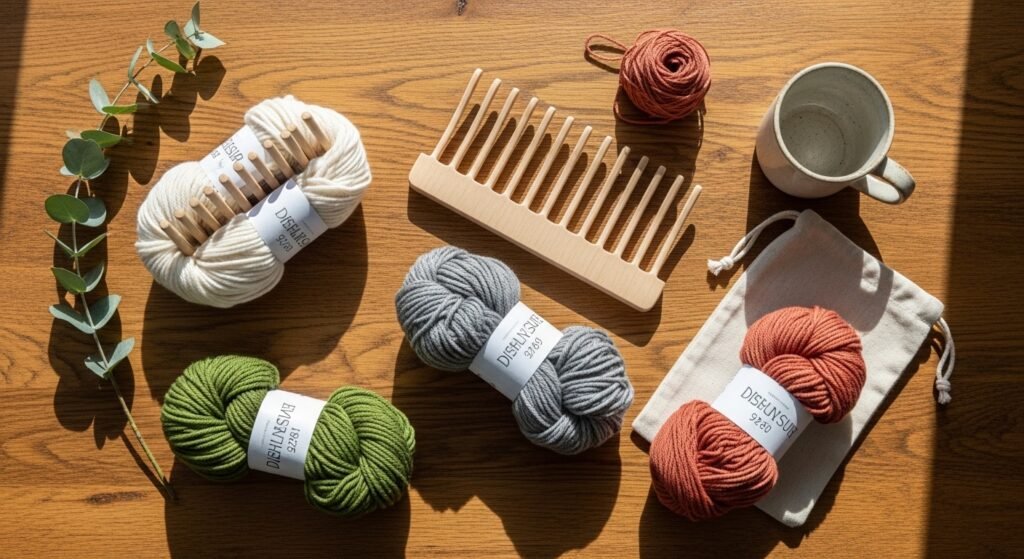
Gather and prep your materials (quick, beginner-friendly)
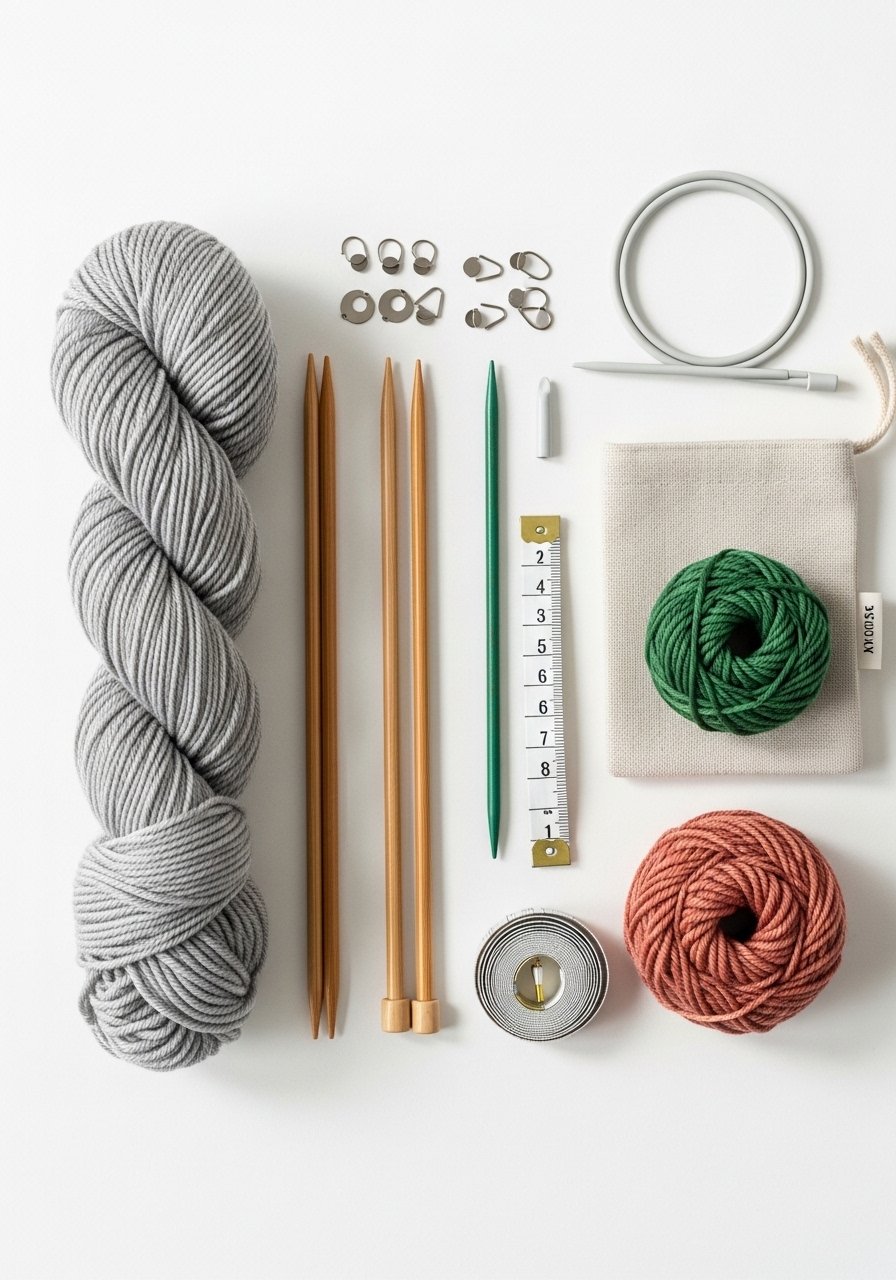
Start with the right basics and prep saves time later.
- Choose 400–450 yards of fingering-weight yarn for an adult pair.
- Use US 1–3 (2.25–3.25 mm) needles depending on your tension.
- Keep handy: stitch markers, a tape measure, and a yarn needle.
Tips:
- Measure the foot length and circumference. For most women, foot circumference unstretched is 7.5–8.5 inches; add 1–1.5 inches ease for comfort.
- Swatch a 4-inch square at your chosen needles; you want 8–9 sts per inch in stockinette for sock fabric.
- Wind yarn into a center-pull ball inside a project bag to avoid tangles.
Cast on, cuff, and knit the leg (easy, one-afternoon progress)
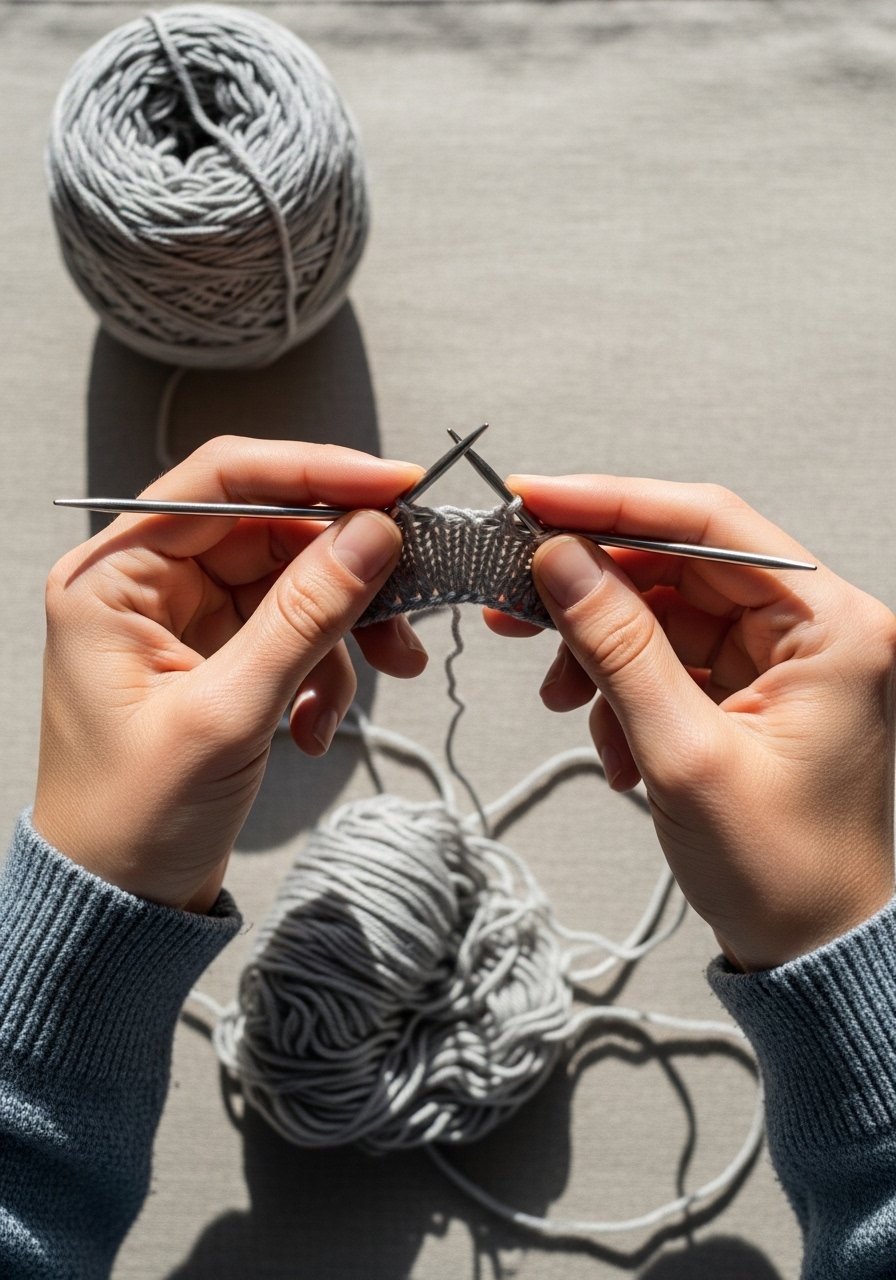
This step builds the cuff and leg where fit matters most.
- Cast on the number of stitches that match your gauge and circumference (e.g., 64 stitches at 8 sts/in = 8-inch circumference).
- Join in the round carefully—avoid twisting—and work 1–2 inches of 1×1 rib for a snug cuff.
- Knit the leg in stockinette to desired length, usually 6–8 inches for ankle socks or longer for crew.
Pro tips:
- Use a short 9-inch circular needle for a tidy join if you prefer magic loop.
- Place a stitch marker at the beginning of the round to track rows.
- For a faster gauge check, measure circumference after the cuff—adjust needles if it’s too loose.
Heel flap, turning the heel, and gusset (the core technique)
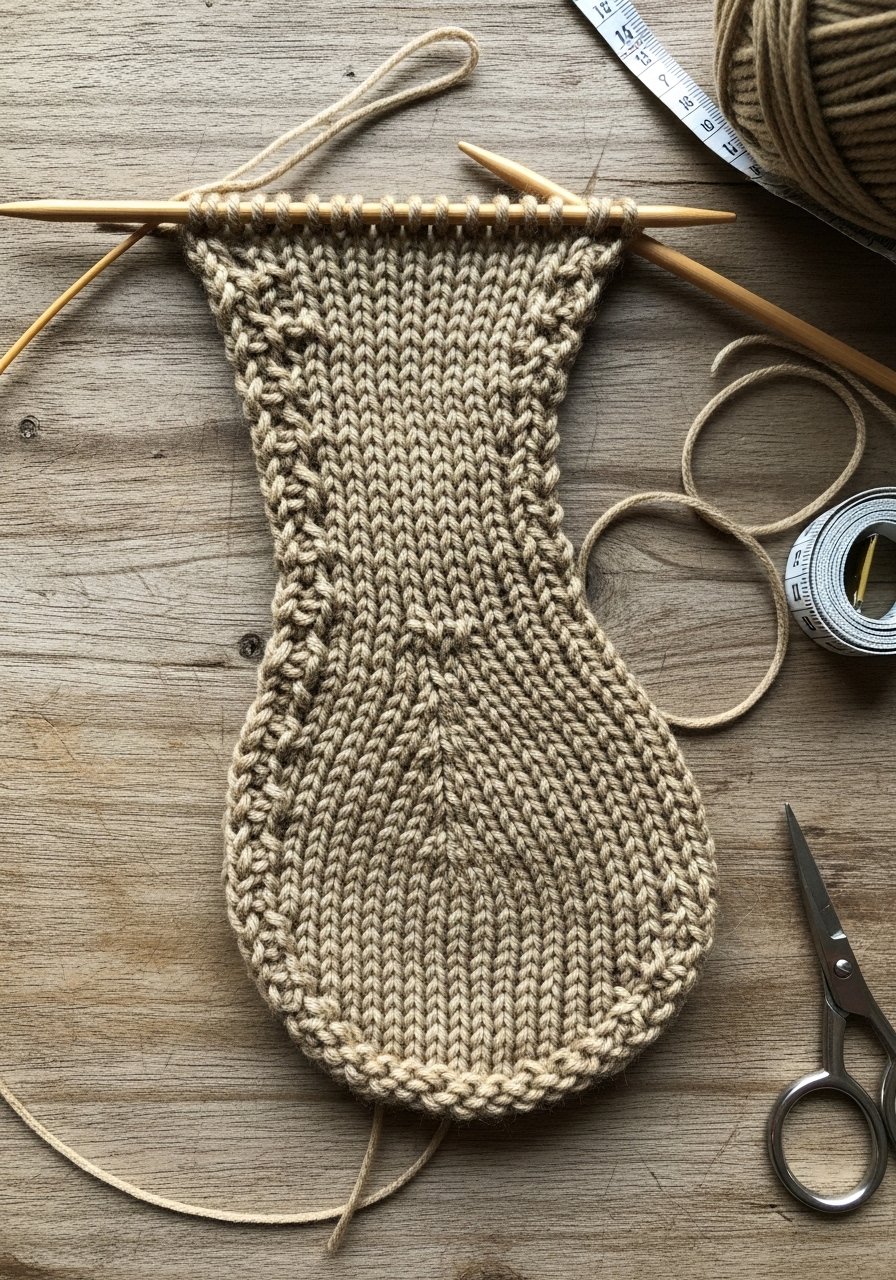
The heel is the trickiest part but also the most satisfying.
- Knit a heel flap on half the stitches (e.g., 32 sts) for 2–3 inches depending on foot depth.
- Turn the heel using short rows:
- Work decreases across the center to create a cup shape.
- Pick up picked-up stitches along the flap edges.
- Graft the toe with a yarn needle using Kitchener stitch for a smooth finish.
Troubleshooting:
- If the heel slips, add 1–2 slipped stitches at the edges of the flap next time for better durability.
- Use a row counter to track short rows and avoid mistakes.
Finish, block, and fit test (get that perfect fit)
Finishing makes the difference between wearable and heirloom.
- Seam the toe and weave in ends with a yarn needle.
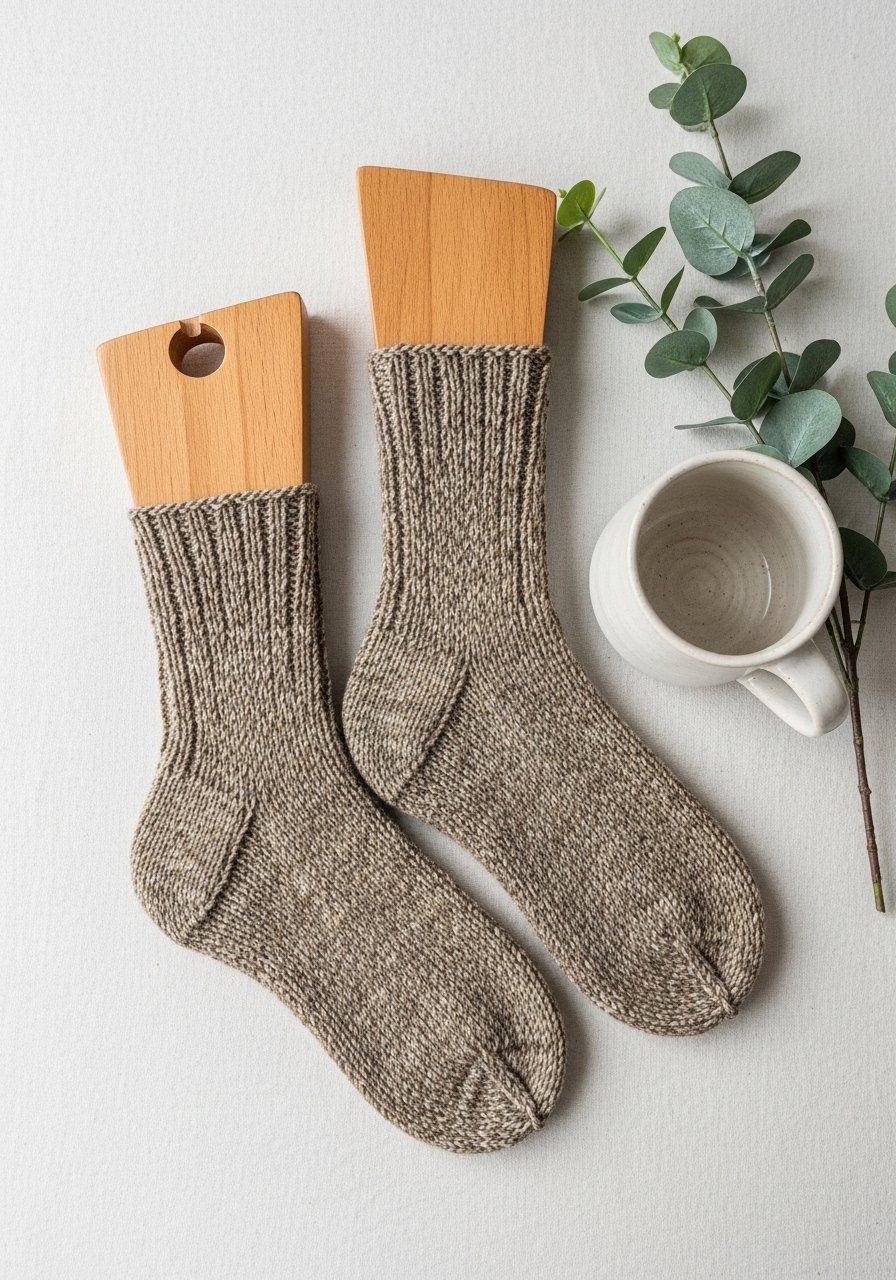
- Block on wooden sock blockers or blocking mats to shape—socks usually dry in 2–6 hours depending on humidity.
- Store in a project bag or wrap in tissue if gifting.
Tips for longevity:
- Rotate socks—don’t wash too often.
- If seams irritate, use finer needles for a denser stitch in the toe next time.
Take your skills further (variations and time-savers)
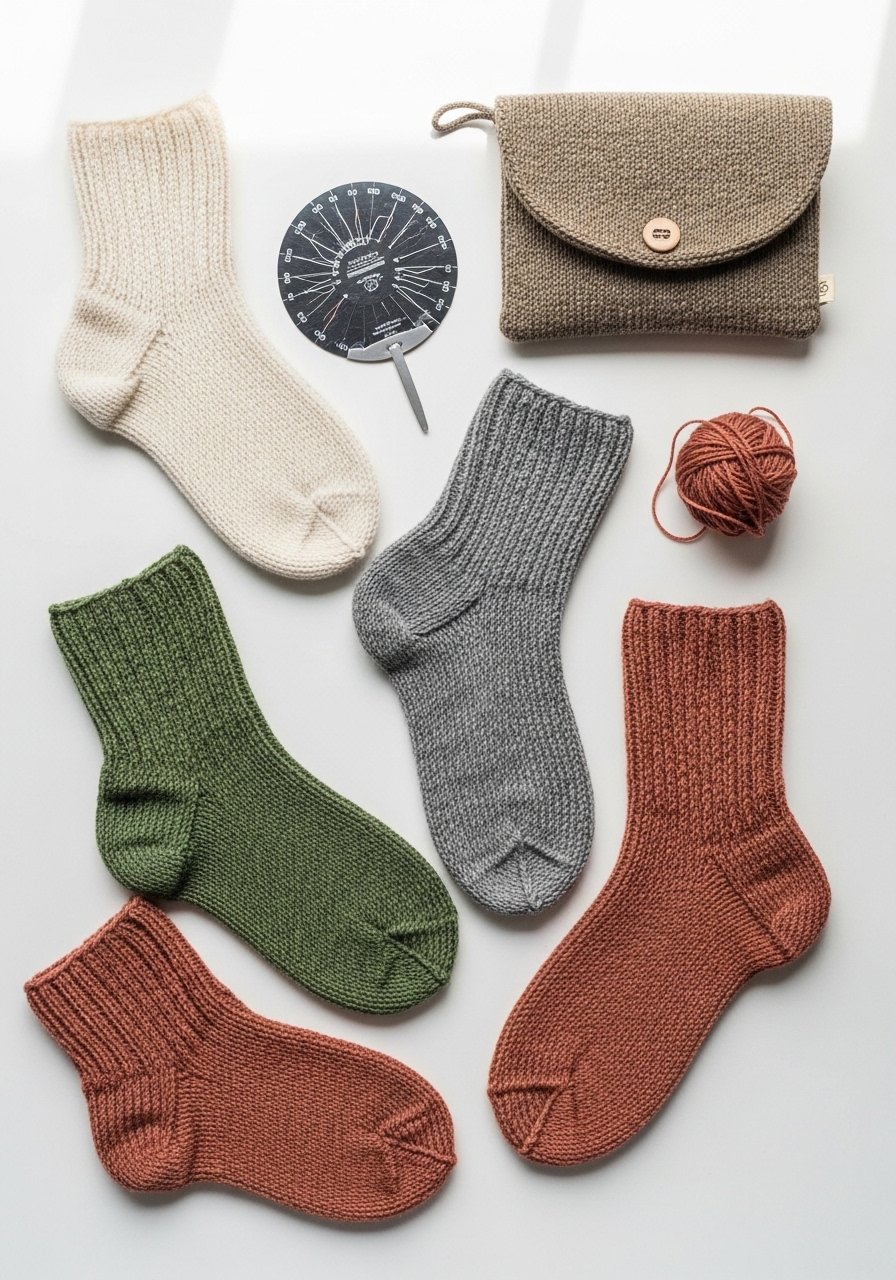
Once comfortable, try stripes, cables, or colorwork. A knitting needle gauge helps match patterns, and blocking mats make multicolor socks crisp. For tidy projects, keep tools in a project bag and wind extra skeins before you start.
You’ve just learned How to Knit Socks for Beginners, from measuring to the final block. Save time with a row counter and keep patterns simple at first.
Your first pair will feel like a small victory—cozy, wearable, and tailored by you. Pin this guide for your next craft afternoon, grab a skein of fingering-weight sock yarn, and tell me—what color will your first pair be?


