
You want to spread a little joy in your neighborhood, but making something pretty and quick feels intimidating. Painting kindness rocks is a simple, beginner-friendly way to brighten walks, parks, and porches—no fancy skills required. When you learn how to paint kindness rocks, you'll have a tiny portfolio of uplifting stones ready in an afternoon.
The secret? Start with smooth, uniform stones and quality paint tools so your lines stay crisp. I use smooth river rocks for consistent shapes and a reliable acrylic craft paint set that covers in two thin coats. You'll learn surface prep, lettering tricks, sealing tips, and sharing ideas below.
Expect to spend about 1–2 hours for a small batch (6–12 rocks). This guide shows step-by-step how to paint kindness rocks that look uplifting, beautiful, and are ready for spreading joy.
Gather and prep your stones for painting (easy, one-afternoon setup)
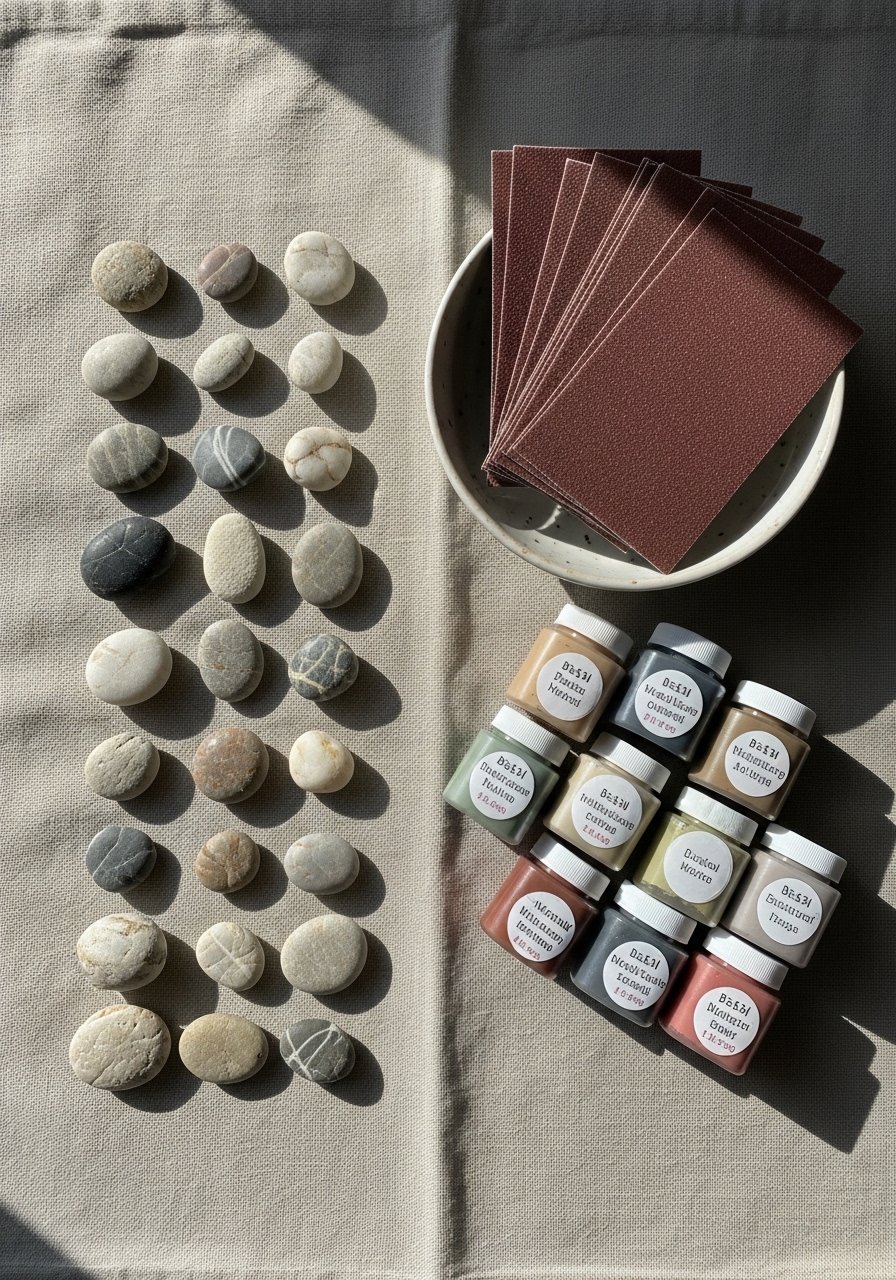
Start by picking stones about 1.5–3 inches—easy to hold and visible on a walk. Sand any rough spots with 220-grit sandpaper until the surface feels smooth. That creates a paint-friendly surface and reduces flaking.
Tips:
- Sand for 30–60 seconds per rock until even.
- Wipe stones with a damp cloth and let dry 15 minutes.
- Keep extras in a craft organizer tray to sort by size and color.
If your rocks are porous, apply one thin base coat of white or pastel acrylic with a foam brush to unify the surface. A foam brush set makes that quick and streak-free.
Paint base coats and plan simple designs (beginner-friendly techniques)

Aim for two thin coats of acrylic so colors are opaque without pooling. Let each coat dry 15–20 minutes under soft light before adding the next. Use a small detail brush for edges and a larger flat brush for background washes.
Quick steps:
- Apply first thin coat and wait 15–20 minutes.
- Apply second thin coat; inspect for streaks.
- For ombré or two-tone looks, blend while the second coat is damp.
A fine detail brush set helps you paint petals, suns, and hearts with control. If paint bleeds, a light touch with a damp cotton swab removes errors before drying.
Add lettering and decorative details (hand-lettering tips)

Lettering turns a rock into a message. Practice words on paper first. Common short phrases: "You got this," "Smile," "Be kind," or a single word like "Hope." Use a mechanical pencil to lightly sketch guides when needed.
How-to:
- For bold, clean text, use two methods:
- Paint thin letters first with a tiny round brush, let dry 5–10 minutes, then thicken where needed.
- Or use paint pens for instant control—great for beginners.
- Add accents (dots, leaves, tiny stars) with the tip of a fine liner brush.
- Avoid overworking wet paint—give each pass 5–10 minutes to set.
Common mistake: lettering that looks shaky—solve it by slowing down, using a steady table, and anchoring your pinky on the table for control.
Seal, display, and spread joy (finish and share)
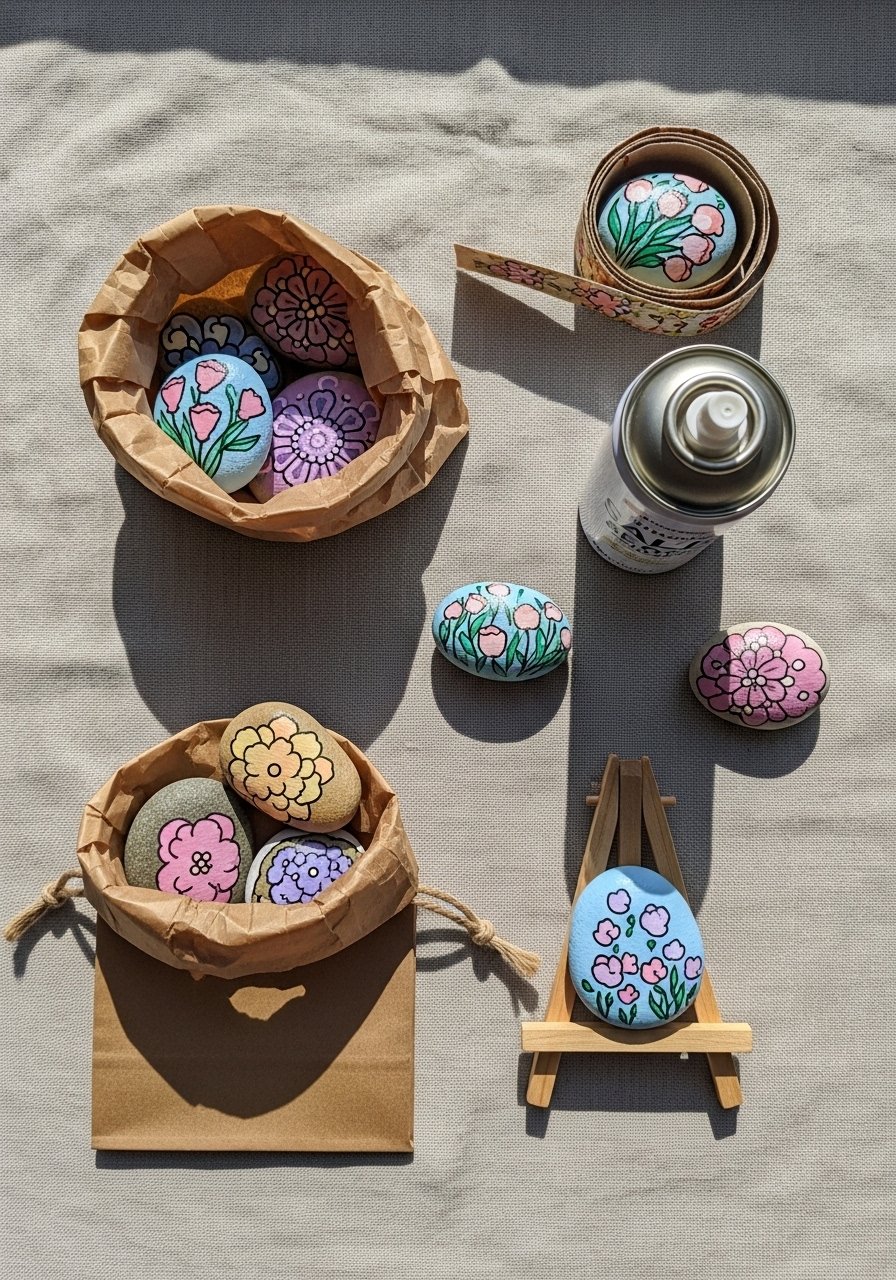
Seal rocks with two thin coats of an outdoor-friendly sealer so messages survive rain and handling. A clear spray sealer should dry to the touch in 30–60 minutes and cure in 24 hours.
Finishing tips:
- Spray in thin passes about 8–12 inches away to avoid pooling.
- Let the first coat dry 30–60 minutes, then apply the second.
- For glossy or matte finishes, pick a sealer finish you like; a Mod Podge outdoor sealer works well for small batches.
Store extras in kraft bags for gifting, or display samples on a small wooden easel at craft fairs. If you're making many at once, use stackable craft trays to keep wet rocks separate.
Ready to make your neighborhood smile? Paint kindness rocks in soft pastels, add tiny messages, seal them, and tuck them into parks or along sidewalks. Pin this guide for your next craft afternoon and share with a friend who loves making small moments of joy. Which phrase will you paint first?


