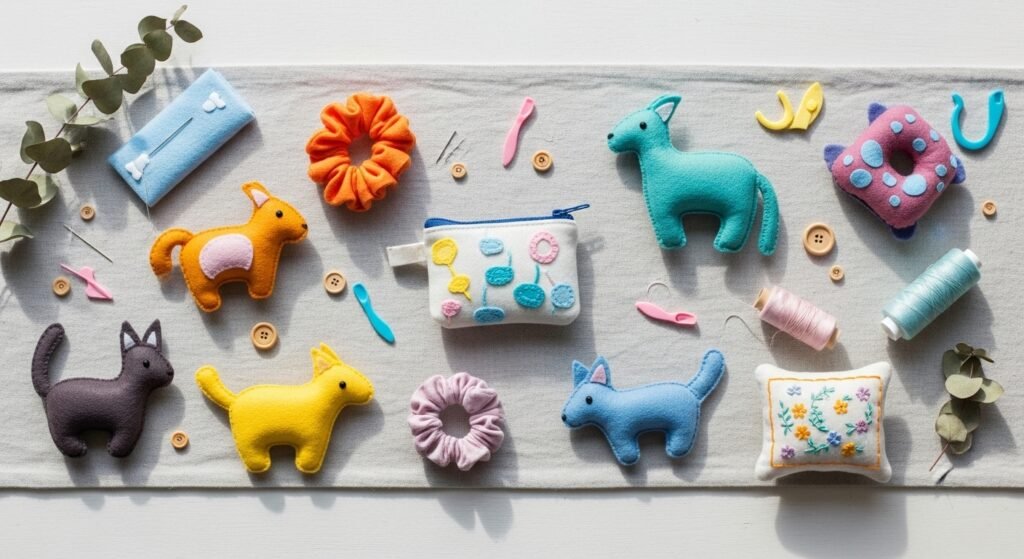
Sewing with kids can be one of the sweetest ways to spend an afternoon. You get quick wins, vibrant results, and projects that teach fine motor skills and patience. These sewing projects for beginners kids are all chosen to be safe, bright, and sized for little hands. You’ll find hand-sewing staples, simple machine-friendly pieces, and plenty of felt projects that don’t fray.
Inside you’ll get 26 step-by-step, kid-tested projects that use blunt needles, pre-cut templates, and kid-safe tools. Each project lists exact materials and clear instructions so you can prep in minutes. I often start small with felt and a pack of plastic embroidery needles—grab a magnetic set of child-safe needles and a bright felt sheet assortment to make everything move faster. For projects that use a sewing machine, a beginner model like a compact beginner sewing machine keeps stitches tidy and speeds up assembly.
Ready to sew something colorful and kid-sized? Pin your favorites, then grab the needles and let’s make some memories.
- Felt Animal Finger Puppets
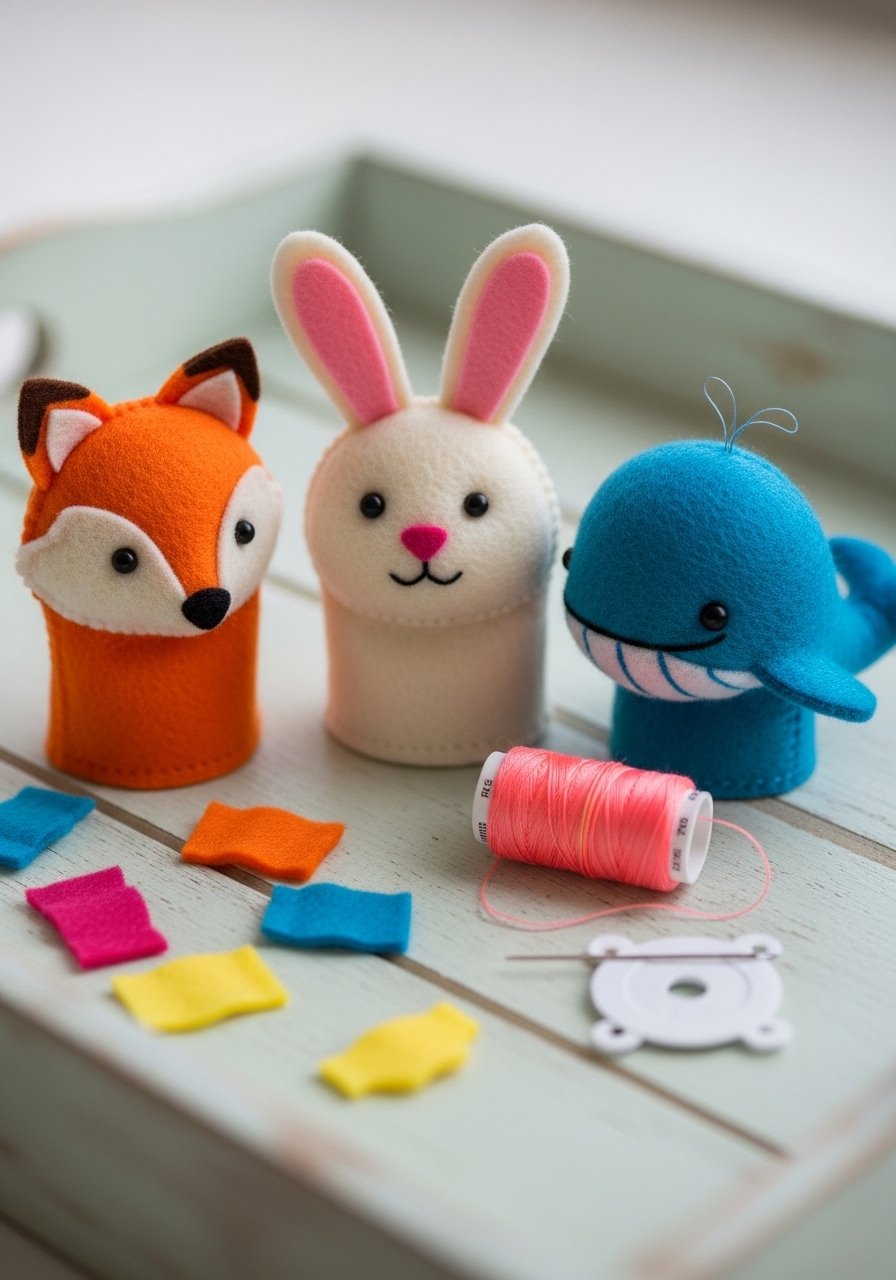
These tiny finger puppets are quick, soft, and perfect for tiny hands learning the running stitch. They’re great for storytelling, quiet play, and travel. Felt doesn’t fray, so you’ll avoid tedious finishing. Use a child-sized plastic blunt needle set so kids can thread and stitch safely.
Materials
- Assorted felt sheets, 9" x 12", 3–4 colors
- Embroidery floss, 6-strand, assorted (use 2 strands per stitch)
- Plastic blunt needles, pack of 12
- Small buttons for eyes, 6–12 pcs
- Polyfill stuffing, 1 cup (for slightly puffy puppets)
- Fabric glue, small bottle
- Scissors, child-safe
- Template printed on paper (paw size ~2.5" tall)
Instructions
- Print and cut paper templates for puppet body (2.5" tall) and small ears/fin shapes.
- Trace body shape twice onto felt for each puppet.
- Place the two body pieces together and clip with small binder clips or hold.
- Thread two strands of embroidery floss onto a blunt needle and tie a small knot.
- Using a running stitch, sew around the edge, leaving a 1" opening.
- Stuff lightly with polyfill until soft but not overfilled.
- Sew the opening closed with tight stitches and tie off.
- Stitch or glue small felt ears or fins on top.
- Sew on small buttons or embroider eyes with a few stitches.
- Trim any loose threads and check that all attachments are firm and secure.
How to Display or Gift It
- Keep finished puppets in a small fabric pouch or a labeled mason jar for travel.
- Attach a tiny tag and pack a set of 3 in kraft boxes as a playdate gift.
- Display on a low shelf or on a wooden pegboard so kids can grab them for storytime.
- Store extras in a stackable craft organizer box.
- Rainbow Felt Bookmark
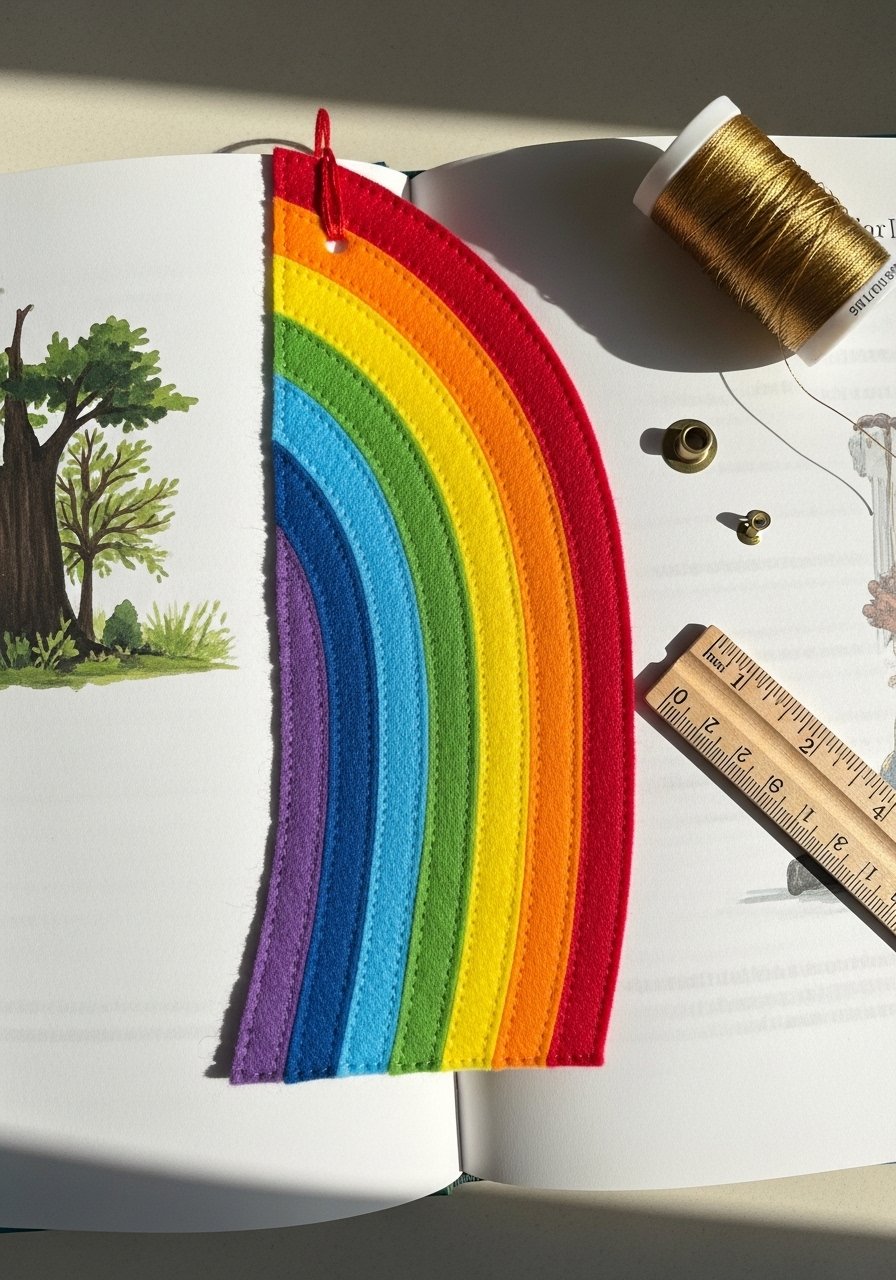
A simple, soft bookmark that brightens reading time. This project teaches basic hand-stitching and tiny knot-tying. Felt keeps edges clean so kids see instant progress. Use a hole punch or an eyelet setter to add a tassel—my go-to is a small handheld hole punch.
Materials
- Felt sheets, assorted (rainbow colors), 9" x 12"
- Embroidery floss (matching colors)
- Plastic blunt needles
- Small eyelet or hole punch
- Thin ribbon or yarn for tassel, 8" per bookmark
- Fabric glue for securing edges
- Scissors
- Paper template for rainbow arc (about 6" wide)
Instructions
- Cut the base bookmark rectangle 6" x 2" from a sturdy felt color.
- Cut rainbow strips: 6" long and widths of 3/8"–3/4".
- Glue or lightly stitch the rainbow strips to the base in order.
- Use a hole punch to make a small hole 1/2" from top center.
- Thread ribbon to form a tassel; knot and trim ends evenly.
- Add any felt clouds by stitching or gluing white felt puffs at ends.
- Check edges for secure glue and let dry 30 minutes before using.
- Trim loose threads and ensure tassel is tied tightly.
How to Display or Gift It
- Slip into a child’s favorite picture book and tie with twine.
- Add a matching felt corner pocket for a book-lover gift.
- Store flat in a clear sleeve inside a stackable craft organizer.
- Hand-Sewn Mini Pillow (a sewing projects for beginners kids staple)
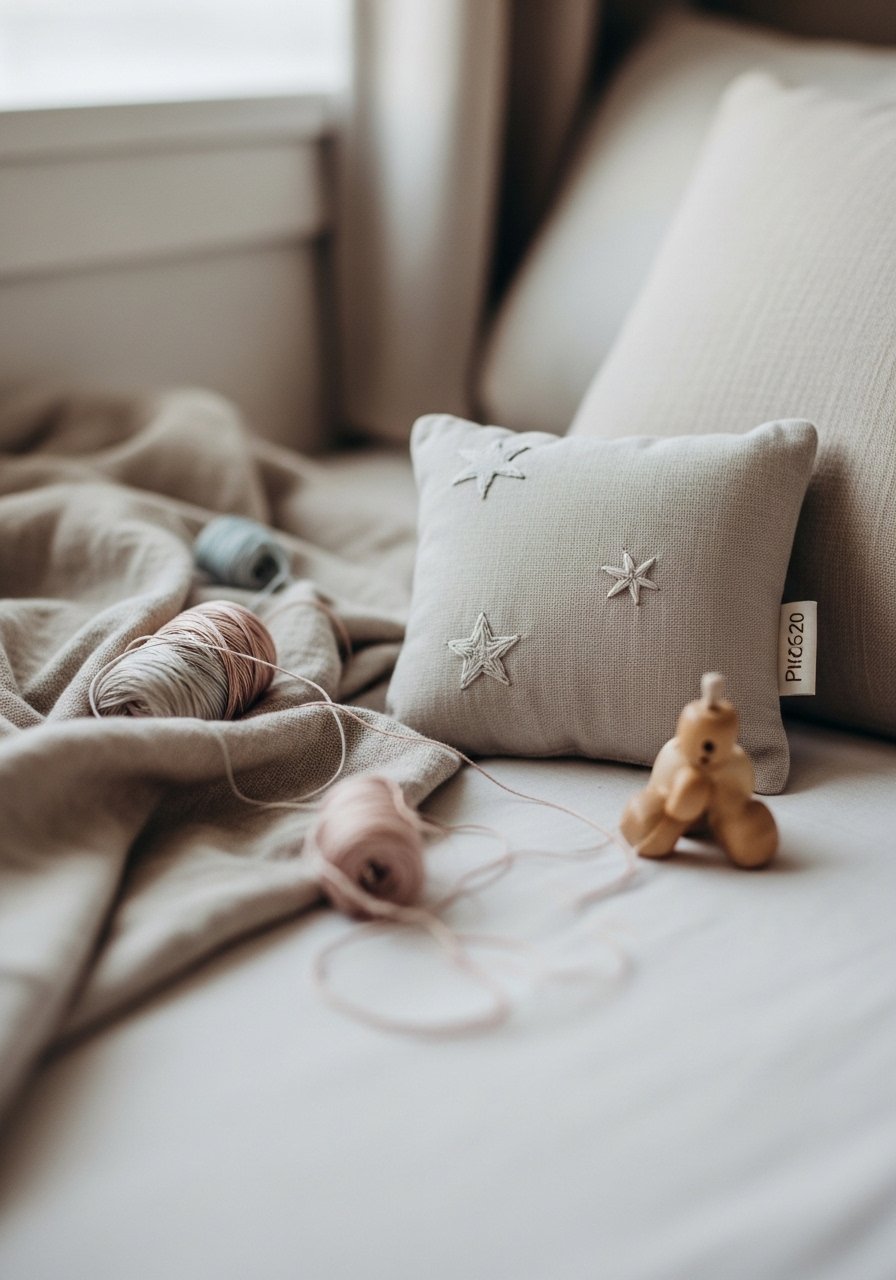
This tiny pillow teaches a basic running stitch and simple hand embroidery for decoration. It’s a starter for learning seam allowance and stuffing. A small hoop helps keep fabric steady while stitching—use a child-sized embroidery hoop.
Materials
- Cotton fabric scrap, two pieces 8" x 8"
- Polyfill stuffing, about 1 cup
- Embroidery floss, 2–3 colors
- Plastic blunt needles
- Fabric marker
- Scissors
- Embroidery hoop, 6" (optional for decorating)
- Sewing pins or clips
Instructions
- Place two fabric squares right sides together.
- Pin or clip three sides, leaving one side open for stuffing.
- Sew a 1/4" seam allowance with neat running stitches around pinned sides.
- Trim corners to reduce bulk, careful not to cut through stitches.
- Turn pillow right side out and gently push corners with a chopstick or blunt tool.
- Stuff to desired firmness with polyfill.
- Hand-stitch the opening closed with ladder stitch for an invisible seam.
- Hoop the pillow top and add simple embroidered stars or a name with backstitch.
- Press gently with a warm iron across a cloth if needed (adult only).
How to Display or Gift It
- Display on a child-sized chair or use as travel neck support.
- Tie a ribbon and tuck into a small gift box for a bedtime present.
- Stack several pillows in a decorative crate on a low shelf.
- Keep pillow sets stored flat in a fabric storage bin.
- No-Fray Felt Flower Brooch
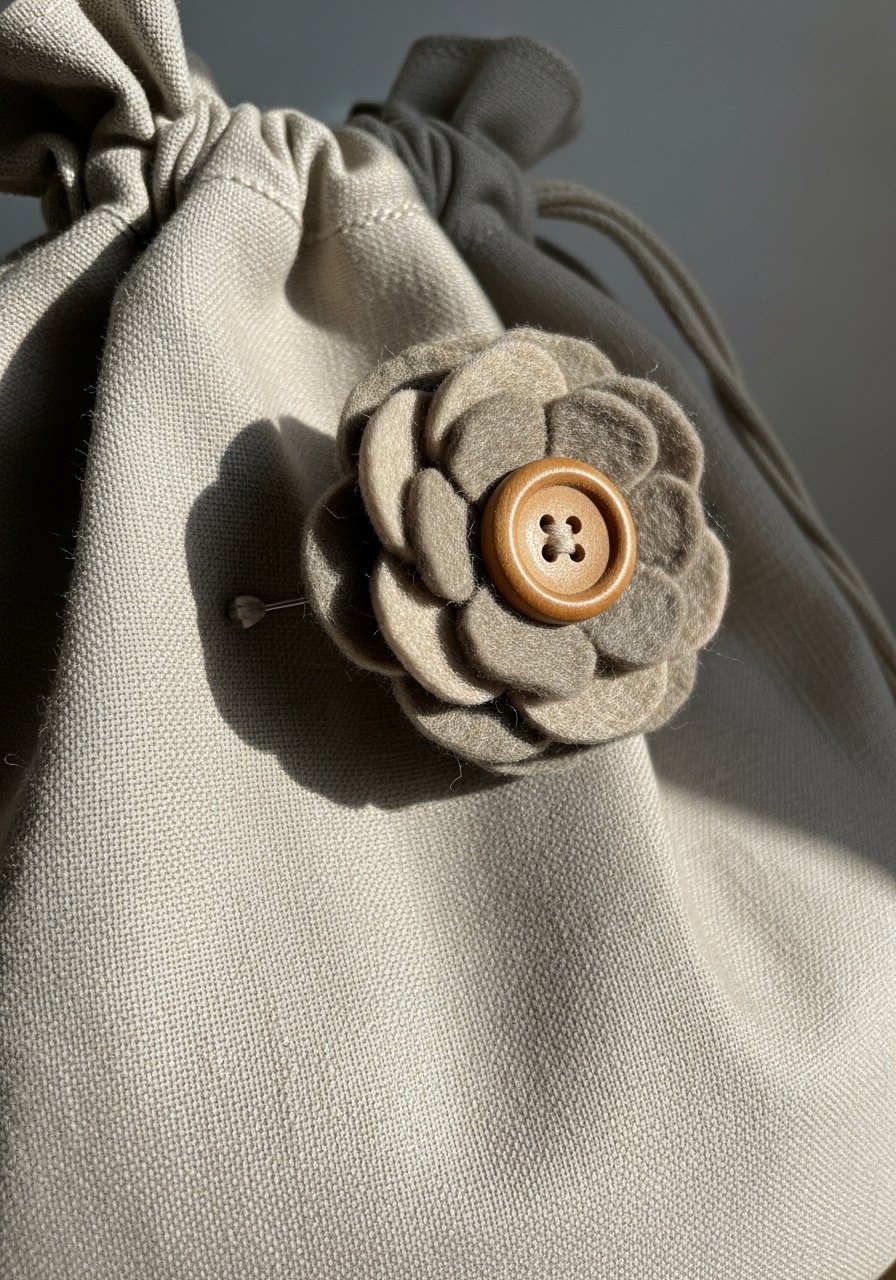
Bright, fast, and wearable—the felt flower brooch uses layered circles and a button center. Kids practice layering and basic whip stitch. Pin backs are easy to attach with hot glue or hand-stitching—use a low-temp hot glue gun for crafts (adult handle).
Materials
- Felt sheets in 3 coordinating colors
- Wooden buttons, medium, 1–3
- Plastic blunt needles
- Embroidery floss
- Brooch pin backs, 1–3
- Hot glue sticks
- Low-temp hot glue gun
- Scissors
- Paper template for petal shapes (~2" diameter)
Instructions
- Cut three sizes of petal circles: 2", 1.5", 1".
- Stack largest to smallest, staggering petals.
- Sew a few whip stitches through center to tack layers.
- Stitch or glue the wooden button to the center.
- Sew or glue brooch pin back on the underside. If gluing, let cool 10 minutes before handling.
- Check button and pin for secure attachment and trim stray threads.
- Add a small felt leaf underneath if desired.
How to Display or Gift It
- Pin to a denim jacket, backpack, or a linen tote.
- Attach to a hair clip instead of a pin for wearable play.
- Wrap in tissue and tuck into a kraft box for gifting.
- Store loose in a small jewelry organizer tray.
- Easy Drawstring Treat Bag
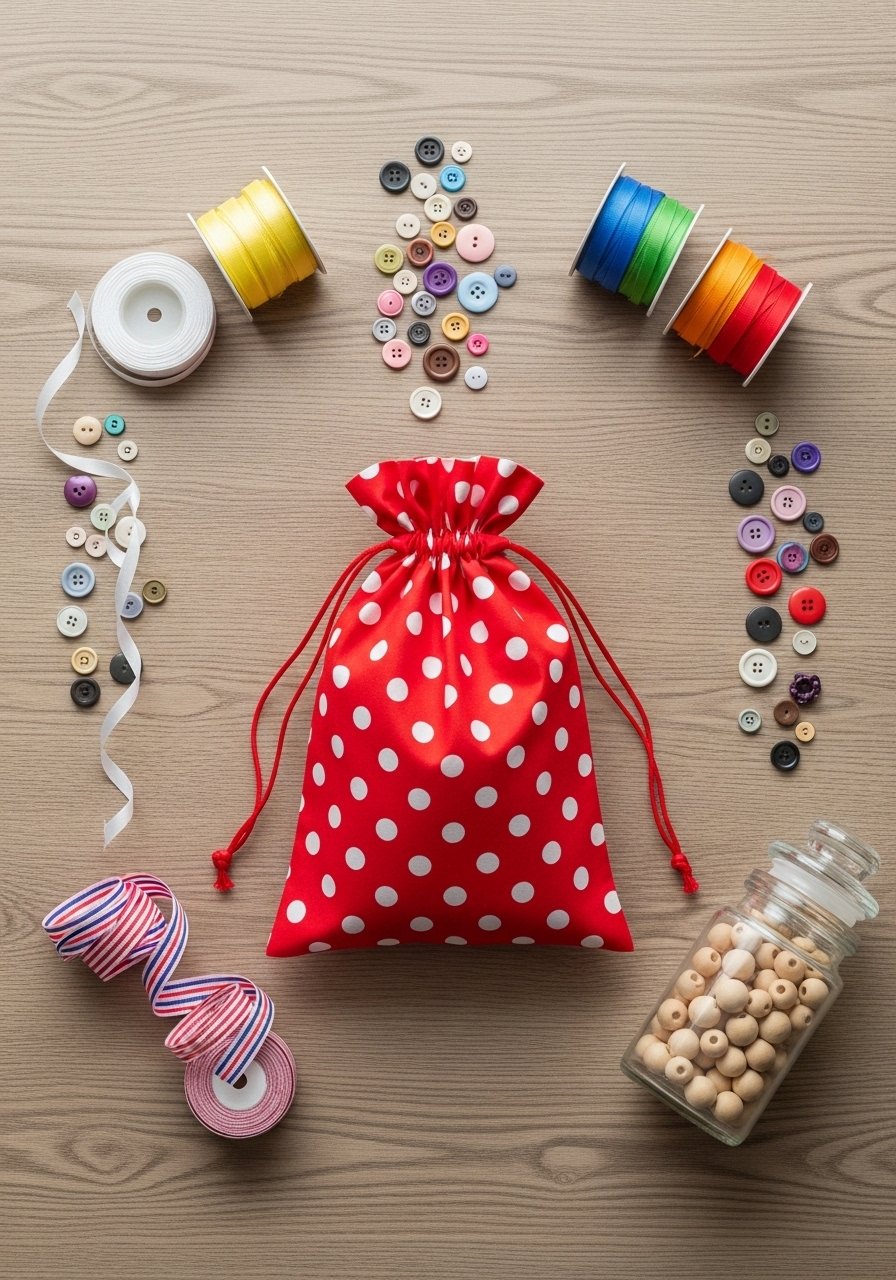
This mini drawstring bag practices simple seam sewing and casing creation. It’s perfect for party favors or coin storage. A beginner sewing machine can speed assembly but the bag is entirely doable by hand.
Materials
- Cotton fabric, two pieces 8" x 10"
- Coordinating fabric for lining, same size
- Thin cord or ribbon, 20"
- Safety tip: cord ends sealed with heat or tape
- Sewing pins or clips
- Plastic blunt needles
- Scissors
- Measuring tape
- Optional: small wooden beads (to knot cord ends)
Instructions
- Place outer fabric pieces right sides together; sew sides and bottom with 1/4" seam leaving top open.
- Repeat with lining fabric but leave a 2" gap in the bottom seam for turning.
- Turn outer bag right side out and insert into the lining (right sides facing).
- Fold the top edge down 1/2", then again 1" to create a casing; press and pin.
- Topstitch around top edge 1/8" from fold, leaving a 1" gap to thread cord.
- Thread cord through casing with a safety pin, knot ends, and add beads if desired.
- Turn lining through the gap, press seam, and stitch gap closed with ladder stitch.
- Tug cords to ensure smooth draw and knot securely.
How to Display or Gift It
- Fill with treats or small toys and tie a paper tag.
- Use as a coin purse tucked into a backpack.
- Store flat or clip to a pegboard using a clothespin.
- For gifting, place several inside a kraft gift box.
- Simple Bean Bag Toss Game (set of 4)
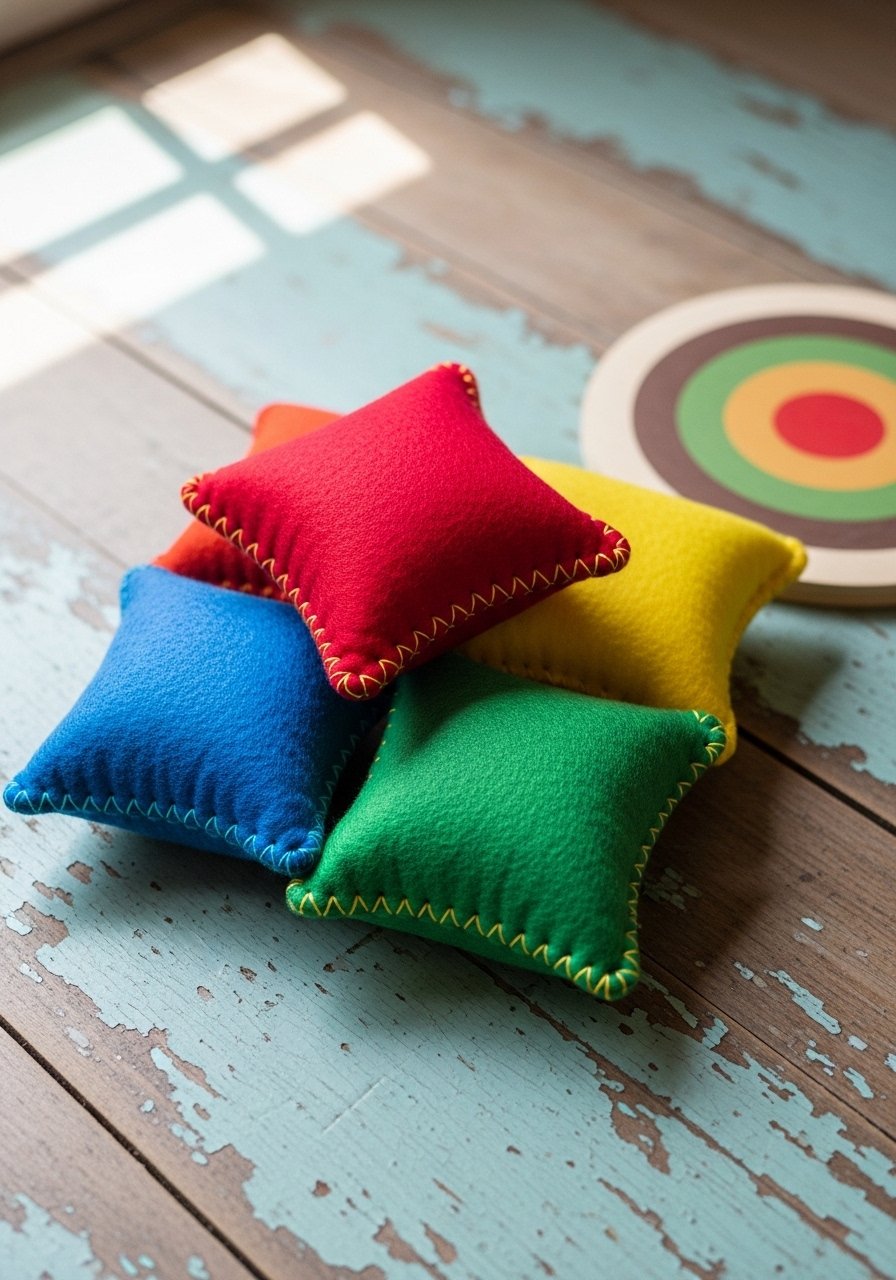
Kids love throwing games. These bean bags teach sewing a tight seam and filling to consistent weight. Use dry beans or poly pellets depending on age (supervise younger kids).
Materials
- Felt or cotton fabric, four pieces 5" x 5"
- Poly pellets or dried beans, 1/4 cup per bag
- Polyfill (optional for mixed weight)
- Thread and sewing needle or beginner sewing machine
- Scissors
- Ruler
- Plastic blunt needles (for hand-stitching)
- Fabrics clips
Instructions
- Cut four squares 5" x 5"; pair them.
- Place each pair right sides together and sew around three sides with 1/4" seam, leaving one side open.
- Turn right side out and press seams flat.
- Fill each bag with 1/4 cup pellets or beans. For softer feel, add a tablespoon of polyfill before pellets.
- Sew opening closed with tight whip stitch; double-thread for strength.
- Test toss weight and resew if any pellets shift through stitches.
- Make a small target board from cardboard and decorate with fabric markers.
- Store bean bags in a mesh bag when not in use.
How to Display or Gift It
- Pair with a DIY painted target and wrap as a retro-style game gift.
- Keep in a labeled mesh bag for backyard play.
- For travel, place in a small drawstring pouch.
- Soft Scrunchies
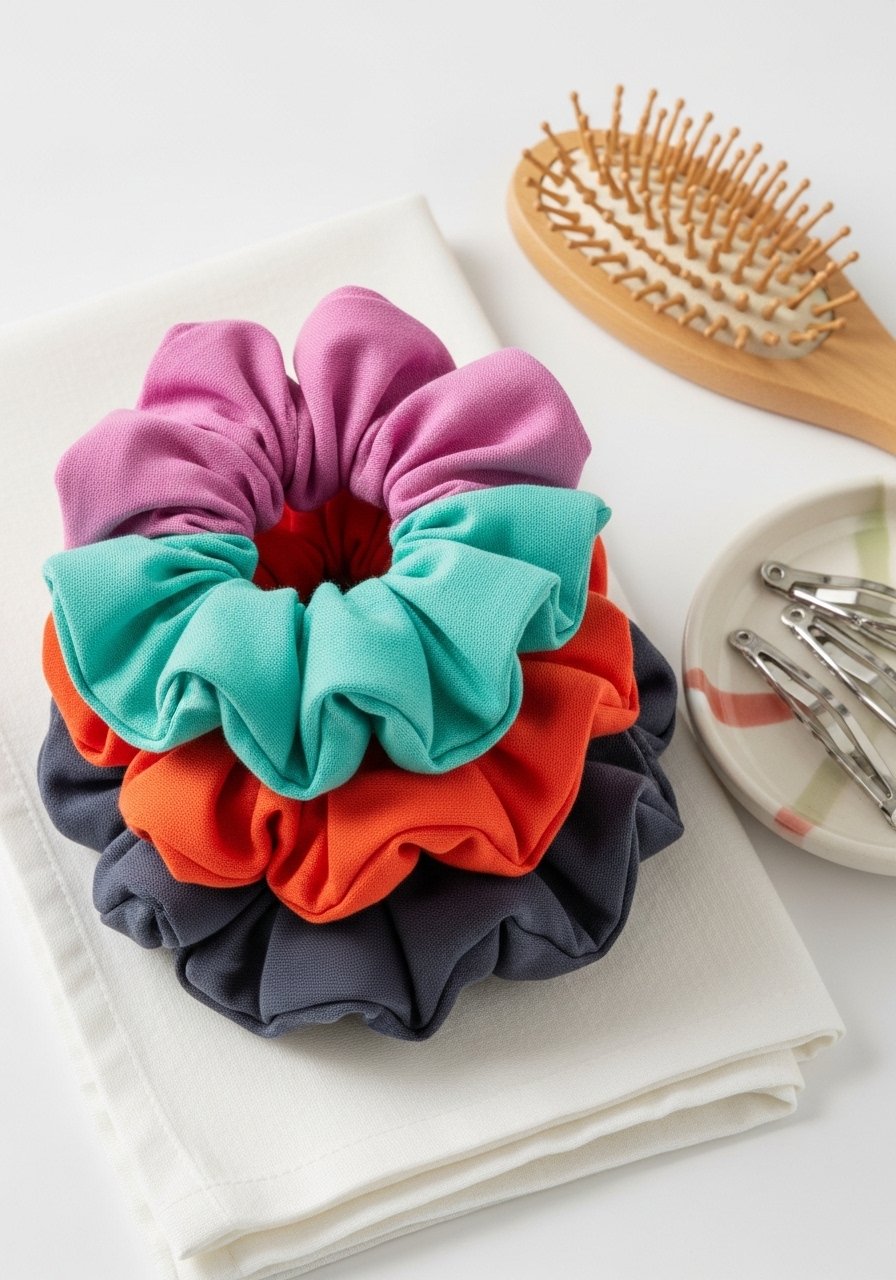
Scrunchies are fast, useful, and teach casing and elastic insertion. Kids can pick fabrics to match outfits. Use a small elastic roll for consistent stretch.
Materials
- Cotton or satin fabric strip, 22" x 4"
- 1/4" elastic, 8" per scrunchie
- Safety pin for threading elastic
- Sewing needle and thread or sewing machine
- Scissors
- Fabric marker
- Optional: decorative ribbon
Instructions
- Fold fabric strip lengthwise with right sides facing; stitch with 1/4" seam, leaving ends open.
- Turn tube right side out using a safety pin.
- Attach safety pin to elastic and feed through tube.
- Overlap elastic ends by 1/2" and stitch securely.
- Tuck raw fabric ends inside and hand stitch closed with ladder stitch.
- Adjust gathers evenly and trim extra threads.
- Try on scrunchie to check stretch and comfort.
How to Display or Gift It
- Bundle 3 scrunchies in a small kraft box for a birthday gift.
- Dress up a ponytail or wrap on a wrist for a trendy accessory.
- Store in a clear section of a craft organizer tray.
- Crayon Roll-Up Organizer
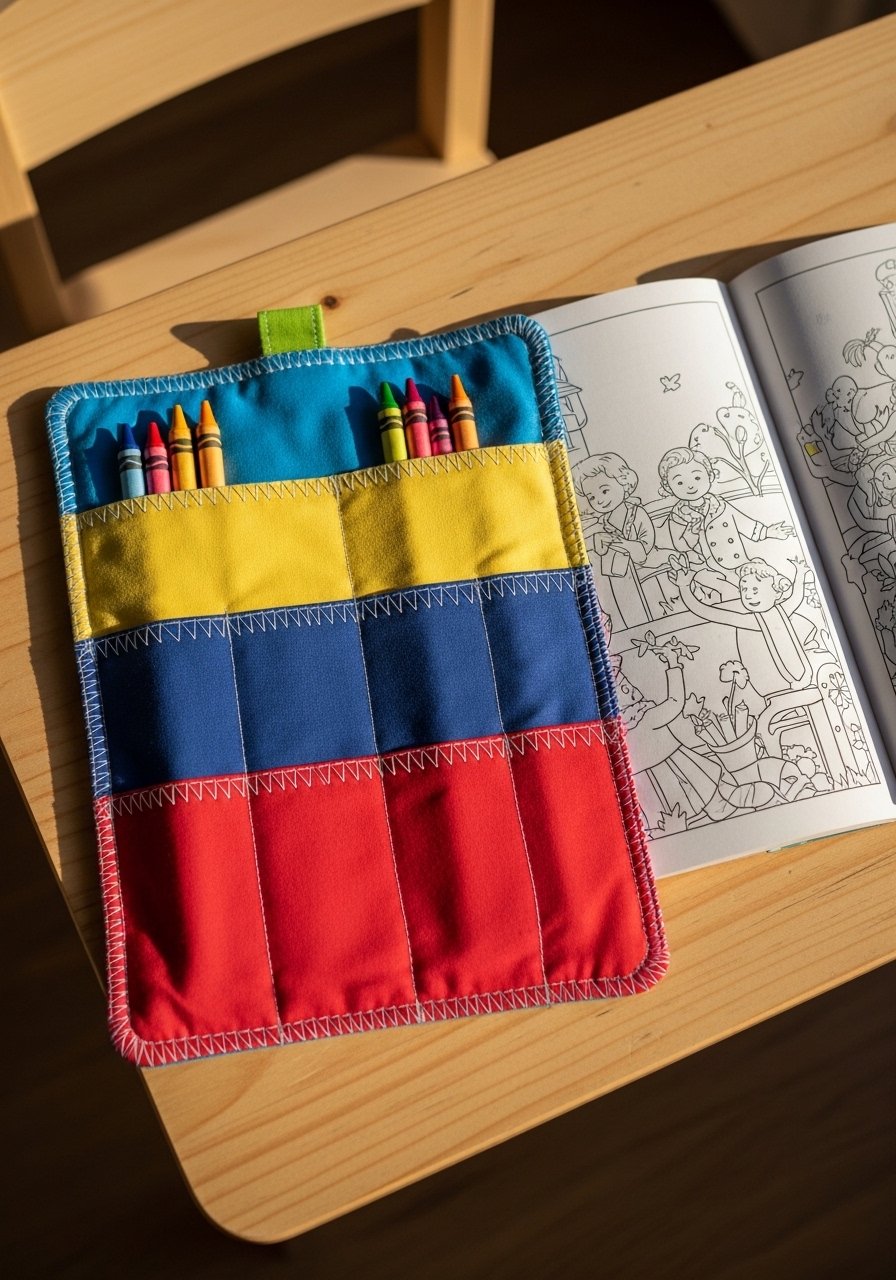
This organizer teaches pocket sewing and simple measurement. Kids can carry crayons or markers neatly. Use a rotary cutter and mat to get even pocket widths—my family uses a self-healing cutting mat and rotary cutter set.
Materials
- Outer fabric, 12" x 18"
- Pocket fabric, 12" x 12"
- Bias tape or ribbon for tie, 30"
- Thread
- Sewing pins
- Rotary cutter and self-healing mat
- Scissors
- Measuring tape
- Crayons for fitting
Instructions
- Cut pocket fabric into strips that will form pockets (pocket height 1.25" for crayons).
- Press pocket strip edge under 1/4" and stitch hem across top.
- Place pocket strip onto outer fabric with raw edges aligned at bottom; pin.
- Stitch the sides and bottom across the pocket strip to secure.
- Divide pockets by stitching vertical lines every 0.75" to make crayon slots.
- Fold fabric right sides together top-to-bottom and stitch side seam, leaving top open.
- Turn right side out and topstitch across top for a clean edge.
- Sew bias tape or attach ribbon to one end as a tie; wrap and tie to close.
How to Display or Gift It
- Pair with a small set of crayons and a coloring page for a gift.
- Keep rolled in a pencil case or kid craft drawer.
- Use a small fabric storage basket to hold several roll-ups.
- Patchwork Coaster Set
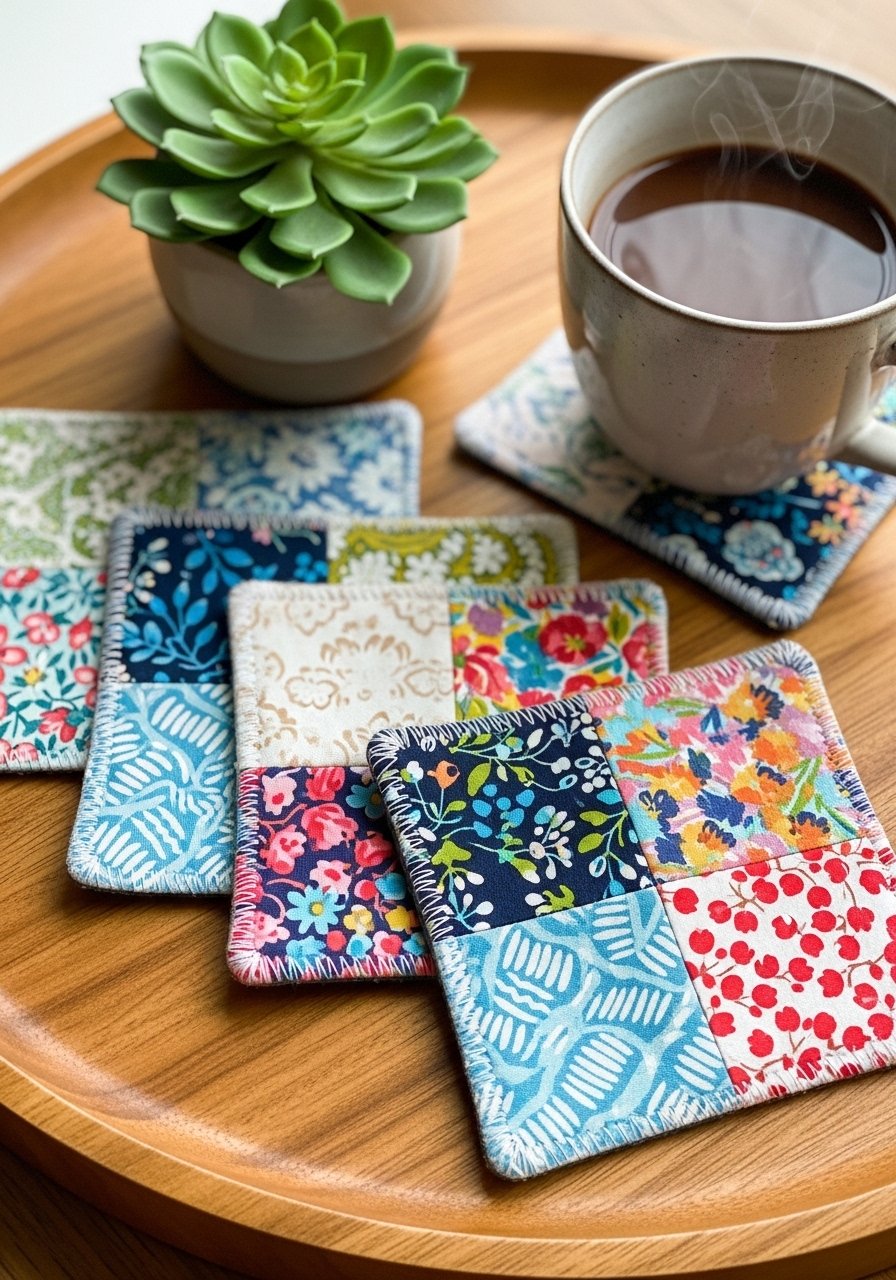
Coasters are great for teaching straight seams and color matching. This small quilted project introduces batting and topstitching. A foam brush and Mod Podge aren’t needed here, but a small quilt batting pack helps give structure.
Materials
- Assorted cotton scraps, total ~8" x 8" per coaster
- Quilt batting, 4 pieces 4.5" x 4.5"
- Thread
- Rotary cutter and mat
- Fabric scissors
- Pins or clips
- Sewing machine or hand-sewing supplies
- Iron
Instructions
- Cut fabric scraps into 2" strips and sew them together edge-to-edge to form a square slightly larger than 4.5".
- Trim patchwork square to 4.5" x 4.5".
- Layer patchwork top, batting, and backing fabric (right side down).
- Pin or baste layers together.
- Quilt with diagonal lines 1" apart or stitch around edges 1/8" from edge.
- Trim edges to a neat square and finish with topstitching around perimeter.
- Press flat and ensure batting is fully covered and no raw edges are exposed.
- Let cool and press again before use.
How to Display or Gift It
- Tie a set of four with twine and a kraft tag for a housewarming gift.
- Stack in a small wooden crate on a coffee table.
- Keep extras in a small wooden easel for gifting display.
- Stuffed Star Plushie
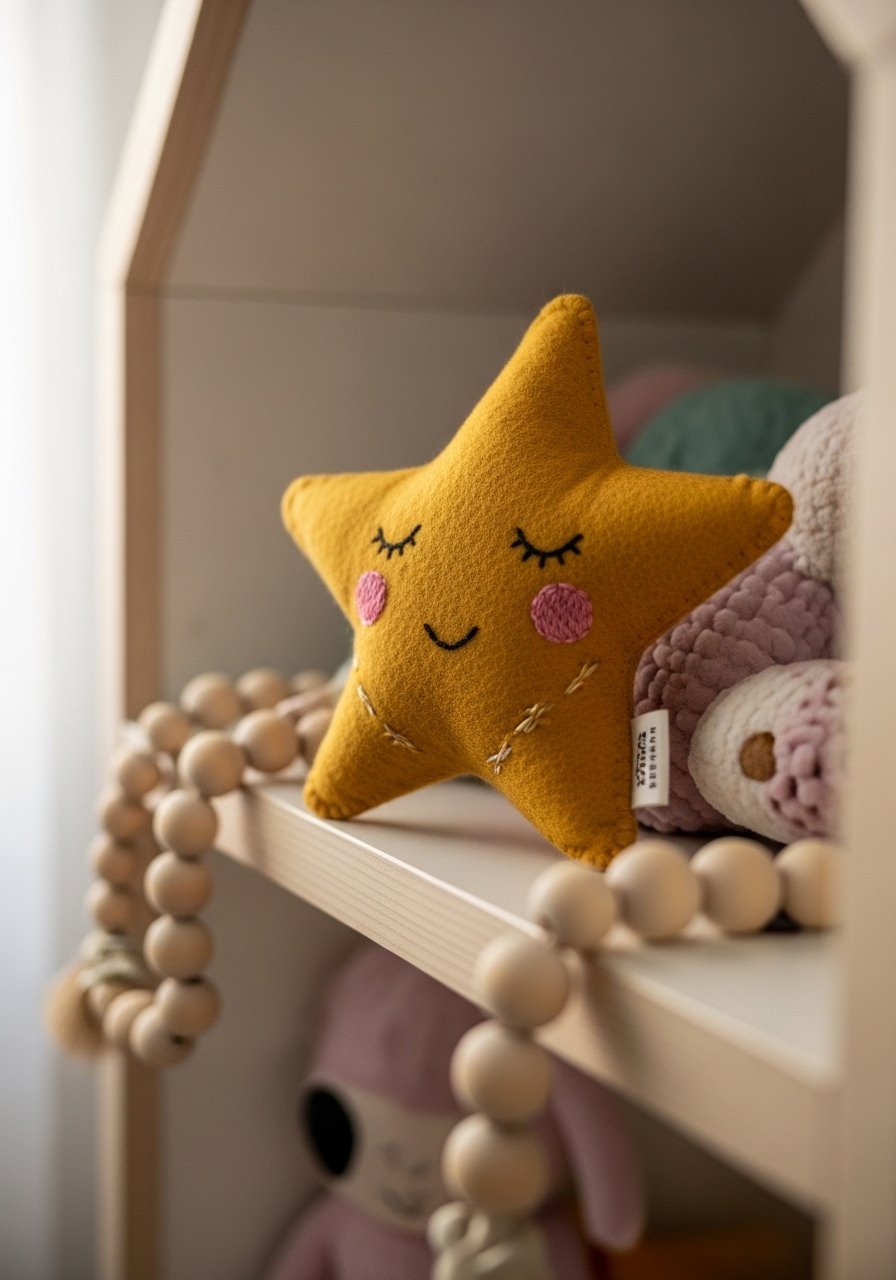
Stars are simple to sew and delightful as nightlight companions or decor. This project practices even stuffing and symmetrical shaping.
Materials
- Felt sheets, 2 colors
- Embroidery floss for face
- Polyfill, 1 cup
- Plastic blunt needles
- Template, star about 5" diameter
- Pins or clips
- Scissors
- Ribbon for hanging, 6"
Instructions
- Trace and cut two star shapes from felt using a printed 5" template.
- Place pieces together and pin.
- Sew around with small running stitches, leaving a 1" gap.
- Turn right side out and lightly stuff, keeping points filled but not overstuffed.
- Sew opening closed with ladder stitch.
- Embroider cheeks and a smile with small satin stitches.
- Sew a ribbon loop at top for hanging.
- Trim any excess threads and press gently.
How to Display or Gift It
- Hang from a crib mobile or on a doorknob.
- Attach to a gift bag as a sentimental tag.
- Store with other softies in a fabric storage bin.
- Mini Zipper Pouch (sewing projects for beginners kids: zipper practice)
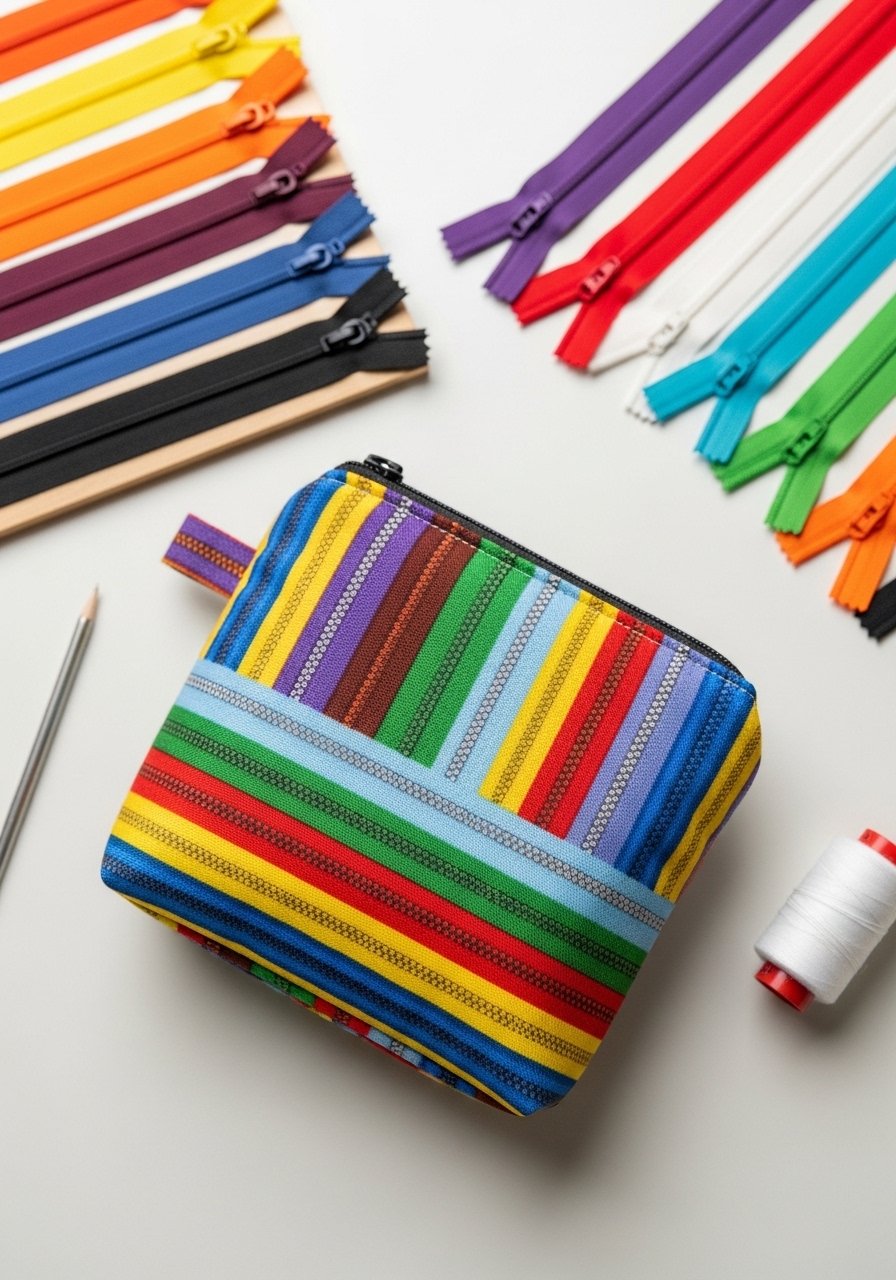
Learning to sew a zipper is a milestone. This tiny pouch is forgiving, quick, and perfect for coins or tiny treasures. Use a pack of assorted nylon zippers and a zipper foot if you’re on a machine.
Materials
- Outer fabric, 6" x 6"
- Lining fabric, 6" x 6"
- 1 small zipper, 5–6"
- Thread
- Sewing pins or zipper clips
- Sewing machine with zipper foot or hand-sewing supplies
- Scissors
- Ribbon for zipper pull (optional)
Instructions
- Place the zipper face down along the top edge of the outer fabric, align edges, and pin.
- Using a zipper foot, stitch close to zipper teeth. Repeat with lining fabric on other side.
- Open zipper halfway and place outer and lining right sides together; pin around sides.
- Sew around three sides, leaving zipper half open for turning.
- Trim corners, turn pouch right side out through zipper opening.
- Push out corners and press flat; topstitch around pouch edge if desired.
- Attach a small ribbon pull to zipper tab.
- Test the zipper several times to confirm smooth operation.
How to Display or Gift It
- Use as a coin purse or earbud case.
- Fill with small art supplies and gift to a little friend.
- Keep pouches in a small craft organizer tray to sort items.
- Fabric Bunting Garland
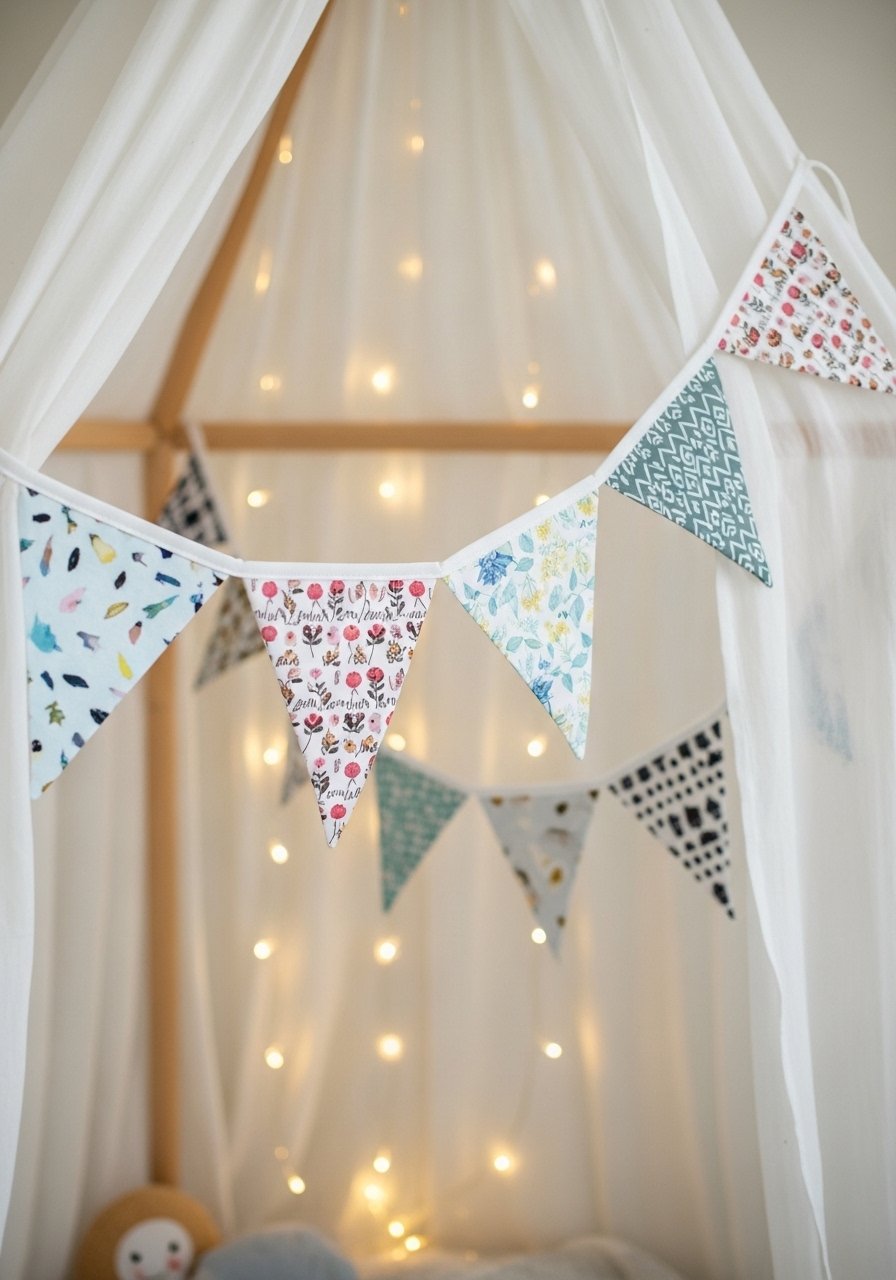
Bunting teaches measuring, cutting triangles, and sewing a channel. It’s great for room decor or party banners. Use cotton scraps and twill tape for a tidy finish.
Materials
- Assorted cotton scraps, 7–9 pieces 6" x 8"
- Twill tape or bias binding, 2 yards
- Thread
- Scissors
- Ruler
- Sewing pins
- Sewing machine or hand-sewing kit
Instructions
- Cut triangles 6" wide at top and 8" tall.
- Fold twill tape along its length and align raw edge.
- Place triangles right sides down along one edge of tape, overlapping by 1/2".
- Stitch along the tape edge to secure flags.
- Turn flags right side out if using folded flags, or leave flat and topstitch along top.
- Repeat until bunting reaches desired length; leave extra twill at ends for hanging.
- Press with warm iron and trim any loose threads.
- Test strength at ends and reinforce with a few stitches.
How to Display or Gift It
- Hang across a bookshelf or window for instant cheer.
- Fold and pack with a small gift for a party-ready present.
- Store rolled in a craft tube or box to keep flags flat.
- Hand-Sewn Simple Doll
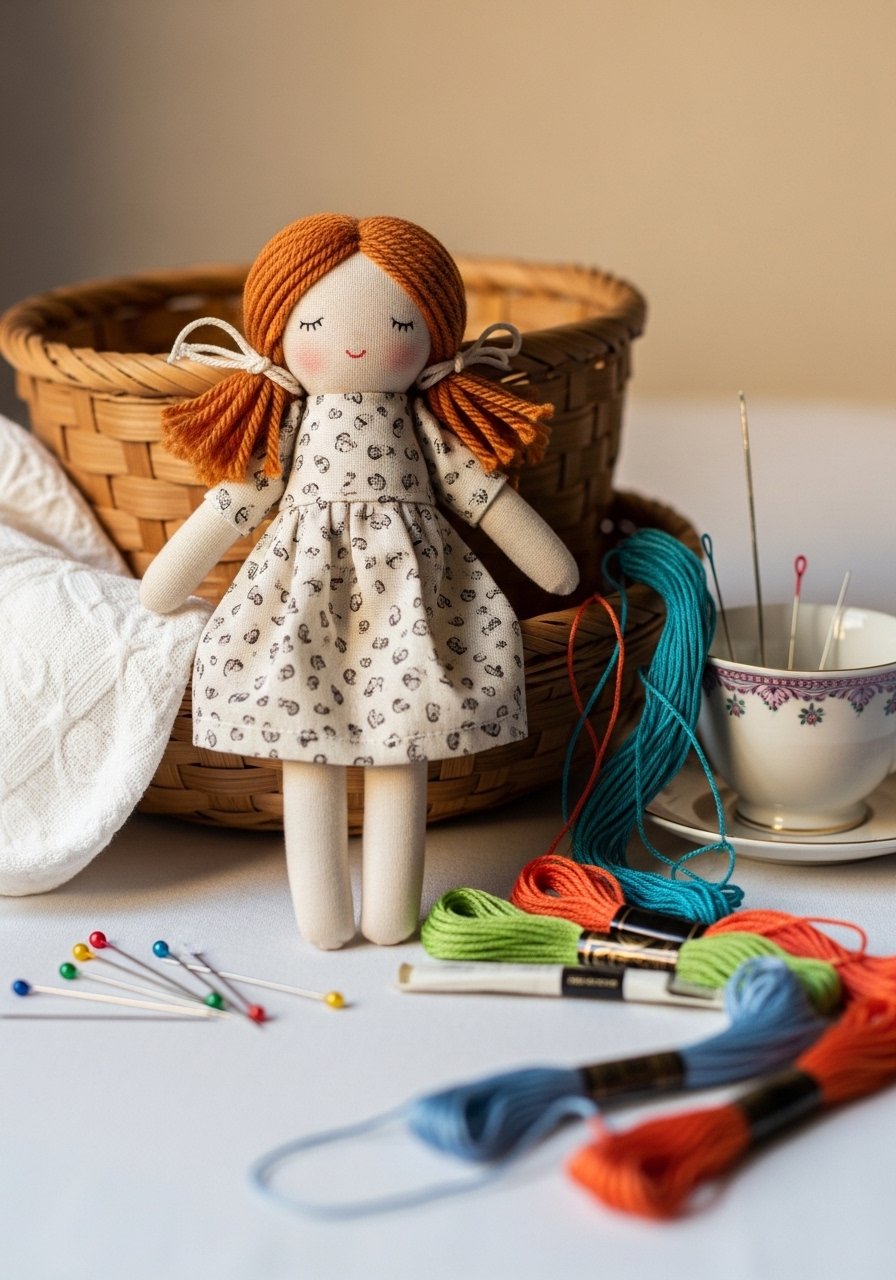
A little cloth doll introduces shaping limbs, simple appliqué, and basic embroidery for faces. Use cotton for easy stitching and soft stuffing.
Materials
- Cotton fabric, two pieces 12" x 8"
- Yarn for hair, 1 skein
- Embroidery floss for face
- Polyfill, 1.5 cups
- Plastic blunt needles
- Fabric marker
- Scissors
- Sewing pins
- Small dress fabric scrap
Instructions
- Draw a simple doll body template about 8" tall and cut two pieces from cotton.
- Pin and stitch around body leaving an opening for turning and stuffing.
- Turn right side out and stuff head, torso, and limbs evenly.
- Hand-stitch the opening closed with neat ladder stitch.
- Use yarn to create hair: wrap yarn around a book, tie center, stitch to head, and trim.
- Embroider a simple face with two backstitches for eyes and a tiny satin stitch for mouth.
- Make a basic dress from a 6" x 6" scrap and slip over doll.
- Add small felt shoes or embroidered details as desired.
How to Display or Gift It
- Tuck into a doll bed or a gift box for imaginative play.
- Pair with a tiny blanket and store in a fabric storage bin.
- Attach a name tag and present as a travel companion.
- Button Practice Card (sewing projects for beginners kids)
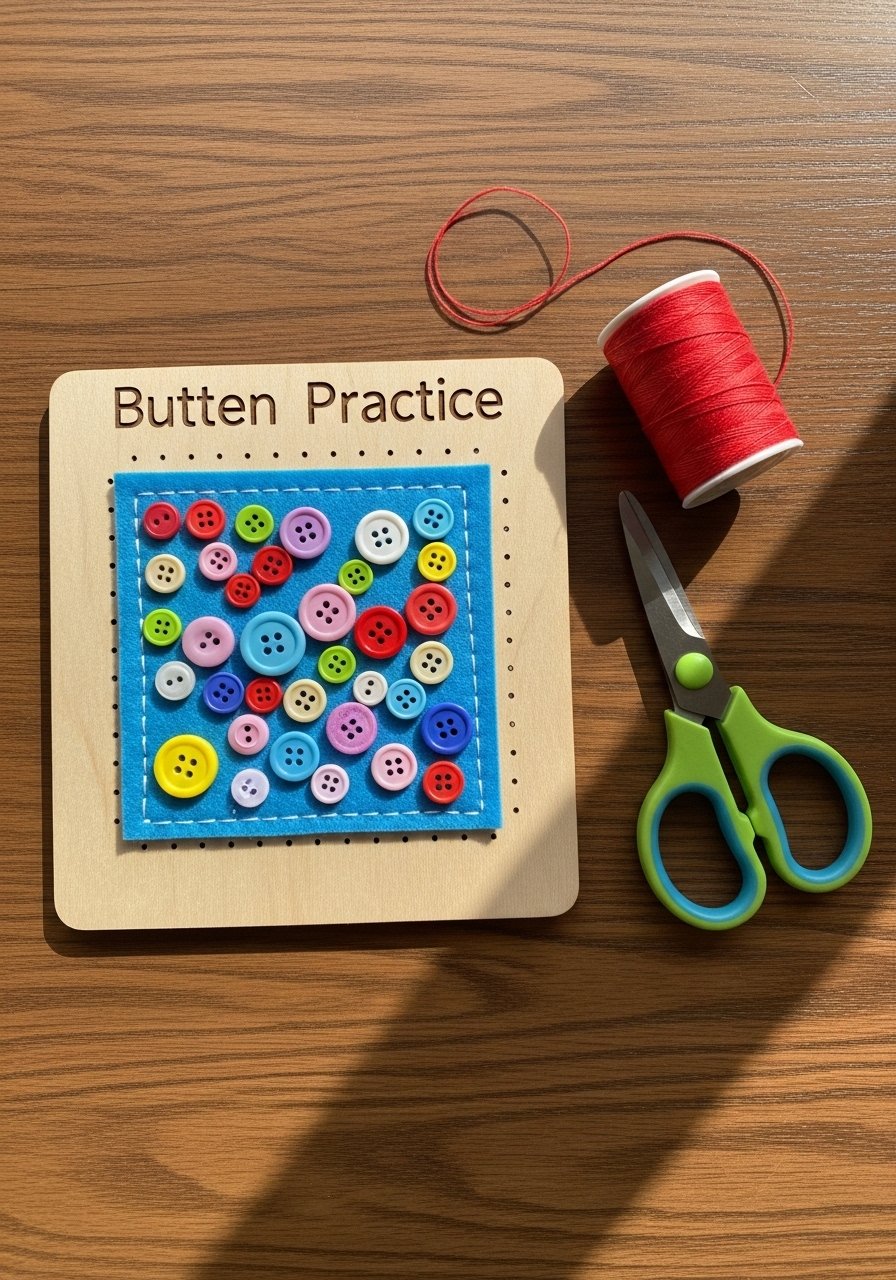
This practice card is ideal for beginners to learn buttonholes and sewing through thick layers. It’s a perfect teacher tool for fine motor skill development.
Materials
- Felt sheet, 9" x 12"
- Assorted buttons, 8–10
- Plastic blunt needles
- Embroidery floss
- Scissors
- Ribbon to hang the card
- Hole punch for ribbon hole
Instructions
- Cut a felt rectangle 6" x 8".
- Mark button placement points in two columns.
- Sew each button on using a cross stitch or shank method; repeat for each button.
- For buttonhole practice, sew a looped button with a fabric loop attached to another card.
- Punch a hole at the top and thread ribbon to hang card at child height.
- Encourage children to button and unbutton repeatedly to build confidence.
How to Display or Gift It
- Hang on a pegboard for daily practice.
- Tuck into a learning kit for preschoolers.
- Store with other learning supplies in a stackable craft organizer drawer.
- Felt Food Sandwich Set
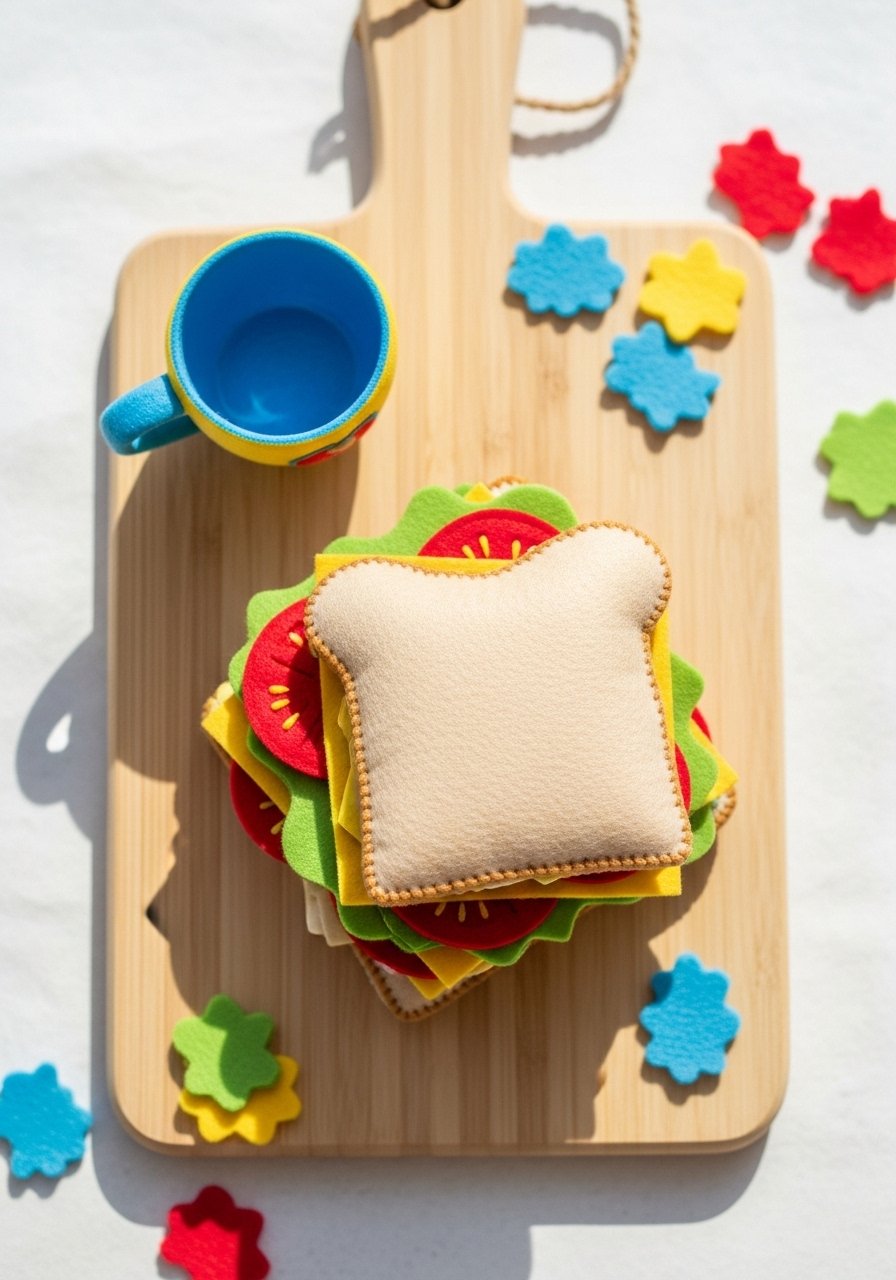
Pretend food is perfect for role play. Felt pieces are safe, soft, and quick to stitch. Kids practice cutting shapes and simple appliqué.
Materials
- Felt sheets assorted colors
- Plastic blunt needles
- Embroidery floss
- Fabric glue
- Scissors
- Template pieces for bread, lettuce, tomato slices
- Small velcro dots (optional for attachment)
Instructions
- Cut bread shapes 3.5" x 3.5", two per sandwich.
- Cut layered fillings: lettuce ruffle, cheese square 3", tomato circles 1.5".
- Stitch small running stitches around tomato slices for detail.
- Glue or sew fillings to one bread slice; add velcro if you want removable sandwich layers.
- Sandwich layers and stitch edges closed if desired for a pocket-style food.
- Repeat to build a set of several sandwich styles.
- Trim threads and check attachments for strength.
How to Display or Gift It
- Place inside a pretend play picnic basket with toy utensils.
- Store in a labeled fabric bin or small wooden crate.
- Wrap as a birthday playset with a small label.
- Embroidered Name Patch
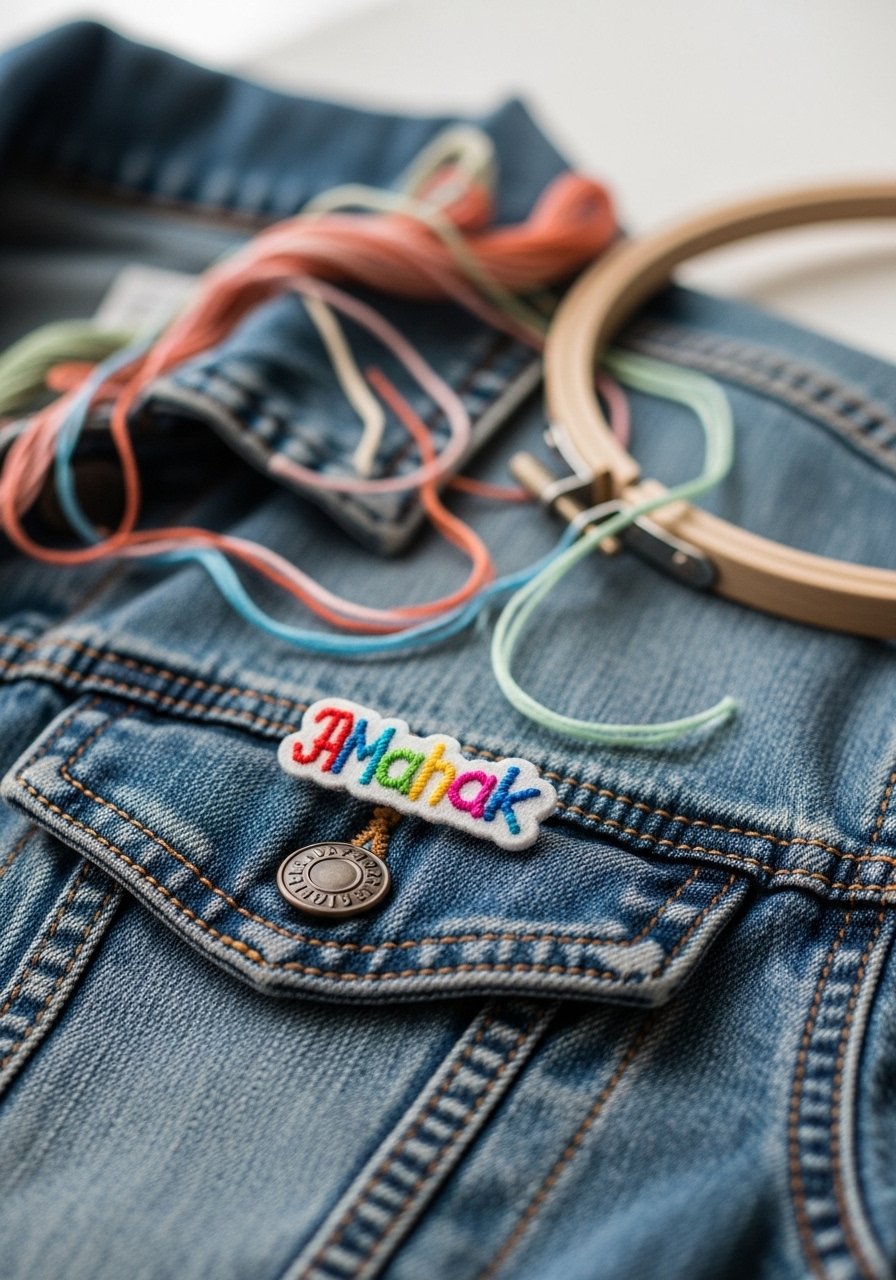
A personalized patch teaches lettering with backstitch and makes a proud wearable. Use an embroidery hoop and washable fabric pen for guides.
Materials
- Cotton fabric square, 4" x 4"
- Embroidery hoop, 4–6"
- Embroidery floss
- Washable fabric marker
- Plastic blunt needles
- Scissors
- Iron-on adhesive (optional to attach patch)
- Fusible web for finishing
Instructions
- Hoop fabric taut and lightly sketch name with marker.
- Use backstitch to trace letters, keeping stitches about 1/8" long.
- Remove from hoop and trim fabric leaving 1/2" border.
- Apply fusible web to the back and press with an iron (adult only) to secure.
- Cut neatly and round corners to avoid fraying.
- Iron patch onto garment following manufacturer’s instructions if desired.
- Test adhesion by gently tugging edges.
How to Display or Gift It
- Iron onto backpacks, denim jackets, or fabric lunch bags.
- Sew around edges for extra security on frequently washed items.
- Keep patches organized in a small craft organizer box.
- Simple Apron for Play
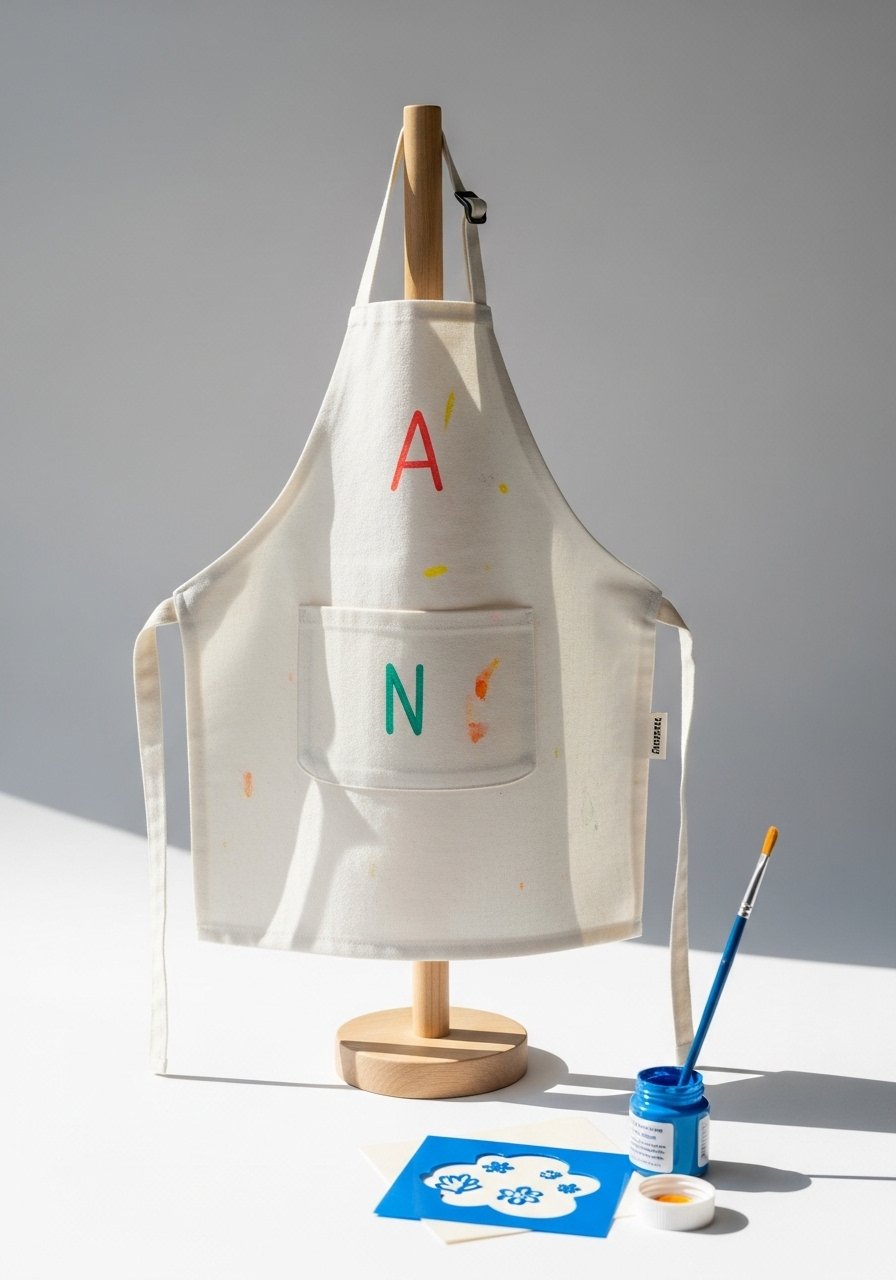
An apron teaches larger seams and pocket attachment. Kids can decorate with fabric markers or paint. A fabric pen set helps outline shapes and letters.
Materials
- Cotton fabric, 18" x 24"
- Bias tape for ties, 2 yards
- Pocket fabric, 6" x 8"
- Fabric marker set
- Thread
- Sewing machine or hand-stitch supplies
- Scissors
- Pins
Instructions
- Fold fabric in half and cut apron shape (top width 8", bottom width 14", length 18").
- Hem outside edges with 1/4" seam.
- Cut pocket 6" x 8", fold top edge 1/2" and stitch hem.
- Topstitch pocket centered on apron at 6" from bottom.
- Attach bias tape as ties around neck and waist and stitch securely.
- Add painted initial or simple stencil design using fabric markers; let dry 24 hours.
- Check seams for security and wash following instructions.
How to Display or Gift It
- Pair with a kid paint set for a craft gift.
- Hang on a peg at child height for easy reach.
- Store rolled in a fabric storage basket.
- Fabric Keychain Tassels (sewing projects for beginners kids that charm)
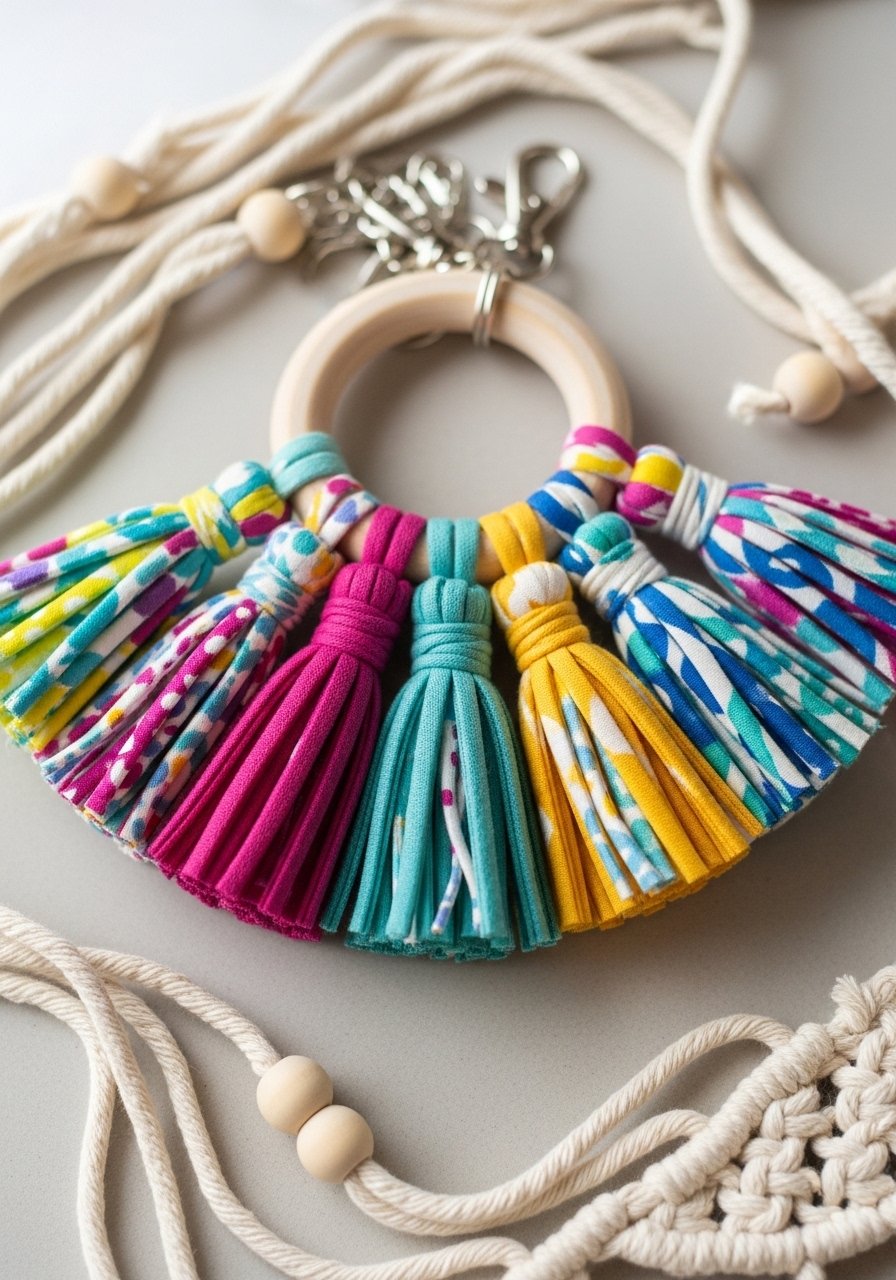
Tassels are tiny, quick, and satisfying. Kids will enjoy threading beads and assembling tiny hardware. A pack of small key rings and lobster clasps completes the project.
Materials
- Cotton or rayon fabric strips, 10" x 1"
- Small wooden beads, 10–20
- Key rings and lobster clasps
- Thread
- Scissors
- Needle (adult can use metal needle)
- Glue for secure knot (optional)
Instructions
- Fold fabric strips in half and wrap a short scrap around top to form tassel head.
- Stitch or glue the wrapping piece in place.
- Thread beads onto a short cord and knot through tassel head.
- Attach key ring or lobster clasp to top.
- Trim tassel ends to even length 3–4".
- Add extra beads or charms as desired.
- Test clasp and bead security before use.
How to Display or Gift It
- Attach to backpacks, pencil cases, or lunch bags.
- Bundle several on a small ring as a color-coordinated present.
- Store with small hardware in a plastic organizer kit.
- Pillowcase Dress (easy play dress)
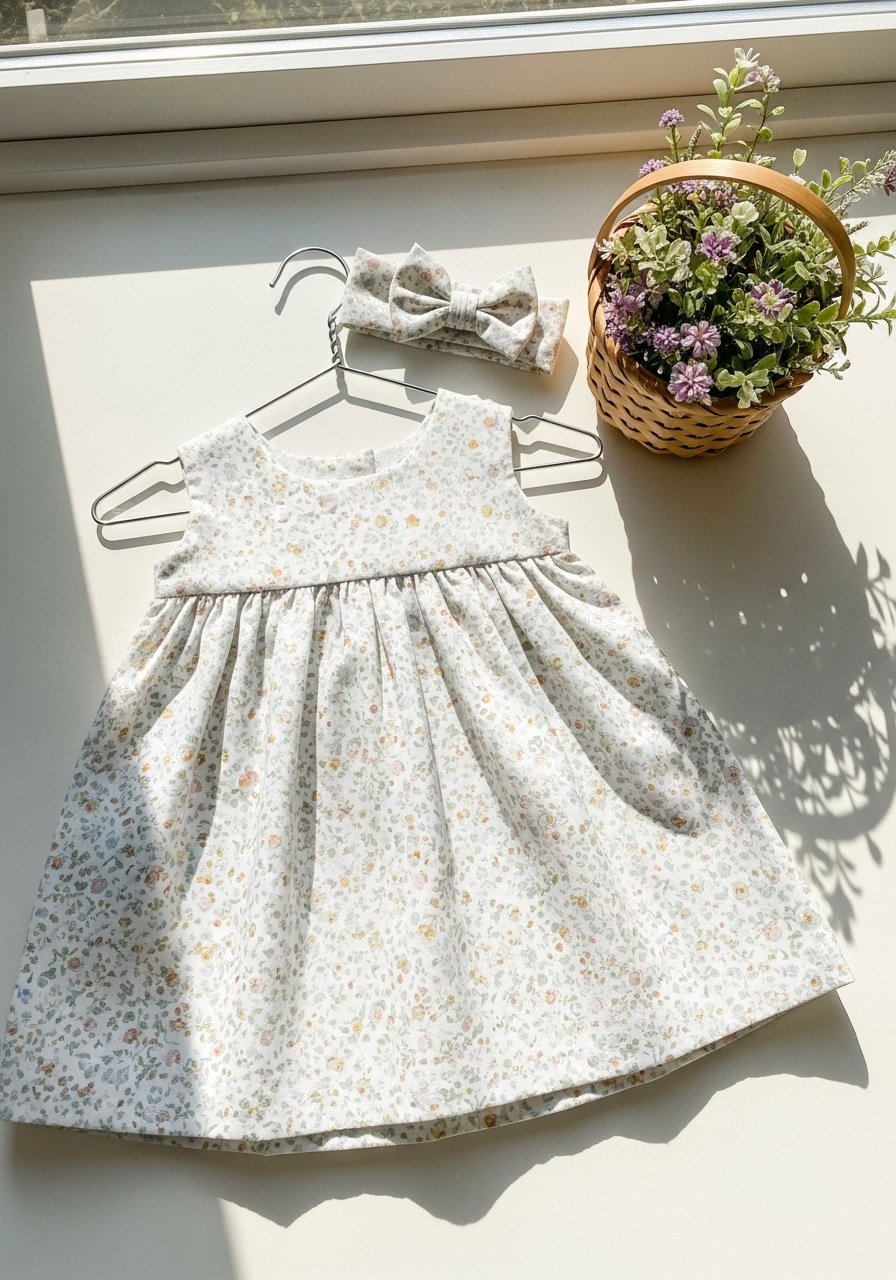
A pillowcase dress is roomy, forgiving, and great for beginners. This project teaches hemming and tie finishing. Use soft cotton sheeting for maximum comfort.
Materials
- Pillowcase or cotton fabric, 24" x 36"
- Bias tape for straps, 2 yards
- Thread
- Scissors
- Measuring tape
- Sewing pins
- Sewing machine or hand-stitch supplies
Instructions
- Measure child’s chest and cut pillowcase to length appropriate for dress.
- Hem bottom edge by 1/2" and press.
- Fold top edge down 1", then 1" again to create a casing for straps.
- Stitch along the casing, leaving ends open.
- Thread bias tape or ribbon through casing to form straps; knot at ends.
- Try on and adjust strap length for comfortable fit.
- Topstitch any decorative edges or add a simple pocket.
- Wash and press before first wear.
How to Display or Gift It
- Fold and wrap in tissue for a handmade clothing gift.
- Hang on a child’s low hook for dress-up corner display.
- Keep spare dresses in a fabric storage box.
- Hand-Stitched Eye Mask
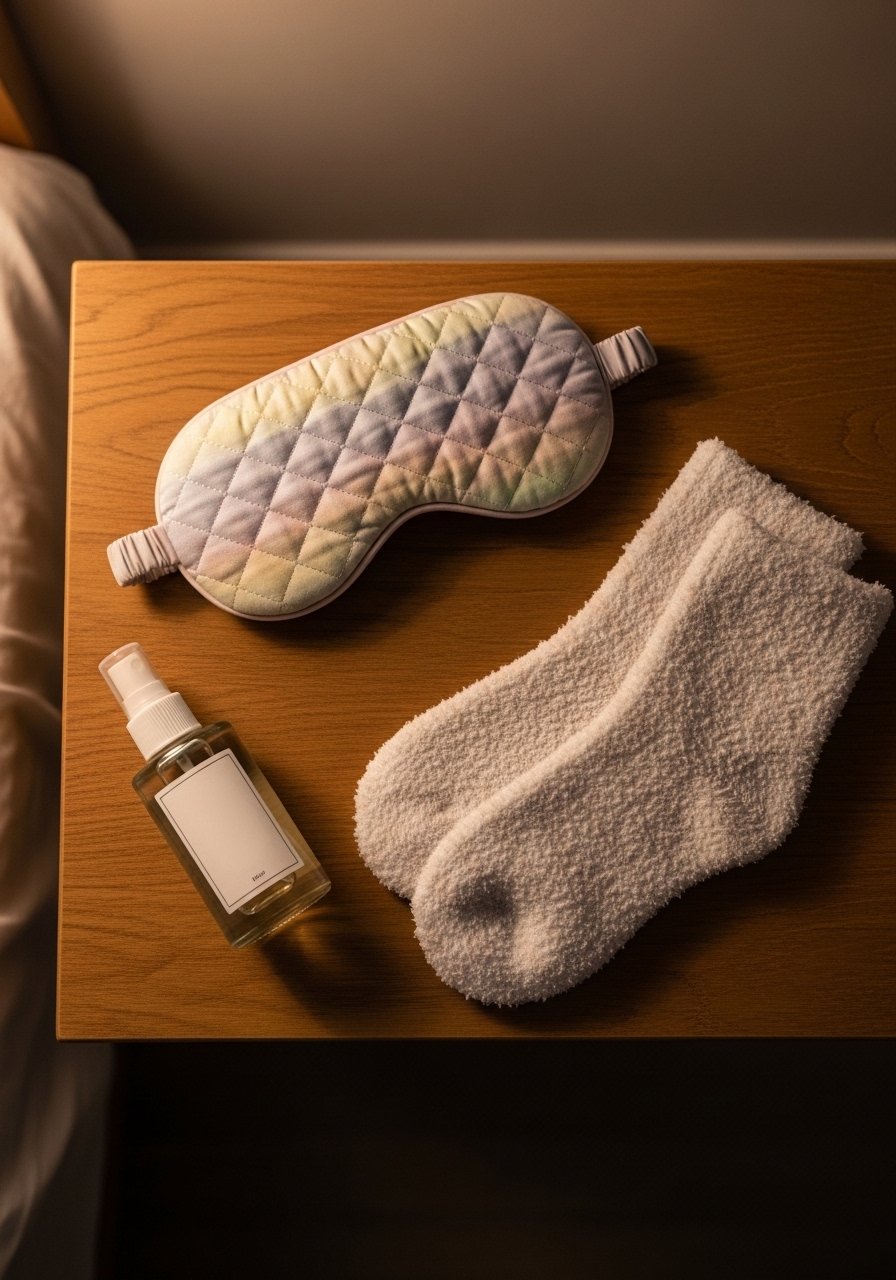
Perfect for quiet time, these masks teach stuffing and elastic casing. Add sleepy embroidery for personality.
Materials
- Cotton or satin fabric, two pieces 8" x 4"
- Polyfill, small amount
- 1/4" elastic, 12"
- Thread
- Plastic blunt needle
- Scissors
- Fabric marker
Instructions
- Trace an eye mask template approx 8" x 4" and cut two shapes.
- Pin right sides together; leave a 1.5" gap for turning.
- Sew around leaving gap and an opening on one side for elastic channel.
- Turn right side out and gently stuff to desired thickness.
- Insert elastic into channel and stitch ends securely.
- Sew gap closed with hidden stitch.
- Embroider small sleepy face or stars on front.
- Try on to check fit and adjust elastic if needed.
How to Display or Gift It
- Pair with a small sleep spray and tuck into a gift box.
- Store flat in a bedside drawer or in a fabric pouch.
- Quilted Mug Hugger / Cozy
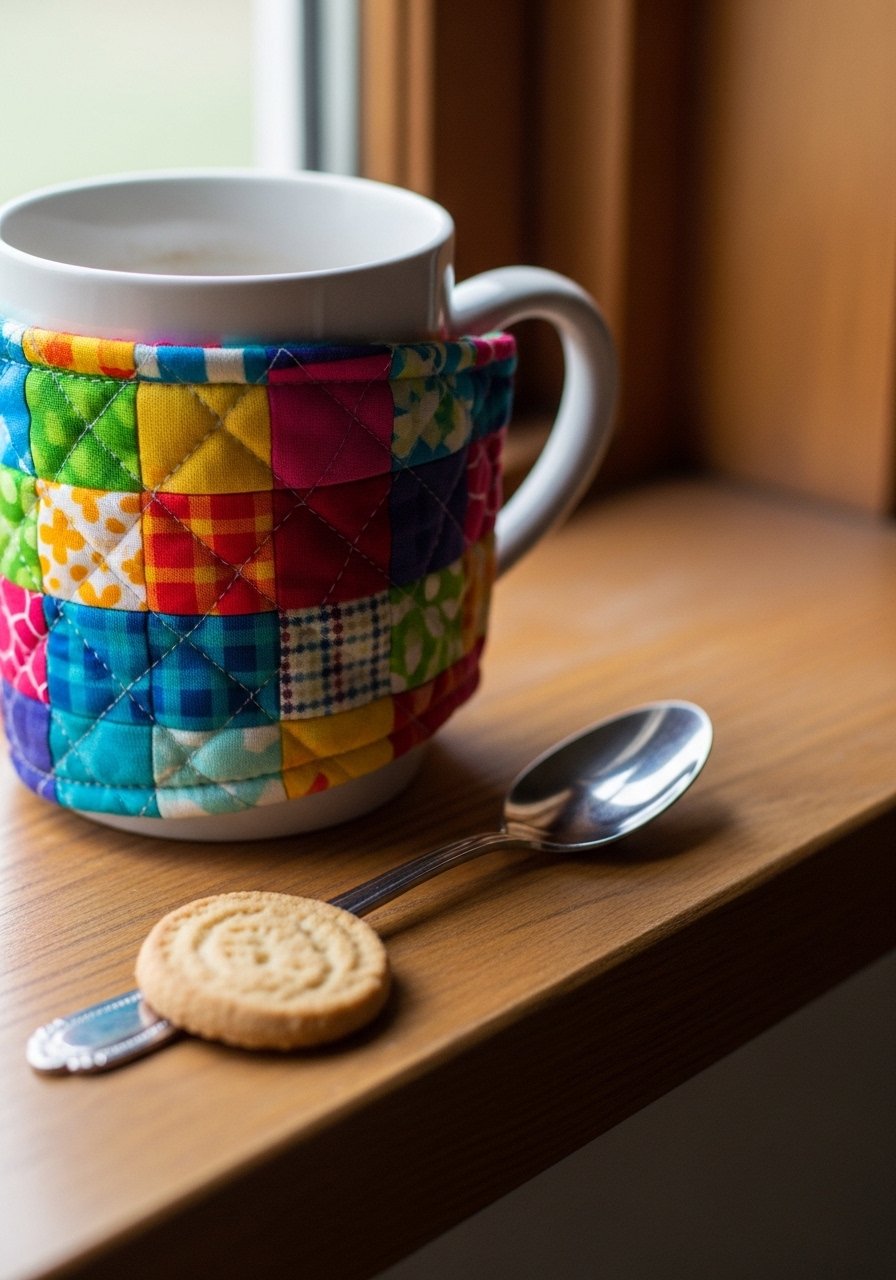
A mug cozy teaches quilting in miniature and topstitching. It’s a great gift for caregivers with a handmade touch. Use small quilt batting squares and cotton prints.
Materials
- Cotton fabric, two pieces 8" x 6"
- Quilt batting, 8" x 6"
- Thread
- Rotary cutter and mat
- Sewing machine
- Scissors
- Velcro dot or snap set for closure
Instructions
- Layer outer fabric, batting, and lining; quilt with parallel lines 1/2" apart.
- Trim quilted rectangle to 7.5" x 5.5".
- Fold lengthwise so it overlaps about 1.5" and stitch short sides to secure.
- Add velcro dot or snap closure to ends.
- Test fit around mug and adjust overlap as needed.
- Press flat and trim stray threads.
- Let quilted piece rest 30 minutes after stitching to settle seams.
How to Display or Gift It
- Bundle with a small hot cocoa sachet for a cozy gift.
- Keep in a kitchen drawer for adult use; avoid hot liquids around kids.
- Store with other seasonal cozies in a fabric organizer box.
- Felt Holiday Ornament
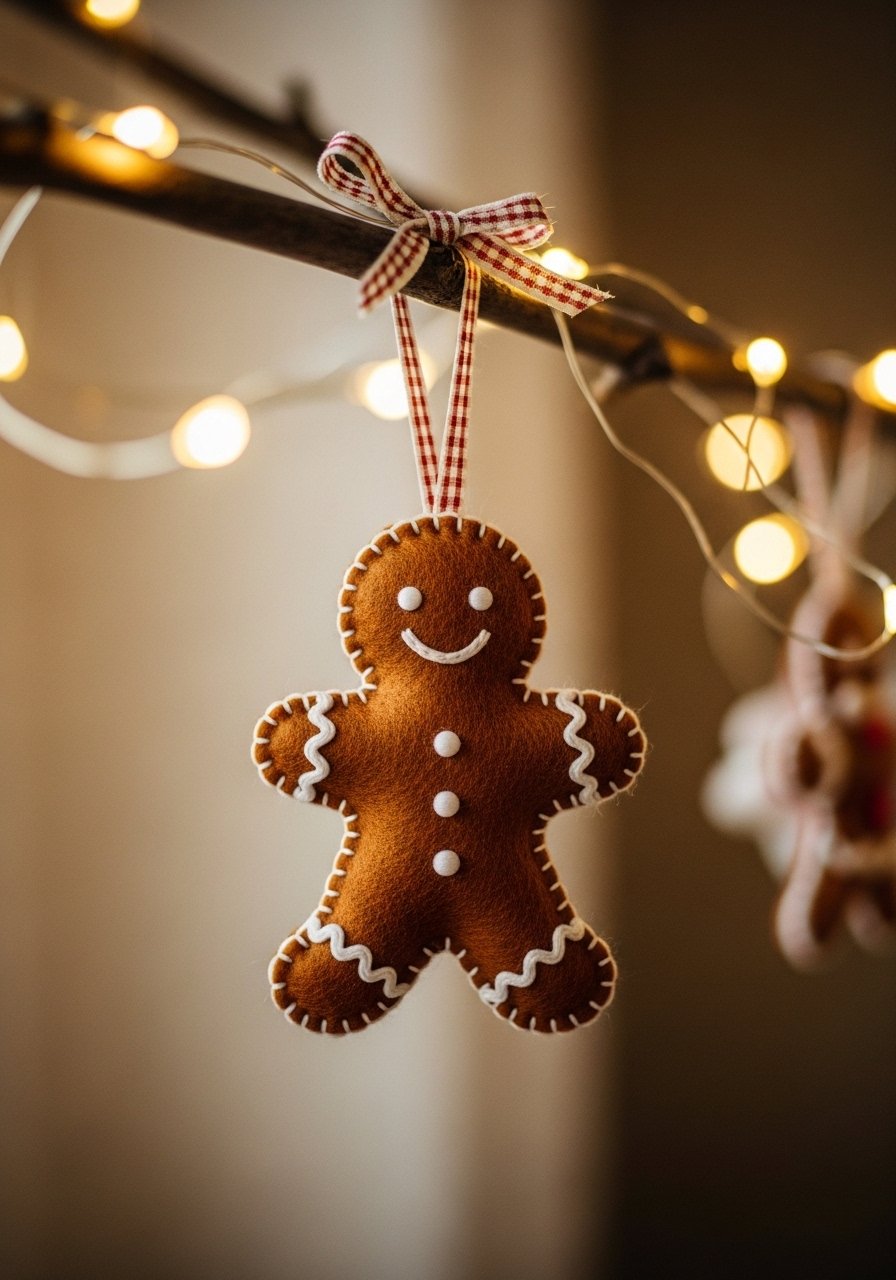
Seasonal ornaments are quick sewing wins and make great handmade gifts. Felt and embroidery floss make these bright and durable.
Materials
- Felt sheets, holiday colors
- Embroidery floss
- Plastic blunt needles
- Polyfill, small amount for puffing
- Ribbon for hanging
- Scissors
- Template for ornament shape
Instructions
- Trace ornament template and cut two shapes.
- Place together and stitch around with blanket stitch, leaving 1" opening.
- Stuff lightly and finish stitching closed.
- Add embroidered details or glued sequins for sparkle.
- Attach ribbon loop for hanging and knot securely.
- Let any glue dry 20 minutes before hanging in tree.
How to Display or Gift It
- Tie onto a wrapped gift as decor.
- Package in small organza bags for neighbor gifts.
- Store each ornament flat in a holiday storage box.
- Upcycled Tee Tote Bag
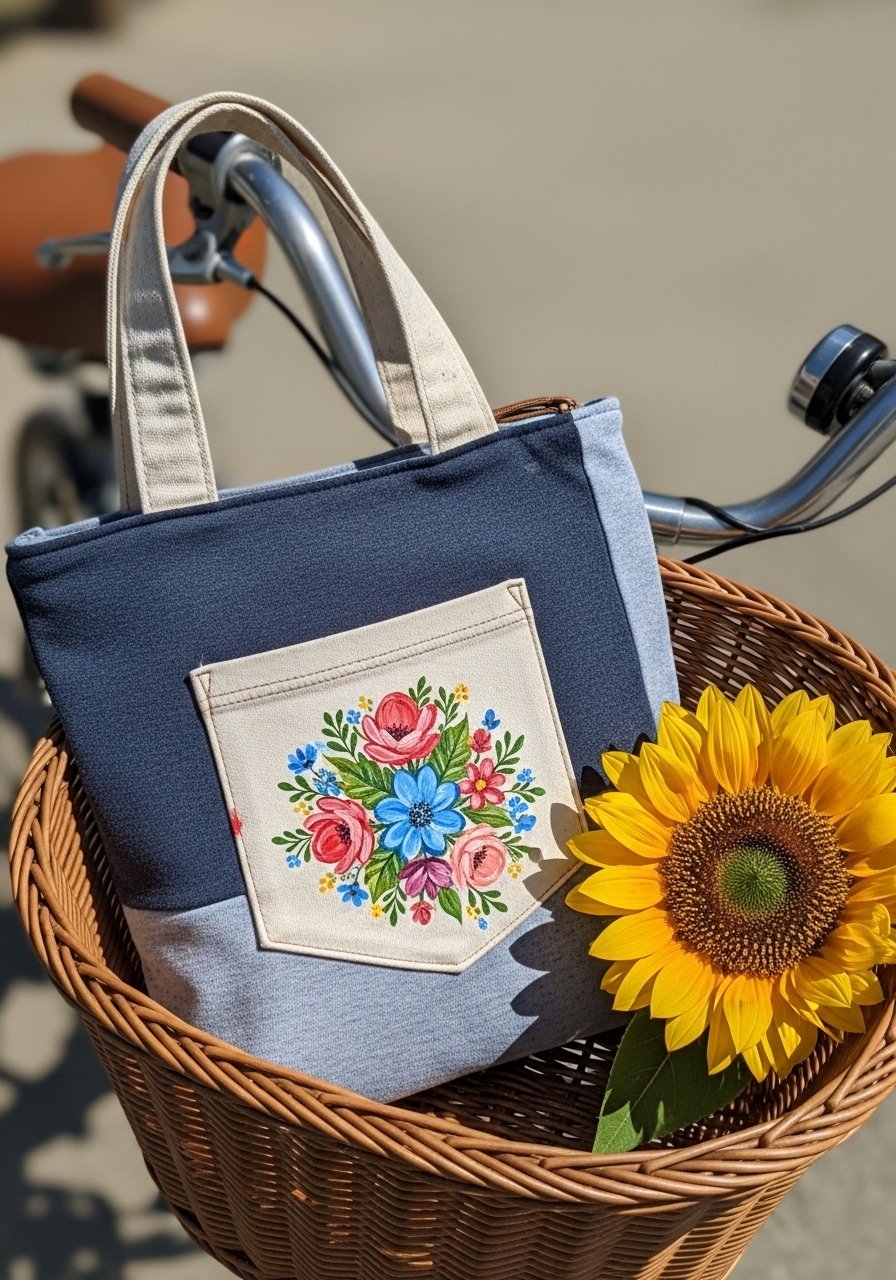
Turn an old tee into a soft tote—no hemming skills required if you use a simple fringe knot method or basic seams. Great for eco-friendly play.
Materials
- Old t-shirt (child or adult size)
- Scissors
- Ruler
- Bias tape for handles (optional)
- Fabric paint for decoration
- Sewing needle and thread (if sewing handles)
- Fabric marker
Instructions
- Cut off sleeves and neckline to create tote opening.
- Measure and cut fringe along bottom 1" wide by 3" long.
- Tie fringe pairs together to seal bottom (knot method) or sew across for a stronger base.
- Reinforce shoulder areas by sewing or adding bias-tape handles.
- Decorate bag with fabric paint and let dry 24 hours.
- Test strength by carrying light items; reinforce ties if needed.
- Trim fringe ends evenly.
How to Display or Gift It
- Fill with small library books for a tote-themed present.
- Use as a summer market bag for play.
- Store flat in a fabric storage bin.
- Kid-Sized Fabric Play Mat
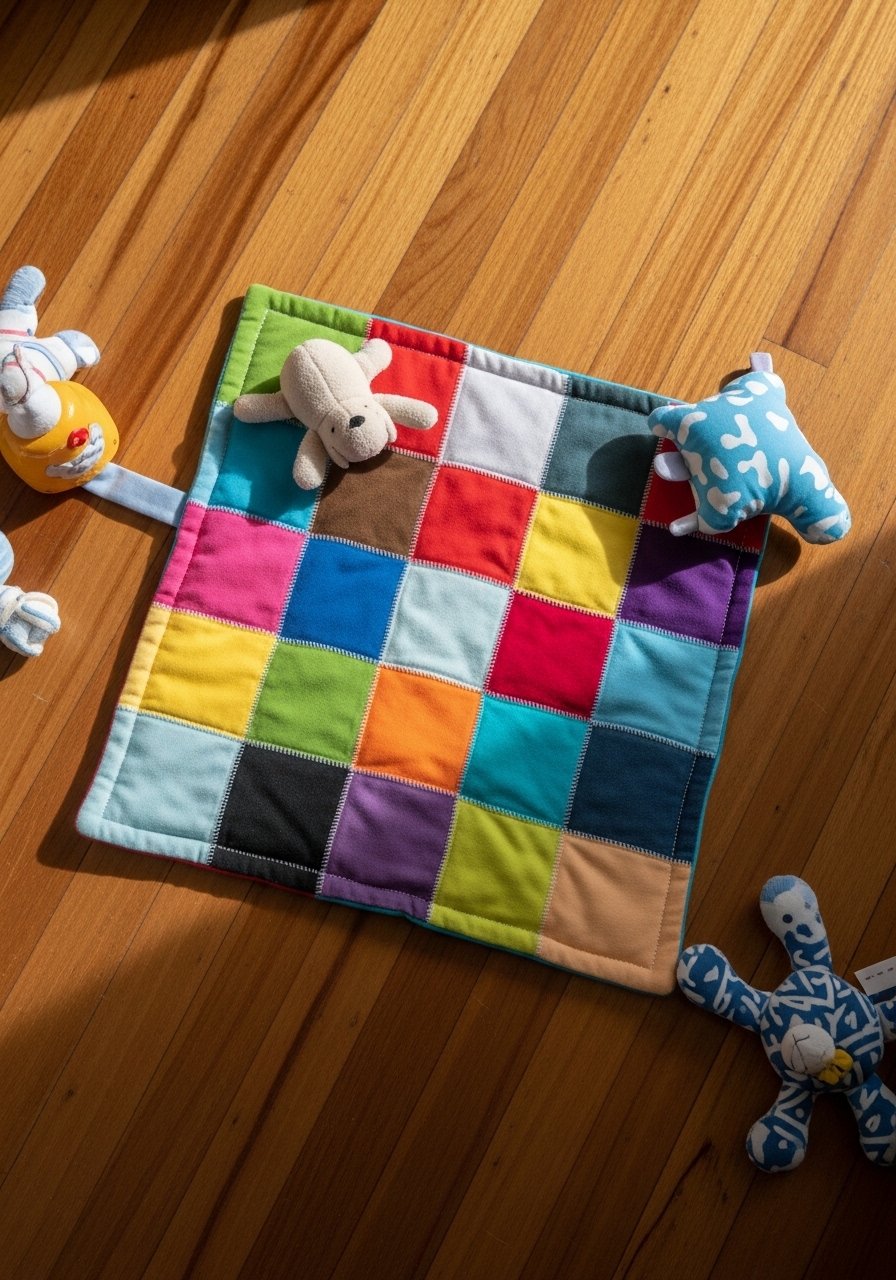
A play mat teaches patchwork assembly and large-scale seam matching. Keep batting thin for portability.
Materials
- Assorted cotton scraps, total 24" x 24"
- Quilt batting, 24" x 24"
- Thread
- Sewing machine
- Rotary cutter and mat
- Pins
- Scissors
Instructions
- Cut fabric into 6" squares and sew into rows, pressing seams flat.
- Join rows to form a 24" x 24" top.
- Layer top, batting, and backing; baste around edges.
- Quilt with simple lines 2" apart or tie with yarn in grid squares.
- Trim edges and bind with bias tape or folded fabric.
- Press and let rest 30 minutes before use.
- Spot clean when needed.
How to Display or Gift It
- Roll and tie with ribbon for gifting.
- Fold and store in a large fabric bin.
- Use as a picnic mat for toddler snack time.
- Fabric Book Cover with Button Closure
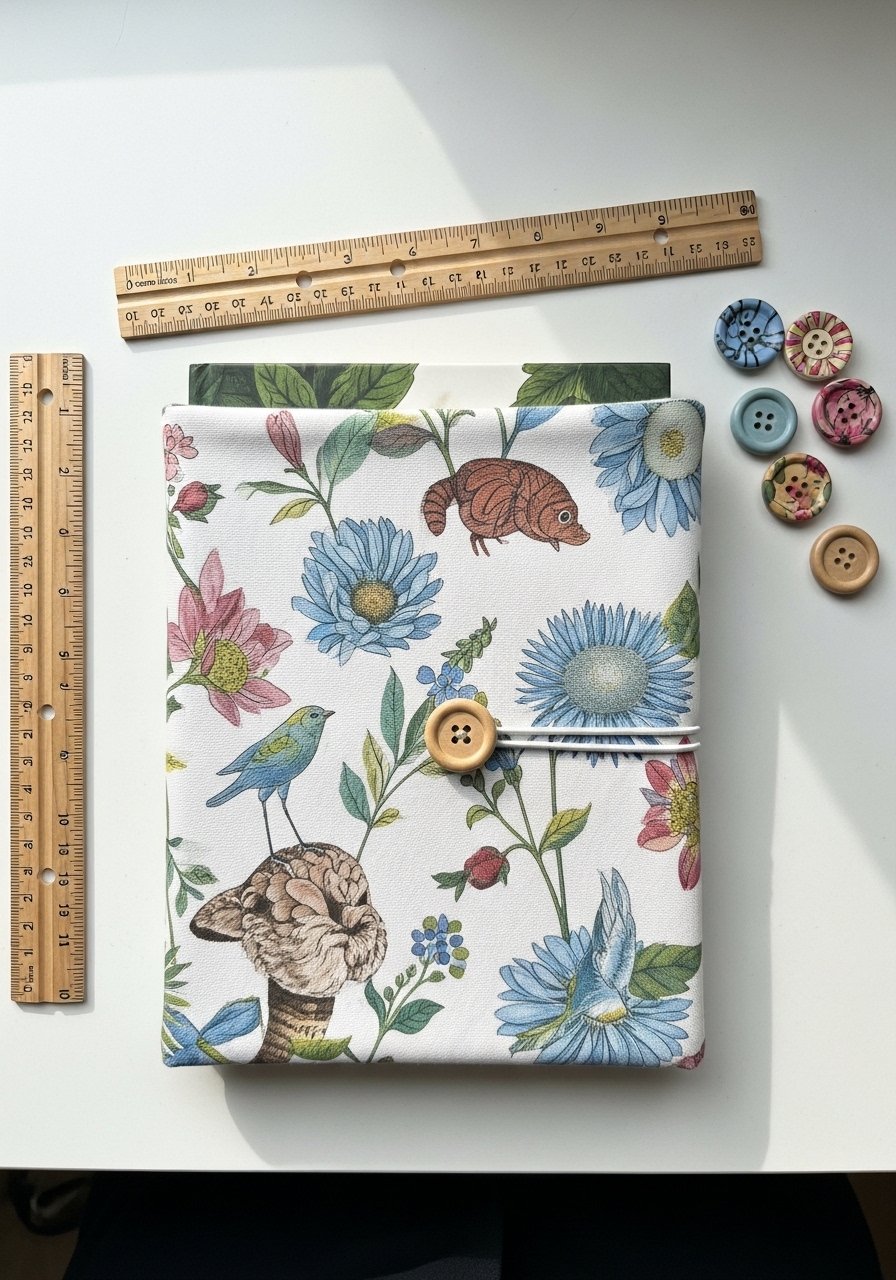
Personalized book covers make reading special and are great for gifting. Button closures teach button loops and tension control.
Materials
- Cotton fabric, 14" x 10"
- Elastic, thin 6"
- Button, 1 medium
- Thread
- Sewing pins
- Scissors
- Fabric marker
Instructions
- Measure book height and wrap fabric leaving 1" seams on each edge.
- Fold edges to create inside pockets and stitch sides to form cover.
- Sew button on front center and stitch elastic loop to opposite edge.
- Test by slipping book into pockets and securing with elastic.
- Topstitch around cover edges for strength.
- Embellish with a small patch or embroidery if desired.
How to Display or Gift It
- Slip a library book into the cover and pair with a bookmark for gifting.
- Keep multiple covers in a craft storage box for rotating reads.
- Use to protect favorite picture books from spills.
- Hand-Stitched Monster Softie
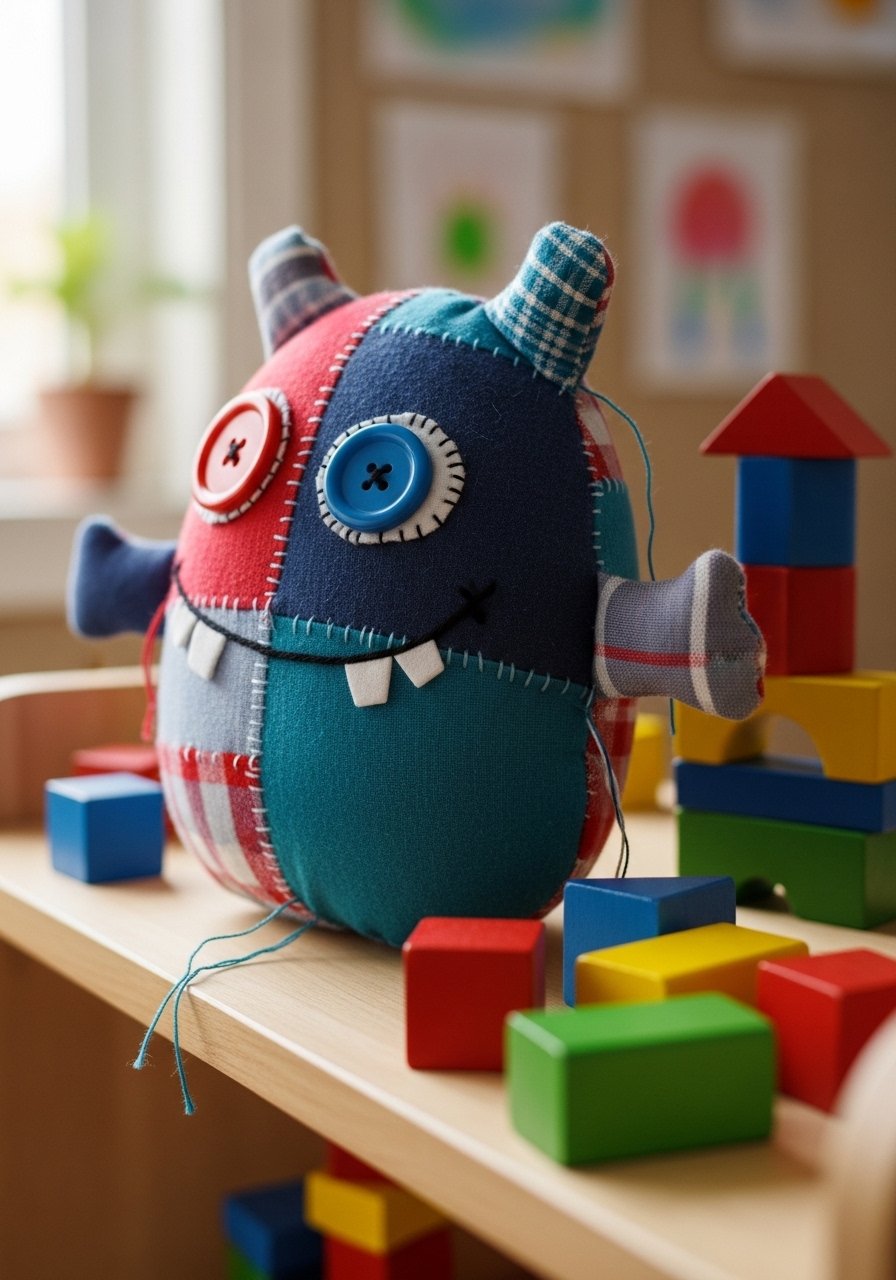
Finish with a friendly monster! This project encourages creative embellishment and safe attachment techniques. Button eyes should be sewn firmly or replaced with embroidered eyes for toddlers.
Materials
- Felt sheets or cotton fabric
- Embroidery floss
- Buttons (optional)
- Polyfill, 1 cup
- Plastic blunt needles
- Scissors
- Template, 6" tall
- Fabric glue (optional for small pieces)
Instructions
- Cut two monster body shapes from felt using the template.
- Sew bodies together with whip stitch, leaving a gap for stuffing.
- Stuff evenly and stitch closed.
- Add arms, horns, and facial features by sewing small felt pieces on.
- Sew buttons for eyes or embroider eyes with satin stitch for safety.
- Stitch a wide smile with backstitch and add small embroidered teeth.
- Trim stray threads and test attachments for firmness.
- Give the monster a small name tag and encourage imaginative play.
How to Display or Gift It
- Place in a toy basket or on a child’s shelf.
- Pack with a small bedtime story for a cuddle gift.
- Store softies in a fabric storage cube.
Thanks for sewing along! These 26 projects cover everything from tiny stitched friends to simple sewn accessories—perfect for introducing kids to fun, colorful sewing projects for beginners kids. Save this pin to try projects in batches, and share your favorites with friends who love craft afternoons. Which one will you try first: a felt puppet for storytime or a cozy mug hugger for grown-up helpers?
If you’ll be using a sewing machine for several of these projects, a compact beginner sewing machine and a good pair of fabric scissors make prep so much faster. Trust me, upgrading to a low-temp hot glue gun saved time on small attachments across many projects—less mess, safer for small hands when an adult helps. Happy stitching, and don’t forget to pin this for rainy-day crafting and gift-making!





