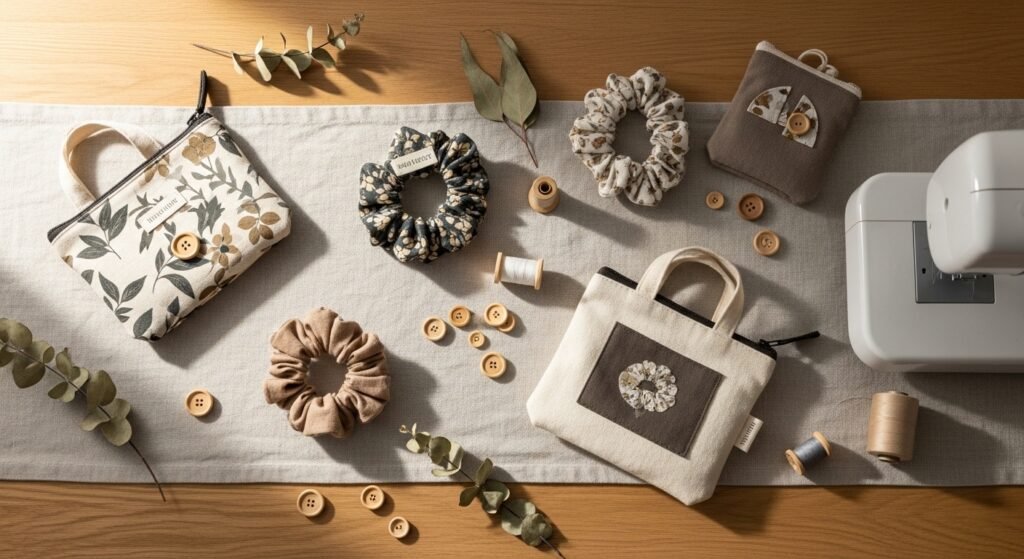
Sewing feels cozier when the projects are useful from day one. If you want quick wins that build skills, these sewing projects for beginners accessories are perfect. Each accessory is stylish, functional, and designed so you can finish it in an afternoon or a few evenings. You’ll practice straight seams, basic zipper insertion, binding, and simple topstitching without getting overwhelmed.
I list exact materials, realistic measures, and step-by-step instructions so you can stitch with confidence. Keep a spool of Gütermann thread assortment and a good self-healing cutting mat nearby — they save time and headaches. These sewing projects for beginners accessories include trending looks (boho scrunchies, japandi linen pouches, cottagecore embroidery) and simple troubleshooting tips so you finish tidy pieces every time.
- Reversible Fabric Scrunchies

These reversible scrunchies are a perfect first stitch. They’re soft, slightly gathered, and reversible so you get two looks with one project. Beginners love them because they teach casing and topstitching without fussy curves. They feel plush in your hand and add texture to ponytails or wrist stacks.
Materials
- 1/3 yard lightweight cotton or rayon (two coordinating prints, 9" x 4" per scrunchie)
- 18" of 1/4" elastic per scrunchie
- Matching thread, 30–50 m
- Sewing pins or wonder clips (6–8)
- Safety pin for turning
- Fabric scissors or rotary cutter
- Iron and ironing board
Instructions
- Cut two rectangles 9" x 4" for each scrunchie.
- Place right sides together and sew long edge with 1/4" seam to make a tube.
- Turn tube right side out and press flat with seam centered.
- Fold tube lengthwise with wrong sides together and pin.
- Topstitch along long edge with 1/8" seam allowance, leaving a 1.5" gap to insert elastic.
- Attach safety pin to elastic and thread through casing. Overlap elastic ends 1/2" and sew securely with a zigzag.
- Tuck raw edges into the gap, press, and slipstitch or topstitch closed.
- Give a final press and fluff.
How to Display or Gift It
Tuck a scrunchie into a kraft gift bag and tie with twine. Stack three on a small wooden card and secure with a ribbon for market-ready presentation. Store extras in glass jars on a vanity for easy reach. For a polished set, attach a small care tag with washing instructions.
- Simple Zipper Pouch (No-Invisible Zipper)
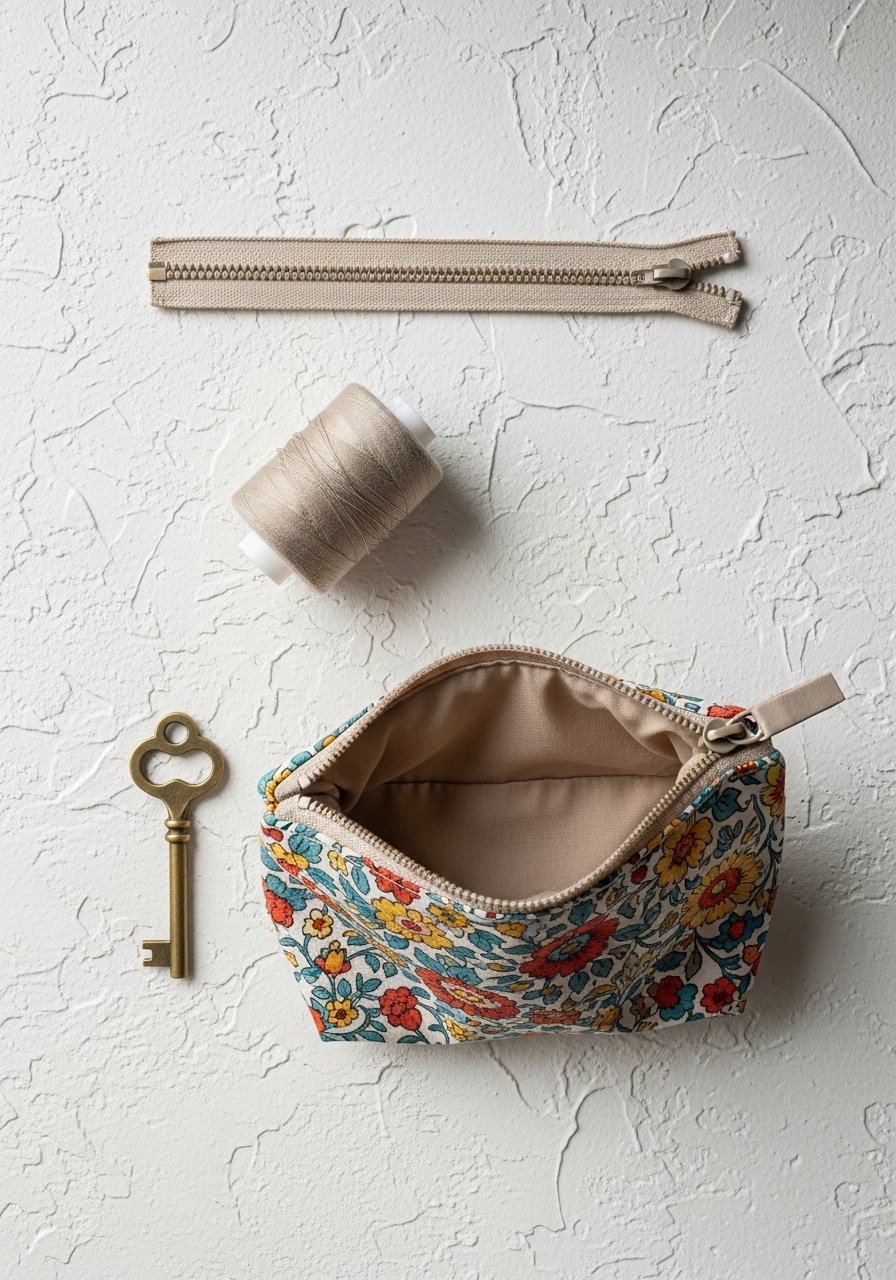
This classic zipper pouch is a beginner-friendly way to learn zipper sewing without fuss. It finishes crisp and useful for makeup, pencils, or small tools. The zip opening feels satisfying when you slide the brass or nylon zipper, and the lined interior gives a professional look.
Materials
- 1/2 yard main cotton fabric (10" x 9" cut as one piece)
- 1/2 yard lining fabric (10" x 9")
- 1 7" or 9" zipper (nylon or metal)
- Pelon/soft fusible interfacing, 9" x 8"
- Matching thread
- Zipper foot for sewing machine
- Clips or pins, fabric scissors
Instructions
- Fuse interfacing to main fabric pieces per manufacturer instructions (press 8–10 seconds).
- Place zipper face down on main fabric top edge and place lining on top; pin.
- Using a zipper foot, sew across, then press so zipper teeth are centered.
- Repeat for the other side with remaining pieces.
- Open zipper halfway. Align outer bag right sides together and lining right sides together. Pin all around.
- Sew a 1/2" seam around, leaving a 3" gap in the lining for turning.
- Trim corners and turn through the gap. Push corners out and press.
- Hand-stitch the lining gap closed. Topstitch along zipper edge for a clean finish.
How to Display or Gift It
Use as a travel pouch or tuck it into a larger tote. For gifting, place a small set of travel-size toiletries inside and wrap in kraft tissue. Store flat in a drawer or display in a tiered tray next to other sewing projects.
- Fold-Over Sunglass Case
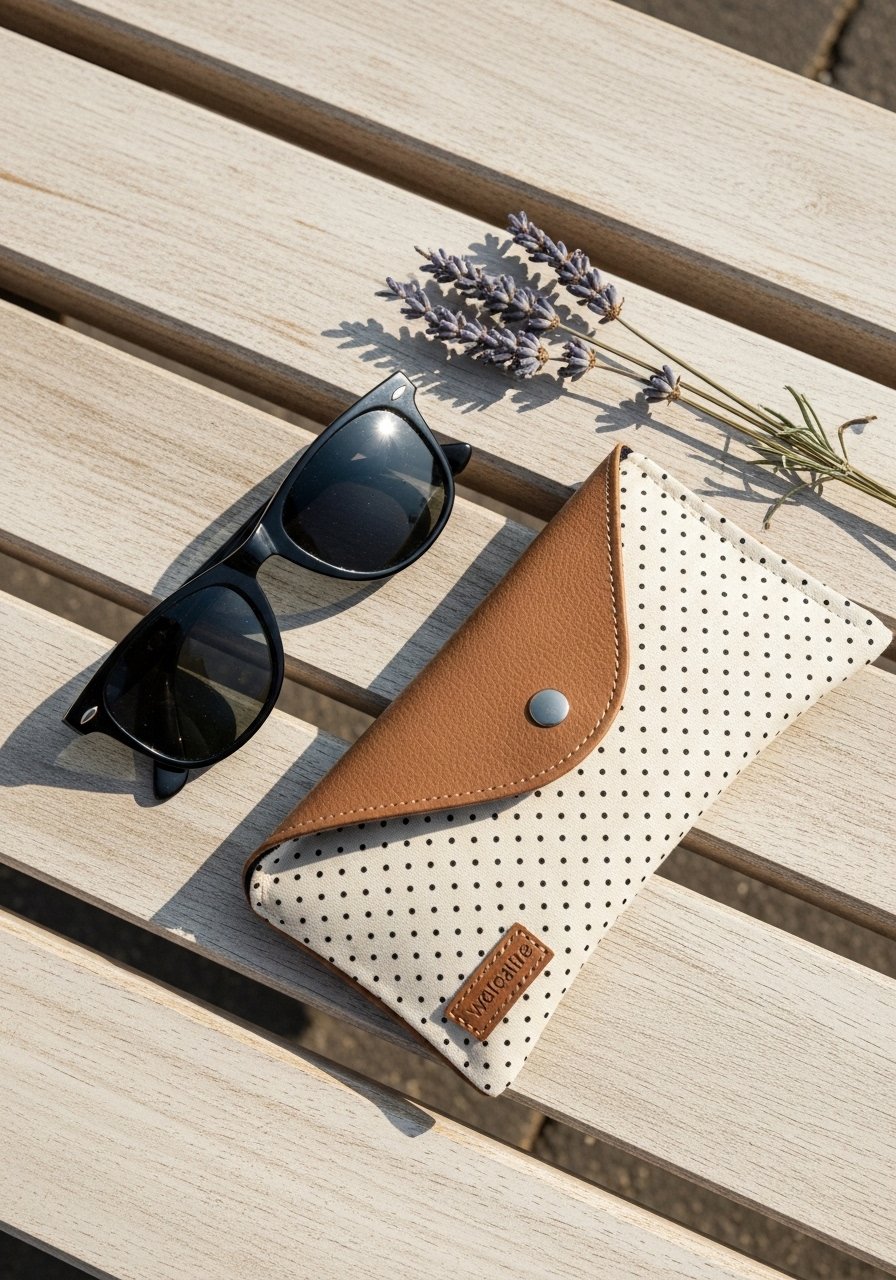
This fold-over sunglass case protects lenses and looks sleek. It uses a layer of fusible fleece for padding and a snap or button closure. You’ll practice straight lines and working with thicker layers—great for building confidence for thicker fabrics.
Materials
- 10" x 9" exterior cotton or linen
- 10" x 9" lining fabric
- 10" x 9" fusible fleece (Pellon Fleece-Fuse)
- 1 1/2" snap or magnetic snap
- Matching thread, clips, scissors
- Snap setter or small hammer
Instructions
- Fuse fleece to exterior fabric according to package directions.
- Place exterior and lining right sides together and sew around leaving a short opening.
- Turn right side out and press, ensuring edges are crisp.
- Fold top over approx 2" to create a flap and mark snap placement.
- Install snap following package directions — use a snap setter to avoid warping.
- Topstitch around edges 1/8" from the edge for reinforcement.
- Press gently and test the fit with sunglasses.
How to Display or Gift It
Slide into a leather gift box with a card. Display on a dresser or entry tray. For bulk making, cut several exterior pieces at once and fuse fleece in a batch to save time.
- No-Sew Felt Key Fob
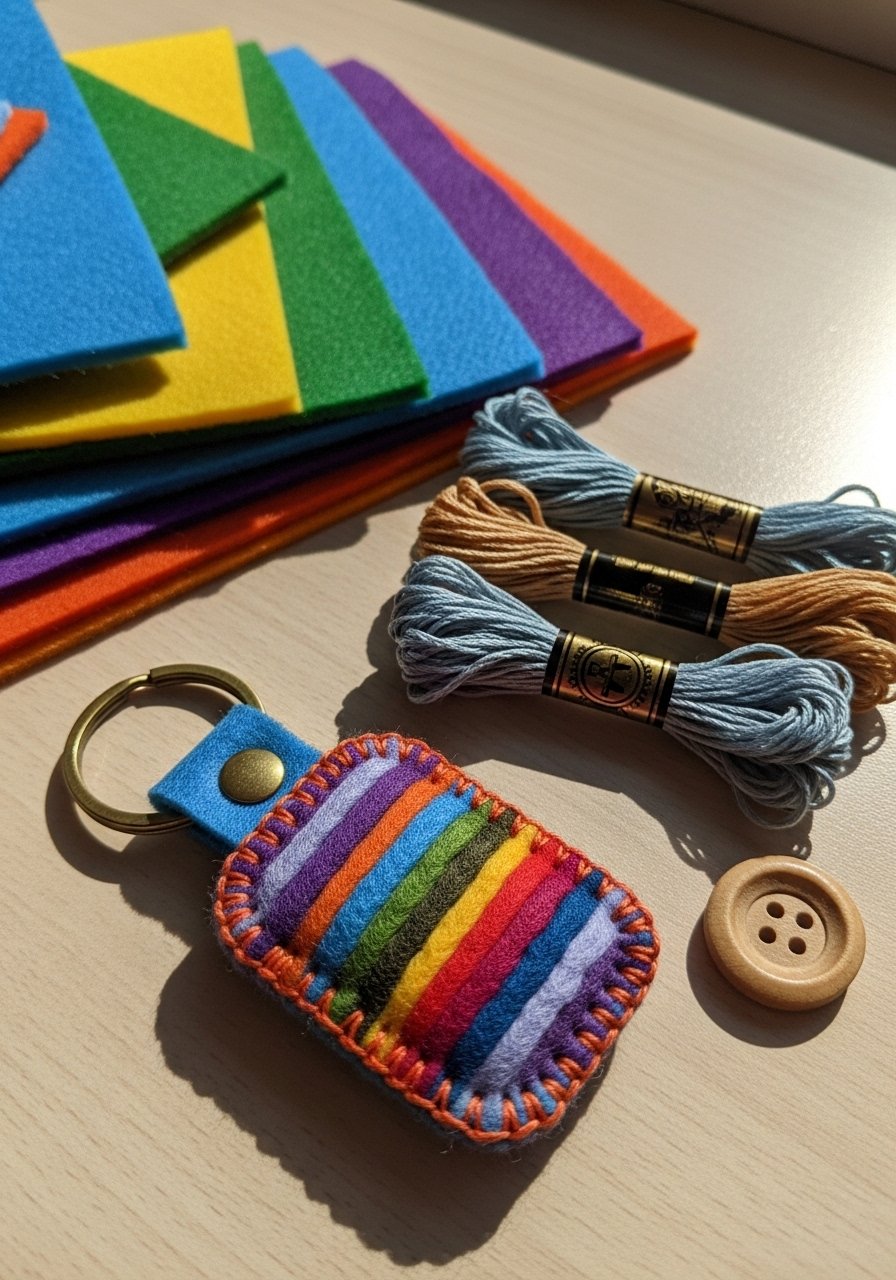
This felt key fob uses simple blanket stitching and a sturdy keyring for a handmade touch. It’s a great first project if you’re easing into hand sewing or want to practice neat stitching. The textured wool felt feels soft yet durable.
Materials
- 2 felt rectangles 4" x 1.5" (wool or acrylic)
- 1 1" rectangular keyring or swivel clasp
- Embroidery floss (6-strand), one skein
- Tapestry needle size 18
- Fabric glue (optional)
- Scissors, ruler
Instructions
- Fold one felt rectangle around the keyring and mark alignment.
- Place second piece over the first and whipstitch around the long edge with blanket stitch.
- Secure thread with a knot and hide tail inside.
- Optionally glue inside seam for reinforcement, allow 24 hours to set.
- Trim any uneven edges and add decorative embroidery if desired.
How to Display or Gift It
Attach to a small kraft card and tie with twine. Keep a set in a decorative bowl by the door. For gifting, pair with a matching zipper pouch.
- Fabric Bookmark with Tassel
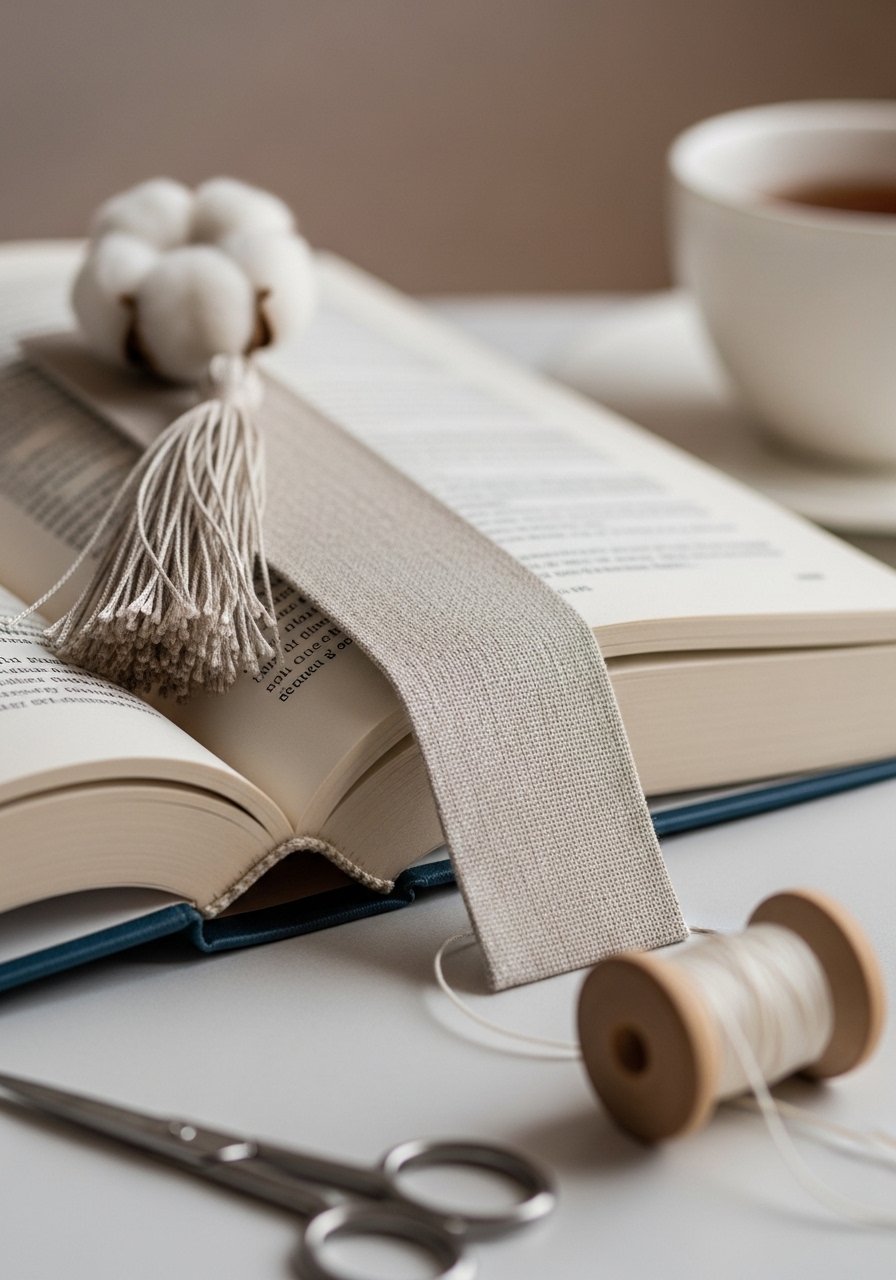
This fabric bookmark is slim, washable, and a lovely handmade gift for readers. It introduces edge-stitching and simple fringing for the tassel. The linen feels elegant and the tassel adds playful texture.
Materials
- 2 linen strips 8" x 2"
- Lightweight fusible interfacing 8" x 2"
- Embroidery floss for tassel (approx 6" length per tassel)
- Matching thread
- Sewing machine or needle for edge stitching
- Scissors, clip, iron
Instructions
- Fuse interfacing to one linen strip.
- Place right sides together and sew long edge with 1/4" seam. Turn and press.
- Topstitch 1/8" from the edge on both long sides.
- Fold one short end and sew a small channel for the tassel loop.
- Make a tassel with embroidery floss: wrap floss around a card 20 times, tie top, cut bottom, and attach.
- Thread tassel through channel and secure with a few stitches.
- Trim ends to even and press lightly.
How to Display or Gift It
Slide the bookmark into a book and wrap with baker’s twine for gifting. Store bookmarks flat in a small tray or use a magnetic bookmark box for sets.
- Elastic Fabric Headband

An elastic fabric headband pairs stretch with a tidy finish. It’s quick to make and a great introduction to sewing with elastic and sewing curves. The final headband feels soft against the ears and keeps hair back comfortably.
Materials
- 2 fabric pieces 18" x 4"
- 1 piece of 3/4" elastic 6"
- Matching thread
- Safety pin
- Sewing clips, scissors
- Iron
Instructions
- Place fabric right sides together and sew long edge with 1/4" seam to form a tube.
- Turn tube right side out and press with seam centered.
- Fold tube lengthwise and topstitch along long edge with 1/8" seam, leaving a 1.5" gap.
- Attach safety pin to elastic and thread through opening.
- Overlap elastic ends by 1/2" and zigzag stitch to secure.
- Tuck raw edges of gap inside and hand-sew or topstitch closed.
- Give a final press.
How to Display or Gift It
Stack a trio of headbands on a small display card and wrap with ribbon. Store in a shallow drawer or hang on a pegboard for quick access.
- Coin Purse with Snap Closure — Easy Sewing Projects for Beginners Accessories

This coin purse uses a kiss-lock or snap frame and small curved seams that teach you easing and pressing. It’s tiny, satisfying, and makes a lovely beginner-friendly accessory. The metal frame gives it a vintage-quality finish that looks chic on a dresser.
Materials
- 2 exterior fabric pieces 7" x 5"
- 2 lining pieces same size
- 1 metal kiss-lock frame approx 4.5"
- 1 lightweight fusible interfacing 7" x 5"
- Matching thread, clips
- Pliers (for frame insertion), small flat-head screwdriver
Instructions
- Fuse interfacing to outer pieces.
- Sew exterior pieces right sides together across the curved bottom with 1/4" seam.
- Repeat for lining, leaving a small gap in lining for turning.
- Turn the exterior right side out and press seams flat.
- Insert fabric into frame and use pliers to gently press fabric into the frame groove as per frame instructions.
- Close frame securely; if the frame is sewing-on style, tack fabric to frame with small stitches.
- Close lining gap with slipstitch and press gently.
How to Display or Gift It
Fill with a few coins and place in a small gift box. Display on a vanity or keep one in a larger tote as an organizer.
- Simple Tote Bag — beginner-friendly sewing projects for beginners accessories

A minimalist tote bag teaches straight seams and strap attachment without tricky curves. It’s roomy enough for a market run and compact enough to finish quickly. The canvas texture holds shape and feels sturdy in your hands.
Materials
- 1/2 yard canvas for body (18" x 20" folded gives two panels)
- 1/4 yard lining fabric
- 2 straps 22" x 1.5" (webbing or self-made fabric)
- Matching thread, heavy-duty needle
- Clips, sewing machine with denim/utility needle
Instructions
- Cut two body panels 18" x 15".
- Sew sides and bottom with 1/2" seam, press seams open.
- Box the corners by folding bottom corner to measure 2" across, mark, and sew a straight line; trim excess.
- Hem top edge 1/2" then 1", sew.
- Attach straps 3" in from sides, pin and sew multiple passes for strength.
- Optional: add a lining by repeating steps and inserting lining inside main bag, topstitch to finish.
- Reinforce strap ends with an X-stitch pattern.
How to Display or Gift It
Fill with produce or a wrapped book for gifting. Hang on a peg in the entryway or fold flat and tuck into a closet organizer.
- Eyeglass Sleeve with Soft Lining
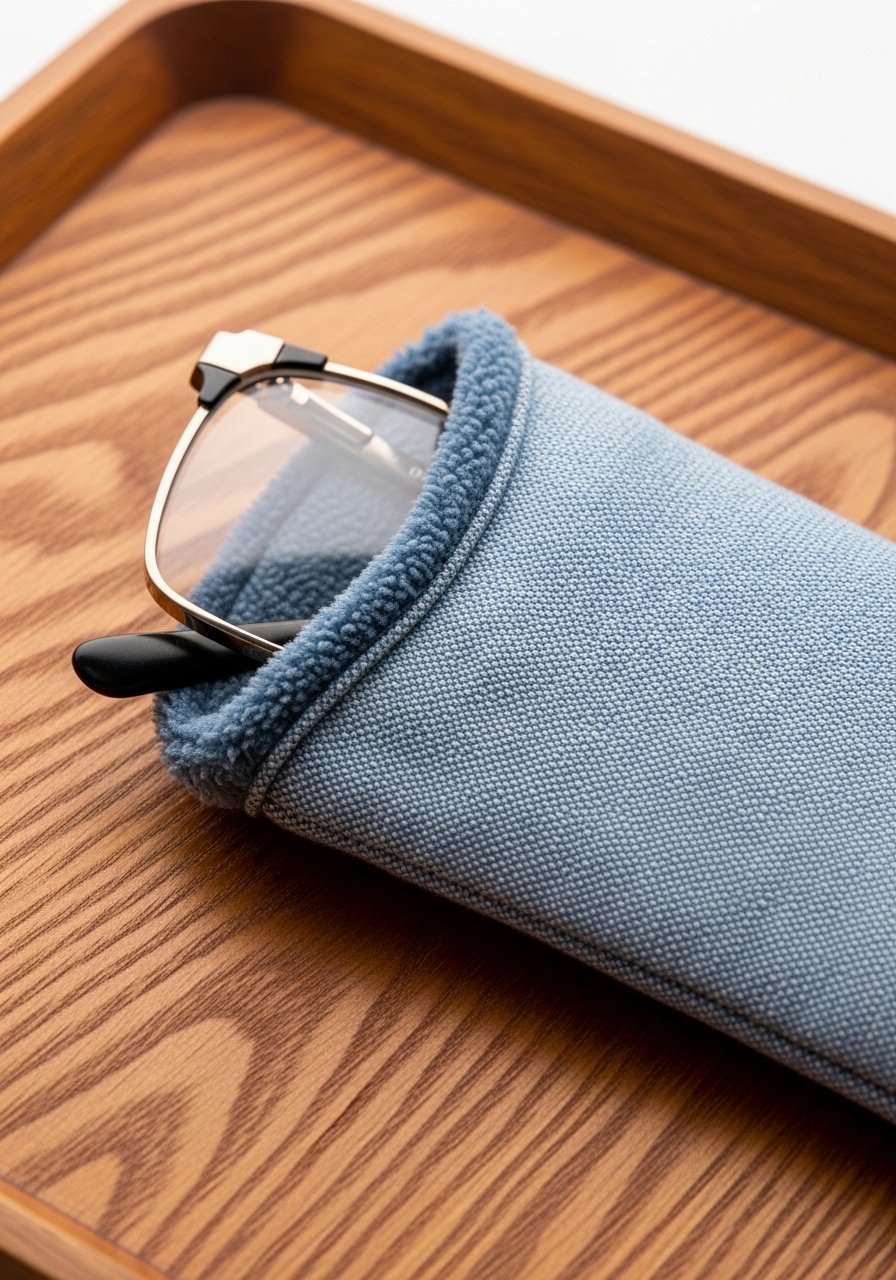
This padded eyeglass sleeve uses microfleece lining for scratch protection and makes a sweet handmade gift. It’s simple to sew and great practice for turning small tubes and sewing small openings.
Materials
- 1 exterior fabric 8" x 4"
- 1 lining fabric (microfleece) 8" x 4"
- 1/8" seam allowance, thread
- Clips, scissors, iron
Instructions
- Place right sides together, sew long edge and one short end.
- Turn right side out and press.
- Fold raw short end slightly and stitch closed.
- Topstitch along open edge 1/8" to secure lining.
- Test with glasses and trim if needed for fit.
How to Display or Gift It
Slide into a small envelope with a handwritten note. Store in a small drawer or inside a larger pouch.
- Wristlet Key Strap
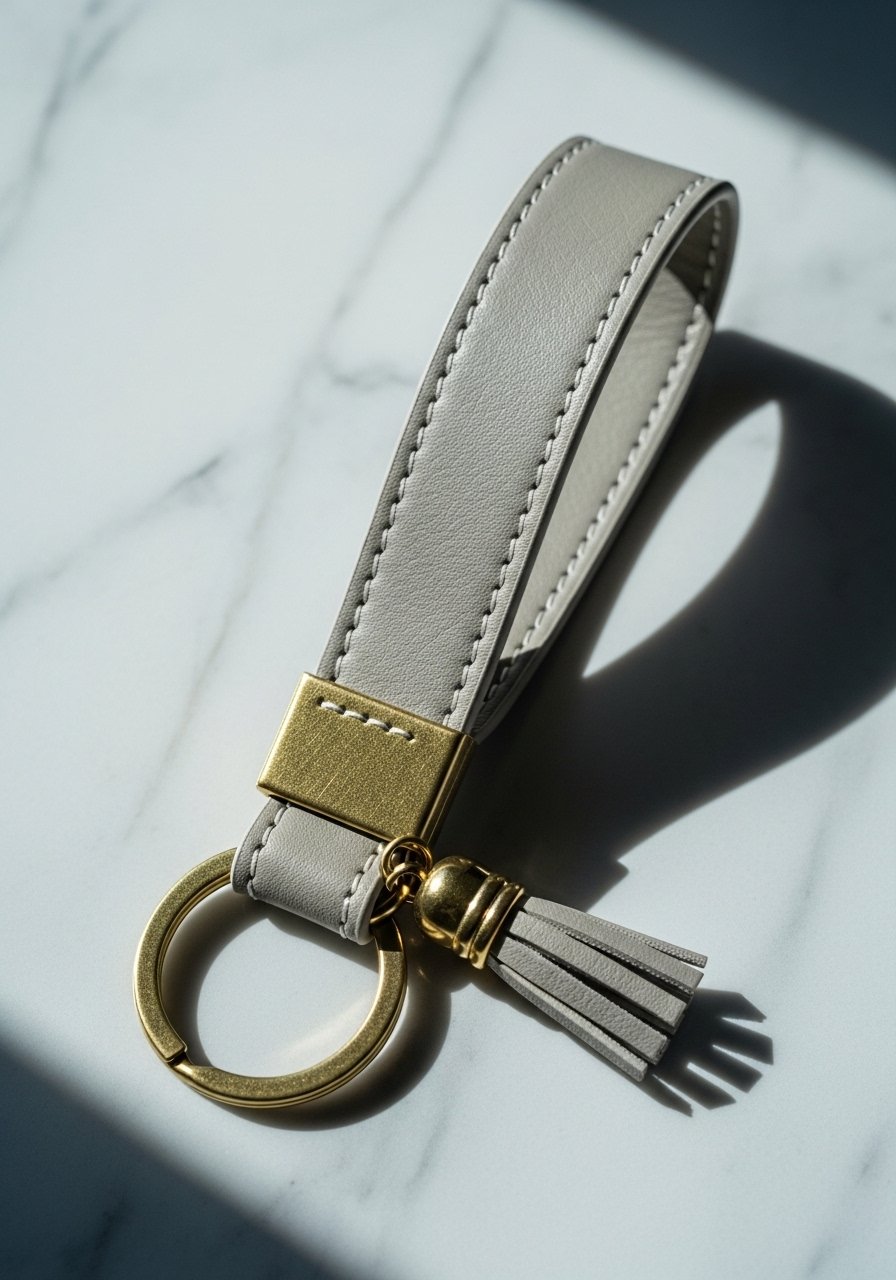
A wristlet key strap is small but practical—easy to slip on a wrist and never lose keys again. This project teaches you to work with faux leather or canvas and attach hardware securely.
Materials
- 1 piece faux leather or canvas 10" x 2"
- 1 split key ring and 1 swivel clasp
- Matching heavy-duty thread
- Rivets or box stitch for reinforcement OR zigzag stitching
- Scissors, pliers, small ruler
Instructions
- Fold fabric lengthwise and stitch along long edge with 1/8" seam.
- Turn tube right side out and press.
- Fold ends in to create a loop and attach swivel clasp and key ring.
- Secure with rivet or box stitch multiple times.
- Trim threads and burnish edges with a bone folder if available.
How to Display or Gift It
Clip to a small card and tuck into a birthday card. Keep one on your bag strap for daily use.
- Patchwork Coin Purse

Patchwork coin purses are a lovely way to use small fabric scraps and practice piecing. The textured squares create a cottagecore or boho vibe depending on fabrics chosen. This project builds piecing accuracy and pressing skills.
Materials
- Assorted fabric scraps totaling 8" x 6" assembled into a 4×3 grid
- 1 7" zipper
- Lining fabric 8" x 6"
- Fusible interfacing 8" x 6"
- Thread, zipper foot, rotary cutter, ruler
Instructions
- Stitch small squares into rows and press seams open.
- Join rows, press and trim to 8" x 6".
- Fuse interfacing to the wrong side.
- Attach zipper as in zipper pouch steps.
- Sew around with 1/4" seam, leave lining gap to turn.
- Turn right side out and close lining gap.
- Topstitch zipper for a neat finish.
How to Display or Gift It
Use as coin storage or earbud keeper. Bundle a few for a market display in a small wooden tray.
- Simple Drawstring Pouch — sewing projects for beginners accessories

Drawstring pouches are versatile: jewelry, gift wrapping, or organizing cords. They teach casing creation and working with cords or ribbon. The gathered mouth gives a tactile finish when you pull the strings.
Materials
- 1 fabric rectangle 14" x 10"
- 1 lining rectangle same size (optional)
- 2 lengths of cord 20" each
- Cord stopper or wooden beads
- Fusible interfacing (optional), thread, safety pin
Instructions
- Fold fabric right sides together, sew side seams with 1/2" seam.
- Hem the top by folding 1/4" then 1" to create a casing; stitch, leaving a 1" opening for cord.
- Turn right side out and press.
- Attach safety pin to cord and thread through casing.
- Repeat with second cord starting on opposite side.
- Knot ends and add bead or cord stopper.
- Gently press pouch and trim any loose threads.
How to Display or Gift It
Use as jewelry packaging or for party favors. Store nested on a shelf to save space.
- Simple Fabric Belt
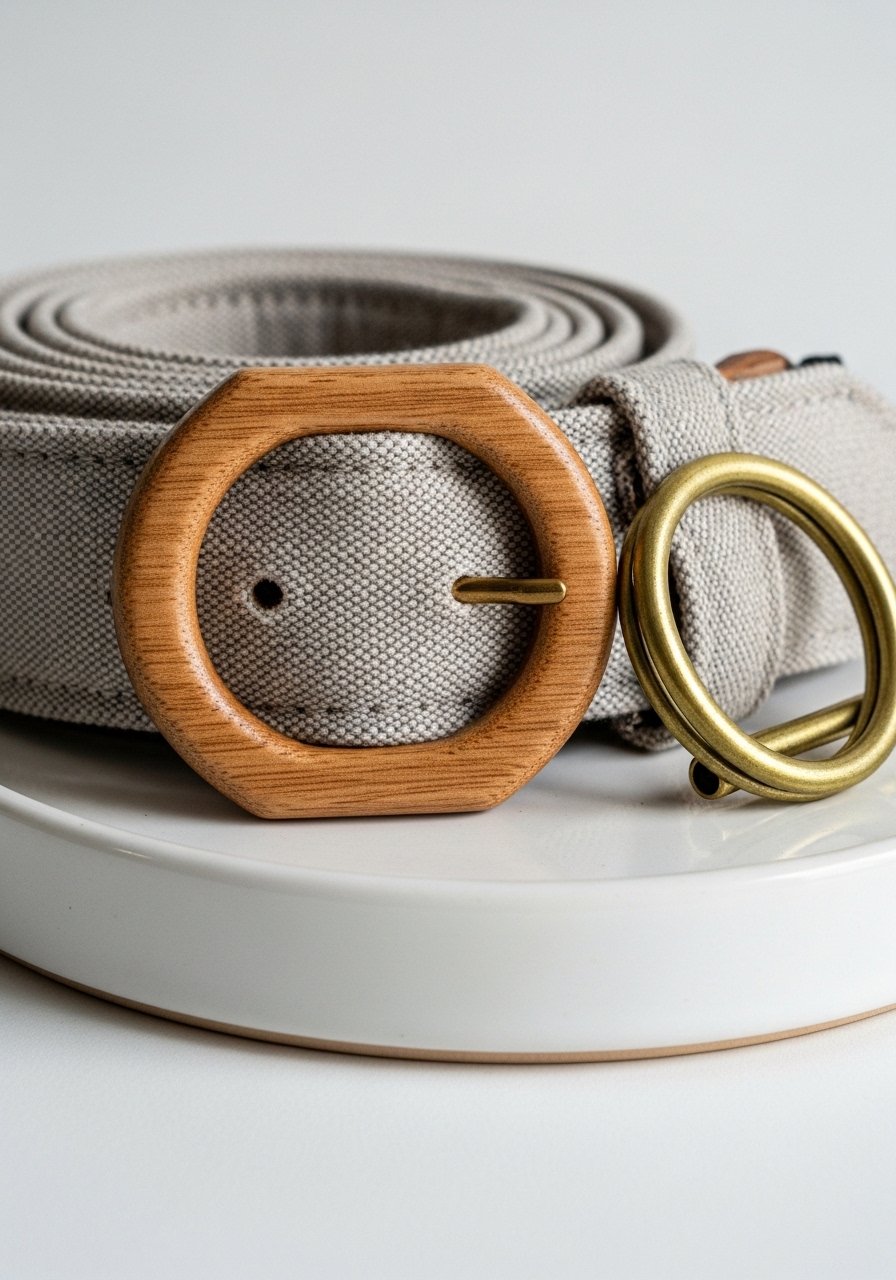
A fabric belt with a D-ring buckle is an easy wearable accessory. It practices finishing edges and working with hardware. The belt feels soft yet sturdy and pairs well with high-waist jeans or summer dresses.
Materials
- 1 fabric strip 40" x 3"
- 1 D-ring buckle set (2 rings)
- Matching thread, iron
- Clips, sewing machine
Instructions
- Fold lengthwise right sides together and sew along long edge with 1/4" seam.
- Turn right side out and press flat.
- Fold one end over through D-rings and stitch firmly with several passes.
- Topstitch along both long edges 1/8" from edge.
- Trim ends and tidy threads.
How to Display or Gift It
Roll and tie with a ribbon for gifting. Store hanging or in a small drawer organizer.
- Linen Napkin Rings (Sewn)

These linen napkin rings are elegant and quick. They teach small rectangle folding and topstitching. The finished texture reads farmhouse or japandi depending on color.
Materials
- 4 linen strips 5" x 3" each
- Matching thread
- Wooden beads or buttons (optional)
- Clips, iron, fabric glue (optional)
Instructions
- Fold each strip in half lengthwise and press.
- Open and fold raw edges to center, then refold and press again.
- Topstitch along both long edges 1/8" from edge.
- Sew ends together into a loop with a small 1/4" seam.
- Add a wooden bead or button decoration with hand-stitching if desired.
How to Display or Gift It
Bundle a set of four with napkins for a table-ready gift. Store flat to avoid creases.
- Fabric Cable Cord Organizer

This tiny organizer keeps cords tidy and practices snap installation and small-scale stitching. It’s a handy desktop accessory and a great quick sew.
Materials
- 1 fabric rectangle 7" x 4"
- 1/4" velcro or snap set
- Matching thread, scissors
- Ruler, clips
Instructions
- Fold fabric lengthwise right sides together and sew long edge with 1/4" seam.
- Turn and press.
- Fold into thirds and topstitch one short edge to form a pocket.
- Install snap or sew velcro pieces to close.
- Wrap cord and secure inside organizer.
How to Display or Gift It
Tuck into a tech gift box with a charging cable. Store in a drawer or bag.
- Fabric Headwrap Turban
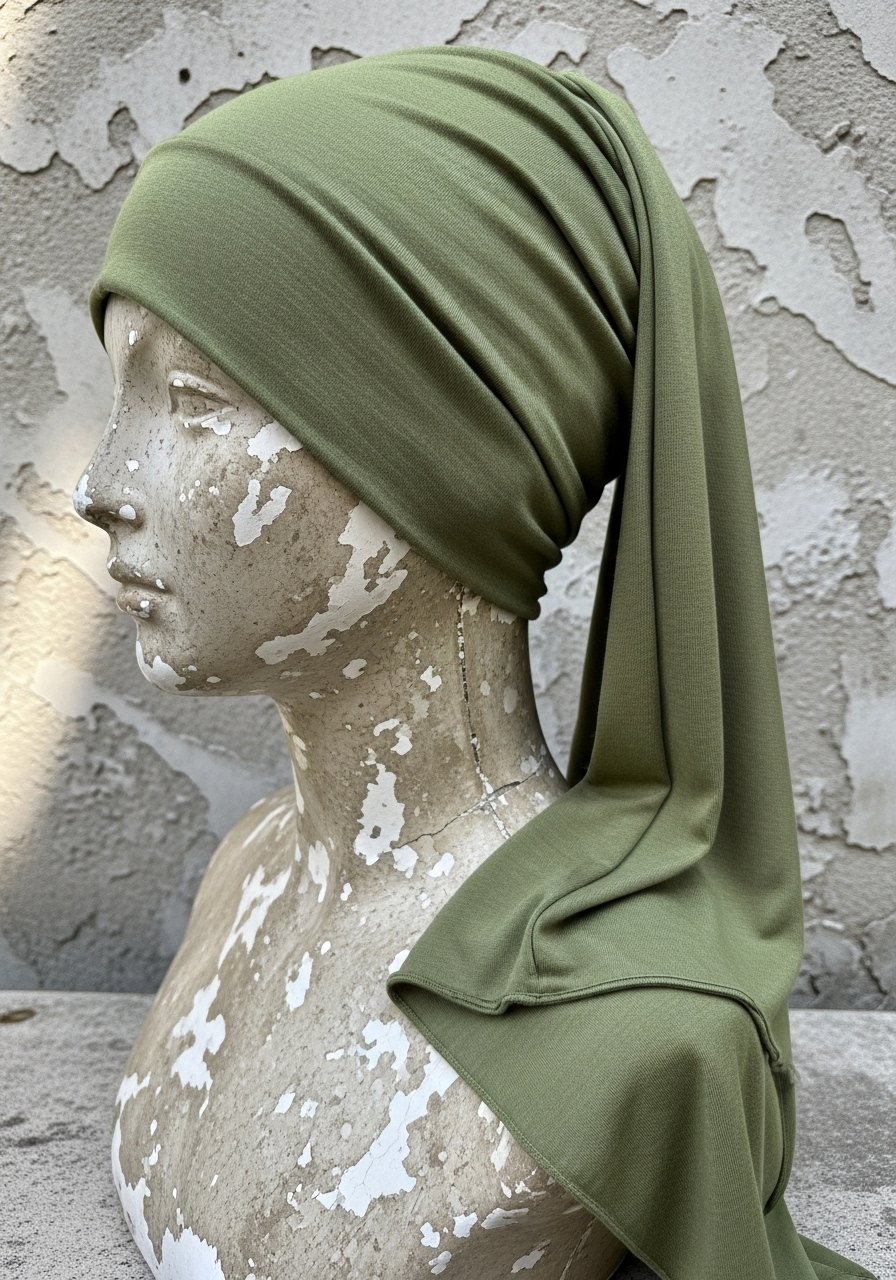
This no-pattern headwrap uses stretch jersey and a simple twist to create a turban-style look. You’ll learn to work with stretch fabrics and secure finishes. The wrap feels soft and comfortable on the head.
Materials
- 1 stretch knit rectangle 22" x 9"
- Matching thread (polyester blend)
- Overlocker/serger or stretch stitch on machine
- Scissors, clips, ballpoint needle
Instructions
- Fold fabric lengthwise right sides together and sew long edge using a stretch stitch.
- Turn right side out and press seam.
- Fold tube so seam is centered and twist tube into a figure-8.
- Sew the short ends together securely.
- Tuck seam into center and finish with a few hand stitches if needed.
How to Display or Gift It
Place on a small headform or wrap around a simple gift box. Store in a drawer with other knit accessories.
- Tea Towel with Hemmed Edge
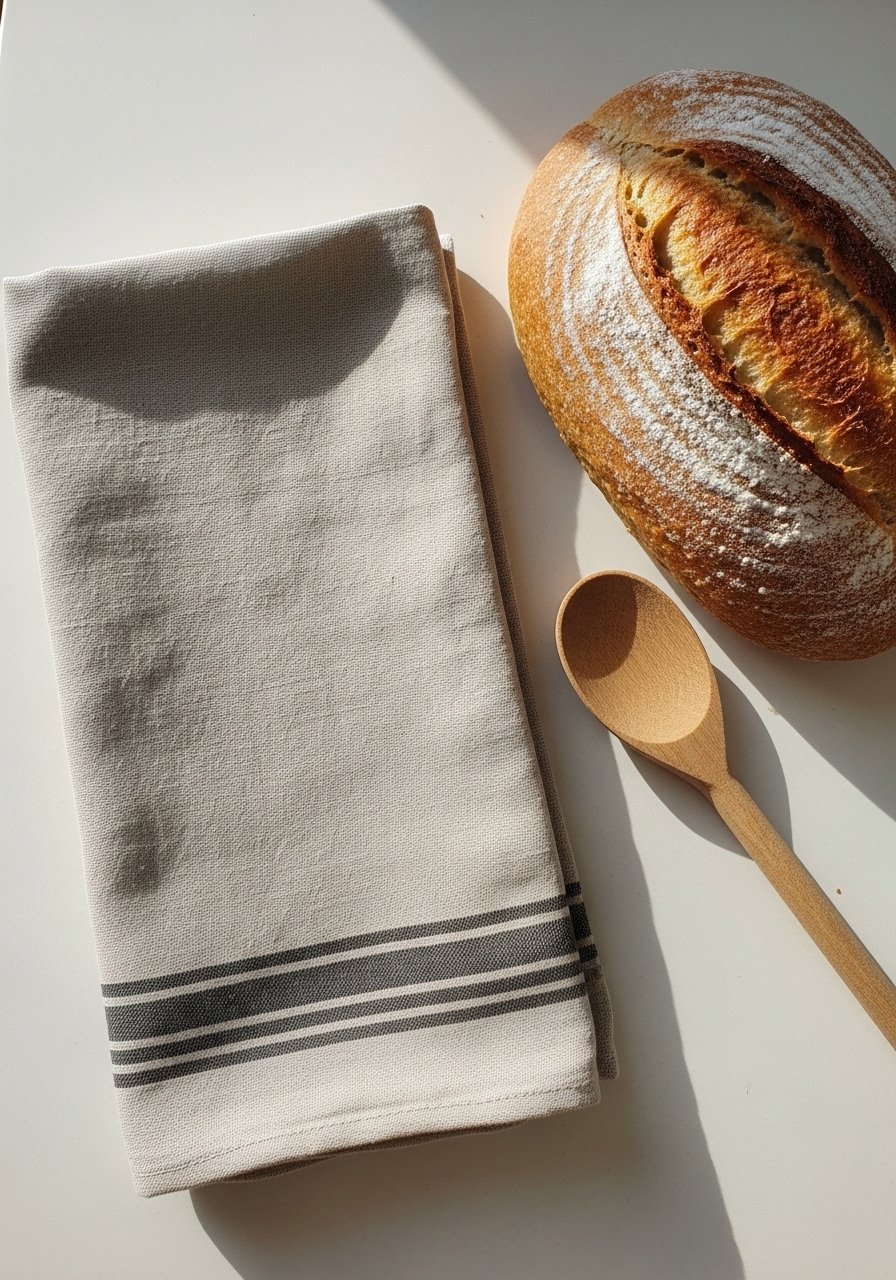
Sewing a hemmed tea towel teaches clean hems and measuring. Use linen or cotton for a farmhouse or japandi look. The towel feels soft after a wash and gets better with use.
Materials
- 1/2 yard linen or cotton, cut 18" x 28"
- Matching thread
- Iron, ruler, clips
- Sewing machine
Instructions
- Press a 1/4" hem and then 1/2" hem on all edges.
- Topstitch close to inner fold to secure the hem.
- Repeat for all sides, pressing as you go.
- Give a final press and launder to soften.
How to Display or Gift It
Roll the towel and tie with twine for gifting. Store folded in a kitchen drawer or hang from a peg.
- Minimalist Coin Clutch
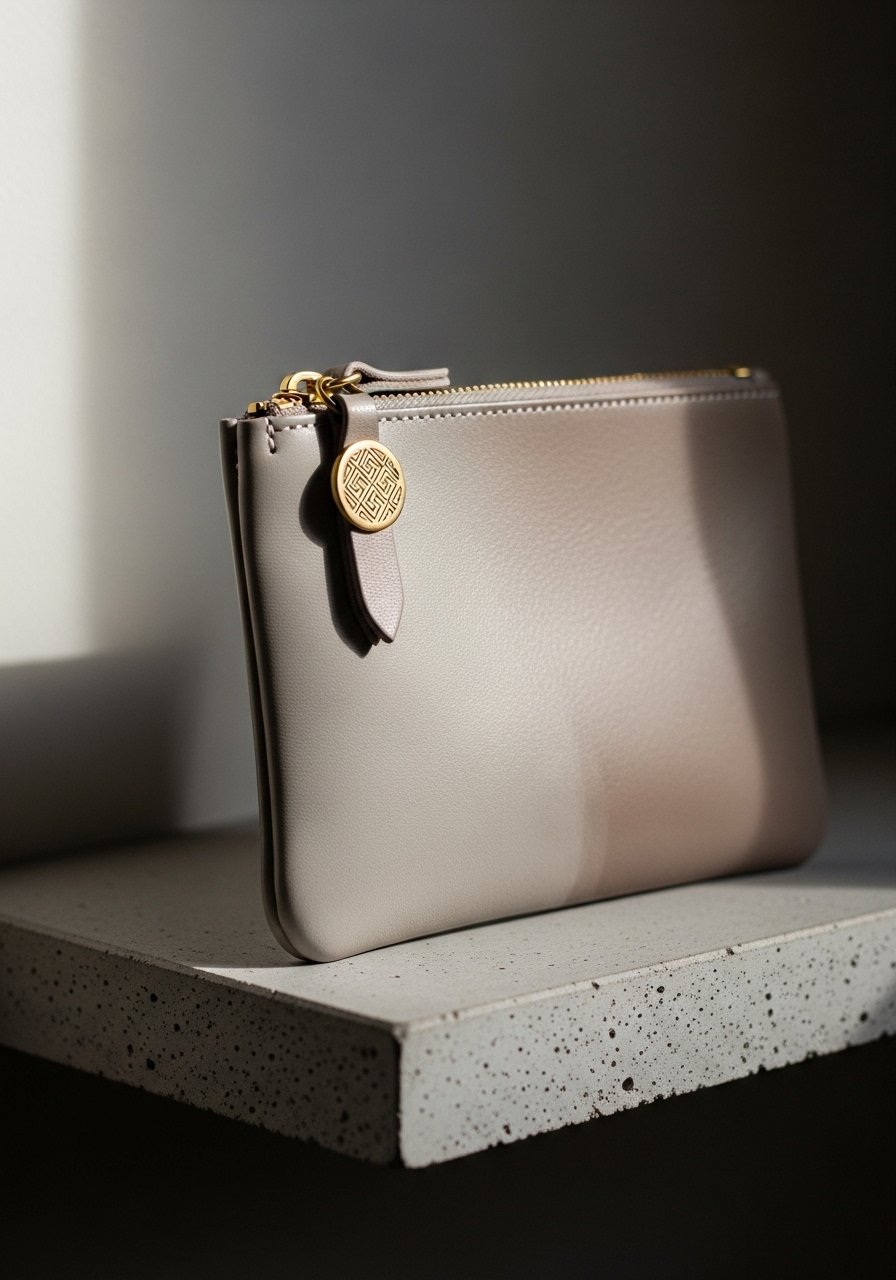
A minimalist coin clutch with a single zipper pocket is a modern accessory that’s easy to sew. It’s compact, wearable, and perfect for practicing precise seam allowances.
Materials
- 2 fabric panels 6" x 4"
- 1 5" zipper
- Fusible interfacing 6" x 4"
- Matching thread, clips
- Zipper foot
Instructions
- Fuse interfacing to exterior pieces.
- Install zipper as in other pouch projects.
- Sew around with 1/4" seam, leave lining gap to turn.
- Turn and press, stitch lining gap closed.
- Topstitch around outside for a crisp finish.
How to Display or Gift It
Slip in a small pair of earbuds or coins for gifting. Store in a small tray or handbag.
- Elastic Cuff for Sleeves (Fabric Bracelet)

This fabric cuff with elastic inside doubles as a wrist accessory and practices making casings and inserting elastic. It’s comfortable and versatile in fabrics from linen to upholstery scraps.
Materials
- 1 fabric strip 8" x 2"
- 1/2" elastic 3"
- Matching thread, snap or button for closure
- Clips, safety pin
Instructions
- Fold fabric lengthwise and sew long edge to make a tube.
- Turn right side out and press flat.
- Create a small casing at one end and insert elastic.
- Stitch elastic securely and close ends of the cuff.
- Add a snap or decorative button closure.
How to Display or Gift It
Attach to a small card with care instructions. Store in a jewelry drawer.
- Lined Makeup Brush Roll

A makeup brush roll organizes brushes and teaches pocket spacing and lining insertion. The roll feels tactile and looks crafted when brushes peek out of neatly sewn slots.
Materials
- Exterior fabric 18" x 10"
- Lining fabric same size
- Fusible interfacing 18" x 10"
- Ribbon or ties 20"
- Matching thread, clips
Instructions
- Fuse interfacing to exterior.
- Place exterior and lining right sides together and sew around leaving gap.
- Turn, press, then mark pocket widths (e.g., 1/2", 1", 1.5") and stitch vertical lines to form pockets.
- Fold bottom up to create flap and topstitch.
- Attach ties to sides and hand-stitch closed.
How to Display or Gift It
Roll with brushes inside and tie with ribbon. Store rolled in a drawer or makeup bag.
- Simple Fabric Head Bow

A fabric head bow attached to an alligator clip is a sweet accessory for kids and adults. It teaches neat folding and small hand finishing.
Materials
- 2 fabric rectangles 6" x 3"
- Alligator clip
- Matching thread, hot glue (optional)
- Needle for hand-stitching
Instructions
- Fold rectangles right sides together and sew long edge, turn and press.
- Gather center by wrapping a small strip of fabric and secure with hand stitches.
- Attach bow to clip with a few stitches or a dab of hot glue.
- Trim and tidy threads.
How to Display or Gift It
Attach to a small card for gifting. Store in a shallow box or hair accessory organizer.
- Iron-On Patch Pocket Tee (Sewn Pocket)

Sewing a pocket onto a tee is an easy way to personalize clothing and practice topstitching. Use fusible web first for placement confidence.
Materials
- 1 pocket piece 5" x 5"
- Fusible web strip
- T-shirt to attach to
- Matching thread, iron
- Ruler, clips
Instructions
- Press pocket edges under 1/4" on top and sides, leave bottom raw.
- Fuse pocket to tee with fusible web to hold in place.
- Topstitch down sides and across top with 1/8" seam.
- Optionally stitch a small decorative stitch across the top corner for reinforcement.
How to Display or Gift It
Gift a plain tee with a sewn pocket as a personalized present. Wash gently to preserve adhesion.
- Fold-Over Wallet with Card Slots

This compact wallet practices sewing thin layers and creating card slots. It’s useful for carrying a few cards and some cash.
Materials
- Exterior fabric 8" x 6"
- Fusible interfacing 8" x 6"
- 3 small interior card pocket pieces 3.5" x 3" each
- Matching thread, snaps or button closure
- Clips, iron
Instructions
- Fuse interfacing to exterior.
- Hem top edge of each card pocket and stitch to interior panel spaced evenly.
- Fold exterior into wallet shape and sew bottom and side seams.
- Install snap or button for closure.
- Press and test card fit.
How to Display or Gift It
Slip into a small gift box with a matching fabric key fob. Store flat to keep card slots crisp.
- Fabric Corduroy Ear Warmer
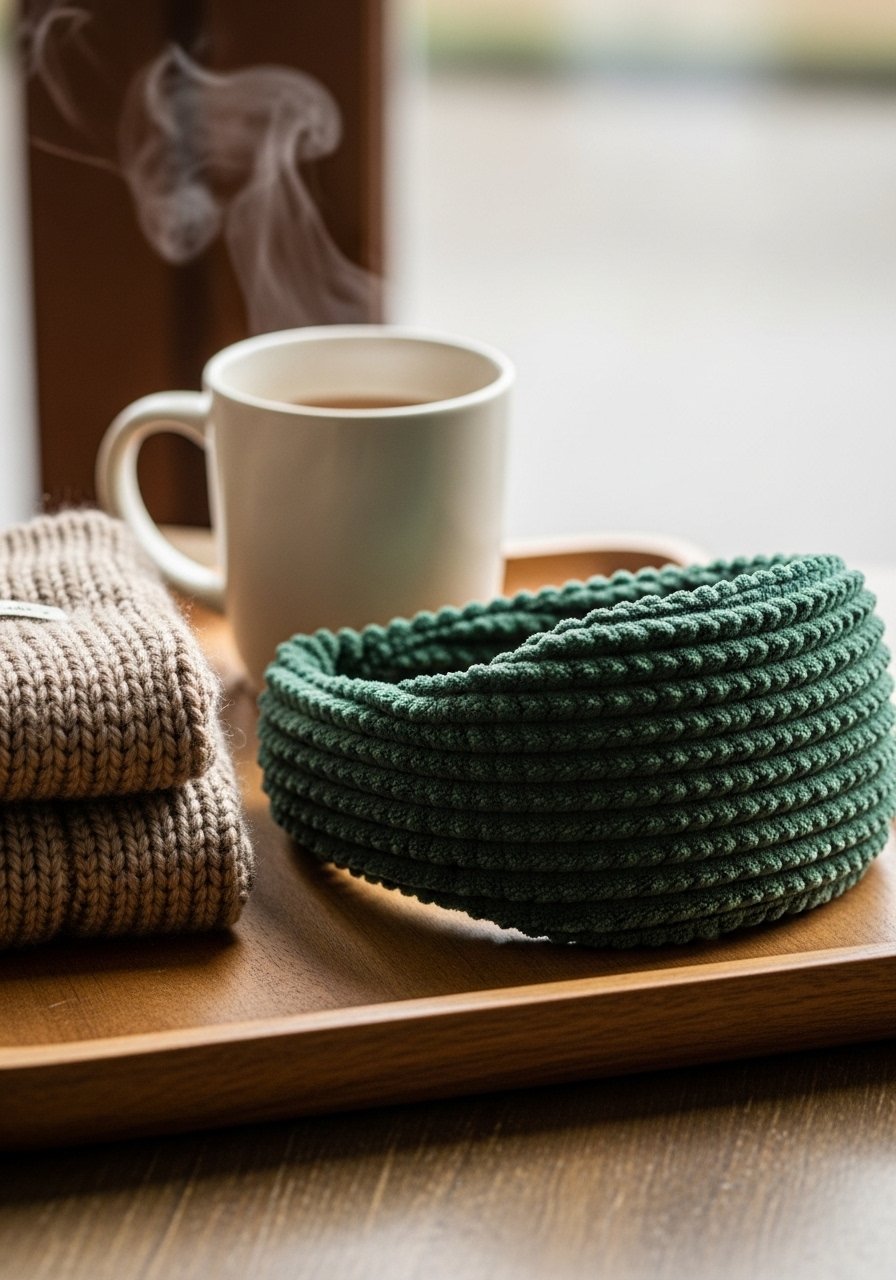
An ear warmer with corduroy or fleece lining is warm and quick. Sewing through thicker fabrics helps you learn to adjust stitch length and needle type.
Materials
- 1 fabric strip 20" x 4" (corduroy)
- 1 lining strip 20" x 4" (fleece)
- Thread, ballpoint or denim needle depending on fabric
- Clips, scissors
Instructions
- Place right sides together and sew long edge.
- Turn right side out and press seam towards lining.
- Fold ends and sew short ends together to make a loop.
- Turn seam to inside and add a few topstitches to secure.
- Try on and adjust width by re-sewing if needed.
How to Display or Gift It
Wrap in tissue and present with a small sachet of lavender. Store folded in a knitwear drawer.
- Simple Phone Sleeve
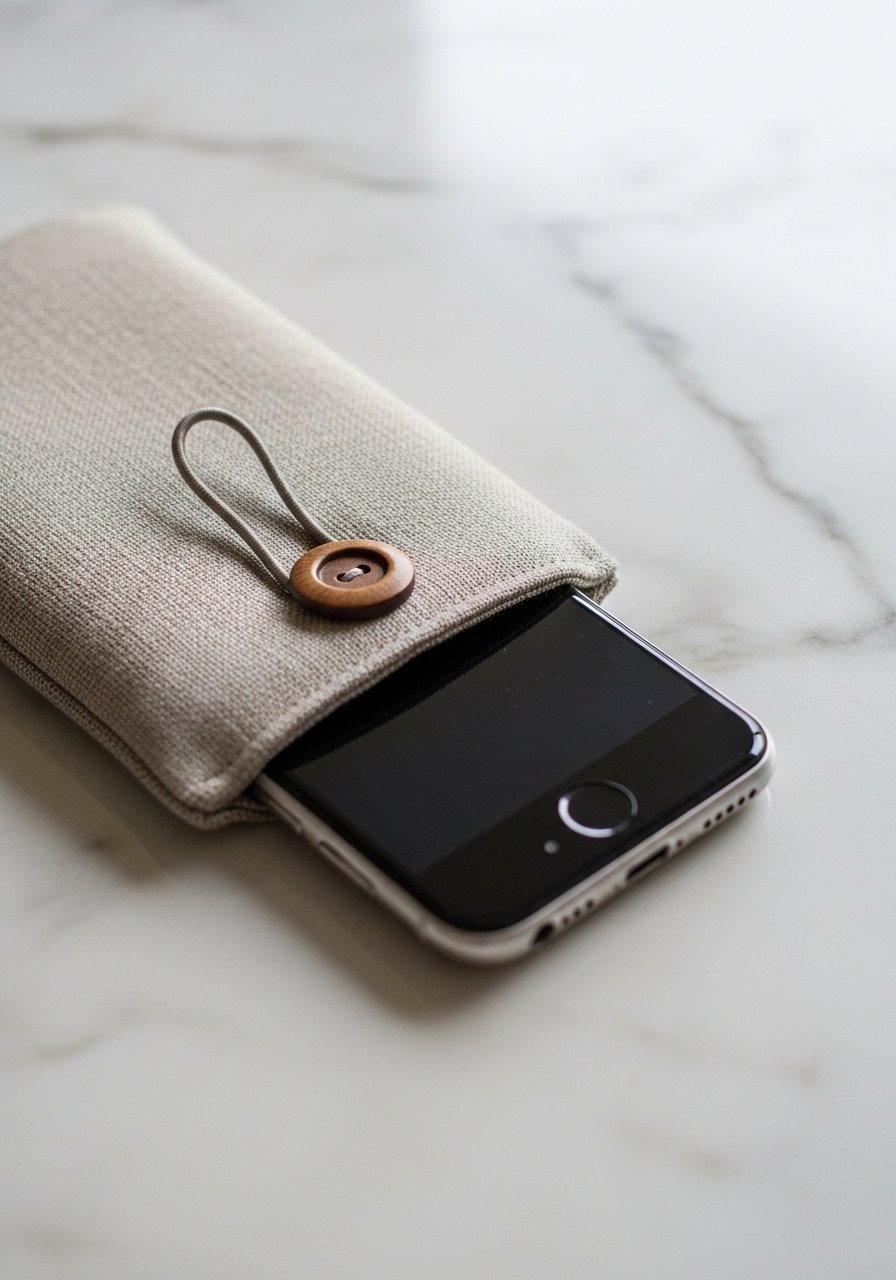
A phone sleeve helps practice measuring and creating snug fitted cases. Add a button loop for secure closure. Make sure to fit for your specific device.
Materials
- 2 fabric pieces sized to device + 1/2" seam (e.g., phone height + 1")
- Fusible interfacing for padding
- Elastic loop 2"
- Button, thread, clips
Instructions
- Measure phone and add 1/2" on all sides; cut two pieces.
- Fuse interfacing to one piece for padding.
- Sew right sides together on three sides leaving top open.
- Turn and stitch top hem and attach elastic loop with a small bartack.
- Try phone for fit and adjust if necessary.
How to Display or Gift It
Slide in a phone and pair with a small wireless charger for gifting. Store in a tech drawer.
- Reusable Produce Bag (Mesh or Cotton)

Reusable produce bags are eco-friendly and quick to sew. They teach simple casing and working with lightweight fabrics. The finished bag feels airy and practical at the market.
Materials
- 1 cotton or mesh rectangle 18" x 16"
- 1/4" cord 28"
- Fusible hem tape (optional), thread, clips
Instructions
- Fold fabric right sides together and sew side and bottom seams with 1/4" seam.
- Hem top by folding 1/4" then 1" to make a casing.
- Insert cord through the casing using a safety pin.
- Knot ends and finish with a small bead to keep cords from slipping.
- Wash before first use; line-dry.
How to Display or Gift It
Bundle a set of three and tie with a cotton ribbon for gifting. Store folded in a kitchen drawer.
- Simple Fabric Luggage Tag

A fabric luggage tag protects your contact info and introduces you to working with small hardware. Add a clear sleeve for a polished traveler look.
Materials
- Exterior fabric 5" x 3.5"
- Thin batting 5" x 3.5"
- Clear plastic sleeve (business card size), strap or leather loop
- Matching thread, clips
Instructions
- Layer fabric and batting, sew around leaving 1" gap.
- Turn and topstitch around the edge.
- Insert plastic sleeve and stitch a small slot for it if needed.
- Attach strap through a reinforced hole and sew multiple passes.
How to Display or Gift It
Attach to a small travel kit or passport cover. Store with travel accessories.
- Soft Fabric Coasters (Set of 4)
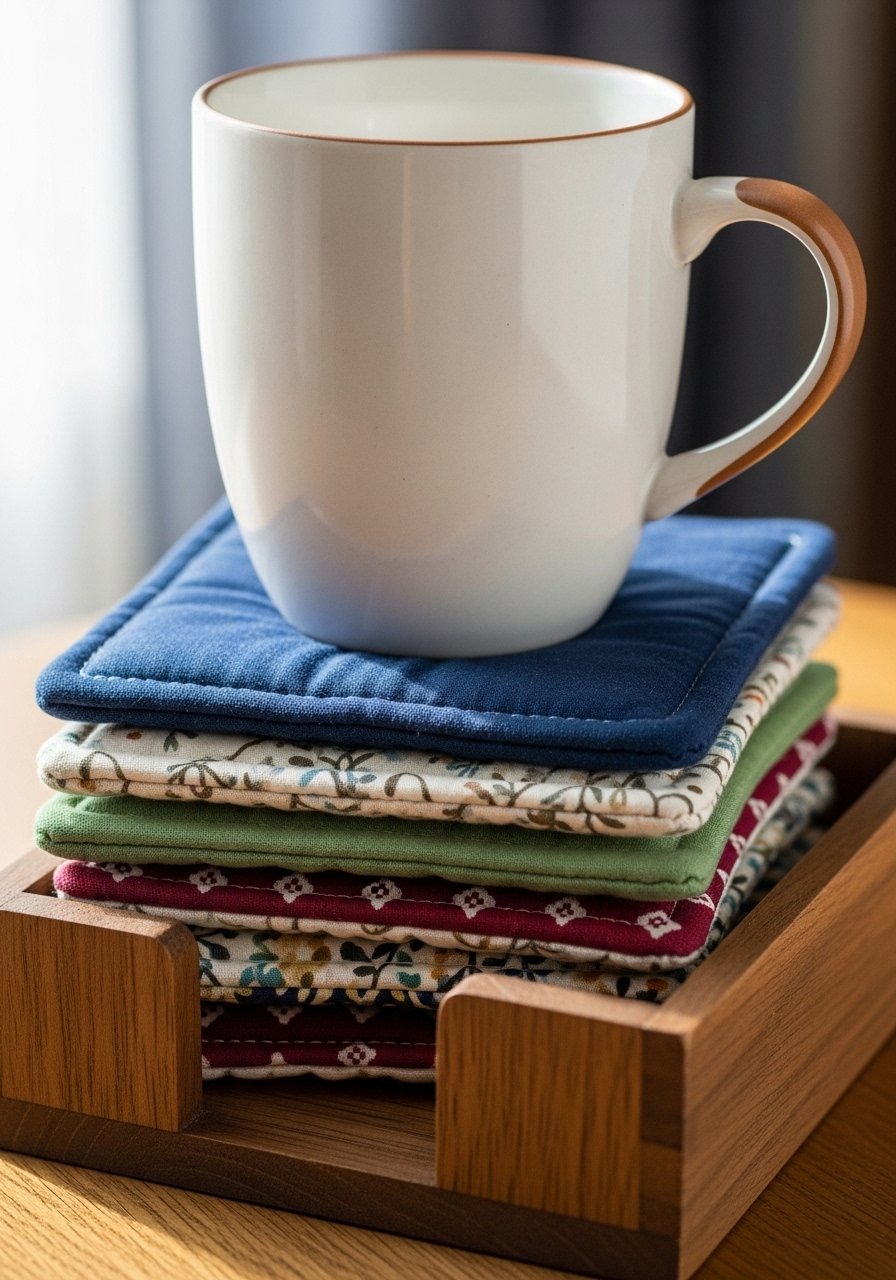
Quilted fabric coasters are practical and great for practicing patchwork, batting, and quilting lines. They’re absorbent and attractive on a coffee table.
Materials
- 4 coaster tops 4.5" x 4.5"
- 4 batting squares 4.5" x 4.5"
- Matching thread, rotary cutter, ruler
- Clips, iron
Instructions
- Layer top, batting, and backing, and pin.
- Quilt straight lines 1/2" apart or free-motion if confident.
- Trim edges and bind with 1/2" bias binding or fold-over finish.
- Press and topstitch final edges.
How to Display or Gift It
Stack and tie with a ribbon for gifting. Store flat to keep shape.
- Boho Macramé Keychain with Fabric Tassel
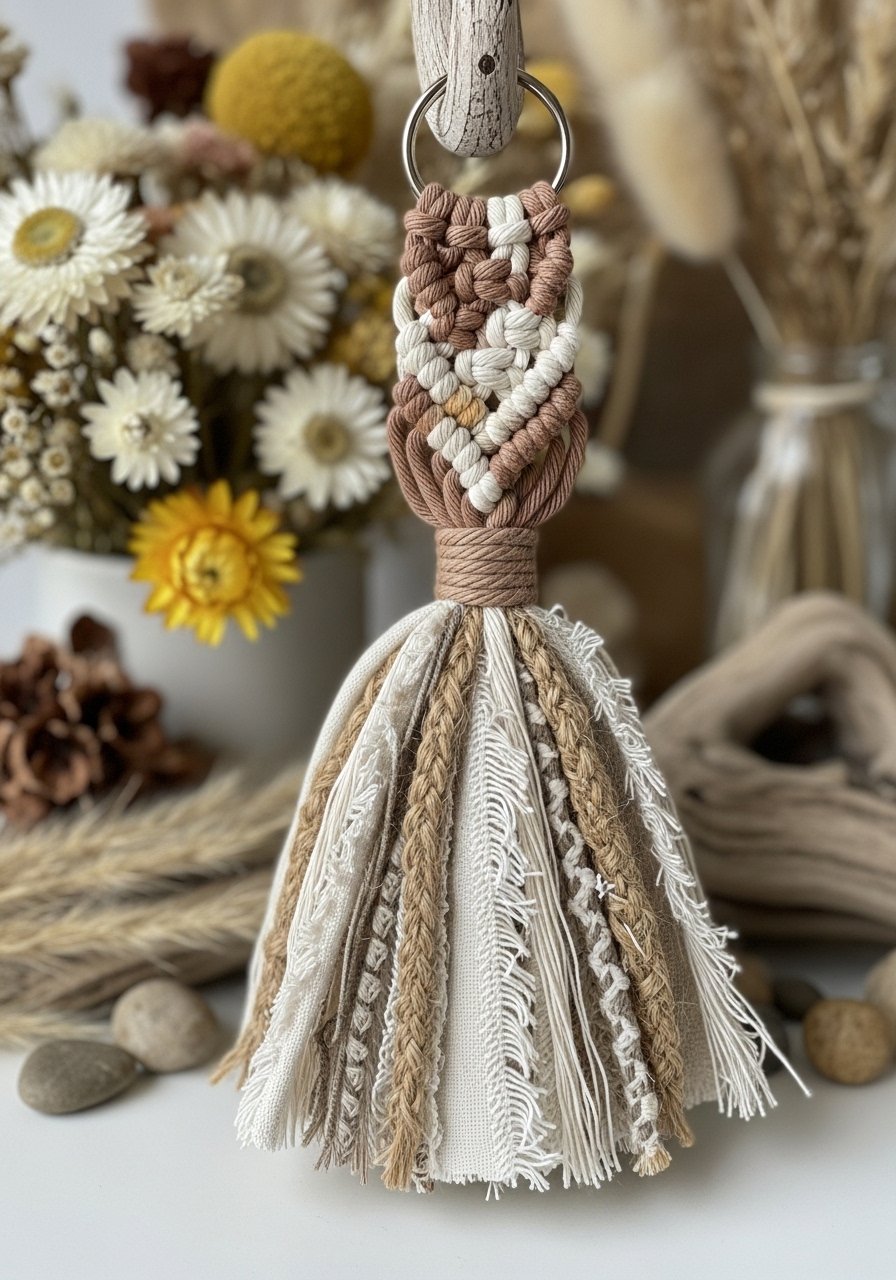
Combine simple macramé knots with a sewn fabric tassel to make a boho-style keychain. This project introduces knotting and small sewing finishes.
Materials
- Macramé cord 3mm, 12" total
- Fabric scrap for tassel 6" x 3"
- Keyring, scissors, ruler
- Fabric glue (optional)
Instructions
- Fold cords in half and form a lark’s head knot around keyring.
- Work square knots until desired length (~2").
- Make a fabric tassel by folding and wrapping a small strip; secure with glue or stitches.
- Attach tassel to macramé with a small knot or wrap.
- Trim ends evenly.
How to Display or Gift It
Attach to a bag zipper or gift with a small charm. Store on a hook or in a small drawer.
- Pocket-Sized Hand Warmer (Microwaveable)

A microwaveable hand warmer filled with rice and dried lavender makes a comforting seasonal accessory. Sewing small closed seams and filling evenly teaches you control of small projects.
Materials
- 1 fabric rectangle 6" x 6"
- 1/2 cup uncooked rice (per warmer) mixed with 1 tbsp dried lavender
- Thread, funnel or paper cone
- Clips, sewing machine
Instructions
- Fold fabric right sides together and sew three sides with 1/4" seam, leaving one short side open.
- Turn right side out and press.
- Use a funnel to pour rice-lavender mix inside, filling to about 3/4 full.
- Hand-stitch the open edge closed with a ladder stitch.
- Microwave for 30–45 seconds to warm; test temperature before use.
- Store in a dry place; do not overheat.
How to Display or Gift It
Pair with a small tin of tea for a cozy gift. Store in a drawer until needed and reheat in short bursts.
Thanks for sticking with me through 30 approachable, stylish sewing projects for beginners accessories. Between scrunchies, pouches, and wearable pieces, you’ve got options to practice straight seams, zipper insertion, working with interfacing, and finishing tiny items. Pin this list for later and try one project each weekend — you’ll build skills quickly and have beautiful handmade accessories to keep or gift.
If one tool makes a lot of these easier, it’s a reliable sewing machine with a zipper foot and a selection of needles; I use mine for almost everything. Happy stitching — which project will you try first?





