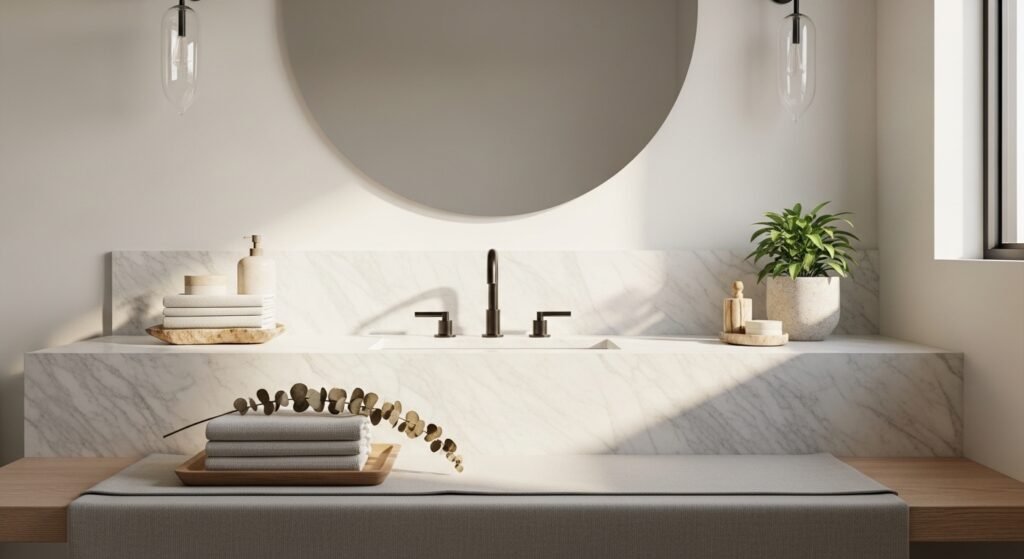
You probably spend more time in your bathroom than you admit — quick morning routines, late-night skincare, the one quiet space in a busy home. These bathroom remodel ideas are designed so you can refresh the room without gutting the whole place. Each project is practical, modern, and approachable whether you rent or own.
Inside you'll find easy updates from a peel-and-stick tile accent to a painted vanity, plus a few luxe-feeling upgrades like a resin shower niche and a terrazzo-style floor paint. The projects cover styles people search for now—Japandi calm, warm farmhouse, minimal modern, and relaxed boho—so you can pick what fits your vibe. I start many small updates with a roll of painter's tape and a foam brush; those two items make so many finishes crisp and clean. Grab a small heat gun if you plan to smooth paint or resin pieces—it's my quick fix for bubbles and drips. Foam brushes and a detail heat gun will speed up most of these projects.
Ready to pin your favorites? Each idea below includes a clear materials list, step-by-step instructions with drying times, and display tips so your bathroom feels intentional and calm.
- Fresh White Paint + Trim Upgrade

A new coat of paint is the fastest bathroom remodel idea for visible impact. Swap dingy eggshell for a clean, low-sheen white and repaint the trim in a slightly brighter white for contrast. The finish looks smooth and modern and brightens small spaces instantly. This is great for beginners and renters (use removable paint-safe caulk where needed). Use a quality angled brush for trim lines for that professional edge.
Materials
- 1 quart low-VOC eggshell or satin wall paint (white)
- 1 pint semi-gloss trim paint (bright white)
- 3/4 in angled sash brush
- 2 in foam roller and tray
- 1 roll painter's tape (1.41 in)
- Sandpaper 120 grit, 1 sheet
- All-purpose cleaner and rags
- Putty knife and spackling paste (4 oz)
Instructions
- Clean surfaces with all-purpose cleaner; remove soap scum and dust. Let dry 30 minutes.
- Fill nail holes with spackling paste; sand smooth after it dries (15–30 minutes).
- Apply painter's tape along trim edges. Sand lightly to key the surface for paint.
- Prime any repaired spots if raw wood is exposed; allow 1 hour to dry.
- Roll two thin coats of wall paint, allowing 2 hours between coats. Aim for full, even coverage.
- Paint trim with semi-gloss using the angled sash brush. Apply 2 coats, 1 hour dry between coats.
- Remove tape after final coat is tacky but not fully cured (10–15 minutes) for a crisp line.
How to Display or Gift It
- Style with a black metal towel hook to show the new trim contrast. A small craft organizer keeps paint tools tidy for next time.
- Replace dated outlet covers with new white ones for a seamless look.
- This is a great first project to make before selling or staging a bathroom.
- Store leftover paint in a sealed quart tin in a cool spot for touch-ups.
- Peel-and-Stick Tile Backsplash (Subway or Herringbone)

Peel-and-stick tiles make one of the most satisfying bathroom remodel ideas for renters or weekend warriors. They mimic ceramic subway tile or patterned herringbone without mortar. The stick-on sheets feel slightly textured and give depth to a vanity wall. Perfect for renters, renters-turned-homeowners, or anyone avoiding a big tile job.
Materials
- 6–12 sheets peel-and-stick subway tile (12 x 12 in sheets) depending on wall size
- Measuring tape and pencil
- Utility knife with fresh blade
- 2 in foam roller to press tiles
- Rubbing alcohol and microfiber cloth
- Painter's tape for layout
- Straightedge metal ruler
Instructions
- Clean wall with rubbing alcohol; let dry 30 minutes.
- Measure and mark layout with pencil. Dry-fit sheets before peeling.
- Peel backing, align the sheet, and press at the top. Smooth with a foam roller to remove bubbles.
- Trim excess with a utility knife along a straightedge.
- For seams, overlap per manufacturer instructions or butt edges tightly.
- Wait 24 hours before exposing to water or steam.
How to Display or Gift It
- Pair with matte black or brass faucet hardware for contrast.
- Use a small silicone caulk bead (clear) at the bottom edges for added water resistance.
- These sheets can be removed and reused in some cases; keep extras in a flat craft organizer.
- Package a small sample sheet and instructions as a housewarming gift for a DIY friend.
- Open Floating Shelves from Reclaimed Wood

Floating shelves add storage and interest without crowding a small bathroom. Reclaimed wood brings warm texture that teams well with Japandi or farmhouse styles. This is a straightforward build if you cut to size and use concealed brackets for that “floating” look.
Materials
- 2 shelves cut to desired length from reclaimed wood (24–36 in each)
- 2 floating shelf brackets per shelf (heavy-duty)
- 1 can clear matte polyurethane (8 oz) or tung oil
- Sandpaper 80 and 220 grit
- Stud finder, drill, and level
- 3 in wood screws and anchors
Instructions
- Sand wood with 80 grit to remove rough spots, then finish with 220 grit for smoothness.
- Apply 1–2 coats of tung oil or polyurethane; allow 4 hours between coats. Cure 24 hours.
- Find studs and mark bracket placement with a level; drill pilot holes.
- Screw brackets into studs or use anchors for hollow walls.
- Slide shelf onto brackets and secure underneath with short screws.
- Check level and weight capacity before styling.
How to Display or Gift It
- Style with small ceramic planters and folded towels for a spa feel.
- Add jarred cotton balls and a small tray for soap.
- If gifting, wrap with kraft paper and tie with jute for a rustic touch.
- Store extra brackets and screws in a small craft organizer.
- Vanity Repaint + New Hardware Swap

Repainting the vanity and swapping old hardware is one of the highest-impact bathroom remodel ideas for low cost. A bold color like navy or forest green modernizes a plain vanity. Swapping to slim brushed brass or matte black pulls gives a boutique-hotel feel.
Materials
- 1–2 quarts furniture/chalk paint (depending on vanity size)
- 6–12 cabinet pulls or knobs (measure your center-to-center)
- Screwdriver, drill, and mask
- 120 & 220 grit sandpaper
- Degreaser and tack cloth
- Clear protective wax or poly (8 oz)
- Painter's tape
Instructions
- Remove hardware and label pieces. Clean surfaces with degreaser; dry.
- Sand lightly with 120 grit to scuff finish; wipe with tack cloth.
- Apply 2 thin coats of furniture paint, 2 hours between coats.
- After final coat, apply clear wax or poly; let cure 24 hours.
- Drill new holes if changing hardware spacing. Install new pulls.
- Reattach drawers and check alignment.
How to Display or Gift It
- Finish with a new vanity mirror and small tray for perfumes.
- Consider pairing with a set of linen hand towels folded on the counter.
- Wrap replacement hardware and extra screws in a small hardware organizer for future moves.
- Subway Tile Accent Wall — Classic Tile Bathroom Remodel Ideas

A subway tile accent wall is one of the bathroom remodel ideas that ages well. Using contrasting grout creates a graphic grid, or choose matching grout for a cleaner look. This project assumes you’re tiling one wall only — a doable weekend project with basic tile tools.
Materials
- 15–30 sq ft subway tile (3×6 in) depending on wall
- Thin-set mortar (1 bag)
- Tile spacers, tile cutter or wet saw
- Grout (1–2 lbs), choose sanded or unsanded per joint width
- Grout sealer (4 oz)
- Notched trowel, sponge, and bucket
- Level and measuring tape
Instructions
- Measure wall and buy 10% overage. Prep wall: remove trim and clean surface.
- Mix thin-set per directions. Spread with notched trowel and set tiles using spacers.
- Cut tiles as needed with tile cutter. Allow thin-set to cure 24 hours.
- Mix grout and press into joints. Wipe excess with sponge. Allow grout to set 20–30 minutes before final clean.
- Seal grout after 48 hours with grout sealer; allow 24 hours cure.
- Reinstall trim and caulk edges with silicone for waterproofing.
How to Display or Gift It
- Pair with a floating shelf or sconce mounted on the tile.
- A small tub tray or brass soap pump complements subway tile.
- Store leftover grout and a spare tile in a sealed box for future repairs.
- Frameless Mirror + Slim Wood Frame DIY

Framing a frameless mirror makes it look custom and expensive. A slim wooden frame adds warmth for Japandi or farmhouse looks. This is a neat trick when your original mirror is fine but the edges are plain.
Materials
- 1 frameless mirror (existing)
- 4 strips of wood trim (1 x 1/2 in) cut to size
- Wood glue and small brad nails
- Finish: tung oil (2 oz) or matte polyurethane
- Mirror mounting clips or mirror adhesive
- Miter saw or miter box and saw
Instructions
- Cut trim to size with mitered corners. Sand and finish with tung oil; allow 2 hours between coats.
- Assemble the frame with wood glue and brad nails; let glue cure 1 hour.
- Attach frame around mirror with small mirror clips or apply mirror adhesive in dots.
- Rehang mirror, ensuring secure mounting for weight.
- Polish edges and touch up finish if needed.
How to Display or Gift It
- A framed mirror pairs well with brass or black wall sconces.
- Gift as a custom upgrade: include a small bottle of tung oil and finishing cloth in a kraft box.
- Store extra trim pieces flat in a craft organizer until needed.
- Macramé Plant Hanger for Bathroom Greenery

Adding plants is one of my favorite bathroom remodel ideas because greenery softens tile and adds life. A macramé hanger gives height and texture. Use moisture-loving plants like pothos or fern to thrive in the humidity.
Materials
- 3mm cotton macramé cord, 50 ft total (single-strand)
- 1 wooden ring (2 in)
- 1 small ceramic pot (3–4 in)
- Scissors and tape measure
- Beads (optional), 12 mm wooden, 4 pcs
Instructions
- Cut 8 lengths of cord at 6 ft each. Fold in half and loop through the wooden ring.
- Create square knots in pairs about 6 in from the ring.
- Add beads if desired, then finish with a gathering knot 4 in above base.
- Trim fringe evenly. Place pot in the hanger and adjust knot spacing.
- Hang from a ceiling hook rated for at least 50 lb.
How to Display or Gift It
- Hang near indirect light and pair with a small bamboo mat on the vanity.
- Gift with a small pothos and care instructions in a kraft bag.
- Store extra cord wrapped in a small craft storage tub.
- Regrout and Seal for Clean Tile Lines

Old grout stains make any bathroom look dated. Regrouting and sealing is a cost-effective bathroom remodel idea that brightens grout lines and prevents future mold. This is excellent for showers and floors with cracked or discolored grout.
Materials
- Grout removal tool (manual or oscillating tool with grout blade)
- 1–2 lbs grout (color of choice)
- Grout float, sponge, and bucket
- Grout sealer (4 oz)
- Protective gloves and mask
Instructions
- Remove old grout with a grout removal tool, working carefully to avoid tile edges.
- Clean joints and vacuum debris. Wipe with damp cloth and allow to dry 24 hours.
- Mix grout and apply with float at a 45-degree angle. Press firmly into joints.
- Wipe excess with damp sponge. Allow grout to set 20–30 minutes before final wash.
- Let grout cure 48–72 hours before sealing.
- Apply grout sealer with a small brush; allow 24 hours to cure.
How to Display or Gift It
- After sealing, add a coordinating bath mat and new soap dispenser.
- Keep an emergency grout repair kit in a small hardware organizer.
- This refresh makes tile surfaces look nearly new without full replacement.
- Removable Wallpaper Accent (Peelable)

Removable wallpaper adds pattern and personality without permanence. It’s one of the trend-forward bathroom remodel ideas for renters or those who like seasonal changes. Pick a moisture-resistant peelable paper for near-sink locations.
Materials
- 1–3 rolls removable peel-and-stick wallpaper (measure wall first)
- Smoothing tool or brayer roller
- Utility knife and straightedge
- Rubbing alcohol and cloth for surface prep
- Seam roller (optional)
Instructions
- Clean wall with rubbing alcohol and let dry 30 minutes.
- Measure and mark vertical strips. Align pattern carefully on each strip.
- Peel backing, apply at the top and smooth with a brayer roller to remove air pockets.
- Trim excess at edges with a utility knife.
- Use a seam roller on overlaps for a crisp seam.
- Allow adhesive to set 24 hours before exposing to steam.
How to Display or Gift It
- Pair with simple white or wood-framed mirror to let pattern shine.
- Swap wallpaper seasonally; roll and store unused strips in a flat box.
- Gift a small sample roll with a smoothing tool set in a small kit.
- DIY Barn Door for Bathroom Entrance

A sliding barn door adds rustic charm and saves floor space in small bathrooms. Choose a soft-close track to avoid slamming. This project can be scaled: buy a pre-made slab or build from a plywood panel and trim.
Materials
- 1 barn door slab (pre-made or DIY, 30–36 in wide)
- 1 sliding barn door hardware kit (soft-close)
- Sawhorses, drill, and level
- 1 can finish (stain or paint) and brush
- Door handle set and floor guide
Instructions
- Measure door opening and buy or cut a door 1–1.5 in wider than the opening.
- Finish door with stain or paint; allow 24 hours cure.
- Install top track per kit instructions and anchor to studs.
- Hang door on rollers and test movement. Install floor guide to prevent swinging.
- Install handle and bumpers.
- Check alignment and adjust roller height if needed.
How to Display or Gift It
- A barn door pairs well with woven bath mats and amber glass storage jars.
- If gifting, include a small hardware kit and installation guide.
- Keep extra track parts in a labeled box for repairs.
- DIY Soap & Counter Trays in Epoxy Resin
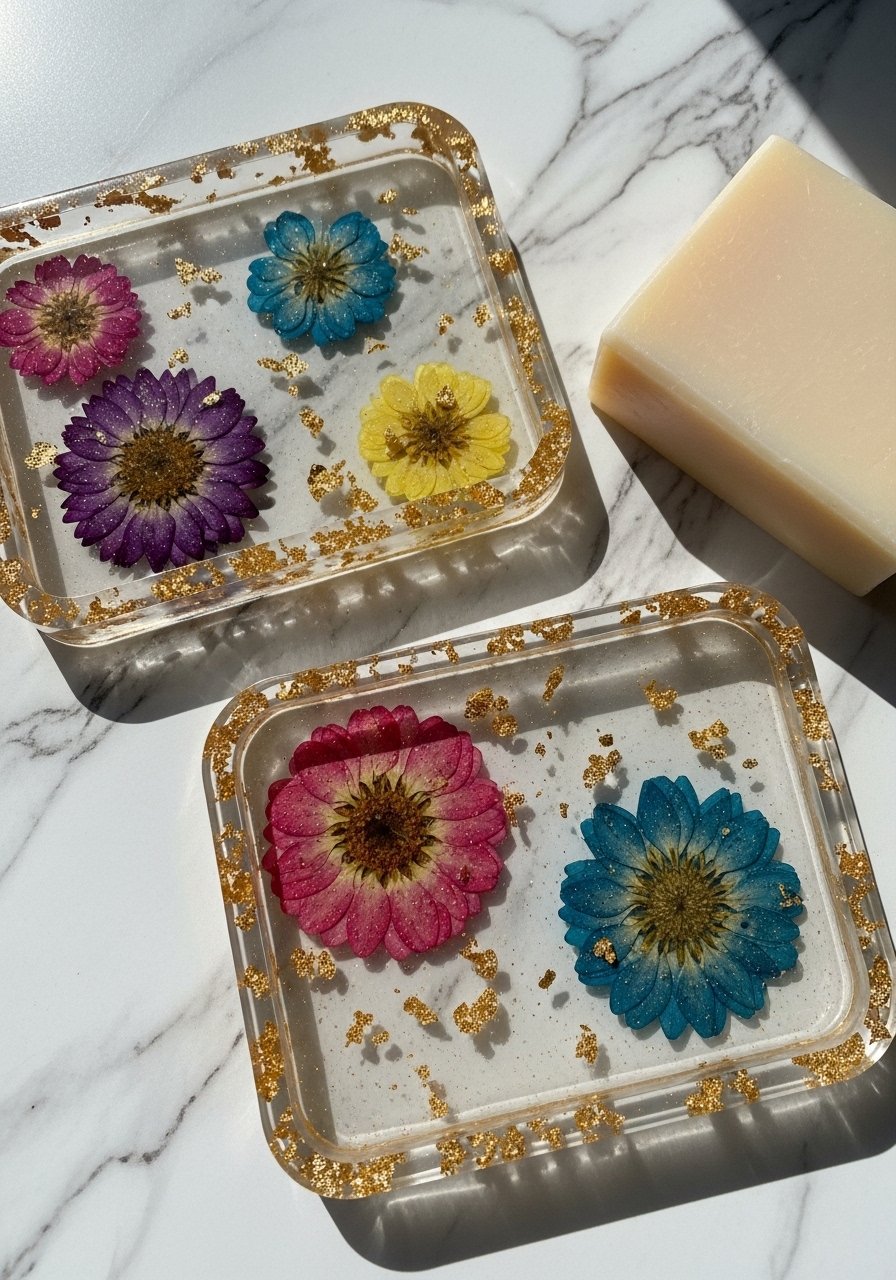
Resin trays are a small, high-impact bathroom remodel idea to give counters a designer touch. Use silicone molds and food-safe epoxy for pieces near sinks. Embedded touches like shells, gold leaf, or dried botanicals add texture and color.
Materials
- Epoxy resin kit (2-part, 16 oz)
- Silicone molds for trays (6 x 4 in)
- Dried flowers, gold leaf flakes, or pigments
- Mixing cups and stir sticks
- Detail torch or heat gun to remove bubbles
- Nitrile gloves and respirator mask
Instructions
- Read resin instructions carefully and work in a ventilated area.
- Mix resin and hardener per kit ratios. Stir slowly for 3–5 minutes.
- Pour a base layer into the mold, add decoration, then top with remaining resin.
- Use a heat gun for 5–10 seconds to pop bubbles.
- Allow to cure 24–48 hours before demolding. Full cure often 72 hours.
- Sand edges if needed and polish.
How to Display or Gift It
- Place a resin tray on the vanity for soap or jewelry.
- Wrap trays in tissue and kraft boxes for easy gifting.
- Store silicone molds flat and label pigment containers in a small craft organizer.
- Budget Bathroom Remodel Ideas: Swap Fixtures on a Weekend
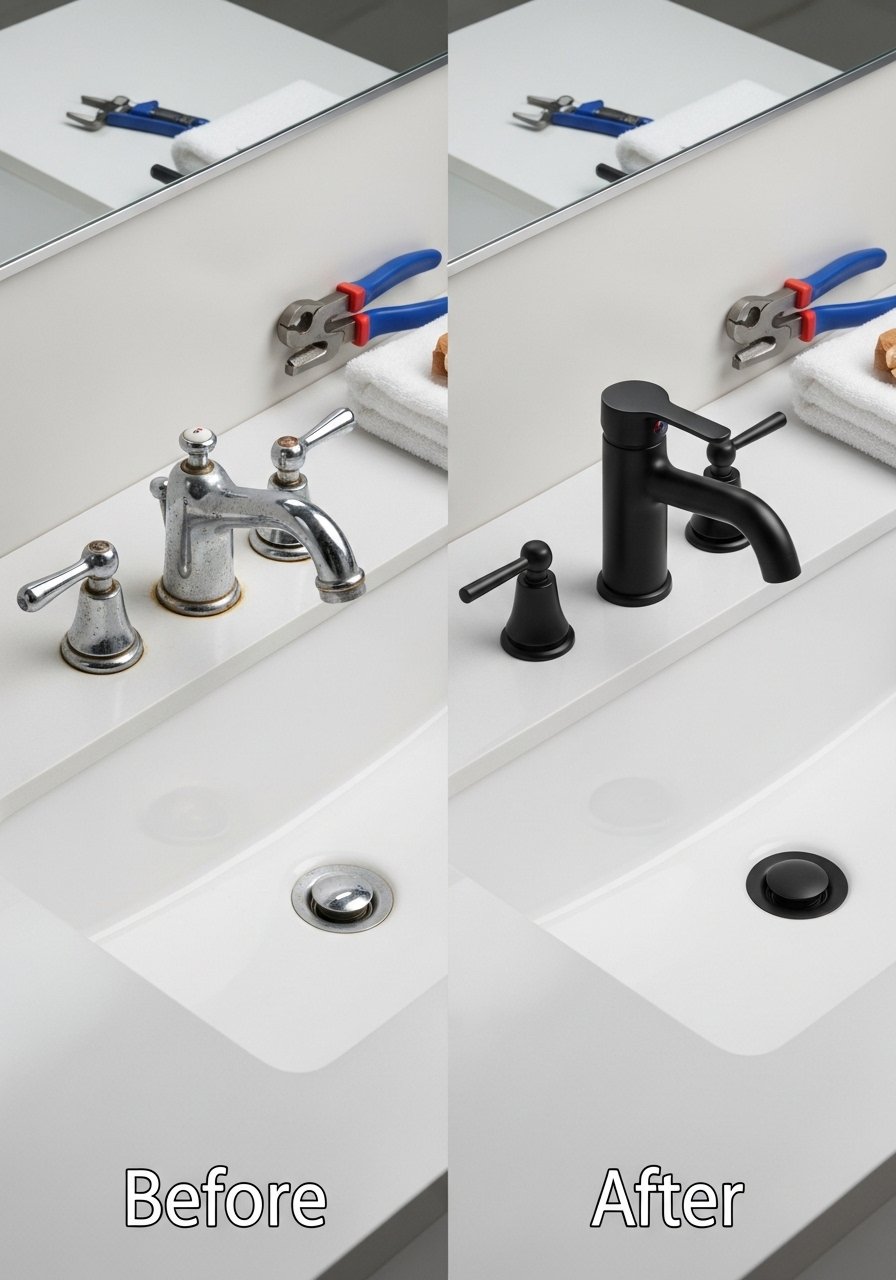
Changing faucets and drawer pulls is a top budget bathroom remodel idea with immediate payoff. It’s mostly simple plumbing and hardware swaps, and the new finish can unify the room’s look. Choose a faucet with an included deck plate to simplify installation.
Materials
- 1 new faucet (single-hole or 3-hole as needed)
- Adjustable wrench, plumber’s tape
- Rags, bucket, and small basin wrench
- New drain assembly if desired
- Silicone caulk for sealing
Instructions
- Turn off water supply and remove old faucet. Place towels to catch drips.
- Clean the sink area of old putty and grime.
- Install new faucet per manufacturer directions, using plumber’s tape on threads.
- Tighten supply lines and check for leaks. Run water for 5 minutes.
- Apply a thin bead of silicone caulk around base if needed; allow 24 hours to cure.
- Replace drain assembly if upgraded.
How to Display or Gift It
- Coordinate a soap dispenser and toothbrush holder in the same finish.
- Keep the old faucet hardware in a small labeled box for returns or resale.
- A small set of plumbing tools makes a thoughtful “fix-it” gift.
- Built-in Shower Niche with Tile Finish
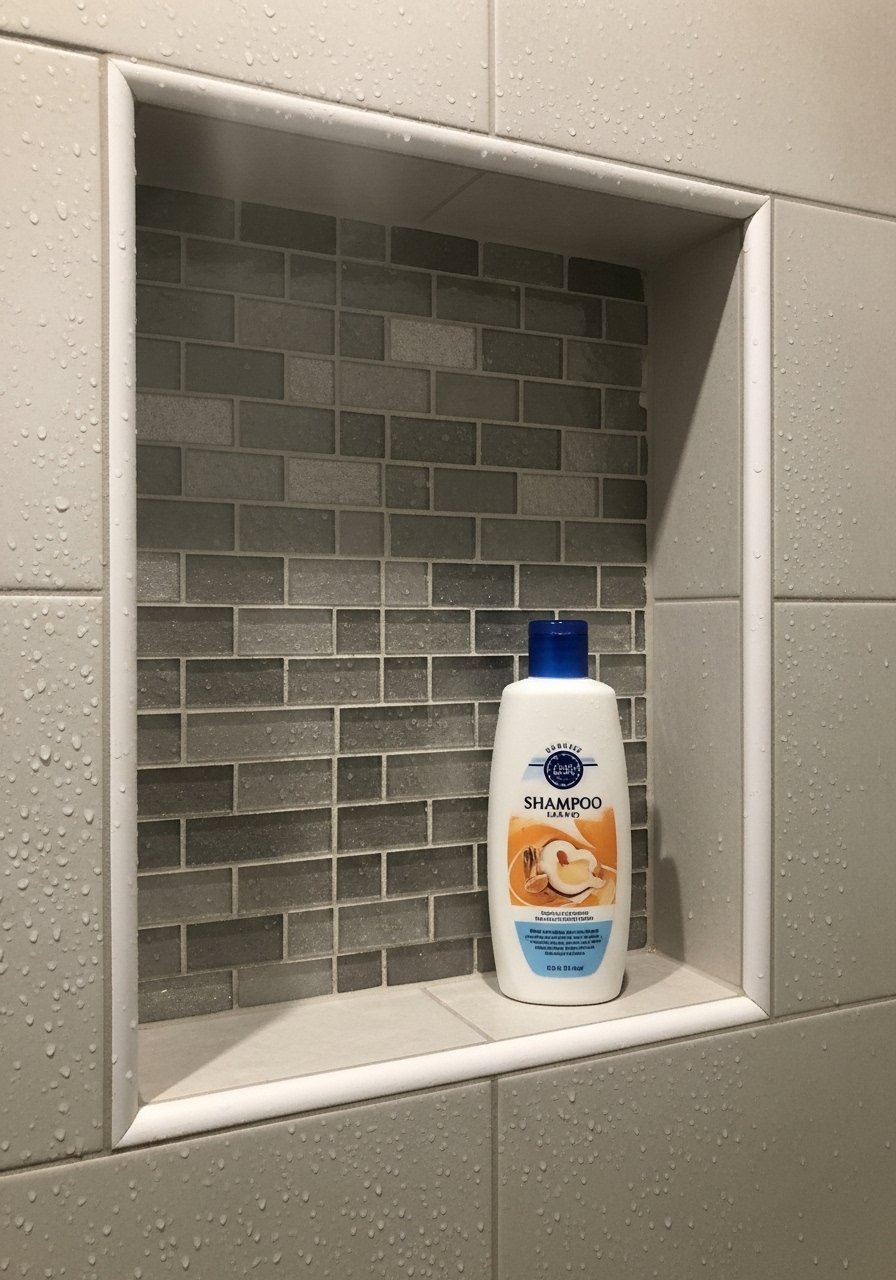
A recessed shower niche adds storage and a designer focal point. This requires basic framing and waterproofing but is one of the most practical bathroom remodel ideas for organization. Use a waterproof backer board and membrane for longevity.
Materials
- 1 waterproof backer board (6 x 4 in piece) or niche kit
- 1 waterproofing membrane (liquid or sheet)
- Tile for niche (mosaic or subway)
- Thin-set, grout, and grout sealer
- Caulk (100% silicone) for perimeter
Instructions
- Frame niche into wall cavity between studs at desired height.
- Install backer board and apply waterproofing membrane per instructions; allow 24 hours to dry.
- Tile niche, using thin-set and spacers. Allow thin-set to cure 24 hours.
- Grout and clean tiles. Seal grout after 48 hours.
- Caulk perimeter with silicone and allow 24 hours to cure before showering.
How to Display or Gift It
- Use a contrasting mosaic tile for a pop of color.
- Add a small corner waterproof shelf if extra storage is needed.
- Keep leftover mosaic tiles in a labeled bag for future repairs.
- Faux Concrete Countertop Overlay

A faux concrete overlay creates the look of poured concrete without replacing the countertop. Thin overlays or microcement kits can be applied over existing laminate or tile. The finish is tactile and contemporary.
Materials
- Microcement kit (1–2 kg) or concrete overlay product
- Trowel and spreader
- Sandpaper (220 grit)
- Sealer (matte polyurethane or specific microcement sealer)
- Masking tape and drop cloths
Instructions
- Clean and scuff the existing countertop. Prime per overlay instructions.
- Mix microcement and apply the first thin coat with a trowel. Let dry 2–4 hours.
- Apply a second thin coat for texture. Let cure 24–48 hours.
- Sand lightly for smoothness and apply sealer. Allow 24 hours cure.
- Reinstall sink plumbing if removed and test for water resistance.
How to Display or Gift It
- Style with concrete-look accessories and warm wood accents.
- Keep leftover sealer in labeled bottle for future touch-ups.
- If gifting, include a small sample tile and care card.
- Freestanding Tub Caddy (Wood + Brass Accents)
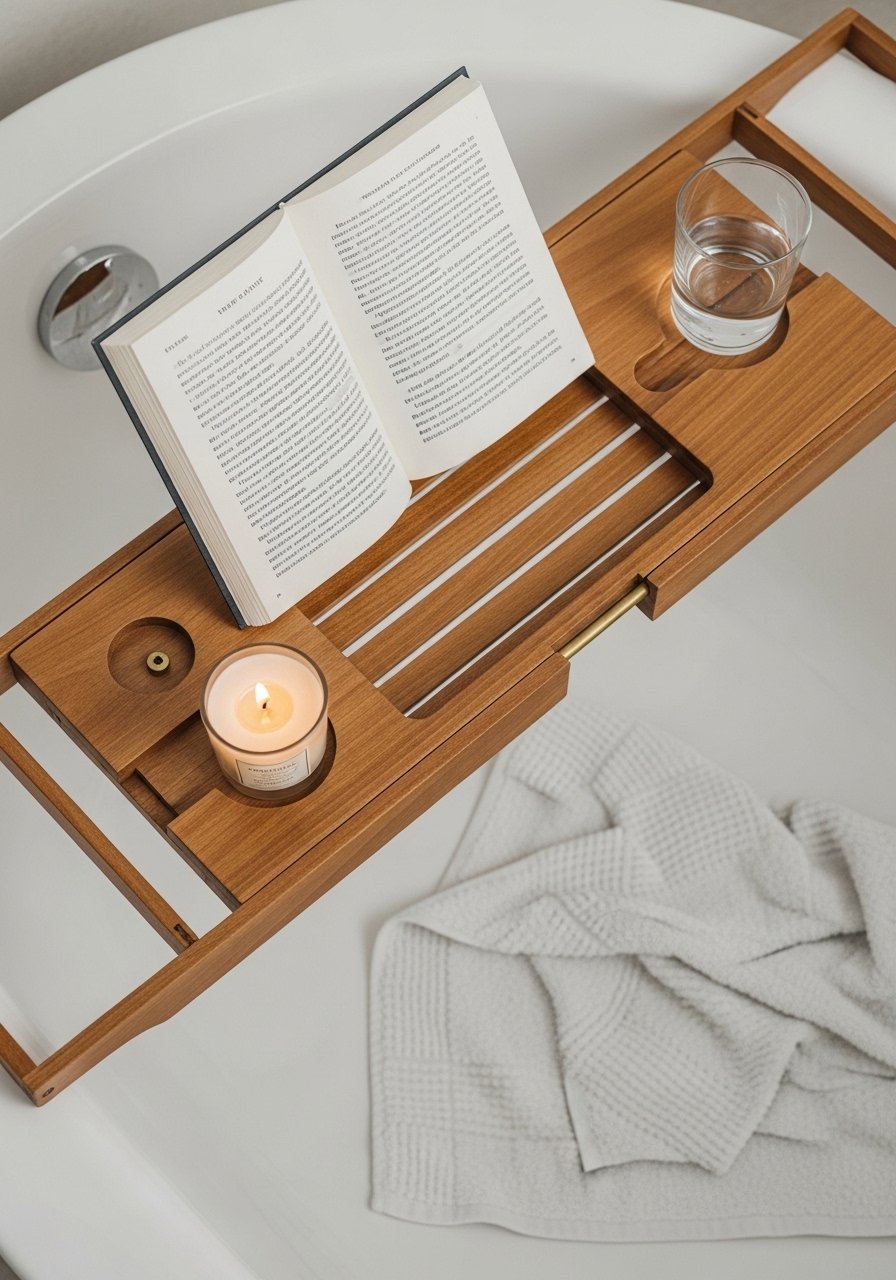
A freestanding tub caddy instantly creates a spa vibe. Build a simple wooden tray with adjustable stops and a slot for a wine glass. Use water-resistant wood like teak or apply marine-grade finish.
Materials
- Teak board 24 x 8 in
- Brass slide stops or dowel for adjustable width
- Marine varnish (sample, 4 oz)
- Saw, sandpaper, and router for slot if desired
- Rubber feet to prevent slipping
Instructions
- Cut teak to desired length and sand edges smooth.
- Route a shallow groove for a book or tablet if wanted.
- Finish with 2 coats marine varnish; allow 4 hours between coats. Cure 24 hours.
- Attach brass stops or dowel to adjust width across tub.
- Add rubber feet to ends to prevent slipping.
How to Display or Gift It
- Pair with a small waterproof book or candle for gifting.
- Store on a towel ladder or wooden ledge when not in use.
- Wrap in kraft paper and twine for a boutique gift presentation.
- Leaning Towel Ladder from Wood Dowels
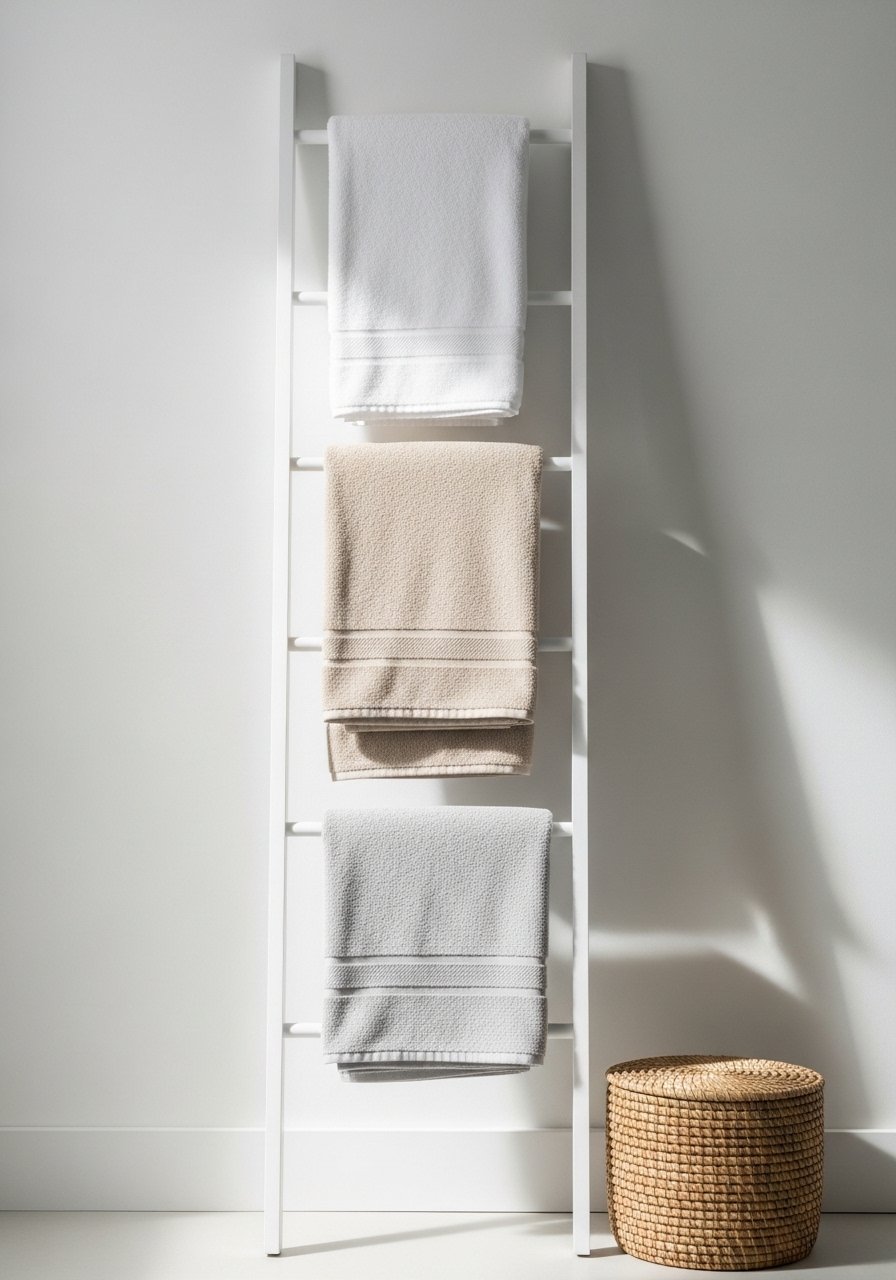
A leaning towel ladder is an easy woodworking and styling project that saves space. Use dowels and side rails to build a simple ladder, then stain or paint to match your bathroom palette.
Materials
- 2 side rails (1 x 2 in lumber, 60 in each)
- 4–5 wooden dowels (3/4 in diameter, cut to 18–22 in)
- Wood glue, drill, and spade bit
- Wood stain or paint (sample)
- Rubber feet to protect floor
Instructions
- Mark dowel spacing on rails and drill holes with a bit slightly smaller than dowel diameter.
- Glue and tap dowels into one rail, then attach second rail. Wipe excess glue.
- Stain or paint ladder; allow 2 hours between coats and 24 hours cure.
- Add rubber feet to base to prevent slipping.
- Lean against wall at a slight angle for stability.
How to Display or Gift It
- Drape neutral linen towels for spa vibes.
- Store small bath baskets on the floor below the ladder.
- A ladder makes a sweet housewarming gift when paired with towels.
- Vanity Light Swap — Warm LED Sconces

Swapping lighting changes atmosphere dramatically. Choose warm LED bulbs (2700K–3000K) and fixtures that diffuse light evenly for flattering mirror work. This is one of the quick bathroom remodel ideas with immediate ambience payoff.
Materials
- 2 wall sconces or vanity light kit (match mounting hole spacing)
- LED bulbs 2700K–3000K
- Voltage tester, screwdriver, and wire nuts
- Mounting hardware and anchors if needed
Instructions
- Turn off circuit at breaker and test wires with a voltage tester.
- Remove old fixture and disconnect wiring.
- Mount new fixture plate and connect wires (black to hot, white to neutral, ground to ground).
- Secure fixture and install bulbs.
- Turn power on and test light. Use a dimmer compatible with LED if desired.
How to Display or Gift It
- Use a dimmable LED switch to create soft mood lighting.
- Replace bulbs with warm bulbs for flattering skin tones.
- Keep an extra bulb in a small drawer or organizer.
- Plug-In Heated Towel Rail (No Hard Wiring)
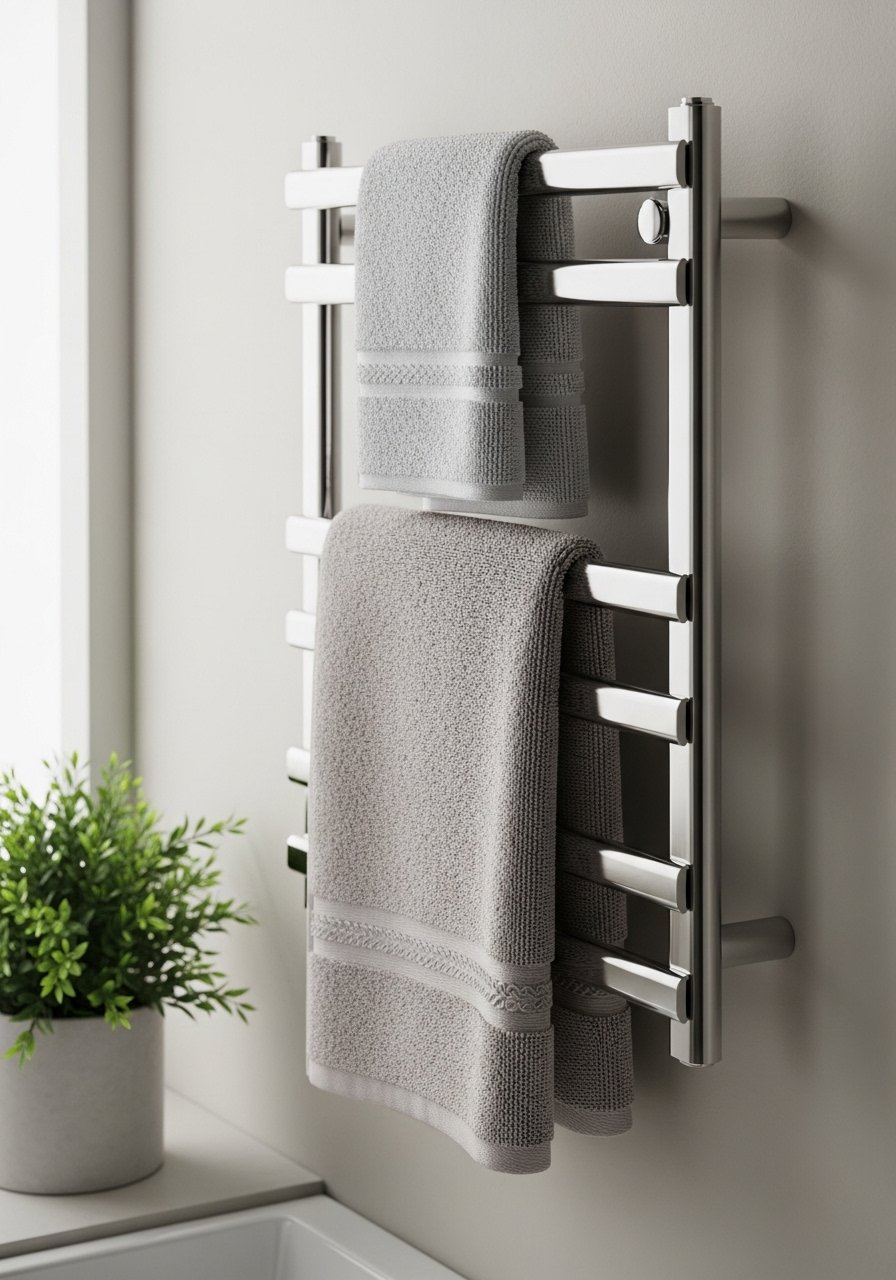
A plug-in heated towel rail adds luxury without electrical work. Choose one with a thermostat and timer for safety and energy savings. It makes towels cozy and helps dry damp linens, reducing mildew.
Materials
- 1 plug-in heated towel rail (size 24–36 in)
- Anchor kit for wall mounting
- Measuring tape and level
- Surge-protected outlet recommended
Instructions
- Mount rail per manufacturer instructions, anchoring into studs when possible.
- Plug into a GFCI-protected outlet. Use an outlet cover if required by code.
- Set thermostat and timer per instructions; test after 20 minutes.
- Avoid overloading extension cords—plug directly into wall.
- Wipe rail with damp cloth for cleaning; unplug before cleaning.
How to Display or Gift It
- Pair with soft cotton towels in neutral colors.
- A heated rail makes a nice housewarming or holiday gift.
- Store extra mounting hardware in a labeled pouch.
- Terrazzo-Look Floor with Paint and Chips

Create a terrazzo-inspired floor using paint and decorative chips. This is a budget-friendly way to mimic trendy terrazzo without tearing up existing flooring. Proper sealing is critical for water resistance.
Materials
- 1 gallon porch-and-floor paint (base color)
- Terrazzo chips or colored paint chips (small bag)
- Clear epoxy sealer (1 quart) or water-based polyurethane
- Foam roller, mixing bucket, and silicone trowel
- Painter's tape and drop cloths
Instructions
- Clean and etch floor if needed. Prime per floor paint directions.
- Roll base coat and allow 2–4 hours to dry. Apply second coat.
- Broadcast chips onto tacky paint by hand for random spread.
- After paint cures 24 hours, sweep excess chips and apply clear epoxy sealer. Allow 72 hours full cure for heavy use.
- Keep water off floor for first 72 hours.
How to Display or Gift It
- Add neutral bath mats to let terrazzo shine.
- Keep leftover chips and small sealer sample for touch-ups.
- This look fits modern, boho, and eclectic bathrooms.
- Woven Basket Storage Wall

A basket wall is a functional decor statement and one of the simplest bathroom remodel ideas for instant texture. Arrange baskets of varying sizes in a grid or organic cluster for storage.
Materials
- 4–8 woven seagrass baskets (various sizes)
- Adhesive hanging strips or small screws (weight-rated)
- Label tags (optional)
- Measuring tape and level
Instructions
- Lay out basket arrangement on the floor to plan spacing.
- Mark wall positions with pencil and level.
- Use adhesive strips for lightweight baskets or screws into studs for heavier pieces.
- Hang baskets and fill with towels, tissues, or small items.
- Re-arrange seasonally for freshness.
How to Display or Gift It
- Add faux eucalyptus stems to some baskets for greenery.
- Store seasonal backup towels in labeled baskets.
- This arrangement makes a thoughtful gift when paired with a basket and towel set.
- Refillable Soap Dispenser + Tray Set (DIY)
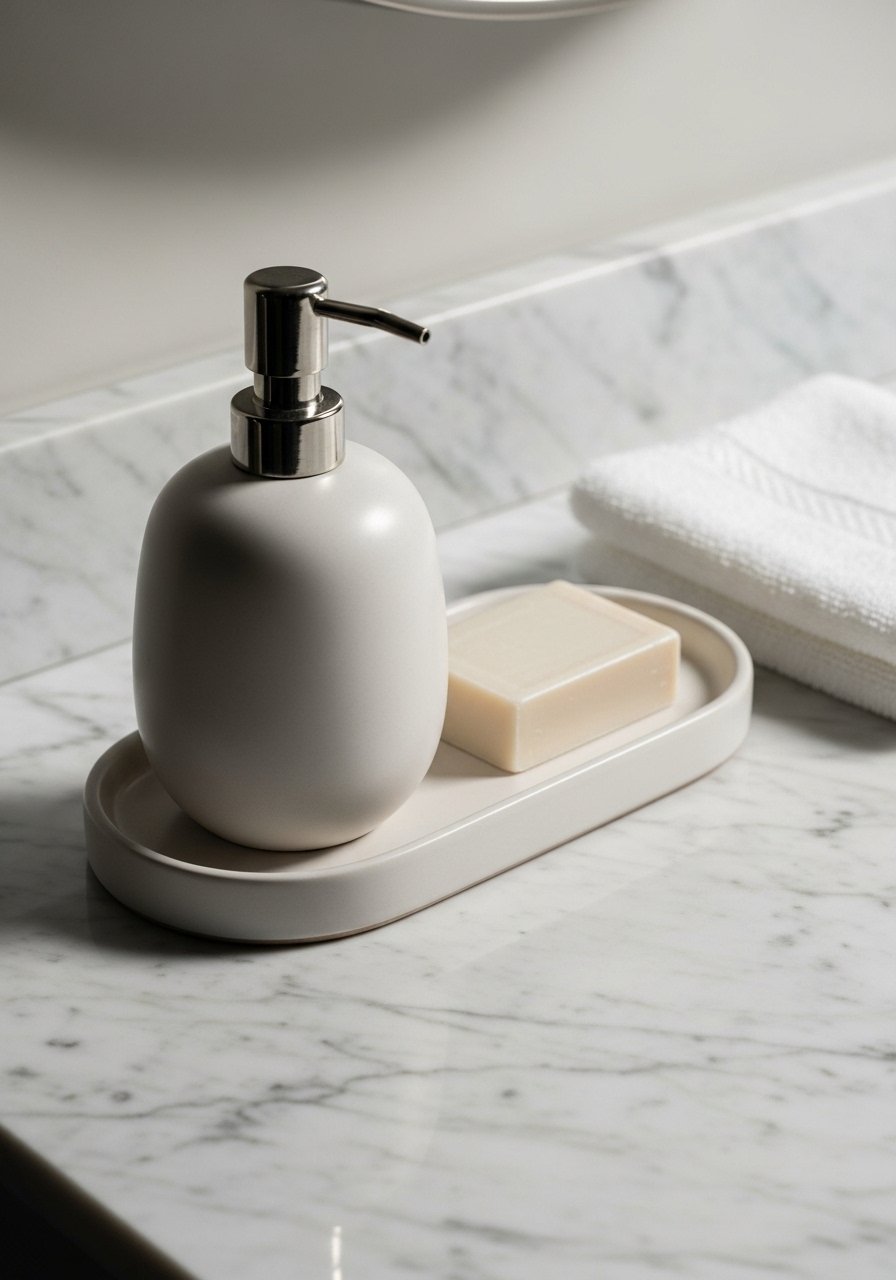
Make a refillable soap dispenser set to reduce plastic waste and match your bathroom palette. Use a glass or ceramic bottle and a silicone or wooden tray for a coordinated look.
Materials
- 1 glass soap dispenser (500 ml)
- 1 silicone or wooden tray (6 x 4 in)
- Liquid soap concentrate (unscented or essential oil-scented)
- Funnel for refilling
- Label sticker for contents
Instructions
- Clean dispenser and tray before first use.
- Mix soap concentrate per directions and refill using a funnel.
- Wipe rims to avoid sticky residue.
- Keep an extra small bottle hidden for quick refills.
- Wash dispenser monthly to prevent buildup.
How to Display or Gift It
- Pair as a gift with a soap refill concentrate and a small muslin bag.
- Store refills in a labeled mason jar in a cabinet.
- A coordinated tray anchors the dispenser on the vanity.
- Sunny Window Herb Planter Shelf

If your bathroom gets light, a tiny herb shelf is both pretty and useful. Herbs tolerate humidity and can freshen up the space. This is a small remodeling idea that connects utility with decor.
Materials
- 3 small terracotta pots (3 in)
- 1 narrow shelf or windowsill planter (24 in)
- Potting mix suitable for herbs (1 qt)
- Small hand trowel and watering bottle
Instructions
- Install narrow shelf securely in the window frame.
- Fill pots with potting mix and plant herbs; water lightly.
- Rotate pots weekly for even growth.
- Prune leaves frequently to promote bushy growth.
- Replace soil yearly and top up as needed.
How to Display or Gift It
- Use herbs for aromatherapy or cocktail garnishes.
- Gift as a “fresh herbs” starter kit in a small wooden box.
- Drawer Scented Liners — Lavender or Citrus

Scented drawer liners give your linens a subtle, fresh scent and protect surfaces. Choose activated charcoal-backed liners for moisture control or natural kraft paper infused with essential oils.
Materials
- 1 roll scented drawer liner (10 ft)
- Scissors and ruler
- Essential oil (lavender or citrus) if infusing plain liners
- Small sponge to apply oil
Instructions
- Measure drawer interior and cut liner to size.
- If infusing, apply 3–5 drops of essential oil to a sponge and lightly dab across the liner; allow to dry 1–2 hours.
- Place liner in drawer and return linens.
- Refresh scent every 3–6 months or when scent fades.
How to Display or Gift It
- Fold extra liners and include in a linen closet for swaps.
- Gift with a small bottle of essential oil and instructions.
- Leather Pull Handles for Vanity Drawers
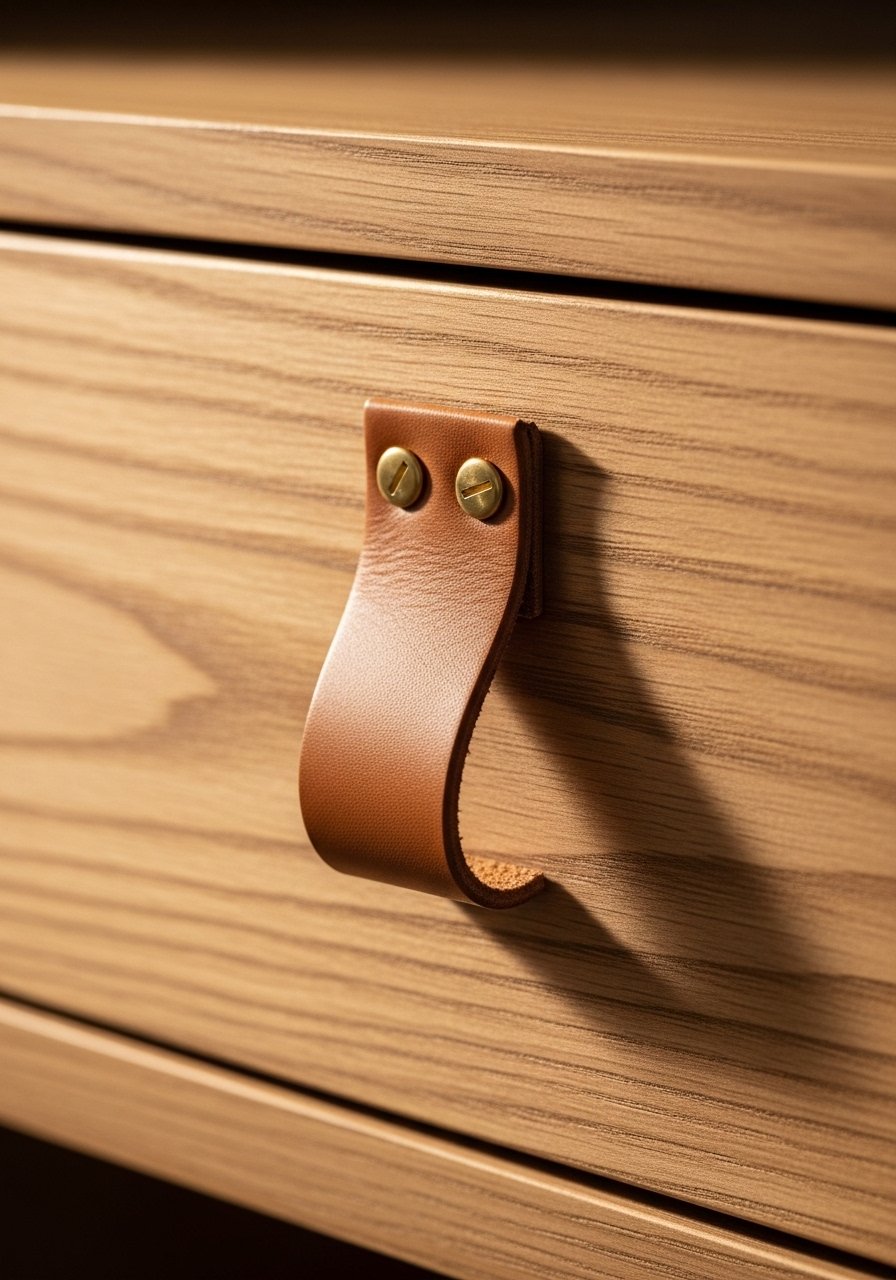
Leather pulls add warmth and a tactile detail to cabinetry. They're simple to install and work well with modern, farmhouse, and boho styles.
Materials
- 4–8 leather strap pulls (6 in each)
- 2–4 brass screws per pull (length 3/4 in)
- Drill, small pilot bit
- Leather conditioner (small cloth)
Instructions
- Measure and mark hole spacing on drawers for consistency.
- Drill small pilot holes to avoid splitting wood.
- Attach leather straps with brass screws.
- Condition leather lightly for durability.
How to Display or Gift It
- Pair with brass hardware accents and warm wood finishes.
- Include extra screws and a small leather care cloth with a gifted set.
- Small “Spa Corner”: Bamboo Mat + Diffuser
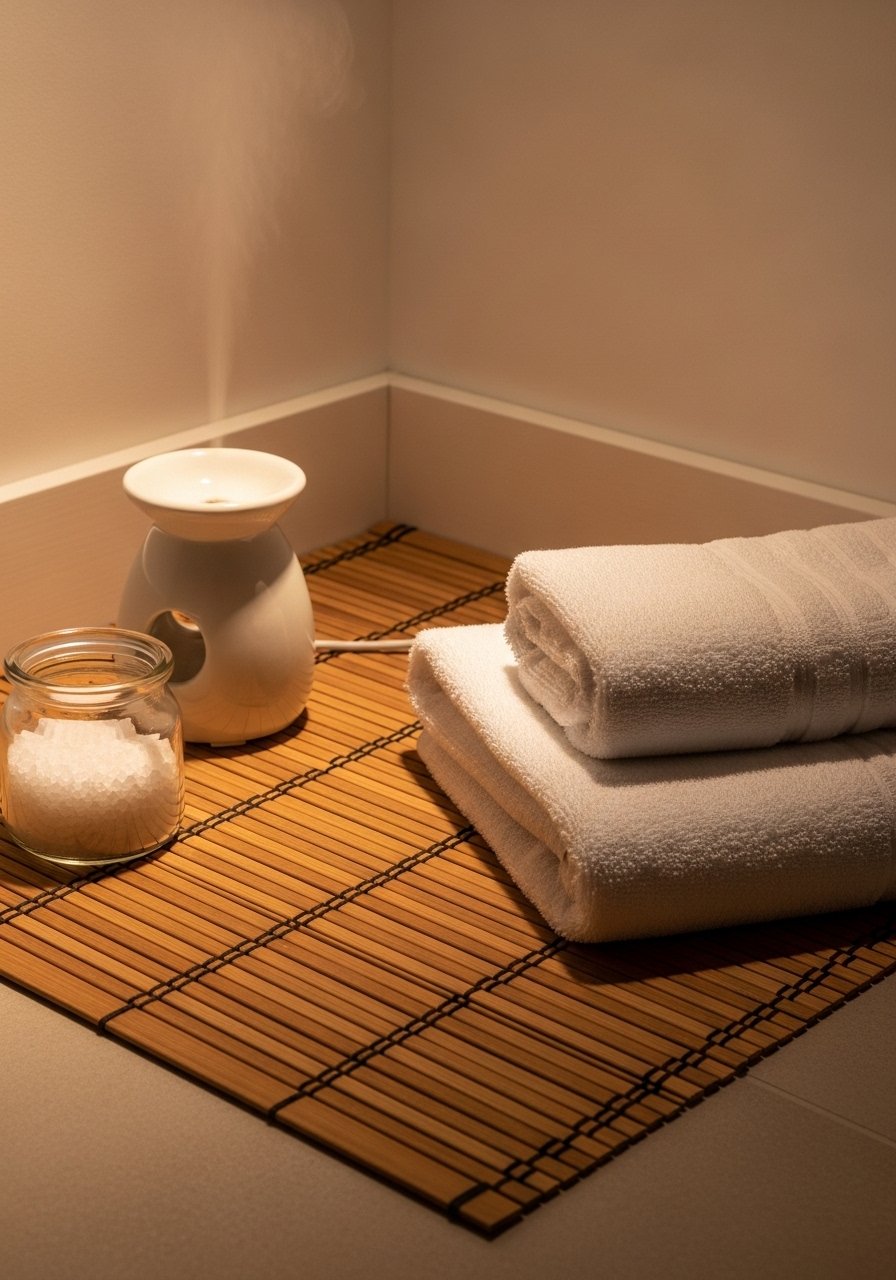
Create a spa corner that feels like a retreat. A bamboo mat, plush towels, and an ultrasonic diffuser with essential oils complete the space. This low-effort bathroom remodel idea focuses on mood and ritual.
Materials
- 1 bamboo bath mat (20 x 30 in)
- 2 plush cotton towels (hand or bath)
- 1 ultrasonic essential oil diffuser
- 1 jar bath salts or a small candle
- Small tray to hold oils
Instructions
- Place bamboo mat near tub or shower and stack towels neatly.
- Set diffuser on a small tray and add water and 5–8 drops of essential oil.
- Run diffuser for 20–30 minutes during baths or wind-down routines.
- Replace diffuser water daily; clean weekly.
How to Display or Gift It
- Bundle bamboo mat, towels, diffuser, and a small oil bottle in a gift box.
- Store extra oils in a small wooden crate or basket.
Trust these 25 bathroom remodel ideas to give you flexible ways to refresh, modernize, or add a little luxury without a full renovation. Pick one upgrade to try this weekend or mix a few for a cohesive refresh. Save or pin this list for later inspiration, and tell me — which idea are you starting with? If you want one tool that made so many of these projects easier, look into a versatile detail heat gun; it smooths resin, dries paint edges, and removes bubbles like a pro. Detail heat gun





