You know the hopeful look on a child's face when they want to draw someone they love—but get stuck on eyes or hair? Learning how to draw faces for kids should be fun, not frustrating. This step-by-step guide breaks down faces into simple shapes so every child can make expressive, playful portraits in about one afternoon.
Start with easy, kid-friendly supplies that help practice without mess: a soft graphite pencil set for sketching and a washable marker set for bold color. These two tools reduce smudges and make results pop, fast.
You’ll learn workspace prep, simple construction lines, how to draw eyes, noses, and mouths, plus coloring and display tips. Follow each short step and try the quick practice exercises at the end.
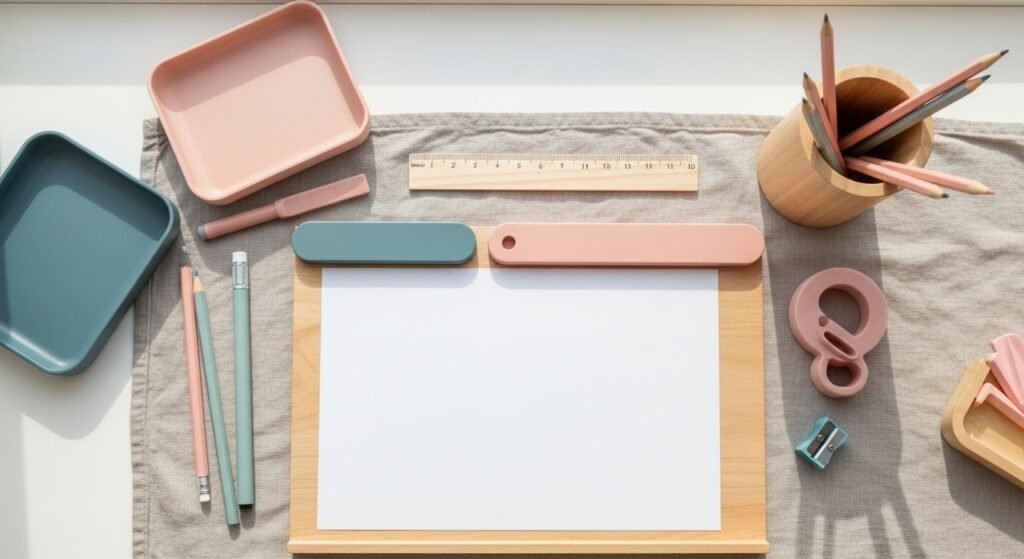
Set up a kid-friendly workspace for quick success
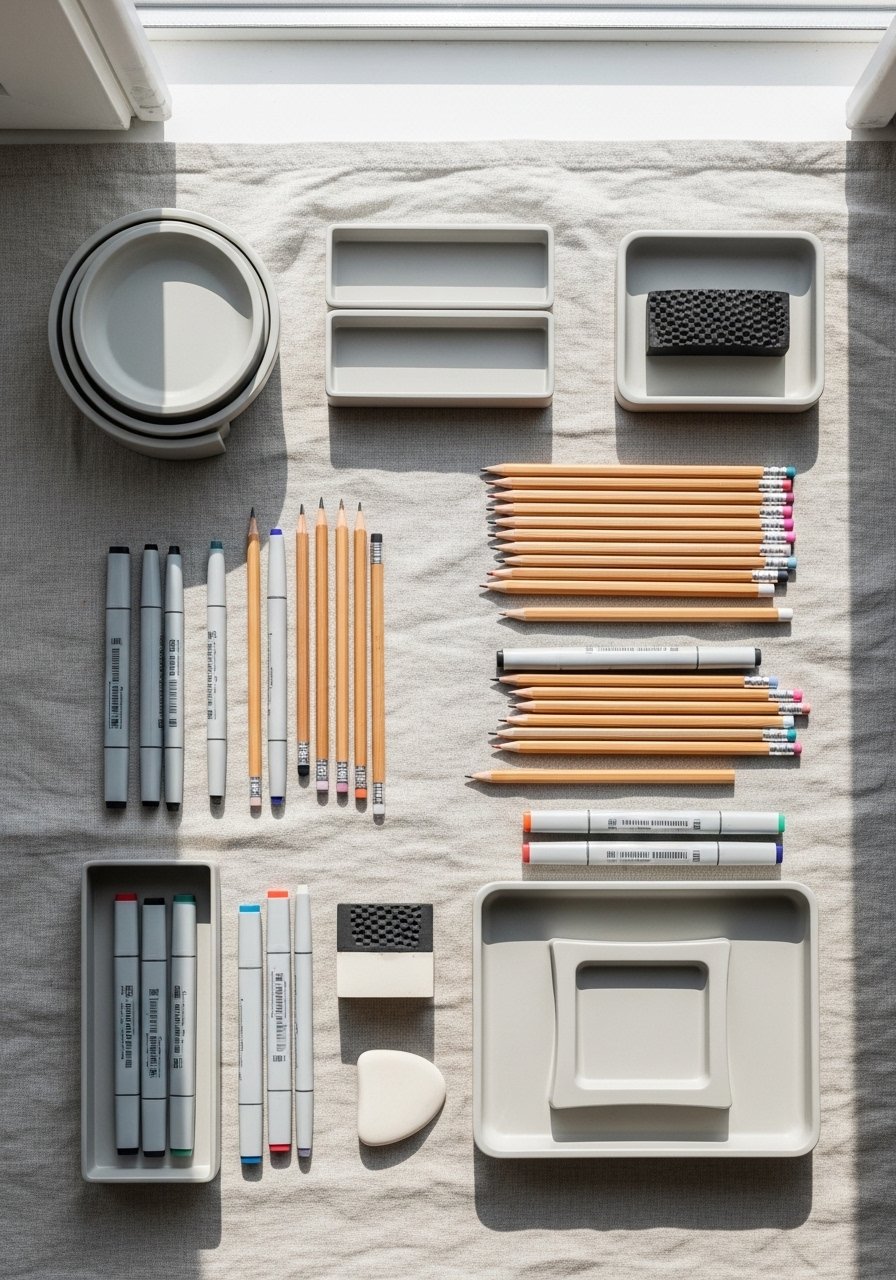
Make drawing faces for kids easier by organizing supplies before you start. Lay out a medium sketchbook, a few pencils, and a small eraser. A tidy space cuts interruptions and keeps attention on practice.
- Use a sketchbook pad with 8–12 sheets for quick retries.
- Keep a kneaded eraser and a small pencil sharpener nearby.
- Store extras in a stackable craft organizer tray so cleanup is one minute.
Tip: Put a sheet of scrap paper under the child’s hand to prevent smudging while they sketch.
Break the head into simple shapes (the core technique)
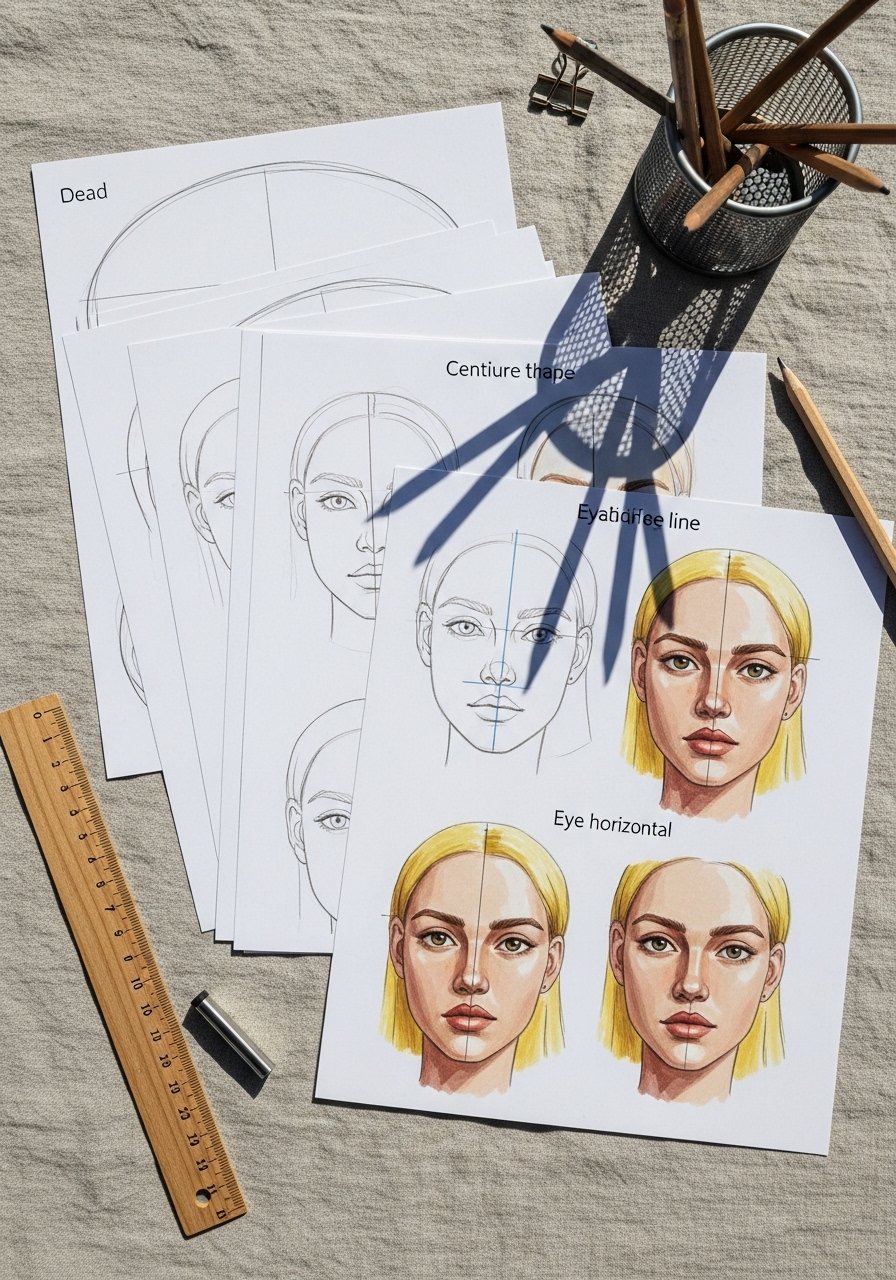
Teaching how to draw faces for kids starts with shapes. Use an oval for the head, a vertical center line, and a horizontal eye line halfway down the oval.
- Lightly sketch an oval with a soft pencil from your graphite pencil set.
- Add a vertical center line and a horizontal line halfway for the eyes.
- Divide lower half into thirds—brow to nose, nose to mouth—for placement.
- Practice drawing ovals 10 times in five minutes to gain confidence.
- Try a triangular grip set like triangular grip pencils if young kids struggle to hold a regular pencil.
Add expressive eyes, noses, and mouths with little steps
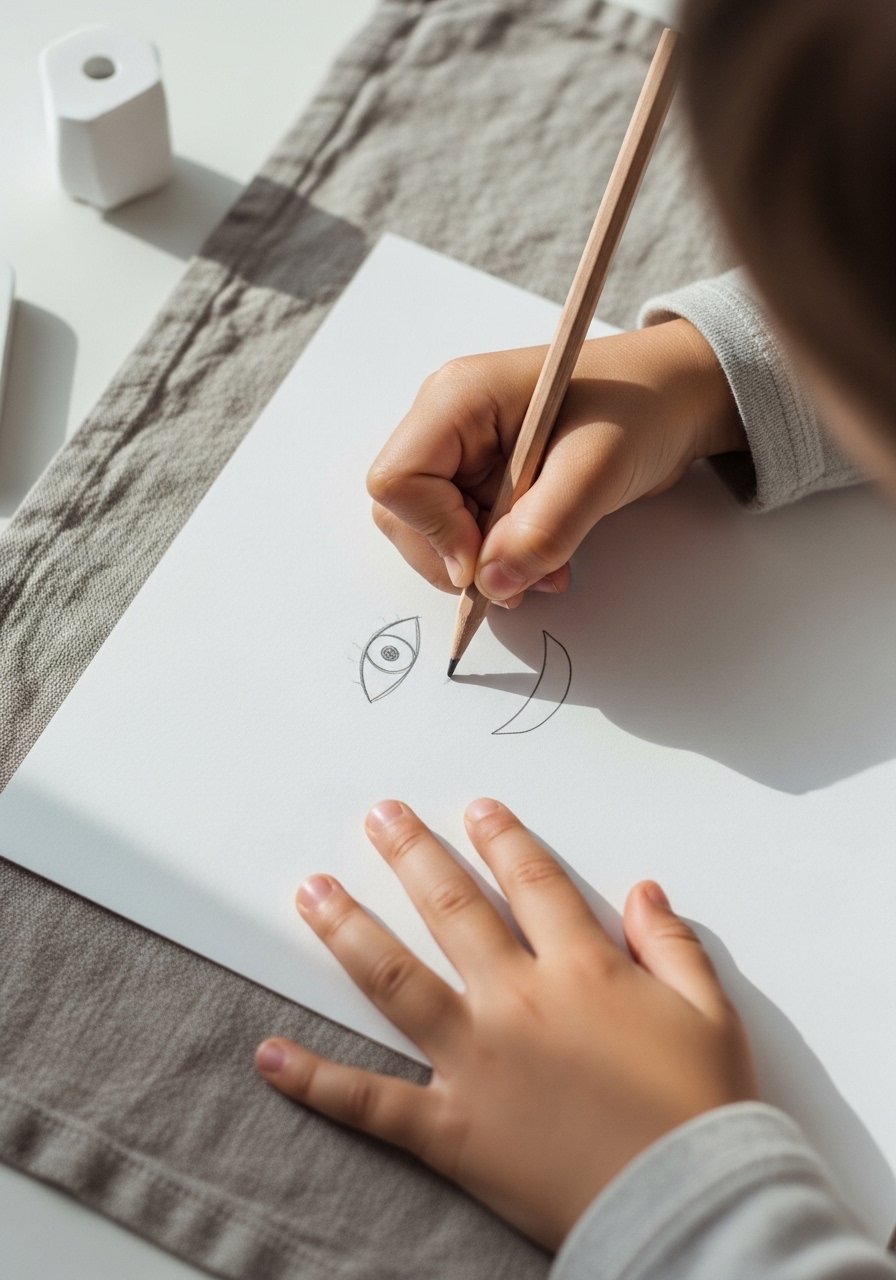
Eyes give personality. Start simple: two almond shapes on the eye line, a small circle for the pupil, and a few eyelashes.
-
Eyes:
- Draw almond shapes about one eye-width apart.
- Shade a small circle inside and leave a white dot for the highlight.
- Use a fine-tip black marker for outlining once the child is happy.
-
Nose:
- Use a soft shadow under the center line—avoid heavy lines.
- A tiny curved dash for the nostrils works for younger kids.
-
Mouth:
- Sketch a gentle curve and add a small line for the lower lip.
- Show how changing the curve makes different expressions.
Pro tip: If a child erases too much, show them a eraser pencil so corrections look tidy.
Color, shade, and display portraits kids will love
Bring drawings to life with color and quick shading. Colored pencils or washable markers are best for kids—low mess and bright.
-
Coloring tips:
- Start with light layers, then add a second layer for depth.
- Use skin-tone colored pencil sets for varied palettes.
- Let marker ink dry 30–60 seconds before touching.
-
Shading shortcut:
- Smudge gently with a blending stump for soft cheeks.
- Seal finished pages with an optional light spray of artist’s fixative if you want to preserve color.
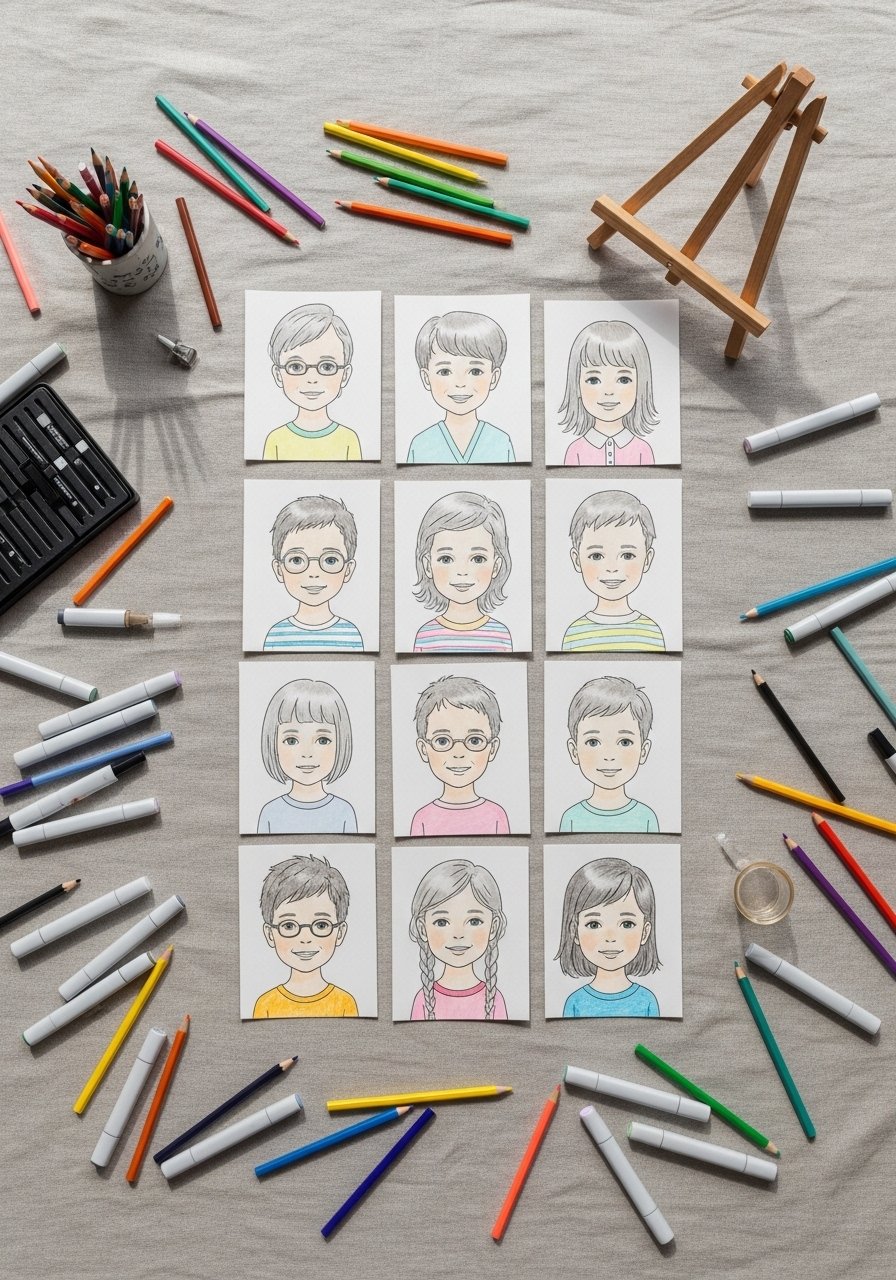
Display finished portraits on a small wooden easel or tuck into a frame for gifting. Stack extras flat in a clear zip pouch.
You just taught a child to draw faces with friendly shapes and fun color. Pin this guide for a one-afternoon drawing session and try the expressions practice tomorrow. Which face will your child draw first? Save this for later and share with a friend who loves kid crafts!


