You want a simple way to teach little artists how to draw flowers that actually looks good and builds confidence. If your child gets stuck at the same curly line, or you don’t have time for a long lesson, this short, step-by-step guide helps you show them quick wins. You’ll learn how to draw flowers for kids in easy shapes, add color, and display the finished blooms.
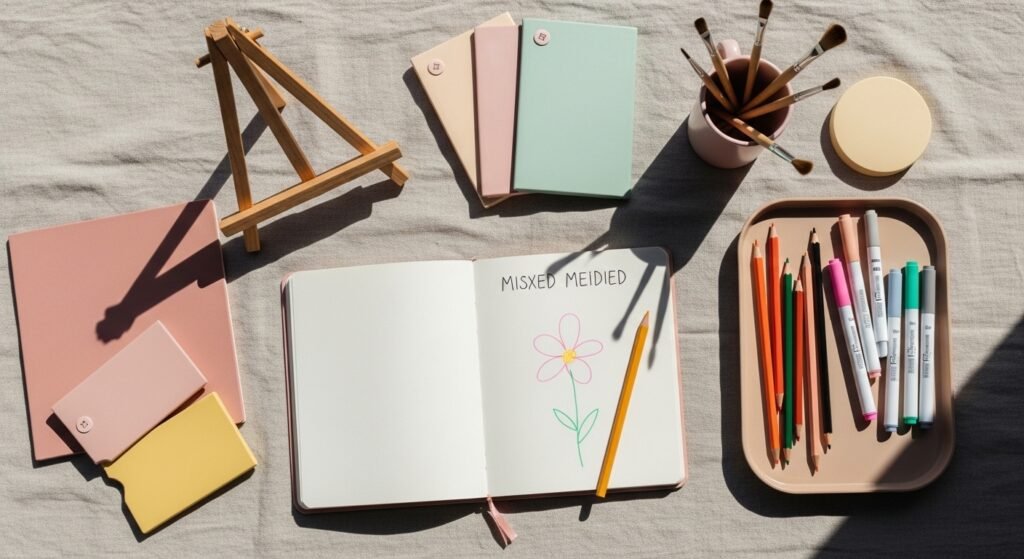
Start with tools that make drawing forgiving: a thick mixed-media pad holds marker and watercolor with little bleed, and washable markers give bright color without the mess. Try a mixed-media pad and a set of Crayola Washable Markers to keep this beginner-friendly and low-stress. Expect the whole lesson to take about 20–45 minutes, depending on how fancy you get.
Preview: you’ll gather supplies, draw three basic flower shapes, add simple details and color, and learn easy display ideas. Each step includes a quick tip and a product that makes it simpler.
Gather and Prep Materials for Beginner-Friendly Flower Drawing
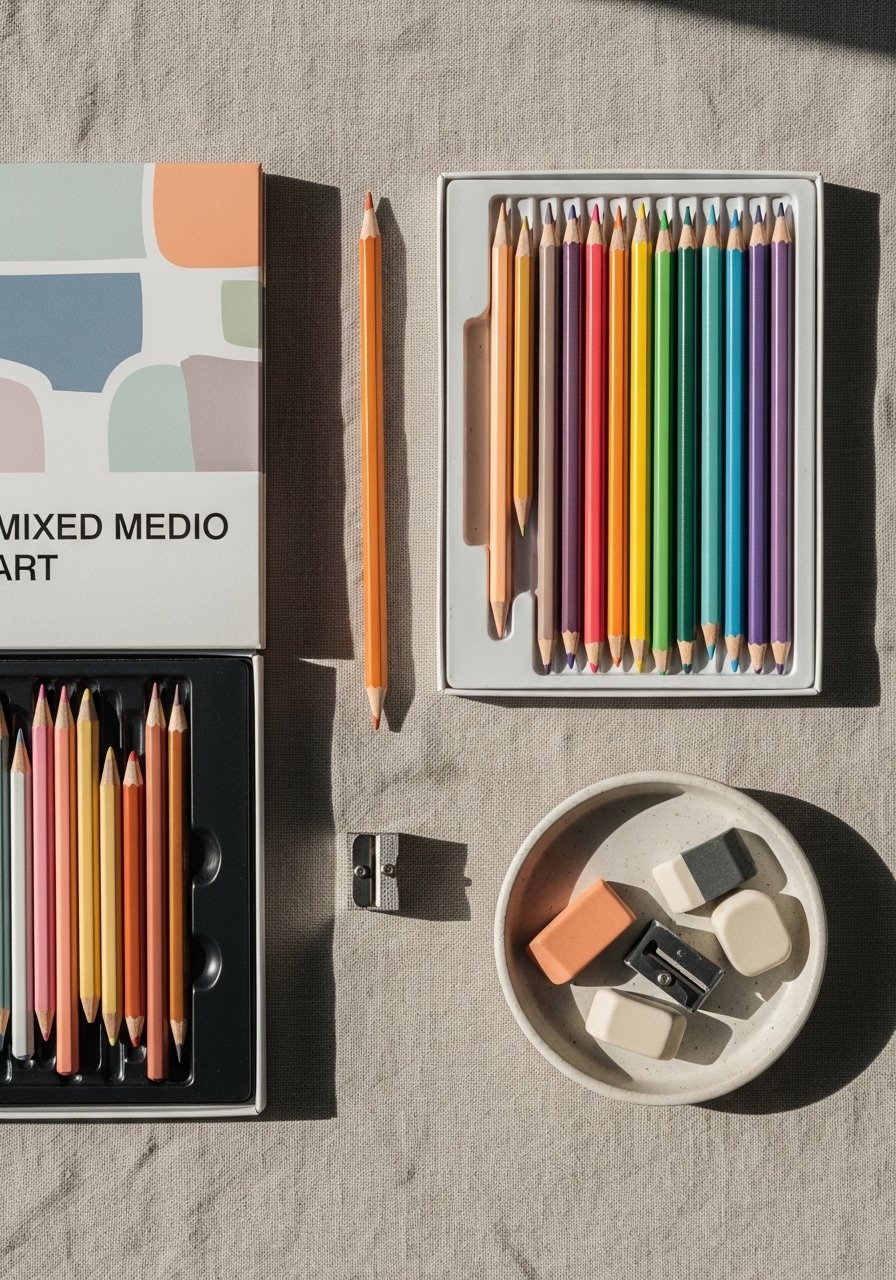
Set up a tidy workspace so kids aren’t overwhelmed. Use a mixed-media pad with 90 lb/190 gsm paper for markers and light watercolor. That weight handles color without warping.
Helpful tools:
- A box of Crayola Colored Pencils for blending.
- A small manual pencil sharpener so pencils stay sharp.
- Keep extras in clear zip pouches for quick cleanup.
Prep tip: pre-cut practice cards (about 4×6 inches) so kids can make several quick sketches in one session.
Master Three Easy Flower Shapes (Core Technique)
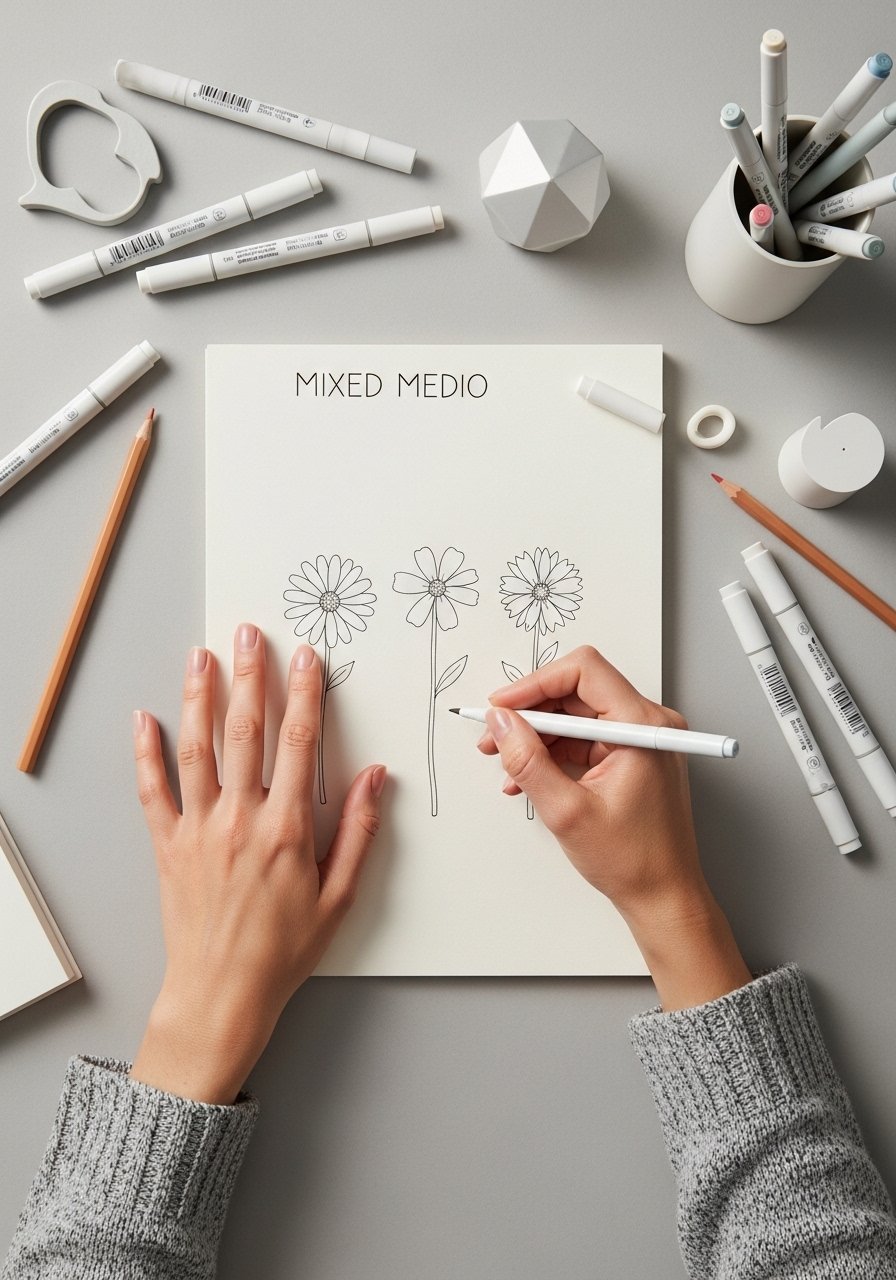
Teach three shapes: daisy, tulip, and rosette. Repeat each shape with short, guided steps.
Daisy — quick steps:
- Draw a small circle for the center.
- Add 8–10 long oval petals around it.
- Add a dotted center texture.
Tulip — quick steps:
- Draw a rounded “U” for the base.
- Add two pointed leaves overlapping the top.
- Finish with a stem.
Rosette — quick steps:
- Draw a spiral from the center outward.
- Add curved petal lines along the spiral.
- Vary petal size for a more natural look.
Use a set of washable fine-tip markers to outline shapes. The fine tip helps young hands make cleaner lines. Practice each shape three times—muscle memory builds confidence fast.
Add Color, Texture, and Quick Watercolor Washes
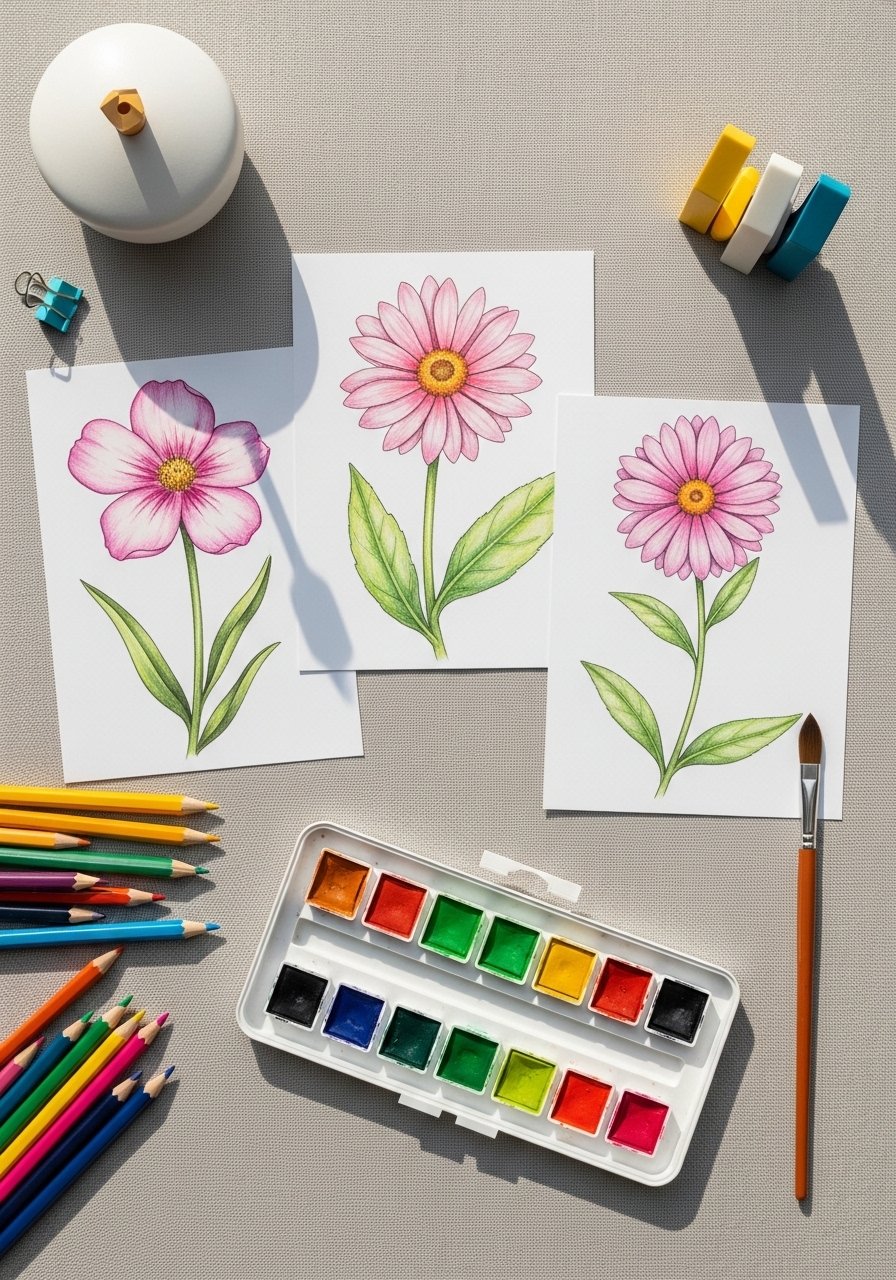
Coloring makes flower drawings pop. For flat fills, colored pencils work great. For soft washes, a kids’ watercolor set is a quick upgrade.
Steps:
- Color with Crayola Colored Pencils in basic layers—light, mid, then dark.
- For gentle washes, wet a round brush and drag a little paint from a kids’ watercolor set. Drying time: small washes usually dry in 10–15 minutes under natural light.
- Use a round paint brush set with sizes 2–6 for detail and wash.
Pro tips:
- Test water on a scrap to avoid bleeding.
- Press lightly when layering pencil to prevent waxy buildup.
- If a marker bleeds, cover the edge with a light pencil line and redraw.
Display, Save, and Gift Your Little Artist’s Blooms
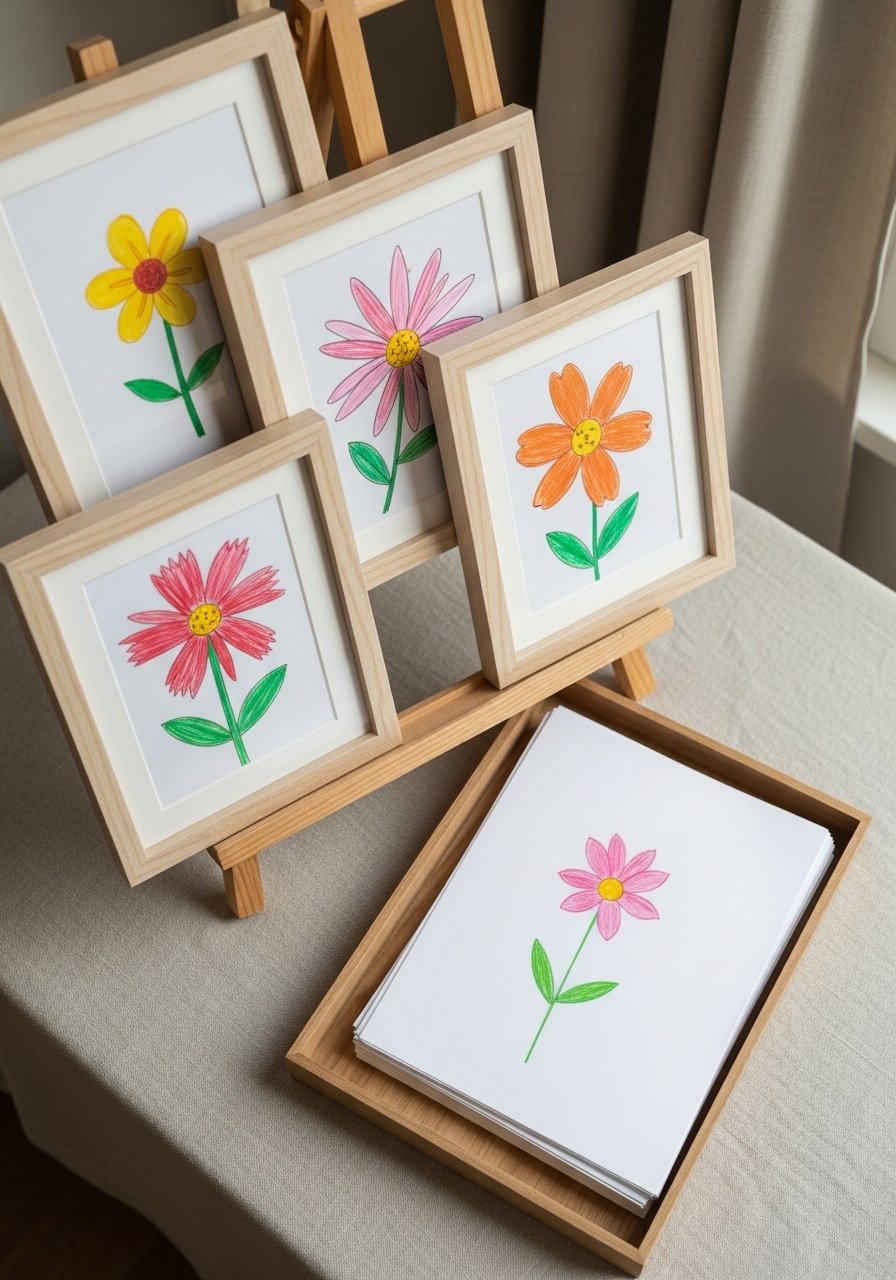
Showcasing work makes practice feel meaningful. Frame a favorite on a small wooden easel for a mini gallery. Store extras flat in a stackable craft organizer tray so you can rotate displays.
Gift idea:
- Slide a 4×6 drawing into a clear sleeve and place in a simple card.
- Batch-make sets: let kids make 6–8 small blooms in one afternoon to give as a bundle.
Final cleanup tip: toss markers back in their clear pouch and place pencils in the organizer—setup for the next session is fast.
You just learned how to draw flowers for kids using three easy shapes and quick color methods. Pin this step-by-step guide for a one-afternoon craft session, and try swapping markers for watercolor next time. If you liked a product that made drawing smoother, the Crayola Washable Markers are a great pick for low-mess color. Save this for later and share with a friend who loves craft time—Which flower will your child try first?


