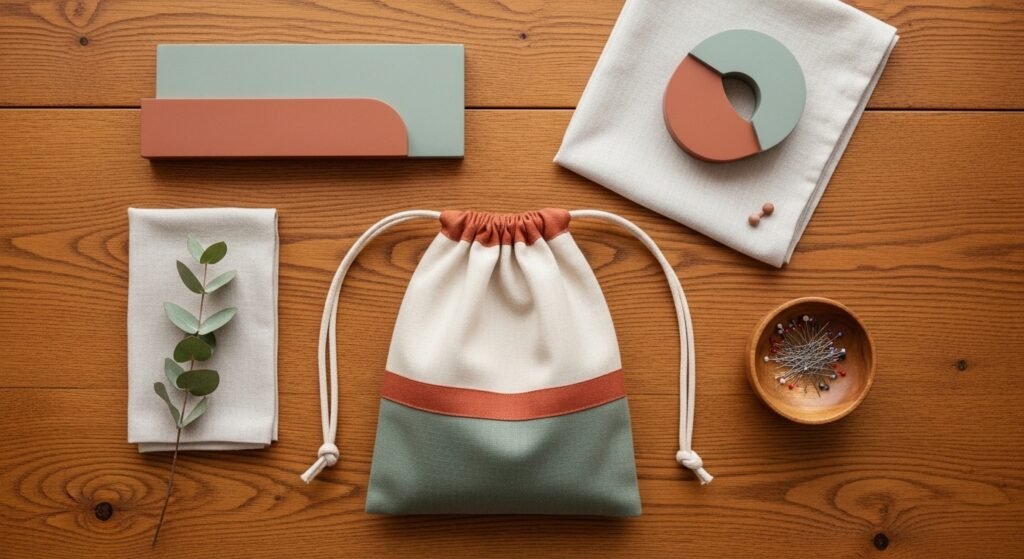
You’ve seen pretty drawstring pouches on Pinterest and thought, "I could make that." Learning how to sew a drawstring bag for beginners is one of the fastest ways to build sewing confidence—no pattern reading marathon, just straight seams and a little pressing. You’ll make a simple, practical pouch for lunch snacks, small gifts, or daily odds-and-ends in one afternoon.
If your biggest worry is crooked cuts or slow stitching, a beginner sewing machine and a self-healing cutting mat speed things up and keep edges neat. This guide shows how to sew a drawstring bag for beginners step-by-step, with exact measurements, quick shortcuts, and tools that remove common headaches.
What you'll learn: professional-looking seams, how to make a secure drawstring casing, easy threading tricks, and quick finish options so your bag looks pin-worthy.
Prepare fabrics and set up your workspace (easy, beginner-friendly)

Start with a sturdy, washable fabric like canvas or muslin. For a standard everyday bag aim for a finished size around 9" wide x 12" tall; cut two rectangles 10" x 14" to allow 1/2" seam allowances and a 1" casing. Prewash cotton to avoid later shrinkage.
- Choose one yard of 44" fabric for three small bags, or 1/2 yard for a single pouch.
- Use a pair of fabric scissors to cut clean edges.
- Keep a rotary cutter and quilt ruler handy to speed accurate cutting.
Tip: Lay fabric on a self-healing cutting mat before trimming to protect your table and get perfectly straight lines.
Sew the bag body (one-afternoon sew, straightforward steps)
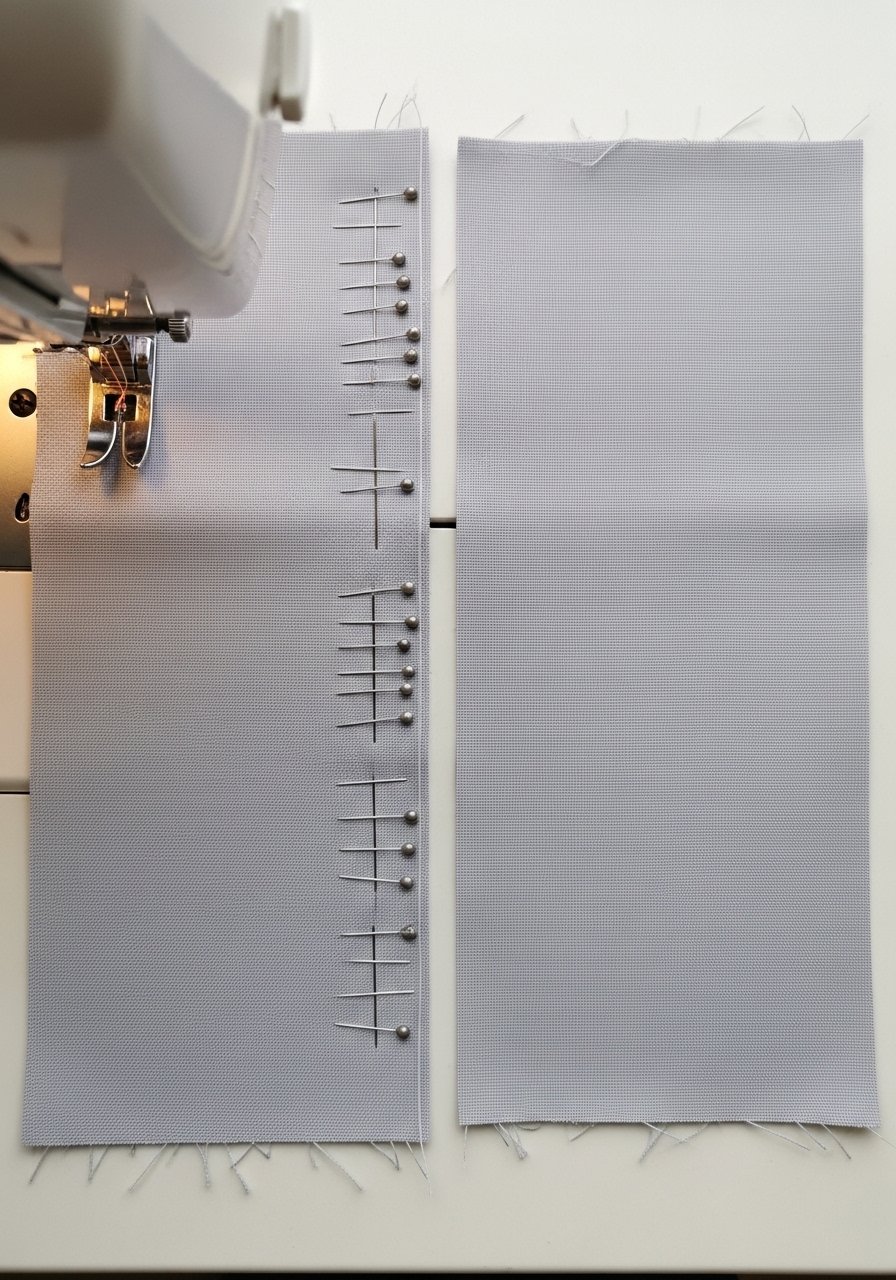
With right sides together, stitch the two long sides and the bottom using a 1/2" seam allowance.
- Pin or clip edges with sewing pins or wonder clips.
- Sew a straight seam, backstitching at start and finish.
- Trim corners slightly to reduce bulk and press seams open with an iron.
- Use all-purpose cotton thread that matches your fabric.
- If the bottom feels bulky, box the corners by folding each corner and stitching 1" across, then trim the excess.
Pro tip: A beginner sewing machine with a straight stitch and easy-to-change presser feet makes this step fast and tidy.
Make the casing and add the drawstring (simple assembly)

To form the casing:
- Fold the top edge down 1/4", press, then fold again 1" to hide the raw edge. Press and pin.
- Topstitch close to the lower folded edge, leaving a 1" gap on one side for threading the cord.
Choose a cord that slides easily—1/8" to 1/4" cotton cord works well for daily use. Use a cotton drawstring cord and a safety pin or a bodkin to feed it through. Add cord stoppers if you want a tidy, adjustable finish.
- For a double-cord look, thread two cords in opposite directions so the bag tightens evenly.
- Secure ends with a small knot or a dab of fabric glue for a clean finish.
Finish, press, and store (pin-worthy final touches)
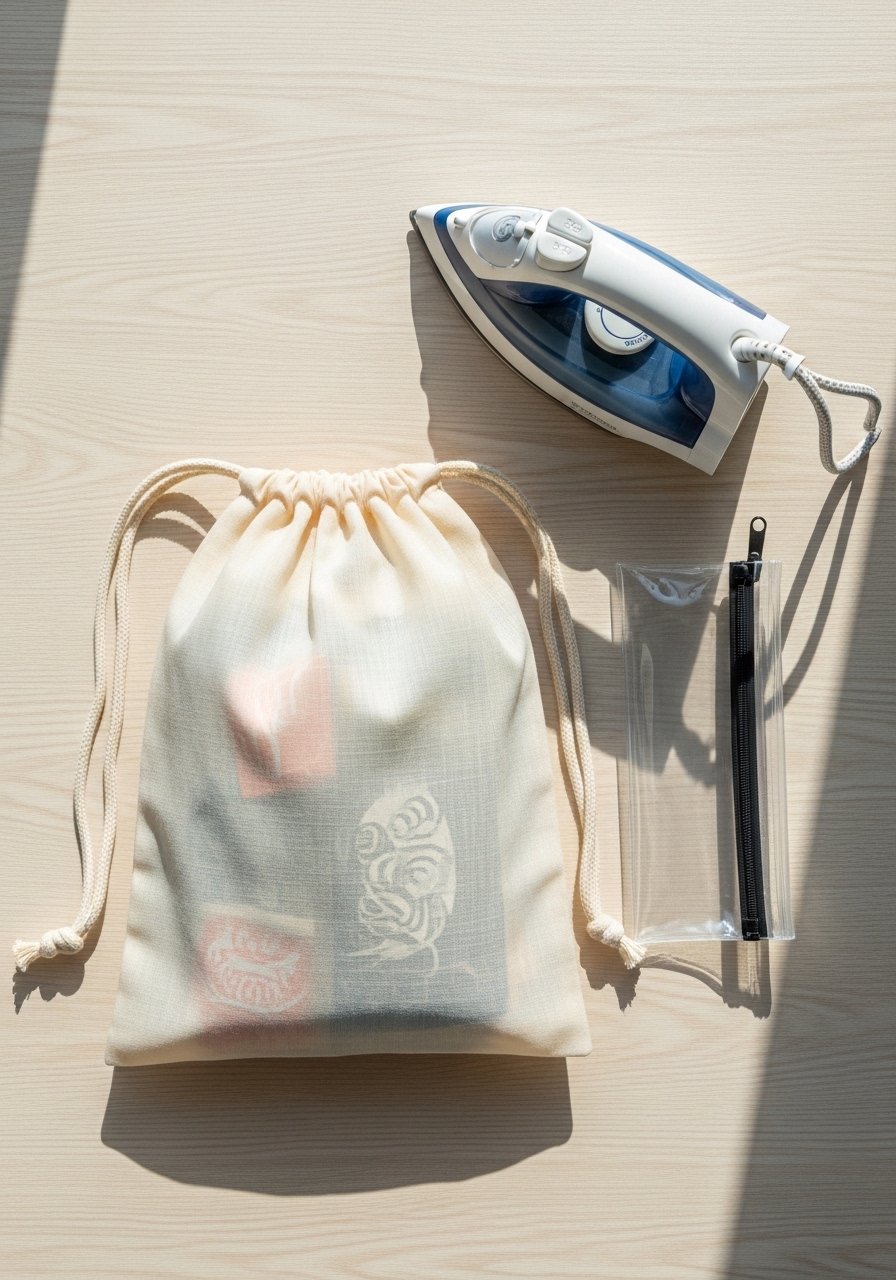
Give your bag a final press with a mini steam iron or household iron using a press cloth. This sharpens seams and makes the bag look professionally made.
- Store extra cords and spare bags in clear zip pouches so you can batch-make gifts.
- If gifting, tuck the pouch into a kraft bag with tissue for a cozy presentation.
Troubleshooting tips:
- If your casing puckers, increase stitch length slightly and press before topstitching.
- If the cord stalls while threading, clip on a cord stopper or attach the safety pin closer to the cord's end.
You just learned how to sew a drawstring bag for beginners, and made a useful, everyday pouch in one afternoon. This project builds basic straight-seam skills and gives you a customizable canvas for prints, upcycled fabric, or holiday gifts. Pin this guide for your next craft afternoon and try swapping fabrics for different looks—linen for gifts, canvas for heavy use. Which fabric will you try first? Ready to make it? Let's go!





