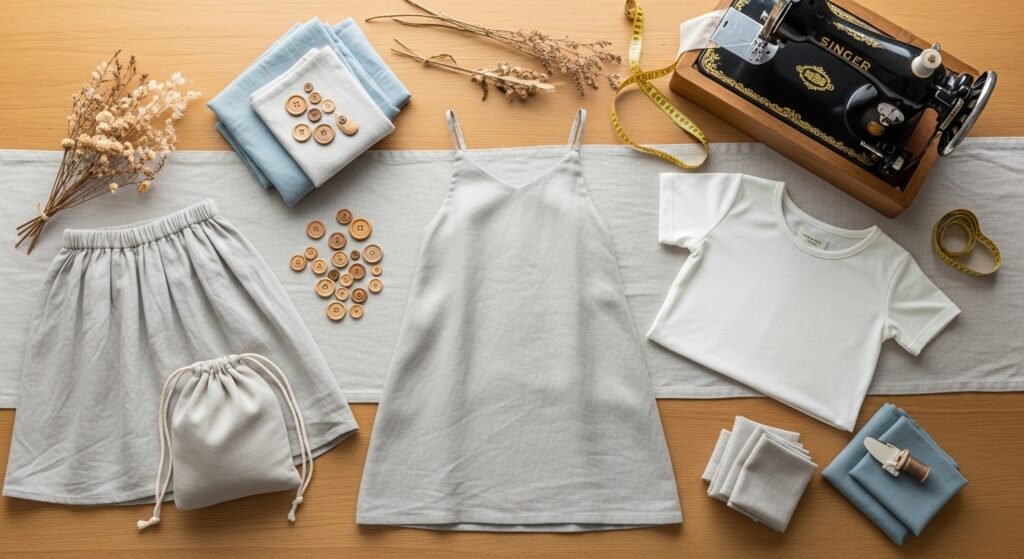
Ready to sew clothes you’ll actually wear? If you’ve ever stared at a pattern and felt unsure where to start, these 21 sewing projects for beginners clothes will get you sewing wearable, stylish pieces fast. You’ll find approachable garments that teach core skills—straight seams, elastic casings, bias binding, and simple fitting—without needing years of experience.
Each project includes a clear materials list with exact measurements, step-by-step instructions, realistic prep and sewing times, and finishing tips. I mention helpful tools where they speed things up—like my go-to Singer sewing machine for reliable straight stitching and a sharp Olfa rotary cutter for quick, accurate cutting. These projects are styled for modern aesthetics—cottagecore linens, relaxed boho cottons, and clean Japandi neutrals—so you’ll have garments that look thoughtfully made.
Pin this post, grab some cotton or linen, and let’s make clothing that fits your life and style—one simple stitch at a time.
- Elastic Waist Midi Skirt — sewing projects for beginners clothes
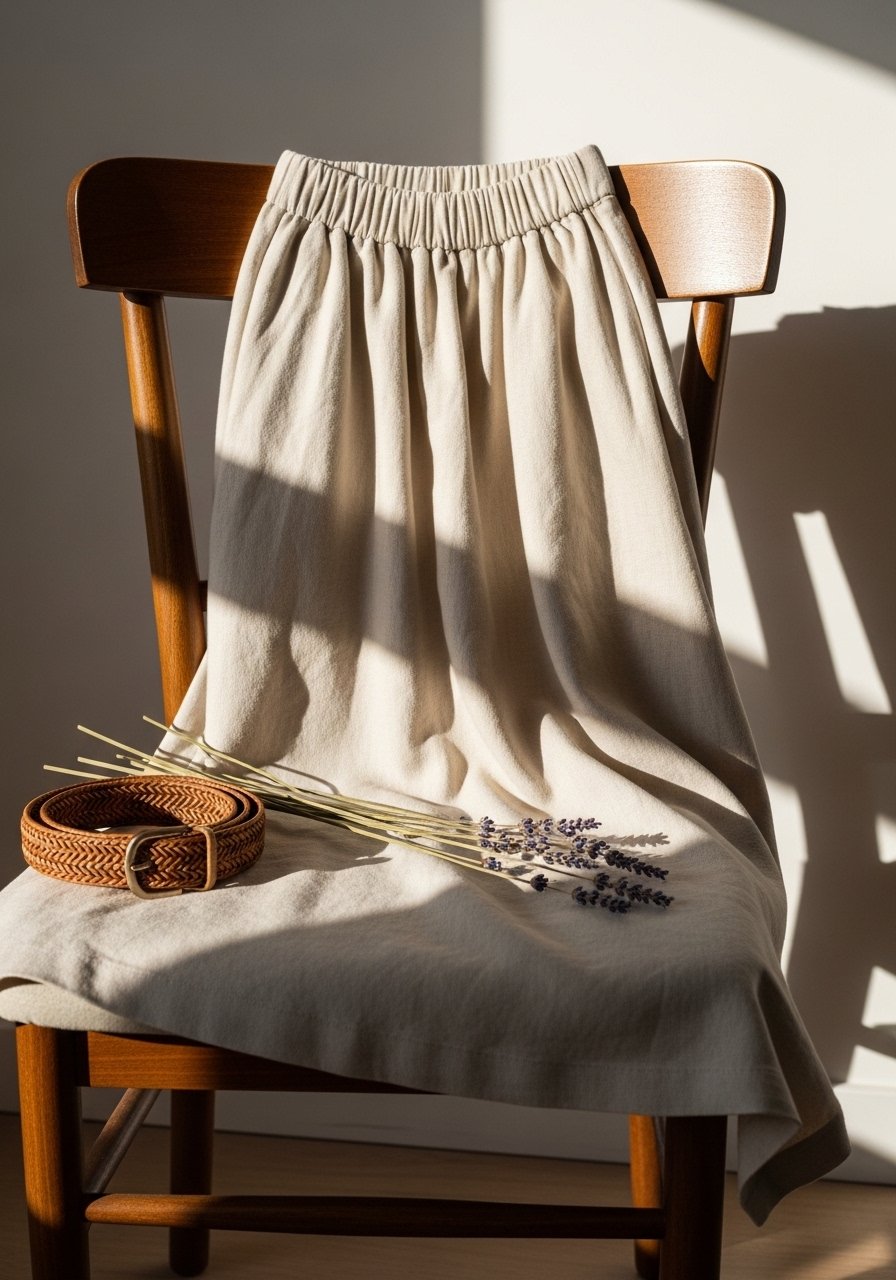
This elastic waist midi skirt is forgiving on fit and super wearable. It feels breezy in linen and looks polished in cotton sateen. You’ll practice straight seams, hemming, and inserting elastic—skills that carry to many garments. Beginners and gift-makers will love the effortless silhouette and the soft drape you get with natural fibers.
Materials
- 1.5–2 yards medium-weight linen or cotton (for sizes XS–L use 1.5 yds, XL+ use 2 yds)
- 1 inch wide elastic, 32–36 inches depending on waist size
- Matching thread
- Sewing pins or Clover Wonder Clips (set of 50)
- 1/4 inch elastic casing safety pin
- Fabric scissors (or Fiskars fabric scissors)
- Measuring tape
- Iron and ironing board
Instructions
- Measure your waist and add 2 inches for overlap. Cut a rectangle: waist measurement + 4 inches by desired skirt length + 1.5 inches for hem and waistband (e.g., 30" waist → cut 34" x 26").
- Finish the short raw edge by folding 1/4 inch then another 1/4 inch and sewing a straight stitch to close the side seam. Press flat.
- With right sides together, fold the rectangle in half along the long edge and stitch a 5/8 inch seam along the side to form a tube. Press seam open.
- Fold the top edge down 1 inch to create the casing for elastic. Press and pin, leaving a 2-inch opening for the elastic.
- Thread elastic using a safety pin. Overlap ends 1 inch and secure with a zigzag stitch. Close casing opening and topstitch around the waistband for a finished look.
- Hem the bottom by pressing 1/4 inch, then 1 inch and stitch. Press the hem for a crisp edge.
- Give the skirt a final press. If linen is used, steam for a soft drape.
How to Display or Gift It
Fold and tuck into a kraft gift box with a sprig of dried lavender. Wear with a tucked tee and sandals for a relaxed cottagecore look. Store folded in breathable cloth garment bags to avoid creasing. For travel, roll the skirt to save space. A small wooden hanger set makes unwrapping feel boutique.
- Simple A-Line Dress — sewing projects for beginners clothes

This A-line dress delivers clean lines and easy construction. It’s roomy through the hip, so you learn garment shaping without fitting drama. The dress looks great in lightweight cotton or chambray and is perfect for beginner-friendly summer wardrobes.
Materials
- 2–2.5 yards lightweight cotton or chambray (size dependent)
- Matching thread
- Three 3/4 inch wooden or resin buttons
- 1/2 inch interfacing, 12 inches
- Dress pattern or drafted front/back pieces (simple A-line)
- Olfa rotary cutter and self-healing mat
- Pins or Clover Wonder Clips
- Iron
Instructions
- Trace or cut pattern pieces: front, back, and two shoulder straps. Add 3/8 inch seam allowance.
- Finish shoulder seams: right sides together, stitch 3/8 inch, press open.
- Attach interfacing to button placket area on the front facing. Fold and topstitch the placket edges for stability.
- Sew side seams together with 3/8 inch seam allowance. Press seams toward the back.
- Hem the neckline and armholes by folding 1/4 inch then 3/8 inch and stitch. Press.
- Evenly space and mark three buttonholes on the placket; sew buttonholes using a tight zigzag. Attach buttons to the back placket.
- Hem the bottom by folding 1/4 inch and then 1 inch; stitch and press.
How to Display or Gift It
Hang on a small wooden hanger and pair with a linen scarf for a styled gift. For storage, use a breathable cotton garment bag. Make multiples in different colors for a seasonal capsule wardrobe. A lightweight fabric storage box keeps things tidy.
- Elastic Lounge Shorts
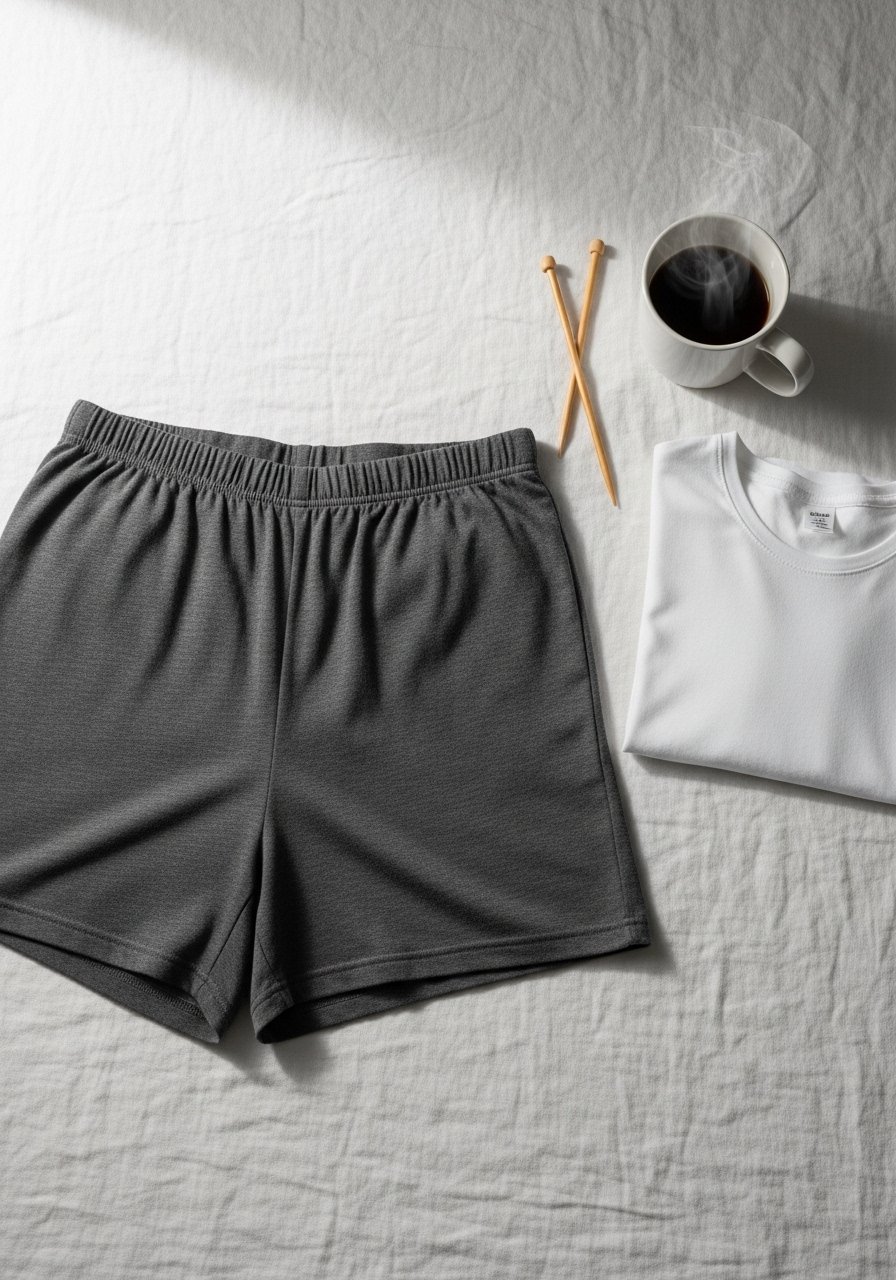
These elastic lounge shorts sew up quickly and are perfect for practicing curved seams and casings. They’re cozy in knit fabrics and forgiving if seams wander slightly, so beginners build confidence fast.
Materials
- 1 yard stretch knit fabric (for sizes XS–M; 1.5 yards for larger)
- 1 inch elastic, 26–34 inches depending on waist
- Matching polyester thread
- Ballpoint sewing machine needle (size 80/12)
- Fiskars rotary cutter and mat
- Pins or clips
- Measuring tape
- Serger or zigzag stitch setting
Instructions
- Cut two front and two back curved pieces using a simple shorts pattern. Add 1/2 inch seam allowance.
- With right sides together, stitch the front and back center seams with a 3/8 inch seam using a stretch stitch or zigzag. Press gently.
- Join crotch seam right sides together and sew with stretch stitch. Trim seam allowances to 1/4 inch.
- Fold waistband down 1 inch + 1/4 inch (for topstitch) and stitch leaving a 2-inch opening to insert elastic.
- Thread elastic and join ends with a secure zigzag. Close casing and topstitch.
- Hem the legs by folding 1/2 inch and stitching with a twin needle or stretch stitch for a professional look.
- Give a light steam press—avoid overstretching the knit.
How to Display or Gift It
Pair with a matching sleep tee and wrap in tissue for a cozy gift set. Store folded in a drawer organizer to keep the fabric soft. A set of drawer organizer bins works great for multiples.
- Bias-Cut Scarf Top
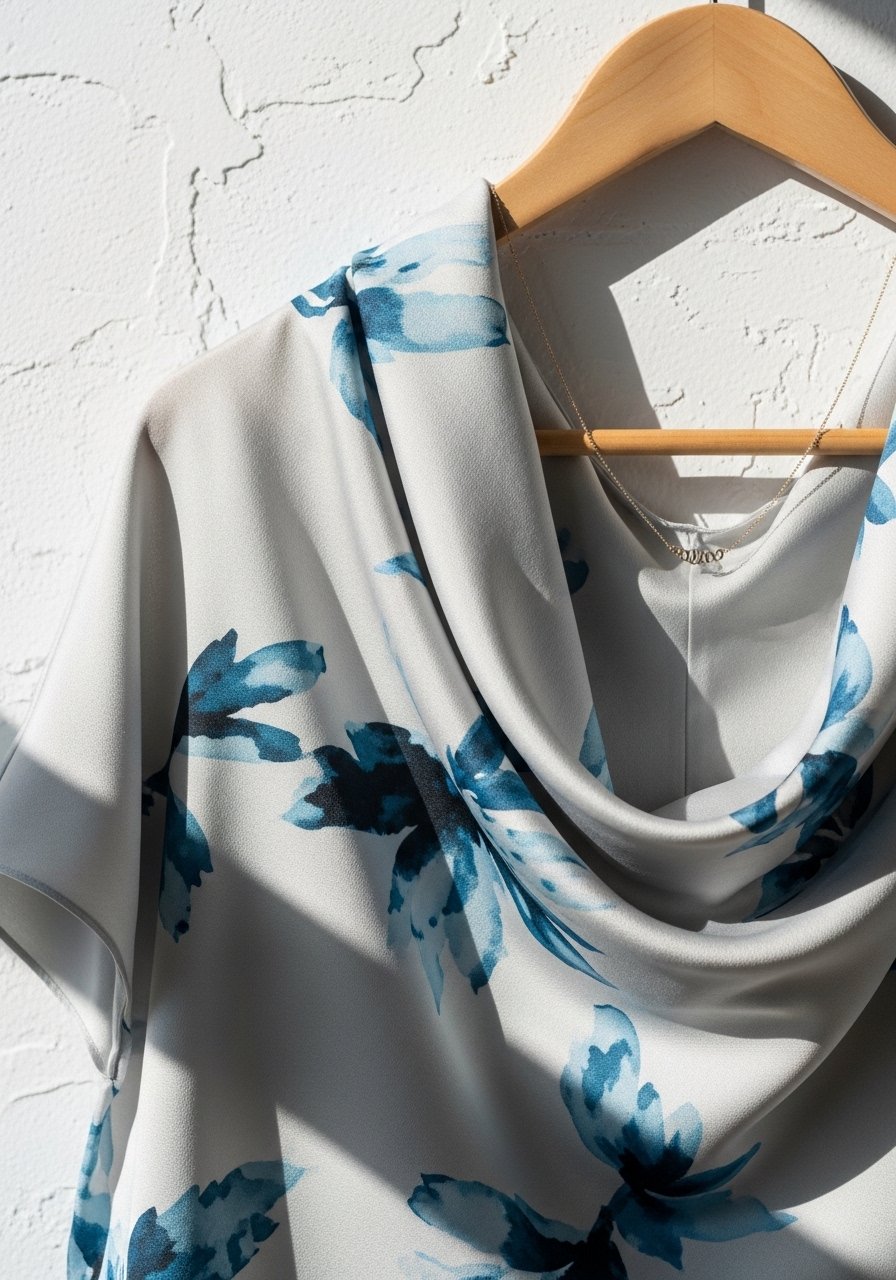
A bias-cut scarf top is an elegant beginner sew that uses bias grain for flattering drape. It’s a great intro to bias binding and delicate finishing. Choose silk-look viscose or lightweight rayon for a floaty finish.
Materials
- 1 yard lightweight viscose or rayon (top can be cut from a single scarf-sized rectangle)
- 1/4 inch bias tape, 2 yards (or make your own from leftover fabric)
- Matching thread
- Sewing machine with straight stitch
- Olfa rotary cutter
- Pins or clips
- Steam iron
Instructions
- Cut a rectangle 24 x 40 inches for a one-size scarf top (adjust width for smaller/larger fits).
- Fold rectangle in half widthwise, slide over head, and tie shoulder knots or finish with straps.
- For a more finished look, bind all edges with 1/4 inch bias tape: stitch bias tape to right side along raw edge, fold over and topstitch.
- For straps, cut two 2 x 24 inch bias strips, fold and stitch, then attach securely to top corners.
- Press all seams flat. Use a narrow zigzag if fabric frays.
- Try on and adjust length by trimming and re-securing bias tape.
- Give a final steam for a soft sheen.
How to Display or Gift It
Fold and tuck into a silk tissue-lined envelope for gifting. Style with high-waist jeans and a woven belt for an effortless summer outfit. Store on a padded hanger to keep the bias shape. A set of padded hangers protects delicate fabrics.
- Simple A-Line Top (Shift) — sewing projects for beginners clothes
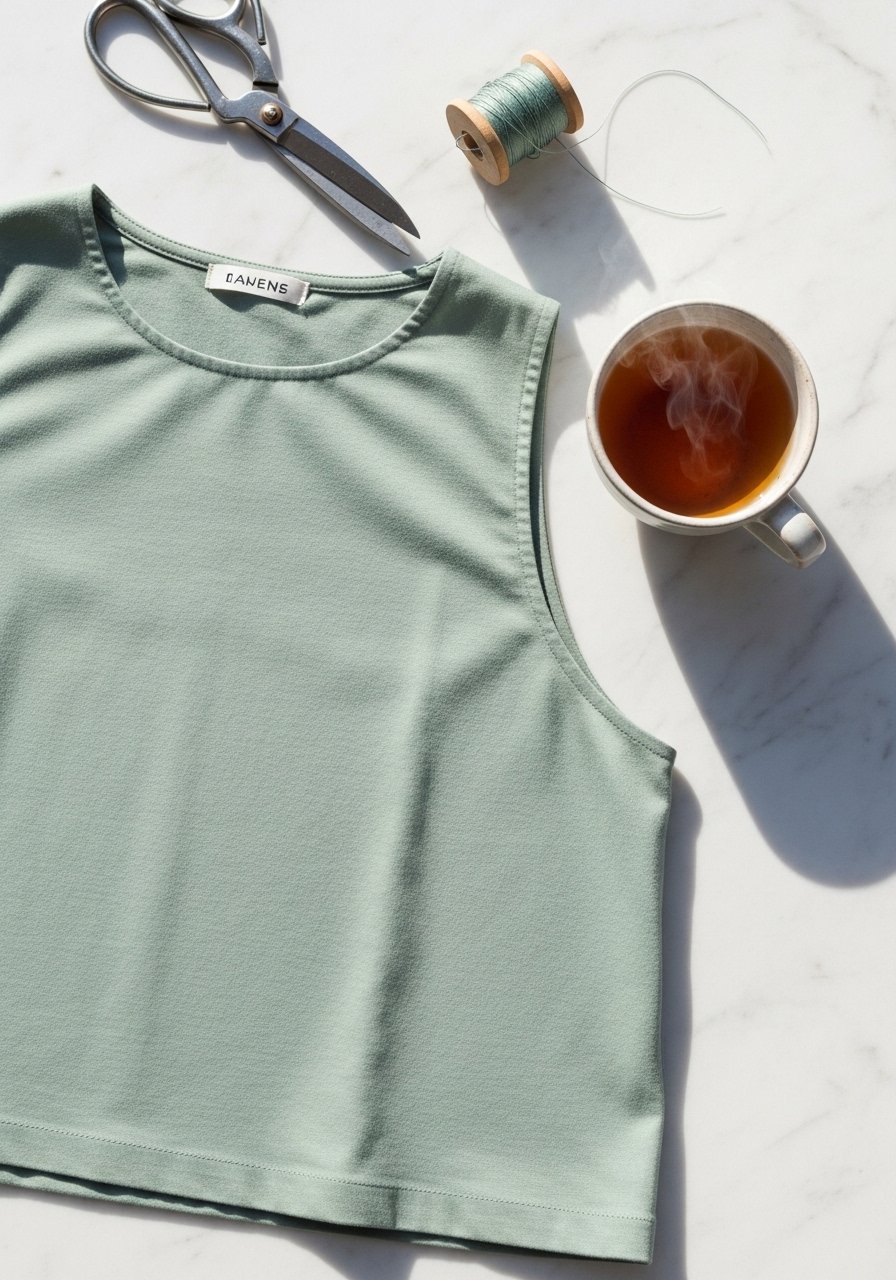
This shift top is a pared-back, modern silhouette that teaches straight seams, neckband finishing, and hemming. It’s quick to cut and sew and pairs nicely with jeans or skirts for a capsule look.
Materials
- 1–1.5 yards medium-weight cotton or linen
- Matching thread
- Neckband fabric: 1/4 yard rib or same fabric
- Dritz seam ripper
- Sewing pins
- Sewing machine
- Iron
Instructions
- Cut front and back rectangles from a simple shift pattern. Add 3/8 inch seam allowance.
- With right sides together, sew shoulder seams and press open.
- Attach neckband: measure neckline, cut strip 90% of neckline length by 2.5 inches, fold lengthwise, stretch slightly and stitch to neckline with a stretch stitch.
- Sew side seams from hem to armhole with 3/8 inch seam allowance. Press seams toward back.
- Hem sleeves and bottom by folding 1/4 inch then 1/2 inch and stitching.
- Press all seams flat for a clean finish.
- Try on and adjust side seams if needed.
How to Display or Gift It
Pair the top with a simple wooden hanger and a handwritten styling note. Store folded to keep the neckline neat. For gift-wrapping, use kraft paper and twine. A garment storage box keeps extras fresh.
- Wrap Skirt with Tie Closure

Wrap skirts are forgiving on fit and teach you how to make neat ties and finish raw edges. They work in woven fabrics like cotton lawn or linen. The tie closure lets you adjust fit—a great beginner-friendly feature.
Materials
- 1.5–2 yards lightweight woven fabric (depending on size)
- Matching thread
- 1 inch fusible interfacing, 6 inches
- Fabric for tie straps: 2 strips of 4 x 40 inches
- Pins or clips
- Iron and pressing cloth
- Fiskars fabric scissors
Instructions
- Cut a rectangle for the main skirt: (hip measurement ÷ 2) + 6 inches width by desired skirt length + 2 inches.
- Cut two long tie strips 4 x 40 inches, fold long edges to center and press, then fold again and stitch to make sturdy ties.
- Hem the outer skirt edges with 1/2 inch double fold. Press.
- Create a reinforced channel at the waist edge by folding 1 inch and topstitching 1/4 inch from fold; leave enough space for tie to pass through.
- Attach ties at side seams or slit openings, securing with a square of interfacing and topstitching.
- Overlap wrap so it fits and tie at the side to check drape. Adjust length and tie placement as needed.
- Press all seams; add a small snap inside to secure the wrap if desired.
How to Display or Gift It
Roll the skirt and place in a craft gift tube for a playful unwrapping. Style with a woven belt and sandals for a summer look. A small set of gift tubes adds a boutique feel.
- Simple Pajama Pants
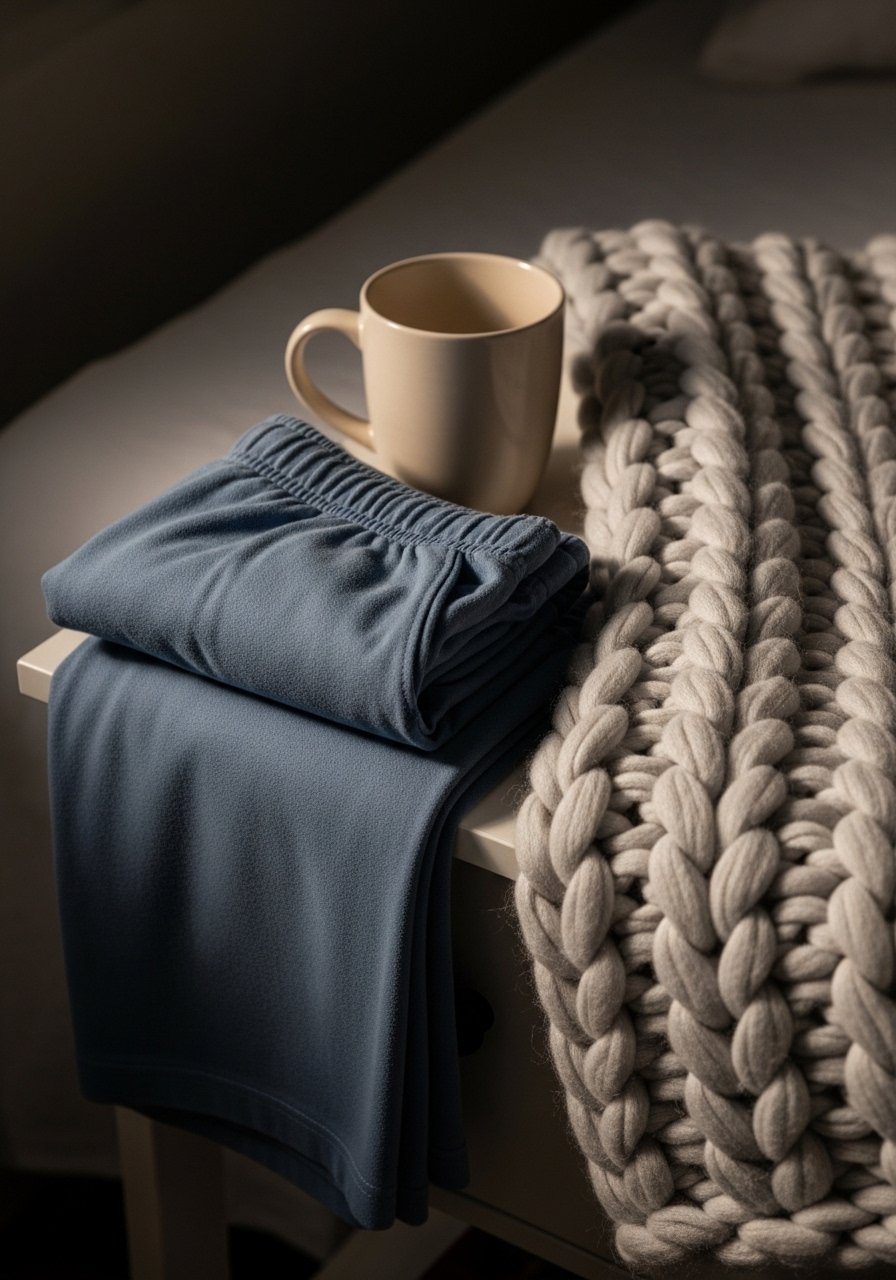
Pajama pants are roomy and forgiving—ideal for learning waistband casings and gathering. You’ll get comfortable with measurement ease and comfortable finishes.
Materials
- 2 yards brushed cotton or flannel
- 1 inch elastic, waist measurement + 2 inches
- Matching thread
- Ballpoint needles if using knits (if applicable)
- Clover Wonder Clips
- Measuring tape
- Iron
Instructions
- Cut two pajama pant pieces from a simple pattern. Add 5/8 inch seam allowance.
- Sew inner leg seams: right sides together, stitch from crotch down to hem on both legs.
- With right sides together, match and sew crotch seam joining both legs.
- Create waistband casing by folding 1.25 inches down, press, and stitch leaving a 2-inch gap to insert elastic.
- Thread elastic, secure ends with zigzag stitching, and close casing.
- Hem legs by folding 1/2 inch then 1 inch and sewing.
- Press seams flat and give a final steam.
How to Display or Gift It
Pair with a matching sleep mask and pack in a kraft gift box. Store folded in a linen drawer organizer. For sets, label sizes with adhesive tags inside. A set of fabric storage boxes keeps pajamas tidy.
- Tank Top with Bias Binding

A tank top with bias binding teaches neat edge finishes and gives a polished look without complicated hems. It’s flattering in cotton jersey or lightweight knits.
Materials
- 3/4–1 yard knit fabric
- 1 yard pre-made bias tape or make your own from fabric
- Polyester stretch thread
- Ballpoint needle (size 80/12)
- Olfa rotary cutter
- Pins or clips
- Sewing machine with a stretch stitch
Instructions
- Cut front and back tank shapes with 3/8 inch seam allowances.
- Finish shoulder seams with a narrow zigzag or stretch stitch. Press.
- Attach bias tape: open bias tape, align raw edge to raw edge, stitch, fold over, and topstitch to encase raw edges.
- Sew side seams with stretch stitch and press.
- Hem bottom with a narrow twin-needle hem or stretch stitch, folding 1/2 inch.
- Try on and adjust strap width by trimming and reattaching bias.
- Give a gentle steam—avoid stretching the knit.
How to Display or Gift It
Roll and tie with twine and a dried sprig for a boutique feel. Store on padded hangers to keep the neckline from stretching. A set of padded hangers protects delicate knits.
- Wrap-Front Top
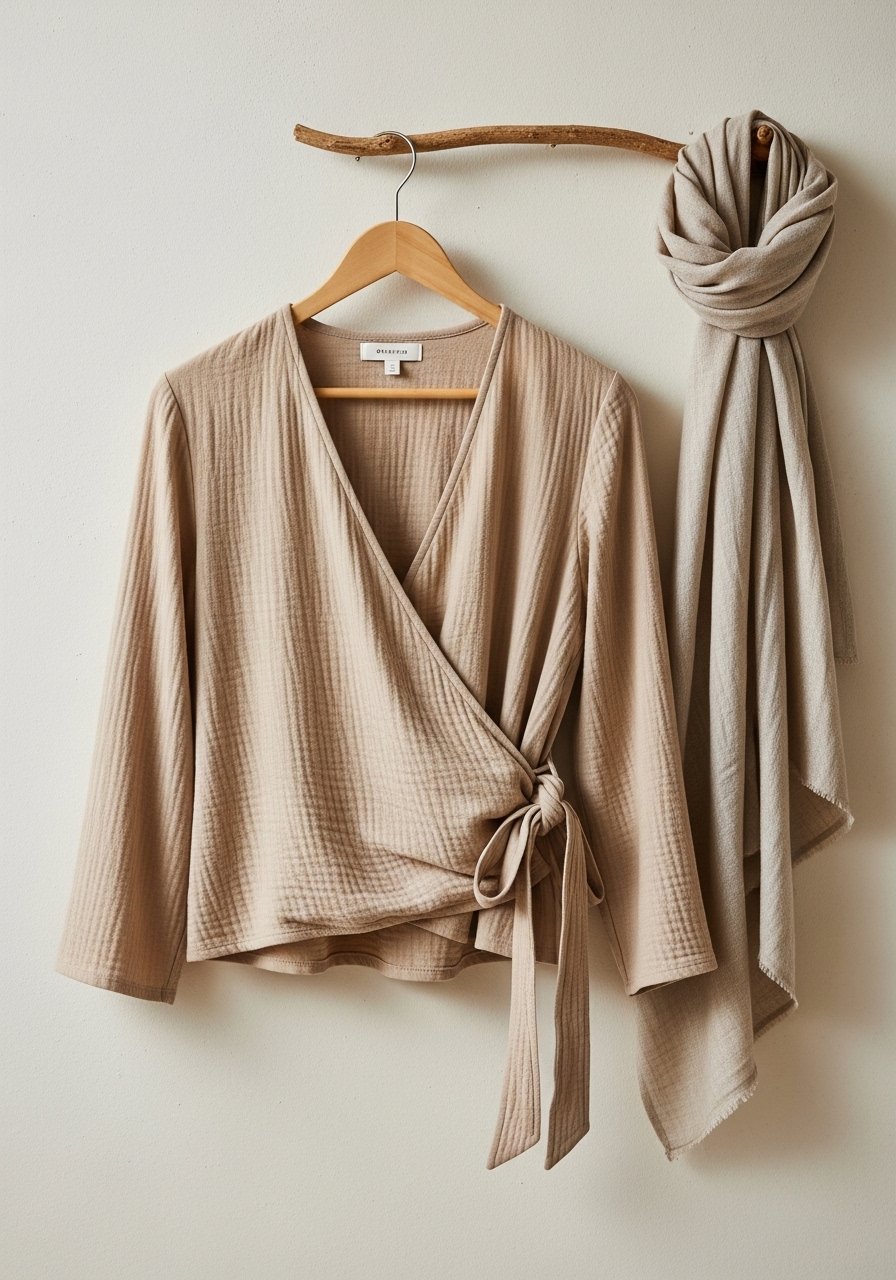
This wrap-front top looks high-end but sews up simply. It’s a great lesson in facings, ties, and fit adjustments. The wrap silhouette flatters many shapes and is ideal for layered looks.
Materials
- 1–1.5 yards lightweight cotton or viscose
- Matching thread
- 1/2 yard lightweight fusible interfacing (for facings)
- Pins or Clover Wonder Clips
- Sewing machine
- Iron
Instructions
- Cut front wrap panels, back panel, and facings from a simple pattern.
- Interface the facings and stitch them to the front and back neckline. Understitch to keep facing inside.
- Sew shoulder seams and side seams with 3/8 inch seam allowance.
- Attach long ties to the waist seams or create straps using folded fabric strips.
- Press the wrap edges and understitch if needed for a flat finish.
- Try on and adjust tie placement for comfortable wrap and drape.
- Hem the bottom and sleeve edges by folding and stitching 1/2 inch.
How to Display or Gift It
Wrap in kraft tissue and tie with ribbon for gifting. Pair with high-waisted trousers for a chic look. Store on a hanger to show off the wrap front. A wooden hanger set keeps presentation neat.
- Gathered Tiered Skirt

Tiered skirts teach gathering techniques and sewing layered seams. You’ll practice even gathers and joining curved seams without fitting headaches. The tiers add volume while still being easy to sew.
Materials
- 2.5–3 yards lightweight cotton (depending on tiers and size)
- 1 inch elastic, waist measurement + 2 inches
- Matching thread
- Sewing machine and gathering foot (optional)
- Olfa rotary cutter and mat
- Pins
- Iron
Instructions
- Cut top, middle, and bottom tier rectangles. Example for a midi skirt: Top (waist ÷ 4) + 1 inch by 8 inches; Middle (top width x 2) + 2 inches by 10 inches; Bottom (middle width x 2) + 2 inches by 12 inches.
- Finish raw edges of tiers with a serger or zigzag.
- Gather the top edge of the middle tier to match the bottom edge of the top tier by using long basting stitch and pulling threads to distribute gathers evenly.
- Sew tiers together with 5/8 inch seam allowance and press seam upward.
- Repeat for bottom tier to middle.
- Create waistband casing: fold 1.25 inches, stitch leaving opening for elastic. Thread elastic and secure with zigzag.
- Hem bottom edge with 1 inch double fold and stitch.
How to Display or Gift It
Pair with a cropped top and place on a wooden hanger for gifting. For storage, hang to keep tiers uncreased. A wooden hanger set helps present it nicely.
- Linen Button-Up Shirt (Simple Collar)
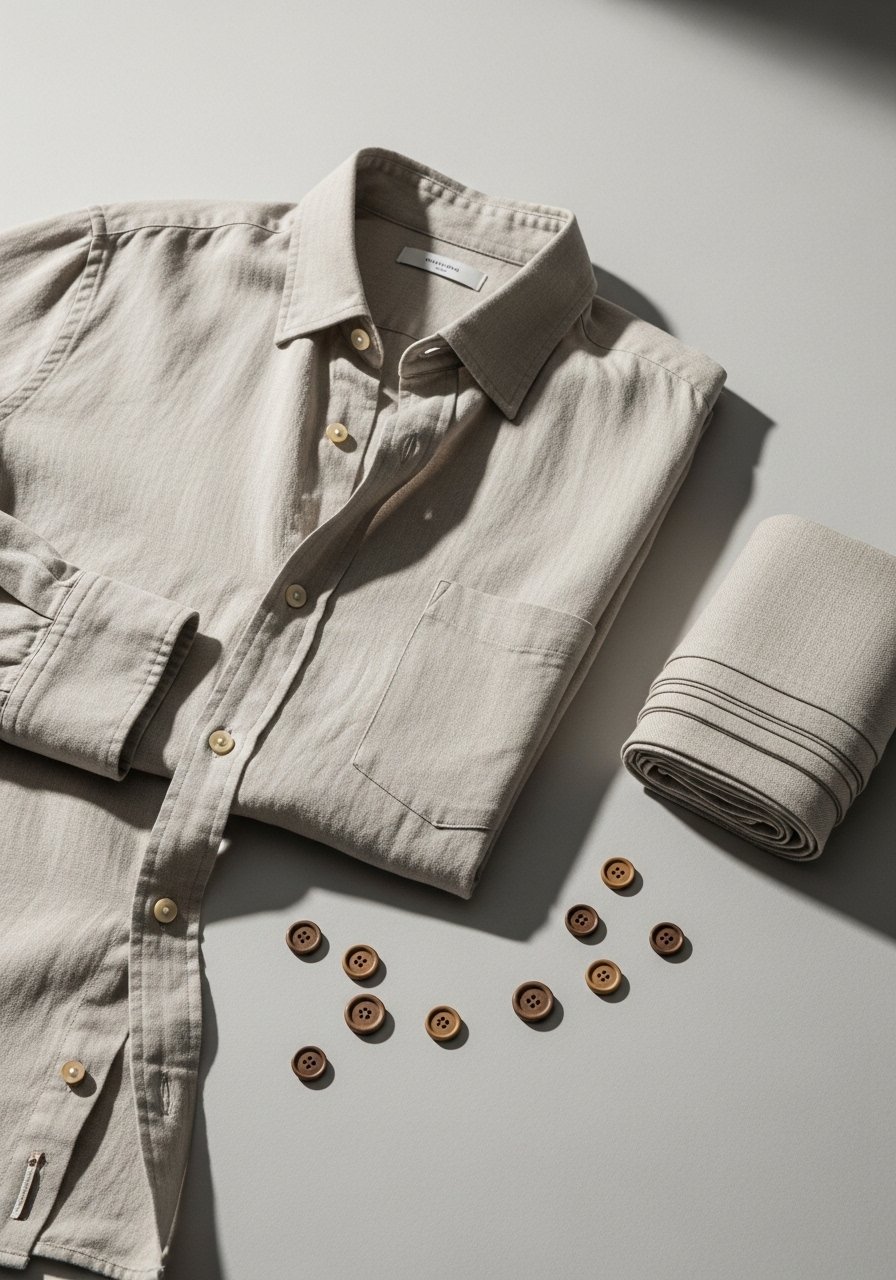
A simple button-up shirt introduces collars and button plackets without complicated shaping. Using linen gives a relaxed, breathable feel—perfect for warm months and easy to wear.
Materials
- 2–2.5 yards linen for sizes S–L
- Matching thread
- 8–10 buttons (depending on shirt length), 3/4 inch
- Lightweight fusible interfacing for collar and placket
- Dritz seam ripper
- Sewing machine
- Iron
Instructions
- Cut front, back, sleeves, collar, and placket pieces. Add 3/8 inch seam allowances.
- Interface collar and placket pieces. Sew shoulder seams and attach back yoke if included.
- Set sleeves into the armholes with easing, matching notches.
- Sew side seams and underarm seams in one continuous seam from sleeve cuff to hem.
- Prepare placket: fold placket edges and topstitch. Attach buttons and mark buttonholes evenly along the front.
- Sew collar pieces together, turn, press, and attach to neckline.
- Hem cuffs and bottom hem with double-fold hems, press well.
How to Display or Gift It
Fold neatly and place in a linen-lined box. Style with rolled sleeves and a basket bag for visuals. Store hanging to keep the collar crisp. A wooden hanger set is useful.
- DIY Cropped Tee — sewing projects for beginners clothes
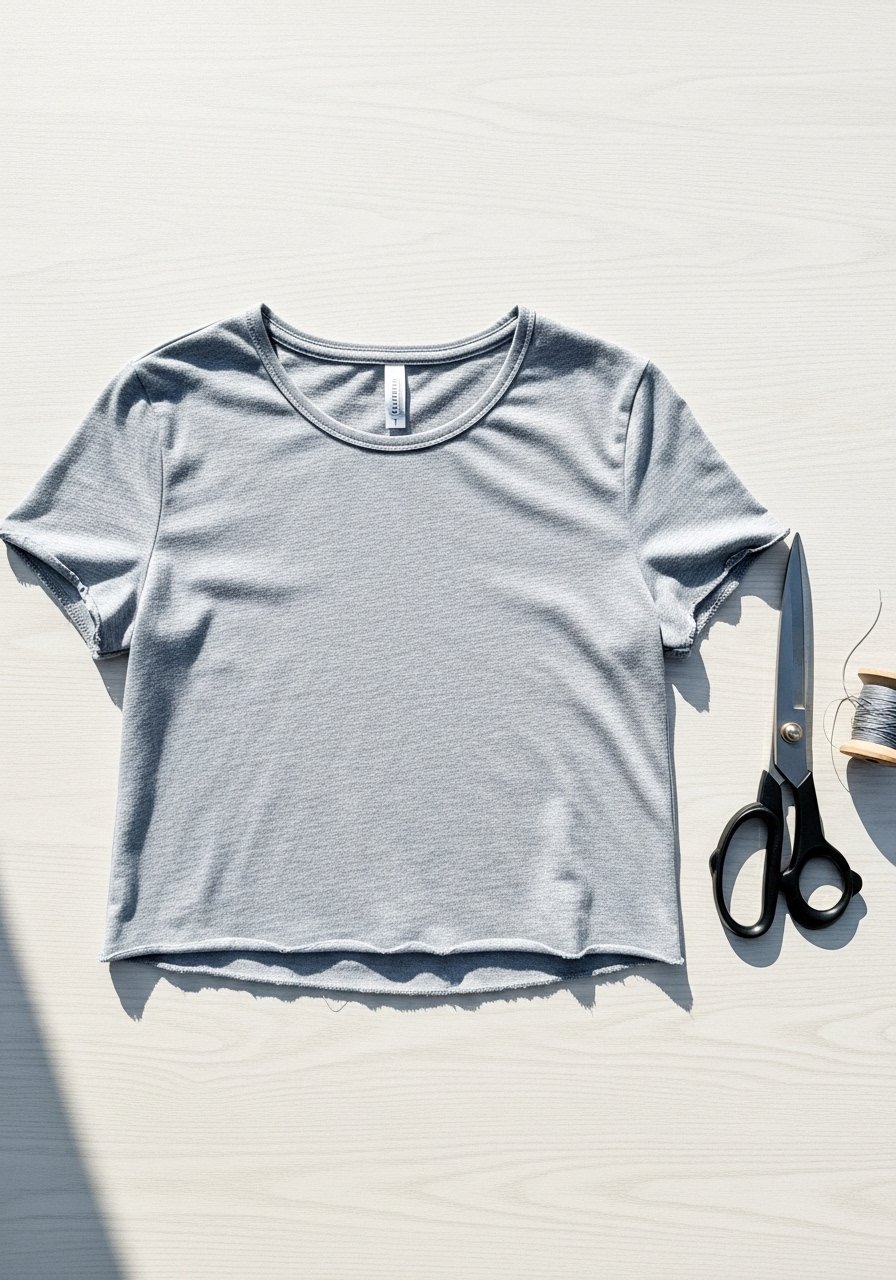
This cropped tee is a quick sew that helps you learn about cutting knits and finishing raw hems. It’s sturdy in cotton jersey and fast enough to make multiple colorways for a capsule wardrobe.
Materials
- 3/4–1 yard cotton jersey
- Polyester stretch thread
- Ballpoint needles (80/12)
- Measuring tape
- Fiskars rotary cutter
- Pins or clips
Instructions
- Cut front and back rectangles based on bust measurement: width (bust ÷ 4) + 2 inches, length desired cropped length + 1 inch.
- Shape neckline and armholes by trimming curves; keep seam allowances 3/8 inch.
- Sew shoulder seams with stretch stitch and press seam.
- Attach neckband by cutting a strip (90% of neckline length) x 2.5 inches, fold and stitch stretching slightly.
- Sew side seams with stretch stitch, finish edges.
- Hem bottom with a narrow twin-needle or leave as raw edge and wash for natural fray.
- Press lightly.
How to Display or Gift It
Pair with high-waisted jeans for a complete look. Fold and tie with twine for gifting. Store rolled to avoid shoulder stretches. A set of fabric storage bins keeps tees organized.
- Wide-Leg Culottes
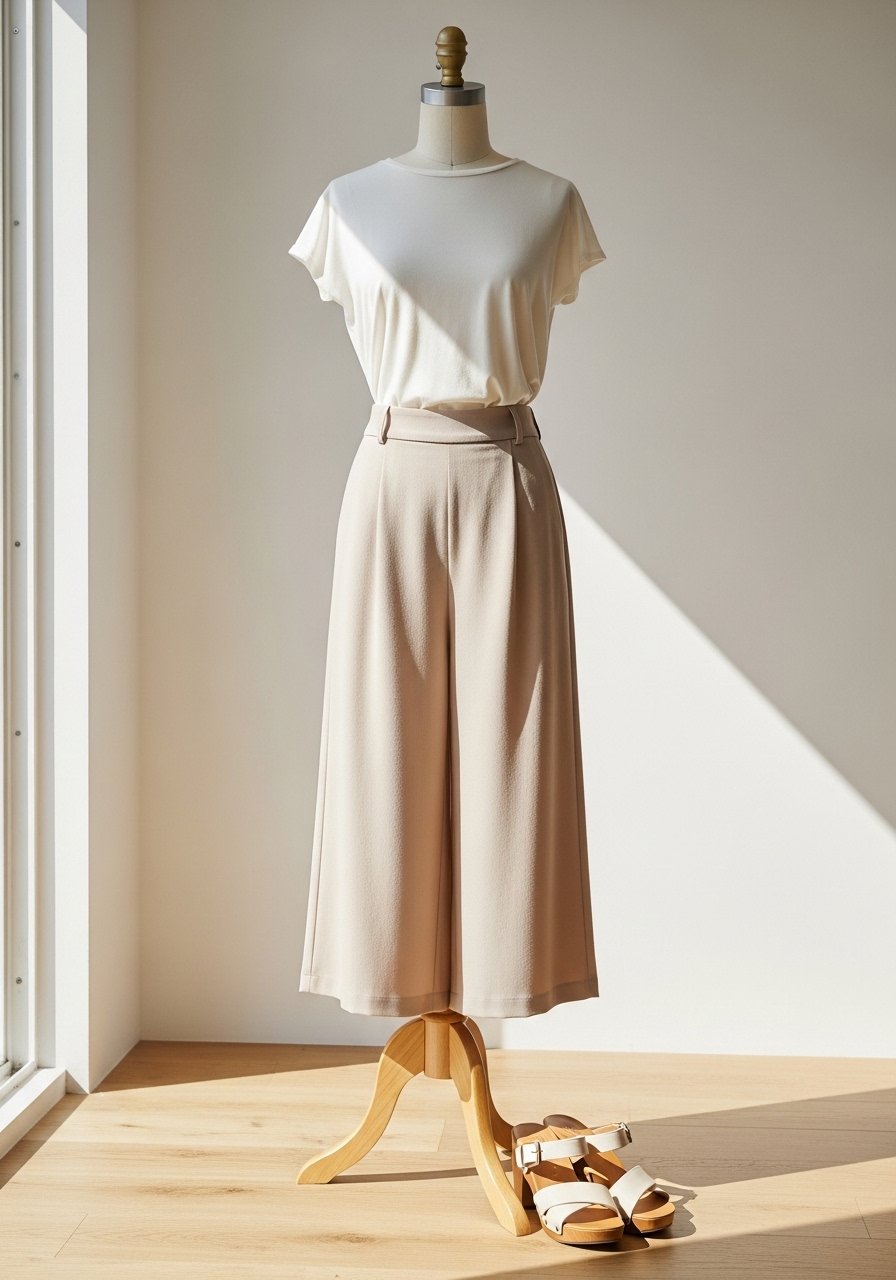
Culottes teach wide-leg construction, working with grain lines, and hemming wider hems. They’re forgiving on fit and make for chic, comfortable pants beginners will reach for often.
Materials
- 2–2.25 yards medium-weight linen or rayon
- Matching thread
- 1 inch elastic or flat waistband interfacing
- Sewing machine
- Olfa rotary cutter and mat
- Pins
- Iron
Instructions
- Cut front and back culotte pieces using a wide-leg pant pattern. Add 5/8 inch seam allowances.
- Sew front and back rise seams and press.
- Join inner leg seams and press. Sew outer side seams.
- Create a waistband—a folded casing for elastic or a flat waistband with interfacing and a zipper if preferred.
- Insert elastic or attach waistband. For elastic, leave opening then join ends and close.
- Hem wide legs by folding 1 inch double fold and stitching.
- Press seams and sides for a crisp finish.
How to Display or Gift It
Hang on a clamp hanger to show the wide leg. Style with a tucked top and sandals. Store on a hanger with clips. Use clothes clip hangers to display.
- Simple Kimono Jacket
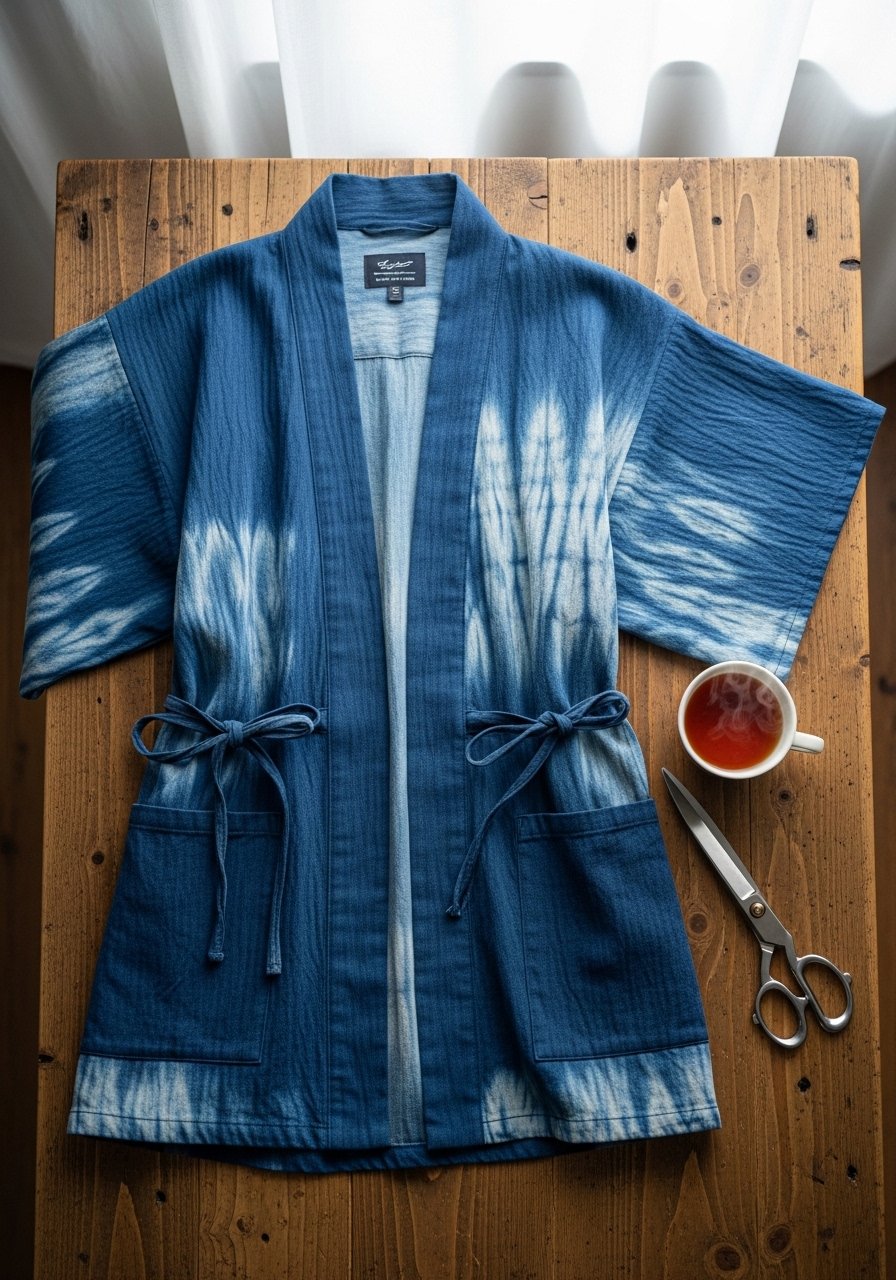
A kimono jacket is a no-fuss outer layer that introduces wide sleeves and straight-edge finishing. It’s a forgiving shape with a chic, layered look.
Materials
- 1.5–2 yards lightweight fabric (e.g., rayon, viscose)
- Matching thread
- Olfa rotary cutter
- Pins
- Iron
Instructions
- Cut a rectangle for the body and two sleeve rectangles. Example body: (width = chest measurement + 20 inches) by desired length + 2 inches.
- Fold body in half and cut a shallow neckline.
- Attach sleeves by aligning sleeve center to shoulder seam and sewing along top edge.
- Finish raw edges with a narrow hem or bias binding.
- Hem sleeve ends and bottom edge with 1/2 inch double fold.
- Press all seams for clean lines.
- Try on and adjust sleeve width by taking in side seams slightly if desired.
How to Display or Gift It
Fold and present with a printed styling card. Hang on a wooden hanger to show drape. Store in a breathable garment bag. A garment bag keeps layers fresh.
- Bias Wrap Dress (Knot Detail)

Bias wrap dresses drape beautifully and teach working on the bias—great for learning how fabric behavior changes with grain. The knot detail adds visual interest and requires only basic finishing.
Materials
- 2–2.5 yards bias-friendly fabric like rayon or silk crepe
- Matching thread
- Dritz seam ripper
- Bias tape (optional)
- Sewing machine
- Pins
Instructions
- Cut dress panels on the bias: angle your pattern pieces at 45 degrees to the fabric grain.
- Sew shoulder seams and side seams with 3/8 inch allowance.
- Create long neck and waist ties by cutting bias strips and stitching into tubes, turning, and pressing.
- Attach ties securely at side seams or integrate into pattern as directed.
- Finish edges with narrow rolled hem or bias binding.
- Try on to adjust knot placement and tie length.
- Press gently; delicate fabrics benefit from a pressing cloth.
How to Display or Gift It
Wrap the dress in tissue and tuck a care card inside. Hang on a padded hanger to avoid creasing. For gifting, include a small fabric steamer for quick refreshes.
- Utility Shirt Jacket (Shacket)

The shacket combines shirt and jacket elements—great for learning topstitching, patch pockets, and button plackets. It’s sturdy and works well in twill or denim.
Materials
- 2–2.5 yards medium-weight cotton twill or denim
- Matching thread (topstitch weight if possible)
- 4–6 buttons
- Lightweight fusible interfacing
- Singer sewing machine
- Topstitching needle and thread
Instructions
- Cut front, back, sleeves, collar, and pocket pieces.
- Interface collar and placket areas. Sew shoulder seams and attach sleeves.
- Add patch pockets on the chest, topstitching for strength.
- Sew side seams and underarm seams.
- Prepare and attach button placket, sew buttonholes, and attach buttons.
- Hem the body and sleeve cuffs, topstitching for a rugged finish.
- Press everything well; topstitching looks great after a firm press.
How to Display or Gift It
Style with jeans and boots for product photos. Fold and package in a kraft box. A small gift box set gives a handmade boutique vibe.
- Pillowcase Dress (Kids)
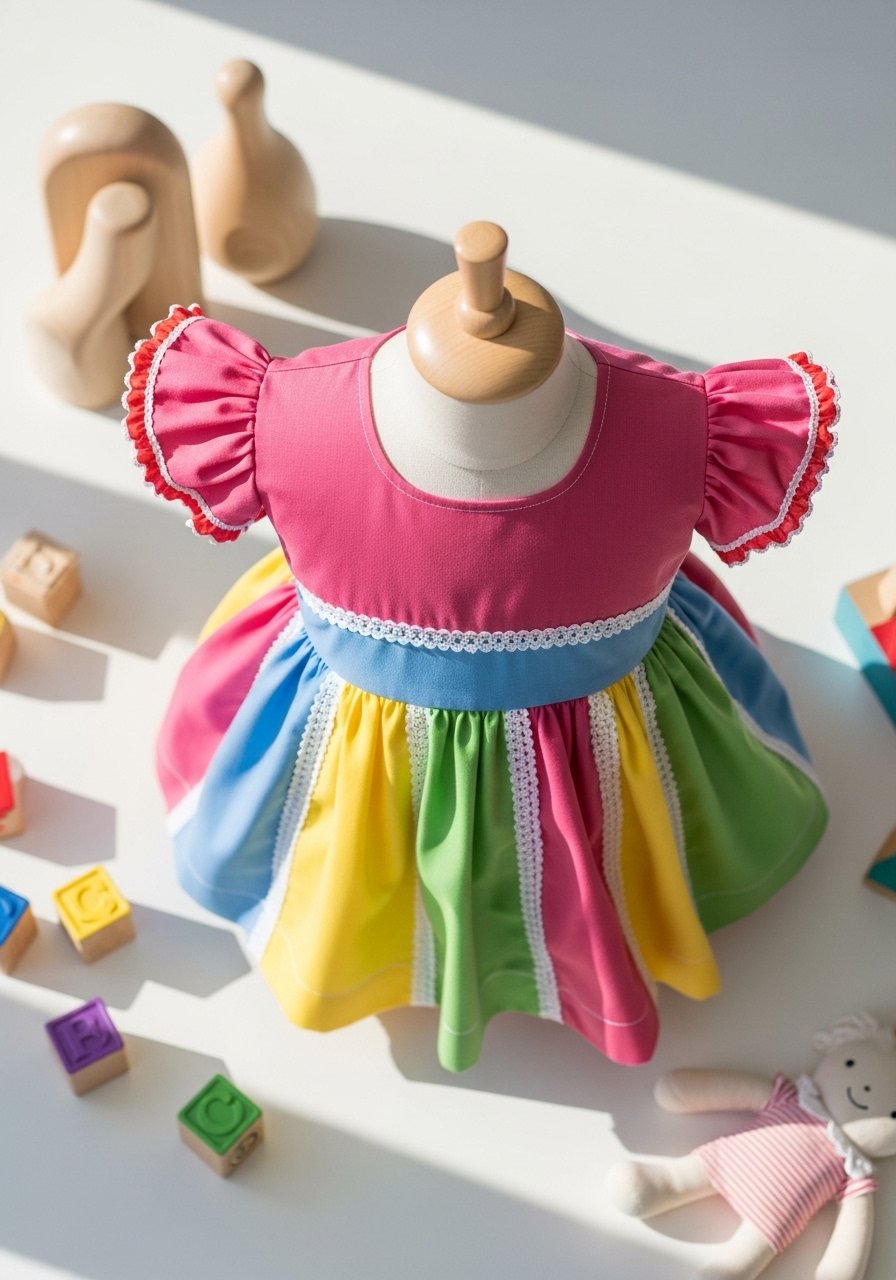
The pillowcase dress is a classic beginner kids’ project that’s quick and forgiving. It’s a lovely introduction to casing and elastic and a sweet gift for little ones.
Materials
- 1 yard fun cotton print
- 1/2 inch elastic, waist measurement + 2 inches
- Matching thread
- Ric-rac or ribbon trim (1–2 yards)
- Pins or clips
- Sewing machine
Instructions
- Fold fabric lengthwise; cut to a rectangle sized for child’s chest by desired dress length plus 1.5 inches.
- Sew side seams with 1/2 inch seam allowance.
- Create armhole casings by folding 1/2 inch then 3/4 inch, stitch leaving space to insert elastic.
- Thread elastic to create gathered armholes or waist depending on design.
- Attach ric-rac or ribbon across the chest if desired—topstitch to secure.
- Hem bottom with 1/2 inch double fold and stitch.
- Press seams and trim threads.
How to Display or Gift It
Fold with a ribbon and a small care card for gifting. Store in a drawer organizer until ready to gift. A set of kraft gift boxes makes presentation sweet.
- Simple Overalls (Pinafore)

Overalls introduce hardware like buttons and teach layering a bib to the body. They’re practical, adorable, and let you practice reinforced seams.
Materials
- 1–1.5 yards denim or cotton canvas (kids); 2–2.5 yards for adult sizes
- Matching thread
- Four 3/4 inch buttons
- Lightweight interfacing for bib
- Dritz snap fasteners (optional)
- Sewing machine
Instructions
- Cut bib, straps, front and back pant pieces according to pattern.
- Interface bib for structure. Sew straps and attach to bib.
- Sew front and back pant pieces, join at side seams and crotch.
- Attach bib to waist band or top edge with topstitching.
- Add buttons on bib and corresponding buttonholes on straps.
- Hem pant legs and finish raw edges.
- Press all seams for a neat look.
How to Display or Gift It
Fold overalls with a wooden button displayed on top and wrap in tissue. Store on a small hanger to keep shape. A wooden hanger set works well for kids’ pieces.
- Drawstring Sundress

A drawstring sundress teaches casings and drawstring channels and is adjustable for fit. It’s a great summer project that’s quick to sew and easy to adjust.
Materials
- 1.5–2 yards lightweight cotton
- Cotton cord or ribbon 1/4 inch, 80–100 inches depending on dress size and style
- Matching thread
- Sewing machine
- Safety pin for threading drawstring
- Pins
Instructions
- Cut front and back bodice and skirt panels. Add 3/8 inch seam allowance.
- Sew shoulder seams and side seams of bodice.
- Join skirt panels and sew side seams.
- Attach bodice to skirt with 5/8 inch seam allowance.
- Create a drawstring casing at the waist by folding 1 inch then 1 inch again and stitching to leave a channel.
- Thread cord using a safety pin and knot ends.
- Hem bottom with a double fold and press.
How to Display or Gift It
Tie dress with ribbon and tuck in a small note for gifting. Store on a hanger or folded in a drawer organizer. A set of storage boxes keeps linens and dresses organized.
- Simple Pencil Skirt with Back Slit

A pencil skirt introduces vents/slits and learning how to sew stretch fabrics for clean, professional results. Ponte knit gives structure and stretch for comfort.
Materials
- 1–1.5 yards ponte knit or stretch fabric
- Matching stretch thread
- Ballpoint needle (80/12)
- Zipper (optional) or elastic waistband
- Sewing machine with narrow zigzag or stretch stitch
- Pins
Instructions
- Cut front and back pieces based on hip measurements and desired length. Add 3/8 inch seam allowance.
- Sew side seams with a stretch stitch. Press seams.
- Create back vent: fold and stitch a small fold at the slit edges, understitch as needed for neatness.
- Attach waistband or create elastic casing depending on style.
- If adding a zipper, insert a centered back zipper and finish seam allowances neatly.
- Hem bottom with a twin needle or narrow stitch.
- Press and finish.
How to Display or Gift It
Wrap the skirt on a padded hanger and add a styling card. Store hanging to maintain shape. A set of padded hangers is helpful.
- Simple Wrap Dress (Beginner Friendly)

This final project combines wrapping and bias finishing into a beginner-friendly dress. It’s flattering, adjustable, and a nice culmination of the skills you’ve practiced in earlier projects.
Materials
- 2–2.5 yards cotton or rayon depending on size
- Matching thread
- Bias binding for neck and edges: 2 yards
- Sewing machine
- Pins or Clover Wonder Clips
- Iron
Instructions
- Cut front, back, and two tie panels from a basic wrap dress pattern; add 3/8 inch seam allowances.
- Assemble shoulder seams and attach facings or bind neck edges with bias tape.
- Sew side seams and finish raw edges with serging or zigzag.
- Attach ties securely to the waist seams or create long straps to tie around the waist.
- Finish wrap edges with bias binding for crispness and strength.
- Try on and adjust tie length and overlap for modesty and comfort.
- Hem bottom with 1 inch double fold and press.
How to Display or Gift It
Fold and present on a wooden hanger with a ribbon. For gifting, include a small care card and a fabric steamer suggestion. Store on a hanger to preserve the wrap silhouette. A handheld fabric steamer is a thoughtful add-on.
You made it through 21 wearable, beginner-friendly sewing projects for beginners clothes—everything from casual tees to breezy dresses. Each project builds practical skills: hemming, elastic casings, bias finishing, button plackets, and neat topstitching. Try one that fits your wardrobe needs and style, then make another in a different fabric to practice the same technique.
Save this post to your sewing board and share it with a friend who wants to learn. Which project will you try first—an easy skirt or a cozy pair of lounge shorts? If you only pick one tool to add to your sewing kit, a reliable Singer sewing machine with a straight and zigzag stitch made every project easier for me—clean stitches, less fuss, and faster finishing.
Happy sewing—and don’t forget to pin your favorites so you can come back when inspiration strikes!





