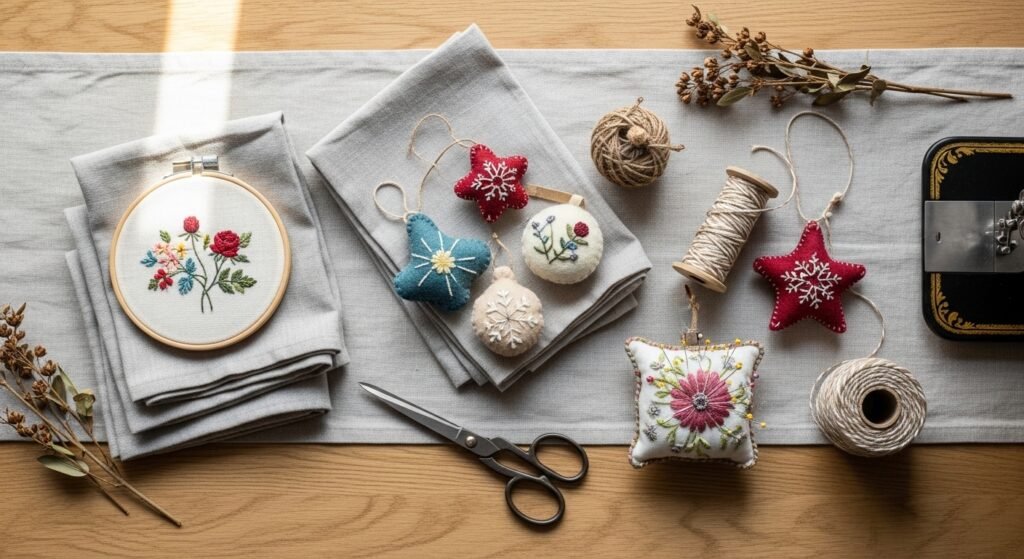
You love crafty weekends but want projects that actually get finished. These 25 seasonal sewing projects for beginners are small, practical, and festive for every time of year. You’ll find quick gift ideas, holiday décor, and everyday pieces that teach basic stitches, simple zippers, and how to finish raw edges cleanly.
Each project includes exact materials, realistic measurements, and step-by-step instructions so you can get started with confidence. I mention tools I use—like my Cricut Joy cutting machine for quick fabric shapes and a low-temp hot glue gun for finishing touches—when they genuinely speed up the job. You’ll also see tips to avoid common beginner mistakes like wavy seams, uneven stuffing, and puckering.
Pin this for later and pick a project to match the season. Ready? Grab a rotary cutter, a scrap of cotton, and a cup of tea—let’s sew!
- Cozy Holiday Fleece Throw (Easy winter blanket)

This no-sew fleece throw is perfect for beginners who want a festive gift without a machine. You’ll make neat fringe knots that look hand-crafted and cozy. The finish is plush and warm, great for movie nights or a seasonal couch throw. Kids can help with knotting, and it’s quick—about 45 minutes from start to finish.
Materials
- 1.5 yards of 60" wide fleece (patterned or solid)
- 1.5 yards of coordinating 60" wide fleece
- Sharp fabric scissors or rotary cutter
- Measuring tape
- Chalk pencil
- Cutting mat
- Optional: fringe comb
Instructions
- Lay both fleece pieces on top of each other, matching edges.
- Trim to square or rectangle, 48" x 60" recommended.
- Cut 4" by 1" strips along the four edges, spaced 1" apart, through both layers.
- Tie corresponding top and bottom fringe strips together as single knots.
- For a neater finish, tie double knots. Pull gently to snug; don’t over-tighten.
- Trim any uneven fringe with scissors.
How to Display or Gift It
Fold and tie with baker’s twine and tuck a dried eucalyptus sprig. Display over a sofa or at the foot of a bed. To store, roll and place in a breathable cotton storage bag to prevent wrinkles. This is a great last-minute present—pair with a mug and cocoa mix in a gift box.
- Spring Floral Embroidered Napkins
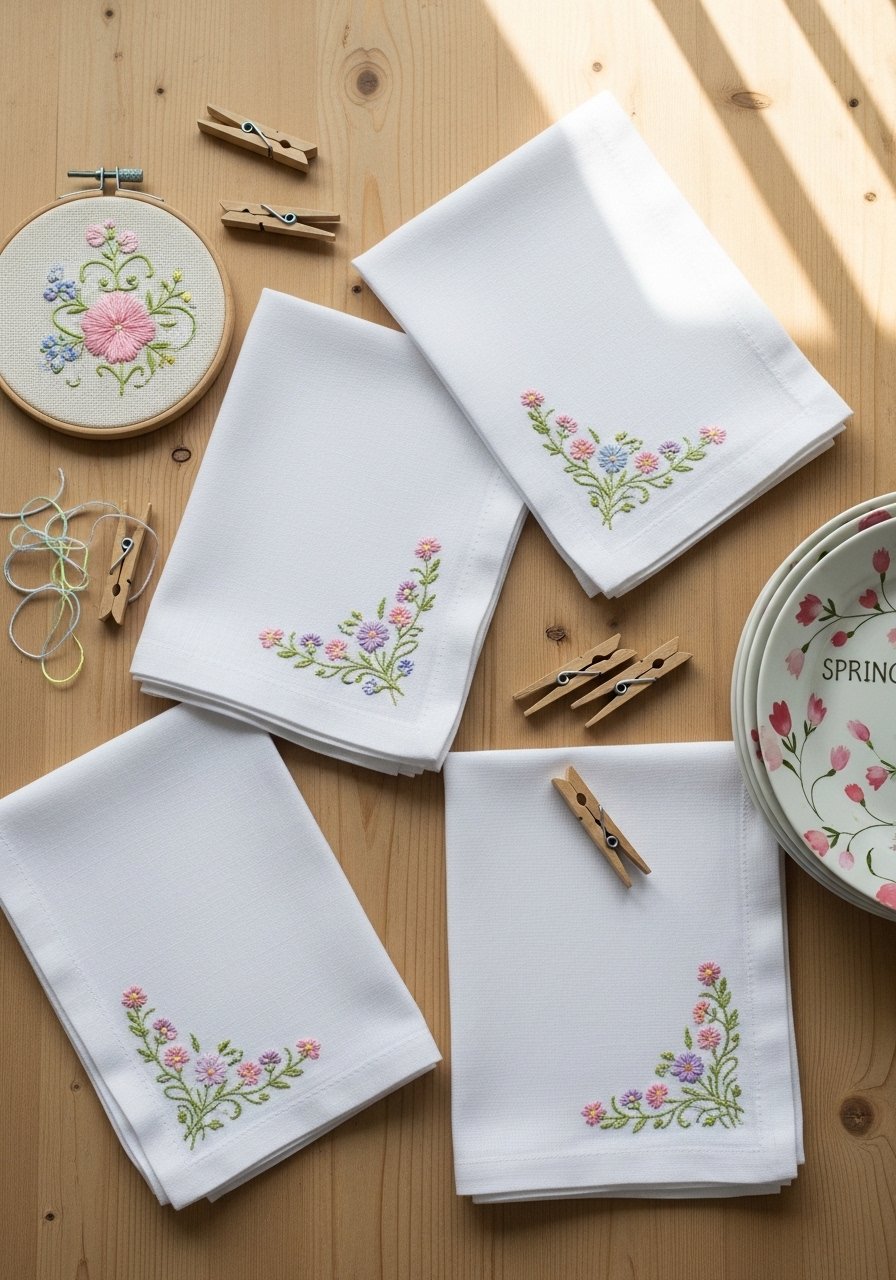
Hand embroidery turns simple linen napkins into a cottagecore-ready table set. This teaches you basic satin and backstitches and results in a soft, textured finish. Each napkin takes about 45–60 minutes once you trace the pattern.
Materials
- Four 18" square linen napkins
- Embroidery floss (6-strand), assorted pastel colors (10–12 strands total)
- Embroidery needle size 7
- Small embroidery hoop, 4–6"
- Water-soluble fabric pen
- Tracing paper or printable motif
- Scissors
- Optional: thimble
Instructions
- Place napkin in the hoop and smooth fabric tight.
- Trace a small floral motif in one corner using the water-soluble pen.
- Thread needle with two strands of floss for a neat stitch.
- Use backstitch for stems and satin stitch for petals.
- Keep stitches small (3–5 mm) for a delicate look.
- Rinse gently in cool water to remove markings. Let air dry flat.
How to Display or Gift It
Pair napkins with a linen table runner and tie as a set with ribbon. Store flat or folded in a drawer with lavender sachets. A wooden gift box makes a charming wedding or hostess present.
- Seasonal Sewing Projects for Beginners: Festive Felt Ornaments

Felt ornaments are tiny, satisfying stitches that teach you blanket stitch, stuffing, and simple applique. They’re lightweight, washable, and perfectly seasonal for holidays or themed trees. Each ornament takes 15–30 minutes.
Materials
- Wool-blend felt sheets, assorted colors (9" x 12")
- Embroidery floss, matching colors
- Polyester stuffing, small pinch per ornament
- Small buttons or sequins for embellishment
- Sharp embroidery needles
- Chalk pencil or template marker
- Template shapes (download or hand-drawn)
- Optional: ribbon or twine for hanging
Instructions
- Trace template onto felt twice for each ornament.
- Sew around with blanket stitch, leaving a 1" gap.
- Stuff lightly with polyester stuffing.
- Finish blanket stitch to close the gap.
- Add buttons or sequins with a few secure stitches.
- Attach a 4" ribbon loop and knot.
How to Display or Gift It
Hang on a tree, branch, or garland. Bundle several in a small kraft box and top with tissue paper for hostess gifts. Store flat between sheets of tissue in a craft organizer.
- Quick Easter Egg Fabric Garland (spring craft)

A simple stuffed-egg garland is a cheerful spring accent that teaches you basic hand-stitching and even simple machine topstitching if you like. The garland is lightweight and can be strung anywhere for Easter brunch.
Materials
- Scraps of 100% cotton quilting fabric, eight 4×6" pieces
- Lightweight cotton batting scraps, eight 3×5" pieces
- Needle and thread
- Sewing machine (optional) or hand-sew tools
- Ribbon or twine, 2 yards
- Chalk pencil and small egg template
- Scissors
- Optional: small wooden beads to space eggs
Instructions
- Trace egg template onto fabric pairs.
- Sew around eggs with 1/4" seam allowance, leaving 1" opening.
- Turn right side out and press lightly with an iron.
- Insert a small piece of batting and tuck edges.
- Slipstitch the opening closed.
- Space eggs evenly on 2-yard ribbon and secure with a few stitches or hot glue.
How to Display or Gift It
Drape across a mantel, shelf, or curtain rod. Tuck into Easter baskets. Store flat in a shallow box with tissue. Use a small craft organizer tray for beads and parts.
- Summer Market Tote (beginner sewing machine project)

This lined cotton tote teaches you straight seams, topstitching, and box corners. It’s practical for farmers’ markets and has a structured feel thanks to interfacing. Makes a great first machine-sewn bag.
Materials
- 1/2 yard of heavy-weight cotton canvas for exterior (18" x 22")
- 1/2 yard of quilting cotton for lining
- Interfacing, medium-weight, 18" x 22"
- Cotton webbing handles, 2 pieces 22" each
- Coordinating thread
- Sewing machine and universal needle size 90/14
- Rotary cutter and self-healing cutting mat
- Quilter’s ruler
Instructions
- Cut exterior and lining panels at 18" x 14".
- Fuse interfacing to exterior pieces following manufacturer’s heat settings; cool completely.
- Sew exterior panels right sides together on both sides.
- Box corners by folding each corner and sewing a 2" depth seam.
- Repeat for lining, leaving a 4" opening at base for turning.
- Insert lining into exterior (right sides together), align top edges, and sew around top.
- Turn through lining opening, press, and topstitch around top 1/8" from edge.
- Attach webbing handles by sewing a 2" box with an X for durability.
How to Display or Gift It
Fold flat and tuck into a recycled kraft bag for gifting. Use a small wooden clothespin to clip a handwritten recipe card to the handle. For storage, stack in a canvas bin.
- Halloween Trick-or-Treat Bag (kid-friendly)

This small drawstring bag teaches casing creation and applique. It’s fast—about 30–45 minutes—and kids can help choose fabrics and embellishments.
Materials
- 1/2 yard cotton fabric (outer)
- 1/2 yard cotton lining
- Cord or ribbon for drawstring, 36"
- Small pumpkin applique (felt)
- Sewing machine or needle for hand-sewing
- Safety pin for threading the drawstring
- Fray-check or fabric glue for applique
Instructions
- Cut two outer and two lining rectangles at 10" x 12".
- Create a 1" casing at top by folding fabric twice and stitching 1/8" from top edge.
- Sew outer pieces right sides together; box corners if desired.
- Sew lining pieces right sides together leaving a 3" gap at bottom.
- Turn outer bag right side out and insert into lining (wrong sides together).
- Thread cord through casing using a safety pin. Knot ends.
How to Display or Gift It
Fill with small toys or candies for trick-or-treating. Store folded in a costume box. For gifting, add a handcrafted name tag using a tiny clip.
- Reversible Table Runner (spring-to-summer)

A reversible runner introduces you to patchwork and pressing seams. The finished texture is crisp and modern-farmhouse—great for seasonal tabletop swaps.
Materials
- Two fabrics, 1/2 yard each (42" wide)
- Fusible interfacing strip for center, 42" x 8"
- Coordinating thread
- Iron and pressing cloth
- Sewing machine and 90/14 needle
- Rotary cutter and 24" ruler
- Clips or pins
Instructions
- Cut both fabrics to 16" x 54".
- Fuse interfacing to one fabric strip for extra body.
- Sew the two long edges together with right sides facing, leaving ends open for turning.
- Turn right side out and press edges flat.
- Topstitch 1/8" from the edge on both sides.
- Press runner flat and stitch ends closed with a ladder stitch or machine stitch.
How to Display or Gift It
Use one side for casual meals and flip for a formal look. Pack flat in a fabric gift envelope. Pair with matching napkins.
- Simple Fabric Pumpkin Trio (fall décor)
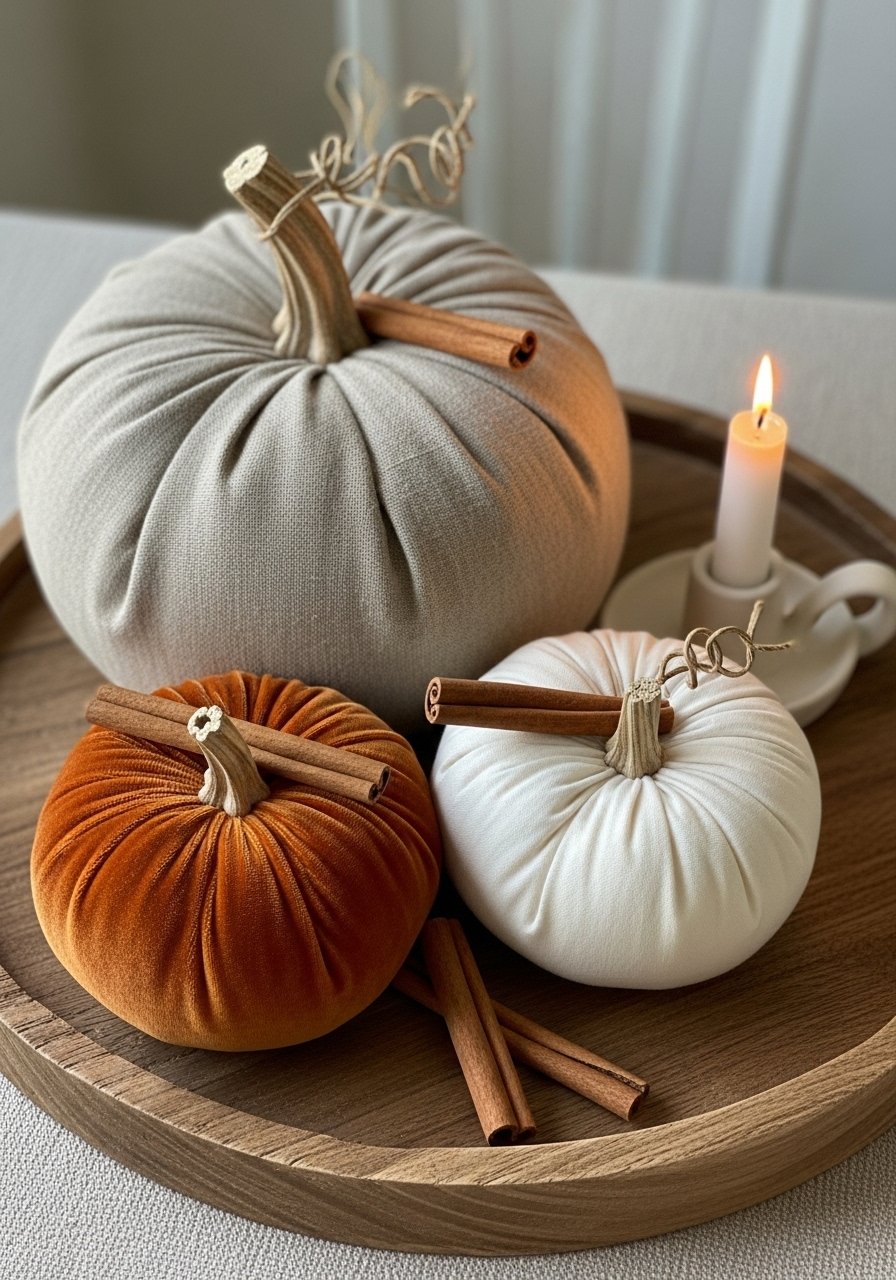
These fabric pumpkins are quick hand-sewn projects that teach you curved seams and gathering. The texture you choose (velvet, linen, cotton) changes the look from cozy to rustic.
Materials
- Fabric scraps: one 20" x 10", one 12" x 6", one 8" x 4"
- Polyester stuffing
- Twine or thick thread for gathering
- Wooden dowels or cinnamon sticks for stems, 3 pieces
- Needle and strong thread
- Scissors and measuring tape
- Hot glue gun (optional)
Instructions
- Cut fabric into rectangles sized above for three pumpkins.
- Fold each with right sides together along long edge and sew with 1/4" seam, leaving short ends open.
- Turn right side out and press seam.
- Thread a long running stitch along one short edge and pull to gather.
- Stuff with polyester filling until firm.
- Pull remaining edge closed with running stitch and secure.
- Wrap thick thread around the pumpkin’s center to create segments.
- Glue or insert a dowel for a stem.
How to Display or Gift It
Cluster on a mantel with mini gourds and candlelight. Store in an acid-free box with tissue to keep shapes. Tie together as a hostess gift.
- Basic Pillow Cover with Envelope Closure
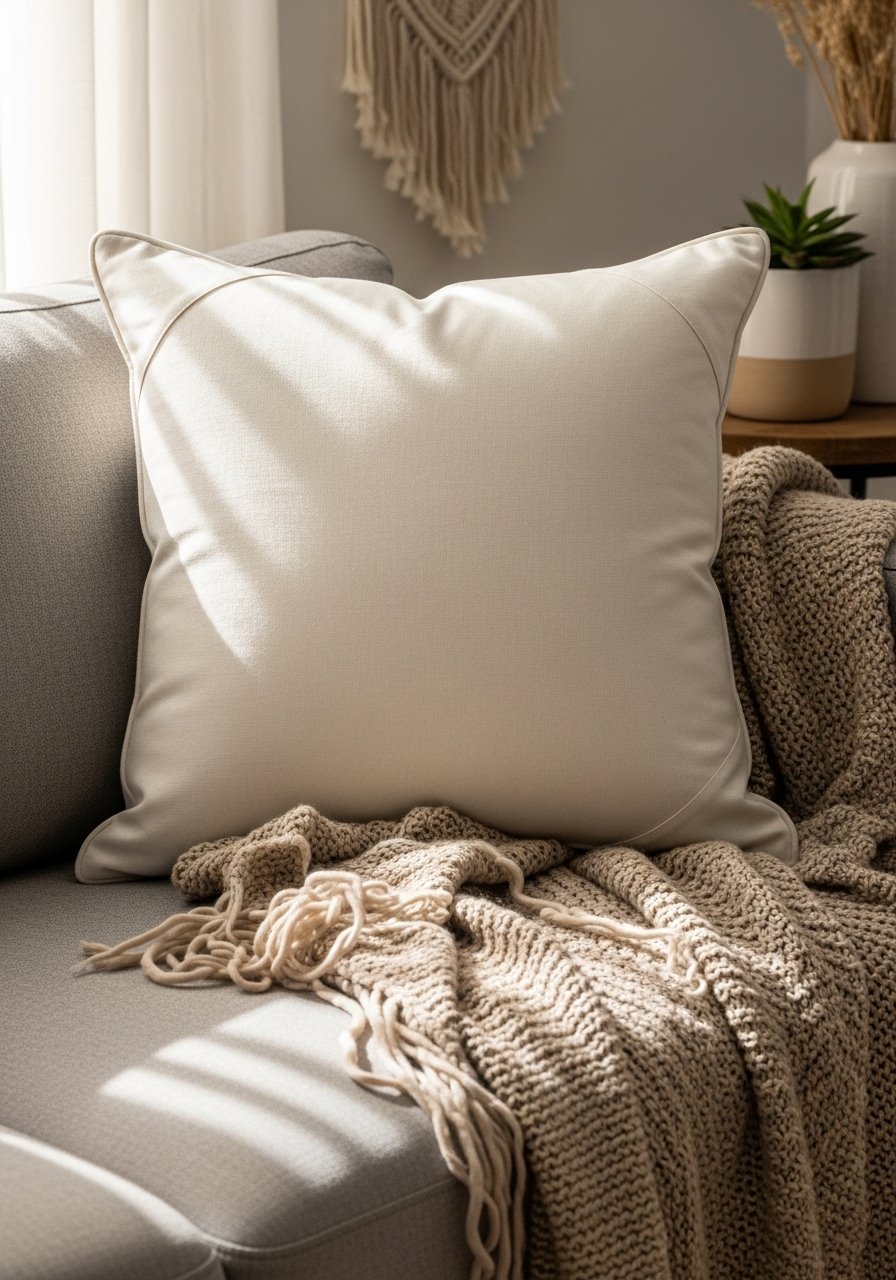
Envelope cushion covers are an easy way to practice accurate cutting and straight seams. You’ll end up with a polished, removable pillow that’s machine-washable.
Materials
- 1/2 yard upholstery-weight fabric or linen
- Matching thread
- Pillow insert 18" x 18"
- Sewing machine with 90/14 needle
- Rotary cutter, ruler, and cutting mat
- Iron and pressing cloth
- Pins or clips
Instructions
- Cut fabric for front at 19" x 19" (to allow for seams).
- Cut two back pieces: 19" x 12" and 19" x 8".
- Hem long edges of the back pieces by folding 1/4" then 1/2" and topstitch.
- Place front piece right side up; overlap back pieces right sides down to create envelope.
- Sew around all four sides with 1/2" seam allowance.
- Clip corners, turn right side out, press flat, insert pillow.
How to Display or Gift It
Mix patterns for a collected look and rotate seasonally. For gifting, include a care card. Store extra inserts in a breathable bag.
- Quick Linen Bookmark Set (perfect stocking stuffer)

Bookmarks are tiny, quick stitches that make lovely gifts. You’ll practice small hemming and attaching tassels or ribbon.
Materials
- Linen strips 3" x 8", three pieces
- Embroidery floss for initials
- Lightweight interfacing, three pieces 3" x 8"
- Tassels or 6" ribbon pieces
- Needle and matching thread
- Iron
- Sewing machine (optional)
Instructions
- Fuse interfacing to the wrong side of each linen strip.
- Fold long edges 1/4" twice and topstitch close to the edge.
- Embroider initials or small motifs at top using two strands of floss.
- Fold short edge and secure tassel or ribbon with a few stitches.
- Press lightly and trim threads.
How to Display or Gift It
Bundle three with bakers twine and a tiny gift tag. Keep in a magnetic bookmark box for storage.
- Festive Pot Holder (beginner quilting)
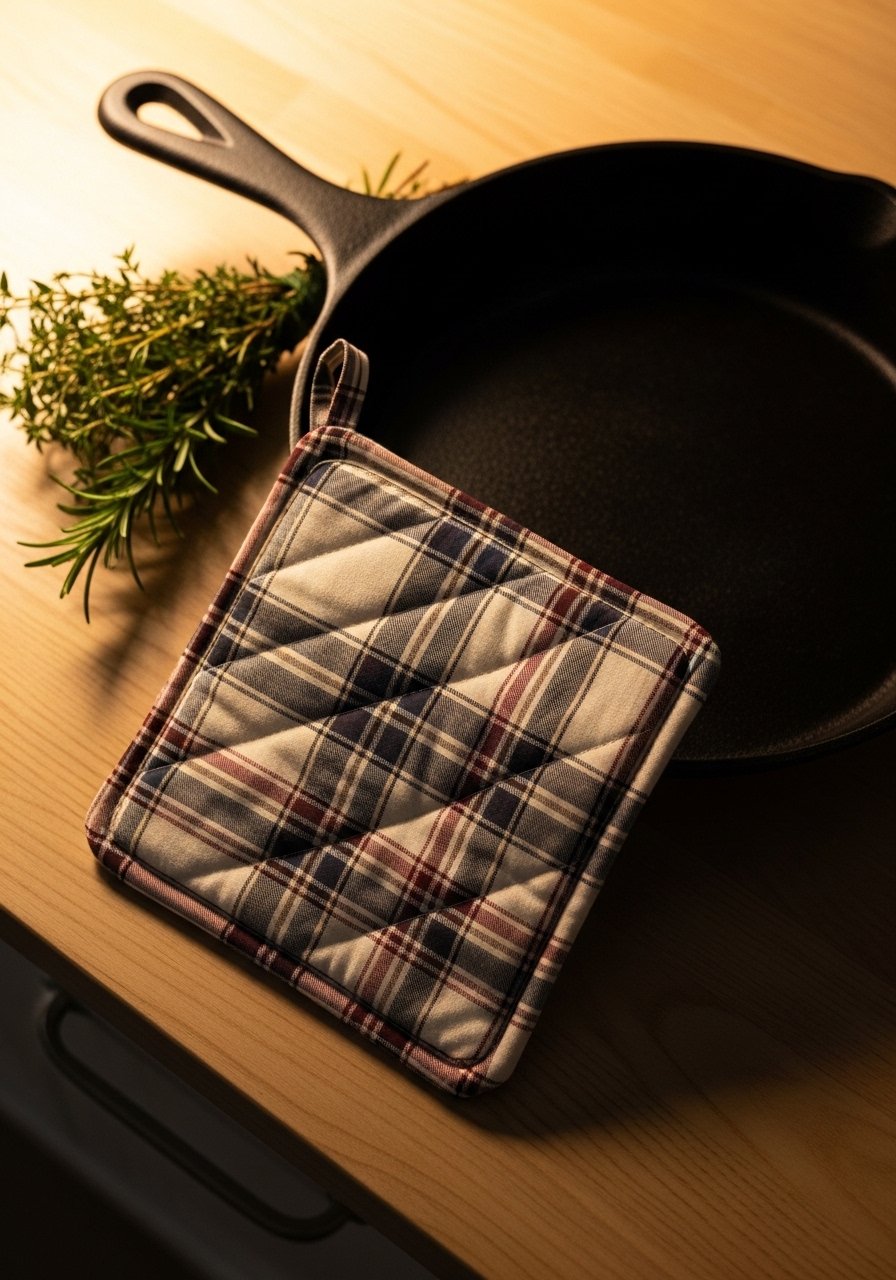
This beginner-friendly pot holder shows you quilting basics: layering, quilting lines, and binding. Use heat-resistant batting for safe oven use.
Materials
- Two cotton fabric squares 10" x 10"
- Heat-resistant batting 10" x 10"
- Cotton batting for insulation optional
- Matching thread
- Rotary cutter and mat
- Quilt ruler
- Binding strip 2" x 42"
- Sewing machine and 90/14 needle
Instructions
- Layer fabrics with batting: right side up top fabric, batting, bottom fabric right side down.
- Pin and quilt simple straight lines 1" apart.
- Trim to 9.5" square.
- Attach binding by sewing strip folded in half over raw edges, mitering corners.
- Fold binding to back and hand- or machine-stitch.
- Add hanging loop with a 4" fabric loop at corner.
How to Display or Gift It
Hang on a hook for kitchen décor. Bundle two with a wooden spoon and recipe card for a housewarming gift. Store in a kitchen drawer.
- Seasonal Sewing Projects for Beginners: Holiday Mug Rug (small placemat)

Mug rugs are tiny quilting projects that teach patchwork, seam alignment, and topstitching. They’re quick to finish and make great neighbor gifts—about 60 minutes each.
Materials
- Assorted quilting cotton scraps, 6" x 6"
- Fusible batting 7" x 7"
- Thread for quilting and topstitching
- Rotary cutter and mini cutting mat
- Quilter’s ruler
- Sewing machine with walking foot optional
Instructions
- Cut patch pieces based on chosen block, each 2"–3" squares.
- Sew pieces into block with 1/4" seam allowance and press seams.
- Fuse batting to wrong side and sew a quilting line 1/4" from the edge.
- Trim to 7" x 5".
- Finish with binding or folded edge topstitch.
How to Display or Gift It
Pair with a jarred hot chocolate mix in a small box. Stack several and wrap with twine. Store flat between cardboard to prevent creasing.
- Breezy Drawstring Beach Pouch (summer)
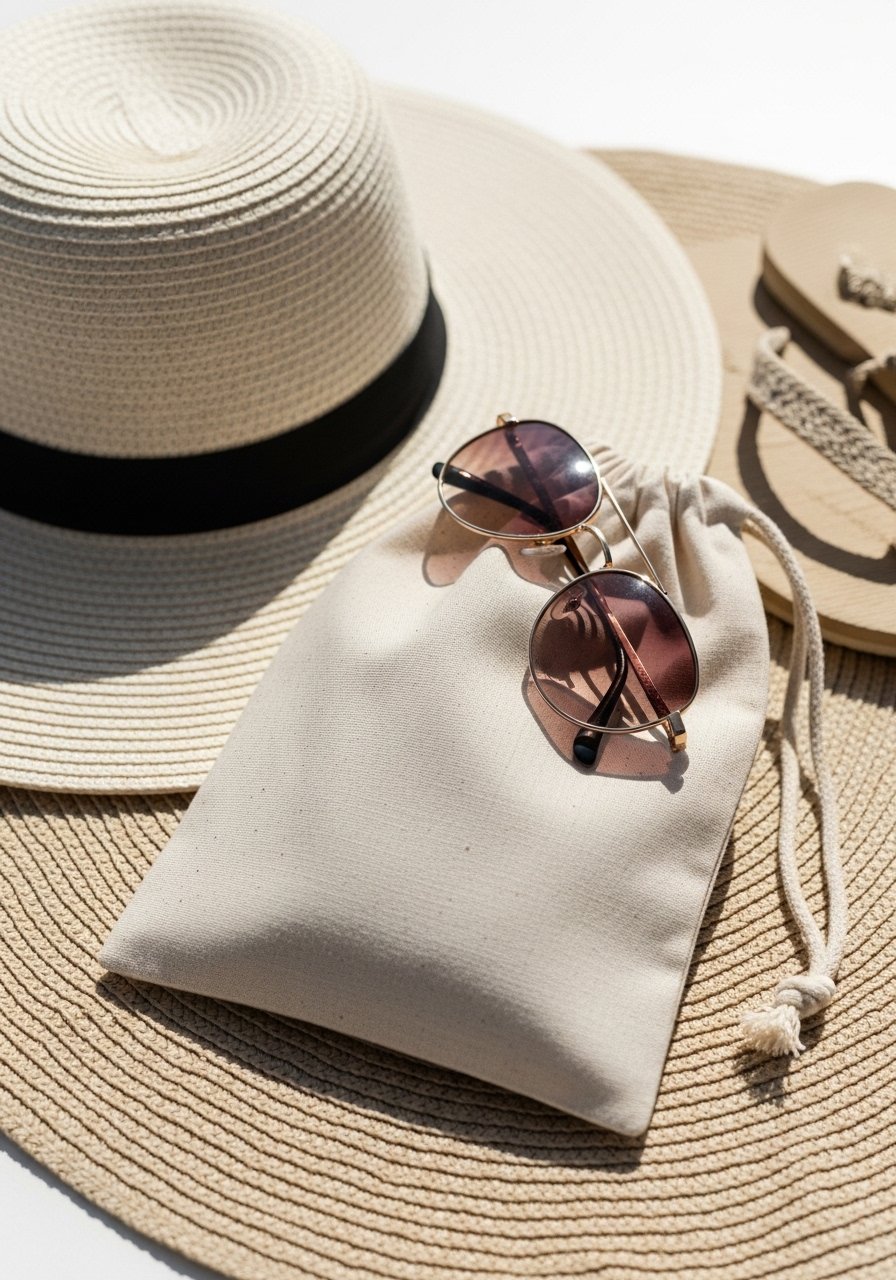
This little pouch teaches casing and drawstring placement. It’s perfect for beach essentials or sunglasses and uses breathable cotton.
Materials
- Lightweight cotton, 12" x 14"
- Cotton cord or parachute cord, 36"
- Sewing machine and universal needle size 80/12
- Safety pin for threading
- Measuring tape and scissors
- Optional: plastic-coated cord ends
Instructions
- Fold fabric right sides together and sew side seams with 1/2" seam allowance.
- Fold top edge 1/4" then 1" to form a casing; stitch leaving a 1/2" gap for cord.
- Turn pouch right side out and press.
- Thread cord through casing with safety pin and knot both ends.
- Trim any excess cord and add cord ends.
How to Display or Gift It
Use for sunscreen and sunglasses. For gifting, include a small tube of lip balm. Store pouches nested in a canvas bin.
- Simple Apron for Messy Crafts
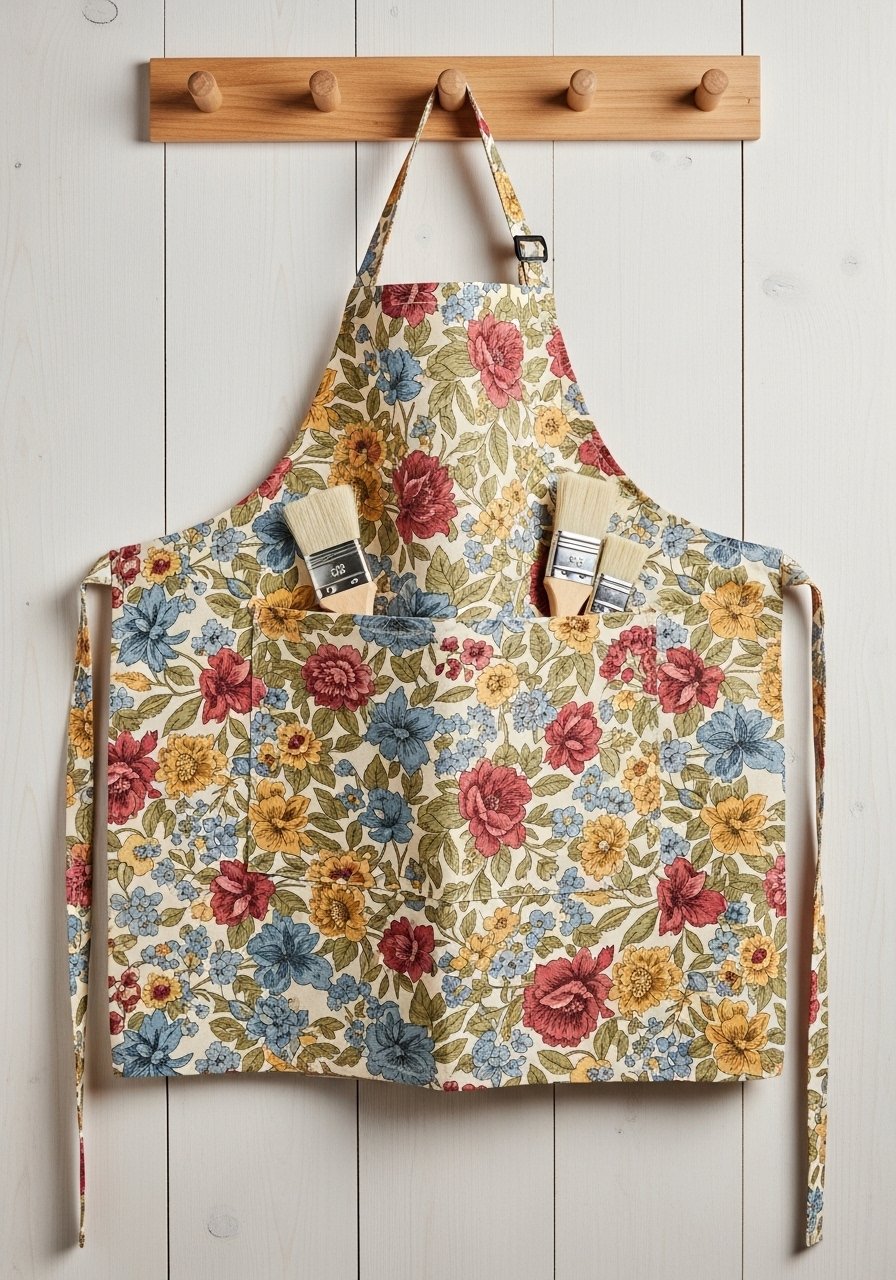
An apron is a practical sew that teaches pocket attachment and waist ties. It’s especially handy for messy painting and baking.
Materials
- Cotton canvas or home-decor fabric 1/2 yard
- Matching tape or fabric for ties 2" x 72"
- Sewing machine and heavy-duty needle size 100/16
- Iron and pressing mat
- Thread, pins, scissors
- Measuring tape
Instructions
- Cut main apron body at 20" x 22".
- Hem sides and bottom by folding 1/4" then 1/2" and topstitch.
- Make pocket 8" x 10", hem top and attach centered on apron.
- Attach ties at side seams; secure with box stitch.
- Press all seams flat.
How to Display or Gift It
Fold and tie with a kitchen utensil set. Hang on a pegboard in a craft room. Wash on gentle cycle and hang to dry.
- Beginner’s Zipper Pouch (lined)
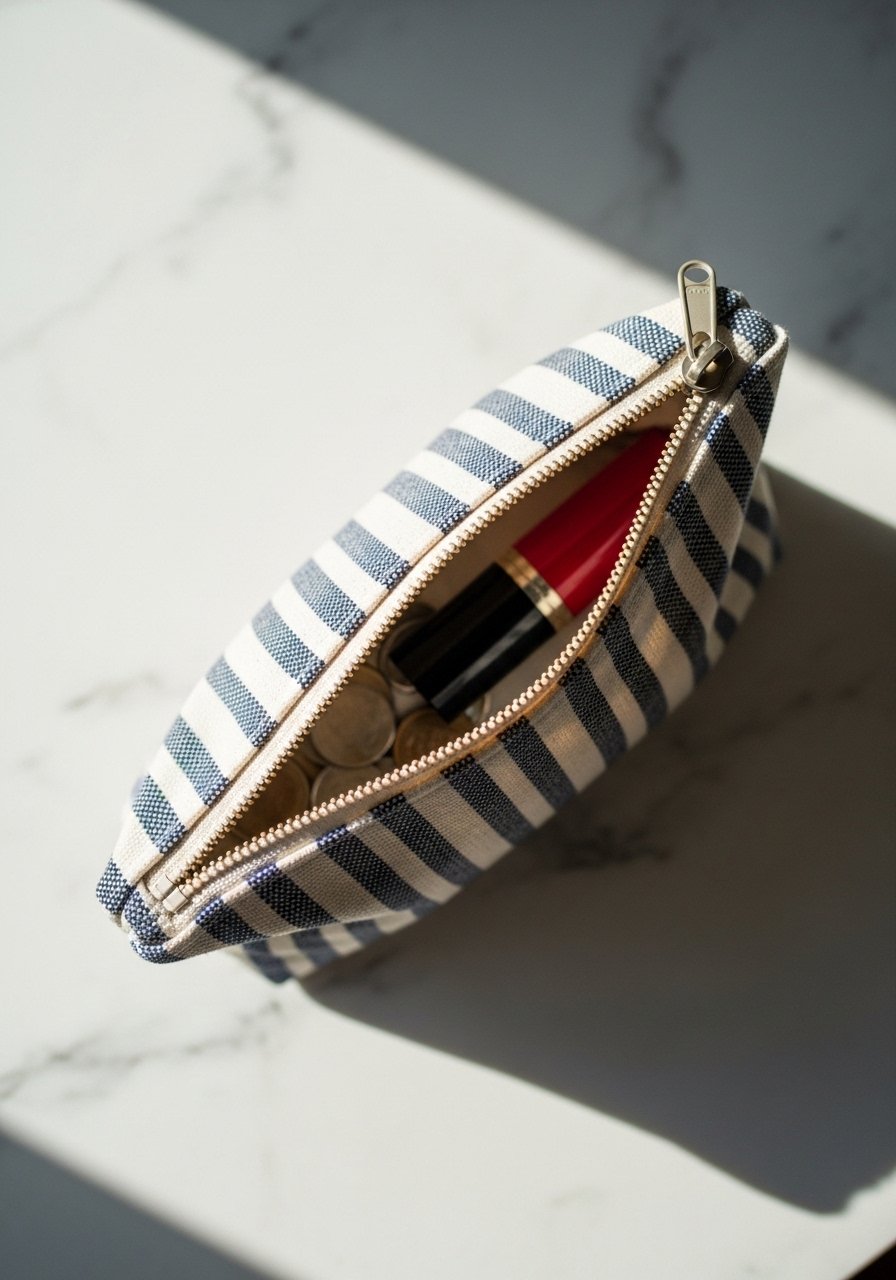
Zipper pouches teach installing a simple zipper and sewing through layers. This pattern is small and portable—great practice before trying a larger bag.
Materials
- Exterior fabric 8" x 12"
- Lining fabric 8" x 12"
- Fusible interfacing 8" x 12"
- 7" zipper
- Sewing machine and zipper foot
- Rotary cutter and ruler
- Thread and scissors
Instructions
- Fuse interfacing to exterior fabric.
- Place zipper right side down on top edge of exterior; align lining on top, wrong side down.
- Sew with zipper foot, then fold and topstitch edge.
- Repeat for other side of zipper with remaining exterior and lining pieces.
- Open zipper halfway, sew sides with 1/4" seam allowance.
- Turn pouch right side out through zipper opening and press.
How to Display or Gift It
Use as a cosmetics or coin pouch. For gifting, tuck in a small lipstick and wrap with tissue. Store in a small drawer organizer.
- Cozy Microwave Heating Pad (herbal and rice)
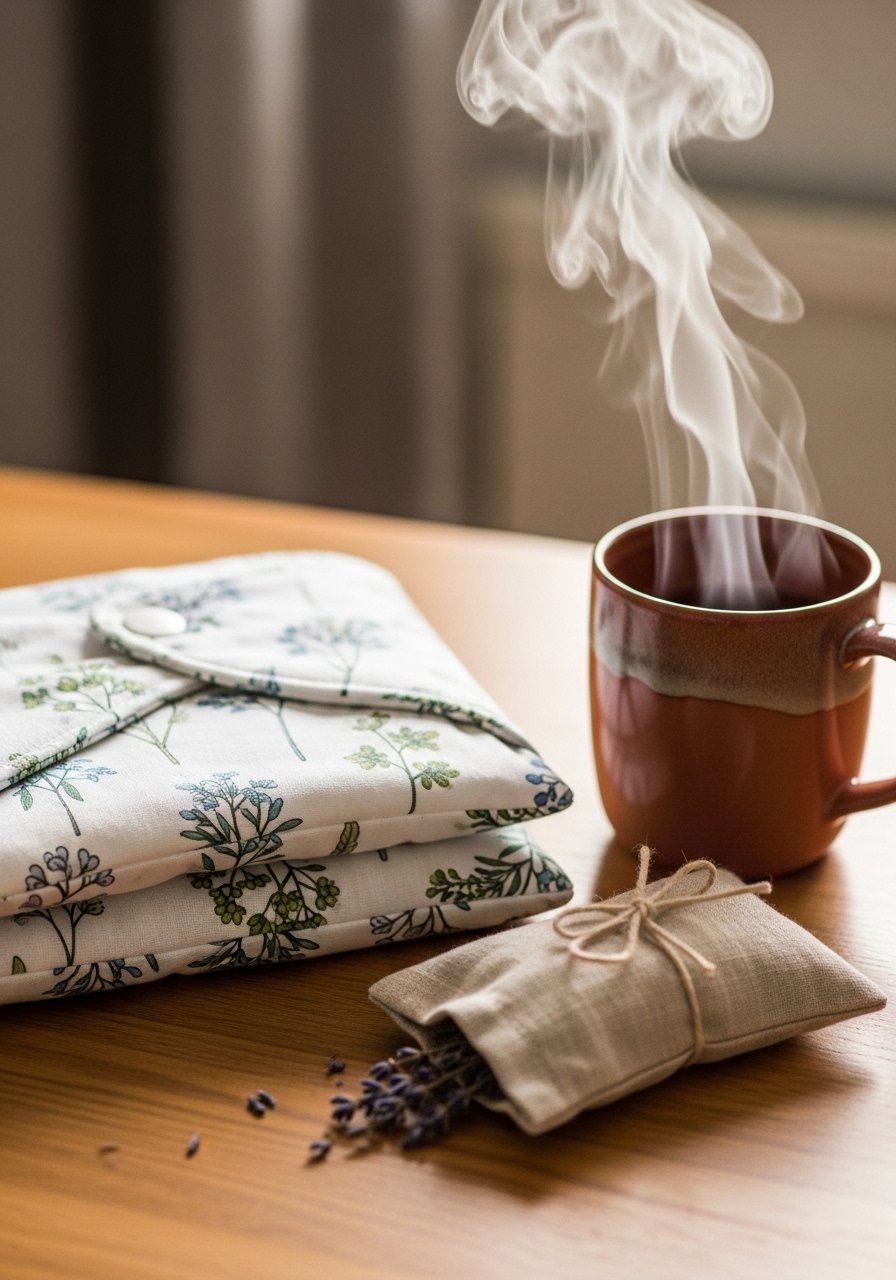
A microwave heating pad teaches straight sewing and safe fabric choices. Add dried lavender for a soothing scent. Heat times and weights are included to keep it safe.
Materials
- Cotton fabric 12" x 10"
- Cotton thread
- 2 cups long-grain rice or flaxseed
- Dried lavender 1/4 cup (optional)
- Sewing machine or hand needle
- Funnel or scoop
- Zip-top bag for storage
Instructions
- Sew three sides of the fabric with right sides together, 1/4" seam.
- Turn right side out and press.
- Insert rice and lavender into a measuring cup fitted into the opening—2 cups total for this size.
- Hand-sew the final edge with a ladder stitch for a tight finish.
- Heat in microwave: start with 1 minute, check temperature; add 15 seconds until desired warmth. Do not overheat.
How to Display or Gift It
Wrap in a linen ribbon and tuck a care card with heating times. Store flat in a drawer. For gifting, include a small cloth bag for storage.
- Festive Table Runner with Tassels (holiday)

This runner adds a finished edge flair with handmade tassels. Tassel-making is a satisfying repeat craft, and the runner uses basic straight stitching.
Materials
- Main fabric 1 yard (54" wide) cut to 16" x 72"
- Cotton tassel thread or twine for four tassels
- Fusible interfacing strip 72" x 6"
- Sewing machine and needles
- Scissors and ruler
- Clips or pins
Instructions
- Fuse interfacing to wrong side of fabric strip.
- Hem long edges by folding 1/4" then 1/2" and topstitch.
- Make four tassels: wrap thread around a 3" card about 100 times, tie, cut, and secure.
- Attach tassels to each runner corner with a few hand stitches.
- Press runner flat.
How to Display or Gift It
Center on a dining table with a garland. Roll gently and store in a fabric tube to protect tassels.
- Easy Scrunchie Trio (spring/summer hair accessories)

Scrunchies are great for beginners and use minimal fabric. You’ll practice turning tubes and threading elastic—fast and satisfying.
Materials
- Fabric scraps 3" x 22" per scrunchie
- 1/4" elastic, 8" per scrunchie
- Sewing needle and thread or machine
- Safety pin for threading elastic
- Scissors and ruler
- Optional: serger
Instructions
- Fold fabric right sides together lengthwise and sew a 1/4" seam to make a tube.
- Turn right side out using a safety pin.
- Insert elastic with safety pin and overlap ends 1/2", sew securely.
- Tuck ends of tube into seam and sew closed by hand or topstitch.
- Fluff scrunchie and trim threads.
How to Display or Gift It
Tie three on a card with a ribbon for a boutique-style gift. Store in a small jewelry tray.
- Beginner Patchwork Table Mat (boho style)

This small patchwork mat introduces you to piecing curves and pressing techniques. The final texture is cozy and textured—perfect for layered tables.
Materials
- Assorted quilting cotton scraps, total 12" x 12" area
- Fusible batting 12" diameter
- Matching thread
- Rotary cutter and template for circle
- Sewing machine and 1/4" foot
- Iron
Instructions
- Cut patches into wedge shapes to form a circle—six wedges 4" wide at widest point.
- Sew wedges together with 1/4" seam and press seams open.
- Fuse batting to wrong side and quilt with radiating lines.
- Trim to 12" diameter with a circle template.
- Bind edge with 1/2" bias binding, miter corners as you go.
How to Display or Gift It
Use under a vase or lamp for instant boho flair. Stack with other linens and tie with twine.
- Tiny Crossbody for Festivals (beginners zipper & strap)
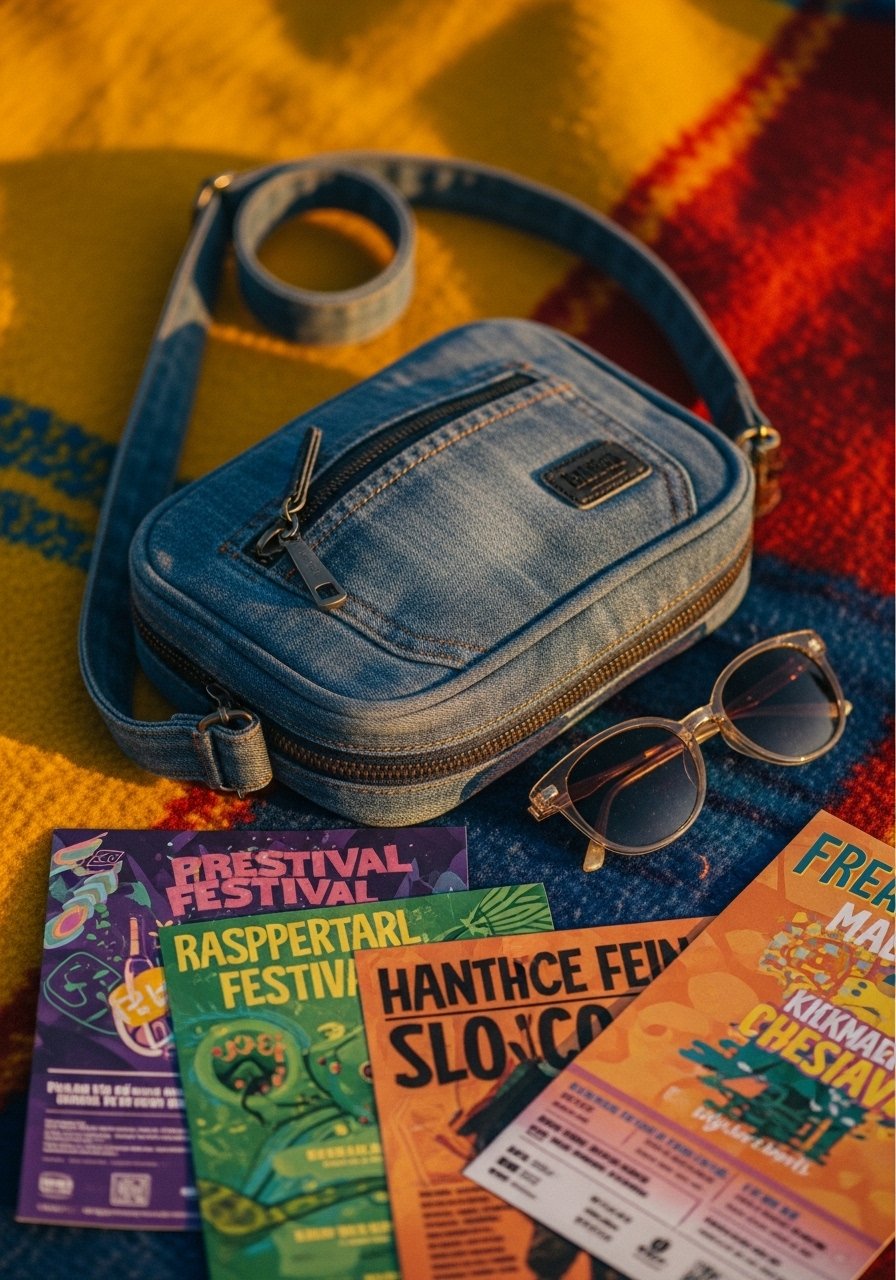
This mini bag teaches zipper insertion, attaching hardware, and sewing narrow straps. It’s compact and festival-ready.
Materials
- Denim or canvas 1/4 yard
- Lining fabric 1/4 yard
- 8" zipper
- 1" webbing strap and adjustable buckle hardware
- Sewing machine and zipper foot
- Heavy-duty needle 100/16
- Scissors and pins
Instructions
- Cut exterior pieces 7" x 6" and lining same size.
- Install zipper between the top edge of exterior and lining using zipper foot.
- Sew sides, leaving a small opening in lining to turn.
- Attach strap hardware and sew straps into side seams with reinforced box stitch.
- Turn right side out, press, and sew lining opening closed.
How to Display or Gift It
Wear crossbody for hands-free days. For gifting, add a small card with strap length details. Store in a dust bag.
- Seasonal Sewing Projects for Beginners: Cute Door Draft Stopper (winter)

Draft stoppers teach long seam sewing and even filling techniques. Weighted evenly, they keep cold drafts out and come in both rustic and modern styles.
Materials
- Fabric tube: 4" x 36" (cut 9" x 38" before sewing)
- Polyester stuffing and 2 lbs rice for weight (in separate inner tube)
- Sewing machine and heavy-duty needle
- Funnel and measuring cup
- Pins and scissors
- Optional: piping for decorative edge
Instructions
- Sew tube longwise with right sides together, 1/2" seam.
- Turn right side out and press.
- Make an inner lining tube for rice: sew seam and leave open ends.
- Fill inner tube with rice—2 lbs—and hand-sew closed.
- Stuff outer tube with polyester, then insert weighted rice tube.
- Sew ends closed with ladder stitch and add piping if desired.
How to Display or Gift It
Place at the base of doors or windows. Wrap with a ribbon and attach a warm note for gifting. Store in a dry place; rice-filled stoppers should not be exposed to moisture.
- Easy Patch Pocket Dress for Dolls (kids’ sewing)
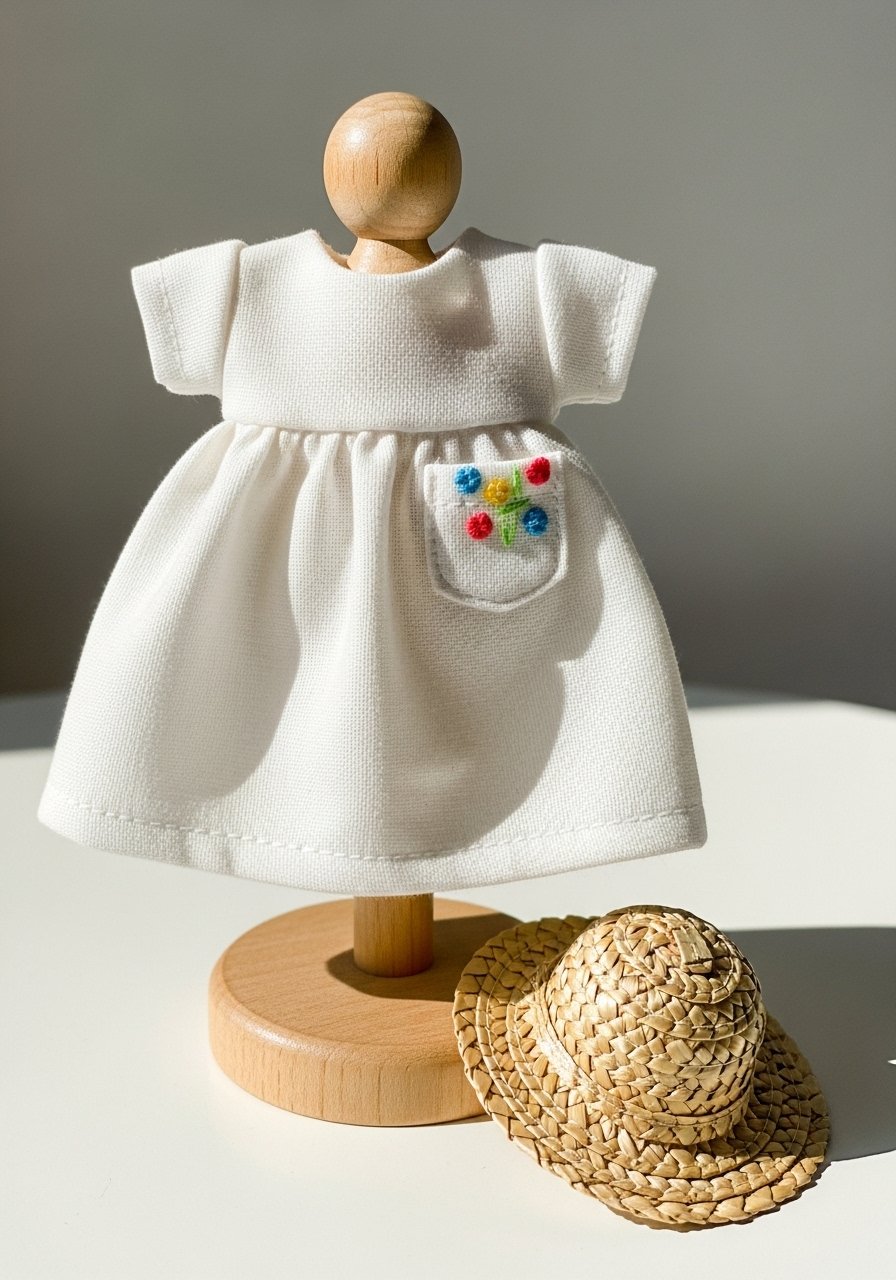
Sewing doll clothes is a gentle introduction to seam allowances and tiny hems. Kids love the instant wardrobe upgrade for dolls.
Materials
- Cotton fabric scraps 10" x 8"
- Hook-and-loop tape, 1" x 2"
- Matching thread
- Needle and scissors
- Small snaps optional
Instructions
- Cut dress body 6" x 8" and two straps 1" x 4".
- Hem bottom with 1/4" seam and top edge.
- Attach straps to the top back and topstitch.
- Add a small patch pocket 2" x 2.5" with topstitching.
- Attach hook-and-loop tape at back for closure.
How to Display or Gift It
Bundle with a small wooden hanger for a doll closet. Store in a small fabric drawer organizer.
- Rustic Burlap Utensil Holders (outdoor entertaining)

These holders are sturdy and durable, teaching straight sewing and simple embellishments. Great for outdoor meals and picnics.
Materials
- Burlap fabric 12" x 12"
- Cotton lining 12" x 12"
- Bias tape or binding 1/4"
- Sewing machine with heavy-duty needle
- Scissors and clips
- Optional: jute twine for wrapping
Instructions
- Cut two rectangles 6" x 10" for each holder.
- Sew right sides together on three sides, turn, and press.
- Fold bottom up to create pockets and stitch across to separate slots.
- Attach binding to top edge.
- Trim threads and insert utensils.
How to Display or Gift It
Stack with biodegradable cutlery for picnic packs. Store flat in a kitchen drawer.
- Soft Baby Lovey with Satin Trim

Loveys are tiny blankets with satin trim that practice curved corners and attaching trim. The satin edge gives a professional nursery finish.
Materials
- Minky fabric 12" x 12" square
- Satin ribbon trim 2 yards
- Sewing machine and ballpoint needle size 80/12
- Polyester stuffing for a small corner knot if desired
- Clips for holding slippery fabrics
- Scissors and thread
Instructions
- Place minky right side up, align satin ribbon along edges.
- Pin or clip satin to minky, folding slightly at corners to avoid bulk.
- Sew close to satin edge using a walking foot if possible.
- Finish any raw ribbon ends with a small backstitch.
- Optionally add a small stuffed corner by sewing a 3" pocket and stuffing lightly.
How to Display or Gift It
Wrap in tissue and place in a small kraft box for baby showers. Store in a breathable drawer when not in use.
- Scented Lavender Sachets (year-round gift)

Lavender sachets are tiny and teach hand-stitching or machine hemming. Use them to scent drawers, closets, or as travel companions.
Materials
- Linen fabric scraps 4" x 6", two per sachet
- Dried lavender 1/4 cup per sachet
- Needle and thread or sewing machine
- Funnel or spoon
- Twine or ribbon for tying
- Optional: small label tags for gifting
Instructions
- Sew two linen pieces right sides together, leaving a 1" gap.
- Turn right side out and press.
- Fill with 1/4 cup dried lavender and a small pinch of rice for weight.
- Hand-stitch the opening closed with ladder stitch.
- Tie with twine and attach a small label.
How to Display or Gift It
Place sachets in underwear or sweater drawers. Bundle six in a kraft box for bridesmaid gifts. Store in a cool, dry place.
Thanks for sewing through the seasons with me. You now have 25 approachable seasonal sewing projects for beginners that cover holidays, gifts, and everyday home accessories. Try one a month, or pick a few to make as gifts—these small projects build confidence fast because they’re compact and finishable.
Before you start, consider a reliable all-purpose sewing machine if you plan to make several machine projects—my go-to is the entry-level sewing machine that handles canvas and denim without fuss. Trust me, picking up a quality hot glue gun with temperature control changed how some finishing steps turned out — no stringy mess, no burned fingertips: low temp hot glue gun.
Which project will you pin and try first? Share a photo when you finish one—I love seeing how makers add their personal twist.





