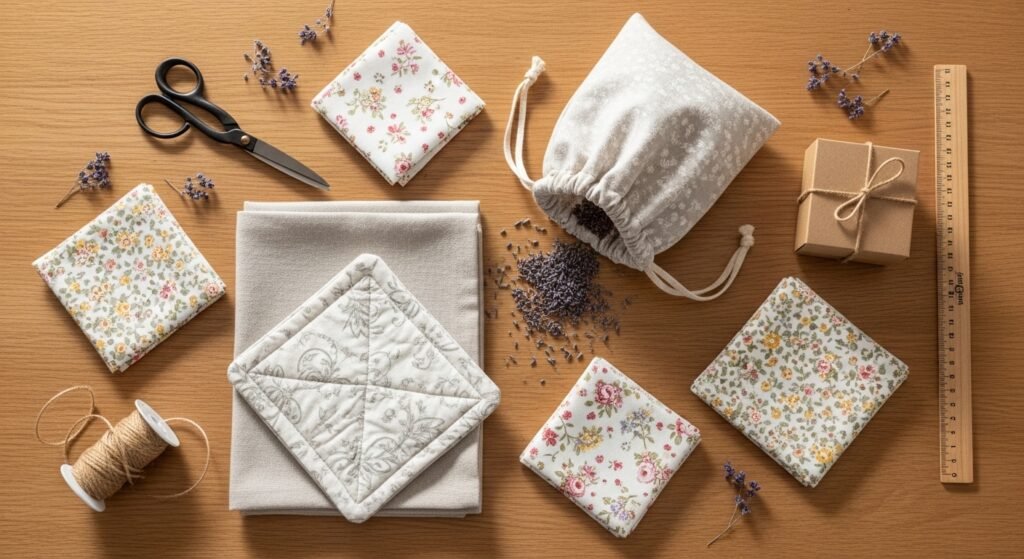
You know that warm moment when someone opens a small handmade gift and you can see the effort fold into a smile? These sewing projects for beginners gifts are designed to get you there fast. They use basic stitches, forgiving seams, and simple tools so you can make heartfelt presents without fuss.
Across 24 easy-to-follow projects you’ll find quick wins (think scrunchies and key fobs), cozy keepsakes (heat packs and quilted coasters), and sweet decorative pieces (embroidered hoop art and felt hearts). Each project lists precise materials, step-by-step instructions with accurate timing, and realistic troubleshooting tips if a seam doesn’t sit right.
Keep a reliable pair of fabric scissors on hand; I love my Fiskars fabric scissors for clean cuts, and a simple Singer portable sewing machine will speed up most projects once you’re comfortable. Ready to make gifts that feel personal? Let’s stitch.
- Quick Drawstring Gift Bag
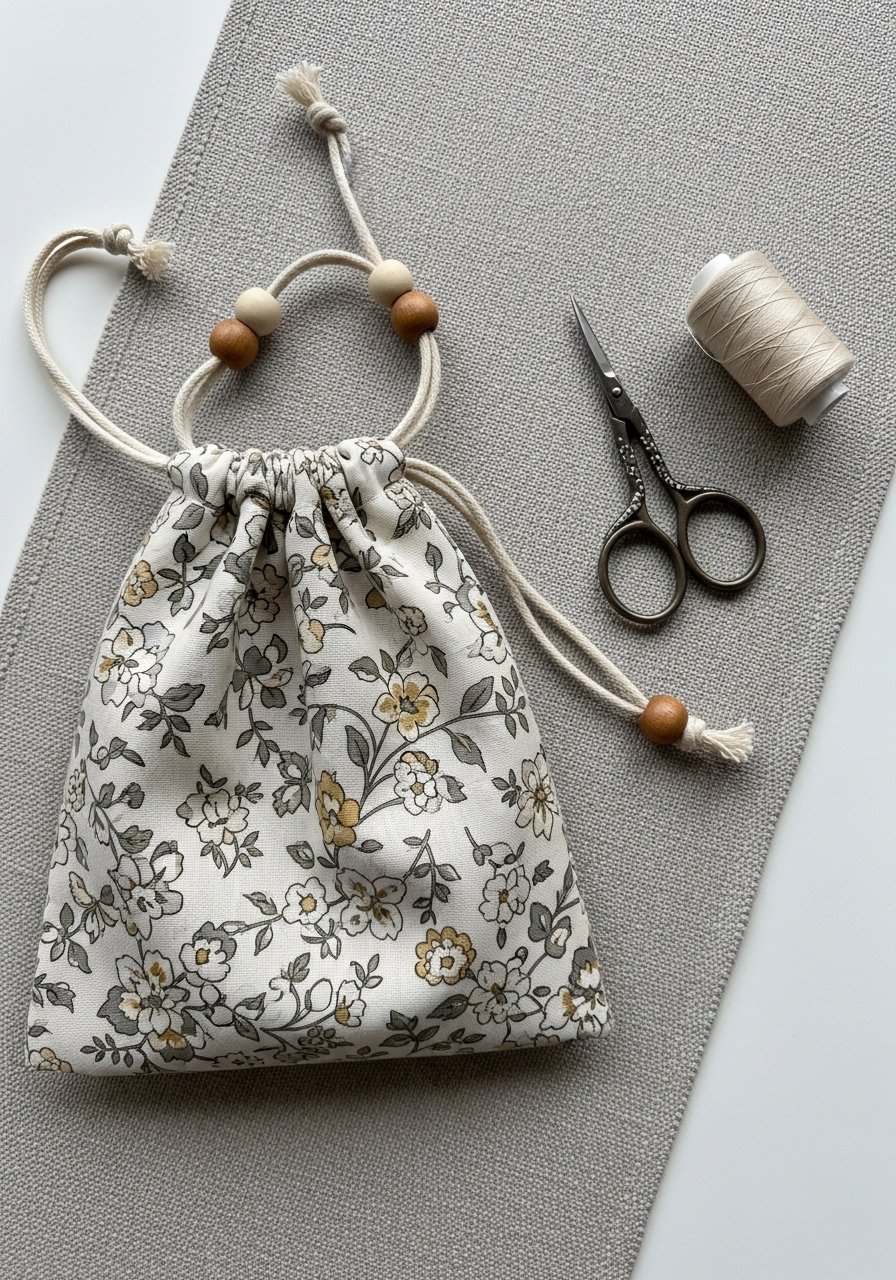
A fast, customizable bag that dresses up any small present. Finished look is soft and rustic with a little gathered top. Great for soap, jewelry, or a sachet. Beginners will like the simple straight seams and the satisfying cinch of the cord. The cotton feels crisp and light in your hands.
Materials
- 1/3 yard quilting cotton (outer) — 100% cotton
- 1/3 yard lightweight cotton or muslin (lining)
- 1/4 inch cotton cord, 24 inches
- 2 wooden bead or cord stop
- Sewing thread to match
- 1 safety pin
- Fabric scissors and pins
Instructions
- Cut two rectangles 9" x 7" (outer) and two 9" x 7" (lining).
- With right sides together, sew the two outer pieces along the sides and bottom with a 1/2" seam. Repeat for lining, leaving a 3" opening in the bottom seam of the lining for turning.
- Press seams open with a steam iron on medium heat.
- Insert lining into outer bag so right sides face, aligning top edges. Fold the top 1/2" down and press.
- Sew around the top edge 1/4" from the fold to create a neat casing.
- Use a safety pin to feed cord through the casing. Knot ends and add a wooden bead or cord stop.
- Turn bag right side out through the lining opening; hand-stitch the lining opening closed with small slip stitches.
- Finish by giving the bag a final press. Total time: 30–45 minutes.
How to Display or Gift It
- Tuck soap wrapped in tissue inside and tie with natural jute twine for a cottagecore look.
- Add a dried lavender sprig under the cord knot for scent.
- For gift sets, use kraft gift boxes and stack two bags inside.
- Store finished bags flat in a craft drawer to avoid creases.
- Patchwork Cotton Coasters
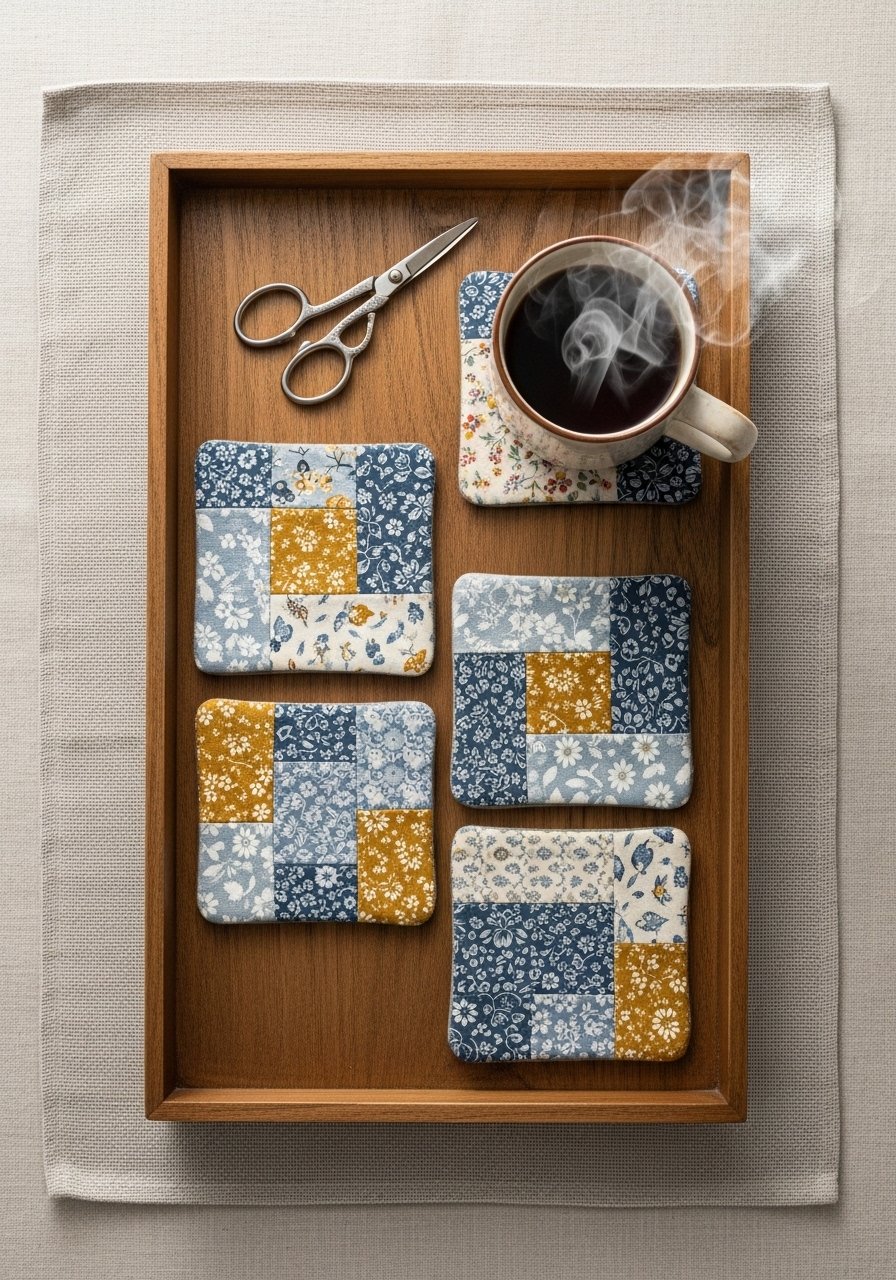
Patchwork coasters are small wins that teach precise cutting and piecing. They finish at 5" square and have a quilted texture that feels slightly puffy under your fingers. Perfect for gifting as a set; people love the handmade, homey vibe.
Materials
- Assorted cotton scraps — total 12" x 12" per coaster
- 5" quilt batting squares
- 100% cotton thread
- Rotary cutter and self-healing mat
- Quilt ruler 6"x24"
- Fabric scissors and pins
Instructions
- Cut squares of fabric into 2.5" x 2.5" pieces. You'll need 9 per coaster (3×3).
- Arrange the nine squares in a pleasing layout.
- Sew pieces in rows with 1/4" seams. Press seams open.
- Join rows to form the 5" top. Press flat.
- Layer top, batting, and backing fabric. Baste with pins.
- Quilt on each seam line or make diagonal lines 1/2" apart with your machine.
- Trim the coaster to 5" square and finish edges with a topstitch 1/8" in from edge.
- Press and check for even stitching. Time: 40–60 minutes.
How to Display or Gift It
- Stack in sets of four and wrap with a ribbon or slip into a kraft gift box.
- Pair with a bag of specialty tea for easy hostess gifts.
- Store flat in a shallow craft organizer to keep quilted texture intact.
- Fabric Key Fob — sewing projects for beginners gifts
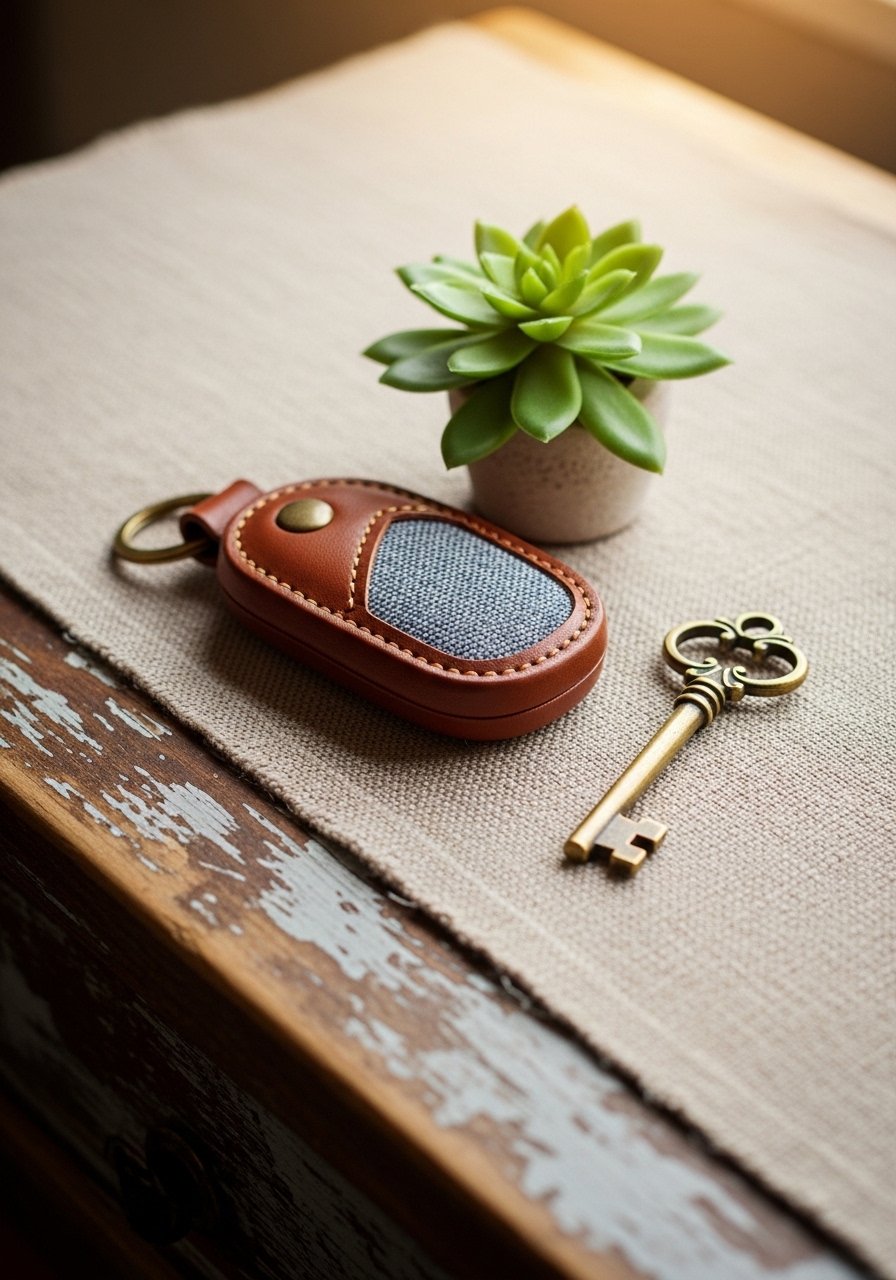
This compact project is quick and highly practical. The finished fob is sturdy with a loop big enough for keys or bag clips. It’s a great beginner project to practice topstitching. Use canvas or quilting cotton for a crisp feel.
Materials
- 1/4 yard heavy cotton canvas or quilting cotton
- 1 key fob hardware set (split ring + swivel)
- 1/4" fusible interfacing, 2" x 6" strip
- Thread and hand-sewing needle
- Fabric glue or hot glue gun
- Scissors and ruler
Instructions
- Cut fabric 2" x 6". Fuse interfacing to wrong side of fabric.
- Fold fabric lengthwise, right sides together, and sew 1/4" seam along long edge.
- Turn right side out using a safety pin or loop turner. Press flat.
- Fold one short end in 1/4" and topstitch close to edge.
- Fold the strip into a loop of about 2.5" and insert the hardware ring.
- Stitch across the folded end with a reinforced box or bar tack by hand or machine.
- Apply a dab of fabric glue inside the folded end for extra hold and trim threads.
- Time: 15–25 minutes.
How to Display or Gift It
- Clip onto a small card with a handwritten note.
- Bundle three different fabrics on a mini wooden pegboard for a themed gift.
- Store finished pieces in a small wooden box or stackable craft organizer drawers.
- Simple Zipper Pouch
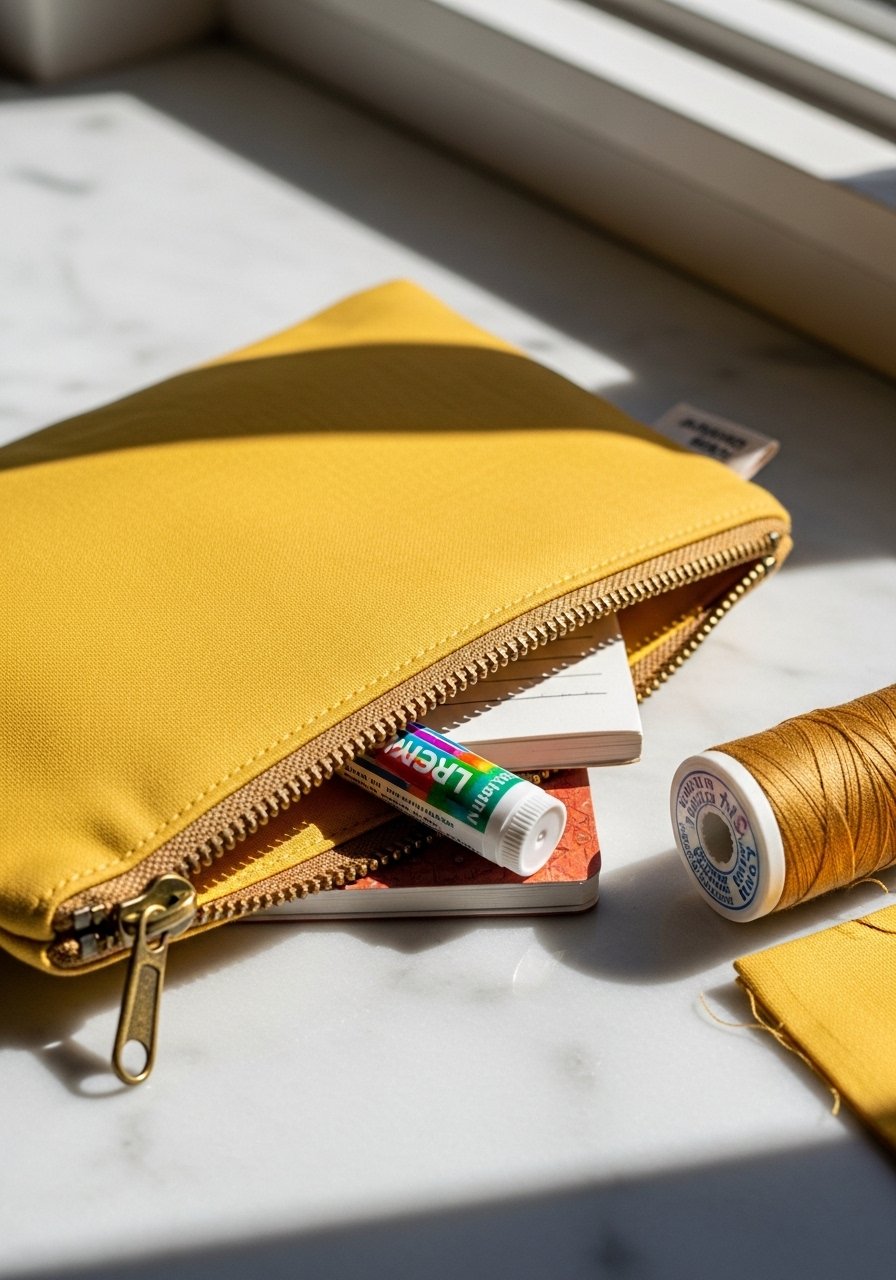
Zipper pouches are incredibly useful and teach you how to sew around hardware. This one finishes at 8" x 5", lined, with a boxed bottom. The snug zipper gives a satisfying smooth pull.
Materials
- 8" x 11" outer fabric (cotton)
- 8" x 11" lining fabric
- 8" zipper
- 1/2" fusible interfacing (optional)
- Thread, scissors, pins, zipper foot for machine
Instructions
- Fuse interfacing to outer fabric if desired for structure.
- Place zipper face down on right side of outer fabric top edge. Align lining piece on top, right side down. Pin.
- Using a zipper foot, stitch along the top edge. Repeat for the other side of the zipper with remaining outer/lining pieces.
- Open the zipper halfway. With right sides together, sew around the pouch perimeter with a 1/2" seam, leaving a 3" opening in lining for turning.
- Clip corners, turn right side out through opening, push corners, and press edges.
- Hand-stitch lining opening closed and top-stitch around the pouch top for a finished look.
- Time: 30–45 minutes.
How to Display or Gift It
- Fill with mini toiletries or art supplies and tie with ribbon.
- Display on a small wooden easel and tag with contents.
- Store multiples in a larger craft organizer tray.
- Cozy Microwavable Rice Heat Pack
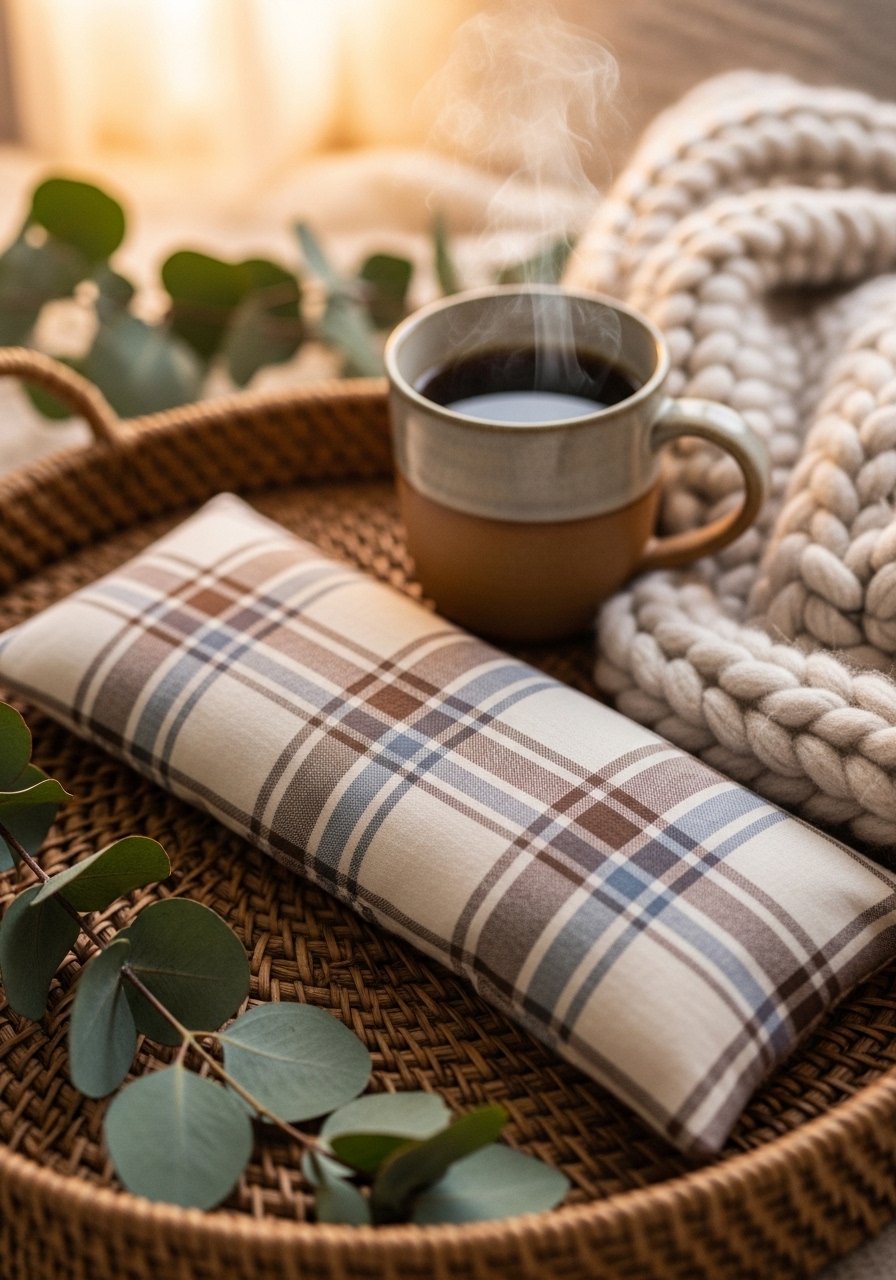
A hug-in-a-fabric-roll. This heat pack is made with 100% cotton and rice filling. It warms evenly and molds to shoulders. Seams should be double-stitched for durability; the fabric smells comforting when warmed.
Materials
- 1/2 yard cotton fabric
- 3 cups uncooked rice (not instant)
- 1 tsp dried lavender (optional)
- Thread, funnel or paper cone
- Sewing machine and measuring tape
Instructions
- Cut fabric 5" x 24". Fold lengthwise with right sides together and sew long edge with 1/2" seam.
- Turn right side out and press.
- Divide length into sections if you want segmented fill (e.g., 6 sections x 4"). Sew crosswise seams to create chambers.
- Using a funnel, fill with 3 cups rice mixed with dried lavender if using. Fill to about 3/4 of each chamber.
- Hand-stitch the open end closed with strong thread and double-reinforce seams at ends.
- Heat in microwave in 30-second intervals until warm (approx 1–1.5 minutes, microwave-dependent). Test temperature before gifting.
- Time: 30 minutes plus filling.
How to Display or Gift It
- Wrap in tissue and tuck a care card with heating instructions.
- Store flat in a drawer; rice packs can be reheated multiple times.
- Pair with an eye mask and place in a kraft gift box for a spa set.
- Embroidered Tea Towel
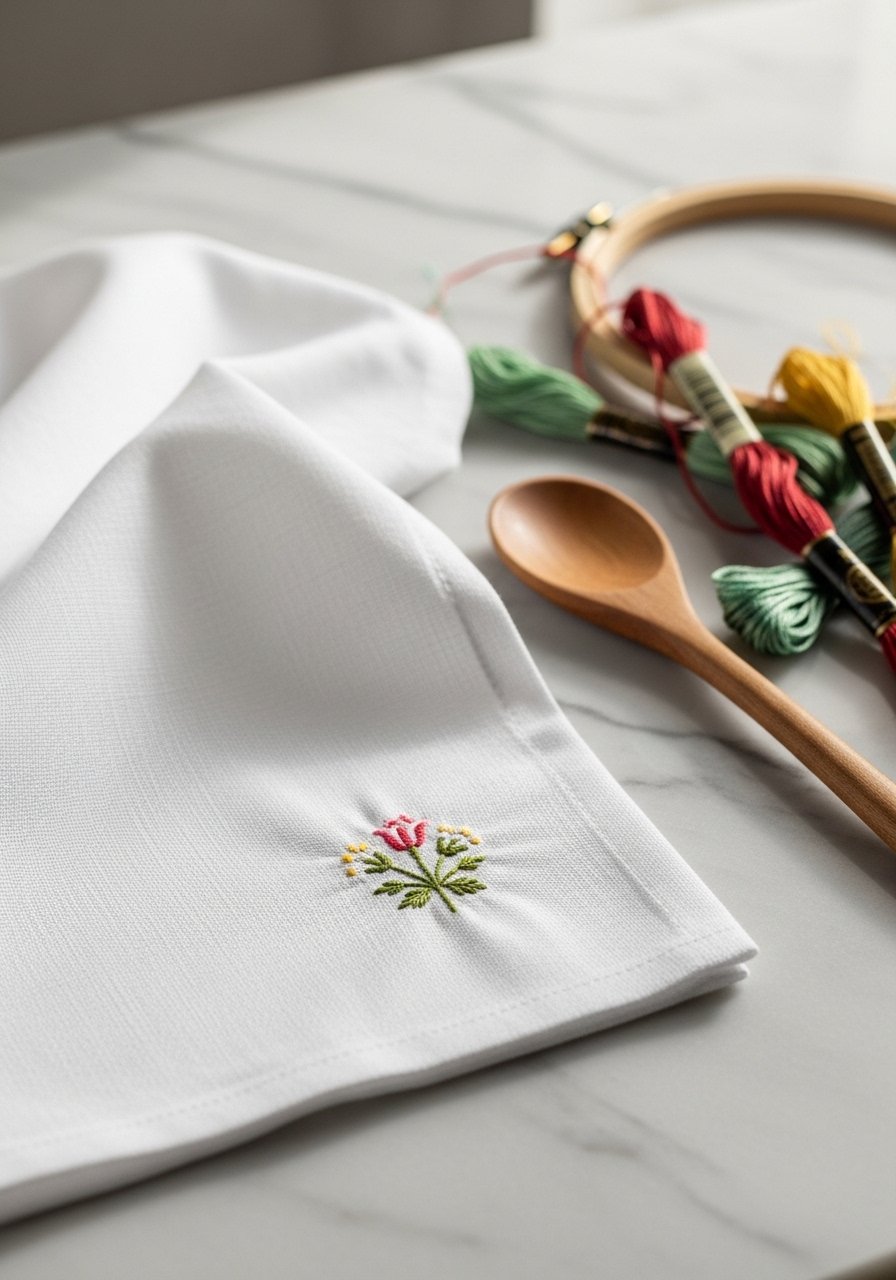
Embroidered tea towels are personal and practical. This towel uses basic embroidery stitches (backstitch, satin stitch) and finishes at standard tea towel size. The texture of the floss on cotton gives a cozy farmhouse or boho look.
Materials
- 1 flour sack tea towel (approx 28" x 28")
- 6” embroidery hoop
- DMC embroidery floss (one or two colors)
- Embroidery needle, scissors, water-soluble fabric marker
- Stabilizer (optional)
Instructions
- Wash and press towel to pre-shrink fabric.
- Transfer design using water-soluble marker and secure fabric in an embroidery hoop.
- Thread needle with two strands of floss for backstitch outlines.
- Stitch outlines first, then fill small areas with satin stitch.
- Remove hoop, rinse marker if present, and press towel from the wrong side.
- Time: 45–90 minutes depending on design size.
How to Display or Gift It
- Pair with a wooden spoon and tie with jute twine for a housewarming gift.
- Fold into thirds and slip into a kraft gift box or wrap with baker’s twine.
- Store flat or rolled in drawer to avoid creases.
- Cute Felt Heart Ornament
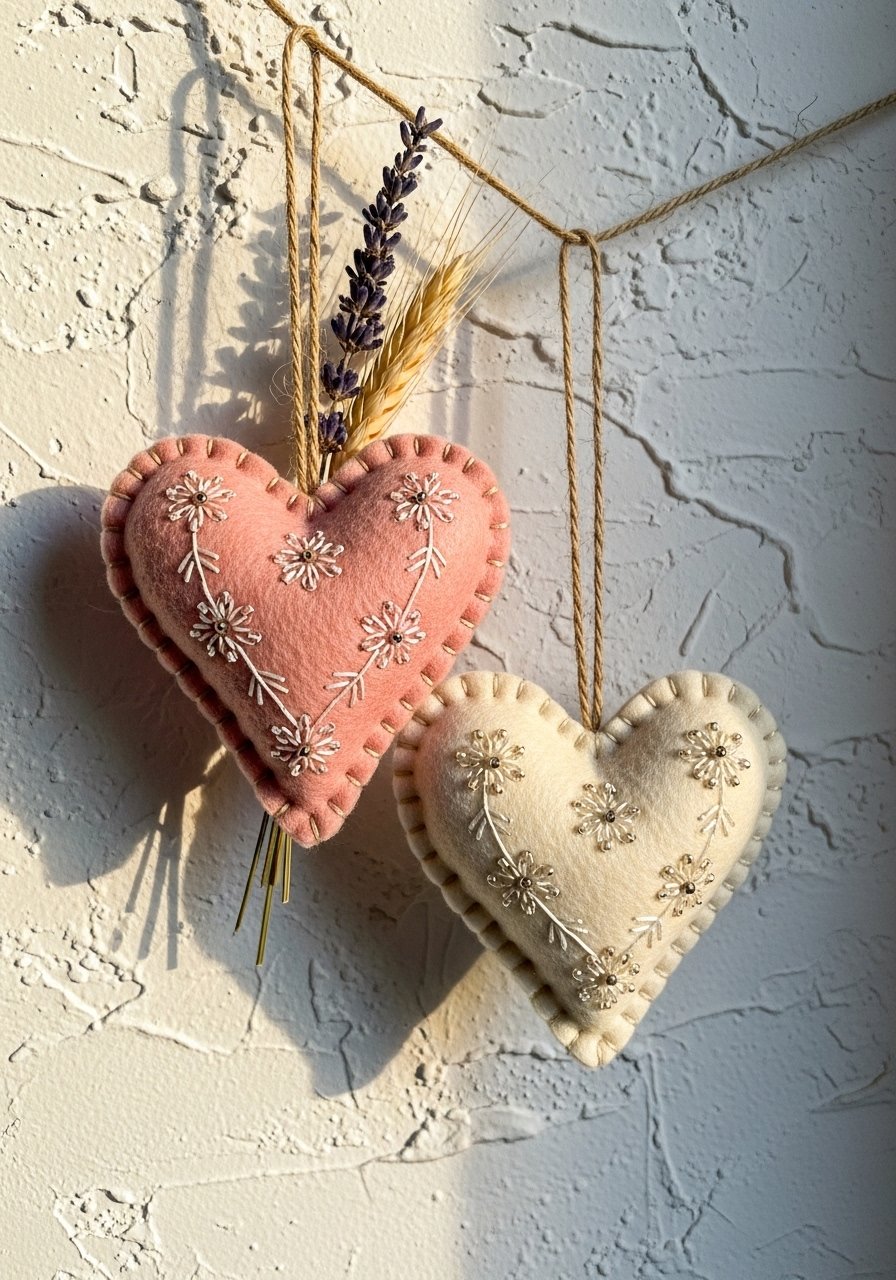
A sweet, hand-stitched ornament that’s fast and forgiving. Felt holds shape and the visible blanket stitch adds charm. These make great teacher or neighbor gifts.
Materials
- 2 wool-blend felt sheets (3" x 3" each)
- Embroidery floss (contrast color)
- Small sewing needles and stuffing fiberfill (teaspoon per heart)
- Scissors, pins, small beads (optional), twine for hanging
Instructions
- Trace a 3" heart template and cut two felt hearts per ornament.
- Thread needle with 2 strands of floss and begin a blanket stitch around the edge, leaving 1/2" opening.
- Stuff lightly with fiberfill until slightly plump.
- Finish blanket stitch and knot. Add beads by sewing them onto the heart before stitching fully closed.
- Attach a loop of twine and knot securely.
- Time: 15–25 minutes per ornament.
How to Display or Gift It
- Hang on a small branch as a minimalist ornament.
- Bundle three hearts on a ribbon and tuck into a small box.
- Store flat in a shallow drawer to preserve shape.
- Reversible Baby Bib
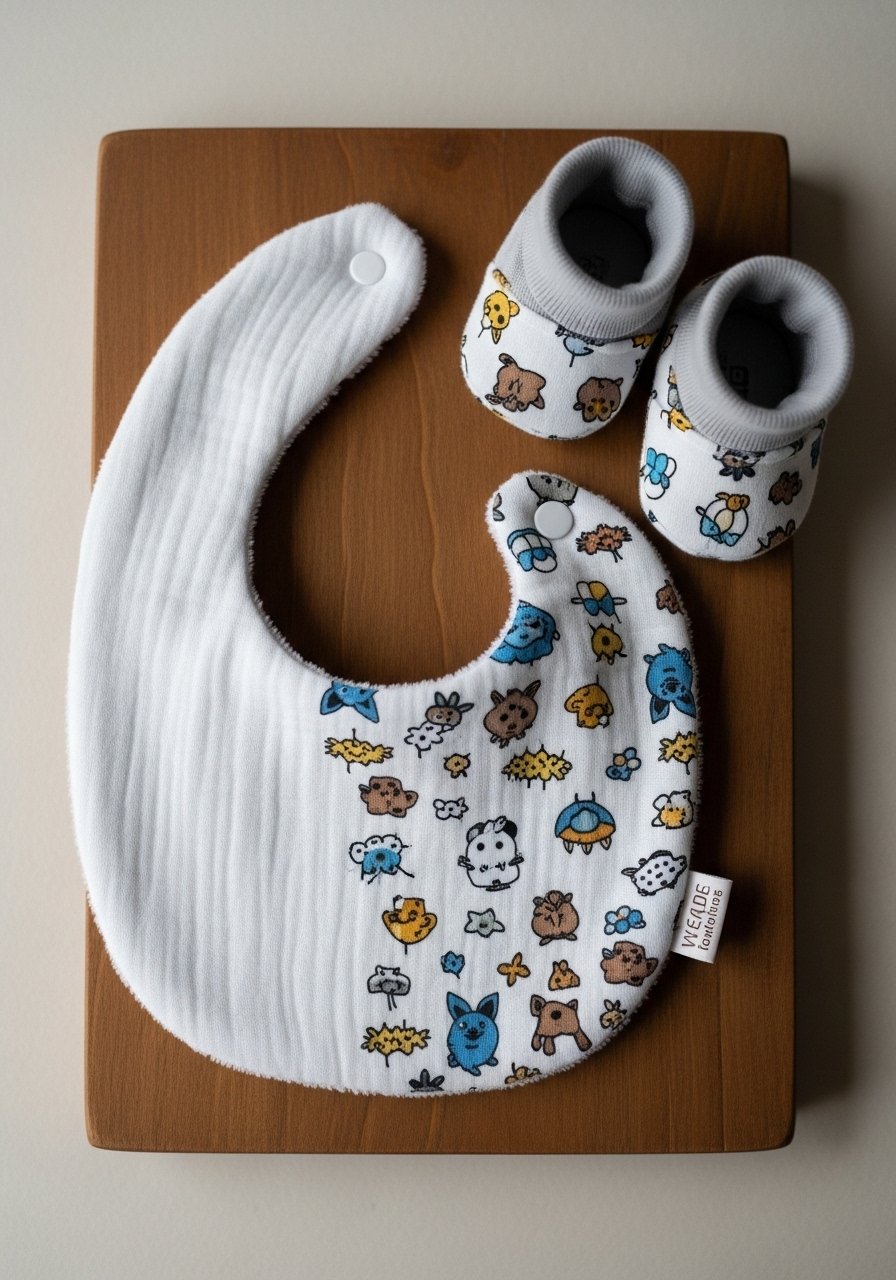
Reversible bibs are practical and quick. The finished bib is soft with a cozy terry or muslin backing. They’re a thoughtful baby shower gift and quick to sew in multiples.
Materials
- 1/4 yard cotton for front
- 1/4 yard muslin or terry for backing
- 1/4" fusible interfacing (optional)
- 1 snap set or small Velcro piece
- Thread, scissors, pins, pattern (simple bib shape)
Instructions
- Cut bib pattern twice — front and back — adding 1/4" seam allowance.
- Fuse interfacing to front if desired.
- Place right sides together, sew around edges with a 1/4" seam, leaving a 2" opening at the bottom.
- Clip curves and turn right side out. Press carefully with an iron.
- Topstitch around bib edge 1/8" from seam and install snaps or Velcro per manufacturer instructions.
- Time: 20–30 minutes.
How to Display or Gift It
- Tie a set of three bibs with a ribbon and tuck a small card with care instructions.
- Wash before gifting to soften muslin.
- Store in a baby gift box or hung on a small peg.
- DIY Fabric Bookmark — sewing projects for beginners gifts
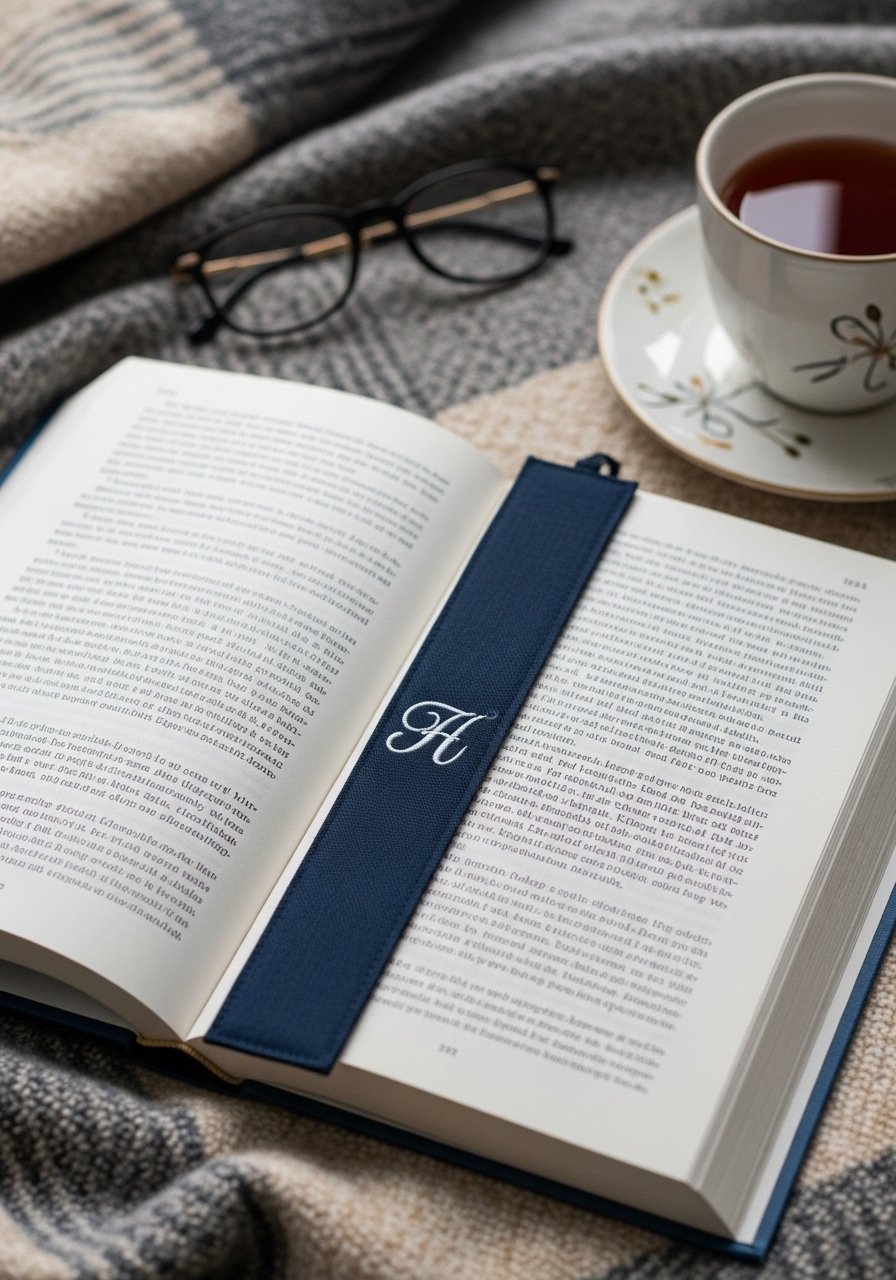
Bookmarks are tiny statements that teach topstitching and interfacing. They’re practical, quick, and make lovely stocking stuffers. The finished piece is flexible and slightly padded.
Materials
- 2 rectangles fabric 2.5" x 7"
- 1 rectangle interfacing 2.5" x 7"
- Thread, scissors, pins, hand-sewing needle
- Optional: small tassel and fabric glue
Instructions
- Fuse interfacing to one fabric rectangle.
- Place right sides together and sew around leaving 1/2" opening.
- Turn right side out, push corners, press.
- Topstitch close to edge for a finished look.
- Add a tassel or embroidered initial with a few stitches.
- Time: 10–15 minutes.
How to Display or Gift It
- Slip into a book and wrap the book as a gift.
- Tie a tiny tassel made from embroidery floss for a handmade touch.
- Keep a bunch in a small wooden easel tabletop for display at craft fairs.
- Envelope Pillow Cover
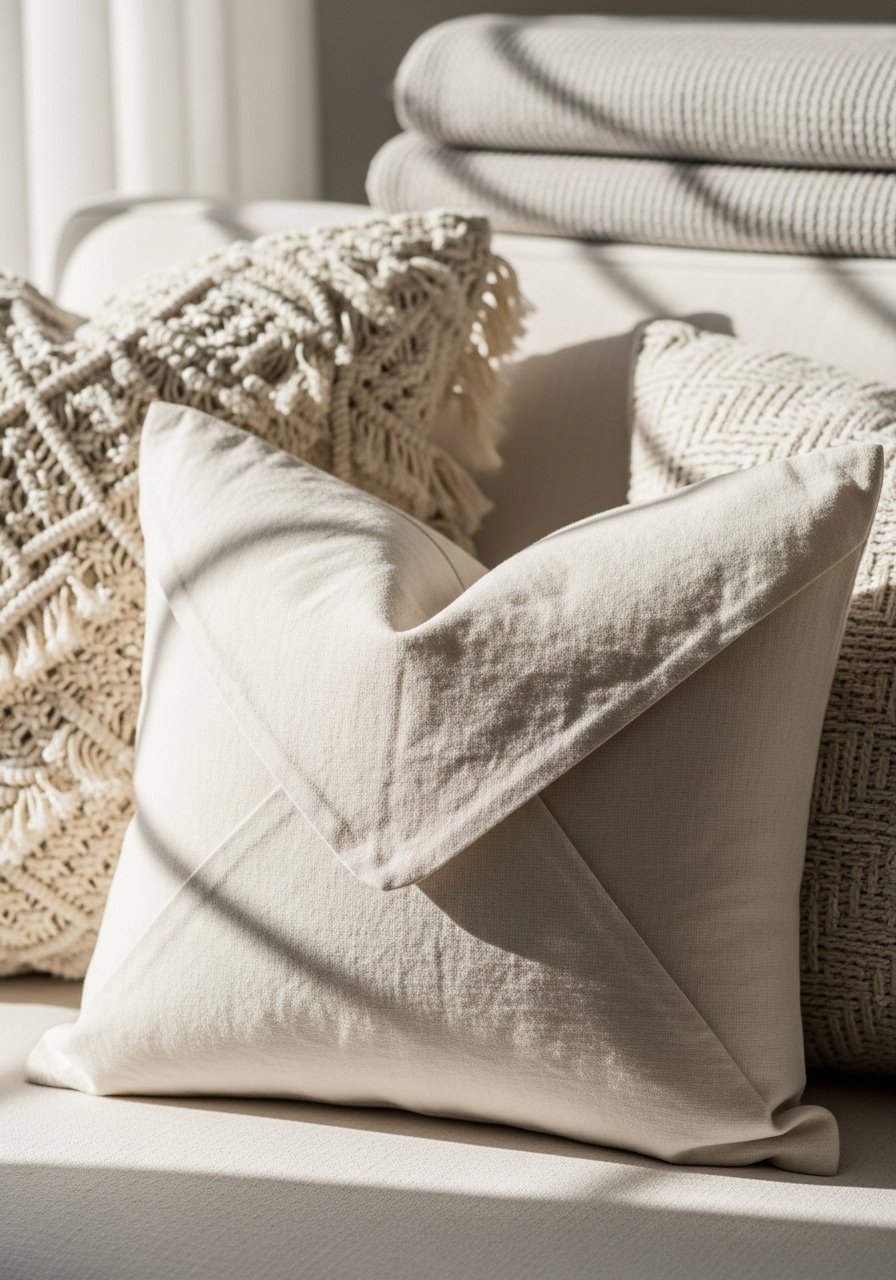
Envelope pillow covers are fast and let you practice straight seams and pressing. The envelope back makes the insert easy to remove for washing. They suit farmhouse, japandi, and boho aesthetics.
Materials
- 1/2 yard fabric for 18" x 18" pillow cover (or adjust)
- Thread, pins, scissors
- Pillow insert 18" x 18"
- Steam iron
Instructions
- Cut fabric into one 18" x 18" square and two rectangles 18" x 12" for the back overlap.
- Hem long edges of the two rectangles by folding 1/4" then 1/2", pressing and stitching.
- Lay square right side up. Place one back piece right side down at top, and the other right side down at bottom, overlapping in the middle.
- Pin and sew all around with a 1/2" seam.
- Turn cover right side out and insert pillow. Press edges.
- Time: 20–30 minutes.
How to Display or Gift It
- Mix and match textures for living room sets.
- Insert a plush pillow for a premium look.
- Store spare covers flat in a craft organizer drawer.
- Linen Utensil Roll
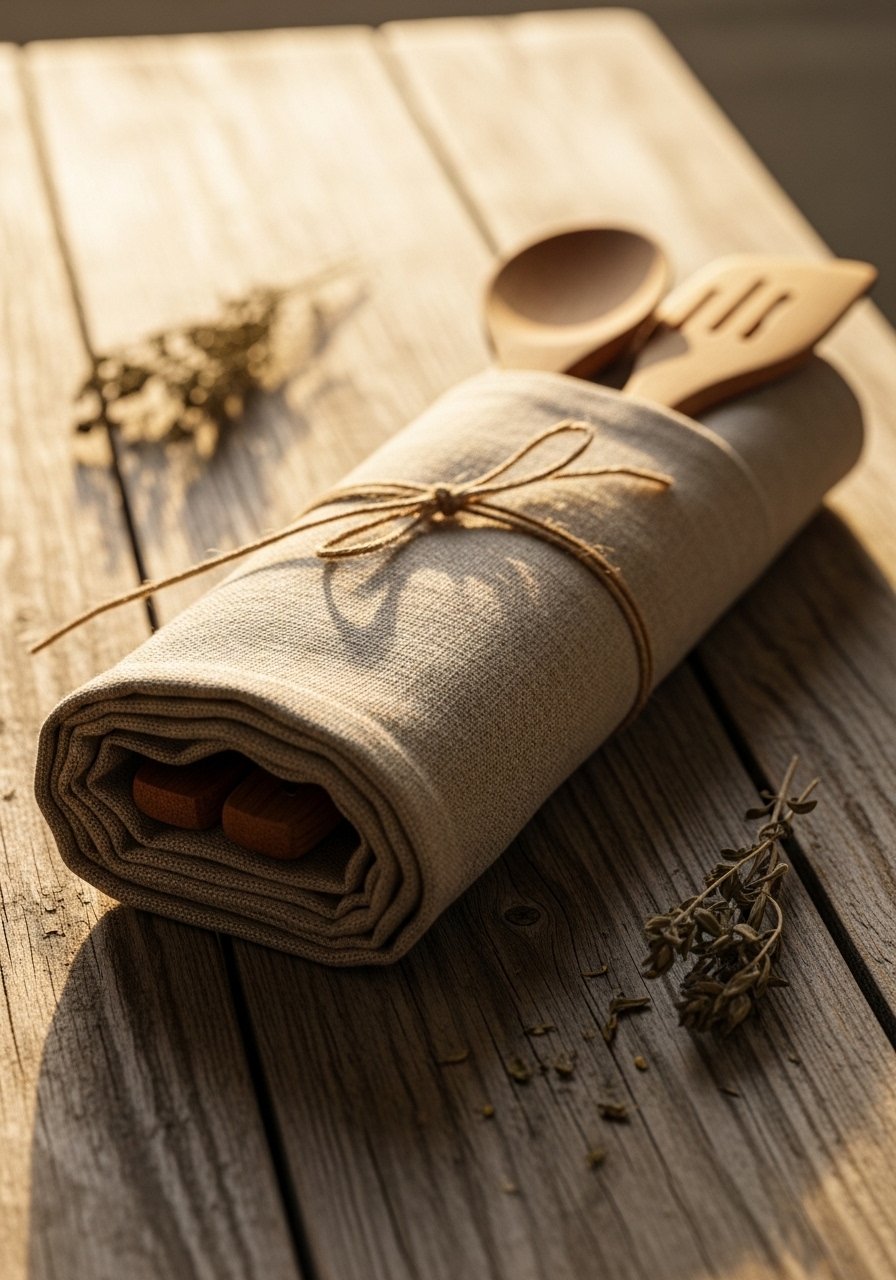
An elegant, travel-ready roll that keeps picnic utensils tidy. The finished roll has stitched pockets and a tie closure. You’ll learn pocket spacing and topstitching.
Materials
- 1/2 yard linen or canvas
- 1/3 yard cotton for pocket lining
- 1 bias tape 1/2", 40 inches long, or make your own
- Thread, pins, ruler, fabric scissors
Instructions
- Cut base 12" x 16" and pocket fabric 12" x 8".
- Hem top edge of pocket fabric and press.
- Align pocket on base with raw edges and stitch sides and bottom with 1/4" seam.
- Divide pockets by stitching vertical lines 2"–3" apart to create slots.
- Fold base into a roll and attach bias tape or tie long ribbon to one side for closure.
- Time: 40–60 minutes.
How to Display or Gift It
- Fill with wooden utensils and present in a picnic gift basket.
- Store rolled in drawer, or hang on a peg with ribbon.
- Include a small care label for washing instructions.
- Scrunchie Set
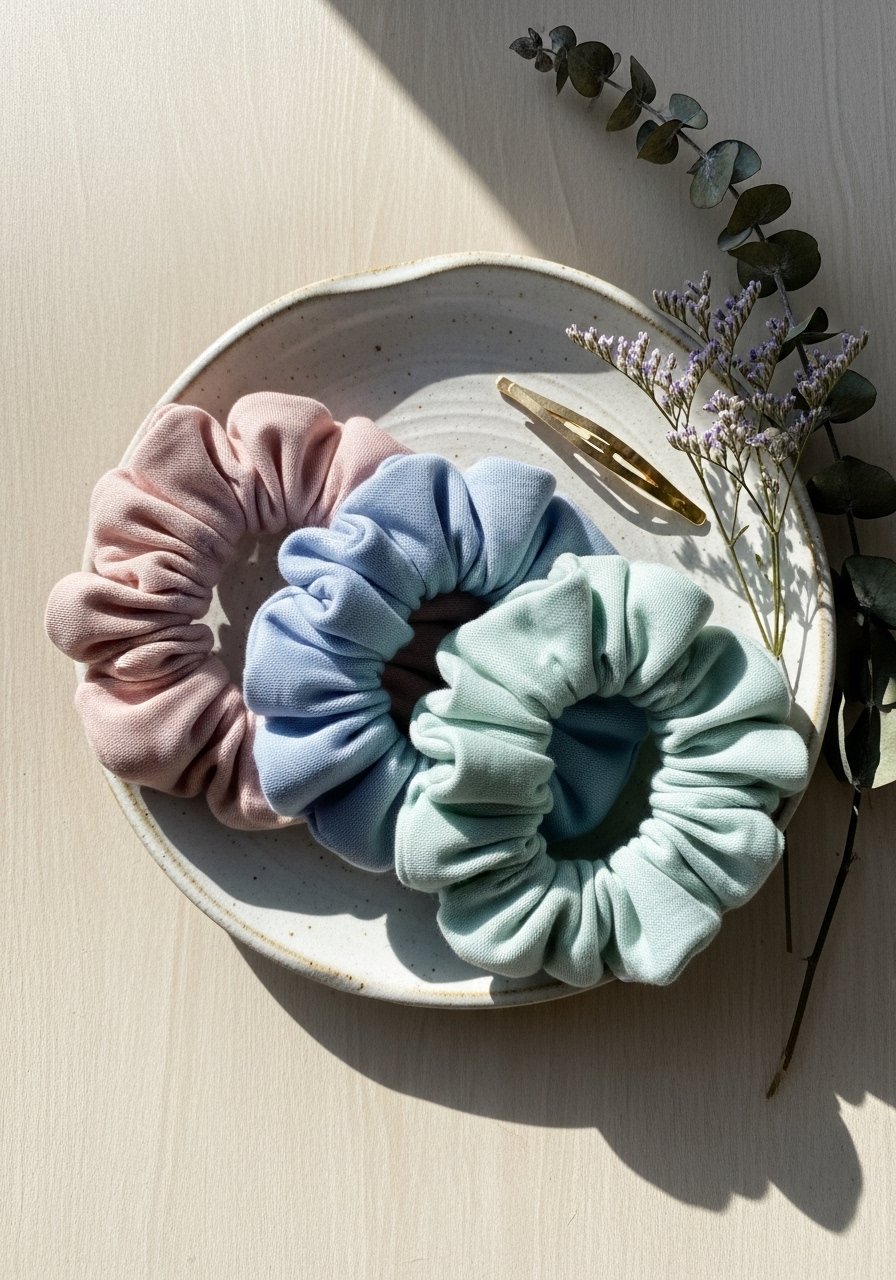
Scrunchies are fast, forgiving, and trendy. They teach channel sewing and elastic casing. These take almost no time and are ideal for mass gifting.
Materials
- 2" x 22" fabric strips (one per scrunchie)
- 7" elastic band per scrunchie
- Thread, safety pin
- Scissors and sewing machine
Instructions
- Fold fabric strip lengthwise, right sides together, and stitch along long edge with 1/4" seam, leaving short ends open.
- Turn tube right side out using a safety pin.
- Insert elastic and stitch ends of elastic together securely.
- Tuck short ends and sew closed either with a ladder stitch by hand or topstitch around the scrunchie.
- Time: 10–15 minutes each.
How to Display or Gift It
- Stack three on a card and place in a small kraft gift box.
- Store in a clear organizer to keep shape.
- Pair with a simple hair care product for a salon-style gift.
- Mini Coin Purse with Snap
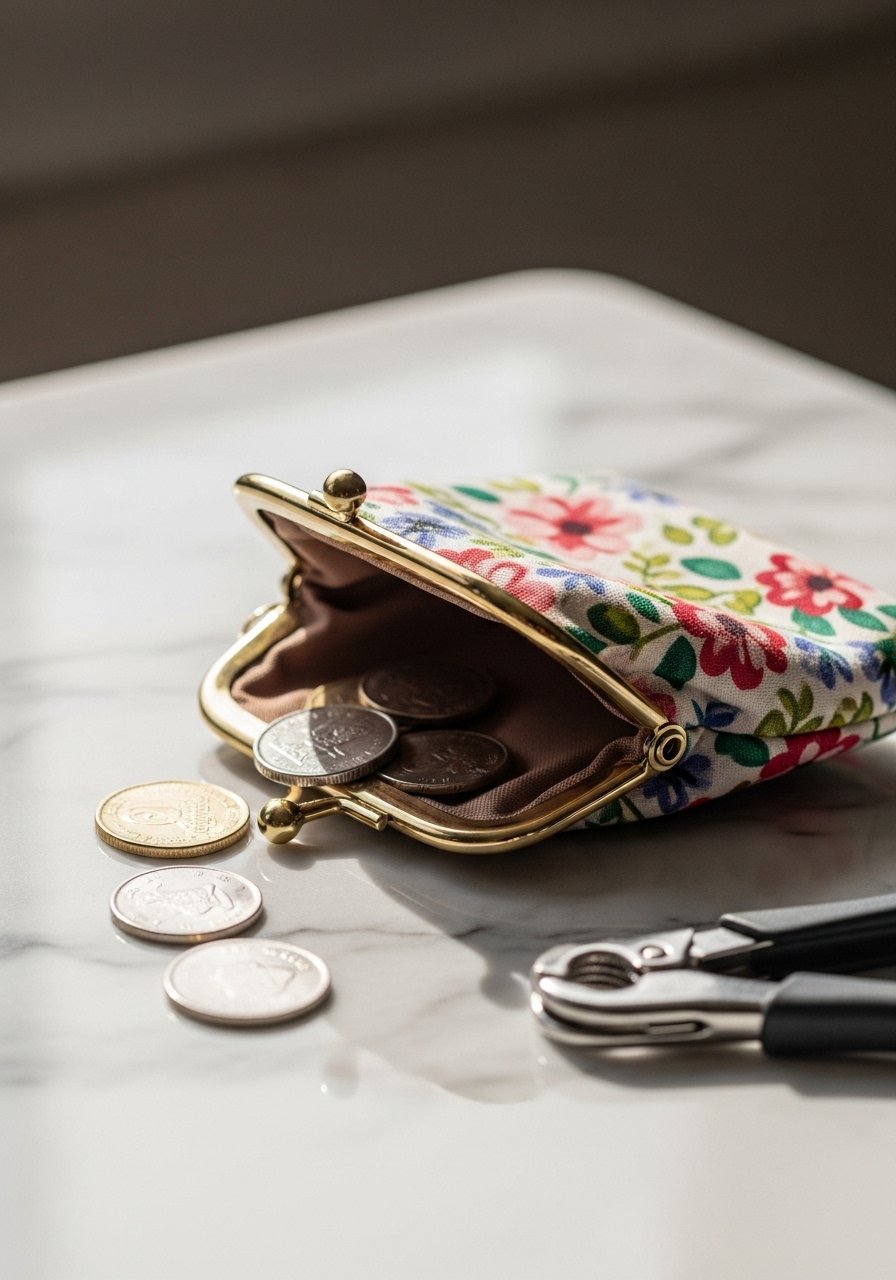
This tiny purse teaches installing snaps and lining work. Finished size is about 3.5" x 3.5"—perfect for coins or lip balm.
Materials
- 4" x 8" outer fabric
- 4" x 8" lining fabric
- Small fusible interfacing 4" x 8"
- Snap set and snap tool
- Thread, small scissors
Instructions
- Fuse interfacing to outer fabric.
- Fold fabric in half widthwise and sew sides with 1/4" seam.
- Turn right side out and press.
- Install snaps centered at top edge following snap kit instructions.
- Reinforce snap area with a few hand stitches if desired.
- Time: 20–30 minutes.
How to Display or Gift It
- Tuck into a larger greeting card for a surprise gift.
- Clip to a keychain or place in a small kraft gift box.
- Store flat in a small drawer to protect snaps.
- Quilted Pot Holder
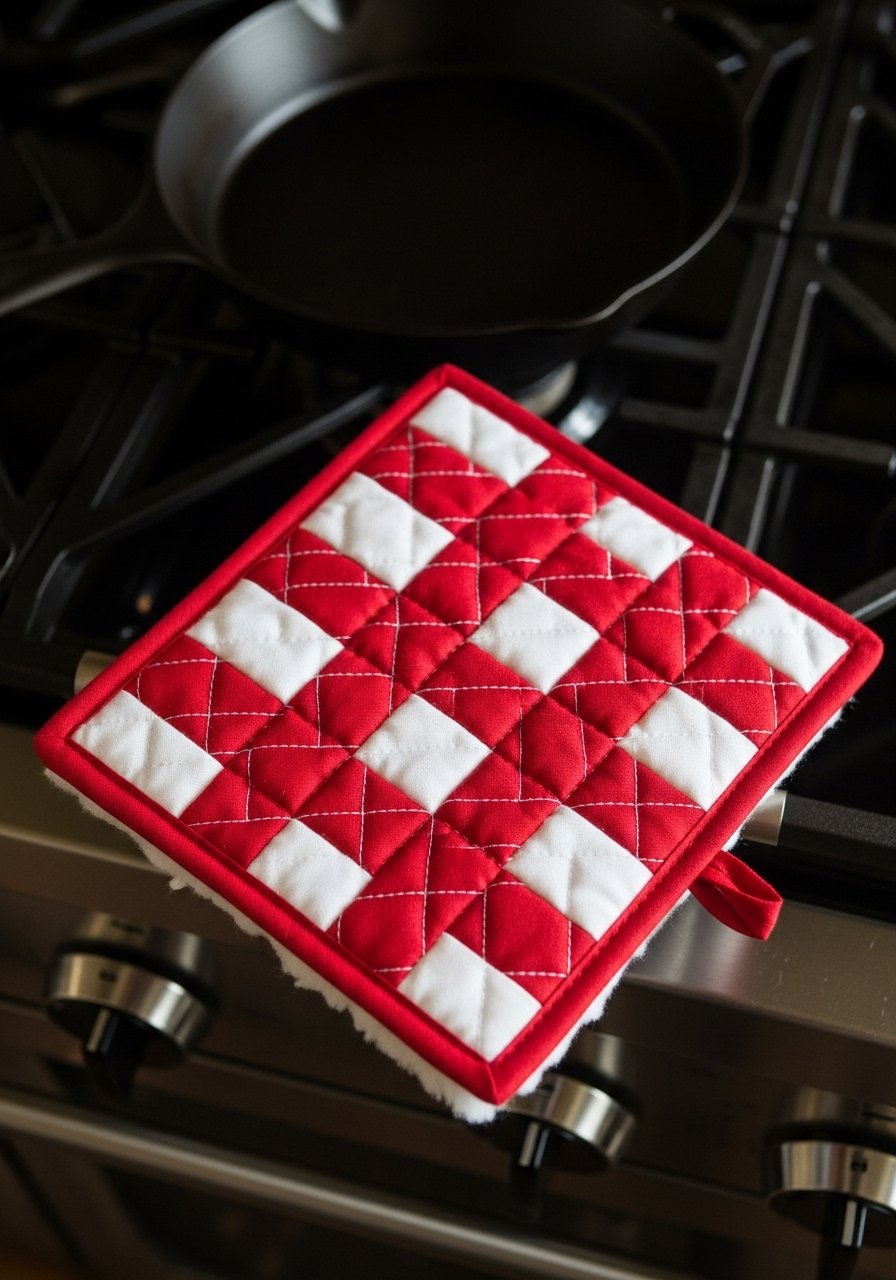
Pot holders teach layering and quilting. This one is 8" square, with heat-resistant batting (use insulated cotton batting). Double-stitching prevents seams from shifting under heat.
Materials
- 2 outer fabric squares 9" x 9"
- 1 insulated cotton batting square 9" x 9"
- Thread, rotary cutter, mat, quilting ruler
- Fabric loop for hanging
Instructions
- Layer outer fabric (right side down), batting, and lining (right side up).
- Baste and quilt lines 1/2" apart using a walking foot if possible.
- Trim to 8" square and bind edges with a 2" bias strip folded over and top-stitched.
- Add a fabric loop to one corner before binding.
- Time: 60–90 minutes.
How to Display or Gift It
- Pair with a jar of spice rubs or an oven mitt for a kitchen gift set.
- Hang on a hook for easy use or store flat to keep batting from compressing.
- Simple Apron
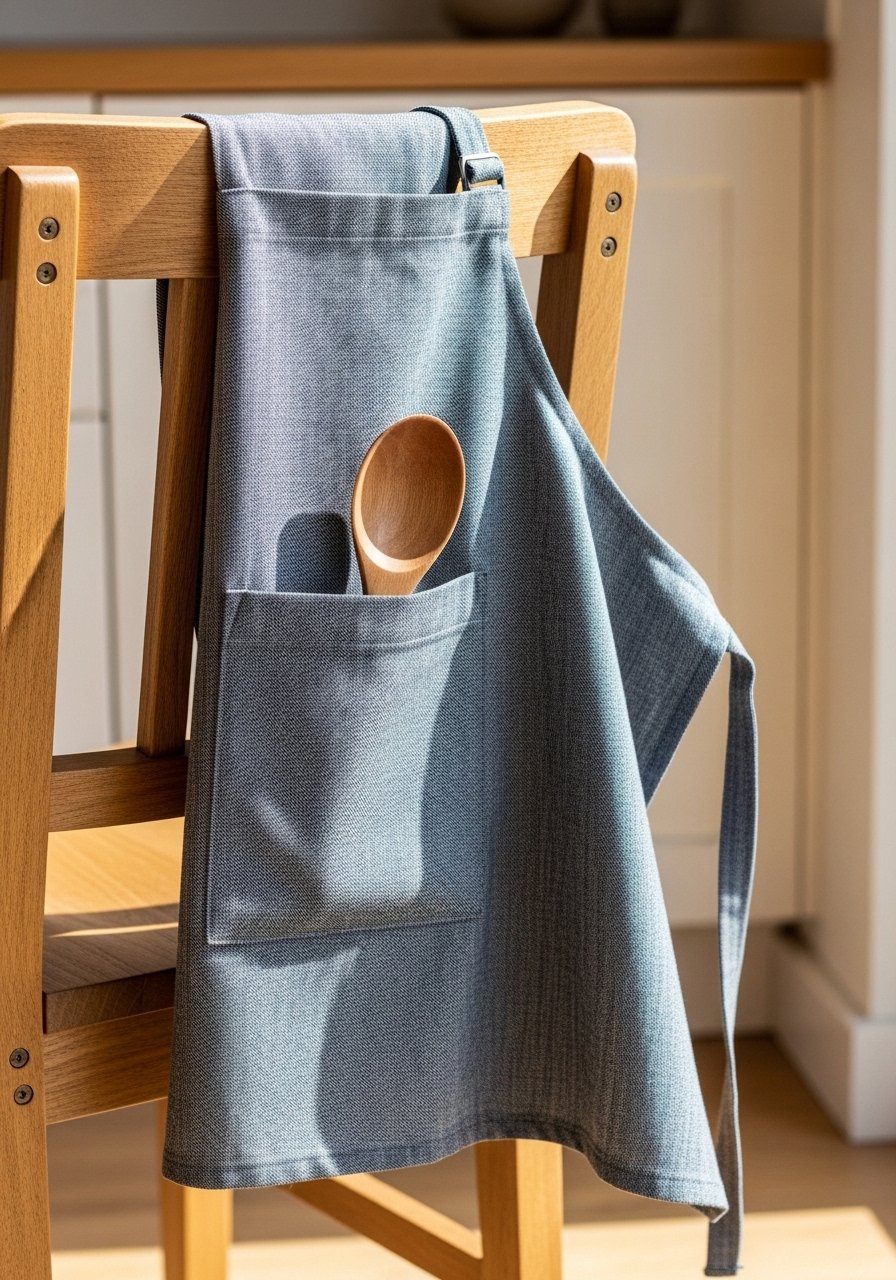
Aprons are roomy and practical. This half-apron uses straight seams and a large pocket, finishing at about 20" x 24" for most adults. Great for bakers and gardeners.
Materials
- 1/2 yard medium-weight cotton or chambray
- 1/2" twill tape 70" for ties (or make from fabric)
- Thread, scissors, pins
- Optional: bias tape for pocket edges
Instructions
- Cut apron front 20" x 24" and pocket 10" x 8".
- Hem all four edges of the apron by folding 1/4" then 1/2", press and stitch.
- Hem pocket top and topstitch to apron front centered 4" from top.
- Attach twill tape to sides at waist level for ties.
- Press and add a topstitch around pocket for reinforcement.
- Time: 45–60 minutes.
How to Display or Gift It
- Fold and tie with twine; include a wooden spoon for a themed gift.
- Store hanging on a peg to minimize creasing.
- Pair with cookie mix in a jar for a housewarming gift.
- Fabric Gift Card Holder
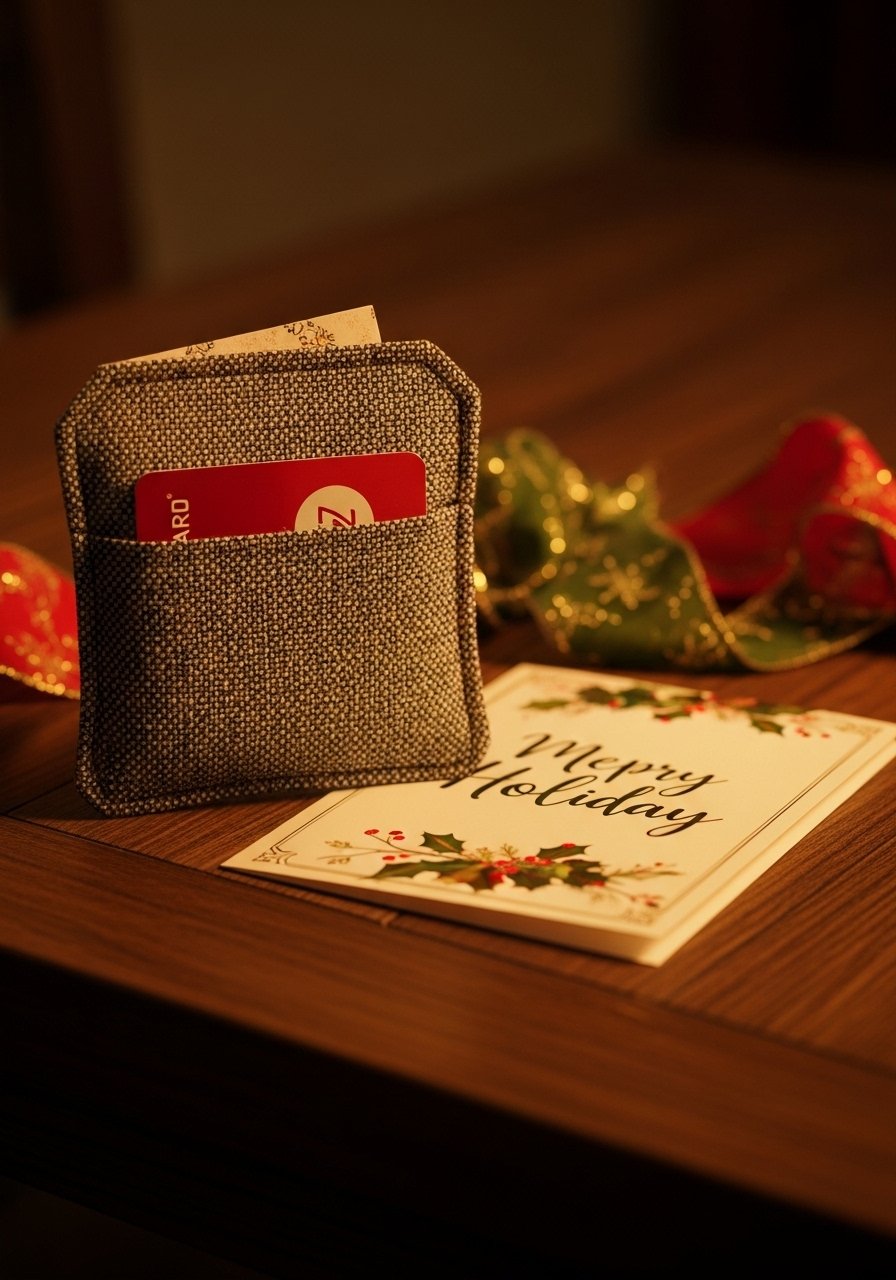
A small, sweet sleeve that dresses up gift cards. It’s fast and uses minimal fabric. The finished holder is about 3.5" x 5".
Materials
- 4" x 8" fabric (outer and lining)
- 1/4" fusible interfacing 4" x 8"
- Thread, scissors, fabric glue (optional)
Instructions
- Fuse interfacing to outer fabric.
- Fold fabric in half widthwise (right sides together) and sew sides with 1/4" seam, leaving top open.
- Turn right side out and press.
- Topstitch along open edge and add a small decorative button or loop.
- Time: 10–15 minutes.
How to Display or Gift It
- Slip a gift card inside and tuck it into a greeting card.
- Tie a slim ribbon around for presentation.
- Store a stack in a small organizer for batch-making.
- Hand-Stitched Felt Heart Garland — sewing projects for beginners gifts
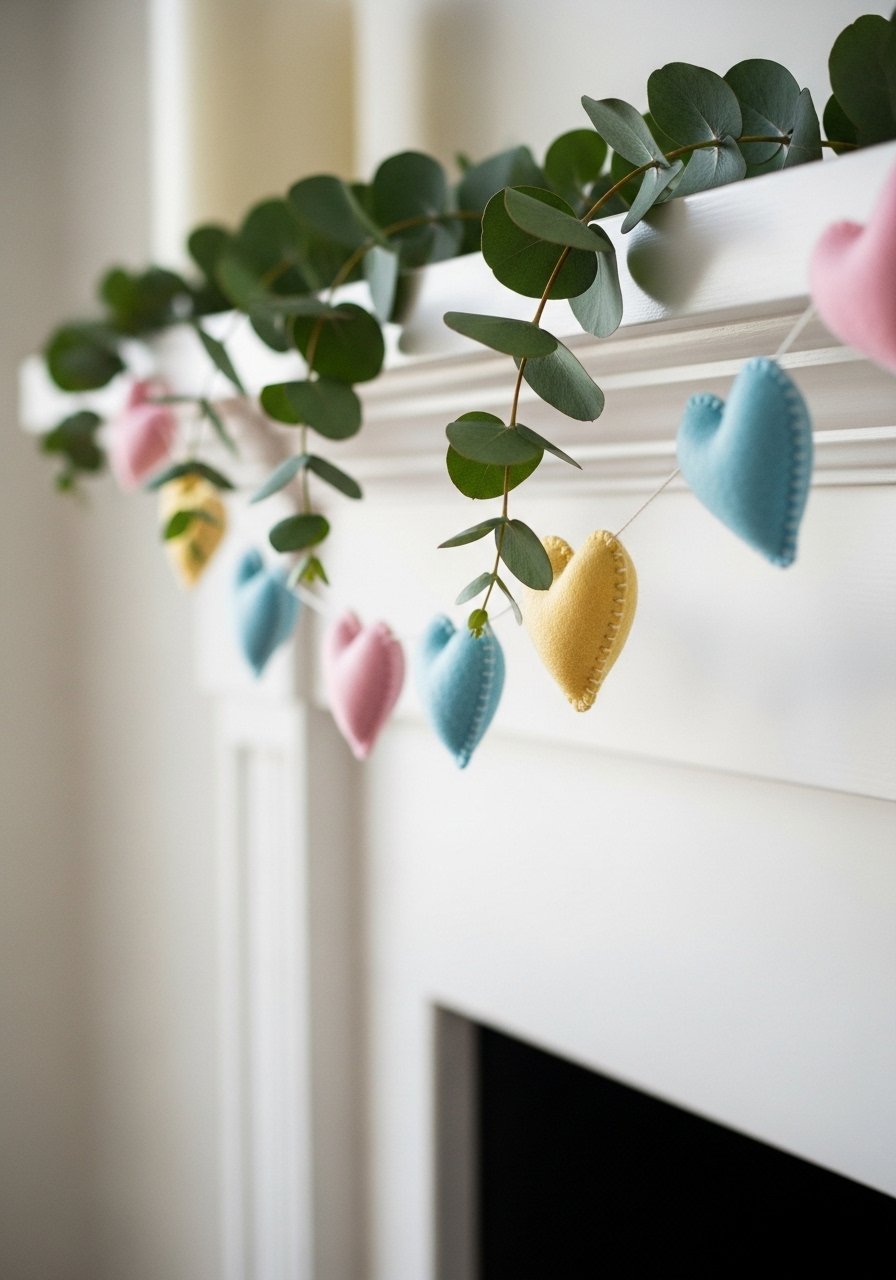
This garland is sweet and quick. Multiple hearts sewn together make a room-ready decoration. Felt keeps the edges tidy without fraying.
Materials
- Felt squares (assorted colors), 3" hearts x 10
- Embroidery floss for blanket stitch
- Thin cotton twine 36"
- Needle and stuffing fiberfill (small pinches)
- Scissors and pins
Instructions
- Cut 20 hearts from felt for 10 ornaments.
- Pair hearts and blanket-stitch around three-quarters of the edge, stuff lightly, finish stitch.
- Space hearts evenly along twine and secure with small drops of fabric glue or tiny stitches.
- Tie loops at each end for hanging.
- Time: 60–90 minutes for a 10-heart garland.
How to Display or Gift It
- Drape over a mantle or across a nursery wall.
- Package in a kraft gift box with a ribbon.
- Store flat in a shallow drawer or hang on a peg.
- Eyemask and Pillow Spray Gift Set
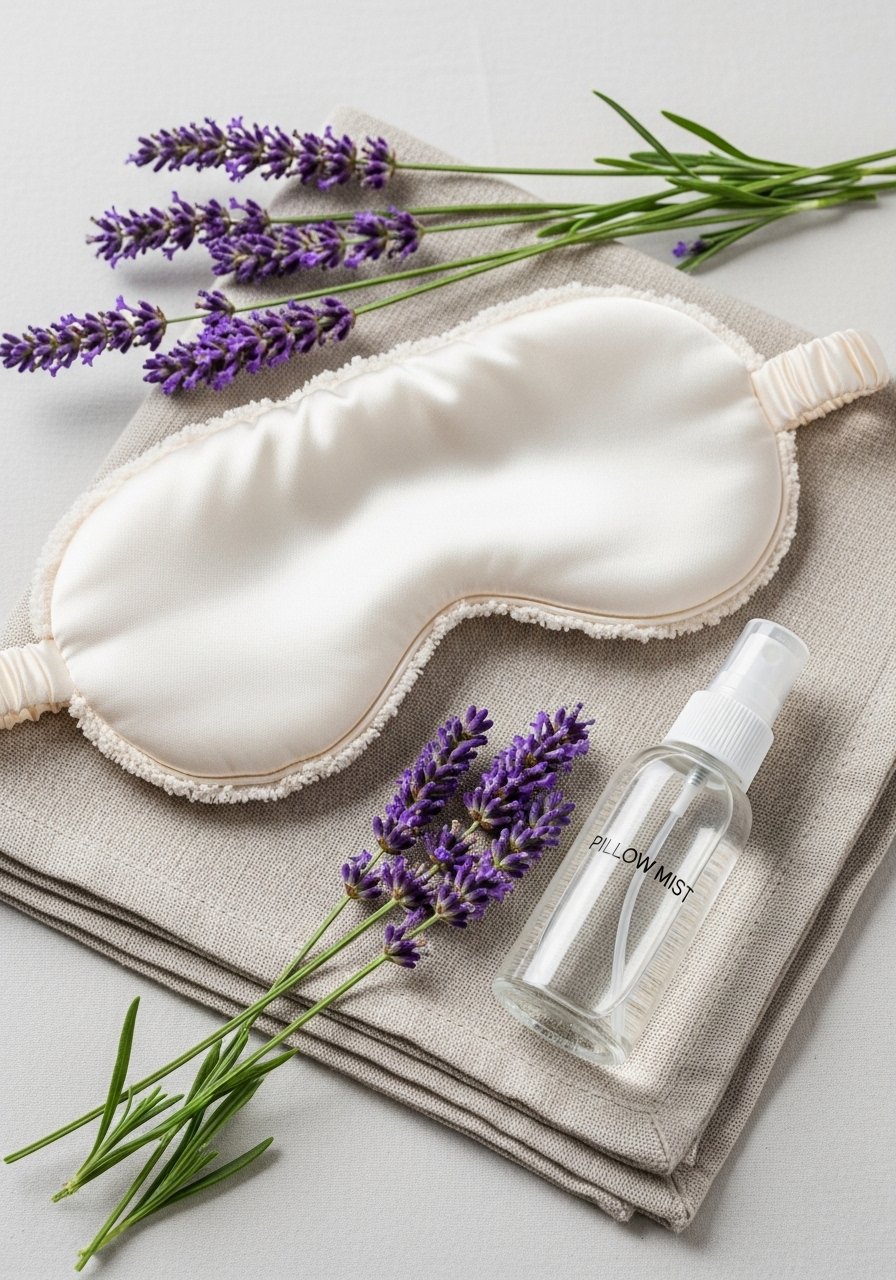
Combine a sewn eyemask with a simple linen spray for a calming gift. The mask uses soft cotton or satin and soft elastic; pillow spray is mixed separately and labeled.
Materials
- 1 eyemask pattern (approx 8.5" x 4")
- Satin or cotton 9" x 10"
- 1/4" elastic 12"
- Fiberfill or thin foam padding 9" x 4"
- Small glass spray bottle for spray
- Lavender essential oil and distilled water
Instructions
- Cut two mask shapes and a thin layer of padding.
- Place padding between fabric pieces and sew around leaving a small opening.
- Turn right side out and slip in elastic ends into side seams and stitch closed.
- Mix pillow spray: 4 oz distilled water with 8–12 drops lavender EO and a splash of alcohol as preservative. Shake before use.
- Label and pair in a small box.
- Time: 30–45 minutes.
How to Display or Gift It
- Wrap together with twine and a sprig of lavender.
- Store eyemask in a small pouch to keep it dust-free.
- Put spray in a protective box to avoid spills in shipping.
- Patchwork Mug Rug
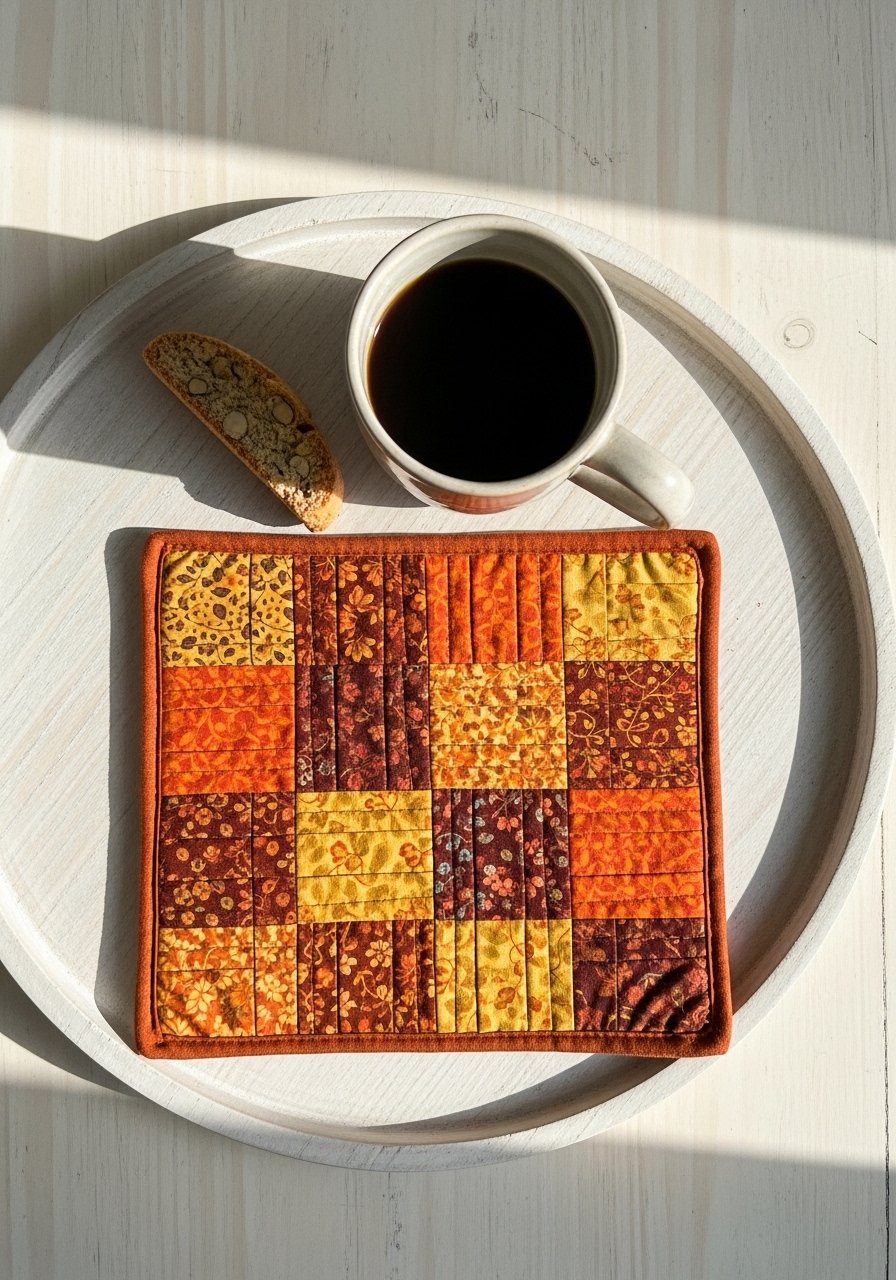
Mug rugs are larger than coasters and great for practicing quilting techniques on a small scale. The finished mug rug measures 7" x 9" and can use leftover fabric scraps.
Materials
- Fabric scraps totaling 8" x 10"
- 8" x 10" batting
- Thread, rotary cutter, quilting ruler
- Binding strip 2" x 36"
Instructions
- Piece scraps into an 8" x 10" top, seaming with 1/4" allowances.
- Layer top, batting, and backing; baste.
- Quilt lines or patterns as desired.
- Trim to 7" x 9" and bind with folded binding.
- Time: 60 minutes.
How to Display or Gift It
- Pair with a specialty coffee bag for gifting.
- Stack multiple mug rugs bound with ribbon for a hostess gift.
- Store flat in a drawer to prevent curling.
- Reusable Produce Bags
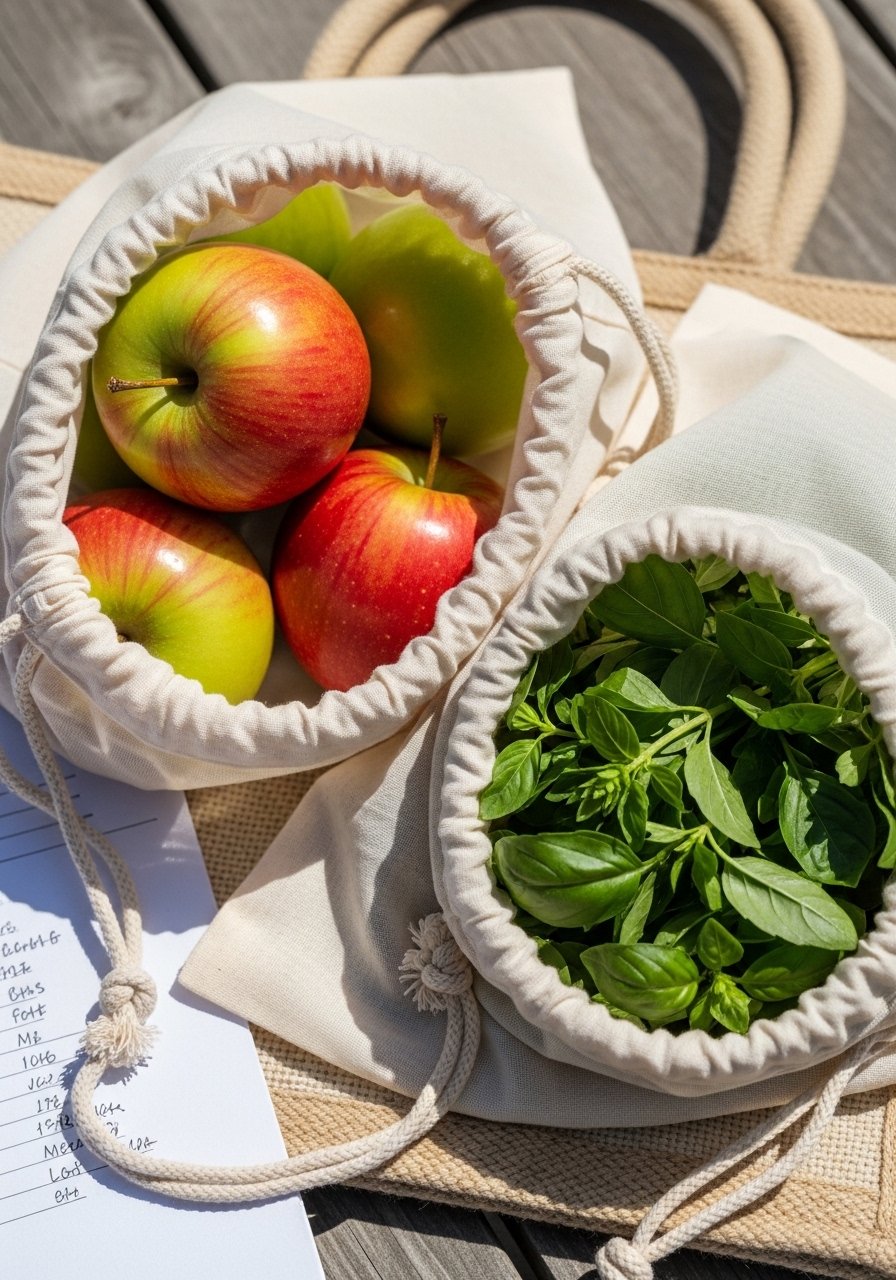
Reusable produce bags are practical and eco-friendly. They fold into a tiny pouch and are light enough to carry. Mesh or lightweight cotton works well.
Materials
- 1/2 yard lightweight cotton or mesh
- 1/4" cord for drawstrings, 40"
- Thread, scissors, pins
- Safety pin for threading cord
Instructions
- Cut two rectangles 12" x 16" per bag.
- Sew sides and bottom with 1/4" seam leaving top raw.
- Fold top down 1" and stitch to create a casing for cord.
- Thread cord through casing with a safety pin and knot ends.
- Time: 20–30 minutes per bag.
How to Display or Gift It
- Bundle three bags together with a tag about sustainable shopping.
- Store flat in a kitchen drawer near reusable totes.
- Use fabric markers to label sizes or names.
- Embroidery Hoop Wall Art
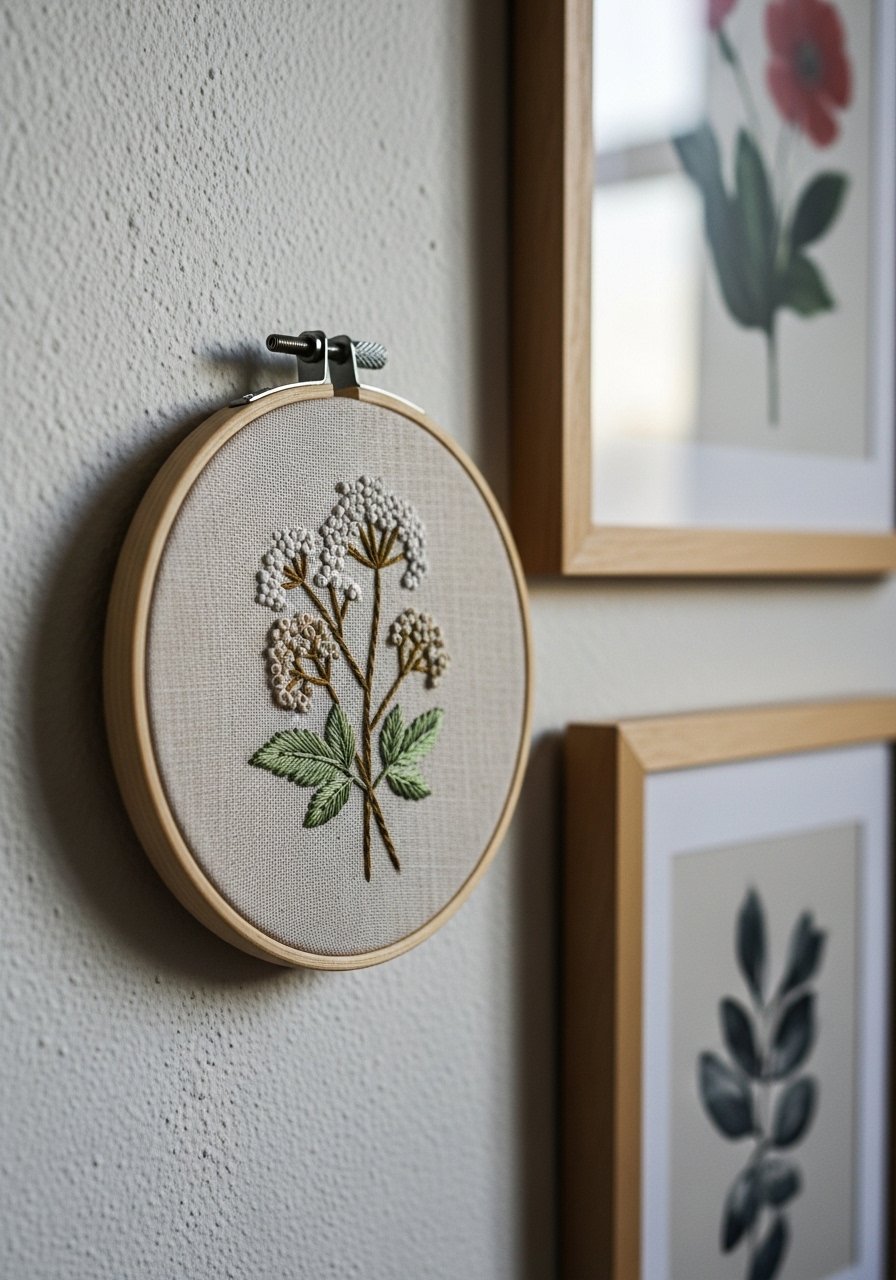
Hoop art is a classic handmade gift. It’s frame-and-go, and the hoop doubles as the frame. Ideal for practicing small motifs and lettering.
Materials
- 6" embroidery hoop
- Linen or cotton 7" square
- Embroidery floss, needle, scissors
- Water-soluble marker and small stabilizer (optional)
Instructions
- Trace motif on fabric with marker and secure in hoop.
- Stitch using backstitch and satin stitch as needed.
- Trim fabric leaving 1" excess and fold to the back; secure with running stitch or glue.
- Tighten hoop and press gently from the front.
- Time: 45–90 minutes depending on design.
How to Display or Gift It
- Hang on a small nail or display on a small wooden easel tabletop.
- Pair with a short note about the stitch meanings.
- Store flat or hang in a craft room.
- Fringed Napkin Rings
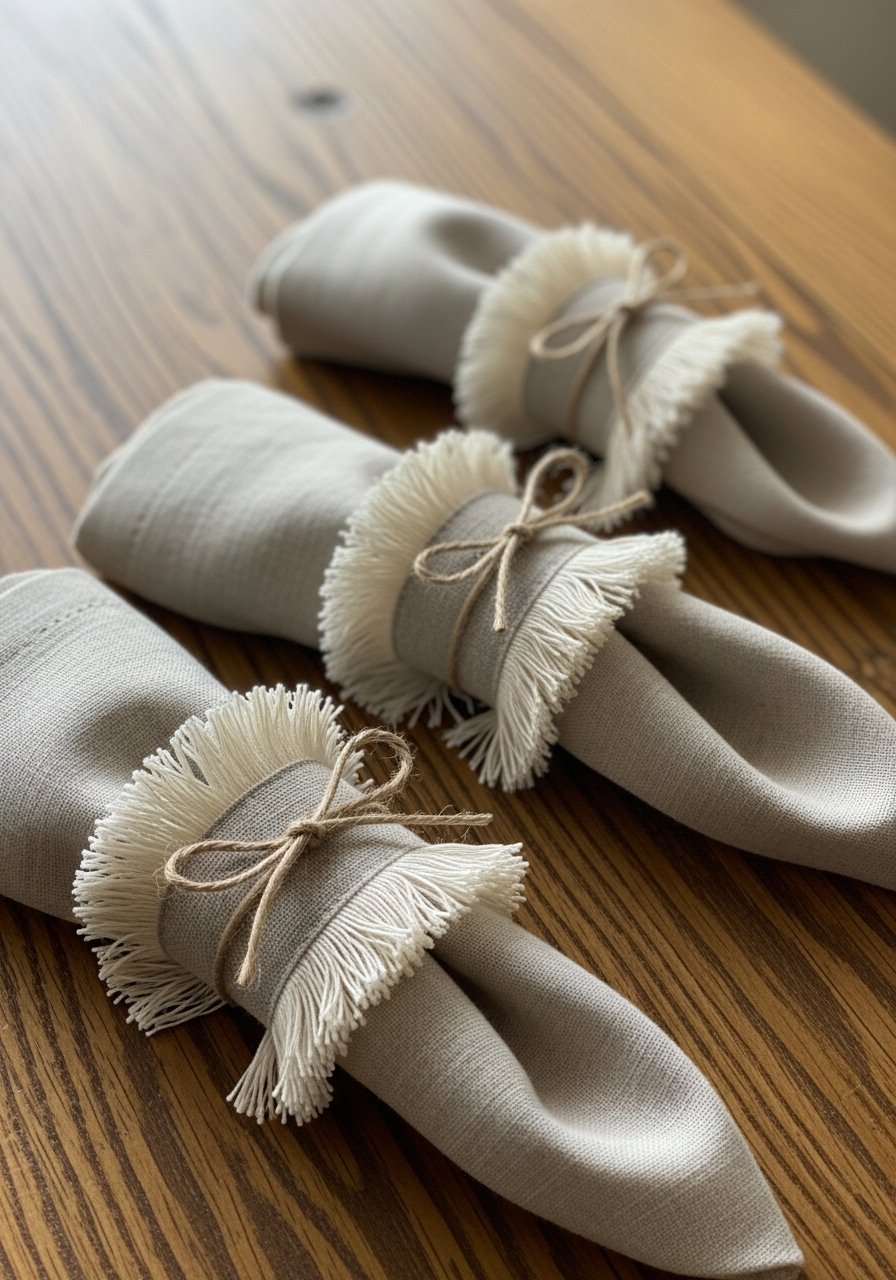
Napkin rings are quick decorative touches that teach neat raw-edge finishing. They suit farmhouse and boho tablescapes. Each ring finishes about 2" wide.
Materials
- Linen strips 3" x 8"
- Twine or thin ribbon 8"
- Fray check (optional), thread, needle
- Scissors and ruler
Instructions
- Cut linen strips and press.
- Fold in half lengthwise and sew short ends with 1/4" seam to make a tube.
- Turn right side out and press flat. Fray ends by pulling horizontal threads or use fray check for control.
- Wrap around folded napkin and tie with twine.
- Time: 15–25 minutes for a set of four.
How to Display or Gift It
- Slide napkin rings onto linen napkins for a ready-to-gift table set.
- Store in a small drawer to keep fringes neat.
- Pair with seasonal dried sprigs tucked into twine.
- Lined Sunglasses Case
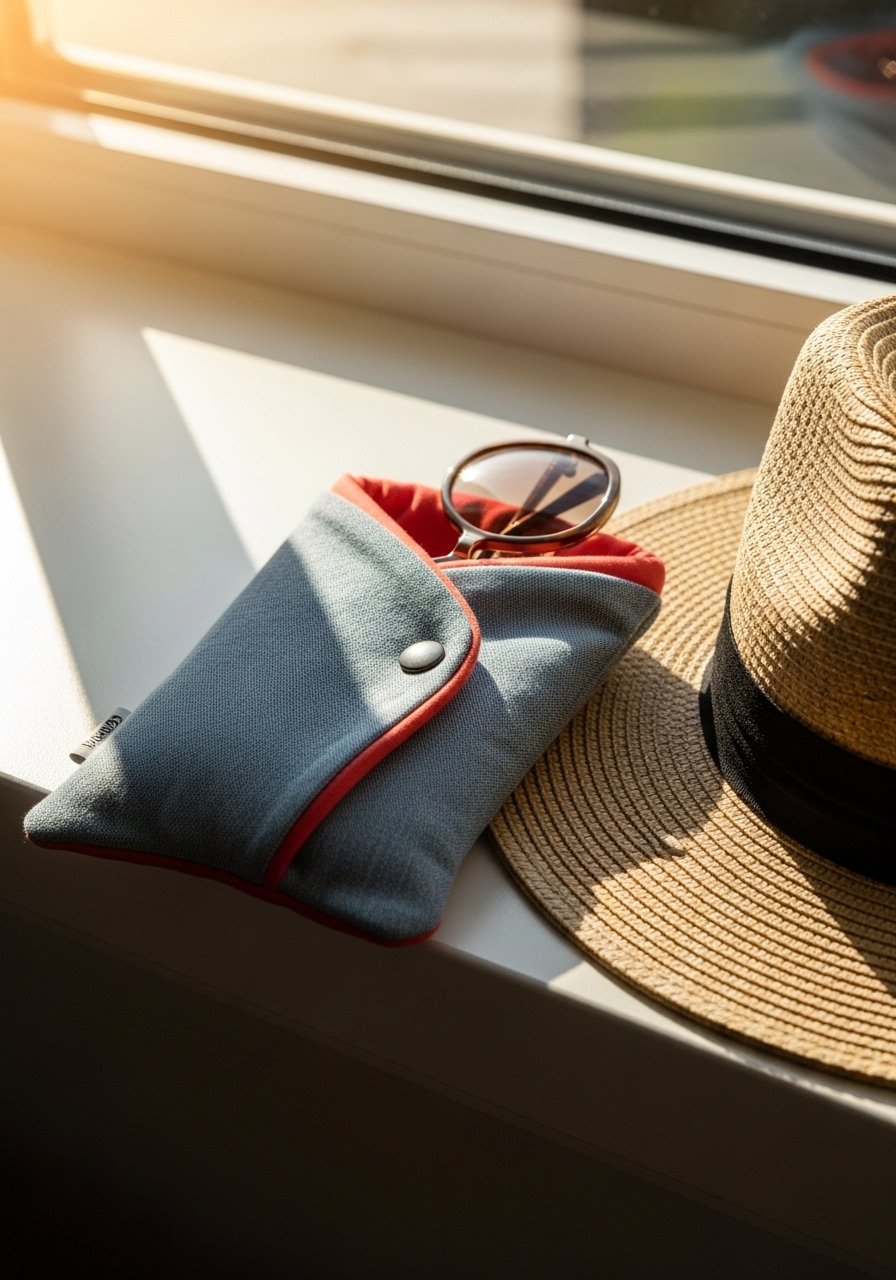
A lined sleeve protects sunglasses and teaches lining and padding. Finished case is about 3.5" x 7.5". Use fleece or thin batting for extra protection.
Materials
- 4" x 9" outer fabric
- 4" x 9" lining fabric
- Thin batting 4" x 9"
- Thread, scissors, sewing machine
Instructions
- Layer outer (right side up), batting, and lining (right side down). Fold in half to create a 4" x 4.5" folded size.
- Sew around the two long sides and bottom, leaving top open.
- Turn right side out and press carefully.
- Topstitch around opening for durability.
- Time: 20–30 minutes.
How to Display or Gift It
- Pair with sunglasses and tuck into a small box.
- Store flat to avoid creasing.
- Include a cleaning cloth folded inside.
- Dotted Cosmetic Travel Roll
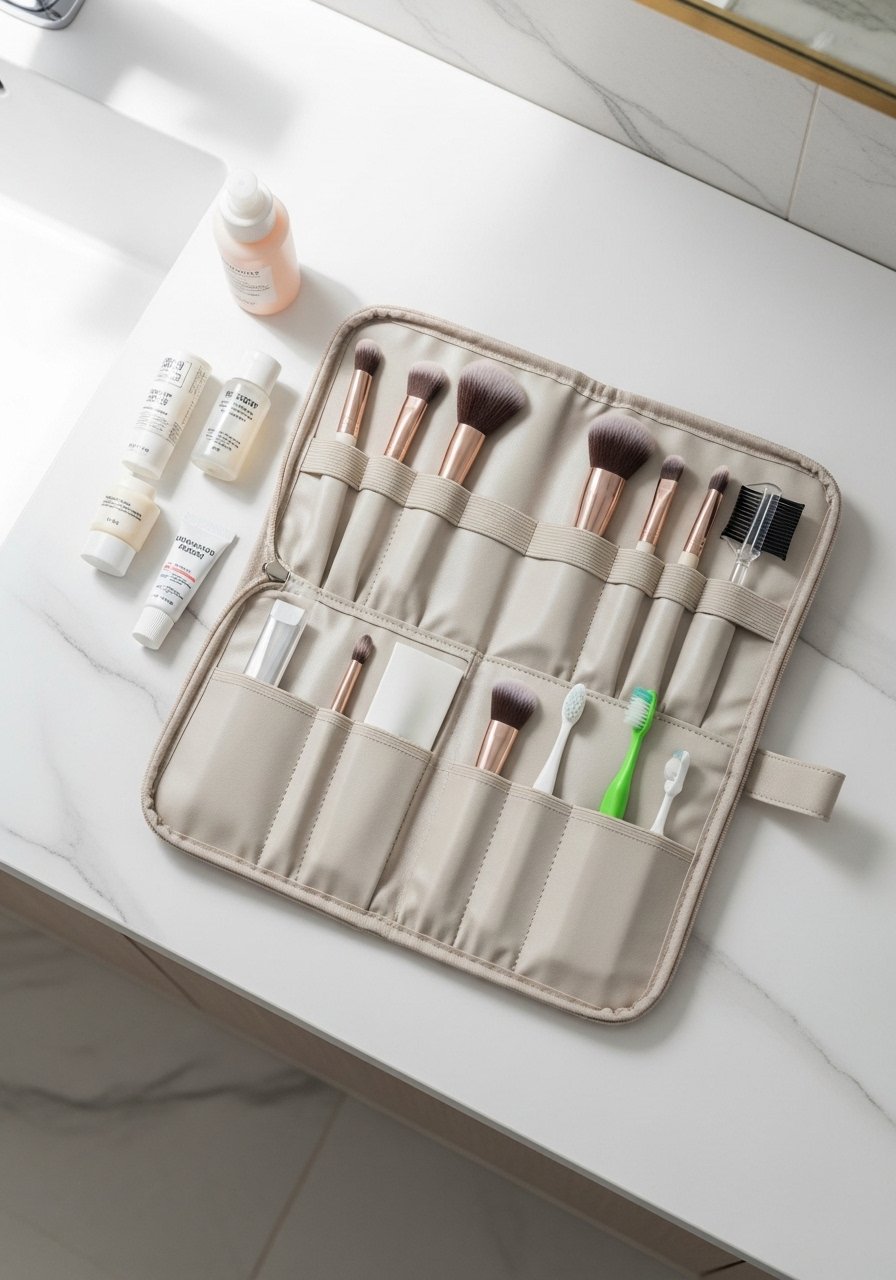
This travel roll keeps toiletries organized and is a lovely, useful gift. Slots hold brushes, pens, or makeup tools. The roll finishes at about 8" x 6" when closed.
Materials
- 1/2 yard outer fabric
- 1/2 yard lining fabric
- 1/4" elastic 18"
- Snap or button for closure
- Thread, pins, sewing machine
Instructions
- Cut base 16" x 12", fold in half to 8" x 12".
- Sew elastic strips across pockets at 2" intervals, securing ends into side seams.
- Fold bottom up to create pocket depth (4"), pin and sew sides.
- Add snap or button for closure and finish edges.
- Time: 60 minutes.
How to Display or Gift It
- Fill with sample-sized toiletries or brushes.
- Roll and secure with ribbon for gifting.
- Store flat or rolled in a travel kit.
You made it through 24 thoughtful, do-able ideas you can actually finish in an afternoon or a few focused evenings. There’s a bit of everything here — quick gifts you can batch (scrunchies, bookmarks, drawstring bags) and special pieces for slow stitching (embroidery hoops, quilted coasters). Pin this list so you can come back when you need a last-minute present or a weekend project. Which one are you trying first — something quick like a key fob or a cozy heat pack? Share with a friend who loves handmade gifts and consider keeping a reliable hot glue gun with temperature control in your craft station; it helps with small finishes across many of these projects.





