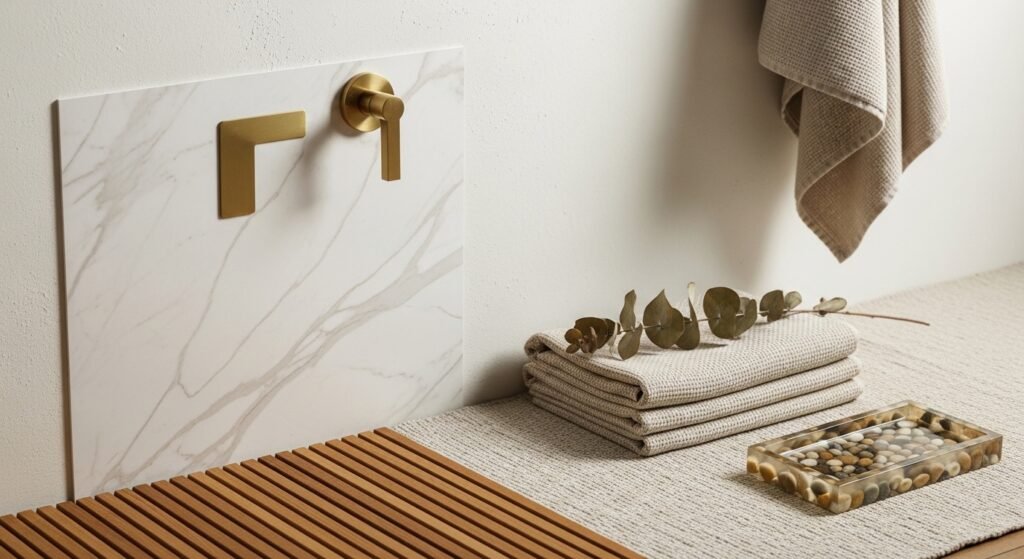
You want your bathroom to feel like a five-star spa without blowing the budget or hiring an army of contractors. These 22 luxury bathroom remodel ideas show how small, crafty updates create that serene, high-end vibe—fast. You’ll find projects that add texture, warmth, and luxe finishes: from a peel-and-stick marble feature wall to a resin-pebble bath tray and backlit mirror frame.
I’ll walk you through real materials, exact quantities, drying and curing times, and the tools that actually work. Keep a craft knife and painter’s tape handy—you’ll use them more than once. I run many cuts through my Cricut Explore cutting machine on detail work, and a temperature-controlled hot glue gun saves time on trims. Pin your favorites and tackle one small project at a time—your bathroom will start to feel like a spa before you know it.
- Peel-and-Stick Marble Tile Feature Wall
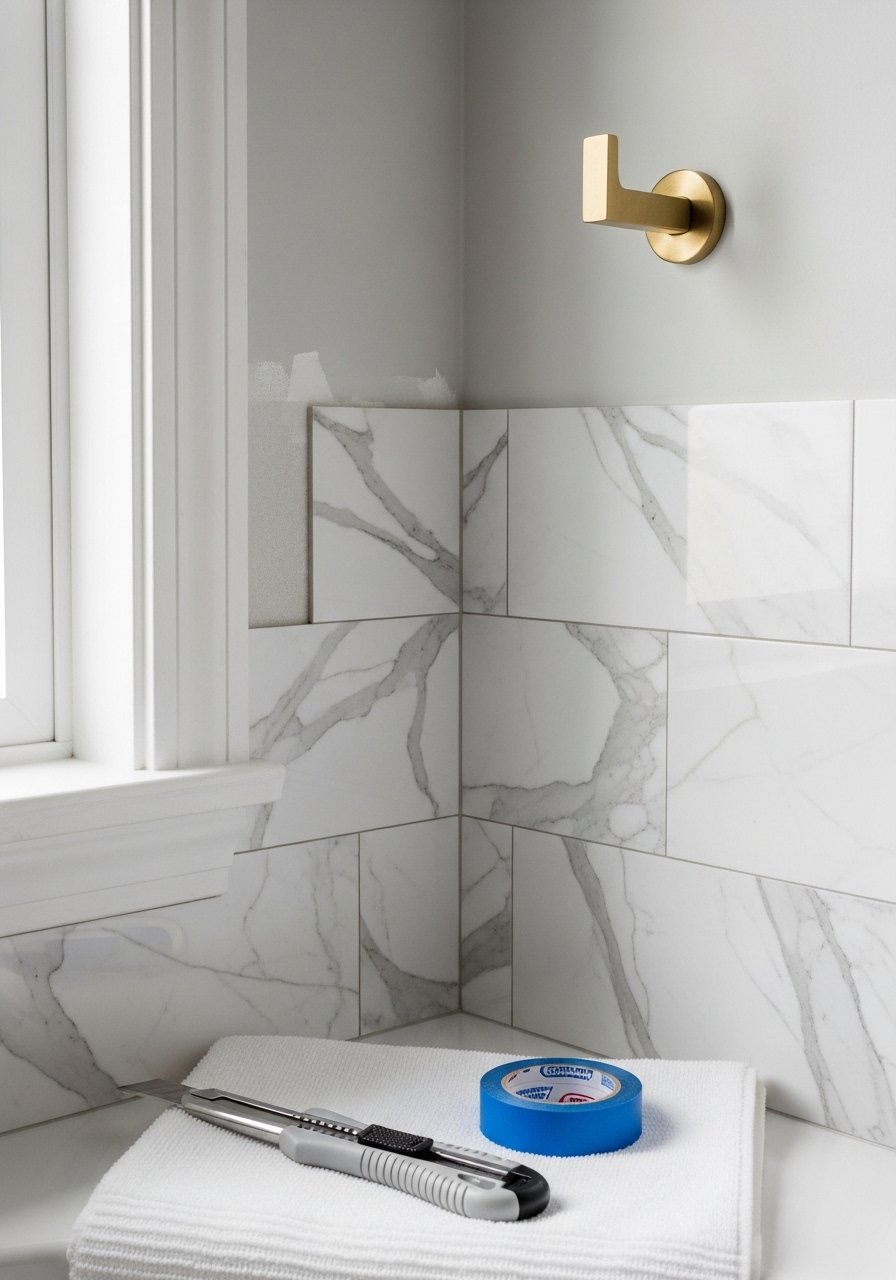
Why this works: Peel-and-stick marble-look tile gives instant glamour with minimal prep. It reads luxe without the mess of mortar. Perfect for renters, DIY beginners, or anyone short on time. The tile has a smooth, cool texture and a faint sheen that catches spa-lighting beautifully. Use a brayer roller for bubble-free adhesion.
Materials
- 24–40 vinyl peel-and-stick marble-look tiles (12" x 12") depending on wall size
- Painter’s tape, 1 roll
- Measuring tape and pencil
- Straight edge/ruler (24" metal)
- Utility knife with spare blades
- Brayer roller (4" rubber) for smoothing
- Rubbing alcohol and lint-free cloths
- Mild degreaser (for cleaning)
- Foam sanding block (fine grit) for trimming edges
Instructions
- Measure your feature area and calculate tile quantity. Order 10% extra for cuts.
- Clean wall with degreaser, then wipe with rubbing alcohol. Let dry 30 minutes.
- Use painter’s tape to mark a level starting line. Start center or at a focal point.
- Peel backing and press tile to wall. Use the brayer roller to smooth from center outward. Replace the blade for clean edge cuts.
- For edge tiles, score face with utility knife and snap to size, or trim carefully with a straight edge.
- Press seams firmly; apply light heat with a hair dryer for 10–15 seconds along seams to help adhesion if needed.
- Let adhesive settle 24 hours before hanging heavy hardware near the tiled area.
How to display or gift it
- Style with a small brass hook or a framed print against the marble feature. Use a slim wooden shelf to display folded spa towels.
- Store leftover tiles flat in a craft storage tub for future repairs.
- For giving, a peel-and-stick sample board wrapped in kraft paper makes a helpful housewarming gift for someone remodeling.
- Gold-Dipped Towel Hooks
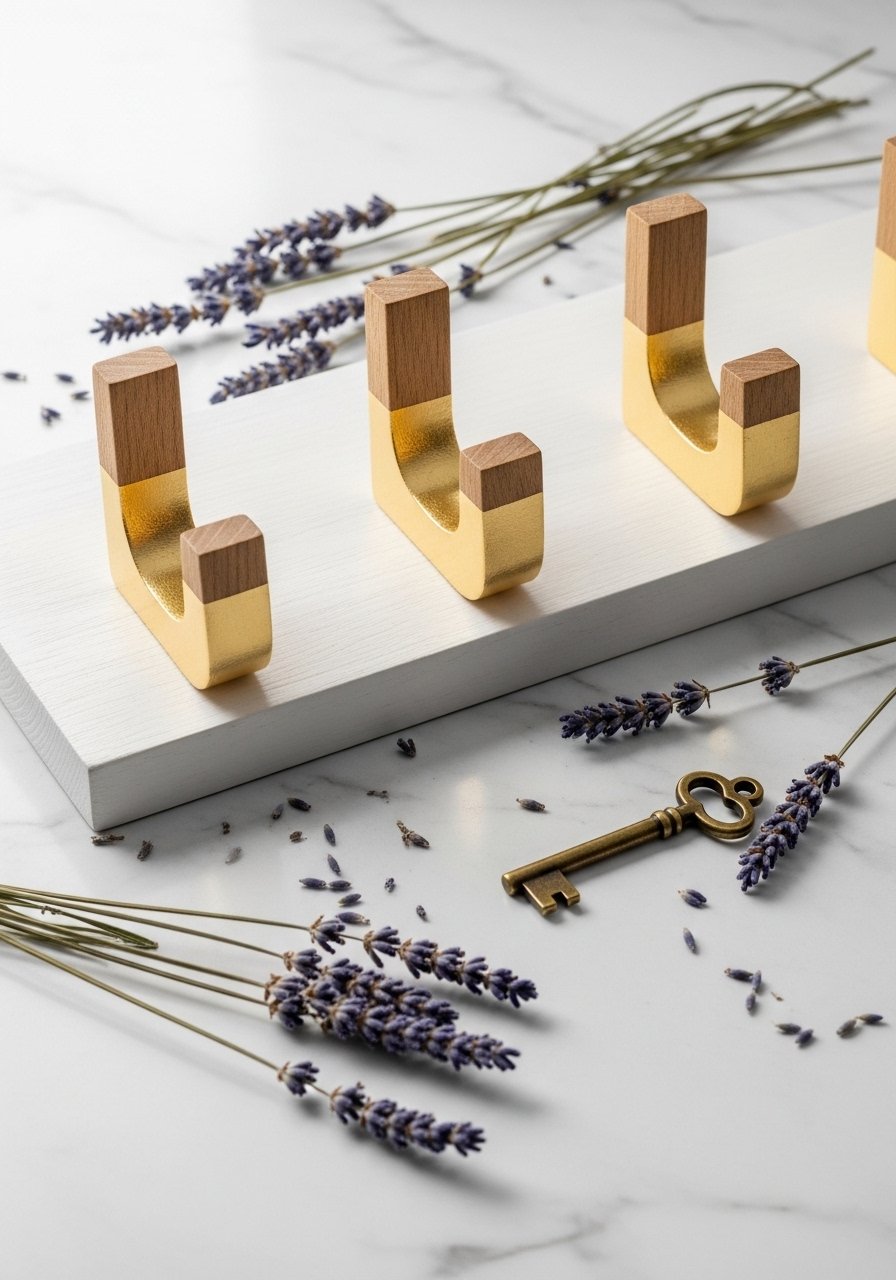
Why this works: Gold-dipped detailing makes simple hardware feel designer. It’s an easy way to add luxe accents without replacing every fixture. This project is quick and tactile—salty-warm metallic on raw wood feels custom.
Materials
- 3 wooden peg hooks, 3/4" diameter x 2.5" long
- Gold leaf sheets or gold spray paint (choose one)
- Clear water-based polyurethane (matte or satin) – 1 small bottle
- Painter’s tape
- Foam brush (1")
- Fine-grit sandpaper (220)
- Wood glue and mounting screws
- Small foam tray and gloves (if using spray)
Instructions
- Sand wooden pegs smooth with 220-grit. Wipe dust clean.
- Tape off lower half to create a clean dip line. Use painter’s tape pressed firmly.
- If using gold leaf: brush adhesive size, wait until tacky (5–10 minutes), apply gold leaf sheets, press gently with soft brush, and remove excess.
- If using spray: work in a ventilated area, hold 8–10" away and apply two light coats, 10 minutes between coats.
- Once metallic is dry (gold leaf set in 1–2 hours; spray paint cures 24 hours), remove tape.
- Seal with two thin coats of water-based polyurethane, 30 minutes between coats, then cure 24 hours.
- Attach pegs to a painted wooden board or directly to wall studs with screws.
How to display or gift it
- Mount on a painted wood strip above the tub or next to the vanity.
- Tie a small dried lavender bundle to a peg as a finishing touch.
- Pack in kraft gift box with ribbon for a handmade host gift.
- Teak Slatted Shower Mat
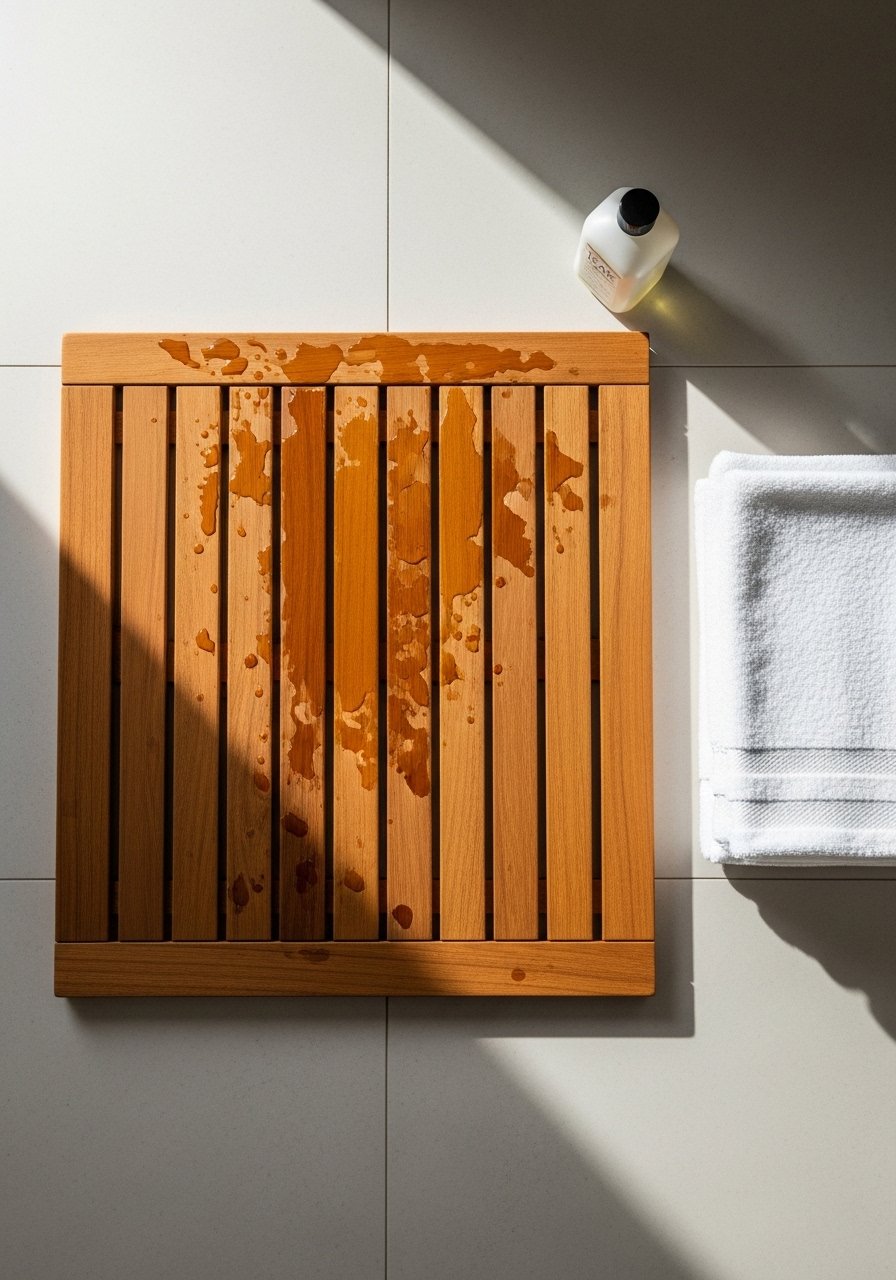
Why this works: Teak resists moisture and feels warm underfoot. A slatted mat creates spa-style texture and improves drainage. It’s a tactile, natural element that pairs with brass or matte-black fixtures.
Materials
- Teak slats, 1" x 3/4" x 24" — 6 pieces
- Teak dowels or brass screws (6–8)
- Waterproof wood glue (marine PVA)
- Sandpaper: 120 and 220 grit
- Teak oil (8 oz)
- Small paintbrush and lint-free cloths
- Rubber feet (4) to prevent slipping
- Clamps or weighted books for gluing
Instructions
- Sand slats with 120 then 220 grit. Wipe dust.
- Mark slats evenly for dowel placement (1" from ends). Drill pilot holes for dowels or countersink for screws.
- Apply waterproof wood glue into joints and insert dowels/screws. Clamp each joint; wipe excess glue.
- Let glue cure 24 hours.
- Sand any glue spots smooth. Apply teak oil with brush, wipe after 10 minutes. Repeat two coats, 12 hours between coats.
- Attach rubber feet at corners for grip.
- Let finish cure 48 hours before placing in shower.
How to display or gift it
- Pair with a teak bath caddy and potted plant on bathroom floor near tub.
- Store in a ventilated area off the floor between uses.
- Wrap in linen and include a small bottle of teak oil for gifting.
- Resin Pebble Bath Tray
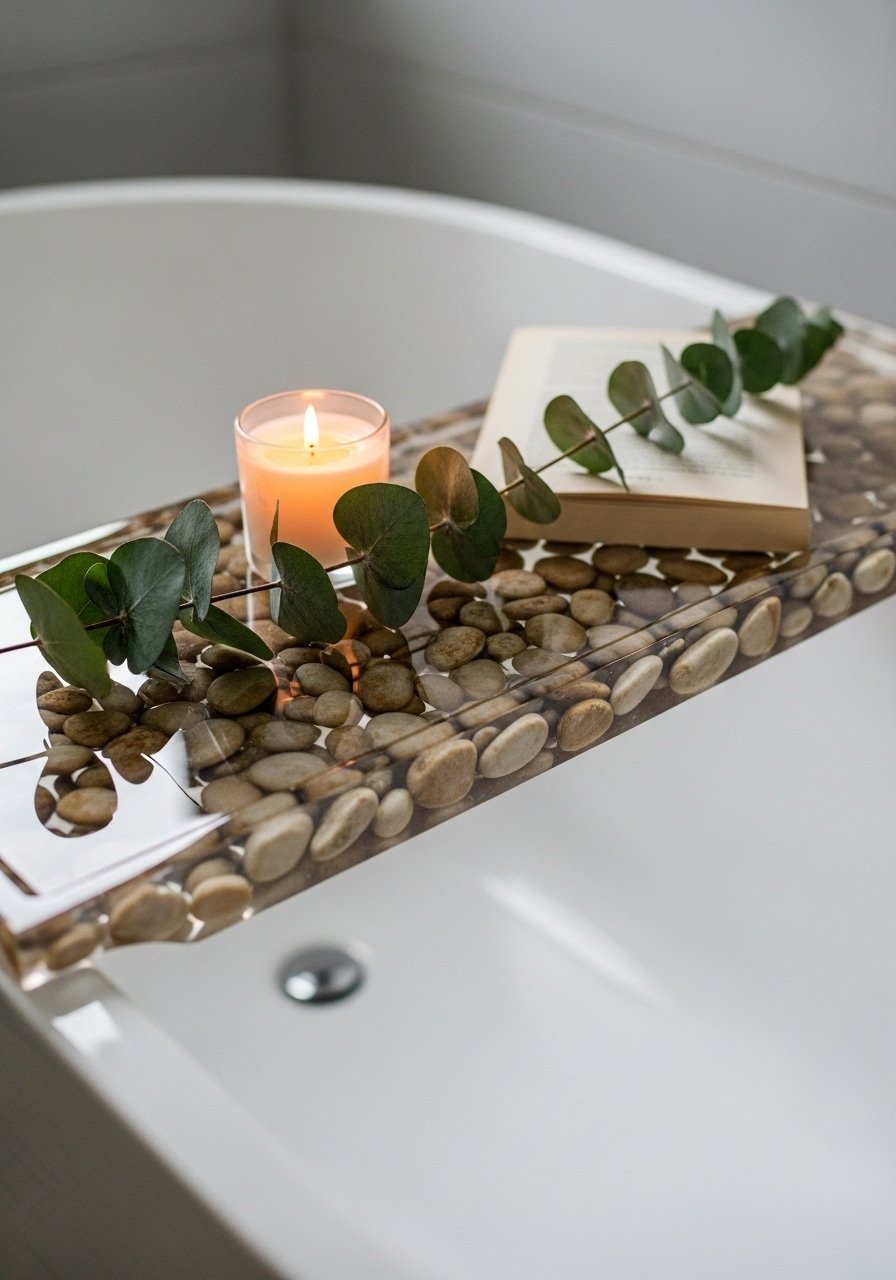
Why this works: A resin-coated tray feels like a boutique spa accessory. Encapsulated pebbles add texture and a custom sheen that resists water. This is a great weekend project that benefits from patience during curing.
Materials
- Wooden bath tray blank sized to tub (approx 28" x 7" x 1")
- Small river pebbles, 2–3 lbs
- Epoxy resin kit (2-part) – 16 oz (covers small tray)
- Mixing cups and stir sticks
- Disposable gloves and nitrile gloves
- Disposable plastic-lined tray for workspace
- Heat gun or torch for 10–15 sec to remove bubbles
- Sandpaper: 220 and 320 grit
- Drill for drain hole (optional)
Instructions
- Sand tray smooth and wipe clean. Seal wood with one thin coat of epoxy diluted 10%—cures 6–8 hours.
- Arrange pebbles on the tray surface dry. Take a photo so you can replace them after pouring.
- Mix epoxy resin per kit instructions (often 1:1 by volume). Mix slowly for 3 minutes to avoid bubbles.
- Pour a thin base layer (about 1/8"), place pebbles, then pour another layer to encapsulate—aim total resin depth 1/4"–3/8".
- Use heat gun for a few seconds to pop bubbles immediately after pouring.
- Let cure undisturbed 24 hours to touch; full cure 72 hours before heavy use.
- Lightly sand edges with 320-grit if needed and buff glossy.
How to display or gift it
- Style across bathtub with a candle, small plant, or spa soap.
- Wrap in bubble wrap and kraft paper for gifting; include care note: avoid standing water.
- Backlit Vanity Mirror Frame
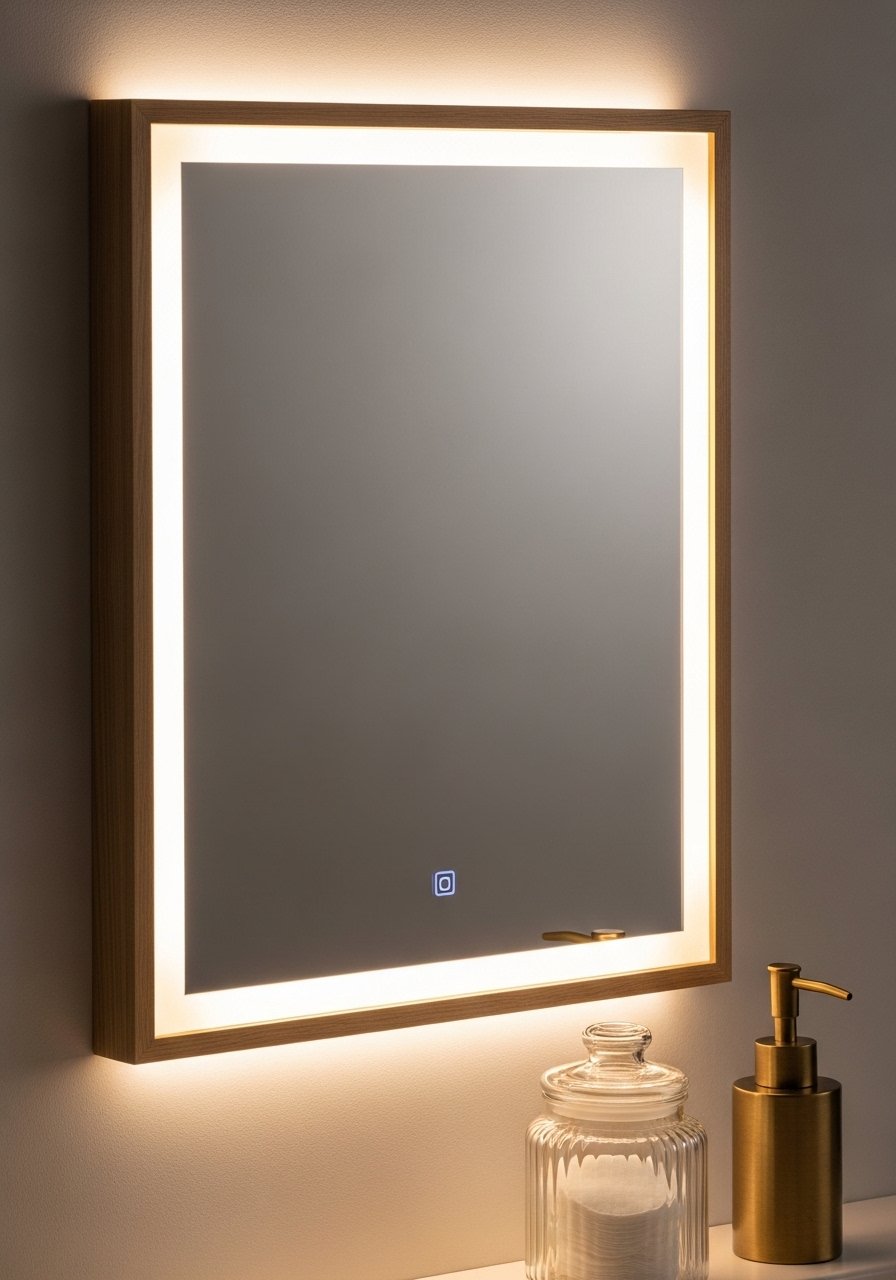
Why this works: Backlighting adds that hotel-luxe ambiance and softens shadows for a flattering glow. This upgrade focuses on the frame and LED tape—no electrician required if you choose plug-in LED strips.
Materials
- Mirror (existing or new) sized to wall
- Thin wood frame pieces (1/2" x 2" strips) cut to mirror dimensions
- LED strip light (warm white, plug-in, dimmable)
- Double-sided mounting tape and small finishing nails
- Wood glue and clamps
- Canvas drop cloth, sandpaper 220
- Power drill and screwdriver (for anchors)
- Heat shrink tubing and cable clips
Instructions
- Measure mirror and cut wood strips to create a shadow box frame that sits 3/4" off the mirror face.
- Sand and finish wood (stain or paint). Let stain dry 24 hours.
- Assemble frame around mirror back using wood glue and finishing nails. Clamp and let dry 2 hours.
- Attach LED strip along inner back lip of the frame with double-sided tape. Route plug to nearest outlet and secure cable with clips.
- Mount framed mirror to wall using anchors rated for mirror weight. Leave small gap between wall and mirror so LEDs glow.
- Test lights; use dimmer function to achieve soft spa glow.
How to display or gift it
- Place mirror over floating vanity or next to a plant for spa visuals.
- For gifting, include an LED dimmer controller in a ribbon-wrapped box.
- Floating Oak Vanity Shelves
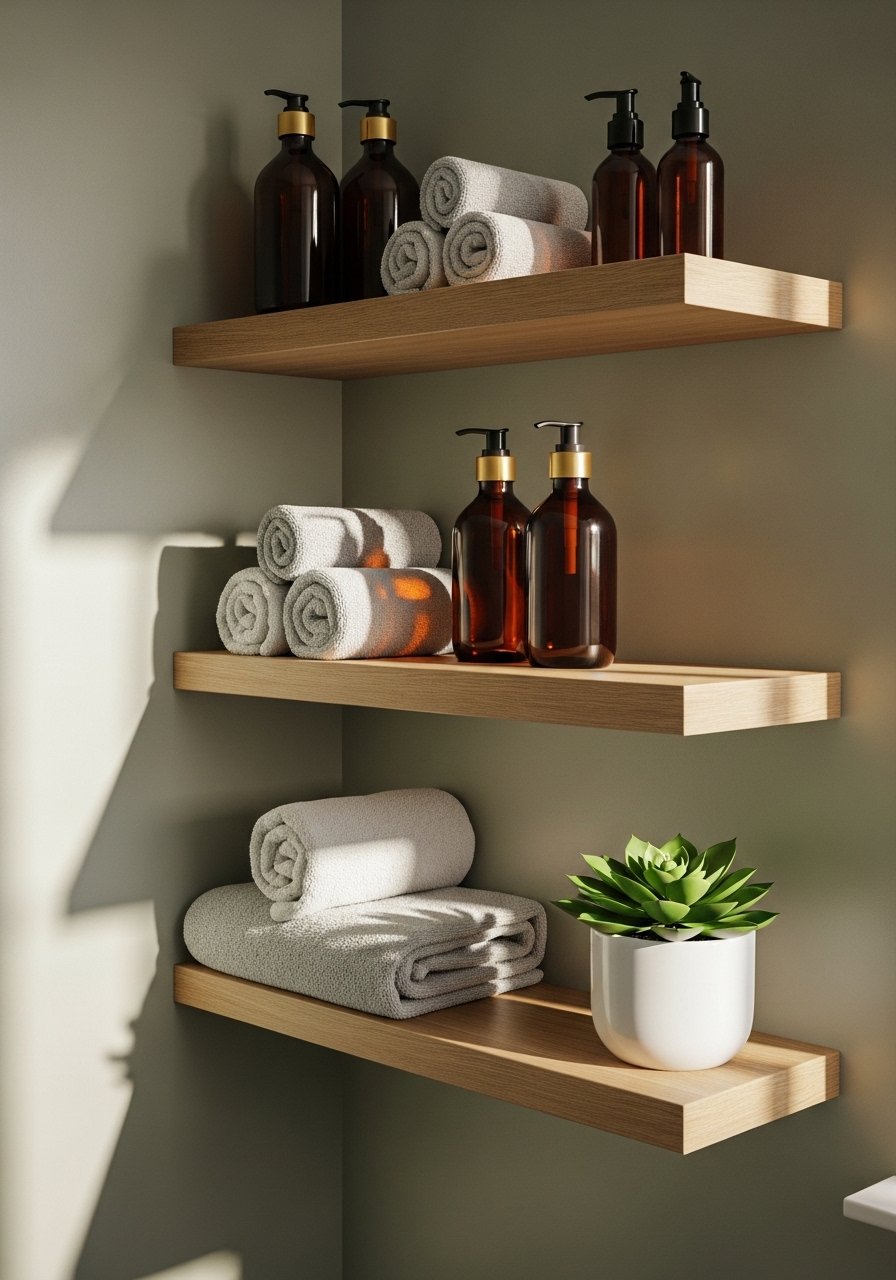
Why this works: Floating shelves keep surfaces uncluttered and present spa essentials stylishly. Oak grain adds warmth and balances cool tile tones.
Materials
- Oak boards, 10" x thickness 3/4", lengths per wall (two or three)
- Concealed floating shelf brackets rated per shelf (x2 per shelf)
- Wood fill and sandpaper 220
- Polyurethane satin finish (8 oz)
- Drill and level
- Wall anchors rated for studs or toggles
- Microfiber cloth for wiping dust
Instructions
- Cut oak to desired lengths and sand edges.
- Apply two thin coats of polyurethane, 2–4 hours between coats; cure 24 hours.
- Mark bracket locations on wall and drill pilot holes. Use a level to align.
- Install brackets, slide shelf onto bracket until snug.
- Fill any small gaps with wood filler and sand smooth. Touch-up finish.
How to display or gift it
- Style with rolled towels, candles, and jars. For storage, use stackable craft organizers inside cabinets.
- As a gift, include small wooden shelf brackets and a care guide.
- Luxury Bathroom Remodel Ideas: Venetian Plaster Walls for a Spa Look
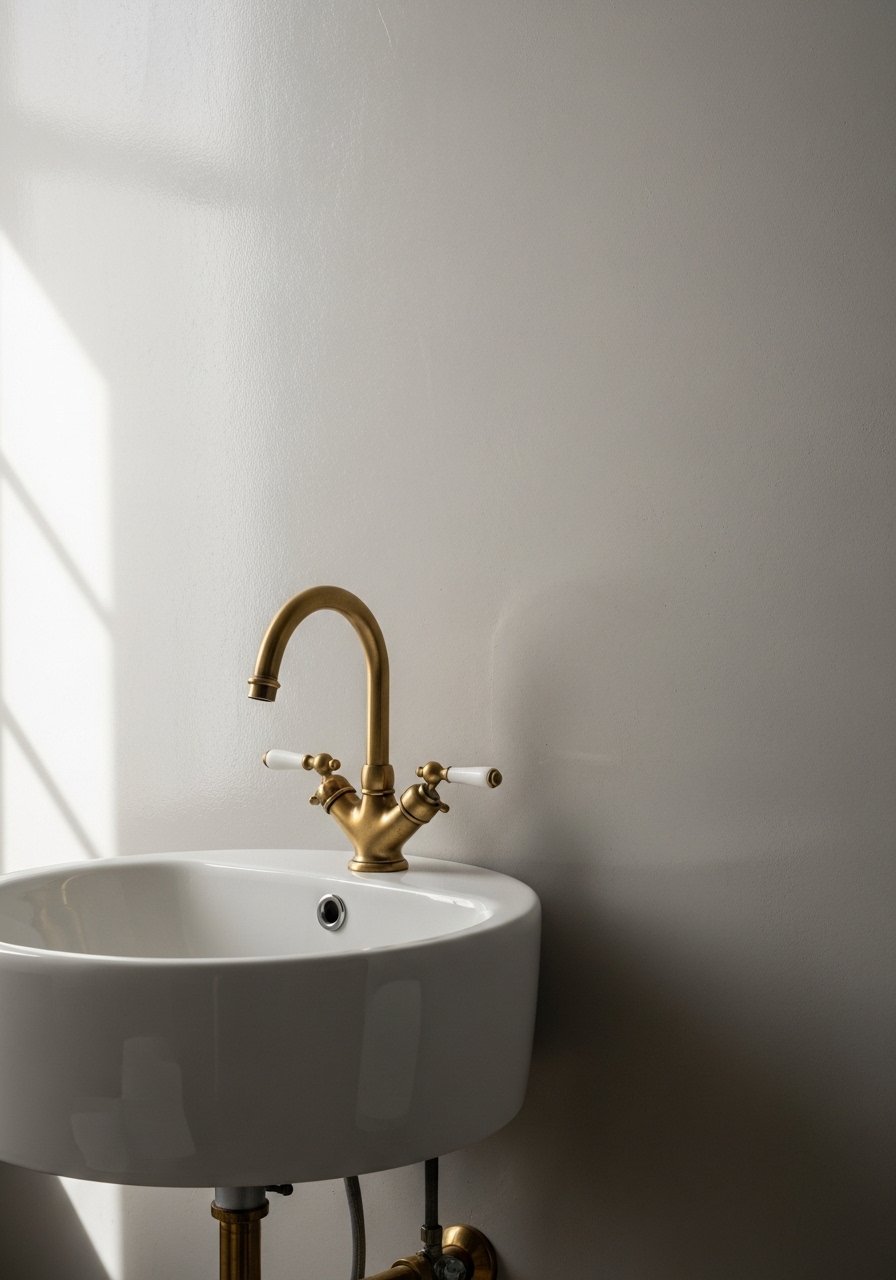
Why this works: Venetian plaster creates a soft, reflective finish that reads like a high-end spa. It adds depth and feels cool and tactile. This finish takes time but yields a luxurious surface.
Materials
- Venetian plaster kit (lime-based or acrylic) – 2–3 buckets for small bathroom
- Stainless steel trowel (6")
- Sandpaper 320 grit and polishing pad
- Painter’s tape and drop cloth
- Primer (stain-blocking)
- Microfiber cloth and distilled water for burnishing
Instructions
- Prime wall with stain-blocking primer; let dry 4 hours.
- Mix plaster per product directions.
- Apply first thin skim coat with trowel horizontally; let set 1–2 hours until matte.
- Apply second coat at a 45-degree angle, using light pressure to create texture. Let set 30–60 minutes.
- Burnish with trowel or polishing pad in overlapping strokes to bring out sheen.
- Let cure 48–72 hours before hanging anything. Avoid heavy moisture for the first week.
How to display or gift it
- Pair with matte-black or brass fixtures for contrast. Add a single botanical print.
- Store leftover plaster sealed in original bucket for touch-ups.
- Spray-Painted Brass Faucet Handles (Refinish)
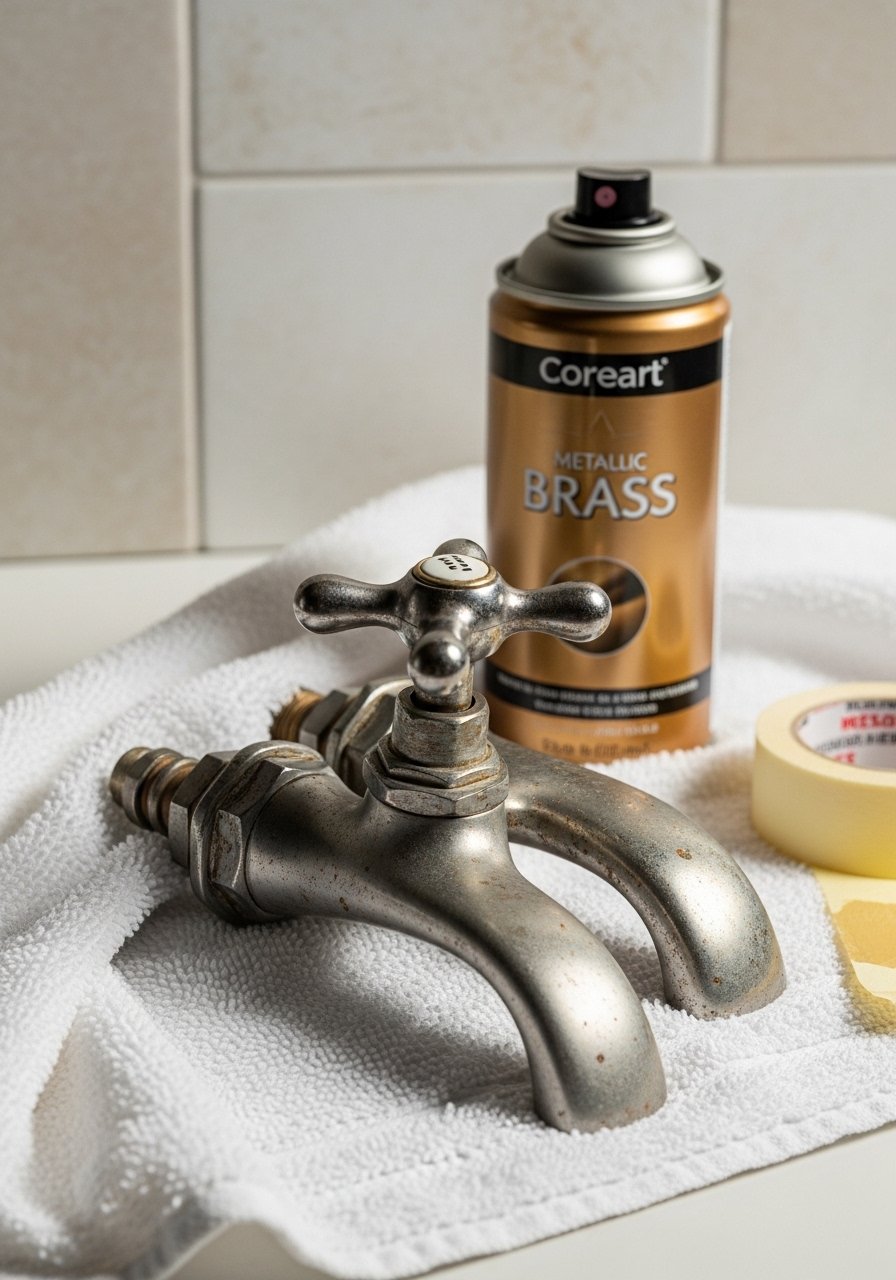
Why this works: Re-spraying handles is cheaper than replacing fixtures and can match new hardware. Proper prep and sealing give a lasting finish.
Materials
- Existing faucet handles (removed)
- Metallic brass spray paint (2 cans)
- Painter’s tape and plastic sheeting
- Fine sandpaper 400 grit
- Clear lacquer spray (satin)
- Screwdriver and small socket set
- Nitrile gloves and respirator mask
Instructions
- Remove handles and disassemble any non-metal pieces. Label parts.
- Sand existing finish lightly with 400-grit. Clean with denatured alcohol.
- Mask off threads. Place handles on cardboard and apply two light coats of brass spray 8–10" away, 10 minutes between coats.
- Let cure 24 hours, then apply clear lacquer to protect finish.
- Reassemble handles. Test for smooth operation.
How to display or gift it
- Coordinate with new towel bars or soap pumps of similar finish.
- Pack finished handles in a small box with tissue paper if gifting.
- Faux Cement Floor Tile Stencil
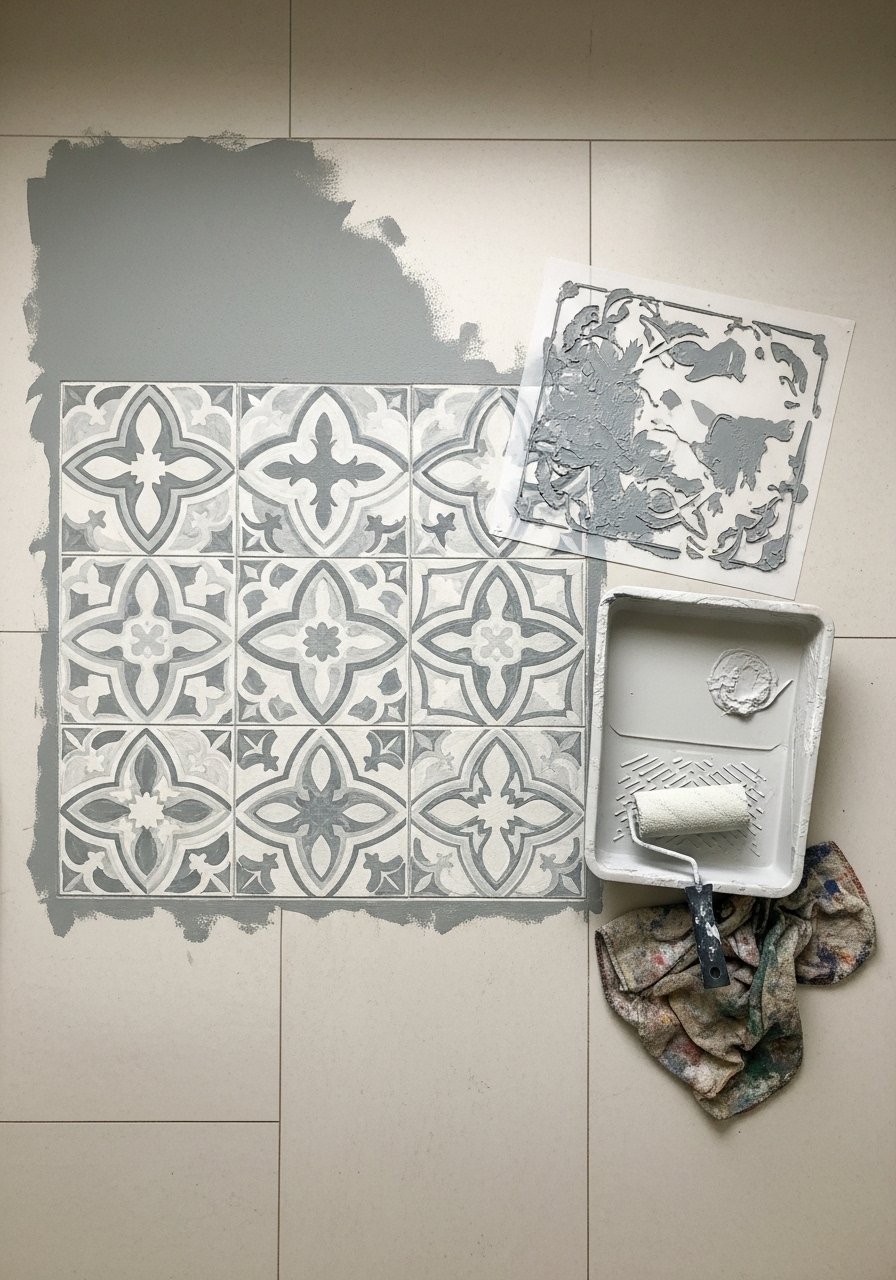
Why this works: Stenciling mimics high-end cement tiles at a fraction of the price. Ideal for renters with removable tile paint systems or for wood floors with appropriate primers.
Materials
- Tile stencil set (cement tile patterns)
- Floor paint (acrylic latex floor paint) – 1 quart for small area
- Chalk primer floor coat (if needed)
- Foam roller (mini) and stencil brush
- Painter’s tape and measuring tape
- Drop cloth and respirator mask
- Clear water-based floor sealer (2 coats)
Instructions
- Clean and prime floor per paint instructions; let primer dry 4 hours.
- Mark grid lines for stencil placement.
- Secure stencil with painter’s tape and apply paint with a foam roller in thin even coats.
- Lift stencil carefully; allow 30 minutes between repeats.
- Once floor is fully painted and dry to touch (4 hours), apply two coats of sealer, 2–4 hours between coats.
- Let cure 48 hours before heavy foot traffic.
How to display or gift it
- Pair with woven bath mats and olive-branch sprigs. Keep leftover stencil for future touch-ups.
- Gift with a small bottle of the same floor sealer.
- Refinished Vintage Dresser Vanity Top
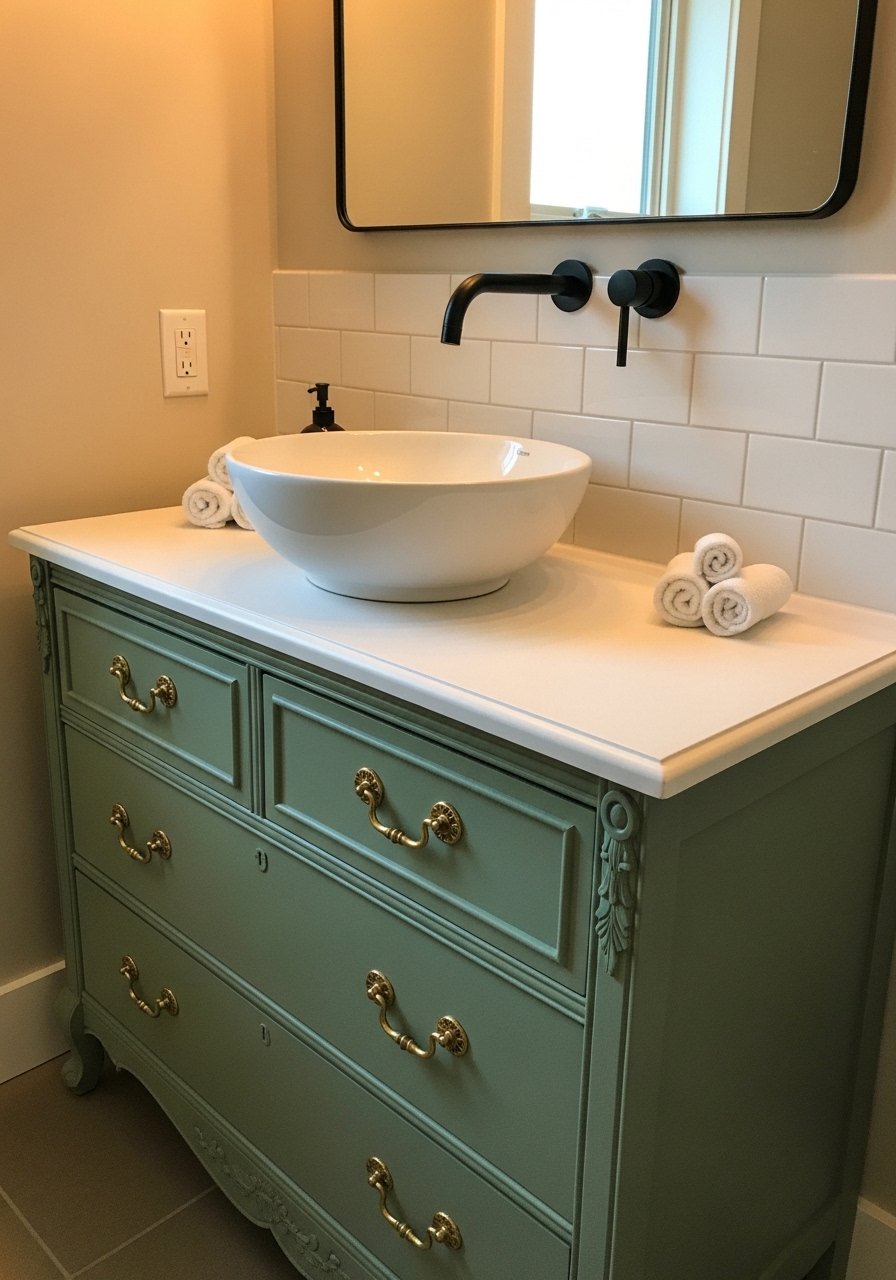
Why this works: Repurposing a vintage dresser creates a unique, boutique vanity. A water-resistant sealed top keeps it practical for bathroom use.
Materials
- Old dresser (measure for sink cutout)
- Water-based enamel paint (1 qt)
- Polyurethane (water-based) for countertop (quart)
- Jigsaw for sink cutout and router for smooth edges
- Cabinet pulls (brass or nickel) — 6
- Wood filler and sandpaper 120/220
- Silicone bead for sink installation
- Painter’s tape and clamps
Instructions
- Strip or sand dresser top. Patch holes with wood filler; sand smooth.
- Mark sink cutout and cut using jigsaw. Smooth edges with router.
- Prime and paint the dresser base; allow 2 coats, 2–4 hours between coats. Cure 24 hours.
- Seal countertop with 3 thin coats of water-based polyurethane, 2–4 hours between coats. Cure 72 hours.
- Install vessel sink with silicone bead and connect plumbing per manufacturer instructions.
How to display or gift it
- Style with elegant glass jars and folded hand towels.
- Gift the piece with instructions for maintaining the seal.
- Mosaic Glass Shower Niche Liner
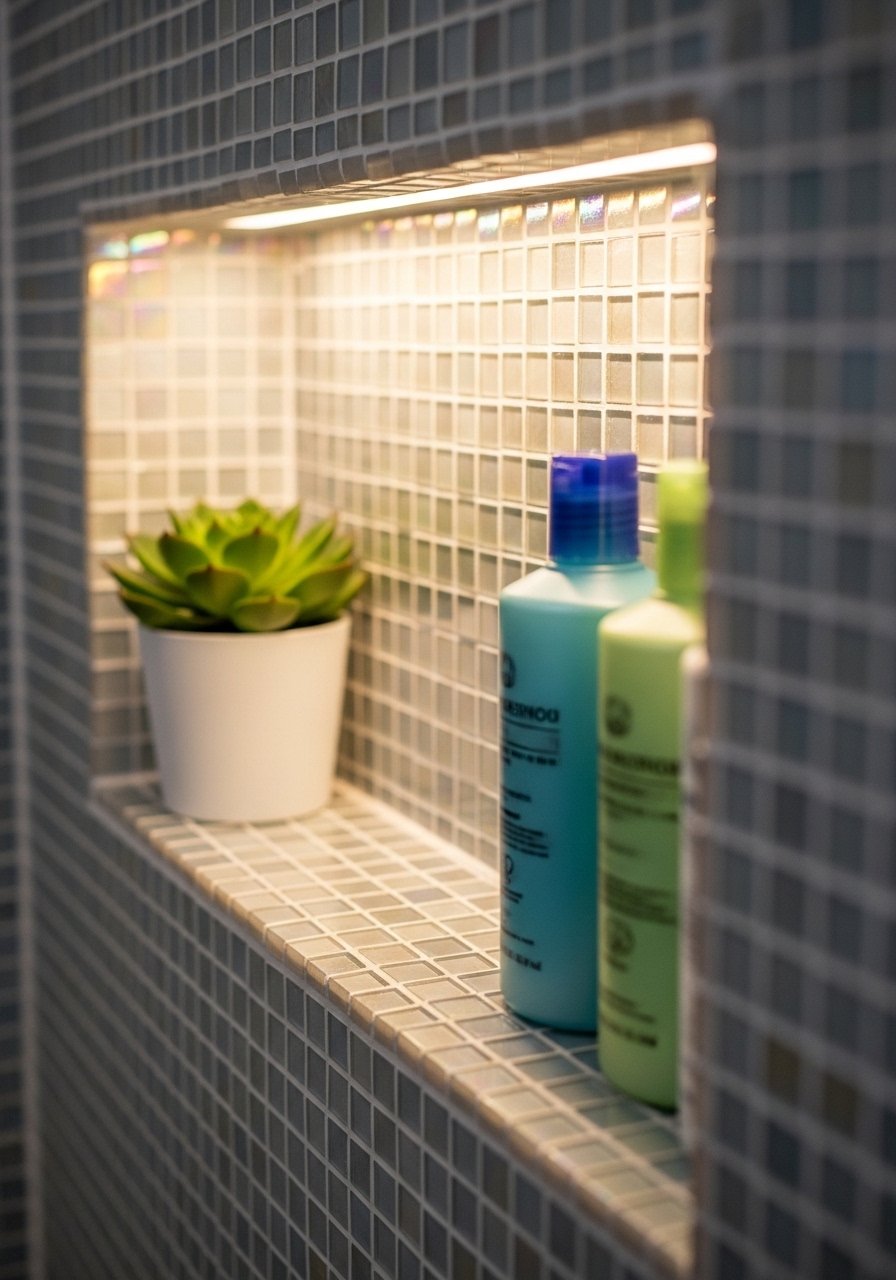
Why this works: A mosaic niche liner provides a reflective accent that catches light and feels high-end. Use glass tiles and epoxy grout for wet areas.
Materials
- Glass mosaic tile sheets (1–2 sheets)
- Tile adhesive thinset (1 lb) and notched trowel
- Epoxy grout (small tub) for wet areas
- Tile spacers and grout float
- Sponge and bucket
- Tile cutter or wet saw
- Silicone sealant for perimeter
Instructions
- Measure niche and cut tile sheets to fit. Dry-fit tiles.
- Apply thinset with a 1/8" notched trowel. Press tiles into bed. Allow 24 hours to set.
- Mix epoxy grout and spread with float, forcing grout into joints. Wipe excess with a damp sponge.
- Cure epoxy grout per manufacturer's directions (usually 24–72 hours).
- Seal perimeter with silicone caulk and smooth with finger or tool.
How to display or gift it
- Place embossed glass bottles or reed diffusers in niche.
- Save a small extra sheet of tile for future repairs in a craft organizer.
- Concrete-Style Countertop Overlay
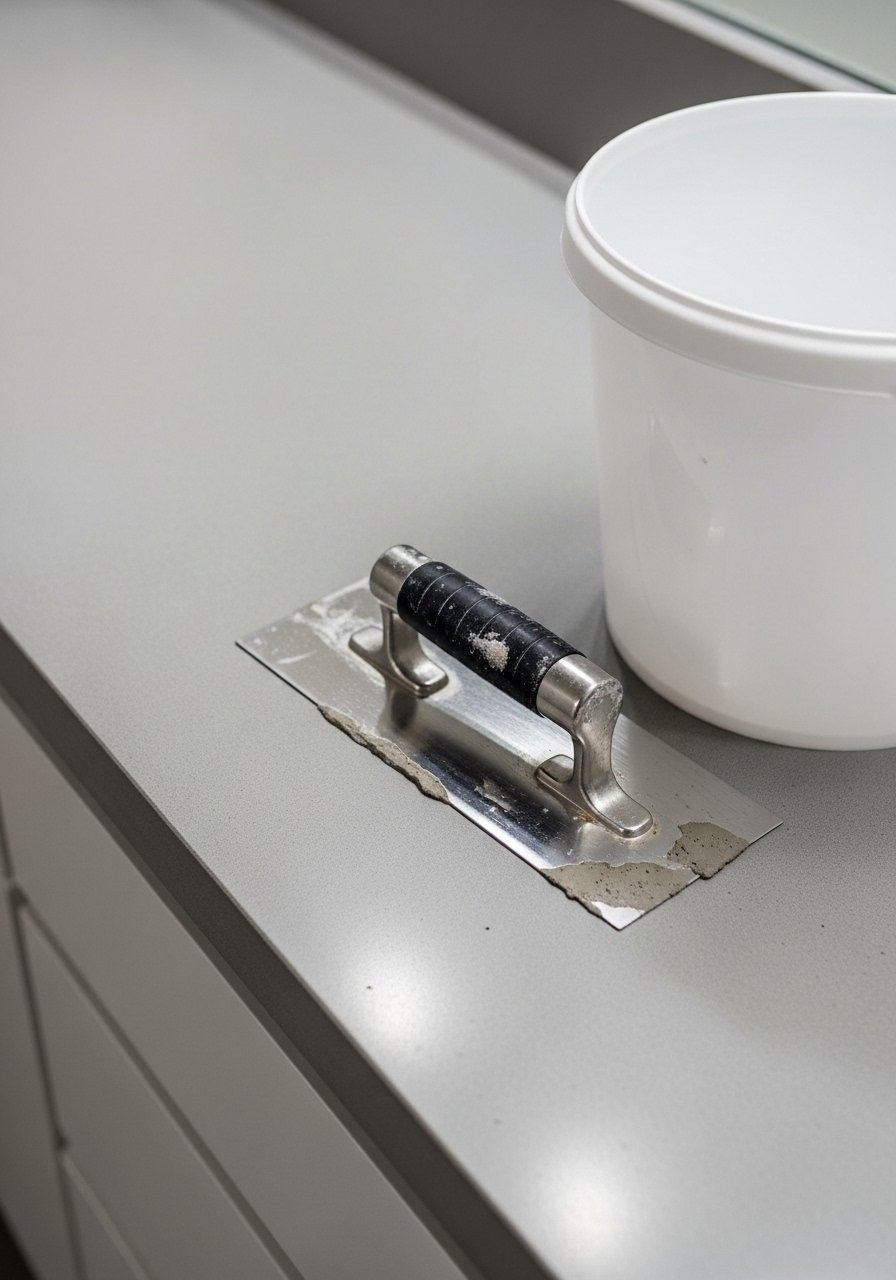
Why this works: A thin overlay gives the look of poured concrete without replacing countertops. It’s tactile and pairs well with matte faucets.
Materials
- Concrete countertop overlay kit (microtopping) – 1 kit for small vanity
- Finishing trowel and mixing paddle
- Primer/adhesion promoter per kit
- Sealer (penetrating or matte topcoat)
- Sandpaper 220 and polishing pad
- Drop cloths and mixing buckets
- Nitrile gloves and respirator mask
Instructions
- Clean and sand existing countertop. Apply primer and let dry per kit (2–4 hours).
- Mix microtopping in small batches. Apply thin base coat with trowel, feather edges.
- Apply second finish coat with light polishing strokes for desired texture.
- Let cure 24–48 hours. Sand light imperfections with 220-grit.
- Apply sealer in two coats, 2 hours apart. Full cure 72 hours.
How to display or gift it
- Pair with matte-vessel sink and a wooden tray for toiletries.
- Store leftover kit sealed in original bag for touch-ups.
- Linen Spray & Essential Oil Sachets
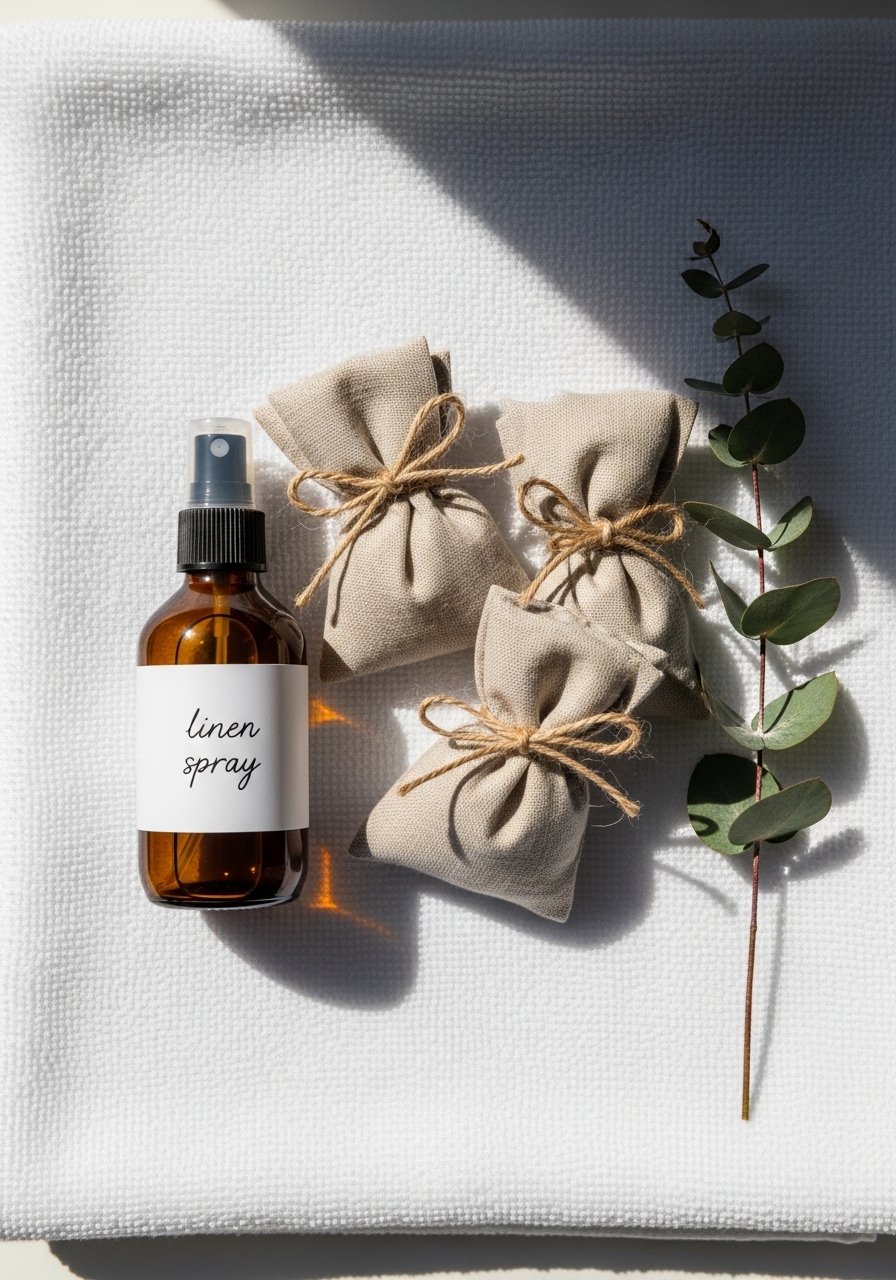
Why this works: Scent instantly reads spa. Linen spray and sachets are small projects with big sensory payoff. They make lovely gifts in tins or organza bags.
Materials
- Amber glass spray bottles (4 oz) – 2
- Distilled water (16 oz) and witch hazel (2 tbsp)
- Essential oils: lavender, eucalyptus (10–20 mL each)
- Muslin or linen fabric squares (6" x 6")
- Dried lavender or rice for sachet fill
- Twine or ribbon and a funnel
Instructions
- Mix linen spray: 4 oz distilled water + 1 tbsp witch hazel + 20–30 drops essential oil. Shake to combine.
- Test spray on a small towel; adjust scent ratio.
- For sachets, fill fabric squares with 1/4 cup dried lavender or rice and 5–10 drops of essential oil.
- Tie sachets with twine. Let sit 24 hours for scent meld.
- Label spray bottles with kraft tags.
How to display or gift it
- Tuck sachets in linen drawer or closet. Keep spray near towel rack for quick bursts.
- Gift in a small kraft box with a sample of essential oil.
- Luxury Bathroom Remodel Ideas: Hand-Painted Subway Tile Accent Strip
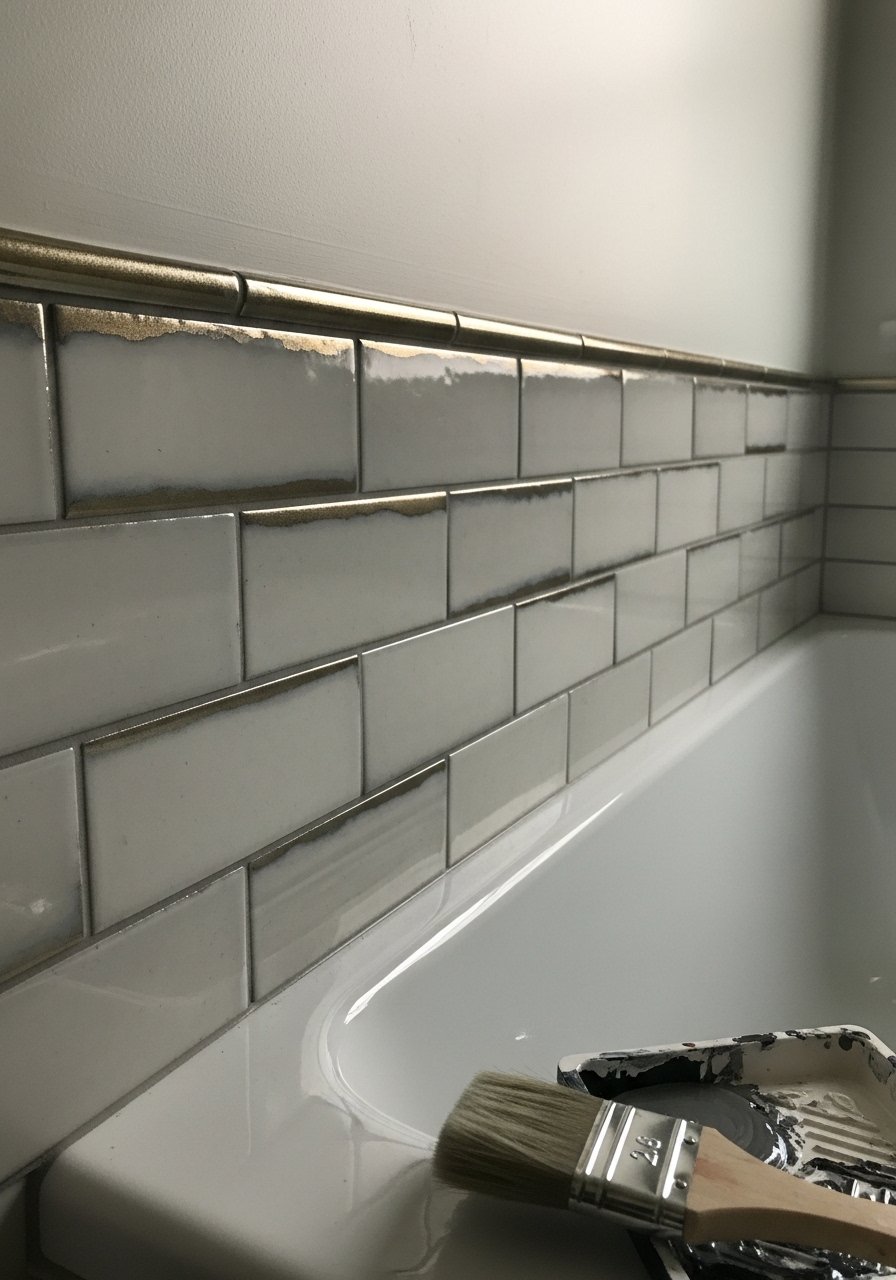
Why this works: A painted tile strip adds a bespoke detail that echoes designer tile without full re-tiling. It’s tactile and can pick up your bath’s accent color scheme.
Materials
- Clean subway tile (already installed) or spare tiles for practice
- Acrylic-glaze tile paint set (metallic and matte)
- Thin detail brushes and foam roller
- Painter’s tape and level
- Clear tile sealer (water-based)
- Rubbing alcohol and microfiber cloth
Instructions
- Clean tile thoroughly and degrease. Wipe with alcohol; let dry 30 minutes.
- Tape off a single tile row for the accent band.
- Apply base coat if needed; let dry 1 hour.
- Use thin brushes to paint patterns or metallic accents. Work in small sections.
- Allow paint to dry 2–4 hours then seal with two light coats of tile sealer, 2 hours between coats.
- Remove tape carefully; cure 24–48 hours before exposing to water.
How to display or gift it
- Coordinate accent color with towels and bath mats.
- Gift painted tile samples in a small frame for inspiration.
- Macramé Plant Hanger with Driftwood
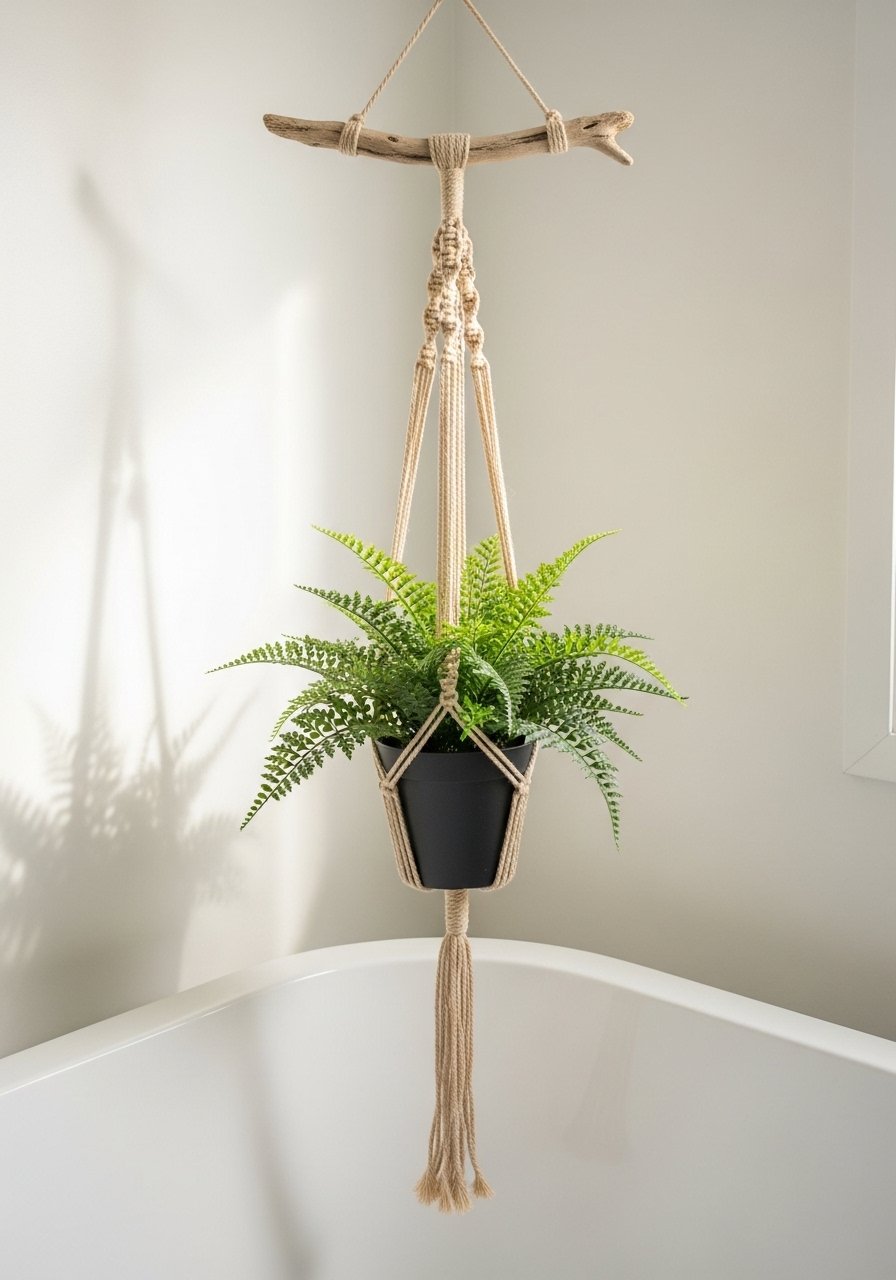
Why this works: Greenery softens tile and introduces organic texture. Macramé is meditative to make and feels very spa-y when paired with a sleek pot.
Materials
- Macramé cord, 3mm, 50 yards
- Driftwood rod (12–18")
- Small ceramic pot (4–6" diameter)
- Scissors and tape measure
- Comb for frayed ends
- Optional wooden beads (10 mm)
Instructions
- Cut 8 cords of 6' each. Fold in half and attach to driftwood with lark’s head knots.
- Create square knot sections about 2" long, leaving gaps for pot cradle.
- Add beads if desired, then finish with gathering knot below cradle.
- Trim tassels and comb out for fullness.
- Hang from a ceiling hook rated for plant weight.
How to display or gift it
- Hang near window and rotate plant for even light. Use a decorative pot and tray to catch water.
- Gift with care card and a small potted plant in a kraft box.
- Moroccan Tassel Bath Rug
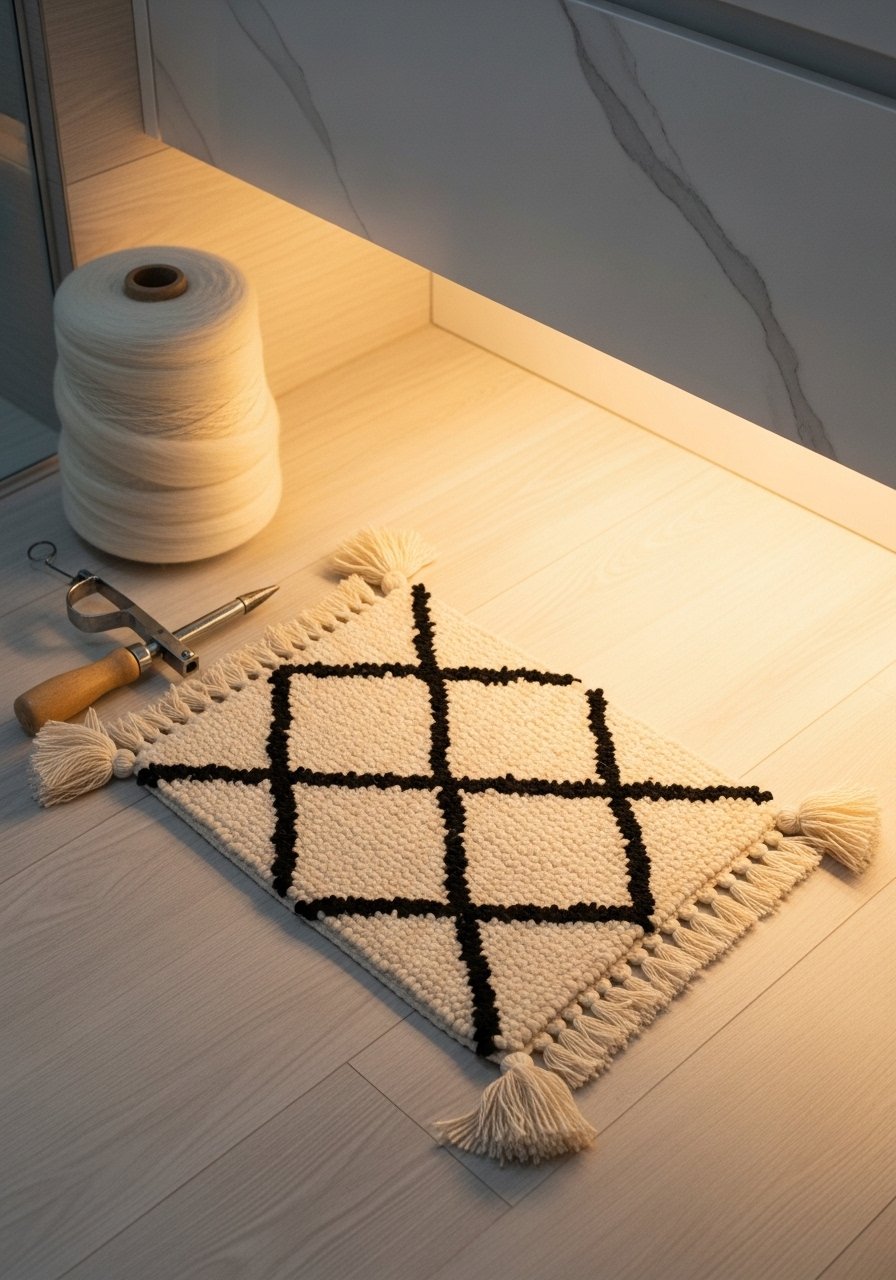
Why this works: A plush rug adds immediate comfort and visual warmth. DIY tufting or punch needle gives a luxe, boutique feel without splurging on imported textiles.
Materials
- Punch needle kit and hoop
- Wool roving (2–3 colors), 3–4 yards total
- Rug backing cloth (monk's cloth)
- Non-slip rug pad, scissors
- Rug binding tape and sewing needle
Instructions
- Transfer design to monk’s cloth and secure in hoop.
- Use punch needle to create loops per pattern. Work row by row.
- Once complete, trim loops to desired pile height or leave loops for texture.
- Apply backing and binding tape to edges; stitch or glue.
- Attach non-slip rug pad underside.
How to display or gift it
- Place in front of sink or tub; wash per wool care instructions.
- Package as a spa gift with matching towel and soap.
- Gold Leaf Mirror Edge
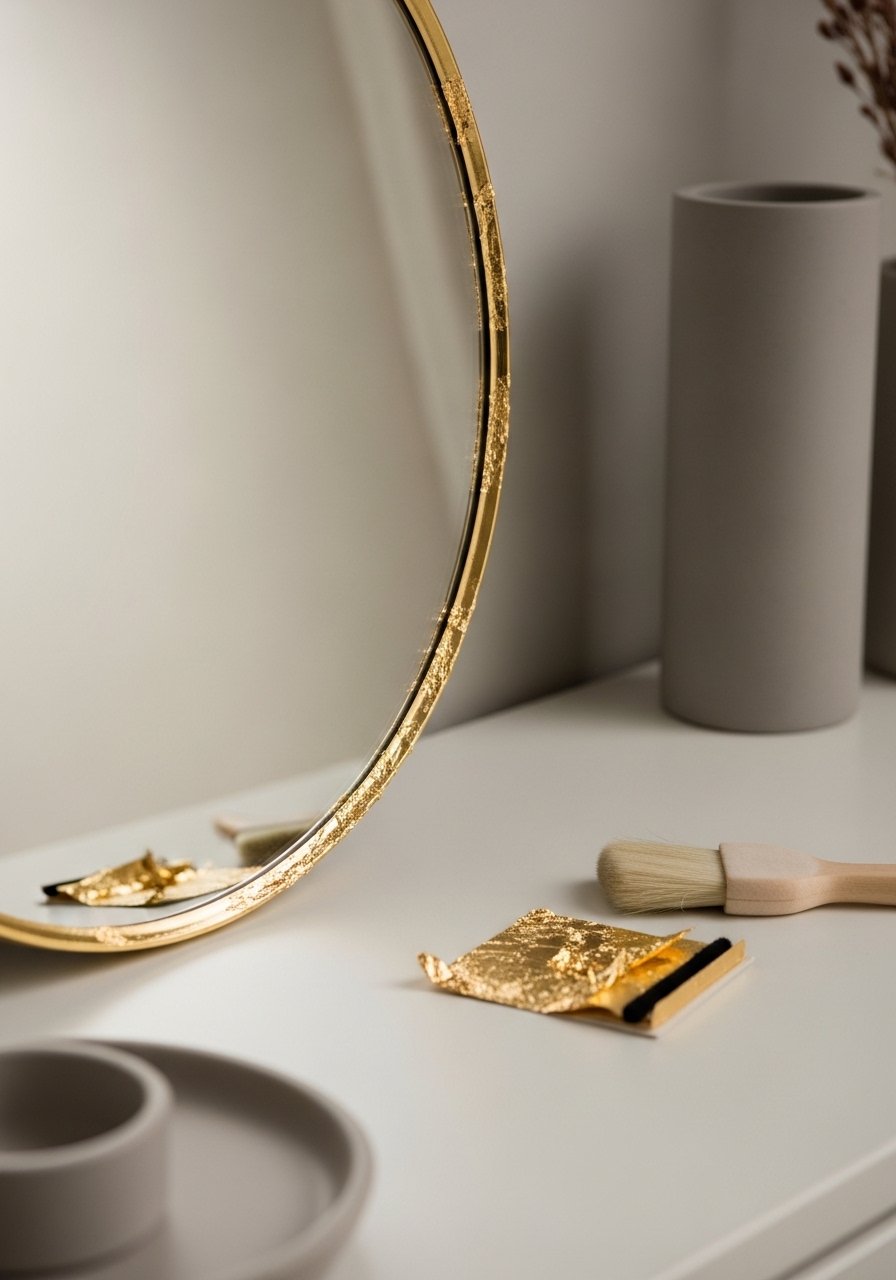
Why this works: A delicate gold edge reads polished and bespoke. Gold leafing is tactile and surprisingly forgiving.
Materials
- Small gold leaf kit (20 sheets)
- Gilding adhesive (size)
- Soft gilder’s brush
- Cotton gloves
- Sealant (water-based)
- Lint-free cloth
Instructions
- Clean mirror edge and apply thin coat of gilding size. Wait until tacky (5–10 minutes).
- Lay gold leaf sheets gently and press with brush. Remove excess using soft brush.
- Seal with two thin coats of water-based sealant, 1 hour between coats.
- Let cure 24 hours before hanging.
How to display or gift it
- Lean mirror on a shelf or hang above vanity. Pair with a warm-toned candle.
- Gift with a small gold leaf kit and instructions.
- Faux Soapstone Vessel Sink Paint Makeover
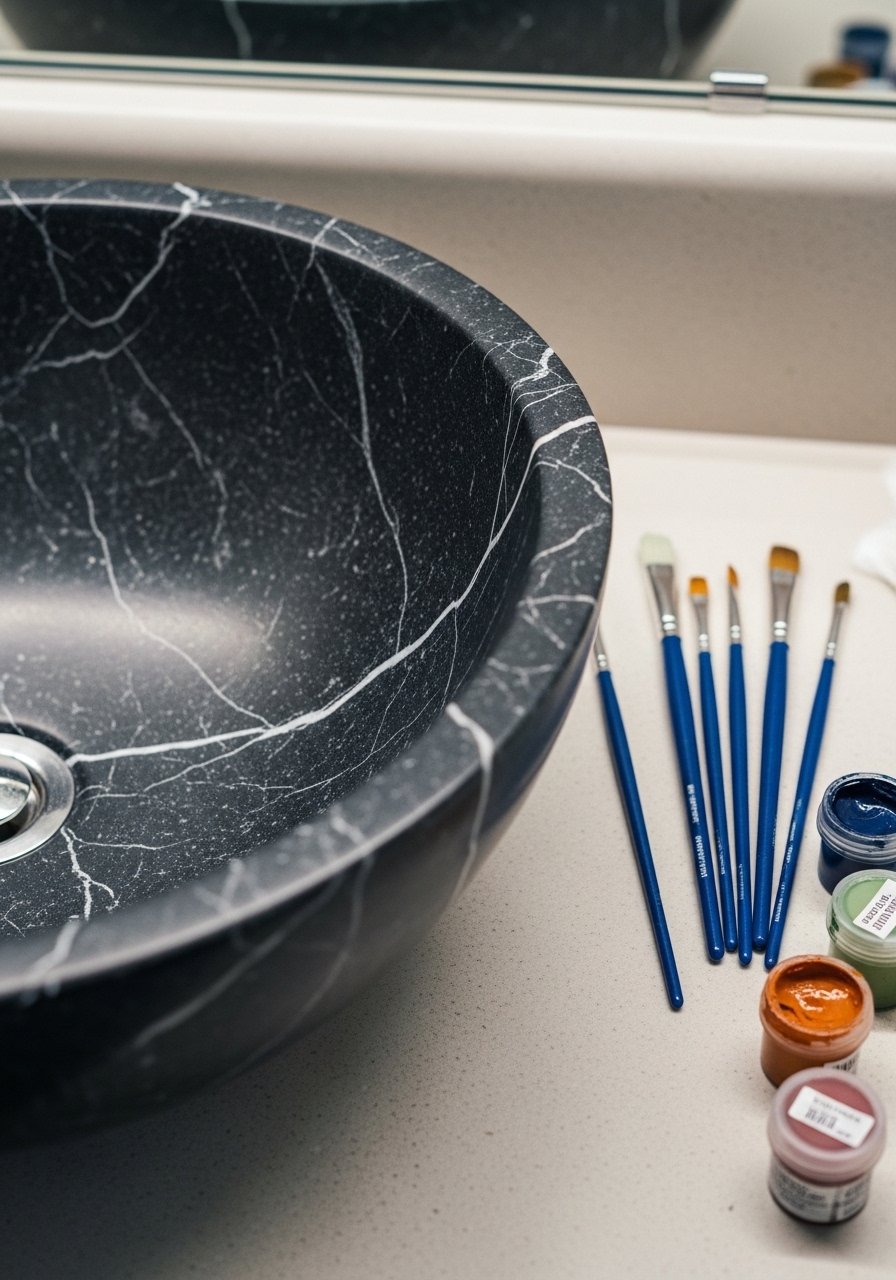
Why this works: Painting a ceramic sink in faux soapstone gives dramatic contrast and spa mood without replacing sink. Use paint designed for ceramic and seal thoroughly.
Materials
- Ceramic-safe matte paint (charcoal) and dry-brushing white
- Fine artist brushes and foam brushes
- Sanding sponge 320
- High-build primer for ceramic
- Clear epoxy topcoat (small bottle)
- Painter’s tape and drop cloth
Instructions
- Sand sink lightly; clean thoroughly. Apply ceramic primer; dry 2–4 hours.
- Apply base charcoal coat in two thin layers; dry per paint instructions.
- Use a dry brush to add subtle veins with lighter gray/white.
- Once paint is fully dry (24 hours), apply epoxy topcoat in thin coats. Cure 72 hours.
- Reinstall sink and check finish for uniformity.
How to display or gift it
- Pair with brass faucet for contrast. Keep epoxy cure times in mind if gifting.
- Polished Nickel Hardware Swap (DIY Kit)
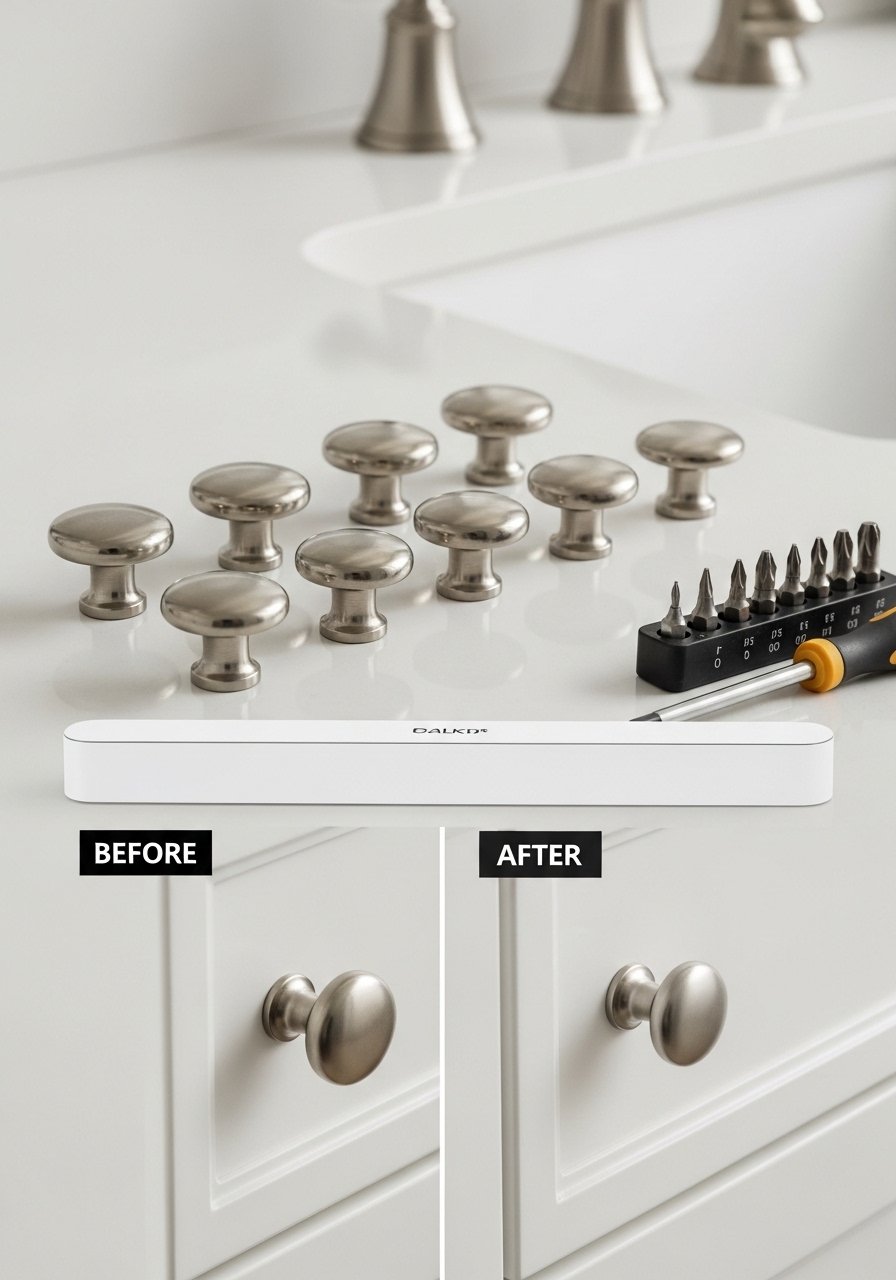
Why this works: Swapping hardware refreshes the whole room’s tone. Polished nickel feels bright and spa-like.
Materials
- Polished nickel knob/pull set (12 pieces)
- Screwdriver set
- Measuring tape and drill for new holes
- Wood filler for old holes
- Touch-up paint or stain for filled holes
- Masking tape
Instructions
- Remove old hardware and store screws. Fill old holes if necessary and sand.
- Measure and mark new hole locations. Drill pilot holes where needed.
- Install new hardware, tightening screws snugly. Test drawers and doors.
- Touch up filled holes with matching paint or stain.
How to display or gift it
- Coordinate hardware finish with faucet and towel bars. Package a spare knob as a small housewarming gift.
- Soapstone-Look Painted Vanity Top (Small)

Why this works: For small tops, a faux soapstone finish is an affordable pick-me-up. It’s tactile and pairs well with natural fibers.
Materials
- Acrylic paint set (charcoal and white)
- Sponge, fine brushes, and rags
- Water-based polyurethane sealer
- Sandpaper 220
- Painter’s tape
Instructions
- Clean and sand top. Prime if needed.
- Apply charcoal base in two coats; let dry.
- Use a fine brush to paint thin white veins; soften edges with a damp sponge.
- Seal with two coats of polyurethane, 2 hours between coats. Cure 48 hours.
How to display or gift it
- Pair with matte accessories and a small tray.
- Gift small painted tray matching the vanity top.
- Lazy Susan Vanity Organizer (Rotating Tray)
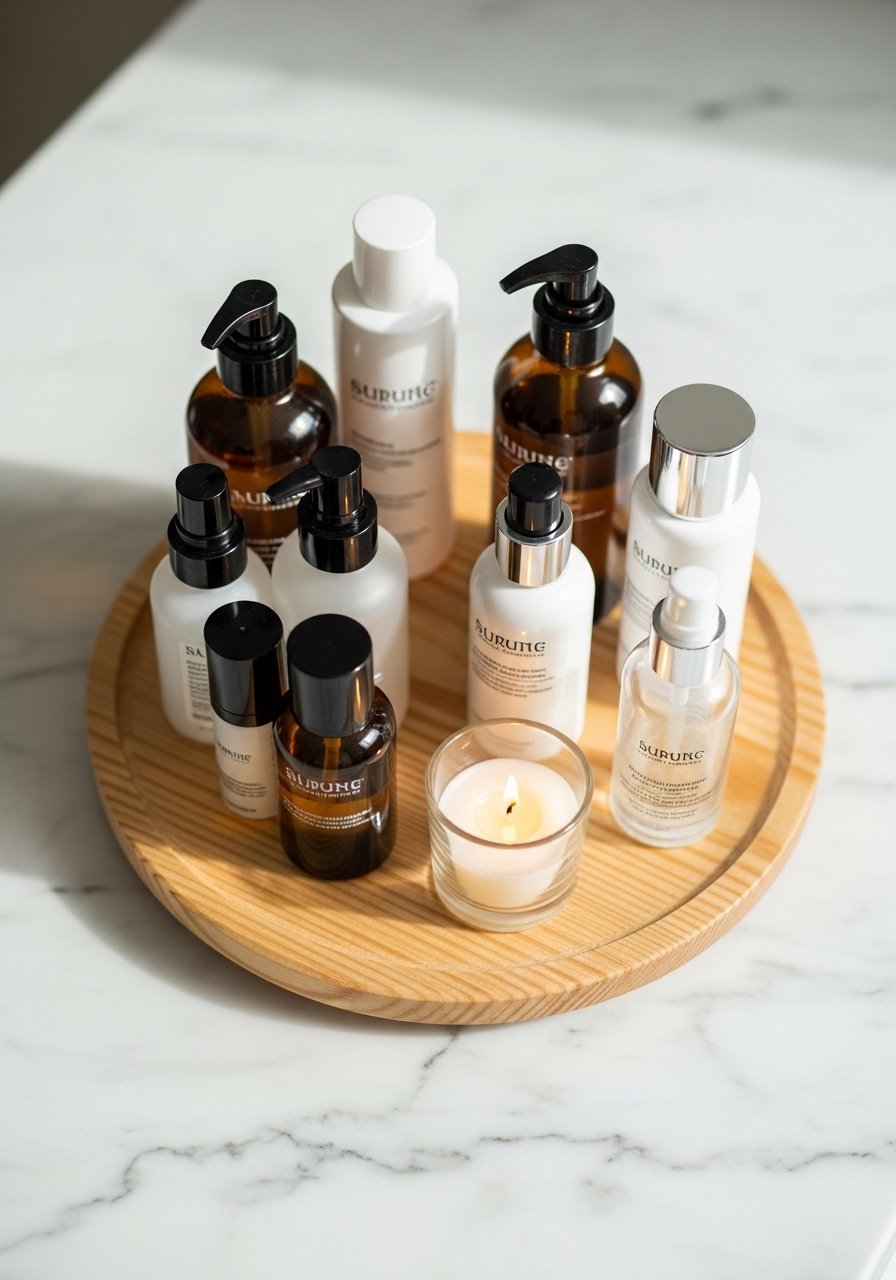
Why this works: A rotating organizer makes a vanity feel boutique and keeps products handy. It’s functional and pretty.
Materials
- Wooden round blanks (two sizes for tiered organizer)
- Lazy Susan bearing (small)
- Wood glue and clamps
- Sandpaper 120/220
- Stain or paint and polyurethane
- Small jars or dividers for bottles
Instructions
- Sand blanks smooth. Stain or paint and apply polyurethane; cure 24 hours.
- Attach bearing to underside per instructions. Ensure centered.
- Secure top to bearing. Add small jars or dividers.
- Place on vanity and arrange bottles.
How to display or gift it
- Pair with glass jars for cotton rounds and q-tips. Wrap in tissue and kraft box for gifting.
- Spa Locker: Built-in Niche Storage Baskets with Labels
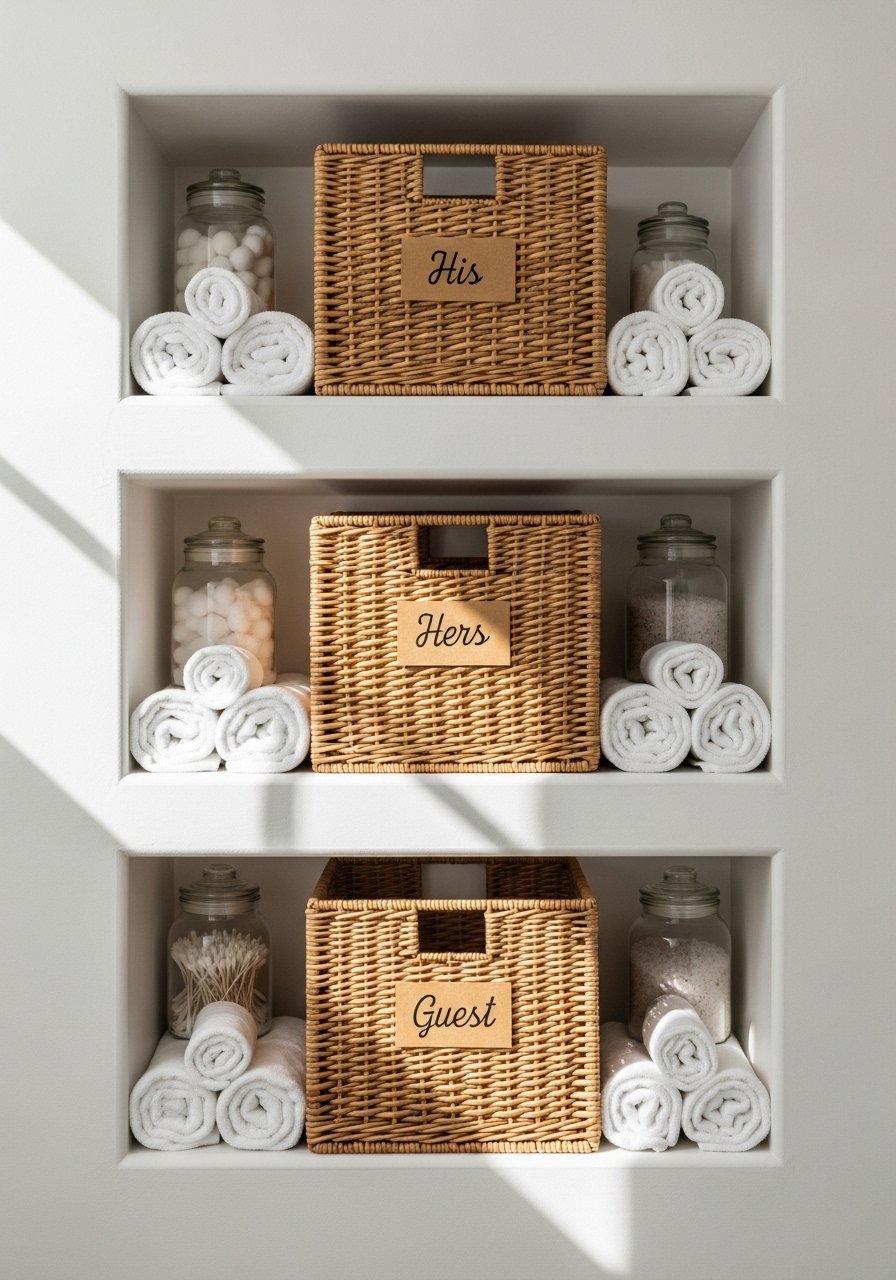
Why this works: Organized baskets create a boutique-laundry feel. Labels and matching baskets read intentional and tidy.
Materials
- Wicker or rattan baskets (3 sizes)
- Kraft tags and fine black marker
- Small rope or twine for tying tags
- Shelf liners (optional)
- Measuring tape and shelf brackets (if adding shelves)
- Small label frames (optional)
Instructions
- Measure niche interior and choose baskets that fit with 1/2" clearance.
- Add shelf liners to protect baskets from moisture.
- Attach kraft tags with twine and label contents (Towels, Toiletries, Extras).
- Arrange baskets by frequency of use for easy access.
- Consider a small dehumidifier sachet to keep contents dry.
How to display or gift it
- Stack baskets in niche or under vanity. Gift with a set of kraft tags and twine for easy personalization.
Your bathroom is now a collection of small, tactile upgrades that add warm wood, polished metal, soft lighting, and natural textures—the exact ingredients of luxury bathroom remodel ideas that feel like a five-star spa. Try one project this weekend and save the rest to pin for later. Which one are you starting with—peel-and-stick marble or that resin pebble tray? Share your before-and-after photos with a friend and keep experimenting.
Trust me, picking up a quality temperature-controlled hot glue gun and a good brayer roller changed how my projects finished—no bubbles, cleaner edges, and faster results.





