You want an easy, joyful way to teach little hands to draw scenic art. Learning how to draw landscapes for kids doesn't have to be messy or complicated — it can be a one-afternoon project with fast wins. Whether your child traces horizons or paints soft washes, you’ll give them the confidence to create landscapes again and again.
Start with kid-friendly supplies to cut frustration. A washable watercolor set and a 140 lb watercolor pad make color layering forgiving and quick to dry. Try this kid watercolor set and a reliable watercolor paper pad 140 lb so paint won’t buckle.
By the end you'll know a simple, repeatable process for drawing horizons, adding depth, and finishing with color. Follow the steps below and pin this guide for your next craft afternoon.
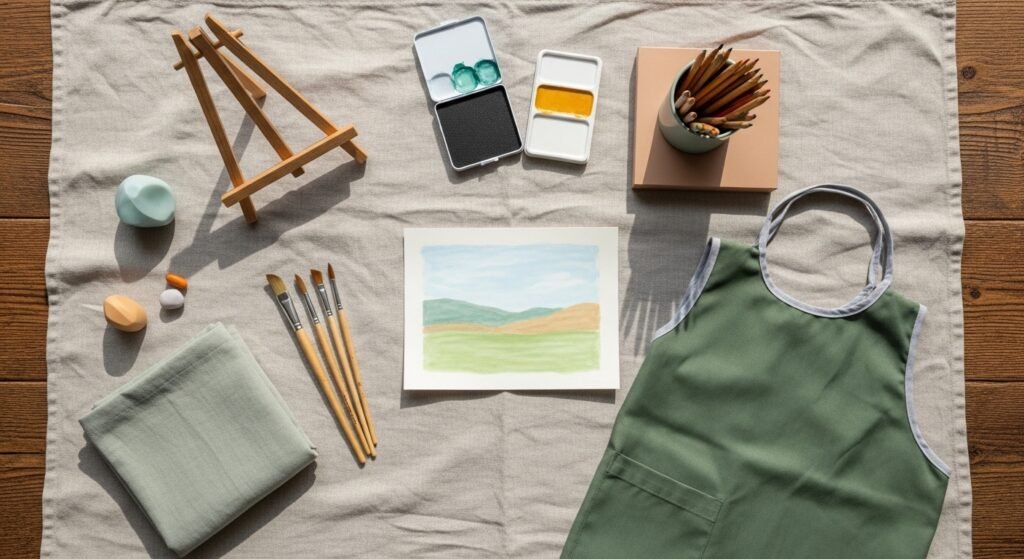
Gather and Prep: beginner-friendly workspace and supplies
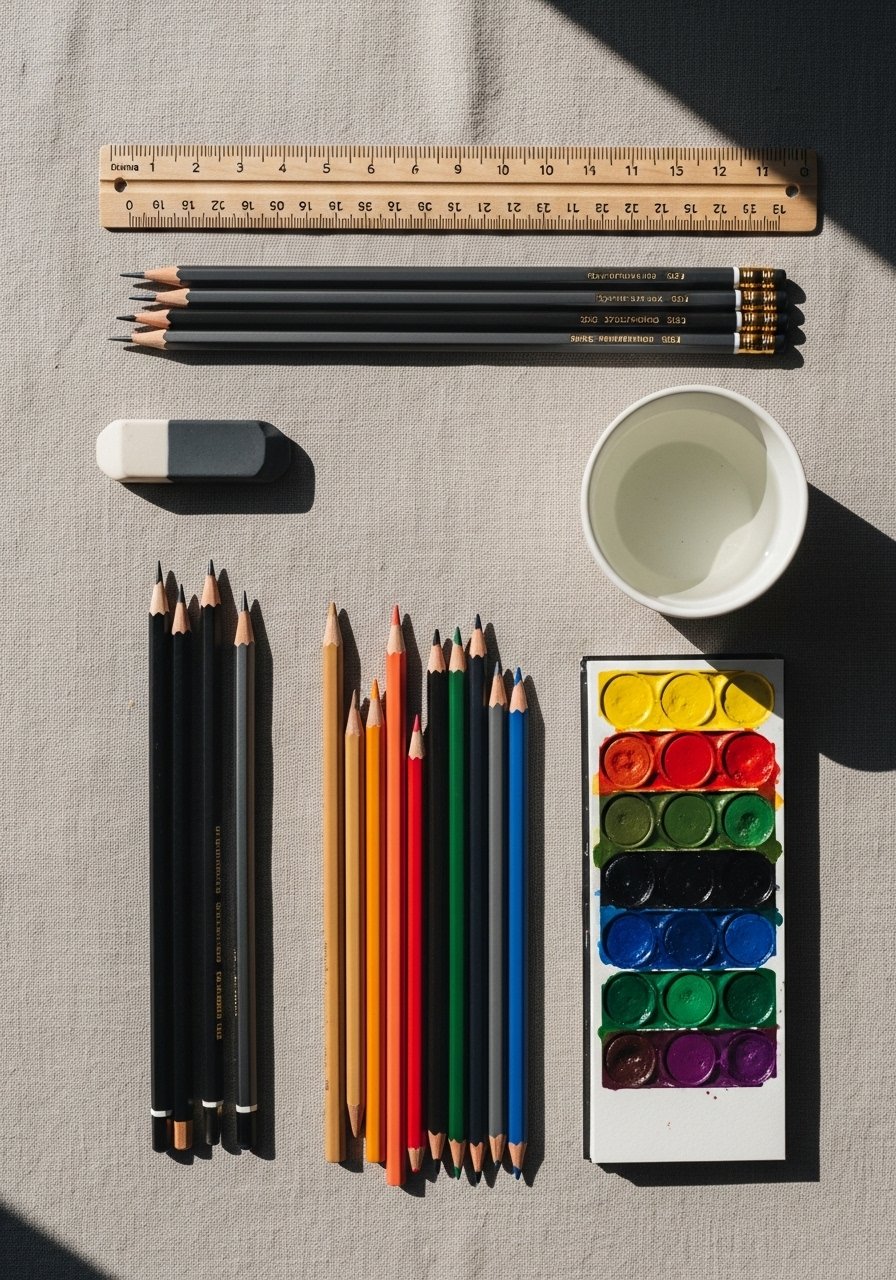
Set up a clear workspace so your child can focus. Use a graphite pencil set for light sketching and a kneaded eraser to lift marks without tearing paper. A kid-sized art smock keeps sleeves clean and makes the activity feel official.
Tips:
- Tape the edges of 9×12 inch paper with low-tack tape to prevent curling.
- Set a timer for 30–45 minutes to keep it a fun, focused session.
- Keep water, tissues, and a clear zip pouch for storing half-used supplies.
Sketch the scene: simple shapes for big results (easy, beginner-friendly)
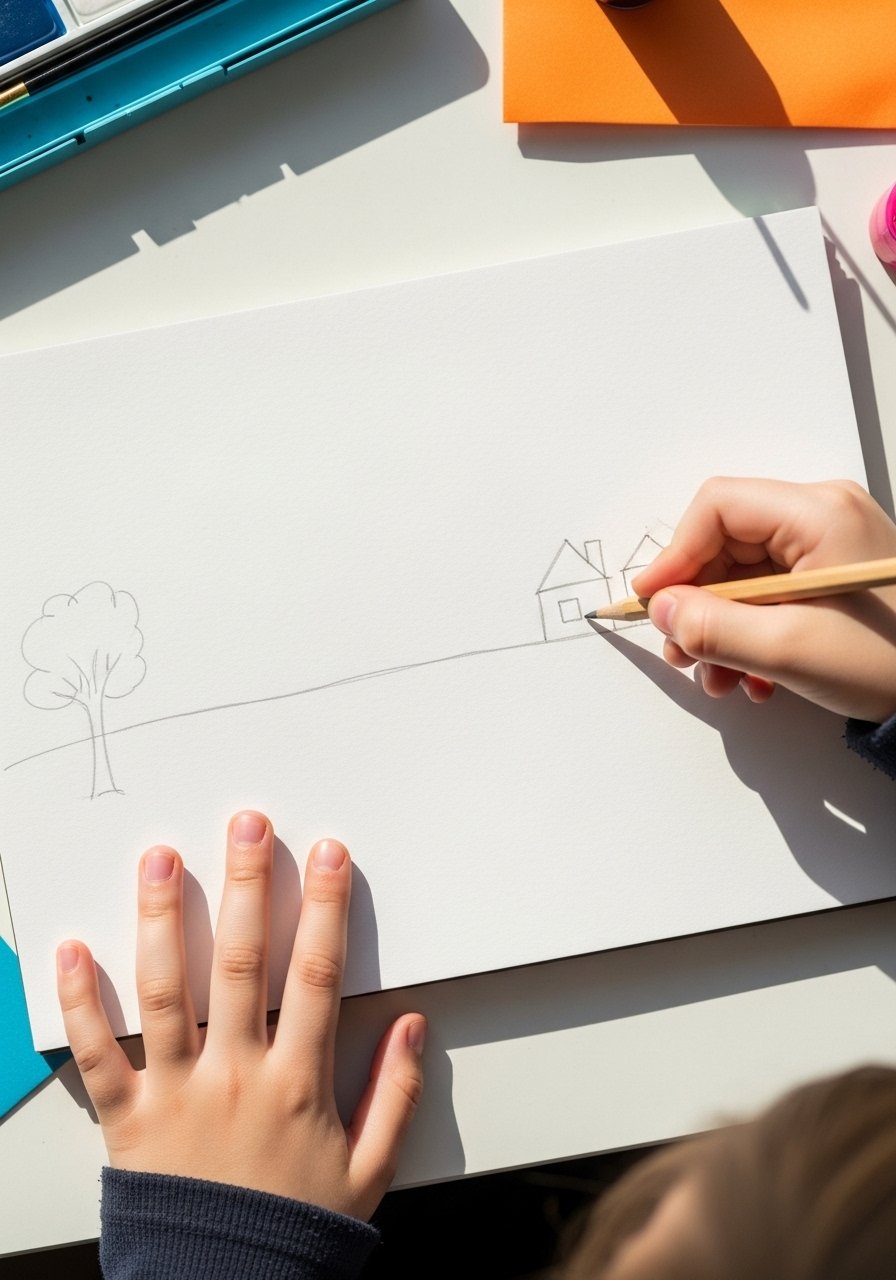
Start with three zones: foreground, middle ground, background — a trick that makes landscapes readable.
- Draw a light horizontal horizon line about one-third from the top.
- Block shapes with simple forms: ovals for hills, rectangles for houses, triangles for trees.
- Add a pathway or river curving from foreground to the horizon to suggest depth.
Quick tips:
- Keep lines light so they don’t show through paint.
- Use a ruler for straight horizons on seaside or city scenes.
- Teach kids to say the scene out loud (e.g., “big hill, little house”) — it helps composition.
Add color & texture: watercolor washes and colored pencil details (one-afternoon)
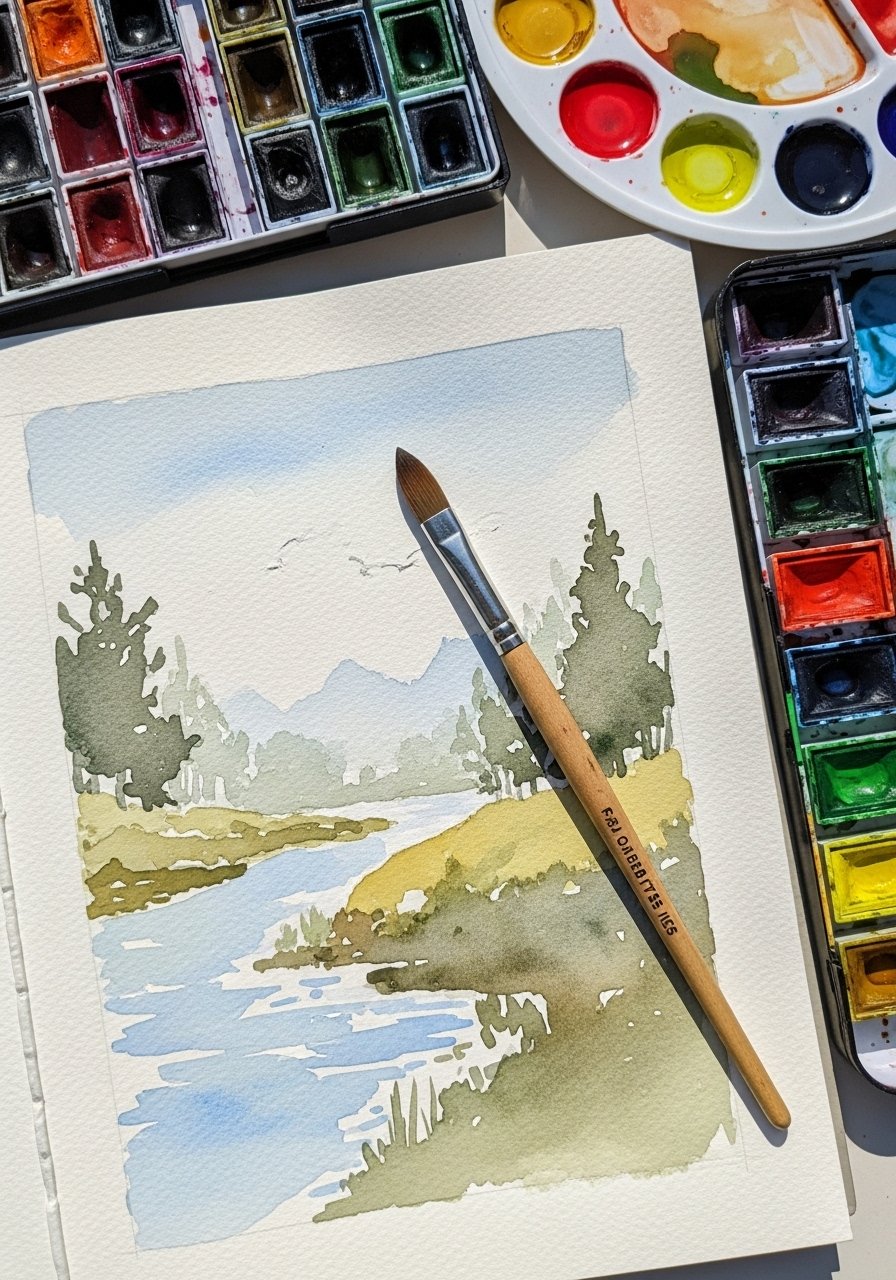
Watercolor is forgiving and dries fast — expect thin washes to be touch-dry in 10–20 minutes and fully dry in 30–60 minutes depending on humidity.
How to:
- Wet the paper lightly for soft skies; use a round watercolor brush set with a medium #6 brush for washes.
- Layer colors: let each wash dry 10–15 minutes before adding the next for better control.
- Add crisp details with a colored pencil set once paint is dry.
Pro tips:
- Use a washable marker set for outlines before painting for kids who prefer bolder edges.
- Mix small amounts of paint on a palette to avoid waste — a common challenge is using too much water.
Finish, display, and store: show off their scenic art (pin-worthy)

Let pieces dry flat for 30–60 minutes before moving. Frame or prop finished work on a small wooden easel for an instant gallery wall. Store extras flat in a drawer or slide them into a clear zip pouch grouped by child and date.
Quick display ideas:
- Create a seasonal rotation on a small easel.
- Make a postcard series from smaller 5×7 sheets for gifts.
- Use a craft organizer tray to keep pencils and brushes ready for the next session.
You just taught a child how to draw landscapes for kids with simple, repeatable steps. Celebrate the finished scenes and save this guide for another easy afternoon. Pin this post and grab a watercolor paper pad 140 lb if you want paint that behaves beautifully every time. Which landscape will your little artist try first?


