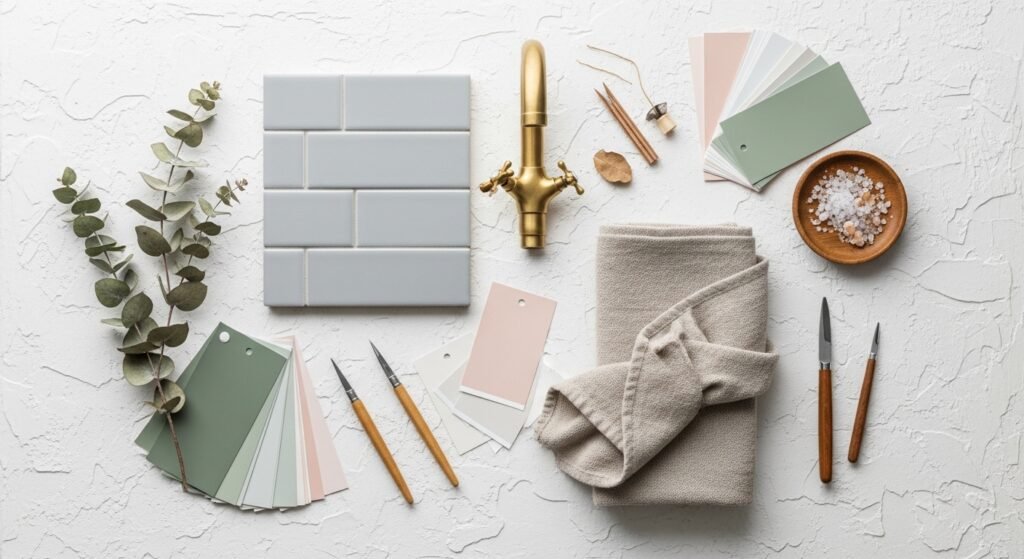
Welcome — imagine your next visitor stepping into a guest bathroom that feels curated, calm, and just a little bit pampering. These 30 guest bathroom remodel ideas mix small DIY upgrades with craft-forward touches so you can pick projects that fit a weekend or a full weekend refresh.
You’ll find ideas that range from simple swaps (new hardware and hooks) to hands-on projects (resin trays and tiled accents). Each project includes exact materials, step-by-step instructions, drying times, and styling tips so you can finish with confidence. I use a precision craft knife and my Cricut Joy cutting machine for small vinyl labels, and a temperature-control hot glue gun when I need fast hold without the strings.
Dive into ideas that suit cottagecore, japandi, farmhouse, and boho looks. Each project is designed to make guests feel welcomed, pampered, and genuinely impressed.
- Painted Vanity Face & Two-Tone Cabinet
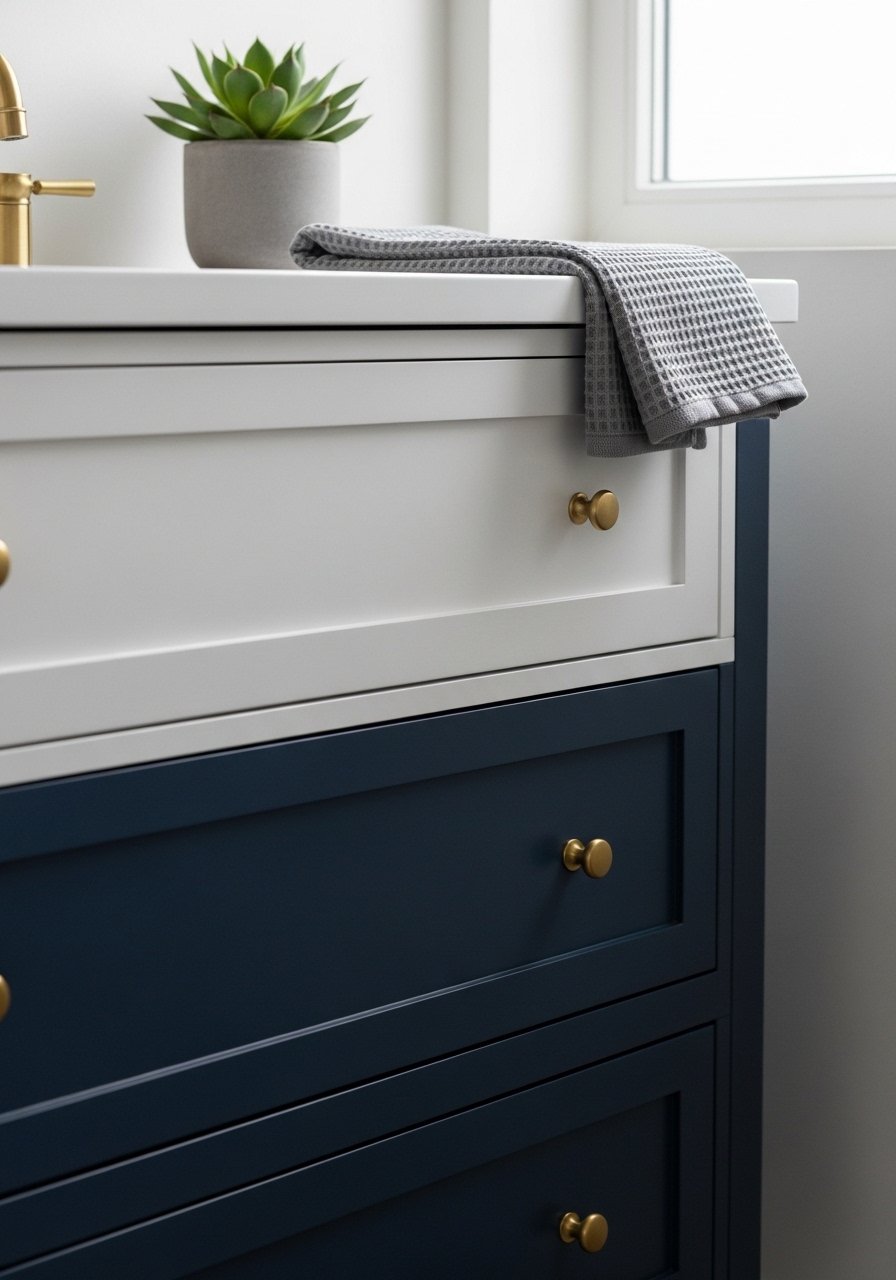
This two-tone painted vanity face refreshes an old cabinet without removing doors. The contrast adds depth and suits farmhouse or japandi palettes. Beginners will love the quick visual impact and low cost.
Materials
- 1 qt latex cabinet paint (semi-gloss) in main color
- 1 qt latex cabinet paint (matte) in accent color
- 120-grit and 220-grit sandpaper
- Wood cleaner or TSP substitute, 16 oz
- Painter’s tape (1-inch)
- Foam roller (4-inch) and 2 foam brushes
- Deglossing liquid (optional), 8 oz
- Drop cloth
Instructions
- Empty vanity and remove hardware. Label screws in a small bag.
- Clean surfaces with wood cleaner; rinse and dry 30 minutes.
- Lightly sand with 120-grit to remove gloss, then wipe with tack cloth.
- If using deglosser, apply per directions and let dry 15–30 minutes.
- Tape off countertop and edges with painter’s tape.
- Apply one thin coat of main color with foam roller. Dry 2 hours. Lightly sand with 220-grit, wipe dust.
- Apply second coat; let dry 4 hours. For accent drawers, repeat steps using the accent color.
- Reattach hardware after paint is fully cured 24 hours.
How to Display or Gift It
- Place a small wooden tray on the vanity to anchor soap and hand lotion.
- Pair with brass or matte-black knobs for a cohesive look.
- Store extra paint in labeled jars inside the cabinet in a small craft organizer for touch-ups.
- Make-ahead: paint doors off-site for a faster weekend install. Consider keeping spare knobs in a small craft organizer.
- Peel-and-Stick Tile Backsplash Accent
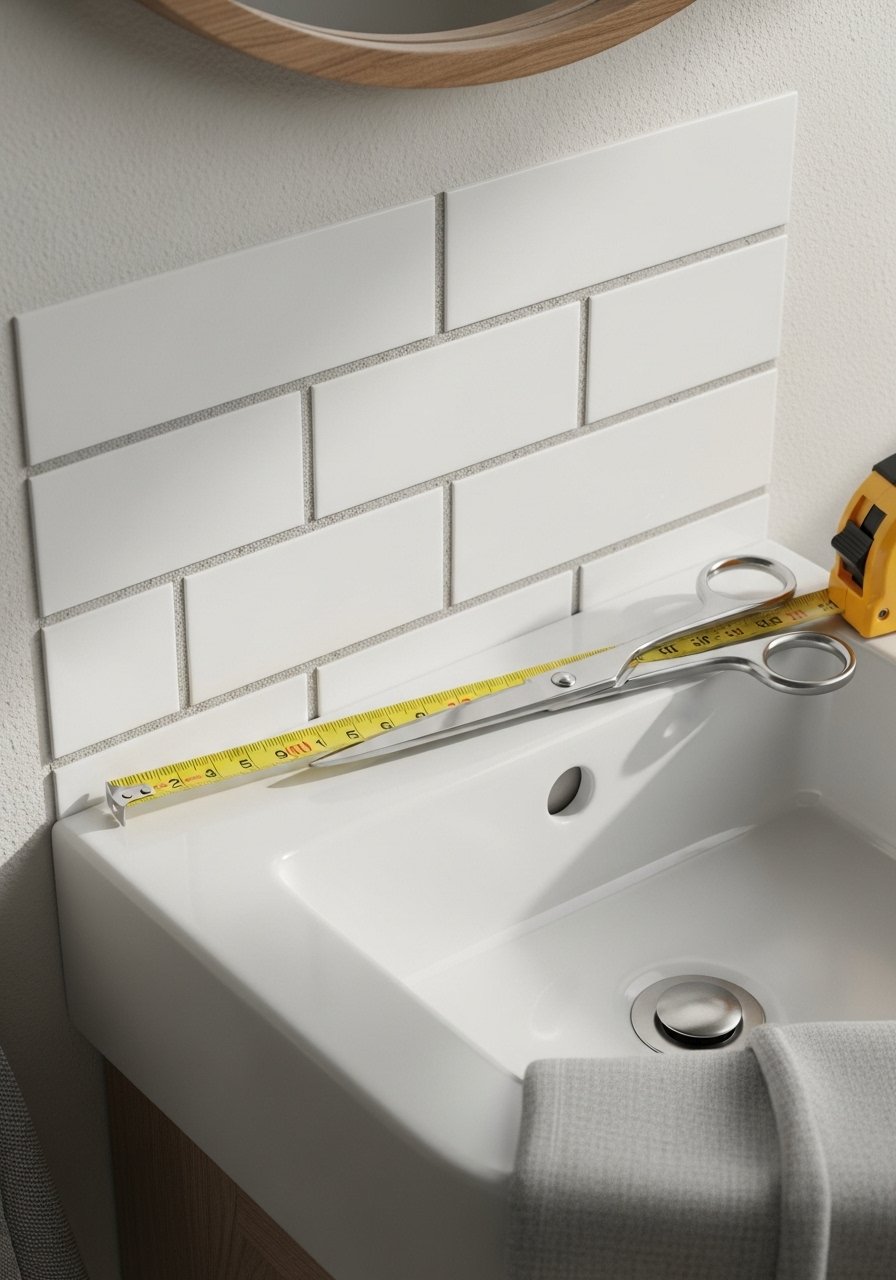
Peel-and-stick tiles give big impact with minimal tools. This is ideal if you rent or don’t want full demolition. The finish looks professional when trimmed precisely.
Materials
- Peel-and-stick subway tile sheets, 10–15 sheets depending on space
- Measuring tape and pencil
- Utility knife or precision craft knife
- Ruler or straight edge (metal)
- Isopropyl alcohol and rag
- Silicone caulk (clear), tube
- Caulk gun
- Level
Instructions
- Measure backsplash area and plan tile layout; mark center line.
- Clean surface with isopropyl alcohol; ensure fully dry 10 minutes.
- Trim tiles to fit with a sharp utility knife and metal ruler.
- Start at center, peel backing and press tile firmly for 30 seconds per tile.
- Use a level frequently to keep straight lines.
- Apply clear silicone caulk along edges for water resistance; dry 24 hours.
How to Display or Gift It
- Pair with woven hand towels for a modern farmhouse feel.
- Use a small glass shelf above the tile to display guest soaps.
- Keep leftover tiles in a labeled craft box for future fixes.
- For precise cuts, I use my precision craft knife.
- Statement Wall with Stenciled Pattern (guest bathroom remodel ideas)
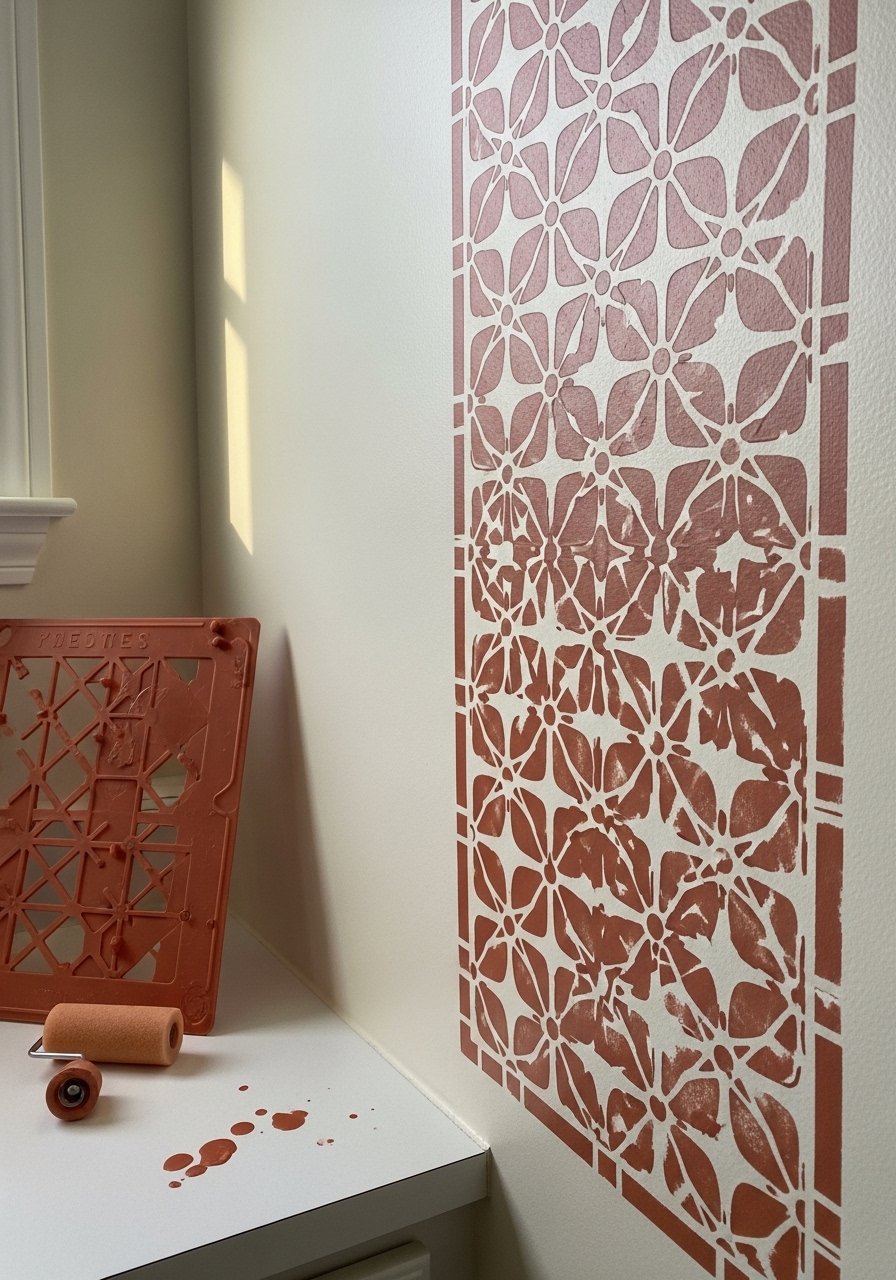
A stenciled statement wall feels upscale without wallpaper. Pick a repeated geometric or floral stencil to match cottagecore or boho styles. Stenciling adds texture and personality.
Materials
- Wall stencil, 18×18 inches
- Base wall paint, 1 qt
- Accent paint, 1 qt
- Small foam roller and foam brushes
- Painter’s tape
- Level and pencil
- Disposable palette or plate
- Drop cloth
Instructions
- Paint wall base color; allow 2 coats, drying 2 hours between coats.
- Mark stencil grid with pencil and level.
- Secure stencil with painter’s tape.
- Load foam roller with a light amount of paint; roll excess on paper towel.
- Apply paint with light dabbing motions—don’t overload. Dry 30–45 minutes between stencil coats.
- Remove stencil carefully. Touch up edges with a detail brush.
- Let wall cure 24 hours before hanging decor.
How to Display or Gift It
- Frame a coordinating mirror and hang centered on the stenciled area.
- Add a small ceramic shelf and potted plant for texture.
- Store stencil flat in a protective tube for reuse.
- For crisp stenciling, I like using a small foam roller set.
- Floating Wooden Shelves with Hidden Brackets
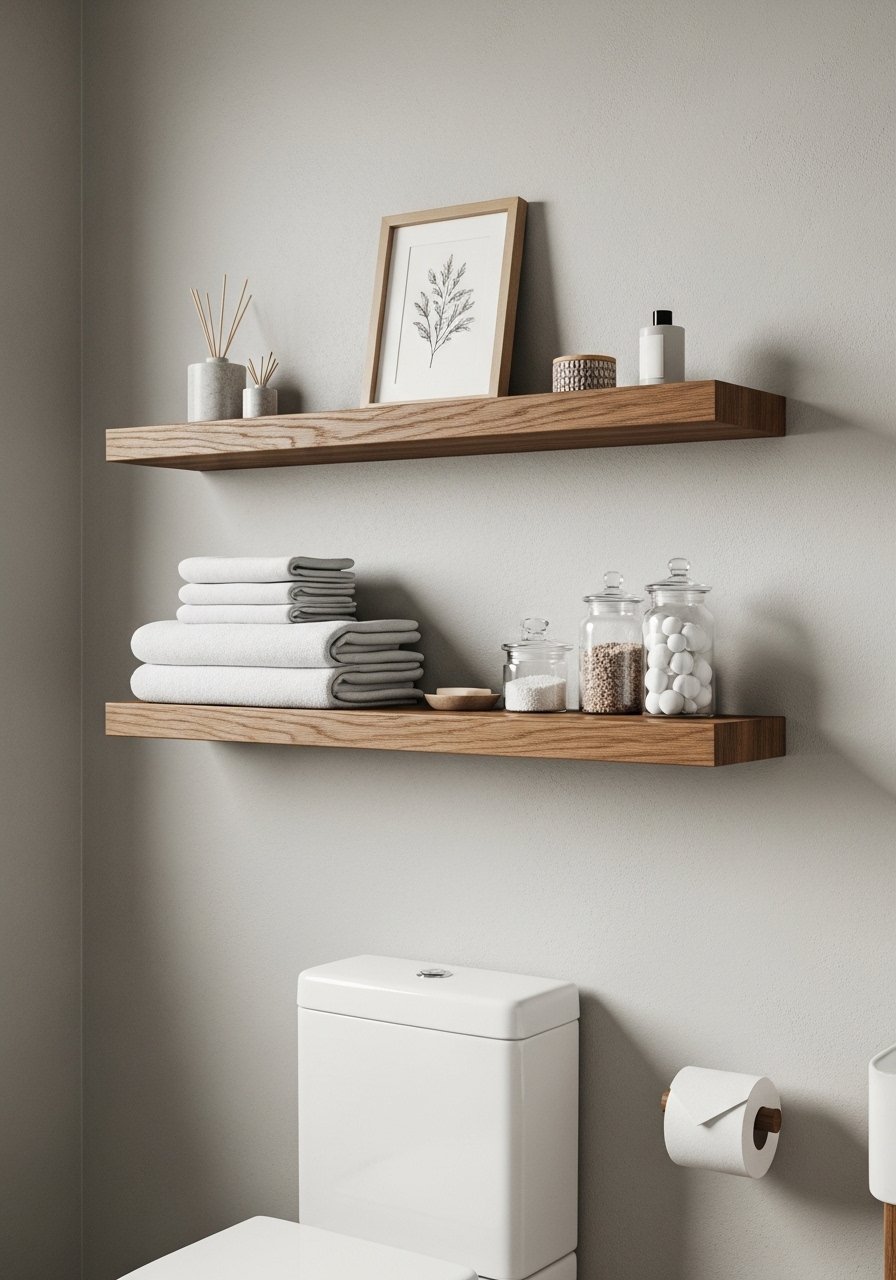
Floating shelves bring storage and display space without heavy cabinetry. Choose warm wood for cottagecore or light unfinished wood for japandi style.
Materials
- Two wood shelf blanks, 24" x 6" each, pre-sanded
- Hidden metal shelf brackets (pair per shelf)
- Wood stain or clear matte varnish, 8 oz
- Sandpaper 120-grit
- Drill, 3/16" bit
- Wall anchors rated 50 lbs
- Level and pencil
- Screwdriver
Instructions
- Decide shelf heights and mark studs or use anchors.
- Pre-stain or varnish wood boards; 2 coats, dry 2 hours between coats.
- Mark bracket positions and drill holes in wall.
- Install anchors or screw into studs. Mount bracket flush.
- Slide shelf onto bracket; secure with screws from underside.
- Add non-slip pads under items to avoid sliding.
How to Display or Gift It
- Style with rolled towels, apothecary jars, and a small woven basket.
- Use a small wooden easel to prop a print on the shelf.
- Store excess stain and the hardware kit in a labeled craft organizer.
- DIY Vanity Drawer Organizers (felt-lined)
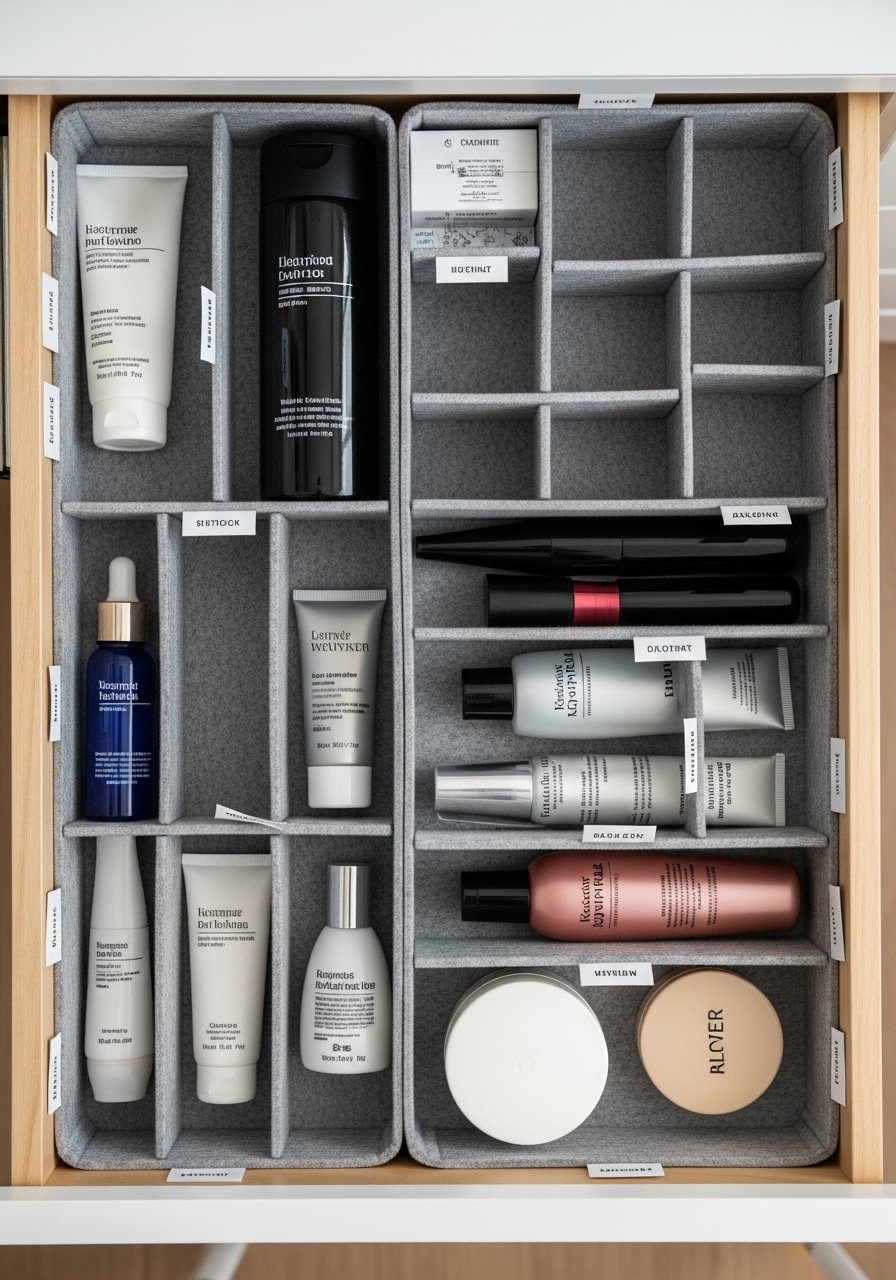
Custom organizers keep the vanity tidy and help guests find toiletries. Felt lining softens glass bottles and prevents clatter.
Materials
- 3mm single-strand felt sheets, 5 (9×12 inches)
- Thin plywood or chipboard, 2 sheets (9×12 inches)
- Craft glue or E6000, 2 oz
- Ruler and pencil
- Precision craft knife and self-healing cutting mat
- Double-sided tape
- Small fabric labels (optional)
Instructions
- Measure drawer interior and plan compartment sizes.
- Cut plywood or chipboard to base pieces.
- Cut felt slightly larger than each panel to wrap edges.
- Use double-sided tape to secure felt to base; finish edges with glue.
- Assemble compartments by gluing tabs; hold in place 15 minutes.
- Let glue cure 24 hours before inserting items.
How to Display or Gift It
- Label compartments with little tags for guests (toothbrush, makeup).
- Store spare felt-lined inserts in a stackable craft organizer.
- Gift as a paired set for hosts who love organization.
- Towel Ladder Rack (leaning)
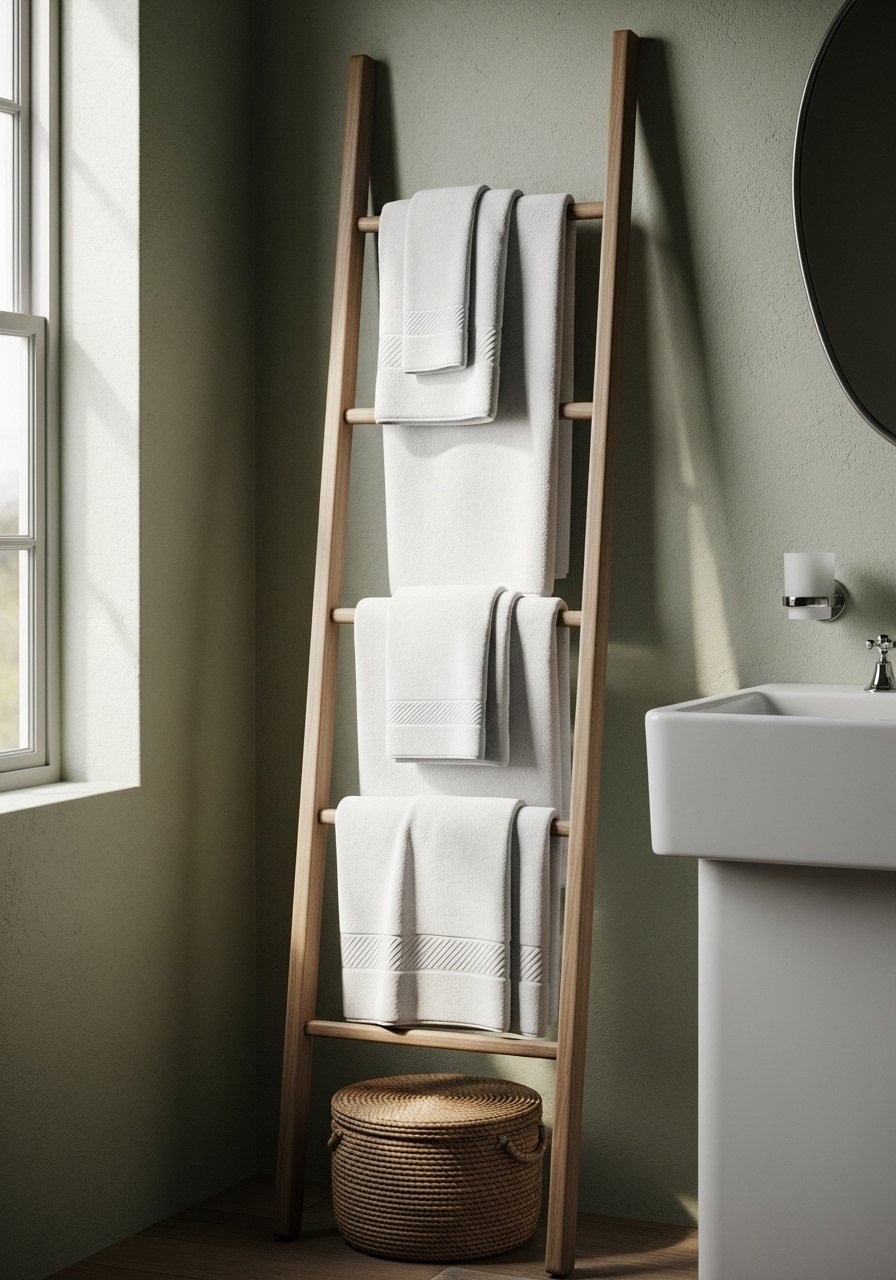
A leaning towel ladder adds vertical storage and a spa-like vibe. It's perfect when you don’t want to drill into plaster.
Materials
- Wooden dowels, 5 at 48" length
- Two side rails (pine), 2 at 60" length
- Wood glue, 4 oz
- Sandpaper 120-grit
- Wood stain or sealant, 8 oz
- Drill and dowel jig
- Clamps
Instructions
- Mark rung spacing on side rails (approx 10" apart).
- Drill holes in rails using dowel jig for accurate alignment.
- Sand all pieces; wipe dust.
- Apply wood glue to dowel ends and insert into rails. Clamp thoroughly.
- Let glue cure 24 hours before staining.
- Stain or seal; dry 4 hours and cure 24 hours.
How to Display or Gift It
- Drape plush towels diagonally for a layered spa look.
- Small baskets at base hold extra toiletries.
- Store disassembled in a long craft tube for gifting.
- Macramé Wall Hanging for Accent
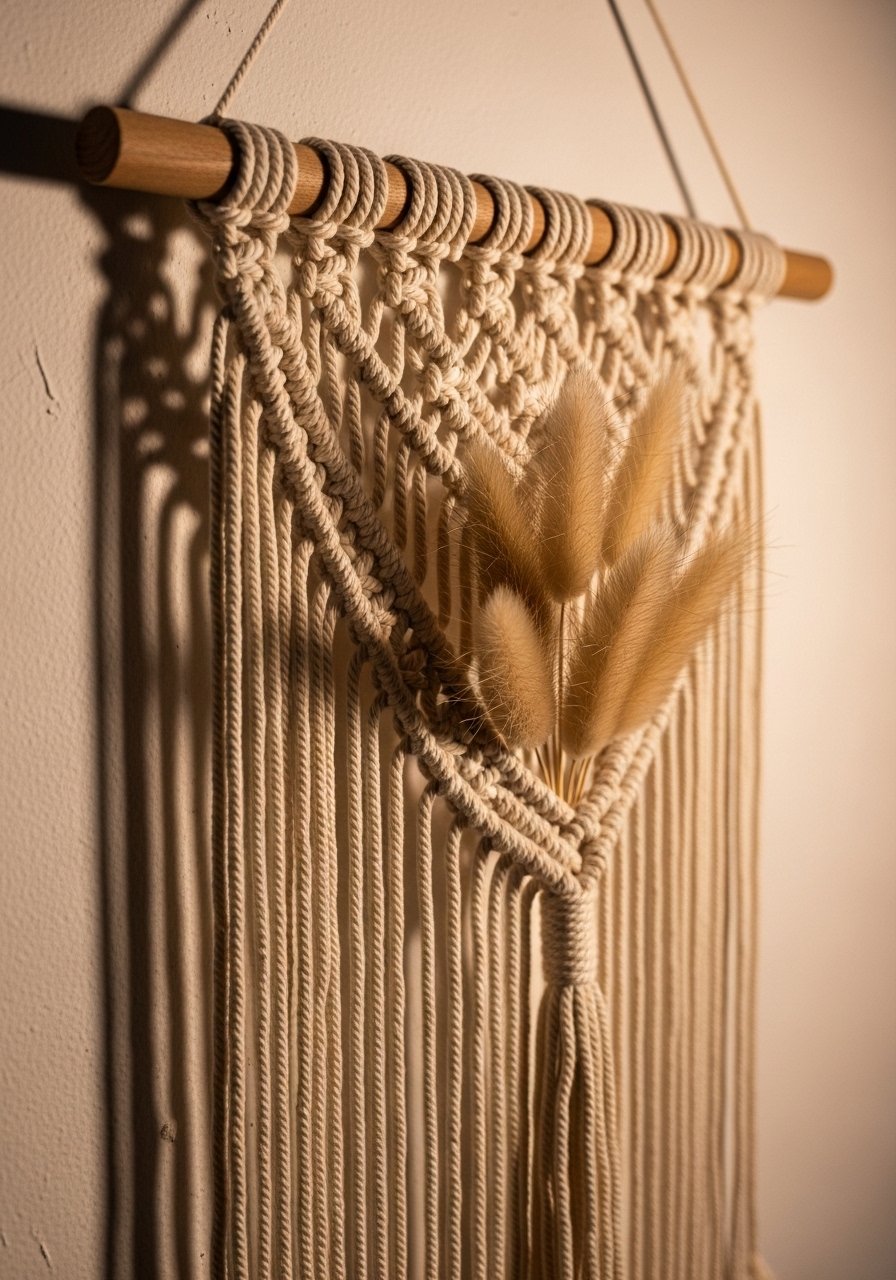
A macramé wall hanging adds handmade texture and boho charm. Use 3mm or 5mm cotton cord for different drape.
Materials
- 3mm cotton macramé cord, 50 yards
- Wooden dowel, 1 at 18"
- Scissors
- Measuring tape
- Comb for fringe
- Optional beads (wood), 20
Instructions
- Cut cords to length: 10 cords at 6 ft each for a medium piece.
- Attach cords to dowel using lark’s head knots.
- Follow a simple square knot pattern, alternating every 4 inches.
- Add beads by threading between knots.
- Trim fringe and comb for a soft finish.
- Hang and adjust knots for symmetry.
How to Display or Gift It
- Hang above towel rack or toilet for texture.
- Wrap in tissue and tuck a care note for gifting.
- Keep spare cord and dowel in a tall storage tube.
- Resin Vanity Tray with Embedded Botanicals

A hand-poured resin tray adds polish and protects surfaces. Use quick-release silicone molds and thin layers for a bubble-free finish.
Materials
- Epoxy resin kit (clear), 16 oz (enough for small tray)
- Silicone tray mold (rectangular)
- Dried botanicals (eucalyptus), small handful
- Mixing cups and wooden stir sticks
- Nitrile gloves
- Heat gun or small torch
- Disposable mixing scale (optional)
Instructions
- Ensure botanicals are fully dried; press them flat 48 hours.
- Mix resin per kit instructions (usually 1:1) for 3 minutes; scrape sides.
- Pour 1/8" base layer into mold; pop bubbles with heat gun quickly.
- Place botanicals carefully; pour remaining resin to desired depth.
- Use heat gun to remove bubbles; gently level.
- Let cure 24–72 hours depending on kit. Demold after initial cure 24 hours for best finish.
How to Display or Gift It
- Use it to corral soaps and perfume bottles.
- Wrap in kraft paper and tie with twine for gifting.
- For safe mixing and fewer bubbles, I use a heat gun on low setting.
- Upcycled Window Frame Medicine Cabinet

Turn an old window frame into a medicine cabinet for charm and extra mirror surface. This project blends vintage with function.
Materials
- Salvaged window frame, 24"x24"
- Mirror cut to size or mirrored acrylic sheet
- Small piano hinge and latch set
- Backing board (thin plywood), 1
- Wood filler and sandpaper
- Drill and screws
- Mirror adhesive
Instructions
- Clean and sand the window frame; fill cracks with wood filler.
- Attach backing board to frame; paint or stain if desired; dry 2 hours.
- Affix mirror to inside of frame using mirror adhesive; follow adhesive cure 24 hours.
- Attach hinge to one side and latch to the other; test door swing.
- Install cabinet on wall with anchors or into studs.
- Seal edges with clear caulk for longevity.
How to Display or Gift It
- Style inside with small glass jars for cotton swabs.
- Keep a small level and spare hinges in a hardware organizer.
- Gift as a statement piece to a friend who loves vintage finds.
- Scented Linen Drawer Sachets
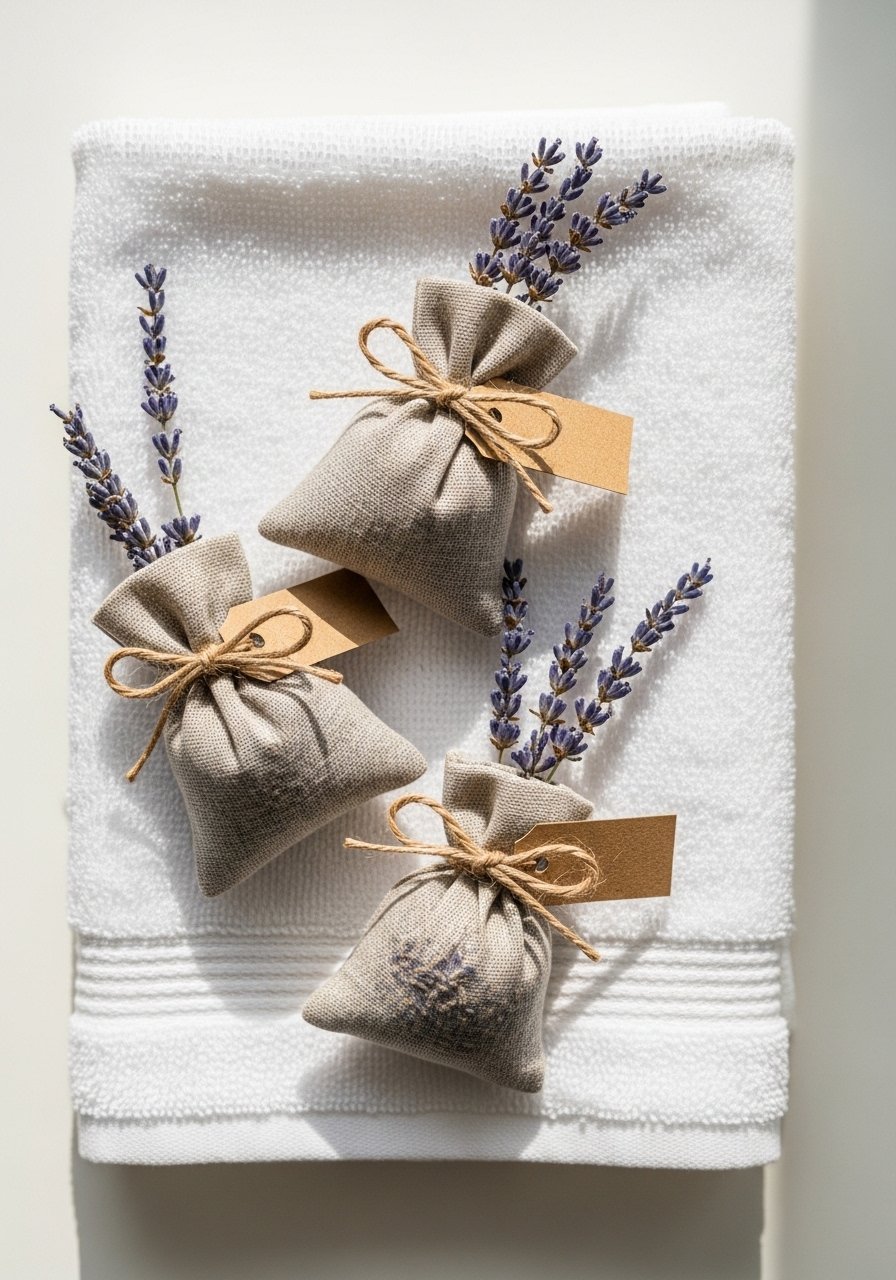
Sachets are inexpensive, smell lovely, and make guests feel pampered. Use cotton-linen blend for a relaxed, natural look.
Materials
- Linen fabric scraps, 6 (6×6 inches)
- Dried lavender or cedar chips, 1 cup
- Sewing needle and thread or sewing machine
- Twine or ribbon, 6 pieces
- Scissors
- Optional fabric labels
Instructions
- Cut two 6×6 inch linen squares for each sachet.
- Place dried lavender in center (about 2 tbsp per sachet).
- Stitch sides leaving a small opening; turn right side out.
- Top-stitch closed or glue with fabric glue.
- Tie with twine and add a small kraft tag.
- Let sachets sit 24 hours so scent settles.
How to Display or Gift It
- Tuck sachets into vanity drawers and linen closets.
- Gift a set in a small kraft box with instruction tag.
- Store extra dried lavender in an airtight jar until ready.
- Custom Stenciled Cotton Bath Mat

Stencil a plain cotton bath mat for a coordinated floor accent. Use fabric paint for washability.
Materials
- Plain cotton bath mat (18"x24")
- Fabric paint (matte), 2 oz
- Stencil of choice
- Foam pouncer or small foam roller
- Painter’s tape
- Cardboard insert to protect back
Instructions
- Wash and dry mat to remove sizing.
- Insert cardboard and secure stencil with tape.
- Load minimal paint on foam pouncer; dab excess on paper.
- Apply paint in light dabs—build layers until opaque.
- Let dry 1 hour and heat-set per paint instructions (3–5 minutes with iron on low).
- Wash cold on gentle cycle; air dry.
How to Display or Gift It
- Pair with matching hand towels for a cohesive set.
- Wrap as a housewarming gift with a small bottle of linen spray.
- For neat stenciling, my foam pouncer set works great.
- Minimalist Floating Faucet Shelf (guest bathroom remodel ideas)
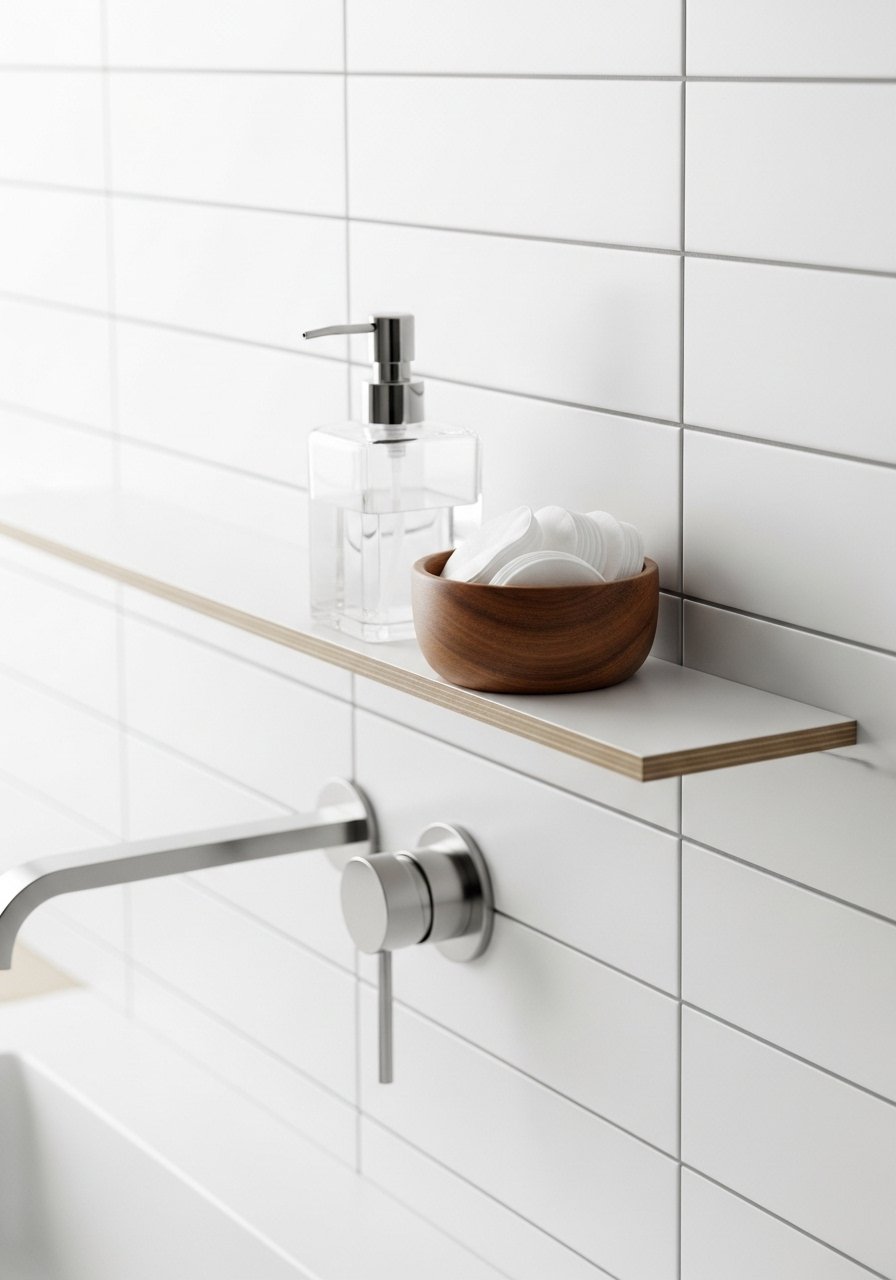
A narrow floating shelf under a wall-mounted faucet holds essentials and adds function. Use moisture-resistant wood or sealed MDF.
Materials
- Narrow wood shelf blank, 24" x 4"
- Water-resistant wood sealant, 8 oz
- Hidden bracket system for slim shelves
- Drill and screws
- Silicone adhesive for extra hold
Instructions
- Measure and mark shelf placement to avoid splash zones.
- Pre-seal shelf with two coats of sealant; dry 2 hours between coats.
- Install hidden brackets per instructions into studs or anchors.
- Mount shelf and secure with silicone adhesive underneath.
- Let adhesive cure 24 hours before placing items.
How to Display or Gift It
- Display a slim soap pump and a decorative dish for cotton pads.
- Use a small silicone adhesive sealant for waterproofing.
- This shelf makes a thoughtful addition to rental bathrooms because it's removable.
- Tile Grout Refresh with Colored Paint

Refresh old grout using a grout pen or colorant. This is a quick way to revive tile without regrouting.
Materials
- Grout pen (white or color), 1
- Small grout brush or toothbrush
- Mild tile cleaner
- Microfiber cloths
- Masking tape
- Optional grout sealer, 4 oz
Instructions
- Clean grout lines thoroughly with tile cleaner; rinse and dry 30 minutes.
- Tape tile edges to protect surfaces.
- Shake grout pen and draw along grout lines; smooth with brush.
- Wipe excess paint from tile surface while wet.
- Let dry 1 hour and reapply if needed.
- Once dry 24 hours, apply grout sealer for added protection.
How to Display or Gift It
- Keep a grout pen in a bathroom drawer for quick touch-ups.
- For neat application, I pair this with a small grout brush.
- Brass Hardware Swap and Backplate

Swapping pulls and knobs is an instant facelift. Add backplates for extra detail.
Materials
- Set of brass drawer pulls, 6 pieces
- Matching backplates, 6
- Screwdriver and drill
- Measuring jig or template
- Painter’s tape
- Small level
Instructions
- Remove old hardware and clean around holes.
- Use template to mark new hole positions.
- Drill pilot holes if required.
- Affix backplate, then screw in pull. Tighten firmly.
- Wipe fingerprints from hardware.
- Test drawers and doors for smooth operation.
How to Display or Gift It
- Keep spare screws and a small screwdriver in a mini tool kit.
- Pair brass hardware with warm wood stains and cream towels.
- Tile-Top Soap Dispenser Tray (concrete + tile)

Make a durable tile-top tray with a concrete base and a decorative tile on top. Useful near sinks.
Materials
- Small silicone tray mold
- Quick-mix concrete, 2 lbs
- Decorative ceramic tile to fit Mold
- Mixing bucket and stick
- Release spray for mold
- Sandpaper 220-grit
- Clear matte sealer, 4 oz
Instructions
- Spray mold with release and mix concrete per package.
- Pour into mold and vibrate to remove air bubbles.
- Press tile lightly into top while concrete is wet.
- Let cure 48 hours before demolding.
- Sand edges lightly and seal with matte sealer; dry 2 hours.
- Let sealer cure 24 hours before use.
How to Display or Gift It
- Pair with a matching soap dispenser or toothbrush holder.
- Wrap in kraft paper and include care instructions for gifting.
- Compact Ladder Shelving for Towels

A compact ladder shelf provides vertical storage in tight spaces. Great for small guest bathrooms.
Materials
- Narrow ladder-style shelving unit, 1
- Wall anchors rated 40 lbs
- Level and drill
- Soft felt pads for shelf bottoms
Instructions
- Assemble shelving per manufacturer instructions.
- Secure to wall with anchors for safety.
- Add felt pads to shelf bottoms to prevent water damage.
- Arrange towels and jars for balance.
How to Display or Gift It
- Tuck rolling washcloths in baskets on lower shelves.
- Use a small shelf liner if shelves are open slats.
- Hand-Painted Ceramic Soap Dish
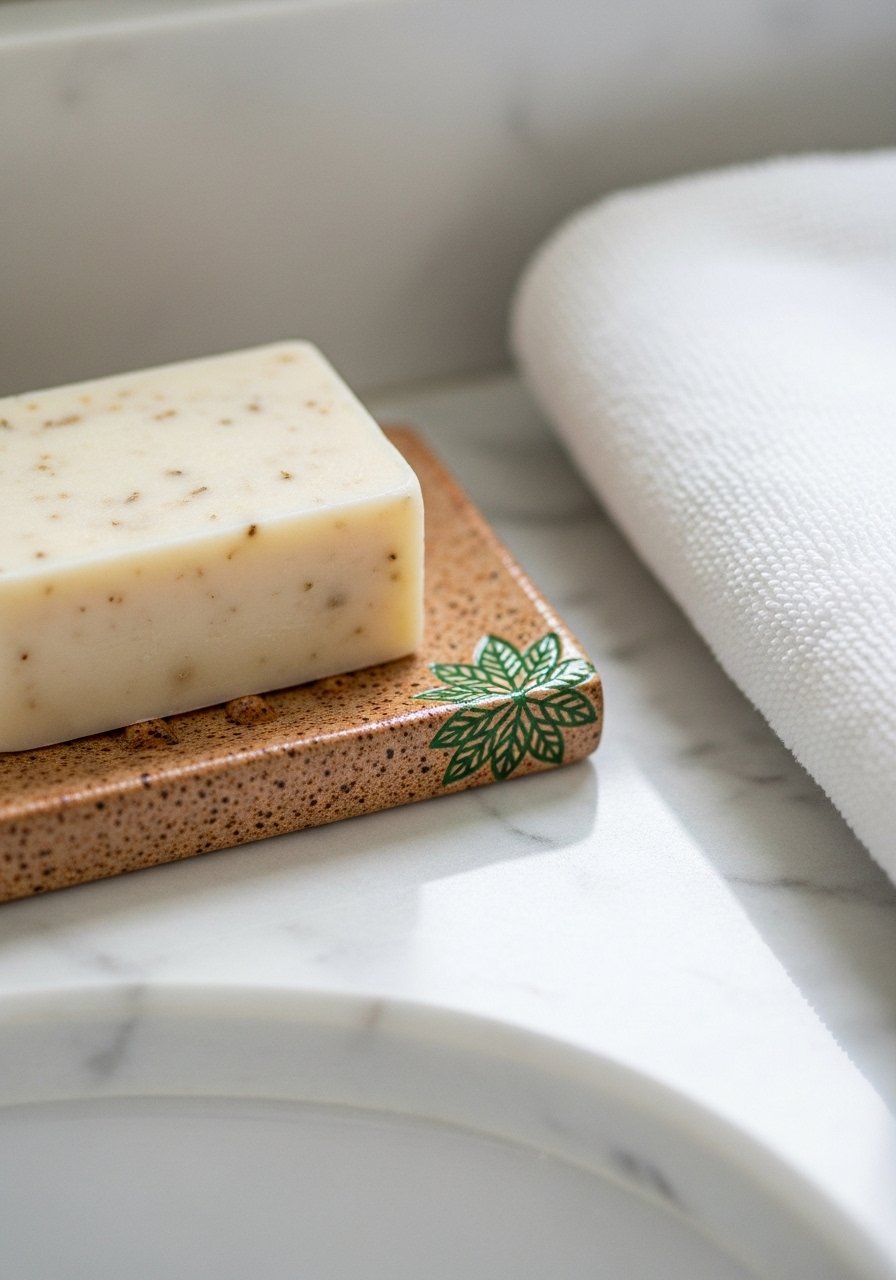
Painting a ceramic soap dish adds a personal touch to the sink area. You can buy plain dishes or repurpose thrifted ones.
Materials
- Plain ceramic soap dish
- Ceramic paint pens or underglaze, set
- Small paint brush
- Oven (for curing) or air-dry sealer
- Rubbing alcohol for cleaning
Instructions
- Clean dish with alcohol; let dry 15 minutes.
- Sketch design lightly then paint with pens or underglaze.
- Allow paint to dry 1 hour then cure per product (often 30 minutes in a home oven at 300°F or air-dry per pen instructions).
- If required, apply a food-safe sealer and let cure 24 hours.
- Test with water to check finish.
How to Display or Gift It
- Pair with a matching hand towel for a sweet guest gift.
- Wrap in tissue and place in a kraft box with a soap bar.
- Minimalist Mirror Frame Makeover
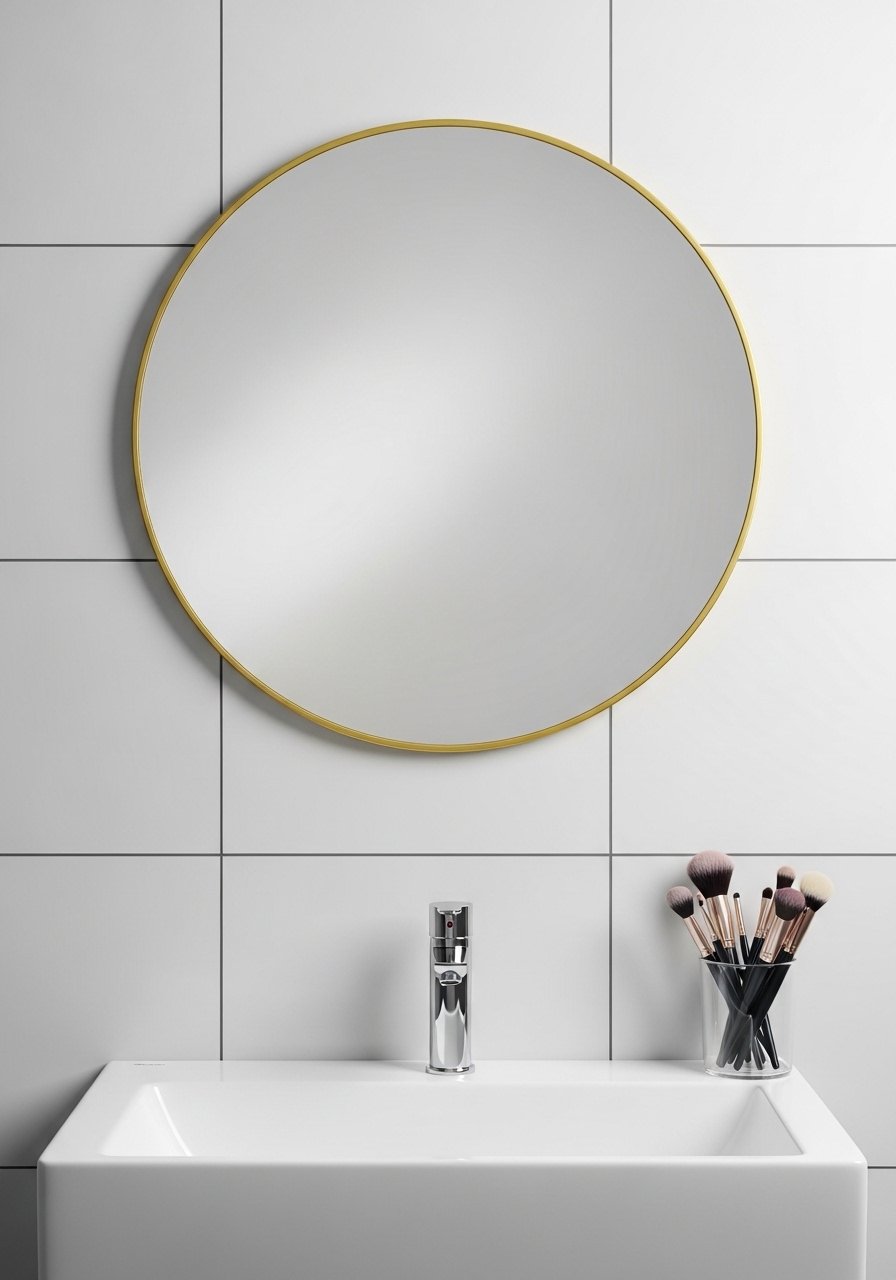
A fresh frame around an existing mirror adds polish and style. Use metal trim or a wooden frame for different looks.
Materials
- Mirror frame kit or thin metal trim
- Miter saw or miter box
- Adhesive for mirrors (mirror mastic)
- Painter’s tape and level
- Small finishing nails (optional)
Instructions
- Measure mirror and cut trim at 45-degree miters to fit.
- Dry-fit pieces around mirror.
- Apply mirror mastic to backside of trim and press into place.
- Secure with painter’s tape while adhesive cures 24 hours.
- Use small finishing nails if extra hold is needed.
How to Display or Gift It
- Hang centered above vanity and add a pendant light for a focal point.
- Keep spare trim pieces in a labeled storage bin for future fixes.
- Terrazzo Look Countertop Decals
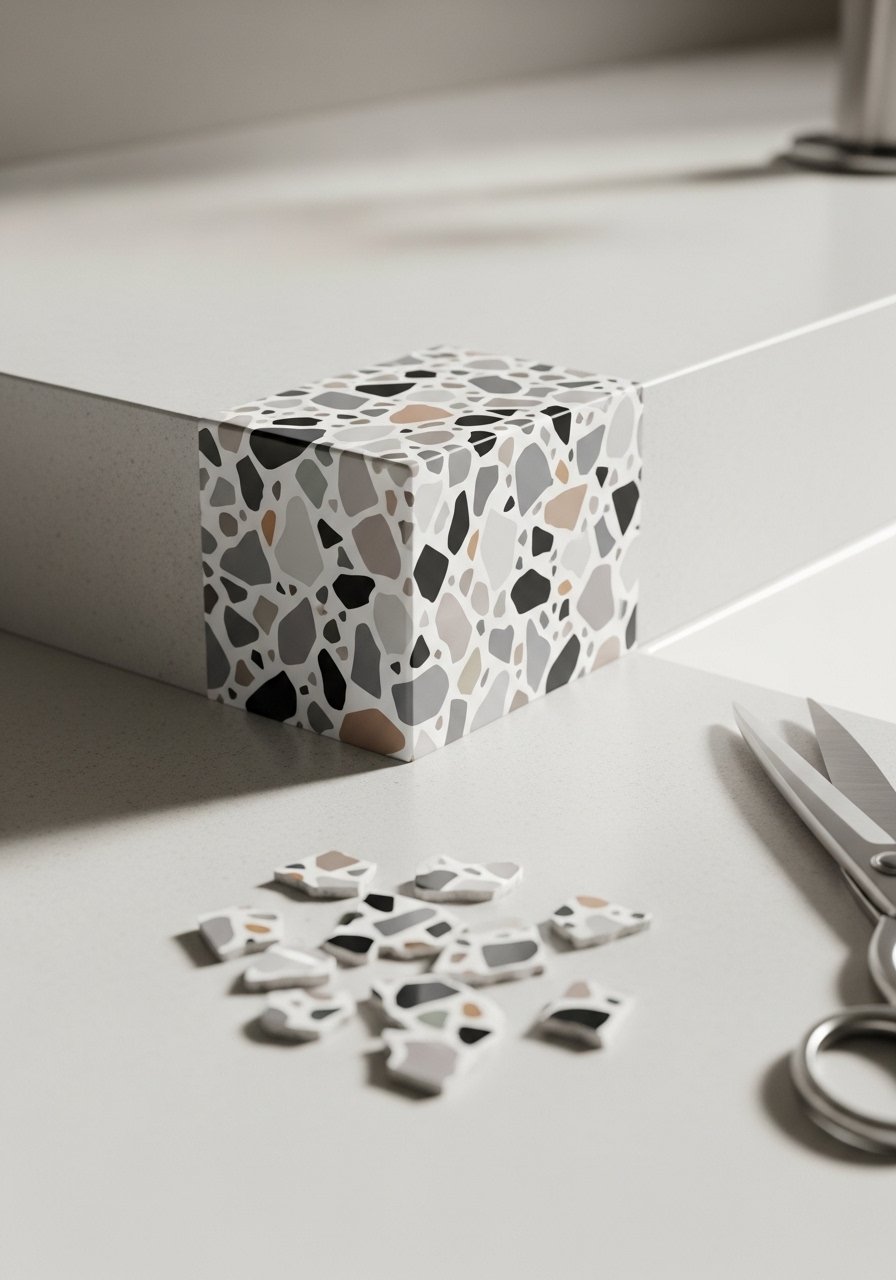
Terrazzo decals mimic the look of expensive stone at a budget price. They’re waterproof and easy to replace.
Materials
- Terrazzo peel-and-stick countertop film, 2-3 sq ft
- Squeegee or brayer roller
- Utility knife
- Isopropyl alcohol wipes
- Heat gun (low) for smoothing
Instructions
- Clean countertop thoroughly and let dry 30 minutes.
- Measure and cut film to size with utility knife.
- Peel backing and apply starting from one edge, smoothing with a squeegee.
- Use heat gun on low to conform to edges and remove bubbles.
- Trim excess and press firmly. Wait 24 hours before heavy use.
How to Display or Gift It
- Pair with matching soap dispensers.
- Keep leftover scraps for patching or craft uses.
- Hand-Poured Concrete Toothbrush Holder

Concrete accessories bring an industrial chic feel and are surprisingly easy to make in silicone molds.
Materials
- Quick-mix concrete, 1–2 lbs
- Silicone mold for cups
- Mixing cup and stick
- Release spray for mold
- Sandpaper 220-grit
- Clear matte sealer
Instructions
- Mix concrete per package instructions.
- Spray mold with release and pour concrete.
- Tap mold to remove air and level surface.
- Let cure 48 hours before demolding.
- Sand edges gently and seal with matte sealer; cure 24 hours.
How to Display or Gift It
- Pair with a concrete soap tray for a coordinated set.
- Wrap in kraft and include care instructions for gifting.
- Peel-and-Stick Wallpaper Accent Panel

Use peel-and-stick wallpaper for a pop of color without committing to full walls. Great behind mirrors or as a vertical accent.
Materials
- Peel-and-stick wallpaper, small roll
- Squeegee or brayer roller
- Utility knife
- Measuring tape and pencil
- Heat gun (optional)
Instructions
- Measure panel area carefully and cut wallpaper to size.
- Clean wall and let dry 10 minutes.
- Peel backing and apply from top, smoothing as you go.
- Trim edges with utility knife.
- For tight corners, use a heat gun briefly to conform.
- Let adhesive set 24 hours before hanging heavy items.
How to Display or Gift It
- Frame the panel with thin molding for a built-in look.
- Use as a removable rental-friendly accent.
- Minimal Linen Shower Curtain with Dyed Border
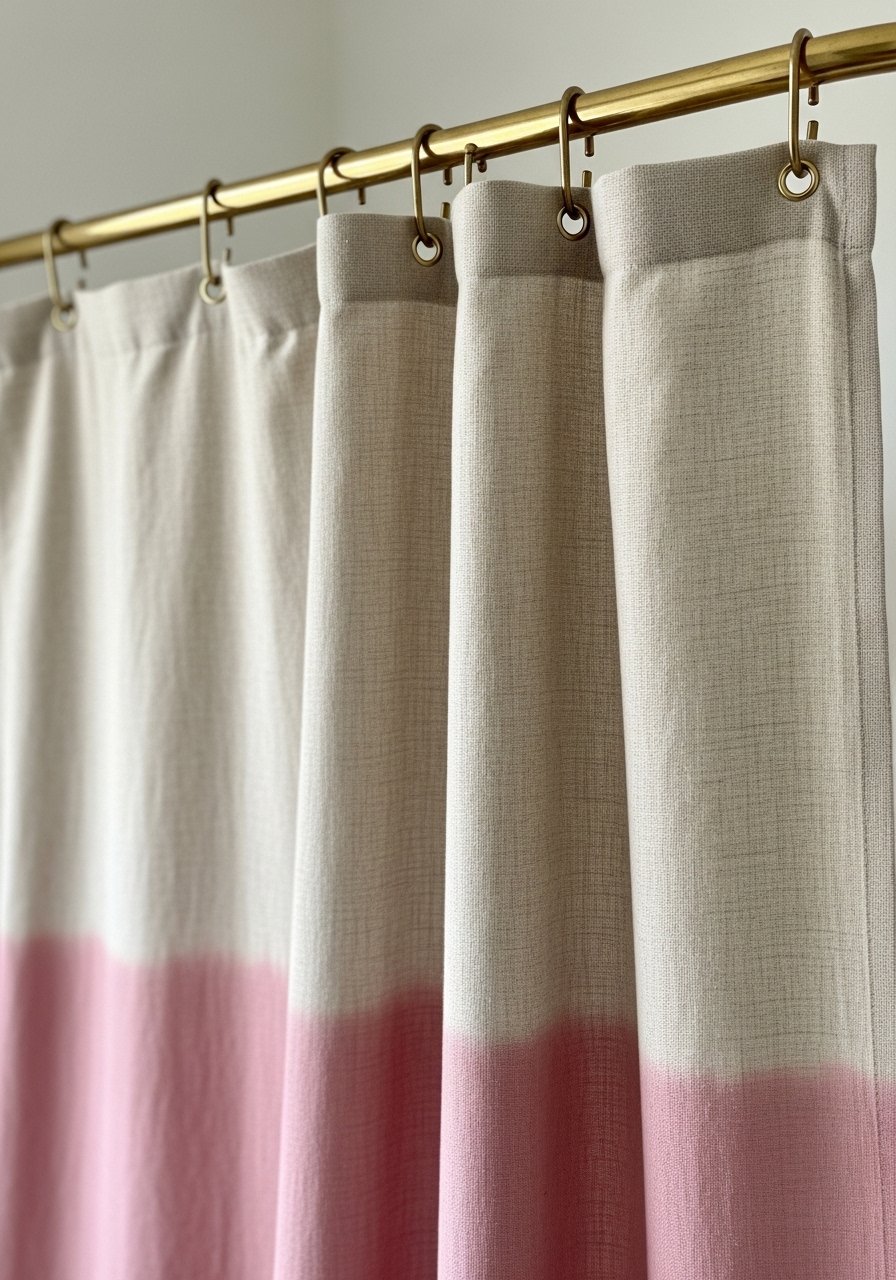
Dyeing a linen shower curtain creates a soft, custom look that coordinates with towels and accessories.
Materials
- Raw linen shower curtain
- Fiber-reactive fabric dye, 4 oz
- Large plastic tub for dyeing
- Rubber gloves
- Salt and soda ash (per dye instructions)
- Measuring spoon
Instructions
- Pre-wash curtain to remove sizing; do not dry.
- Prepare dye bath per manufacturer's instructions, including salt or soda ash.
- Dip bottom edge gradually for an ombre effect, hold for 10–30 minutes depending on intensity.
- Rinse until water runs clear and wash separately in cold water.
- Air dry; color will set after wash.
How to Display or Gift It
- Pair with matching hand towels and a coordinating bath mat.
- Gift as a bridal or housewarming present with fabric care instructions.
- Small Gallery Wall of Mini Prints

A gallery wall makes a small bathroom feel curated. Use mini prints in identical frames for cohesion.
Materials
- Small frames, 6–9 (4"x6")
- Mini prints or downloadable art
- Picture-hanging strips or small nails
- Level and measuring tape
- Pencil
Instructions
- Print mini art at high quality and mat if desired.
- Arrange frames on floor to find a layout.
- Mark wall placement with pencil and level.
- Hang frames with strips or small nails.
- Step back and adjust spacing as needed.
How to Display or Gift It
- Swap prints seasonally to keep the space fresh.
- Gift a framed print set with a note for the new homeowner.
- Faux Shiplap Paneling (guest bathroom remodel ideas)
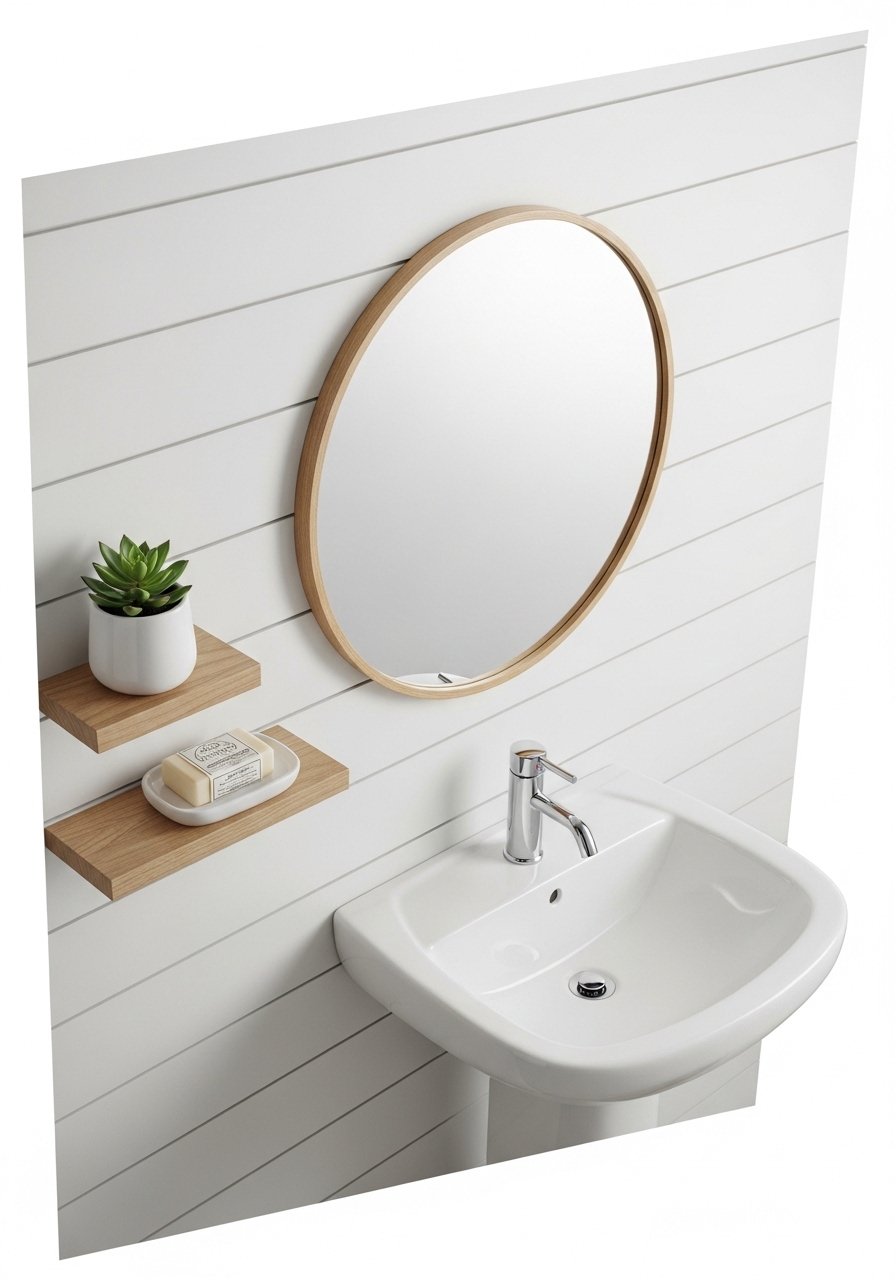
Faux shiplap adds cozy texture without full demolition. Use lightweight MDF or shiplap planks for easy installation.
Materials
- Faux shiplap panels or MDF strips, enough to cover wall
- Construction adhesive
- Finishing nails and nail set
- Caulk and paint (semi-gloss), 1 qt
- Measuring tape and level
- Miter saw
Instructions
- Measure wall and cut panels to fit.
- Apply construction adhesive to back of panel and press to wall.
- Secure with finishing nails into studs or anchors.
- Fill seams with caulk, paint seams and trim. Dry 2 hours between coats.
- Let paint cure 24 hours before hanging accessories.
How to Display or Gift It
- Hang a framed mirror and shelf to complete the look.
- Keep leftover trim for future repairs.
- Upcycled Jar Apothecary Storage with Labels

Store cotton swabs, bath salts, and soaps in labeled jars for an apothecary feel. Labels help guests find items quickly.
Materials
- Glass apothecary jars with cork lids, 6
- Printable kraft labels or vinyl and cutting machine
- Dried botanicals or small scoops
- Funnel for filling
- Optional Cricut Explore cutting machine for custom labels
Instructions
- Clean jars and dry thoroughly.
- Fill jars with cotton swabs, salts, or soaps using a funnel.
- Create or print labels and adhere to jars.
- Arrange on shelf or tray for easy access.
- Refill as needed.
How to Display or Gift It
- Group jars on a small tray for counter organization.
- Gift a filled apothecary jar with tulle and a ribbon.
- Heated Towel Rail DIY (electric shelf)

A heated towel rail feels like a luxury upgrade. Use a plug-in electric towel rail for easier installation.
Materials
- Plug-in heated towel rail, 1
- Stud finder and level
- Drill and appropriate anchors
- Small power strip (if outlet needed)
Instructions
- Choose location near outlet.
- Mount rail per manufacturer instructions into studs or anchors.
- Plug in and test operation.
- Avoid mounting directly over water to meet code.
How to Display or Gift It
- Use to warm guest towels on cold mornings.
- Store the manual and mounting hardware in a small electronics organizer.
- Soap-Making Station: Guest-Scented Bars

Making small batches of guest-friendly soap bars is a sweet, personal touch. Use melt-and-pour base for faster results.
Materials
- Melt-and-pour soap base, 2 lbs
- Soap molds (mini loaf or bar)
- Essential oils (lavender, citrus), 1 oz
- Dried herbs or botanicals
- Rubbing alcohol in spray bottle
- Microwave-safe mixing cup and spatula
Instructions
- Cut soap base into cubes and melt in microwave in 30-second bursts.
- Stir and add essential oils and botanicals.
- Pour into molds and spray surface with alcohol to pop bubbles.
- Let set 2–4 hours before unmolding.
- Cure in a cool, dry place 24 hours before wrapping.
How to Display or Gift It
- Wrap bars in kraft paper with twine and label.
- Keep extras in an airtight container.
- Magnetic Makeup/Cosmetic Board

A magnetic board inside a cabinet door keeps cosmetics organized and visible. Use magnetic tins or add magnets to product bags.
Materials
- Thin magnetic sheet or strip, cut to fit
- Strong adhesive or spray adhesive
- Small neodymium magnets (flat)
- Magnetic tins or magnetic buttons
- Scissors or utility knife
Instructions
- Cut magnetic sheet to size and adhere inside door.
- Attach magnets to makeup or place items in magnetic tins.
- Arrange items for easy access.
How to Display or Gift It
- Ideal for shared guest spaces so toiletries don’t clutter counters.
- Store spare magnets in a small storage tin.
- Pebble Shower Floor Mat (non-slip)

A pebble mat adds spa texture and grip. Use pre-made mats or glue pebbles to a silicone mat.
Materials
- Silicone non-slip mat (base)
- Smooth river pebbles, 2–3 lbs
- E6000 adhesive, 4 oz
- Disposable gloves
- Bucket for washing pebbles
Instructions
- Wash pebbles and let dry 24 hours.
- Lay out pebble pattern on mat before gluing.
- Apply E6000 and press pebbles firmly; leave 24 hours to set.
- Let adhesive cure 72 hours before placing in shower.
How to Display or Gift It
- Rotate mat to dry between uses to extend life.
- Keep extra pebbles and glue in a small hardware organizer.
- Layered Lighting with Dimmer Switch

Layered lighting allows bright task light and soft ambient light for evenings. Add a dimmer switch for mood control.
Materials
- Vanity sconce or wall light, 1 pair
- Dimmer switch compatible with bulbs
- Electrical tester and screwdriver
- Light bulbs (warm LED), 2
- Wire nuts
- Optional electrician service
Instructions
- Turn off power at breaker and verify with tester.
- Remove old fixture and disconnect wiring.
- Install new sconce per instructions and connect wires with wire nuts.
- Replace switch with dimmer per instructions. If unsure, hire electrician.
- Install bulbs and test operation.
How to Display or Gift It
- Use warm 2700K bulbs for cozy light.
- Keep spare bulbs in a small drawer organizer.
You made it to the end — 30 approachable projects to personalize your guest bathroom so visitors feel welcomed, pampered, and impressed. From simple swaps like hardware and drink trays to hands-on craft projects like resin trays and macramé hangings, there’s a mix of weekend fixes and multi-day crafts to match your time and skill.
Which idea are you trying first? Pin this list to save for your remodel weekend, and share it with friends who love a cozy guest bath. Trust me, picking up a quality temperature-control hot glue gun changed how many of these small projects turned out — less stringing, neater bonds, and faster fixes.





