You’ve probably seen kids frustrated when their cartoons don’t look like the characters in their heads. Learning how to draw cartoon characters for kids should be fun, not fussy. This easy, beginner-friendly guide breaks the process into small steps any child can follow and master in one afternoon.
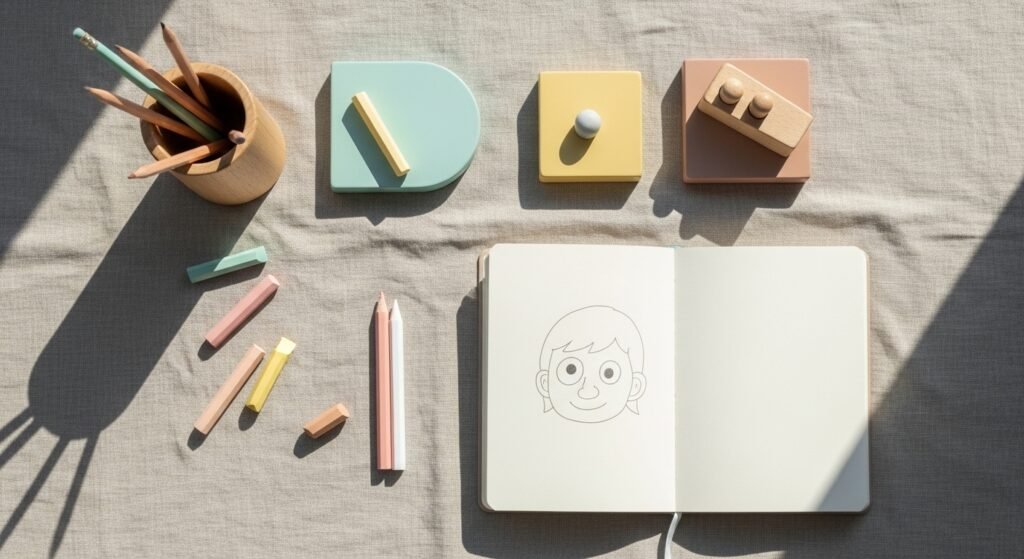
You’ll get quicker results by starting with a smooth sketchbook and a reliable pencil. Try a thick children’s sketchbook for bleed-proof pages and a soft mechanical pencil set for consistent lines—these two tools cut beginner frustration dramatically. Read on and you’ll learn simple shapes, playful details, and quick color tricks.
Expect to finish a simple character in about 20–40 minutes. This guide covers setup, shapes, line-work, coloring tips, and how to keep your workspace tidy between sessions.
Gather supplies and prep your space (beginner-friendly setup)
A tidy space reduces mistakes and keeps kids engaged. Lay out one sheet of paper, the pencil, and an eraser within reach. Use a soft surface so wrists rest comfortably and lines are steadier.
- Keep a soft kneaded eraser for smudges and a compact handheld pencil sharpener so points stay sharp.
- Limit supplies to 5–7 items to avoid overwhelm.
- Time estimate: 5–10 minutes to prep.
Quick tip: pre-sharpen pencils and fold a scrap sheet under the drawing hand to prevent smudging.
Break it down with basic shapes (core technique)
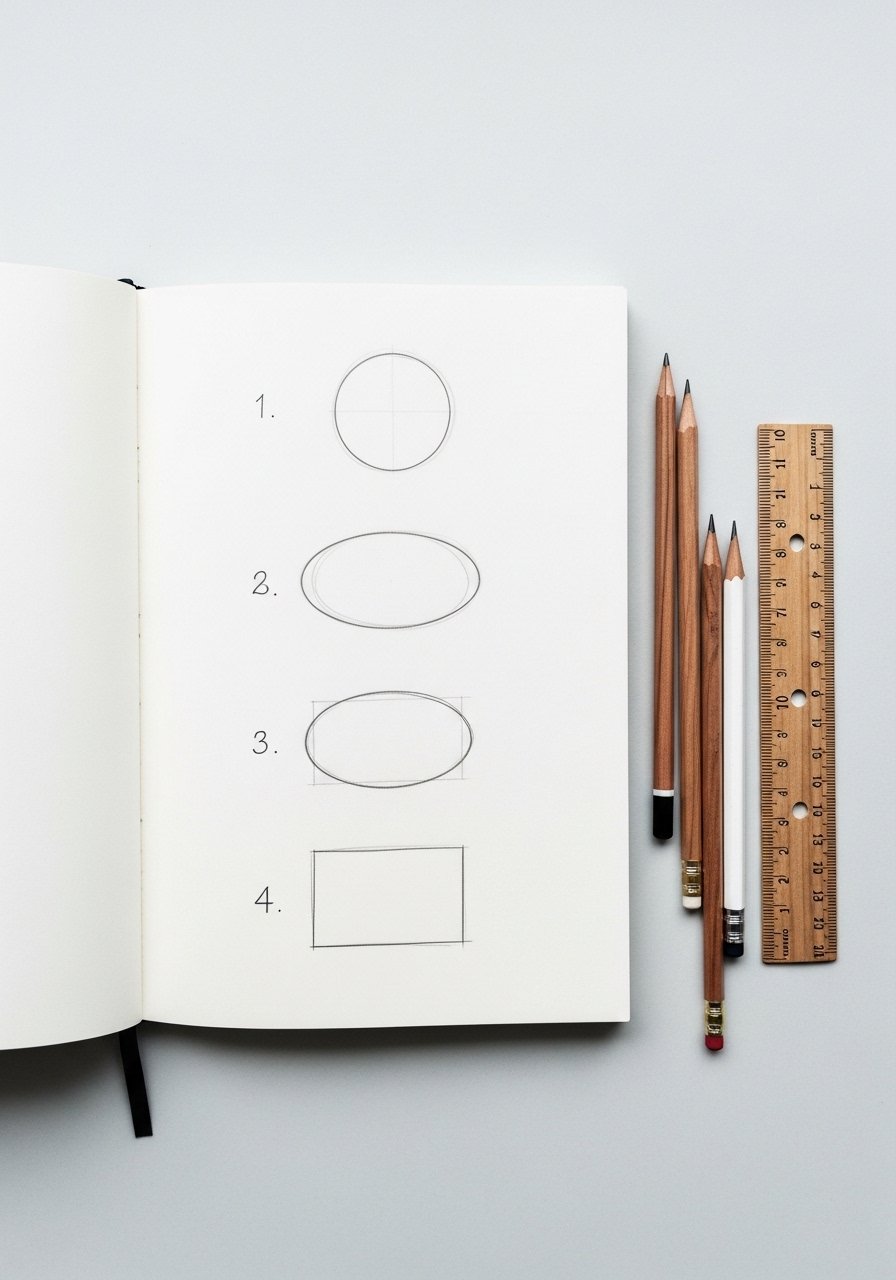
Cartoons are simplified shapes. Teach kids to see characters as circles, ovals, rectangles, and triangles.
- Draw a light circle for the head.
- Add an oval for the body or a rectangle for blocky characters.
- Place simple lines for arms and legs—keep them loose.
Numbered practice:
- Trace a circle five times in 2 minutes.
- Turn that circle into a face using two small circles for eyes and a curve for a smile.
- Use a thin fine-liner pen set later for clean outlines once the pencil draft looks right.
- Practice time: 10–20 minutes to make several characters.
Pro tip: show kids how altering one shape (bigger eyes, wider mouth) changes the whole expression. That’s how they learn personality quickly.
Add personality with line, color, and simple details
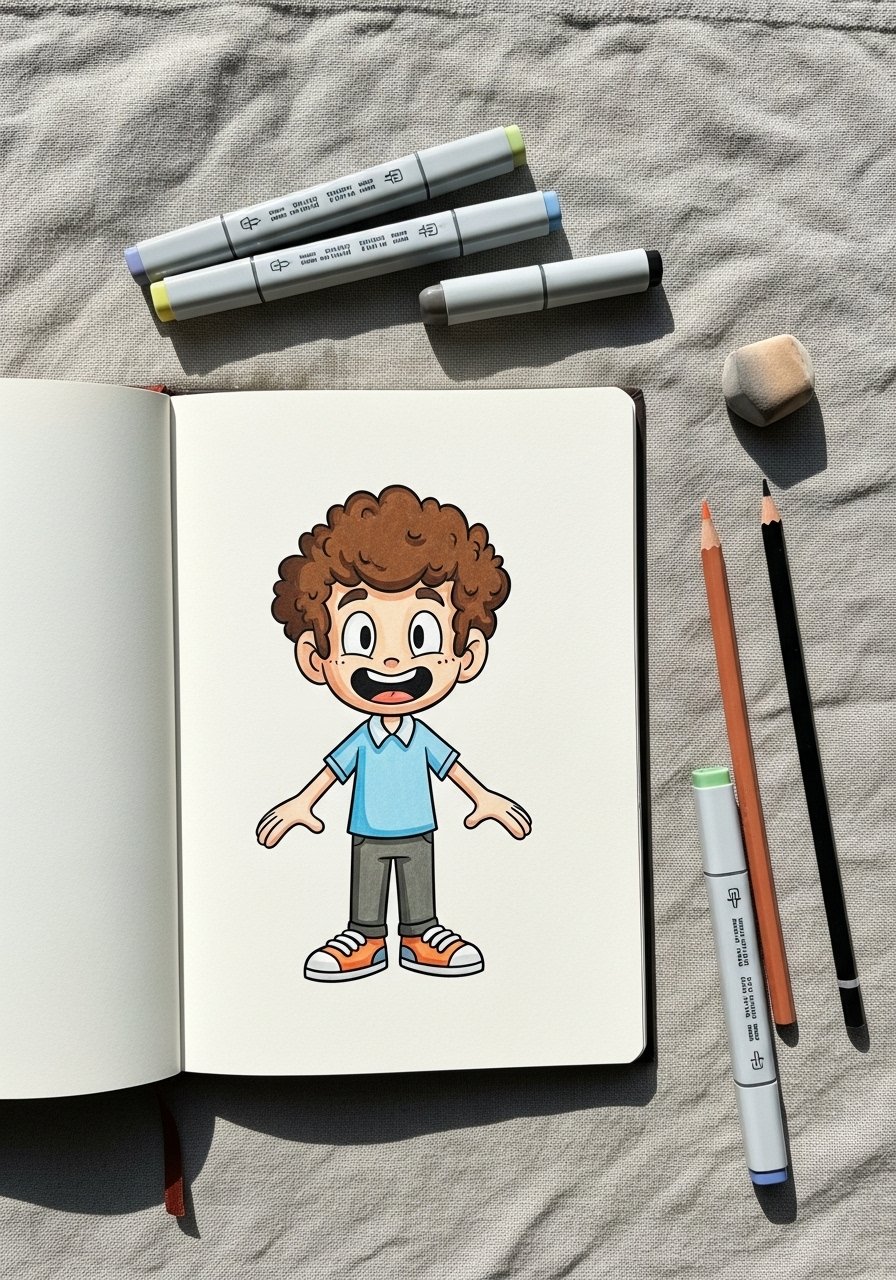
Once the sketch is set, refine lines and add color. Use an eraser to clean stray marks, then go over the final lines.
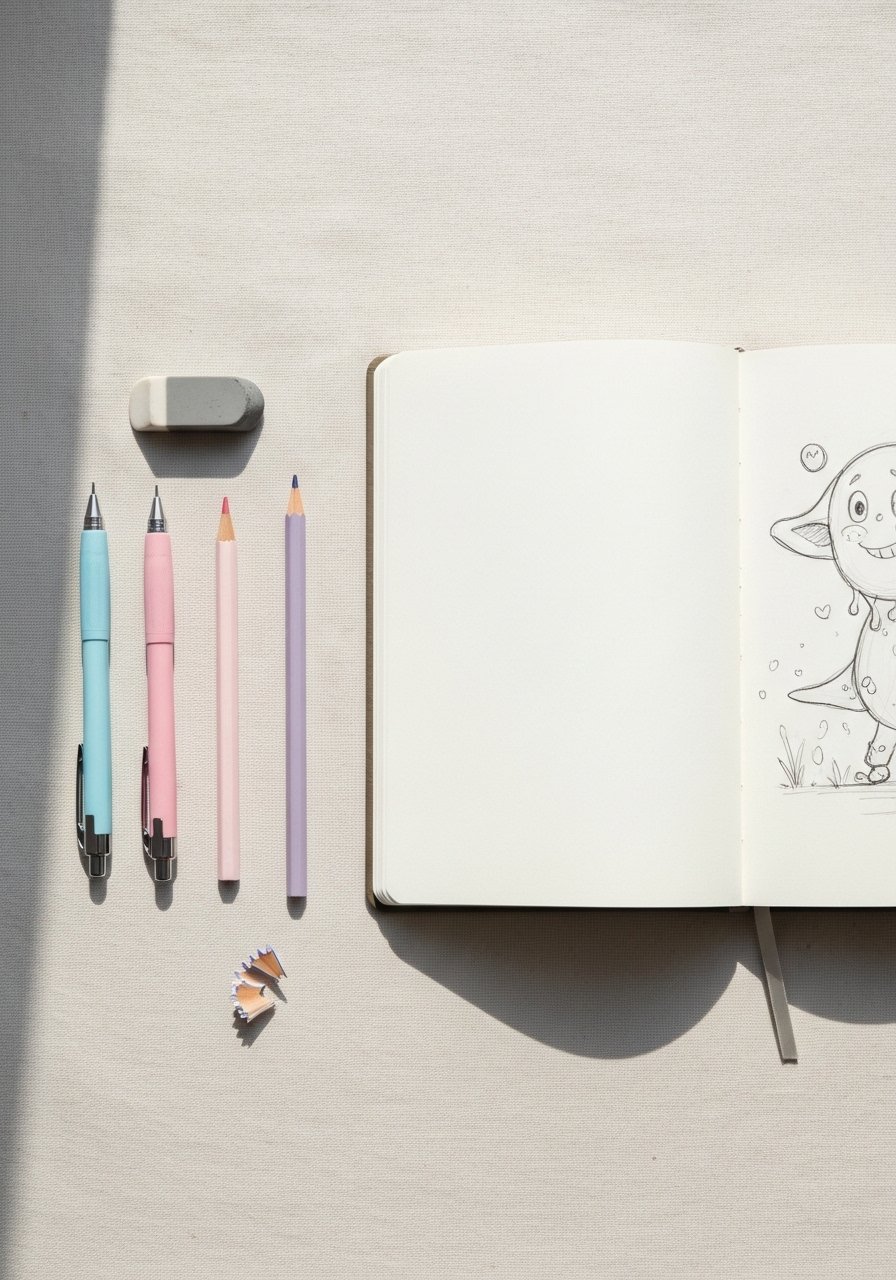
- Trace final lines with a fine-liner pen set or a smooth gel pen for bold edges.
- Color with a colored pencils set for soft shading or a dual-tip marker set for bright, flat color.
- Blending: gently smudge colored pencil with a blending stump set for soft transitions.
Color tips:
- Start with light layers; build color slowly.
- Keep a scrap paper to test marker ink so it won’t bleed through.
- Dry time: markers are immediate; let any heavy ink layers sit 1–2 minutes before stacking pages.
Troubleshoot: if markers bleed, switch to thicker sketchbook paper or use pencils instead.
Store, share, and level up (display and next steps)
After drawing, keep work safe and inspire repetition.
- Slide pages into clear zip pouches for a simple portfolio.
- Use a small art storage organizer to separate favorite characters.
- Challenge idea: draw the same character with three different moods—happy, sleepy, surprised.
Batch practice: sketch 5 faces in 30 minutes to build muscle memory. Display one on the fridge for encouragement.
You just learned a simple path for how to draw cartoon characters for kids: start with shapes, refine lines, and add color. Celebrate each small improvement—kids get confident fast when they see progress. Pin this guide for your next craft afternoon, keep your tools handy in an art storage organizer, and share which character you drew first. Which expression will you try next?


