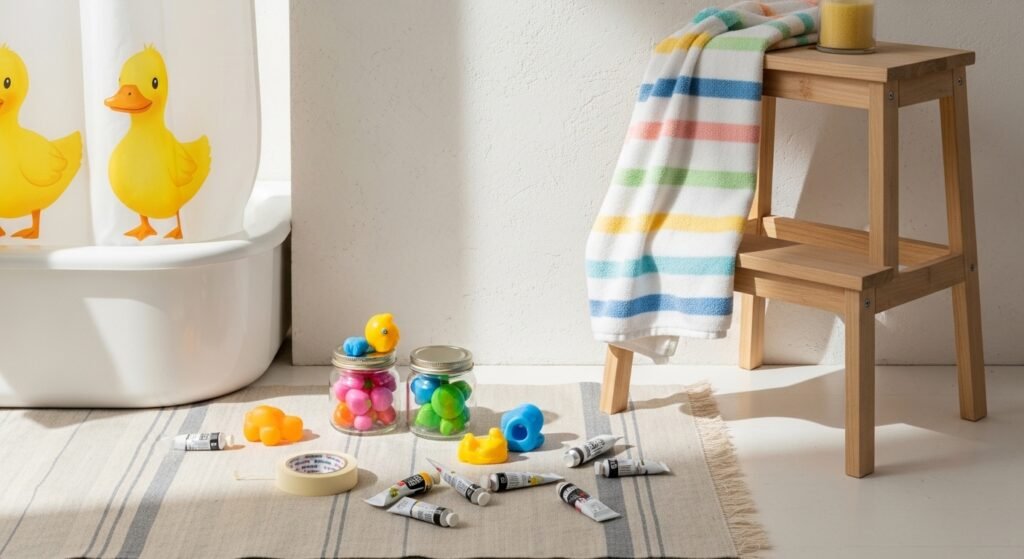
Give little ones a bathroom that feels like their own playground — not a renovation that breaks the bank. These kids bathroom remodel ideas are all about color, texture, and practical updates you can do in an afternoon or weekend. You’ll find projects that add pattern with peel-and-stick tiles, make storage fun with labeled jars, and bring personality with vinyl decals and paint.
I use simple tools like a precision craft knife or my Cricut Joy cutting machine for vinyl shapes, but many ideas work with scissors and a steady hand. Keep a reliable hot glue gun nearby for quick fixes. These 24 projects cover painting, storage, soft textiles, and small structural touches — all child-friendly, relatively affordable, and full of playful color. Ready? Grab some painter’s tape and let’s DIY a bathroom that makes everyone smile.
- Whimsical Peel-and-Stick Tile Accent
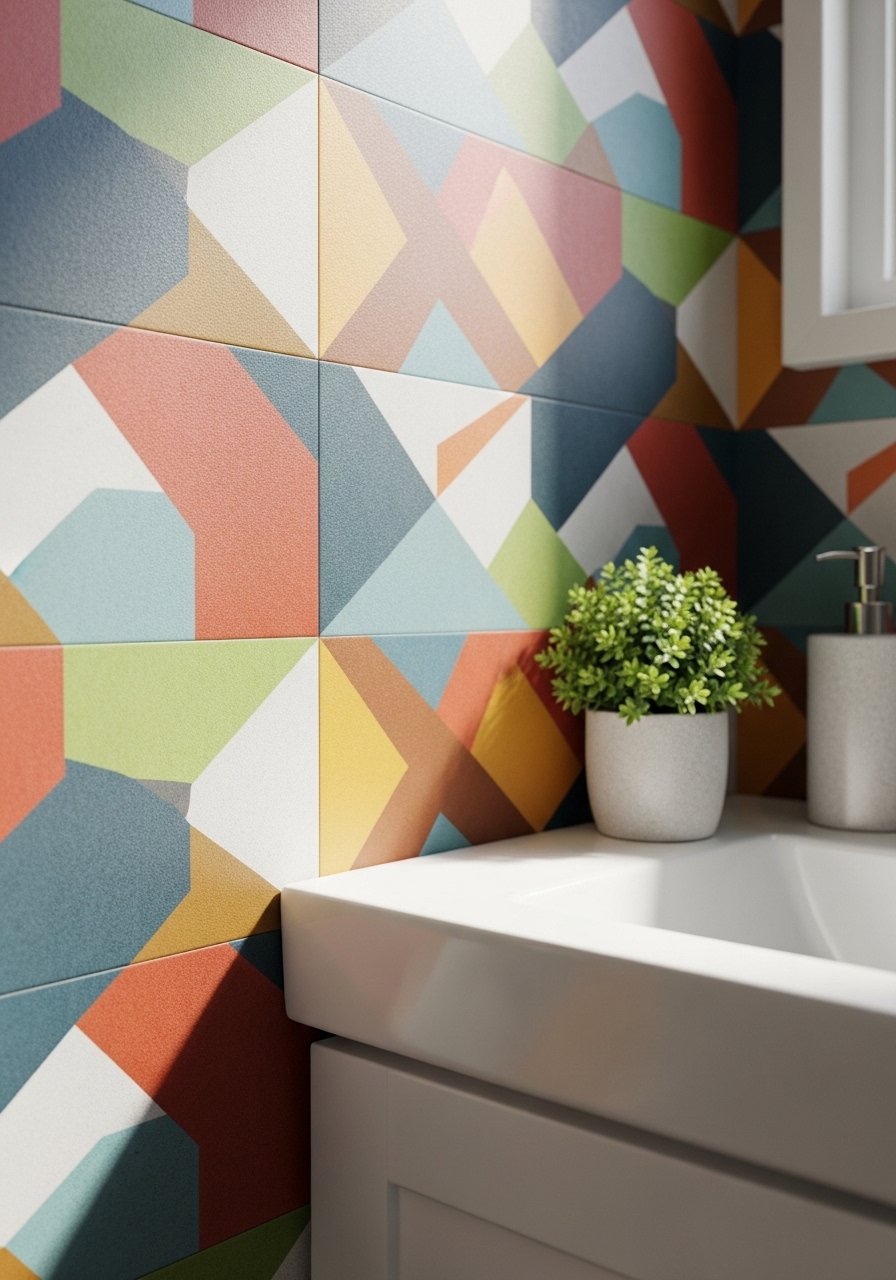
This peel-and-stick tile accent gives big visual impact with minimal effort. It looks like ceramic but installs in under an hour for a small area. Perfect for a backsplash behind a sink or a bathtub short wall, it's waterproof and kid-friendly. Beginners love the instant pattern payoff and the tactile matte finish adds subtle texture.
Materials
- 6–12 peel-and-stick vinyl backsplash tiles (6×6 inches each) — patterned mix
- Rubbing alcohol and lint-free cloth for surface cleaning
- Painter's tape (1” width)
- Utility razor blade or precision craft knife
- Straight edge ruler (24" stainless)
- Squeegee or firm plastic card
- Silicone caulk (clear, 1/4 tube) and caulk gun
- Optional: small foam roller for pressure
Instructions
- Clean the surface with rubbing alcohol until grease-free and fully dry.
- Measure the area and lay out tile pattern on the floor first to confirm design.
- Use painter's tape to mark level guides across the area.
- Peel the backing from the first tile and align with tape guide; press top edge first.
- Smooth outward with a squeegee or plastic card, working out air bubbles.
- Trim edges with a utility razor for tight fits around faucets; wear gloves for safety.
- For seams near water, run a thin bead of clear silicone caulk and smooth with a wet finger. Allow 24 hours to fully set.
- Wipe away any marks and check edges are firmly adhered before use.
How to Display or Gift It
This tile accent looks fantastic paired with a simple white hand towel and a wooden soap dish. If gifting as a small update idea, include a printed layout plan and leftover tiles in a small craft organizer. Store extra tiles flat in a cool, dry place for future repairs.
- Sea Creature Vinyl Decal Wall
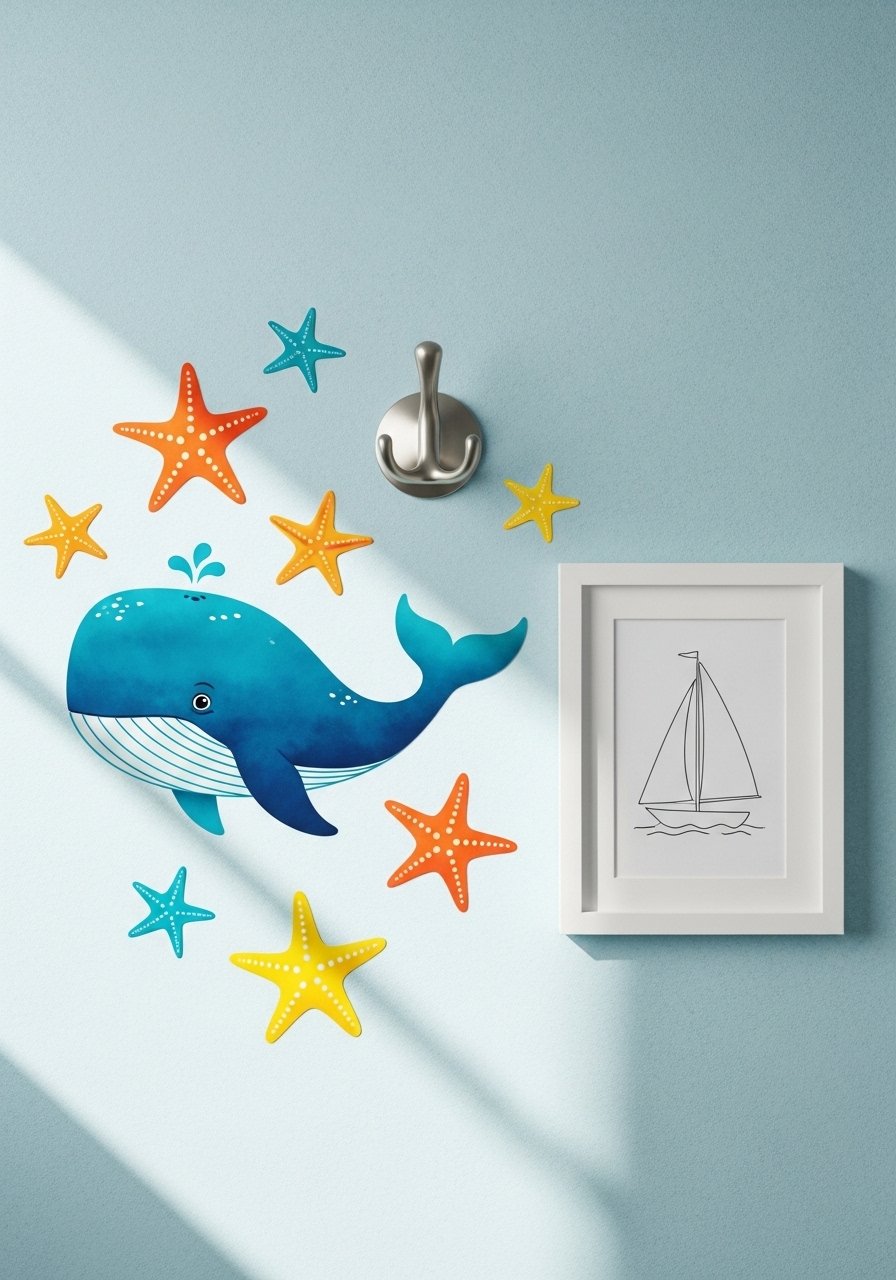
Vinyl decals add instant character without paint fumes. Cut playful sea creatures with a cutting machine or buy pre-made vinyl. They're removable, waterproof, and perfect for high-contrast pops of color on otherwise neutral walls — great for renters and creative parents.
Materials
- Adhesive removable vinyl sheets, assorted colors (8.5×11)
- Transfer tape (6 inches wide)
- Cricut Joy cutting machine or precision craft knife
- Weeding tool set
- Lint-free cloth
- Measuring tape
- Level or laser line
- Small squeegee
Instructions
- Clean wall surface with a lint-free cloth and rubbing alcohol.
- Design or select decals sized to fit the wall; for kids, 4–8 inches wide works well.
- Cut the vinyl with your Cricut or trace and cut by hand.
- Weed excess vinyl slowly with the weeding tool.
- Apply transfer tape over the design and rub with a squeegee.
- Position using a level and press the decal onto the wall, smoothing with the squeegee.
- Peel transfer tape at a 45-degree angle. Press edges again.
- Wait 30 minutes before hanging anything on or near the decals.
How to Display or Gift It
Pair decals with a themed shower curtain or colorful towels. For gifting, include a small peel-and-stick kit and instruction card in a kraft bag.
- Nautical Peel-and-Press Bathroom Shelf (kids bathroom remodel ideas)
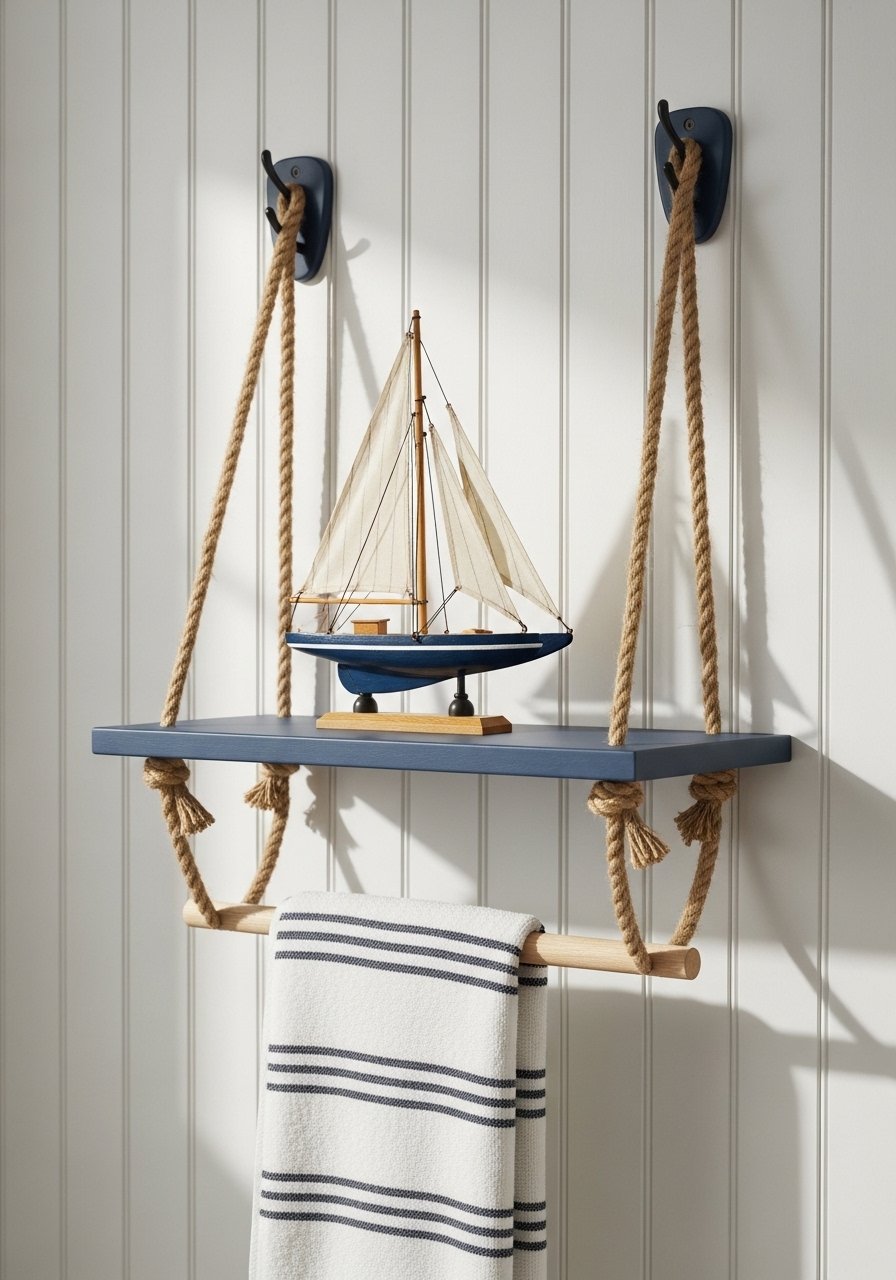
A painted floating shelf with rope accents adds storage and seaside charm. This small build uses an unfinished wood shelf that you paint and anchor securely — a quick furniture touch that organizes bath toys and keeps counters tidy.
Materials
- Unfinished pine floating shelf, 12” x 6”
- 3/4” sisal rope, 4 ft
- Acrylic chalk paint (navy, 60 ml)
- Foam brush (1")
- 2 small brass hooks and wall anchors
- Sandpaper (120 grit)
- Wood glue (thin)
- Clear matte sealer (1 coat)
- Drill and 3/16” drill bit
Instructions
- Sand the shelf lightly and remove dust.
- Paint two coats of navy chalk paint, allowing 30 minutes between coats.
- After final coat dries 1 hour, brush on one thin coat of matte sealer; dry 2 hours.
- Drill holes on shelf underside and thread rope, knotting inside and sealing knots with a dab of wood glue.
- Mount hooks in wall with anchors spaced to fit rope and shelf weight (use studs if possible).
- Hang shelf and test with incremental weight; shelf is ready when firm and level.
How to Display or Gift It
Style with a small plant in a mason jar and a rolled towel. For gifting, nestle the shelf in shredded kraft paper and include a small hardware kit in a clear organizer.
- Colorful Towel Hooks From Wooden Beads
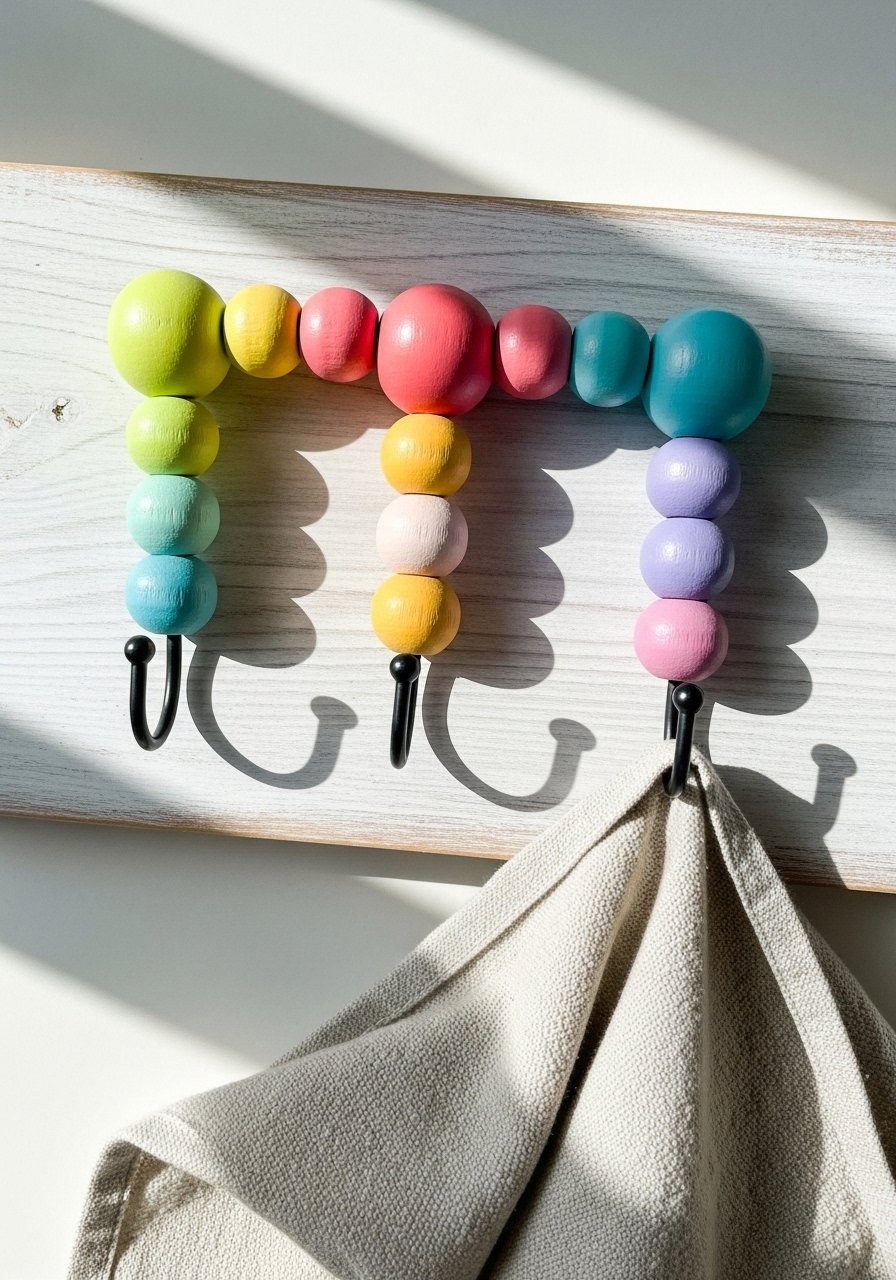
These bead hooks are tactile and perfect for kids learning to hang their own towels. Sanded wooden beads are painted in playful tones and mounted on a board for a soft, rounded grip that’s safe for little hands.
Materials
- Wooden beads (20mm, 6 pieces)
- 1 wooden board 18” x 3.5” x 3/4"
- Acrylic craft paint set (assorted pastels)
- Clear water-based varnish
- 6 wood screws (1”)
- Drill and 1/4” bit
- Sandpaper (220 grit)
- Foam brush
- Painter's tape
Instructions
- Sand beads and board smooth then wipe clean.
- Paint beads in chosen colors; two thin coats, 15 minutes drying between coats.
- Varnish beads with one coat; dry 2 hours.
- Mark and drill pilot holes in the board for screws.
- Thread bead onto screw and secure through the board from behind.
- Mount board to wall using wall anchors; check that each bead turns freely and holds a towel.
- Test with a towel to confirm load and alignment.
How to Display or Gift It
Mount at child-height near the sink for independent hand-drying. Gift a set with complimentary washcloths tied with twine and pack in a small craft box.
- Chalkboard Height Chart Mirror
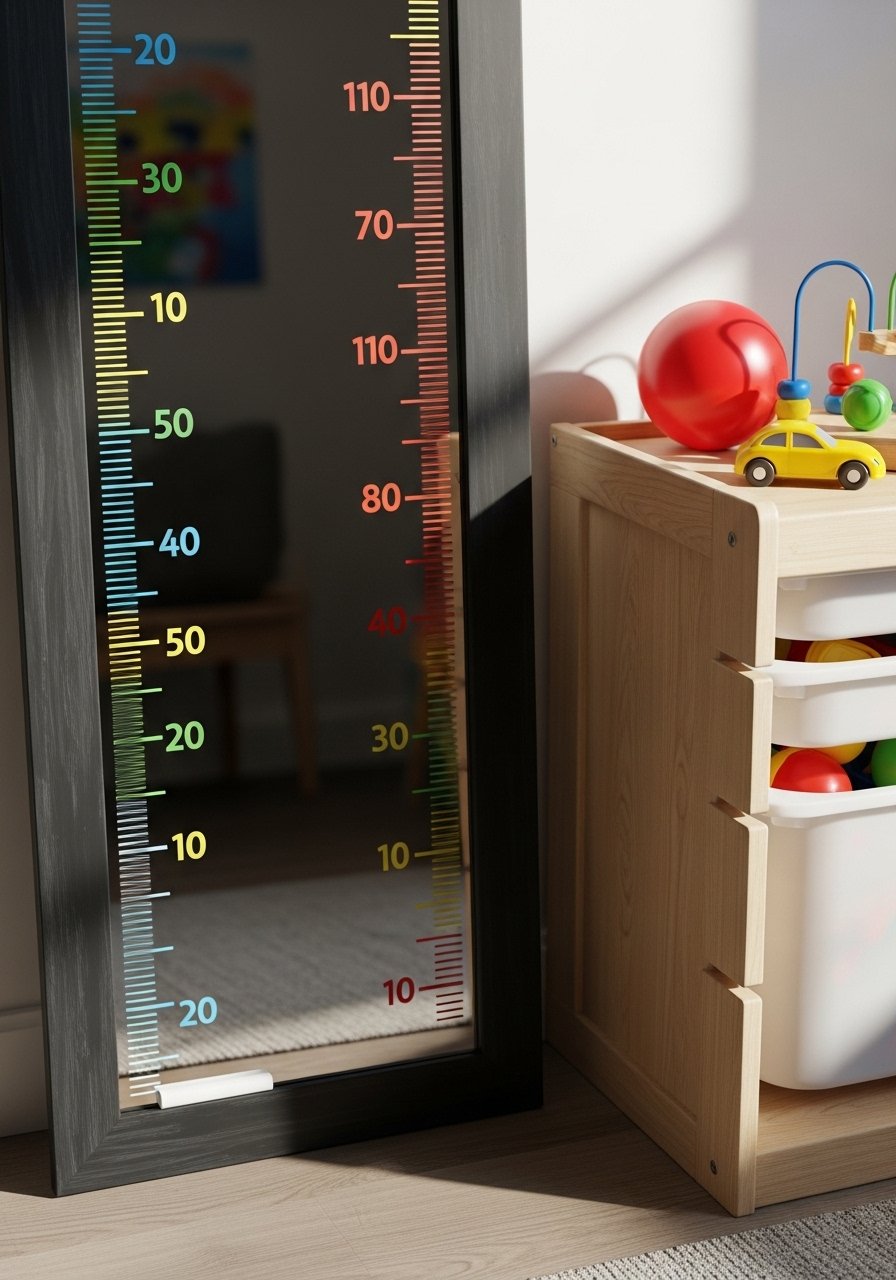
Turn a plain mirror into a family height chart kids love. Use chalkboard paint on the frame for erasable marks and a playful measuring tape motif. It’s practical and interactive for remembering milestone splashes and bath-time growth.
Materials
- Full-length mirror (24” x 72” or smaller)
- Chalkboard paint (8 oz)
- 1” foam brush
- Painter's tape
- Soft chalk sticks (assorted colors)
- Measuring tape (steel)
- Sandpaper (120 grit)
- Painter’s drop cloth
- Level
Instructions
- Clean mirror and protect glass edges with painter's tape.
- Sand the wooden frame lightly and wipe dust off.
- Apply two thin coats of chalkboard paint with a foam brush, 30 minutes between coats.
- Remove tape and let paint cure 24 hours before use.
- Use a measuring tape to mark heights and label in chalk.
- Wipe clean with a damp cloth to reuse marks.
How to Display or Gift It
Hang at a height kids can reach. Pair with a small mason jar of chalks resting on a corner shelf. For gifting, include a maintenance note and extra chalks in a kraft bag.
- Fun Non-Slip Bath Mat Decals

Non-slip decals are safety-first and cute. Cut shapes from sheet non-slip material or buy pre-cut decals for a tub-safe upgrade. They give traction, let kids choose colors, and are easy to replace when worn.
Materials
- Non-slip tub decal sheets, assorted colors
- Scissors or precision knife
- Rubbing alcohol and cloth
- Measuring tape
- Optional: hole punch for drainage designs
Instructions
- Clean tub surface thoroughly with rubbing alcohol; let dry.
- Cut shapes if needed and plan layout.
- Press decals firmly to the tub floor, working from center outward.
- Smooth edges and check for trapped air.
- Allow adhesives to set 12 hours before first use.
- Replace any decals showing lift or wear.
How to Display or Gift It
Pair decals with a new non-slip bath mat rolled beside the tub. Store extras flat in a shallow organizer labeled for tub supplies.
- Upcycled Crate Toy Storage

Turn a simple wooden crate into a toy and towel caddy. Paint it in cheerful stripes, add waterproof liners, and mount wheels for easy pull-out access. This keeps toys contained and dry.
Materials
- Wooden crate (12” x 16”)
- Outdoor acrylic paint (2 colors)
- Foam brush and round brush
- Plastic liner or mesh bag (12” x 16”)
- 2 small caster wheels (if mobile)
- Screws and screwdriver
- Sandpaper (120 grit)
- Twine and label tags
Instructions
- Sand crate and remove splinters.
- Paint stripes with outdoor acrylic paint; two coats with 30 minutes drying between.
- Attach casters to the bottom corners with screws if desired.
- Line interior with a plastic liner or mesh bag to allow drainage.
- Fill with toys and towels and place under sink or beside tub.
How to Display or Gift It
Stack crates for a cubby effect and label each with a washi-taped tag. Great as a gift—wrap with a ribbon and tuck a small towel inside.
- Friendly Faucet Covers

Faucet covers prevent bumps and add whimsy. Foam covers slide onto the spout and come in animal shapes. They’re affordable and quick to install — a practical part of many kids bathroom remodel ideas.
Materials
- Soft foam faucet cover (whale or duck shape)
- Measuring tape
- Mild soap for cleaning spout before install
Instructions
- Clean the faucet spout with mild soap and dry.
- Open the foam cover and slide it over the spout.
- Center it and ensure it doesn't interfere with water flow.
- Replace if foam shows wear or mildew; air-dry after bath use.
How to Display or Gift It
Keep a spare faucet cover in a drawer for quick swaps. For gifting, pair with a matching bath toy and wrap in tissue.
- DIY Floating Bath Toy Organizer

A mesh hanging organizer keeps toys dry and off the tub rim. Make one with a clear mesh pouch and suction hooks or buy a ready-made organizer. Drainage and airflow reduce mildew and speed drying.
Materials
- Clear mesh mesh produce bags or mesh cosmetic bags (2)
- Strong suction cup hooks (4)
- Zip ties or binder clips
- Scissors
- Measuring tape
Instructions
- Attach suction cup hooks to clean tile at child-height.
- Link mesh bags with zip ties to create a cascading pocket system.
- Hang from hooks and test weight.
- Remove daily to air and wash mesh monthly in warm soapy water.
- Replace suction cups if they lose grip.
How to Display or Gift It
Hang on the shower rod or tile. For gifting, include a set of suction hooks in a small organizer box.
- Rainbow Grout Refresh (kids bathroom remodel ideas)

Use colored grout pens to refresh discolored grout or add playful color in grout lines. It’s an inexpensive way to update tile without full regrouting and gives a fresh, custom look.
Materials
- Grout pen (white or colored)
- Small foam brush
- Damp sponge
- Painter's tape for edges
- Gloves
Instructions
- Clean existing grout with a grout cleaner and let it dry 24 hours.
- Tape the tile edges to prevent marker smudging.
- Shake grout pen and test on scrap tile.
- Run the pen along grout lines steadily, pressing to release color.
- Wipe excess immediately with a damp sponge.
- Allow 24–48 hours for full set depending on humidity.
How to Display or Gift It
Pair with a new set of color-coordinated bath towels. For gifting, include the pen and a small instruction card.
- Whale-Shaped Soap and Dispenser Tray

A themed soap dish and dispenser elevate the sink area without permanent changes. Ceramic or bamboo sets are easy to swap and add a tactile element kids enjoy using.
Materials
- Ceramic or bamboo soap dish (whale or cloud shape)
- Pump dispenser (12 oz)
- Mild silicone mat (optional)
- Measuring spoon to fill dispenser
Instructions
- Place soap dish on silicone mat for grip.
- Fill dispenser with foaming soap diluted per bottle directions.
- Position at child height for easy use.
- Clean soap dish weekly to prevent soap scum.
How to Display or Gift It
Group with a matching toothbrush holder and wrap as a small welcome-bath set.
- Patterned Shower Curtain Hack
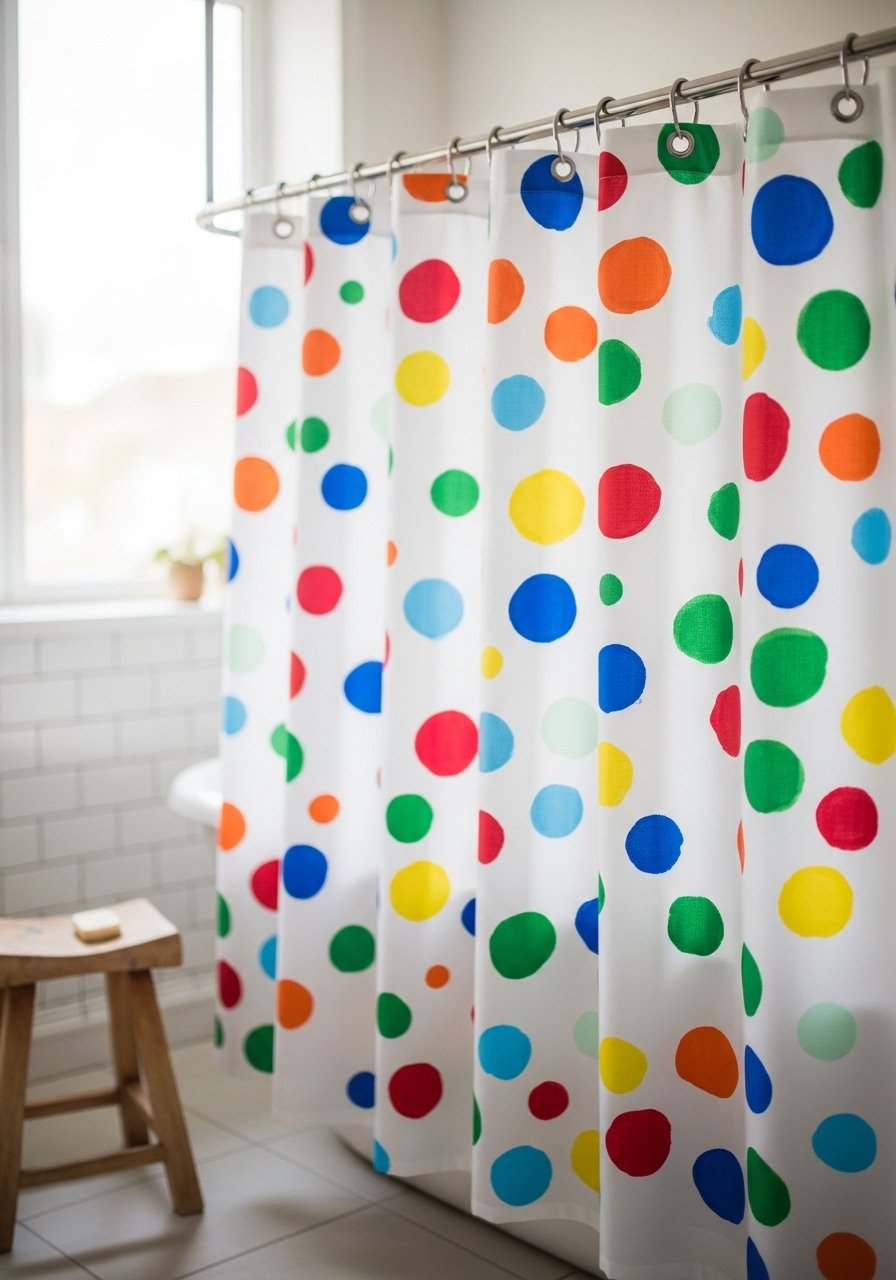
Update a plain shower curtain with stencil dots or painted motifs using fabric paint. It’s washable and inexpensive and makes a bold change in a single afternoon.
Materials
- Plain polyester or cotton shower curtain (72×72)
- Fabric paint set (assorted colors)
- Round sponge dabbers or foam stamps
- Cardboard insert to protect backside
- Painter's tape for straight lines
- Iron for heat-setting
Instructions
- Lay curtain flat with cardboard under the work area.
- Test paint dabbing on scrap fabric.
- Use sponge dabbers to create a random dot pattern.
- Allow paint to dry 2–4 hours then heat-set by ironing per paint instructions (3–4 minutes with cloth barrier).
- Hang curtain and let air out a few hours before shower use.
How to Display or Gift It
Pair the curtain with matching fabric baskets and a set of shower hooks. For gifting, roll the curtain and tie with a ribbon.
- Teach-Your-Child Step Stool With Grip
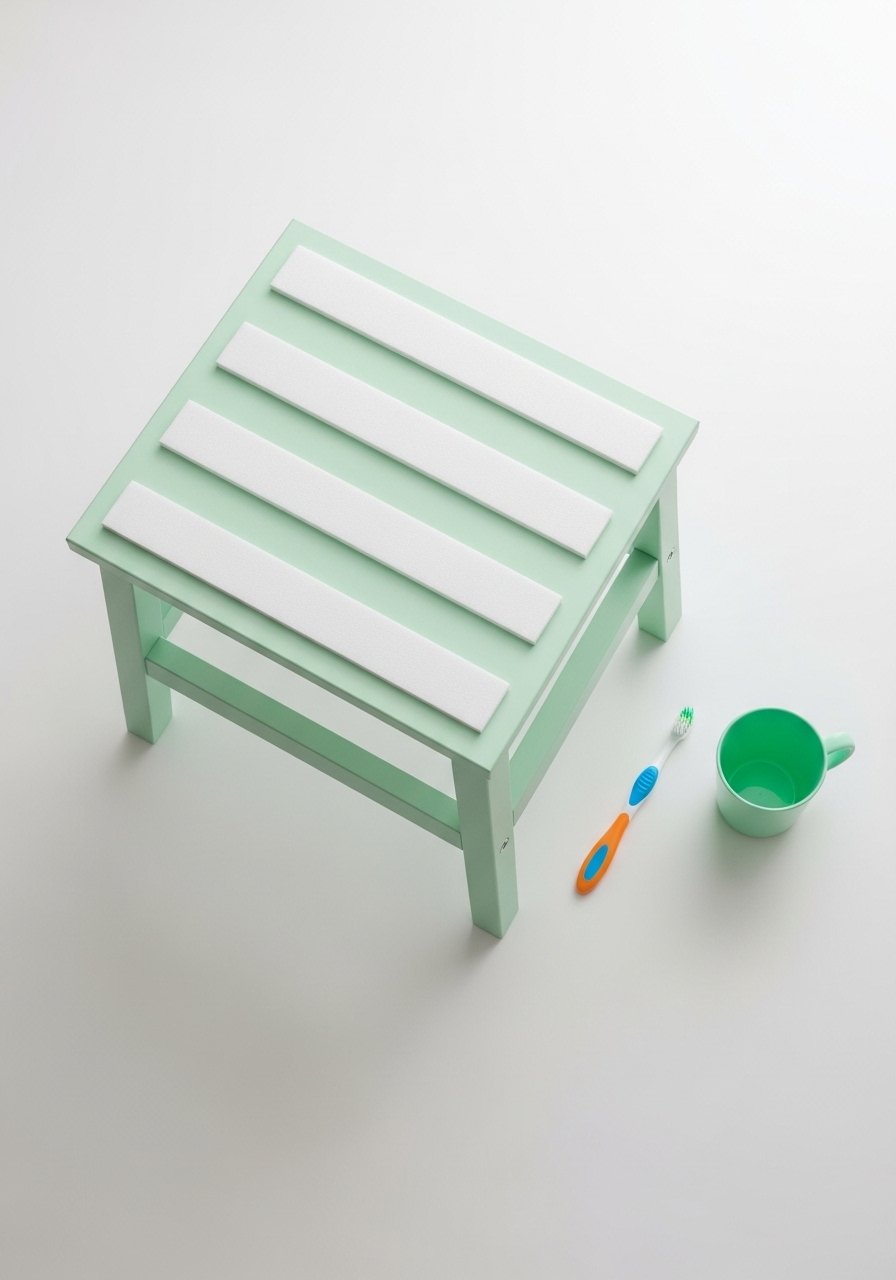
A sturdy step stool helps kids reach sinks safely. Add anti-slip foam strips and paint to match the bathroom palette. It’s a simple woodworking or assembly project for beginners.
Materials
- Wooden step stool (12” height)
- Anti-slip foam tape (6” strips)
- Outdoor acrylic paint (2 colors)
- Paintbrush
- Sandpaper (120 grit)
- Wood glue (if assembling)
- Screws (if assembly required)
Instructions
- Sand surfaces and round edges for safety.
- Paint stool in two thin coats; dry 30 minutes between coats.
- Apply anti-slip foam tape across the top surface.
- Assemble per manufacturer instructions, use wood glue and screws for reinforcement.
- Test weight capacity and check for wobble before use.
How to Display or Gift It
Store beside the sink. For gifting, tuck a small toothbrush set and a personalized name tag to make it special.
- Color-Block Vanity Makeover
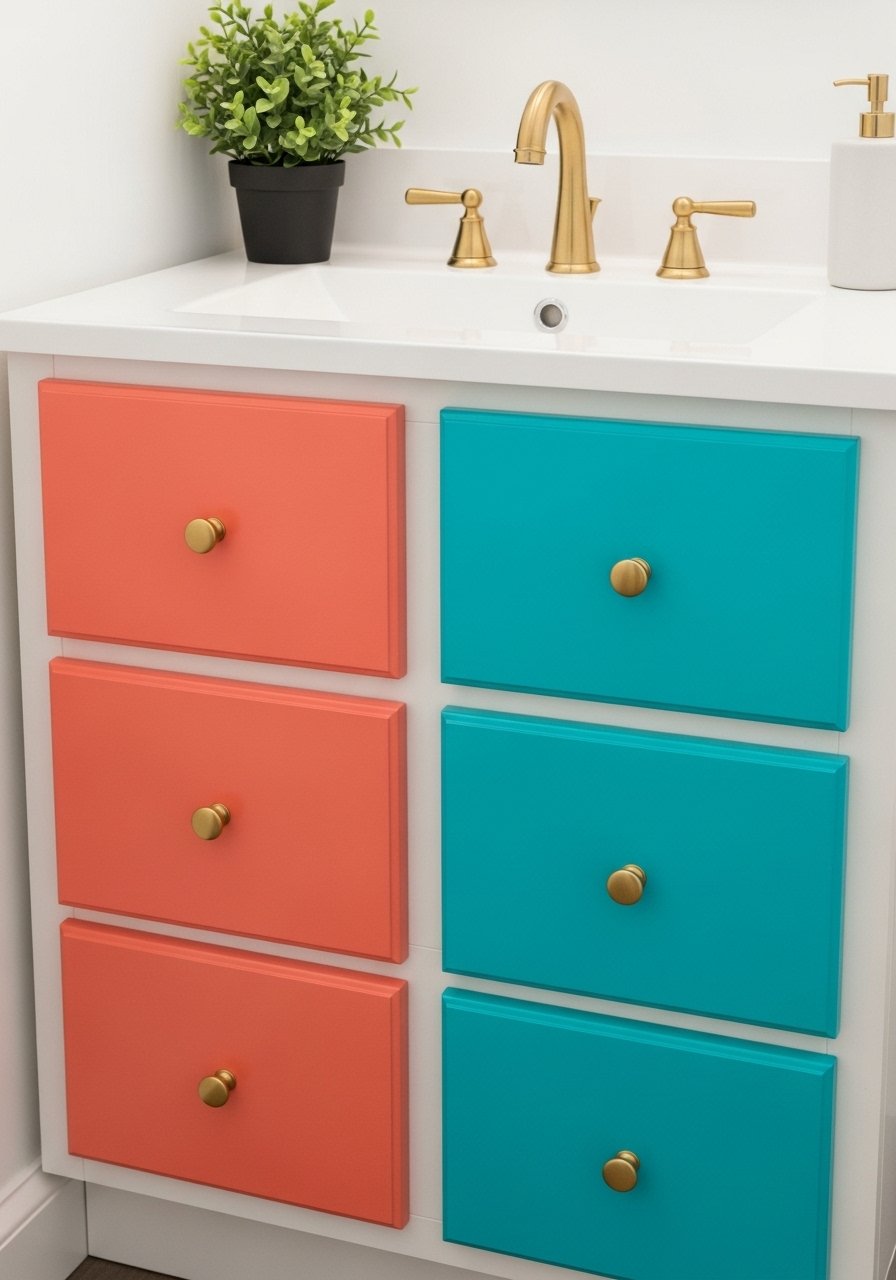
Refresh an old vanity with color-block paint and new knobs. This modern look is budget-friendly and instantly kid-friendly with bright drawer fronts and durable paints.
Materials
- Sandable primer (8 oz)
- Chalk or acrylic paint (2 colors)
- Painter's tape
- Foam roller and 1” brush
- New knobs (2–4 pieces)
- Sandpaper (220 grit)
- Clear water-based sealer
Instructions
- Remove knobs and clean drawer fronts.
- Sand lightly and apply primer; dry 1 hour.
- Tape off sections for color blocking.
- Roll on two thin coats of paint per color; 30 minutes drying between.
- Remove tape carefully after semi-dry to avoid peeling.
- Reattach knobs and seal with one thin coat of sealer; dry 2 hours.
How to Display or Gift It
Pair with matching hand towels. For gifting, include a small hardware kit and paint sample swatch.
- Floating Toy Shelf With Bins

A narrow floating shelf with fabric bins keeps small supplies organized and reachable. Use labels for teaching sorting and color matching.
Materials
- 1 floating shelf (36" x 6")
- Fabric bins (6" x 6")
- Small adhesive labels
- Drill and anchors
- Paint or finish if desired
Instructions
- Mount shelf securely into studs or with anchors.
- Arrange bins evenly and label.
- Train kids to return items after bath time.
- Wash bins monthly to keep fresh.
How to Display or Gift It
Place above the toilet or near the tub. For gifting, include labels and a small storage caddy.
- Soft Cotton Bath Toy Hammock

A toy hammock dries toys quickly and clears tub space. Sew or buy a mesh hammock and install with suction hooks.
Materials
- Mesh produce bag or sewn cotton mesh rectangle (18” x 18”)
- Strong suction cup hooks (4)
- Zip ties or small S-hooks
- Scissors
Instructions
- Attach suction hooks to clean tile.
- Secure corners of mesh to hooks with zip ties or S-hooks.
- Hang toys after bath and allow to air-dry.
- Wash mesh monthly.
How to Display or Gift It
Fold and tuck as a travel kit for grandparents. Include spare suction cups in a small craft container.
- Personalized Name Towels With Iron-On Vinyl
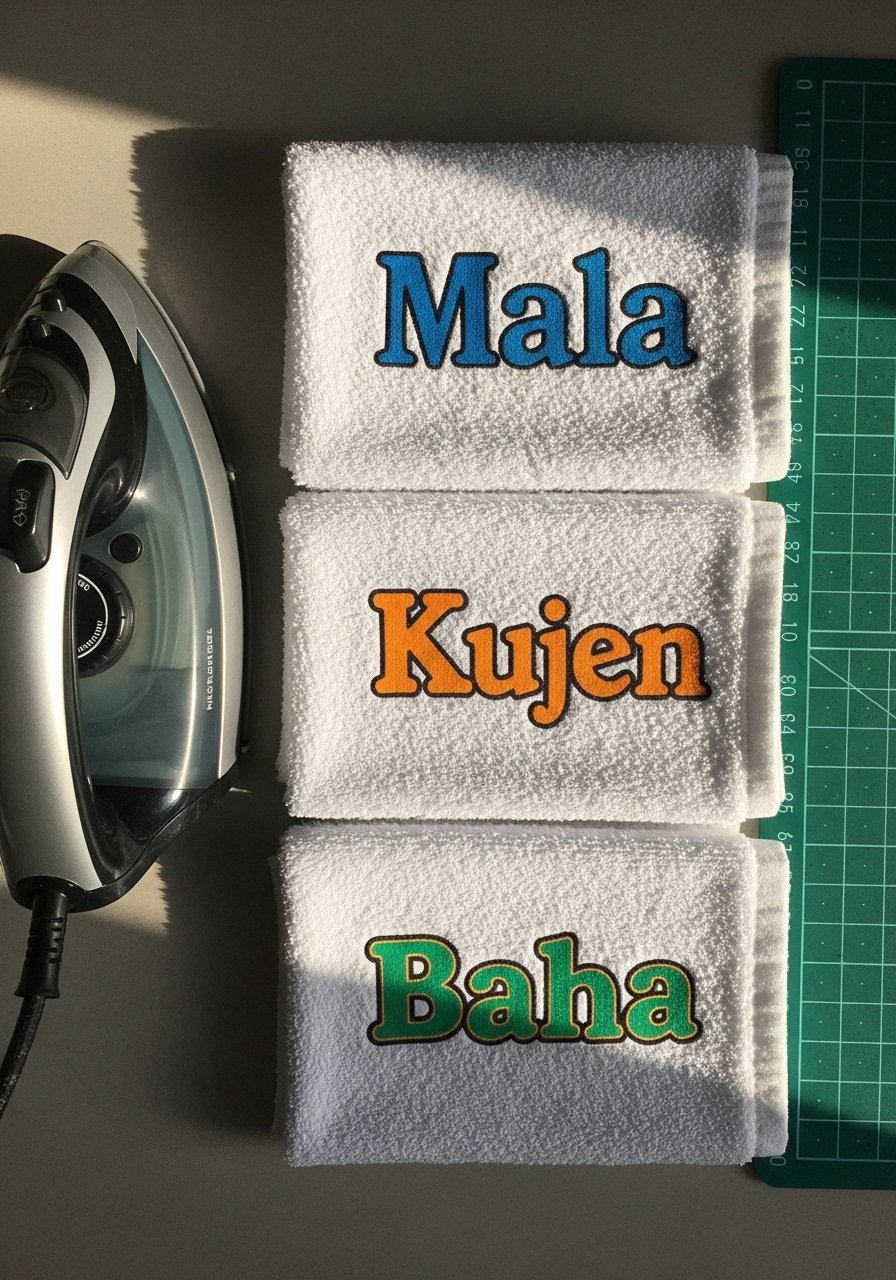
Personalized towels help kids identify their own and reduce towel sharing. Cut names from iron-on vinyl and press on small towels for a boutique look.
Materials
- Small cotton hand towels (12” x 12”)
- Iron-on vinyl roll, assorted colors
- Cricut Explore cutting machine or scissors
- Heat-resistant pressing mat
- Household iron or heat press
- Lint roller
Instructions
- Pre-wash towels and iron flat.
- Cut vinyl names in reversed text and weed excess.
- Position on towel and press per vinyl instructions (12–20 seconds with firm pressure).
- Peel carrier while warm or cool depending on vinyl type.
- Wash gently inside out to preserve design.
How to Display or Gift It
Roll towels and tie with twine for a sweet gift. Store extra towels in a breathable basket.
- Whale-Shaped Night Light (kids bathroom remodel ideas)
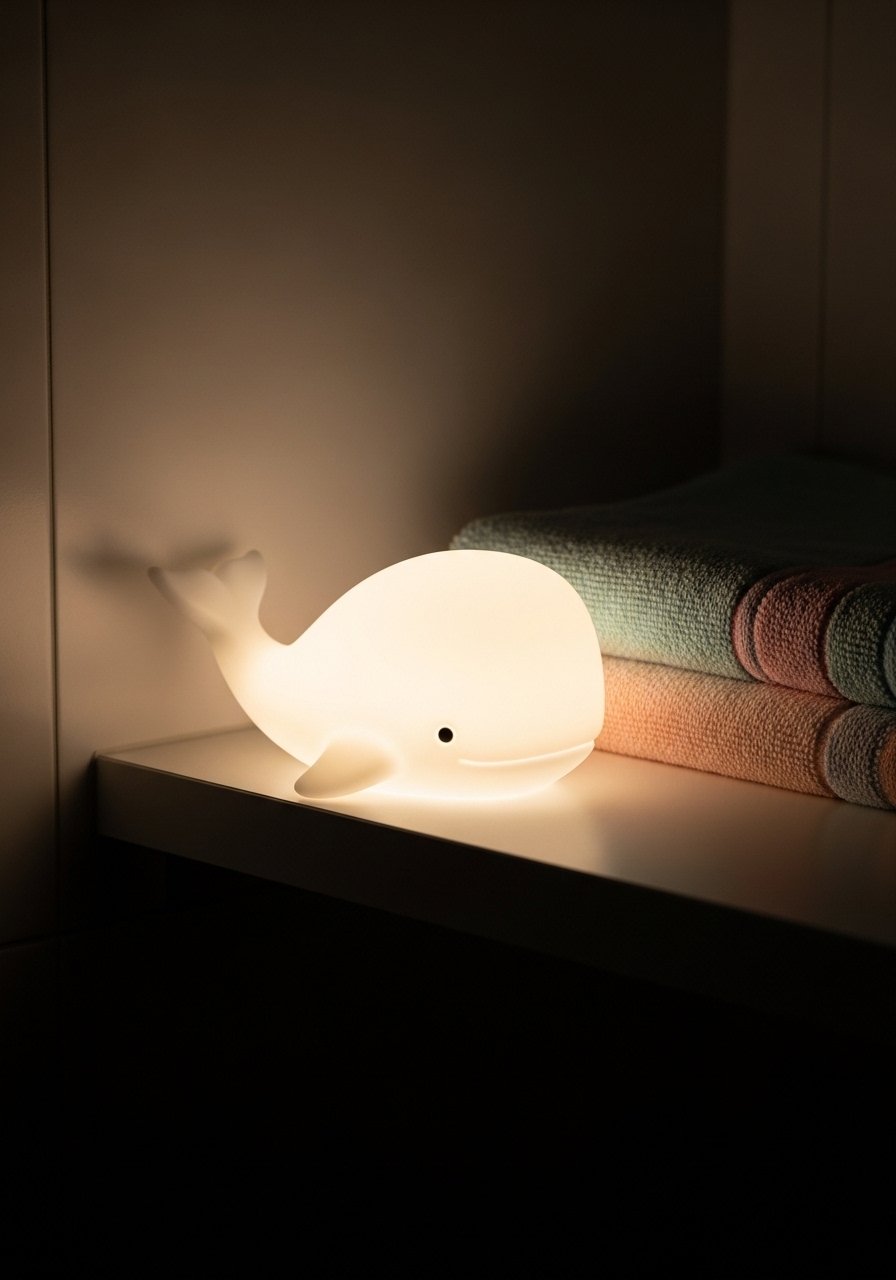
A dim night light makes late-night bathroom trips less scary. Choose a warm LED night light that clips to a shelf or plugs in safely.
Materials
- LED night light (soft warm white)
- 3M adhesive hook (if wall-mounted)
- Small shelf or wall space
Instructions
- Choose location away from water splashes.
- Mount with adhesive hook or plug into outlet.
- Use child-safe, low-heat LED lights and check battery compartment regularly.
How to Display or Gift It
Place near the sink or a doorway. For gifting, pair with a small sleep-time storybook wrapped in ribbon.
- DIY Soap Labels for Kids
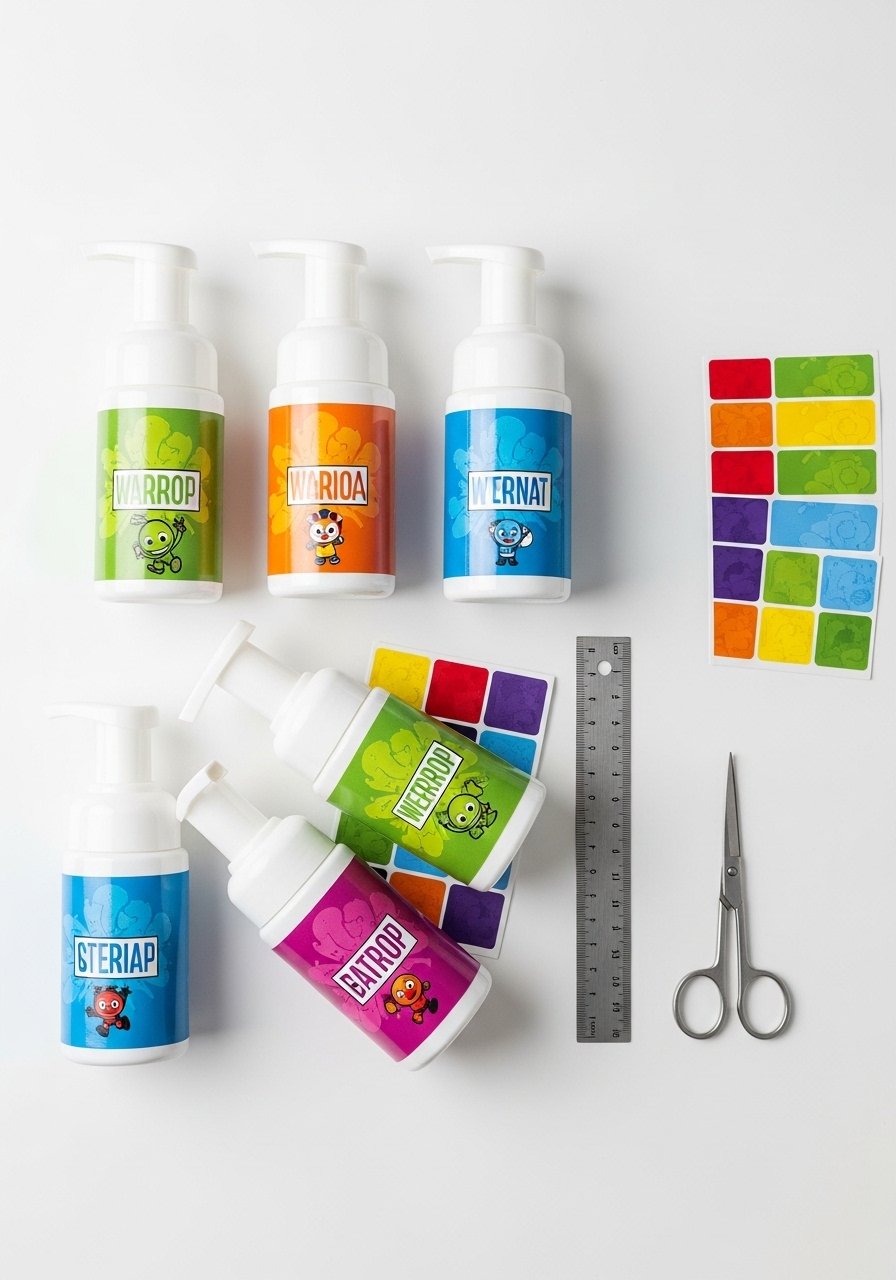
Label soap and lotion pumps with picture icons so non-readers can find the right product. Waterproof label sheets make durable tags.
Materials
- Waterproof label sheets (Avery-style)
- Printer
- Icons or simple graphics
- Ruler and scissors
- Lint-free wipe
Instructions
- Design labels with icons for soap, shampoo, lotion.
- Print and cut labels to size.
- Clean bottle surface and apply labels smoothly.
- Replace labels as needed when water exposure wears edges.
How to Display or Gift It
Pair labeled bottles with a small tray. For gifting, include a blank label sheet for personalization.
- Quick Peel-and-Stick Floor Decals

Floor decals are removable and add whimsy while guiding kids to step safely. Use on vinyl floors; avoid permanent adhesive on delicate surfaces.
Materials
- Floor-grade peel-and-stick decals
- Utility razor for trimming
- Rubbing alcohol and cloth
Instructions
- Clean floor surface and let dry.
- Plan decal placement and press firmly.
- Trim edges for perfect fit.
- Replace if lifting or showing wear.
How to Display or Gift It
Combine footprints leading to a towel bin. Store extras flat in a craft envelope.
- Easy-to-Clean Toilet Seat Cover With Velcro

A removable cushioned toilet seat cover adds comfort and color but should be easy to remove and wash. Attach with Velcro or elastic for frequent cleaning.
Materials
- Cuffed toilet seat cover (machine-washable)
- Velcro strips (if customizing)
- Sewing needle and thread (optional)
- Washing machine
Instructions
- Fit cover and mark Velcro placement.
- Sew or stick Velcro onto cover and seat (use adhesive-backed for quick fix).
- Remove after baths and wash weekly.
How to Display or Gift It
Fold the cover into a small gift box with a matching toilet paper roll cover for a playful housewarming gift.
- Magnetic Brush Holder for Counter Safety

Use a magnetic strip to keep small metal grooming tools secure and out of reach of toddlers when mounted higher. It’s tidy and reduces drawer clutter.
Materials
- Magnetic tool strip (6–12")
- Screws and anchors
- Drill and screwdriver
- Small metal grooming tools to store
Instructions
- Mount strip above child reach using anchors or into studs.
- Clean tools before placing on strip.
- Check magnet strength periodically.
How to Display or Gift It
Mount near a vertical cabinet and pair with a small locked drawer for liquids. For gifting, include a small grooming set and instruction card.
- Soft Corner Protectors From Felt

Felt corner protectors cushion sharp edges and come in soft colors. They’re removable and machine-washable alternatives to foam.
Materials
- Felt corner protectors (4)
- Double-sided tape or removable adhesive pads
- Measuring tape
Instructions
- Clean corners and dry.
- Attach protectors with removable adhesive and press firmly.
- Check monthly and replace adhesives if loose.
How to Display or Gift It
Include in a safety kit with outlet covers and door stoppers, packaged in a mesh bag.
- Bathroom Reward Chart With Dry-Erase Frame
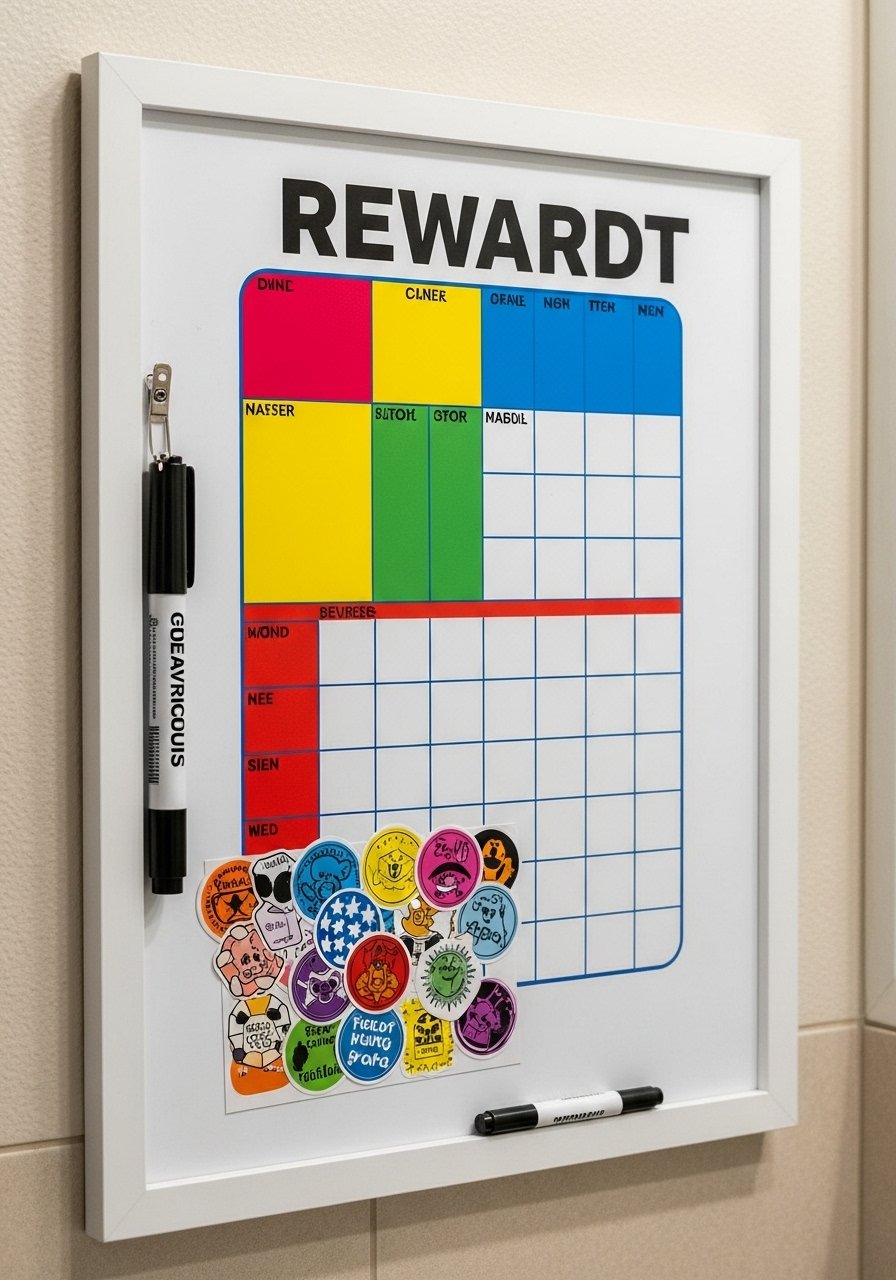
A bathroom-ready reward chart encourages handwashing and teeth brushing. Use a small framed dry-erase board with magnetic stickers for reusable tracking.
Materials
- Dry-erase board (8×10) in frame
- Dry-erase markers
- Magnetic reward stickers or cling stars
- Small adhesive hook for marker
Instructions
- Mount frame at child-height.
- Create columns for days and tasks.
- Use magnetic stickers to track successes and wipe weekly.
How to Display or Gift It
Keep extra stickers in a small mason jar and give as a housewarming gift with a small marker set.
Thanks for making it this far — you now have 24 practical, colorful, and affordable kids bathroom remodel ideas to mix and match. From small safety upgrades to cheerful decorative touches, these projects make bathrooms safer and more fun for little ones. Pin this for later so you can try a few weekend projects, and share with a friend who’s doing a kid-friendly refresh.
If you’ll ask me which tool helps across most of these, I reach for a temperature-controlled hot glue gun; it speeds small builds and keeps things tidy. Which idea will you try first — decals, paint, or a storage refresh? I’d love to hear which color scheme you pick.





