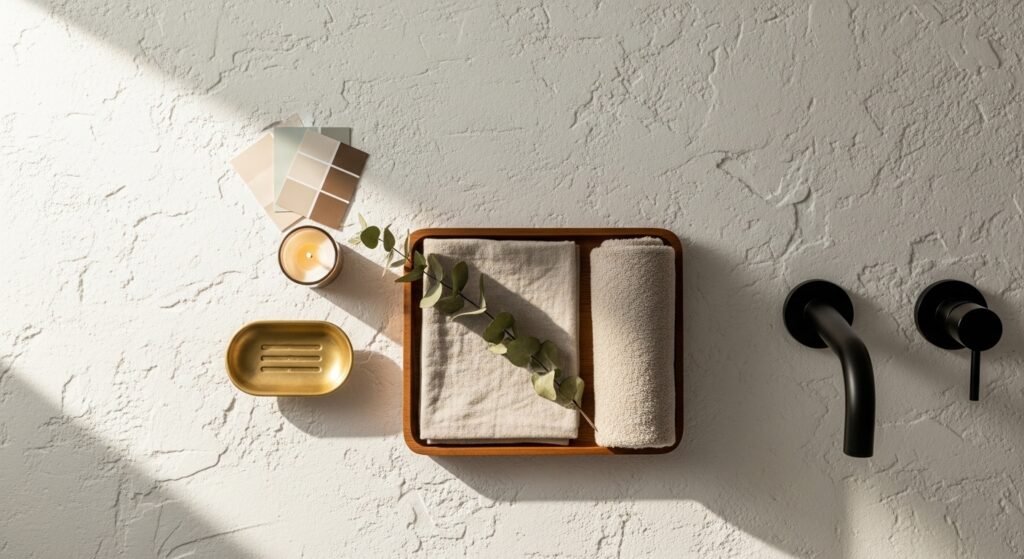
Want a fresh look for your bathroom without breaking a lease or spending a fortune? These 25 renter-friendly apartment bathroom remodel ideas are stylish, easy to reverse, and full of craft-forward tricks you can complete in an afternoon or over a weekend. You’ll find projects that work with renters’ rules—no permanent tile removal, no drilling into tile, and plenty of removable upgrades that look high-end.
I wrote each project for small spaces and limited tools. You’ll see ideas that use peel-and-stick tile, removable wallpaper, paint, and clever hardware swaps. I often start small with a ScotchBlue painter’s tape edge and finish with a sealing coat of Mod Podge (matte) for crisp results. These apartment bathroom remodel ideas are practical, pretty, and designed so you can easily take them down when it’s time to move.
- Peel-and-Stick Faux Marble Vanity Top

This project gives you a luxe marble look with no demolition. Peel-and-stick vinyl installs in an hour, resists water, and removes cleanly from most laminate surfaces. Perfect if you want an upscale countertop vibe without changing plumbing.
Materials
- 1 roll 24" x 78" peel-and-stick faux marble vinyl (enough for small vanity)
- Fine grit sandpaper (220)
- Rubbing alcohol (8 oz)
- Scissors or utility knife
- Measuring tape
- Straightedge ruler
- Felt roller or brayer
- Clear marine-grade sealer (spray, 1 can)
Instructions
- Clear the vanity and wash surface with mild soap; let dry fully.
- Sand shiny laminate lightly with 220 sandpaper so adhesive bonds. Wipe with rubbing alcohol; let evaporate for 10 minutes.
- Measure vanity surface and cut vinyl with scissors or a precision craft knife to allow 1" overlap.
- Peel backing slowly and position at the far edge. Press down while smoothing with a felt roller to avoid bubbles.
- Trim seams with a utility knife using a straightedge for clean cuts.
- Apply a thin coat of clear marine-grade sealer spray for moisture resistance. Let dry 2 hours and cure 24 hours before heavy use.
How to Display or Gift It
Place a matching marble tray or soap dispenser on the new surface for a cohesive look. For moving, roll the leftover vinyl and store it flat in a craft organizer. This works well as a weekend refresh before guests arrive—wrap unused pieces in kraft paper and tuck them into a drawer for reuse.
- Removable Wallpaper Accent Wall (Above Tub)
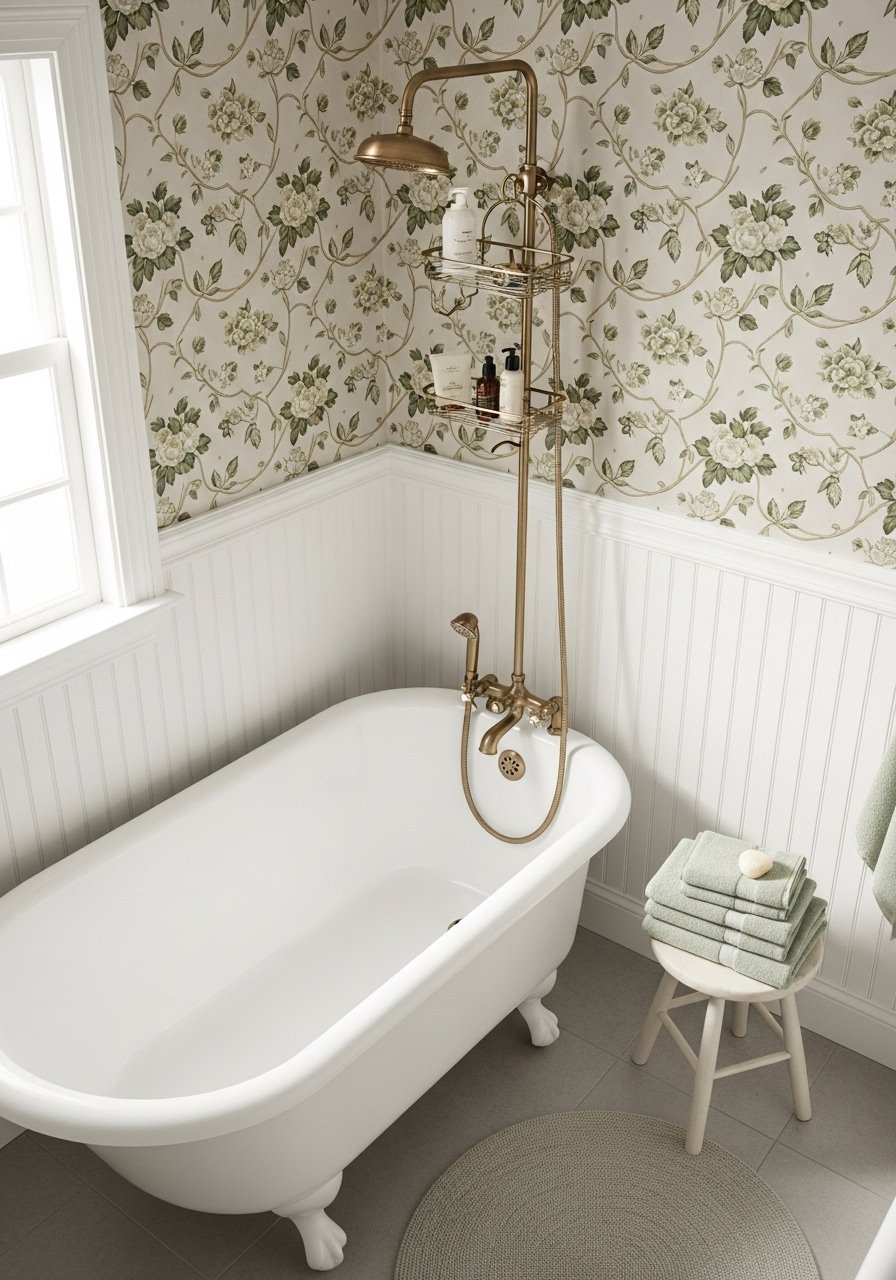
Add pattern without commitment. Peel-and-stick wallpaper transforms a bland wall and peels off without residue when removed properly. This is ideal if you want a bold focal point while keeping tenancy rules intact.
Materials
- Peel-and-stick removable wallpaper (1–2 rolls depending on wall size)
- Measuring tape
- Scissors
- Squeegee or brayer
- Level
- Pencil
- Seam roller
- Rubbing alcohol (for cleaning)
Instructions
- Measure wall height and width to calculate required wallpaper rolls.
- Clean wall with rubbing alcohol and allow 30 minutes to dry.
- Mark a plumb line with a level and pencil.
- Peel top 6" of backing and align top edge to the ceiling or trim. Stick and smooth downward with a squeegee.
- Overlap seams slightly or butt them as the pattern requires. Use a seam roller for crisp joints.
- Trim excess at base with scissors. Let adhesive set 24 hours before hanging heavy items.
How to Display or Gift It
Add framed prints that coordinate with the pattern to make the wall feel curated. For compact storage of leftover strips, roll them onto a cardboard tube and store in a craft organizer.
- Command-Friendly Floating Shelf with Brass Hooks (apartment bathroom remodel ideas)

When shelves are off-limits due to drilling rules, Command strips come to the rescue. This renter-safe shelf holds light storage and looks custom when stained or painted to match your decor.
Materials
- 1 wooden shelf board (12" x 6" x 1" pine)
- Command Picture Hanging Strips (large, 2–4 sets)
- Small brass cup hooks (set of 6)
- Stain or chalk paint (4 oz)
- Foam brush
- Sandpaper (120)
- Measuring tape
- Pencil
Instructions
- Sand the shelf lightly and apply stain or chalk paint in thin coats. Let dry 1–2 hours between coats; cure 24 hours.
- Attach Command strips to the shelf per package directions. Press to wall for 30 seconds and wait 1 hour before loading.
- Screw in brass cup hooks on the shelf underside for hanging loofahs or towels.
- Load up to weight limit of the Command strips (check packaging).
How to Display or Gift It
Style with small apothecary jars and a folded face cloth. For gift-giving, present the shelf with a set of matching brass hooks wrapped in kraft paper.
- Brass Peel-and-Stick Faucet Wrap (IKEA hack)

Give builder-grade chrome faucets a warm brass finish with a foil wrap made for vinyl. It’s water-resistant and peels off later with heat. A tiny upgrade that reads luxury.
Materials
- Metallic peel-and-stick vinyl wrap (4" x 12")
- Heat gun or hair dryer
- Microfiber cloth
- Rubbing alcohol
- Precision craft knife
- Soft felt smoothing tool
Instructions
- Clean faucet with rubbing alcohol and dry.
- Cut vinyl into manageable strips to wrap curved areas.
- Heat the vinyl slightly with a heat gun and press into place with a felt smoothing tool.
- Trim edges with a precision craft knife. Reheat to set and remove small bubbles.
- Let vinyl rest 2 hours before water contact; avoid direct hot water for 24 hours.
How to Display or Gift It
Pair with brass accessories like a soap pump and towel ring for a cohesive look. Store leftover wrap in a tube to reuse on small fixtures.
- DIY Tile-Effect Paint (No-Remove Tile Makeover)
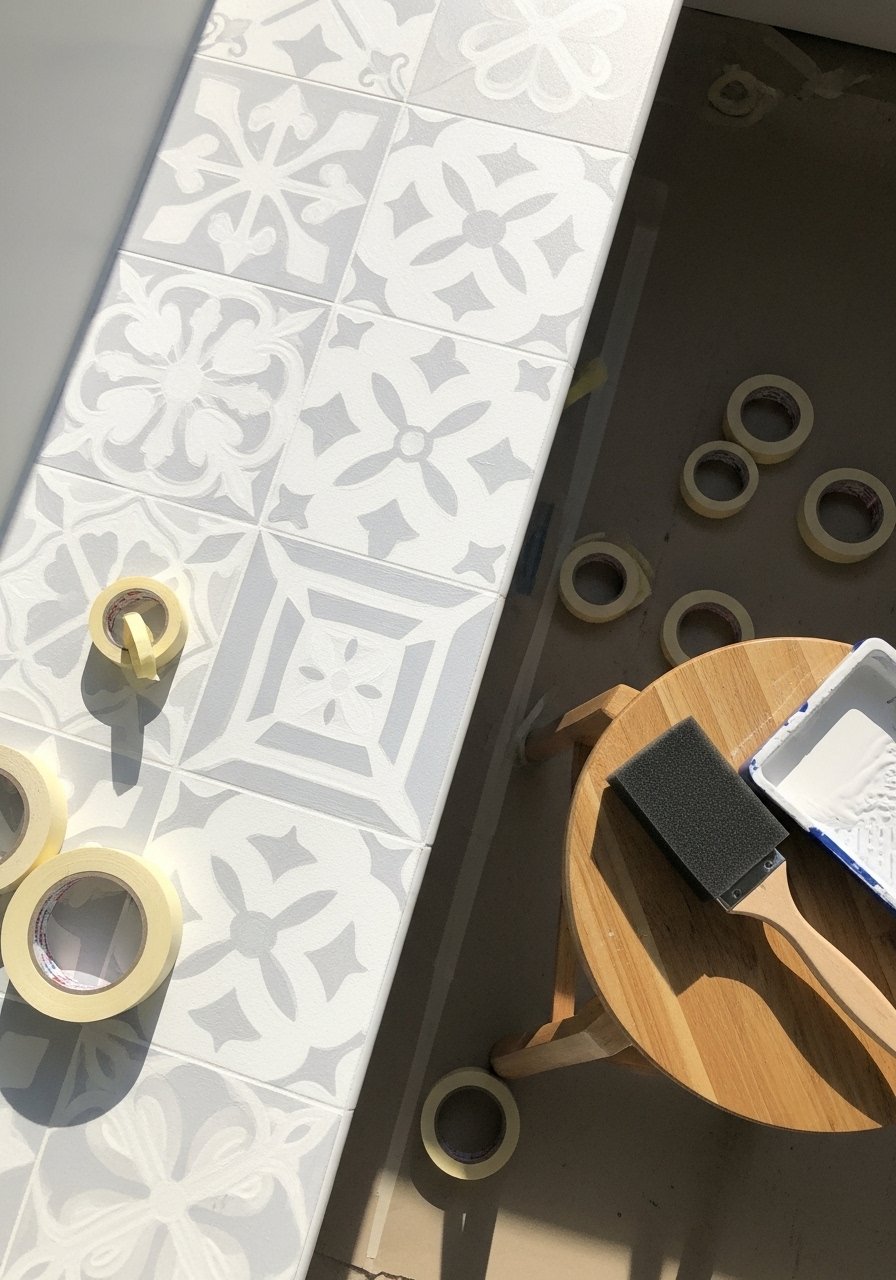
Painting tile is one of the fastest renter-friendly remodels. With the right primer and paint, your tiled walls can look refreshed for years. This works best on matte tiles.
Materials
- Deglossing tile primer (quart)
- Acrylic latex enamel paint (1 pint)
- Small foam roller and brush
- Painter’s tape (ScotchBlue)
- Sandpaper (220)
- Soap & water
- Stencils (optional)
- Clear water-based polyurethane (1 pint)
Instructions
- Clean tile and grout with soap and water; let dry 24 hours.
- Sand glossy tiles lightly and wipe with rubbing alcohol.
- Apply 1 coat deglossing tile primer; dry time 1–2 hours.
- Roll on 2 coats of acrylic latex enamel, 2 hours between coats.
- Use stencils and contrasting paint for patterns; let dry 2 hours.
- Apply 2 thin coats of water-based polyurethane for wear; dry 2–4 hours between coats. Full cure 72 hours.
How to Display or Gift It
Add reed diffusers and a low-profile soap dish to cover any imperfect edges. Keep spare primer and sample paint for touch-ups during your tenancy.
- Transitional Shower Curtain Swap with Weighted Hem

Swapping a shower curtain is one of the easiest ways to change style. A weighted hem keeps it from clinging, and a steam-safe curtain liner preserves the fabric.
Materials
- Linen-look shower curtain (72"x72")
- Shower curtain liner (PEVA, 72"x72")
- Weighted curtain hem tape or chain (6 oz)
- Rust-resistant hooks (12)
- Measuring tape
- Sewing kit or hot glue (for DIY hems)
Instructions
- Measure curtain rod height. Hem the curtain to desired length, adding weighted hem tape or chain.
- Thread rust-resistant hooks through both curtain and liner.
- Install rod and adjust hem so curtain just clears the tub rim.
- Wash liner monthly; air dry linen curtain.
How to Display or Gift It
Fold an extra liner and tuck it into a linen basket as a gift. For storage, roll the curtain and keep it in a breathable garment bag.
- Quick Grout Refresh with Colored Grout Pens (apartment bathroom remodel ideas)

Fresh grout brightens tile without re-grouting. Grout pens match grout color and are perfect for small areas and renters.
Materials
- Grout touch-up pen (matching color)
- Small scrub brush
- Rubbing alcohol
- Microfiber cloths (2)
- Gloves
- Masking tape
Instructions
- Clean grout with a scrub brush and let dry 24 hours.
- Shake the grout pen well.
- Test on a hidden area. Apply pen along grout lines in short strokes.
- Wipe excess immediately with a damp microfiber cloth.
- Let dry 1 hour; full set 24 hours.
How to Display or Gift It
Pair refreshed grout with a new soap dispenser and hand towel. Store pens in a small craft organizer so caps stay fresh.
- Peel-and-Stick Mosaic Tile Backsplash (Under $30)

Mosaic peel-and-stick tiles add texture behind sinks and vanities. They're easy to cut to fit and remove cleanly later.
Materials
- Peel-and-stick mosaic tile sheets (6–8 sheets)
- Scissors
- Straightedge
- Squeegee
- Rubbing alcohol
- Painter’s tape
Instructions
- Clean wall and allow to dry 24 hours.
- Measure and cut tile sheets to fit the backsplash area.
- Peel and stick, smoothing with a squeegee to remove bubbles.
- Trim edges with scissors or a utility knife.
- Let adhesive set 24 hours before splashing water.
How to Display or Gift It
Complement with a color-popping hand towel. Keep extra sheets rolled and stored flat for touch-ups.
- Temporary Tile Decals for Shower Floor Safety
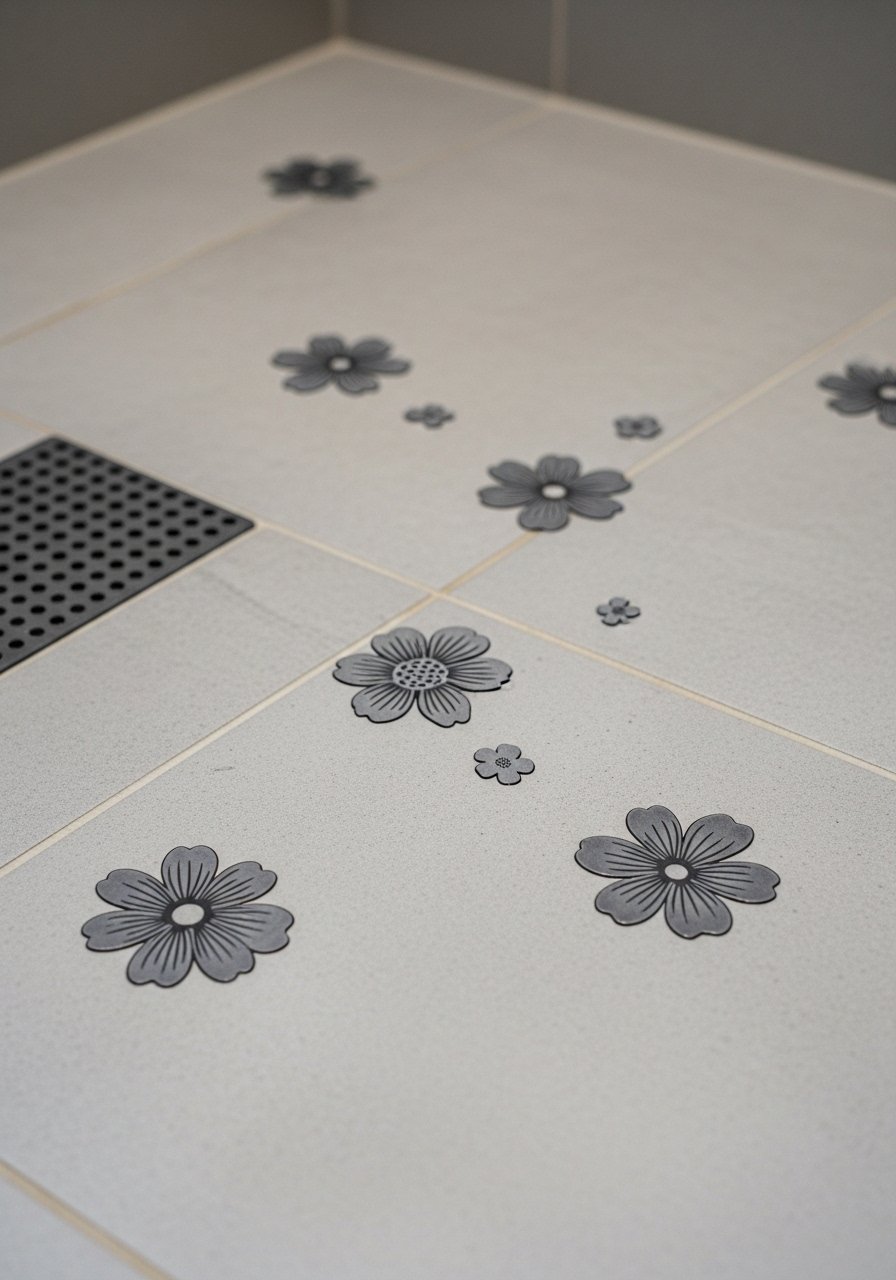
If you want pattern and grip, non-slip tile decals add both. They’re thin, textured, and safe for wet surfaces.
Materials
- Non-slip tile decals (set for shower floor)
- Rubbing alcohol
- Squeegee
- Scissors
- Towels
Instructions
- Clean and dry shower floor thoroughly.
- Plan decal placement and cut to size.
- Peel and press each decal, smoothing with a squeegee.
- Let set 24 hours before stepping in.
How to Display or Gift It
Pair decals with a coordinating loofah and shower caddy for a housewarming kit.
- Vintage-Look Mirror Frame Using Peel-and-Stick Molding

Frame a builder mirror with peel-and-stick molding for a custom vintage look. Lightweight and removable, it’s great for renters.
Materials
- Peel-and-stick foam molding (enough for mirror circumference)
- Gold leafing spray or metallic paint (1 can)
- Measuring tape
- Mitre box and saw or sharp scissors
- Adhesive promoter (if needed)
- Painter’s tape
Instructions
- Measure mirror edge and cut molding pieces with angled cuts using a mitre box.
- Paint pieces with metallic spray; dry 30 minutes and cure 4 hours.
- Clean mirror edge and apply adhesive promoter if recommended.
- Press molding pieces in place, using painter’s tape to hold while adhesive sets (1 hour).
- Remove tape and let cure 24 hours.
How to Display or Gift It
Mount the mirror on a small wall easel for photos. Wrap extra molding in tissue paper for storing.
- Floating Vanity with Tension Rod Support (No Wall Anchors)
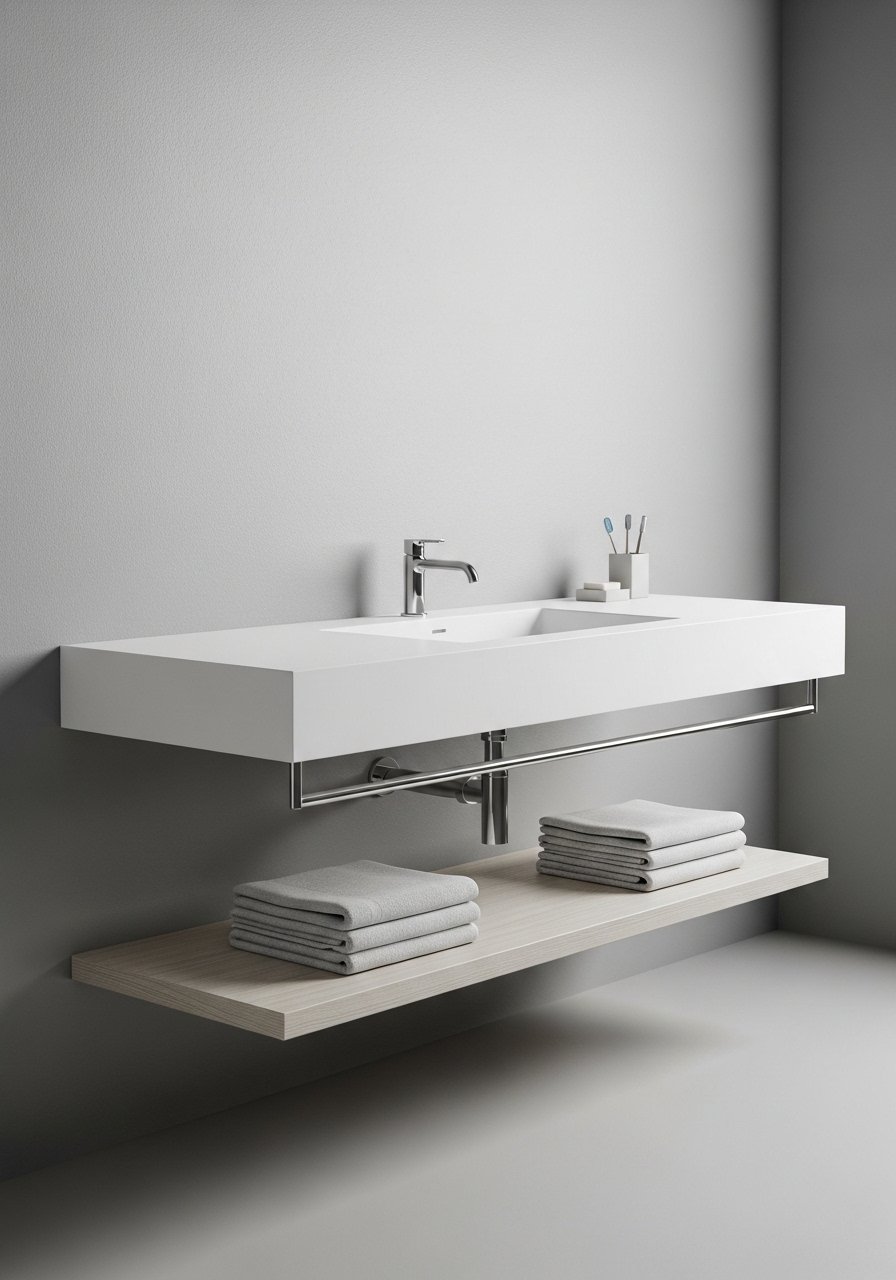
Create a floating effect using a tension rod system instead of drilling studs. It’s clever for renters who can’t anchor into studs.
Materials
- Slim floating vanity top (pre-cut, 24" wide)
- Adjustable tension rods (2 heavy-duty)
- Non-slip rubber pads
- Level
- Measuring tape
- Silicone bead (small tube)
Instructions
- Measure and set vanity height.
- Place tension rods under the vanity and adjust pressure to hold it in place.
- Add non-slip pads between rods and floor for protection.
- Seal seams with a thin bead of silicone; allow 24 hours to cure.
How to Display or Gift It
Add baskets underneath for towel storage. For moving, remove rods and keep hardware in a labeled bag.
- DIY Japandi Wood Panel Accent (apartment bathroom remodel ideas)
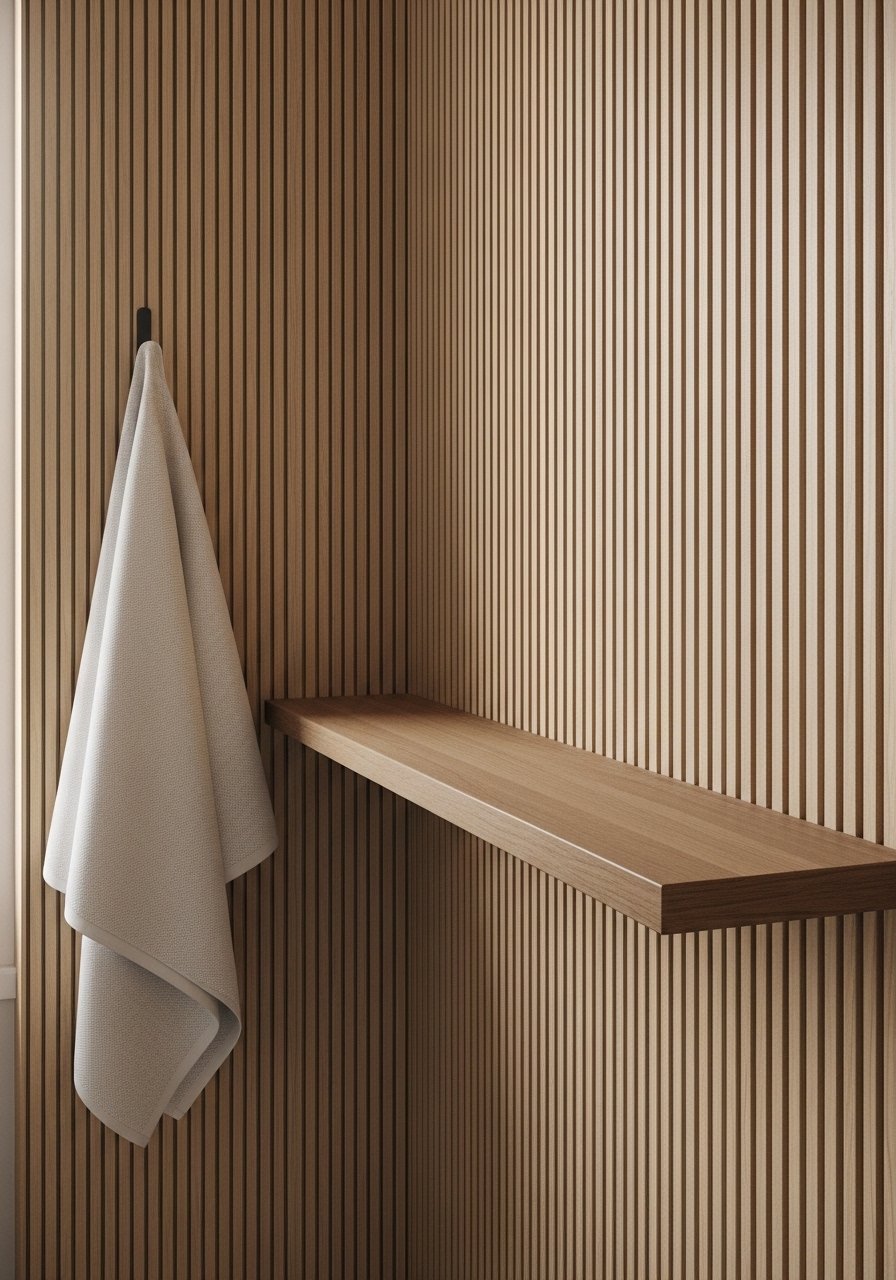
Japandi blends Japanese minimalism with Scandinavian warmth. Thin, removable wood slats create that calming, cozy look without permanent changes.
Materials
- Balsa wood slats (1" x 36", 12–20 pieces depending on wall)
- Command mounting strips (heavy-duty)
- Wood stain (2 oz) or chalk paint
- Foam brush
- Sandpaper (120)
- Measuring tape
- Pencil
Instructions
- Stain or paint slats and let dry 2 hours per coat; cure 24 hours.
- Mark spacing on wall using a level and pencil.
- Apply Command strips to slat backs and press to wall, spacing evenly.
- Press firmly for 30 seconds per strip. Wait 1 hour before light styling.
How to Display or Gift It
Place a small wooden hook on one slat for hanging a towel. Keep leftover slats in a protective tube for future projects.
- Swap-able Cabinet Hardware with Command Hook Backup

Change dated hardware with stick-on or screw-in pulls that you can remove when you leave. Use Command hooks for extra hanging storage without screws.
Materials
- Stick-on cabinet pulls or screw-in pulls (set of 6)
- Command small hooks (2–4)
- Ruler
- Masking tape
- Pencil
- Screwdriver (if using screws)
Instructions
- For stick-on pulls, clean the cabinet face and mark placement with masking tape.
- Apply pull per manufacturer directions and press firmly for 30 seconds.
- For screw-in pulls, use a template to drill through veneer with a small pilot—only if allowed.
- Install Command hooks inside cabinets for extra hanging storage.
How to Display or Gift It
Coordinate hardware finishes with a soap pump and toothbrush holder. Store unused pulls in a small craft box.
- Portable Lighted Vanity Mirror for Better Makeup Lighting

Lighting changes can make a bathroom feel larger and more polished. A portable lighted mirror gives better task lighting and moves with you when you move.
Materials
- LED lighted vanity mirror (8–10" diameter)
- AA batteries or charging cable
- Small wooden tray
- Microfiber cloth
Instructions
- Charge or insert batteries into the LED mirror.
- Place mirror on a tray and set on the vanity.
- Adjust brightness and angle for task lighting.
How to Display or Gift It
Wrap the mirror in tissue and tuck into a gift box for a moving-in present. Store in a padded pouch to protect the LEDs.
- Faux Grout with Paint for Tile Pattern Update
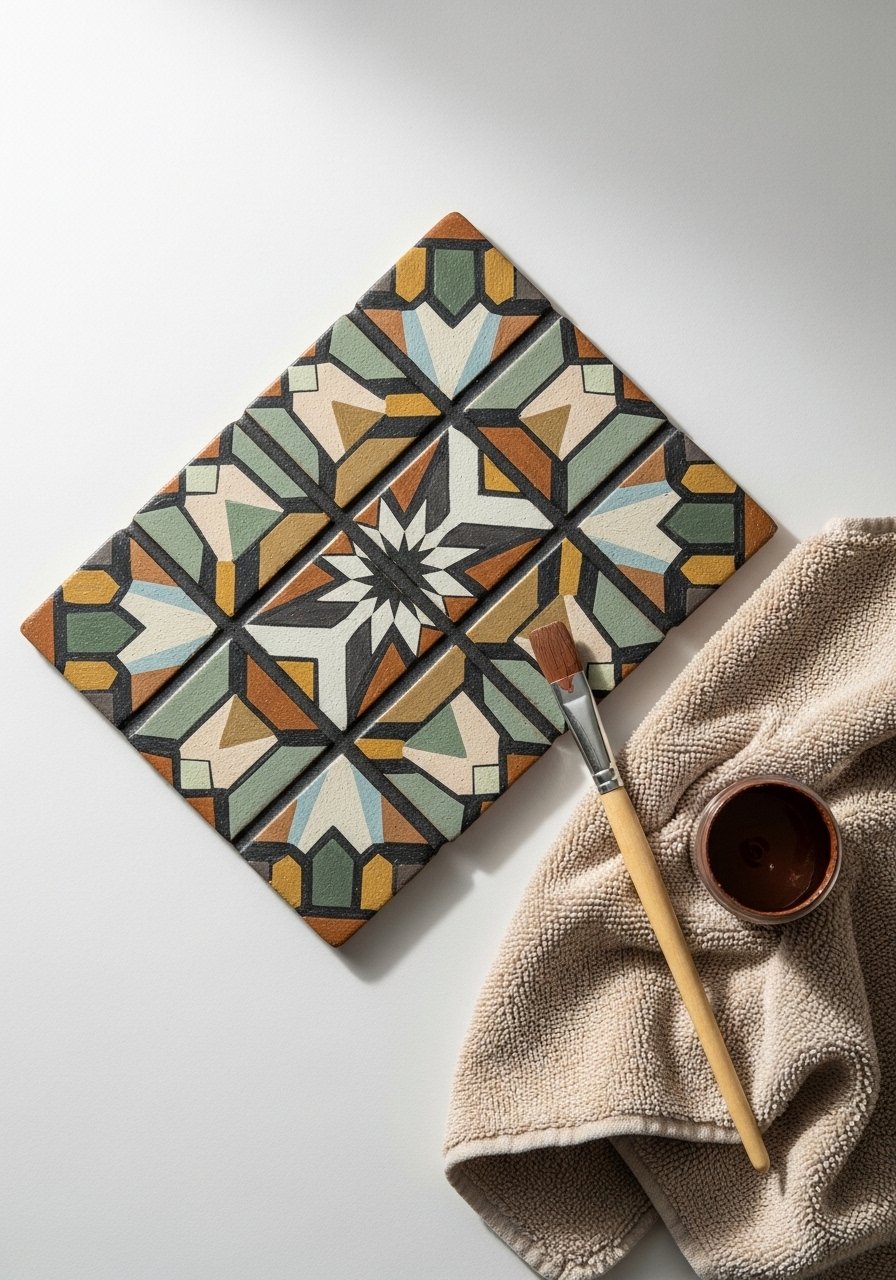
If changing tiles is impossible, paint your tiles with crisp faux grout lines to simulate a fresh layout or pattern.
Materials
- Acrylic latex paint (sample size)
- Fine foam brush
- Painter’s tape
- Ruler
- Rubbing alcohol
- Clear topcoat (water-based polyurethane)
Instructions
- Clean tiles with rubbing alcohol and dry 24 hours.
- Use painter’s tape and a ruler to mark faux grout lines.
- Paint tiles with 2 thin coats; 1 hour between coats.
- Remove tape carefully and apply clear topcoat, 2 hours between coats. Cure 48–72 hours.
How to Display or Gift It
Pair painted tiles with coordinating towels for an instant refresh. Keep a small sample jar of the paint for touch-ups.
- DIY Magnetic Shower Caddy (No Drilling)
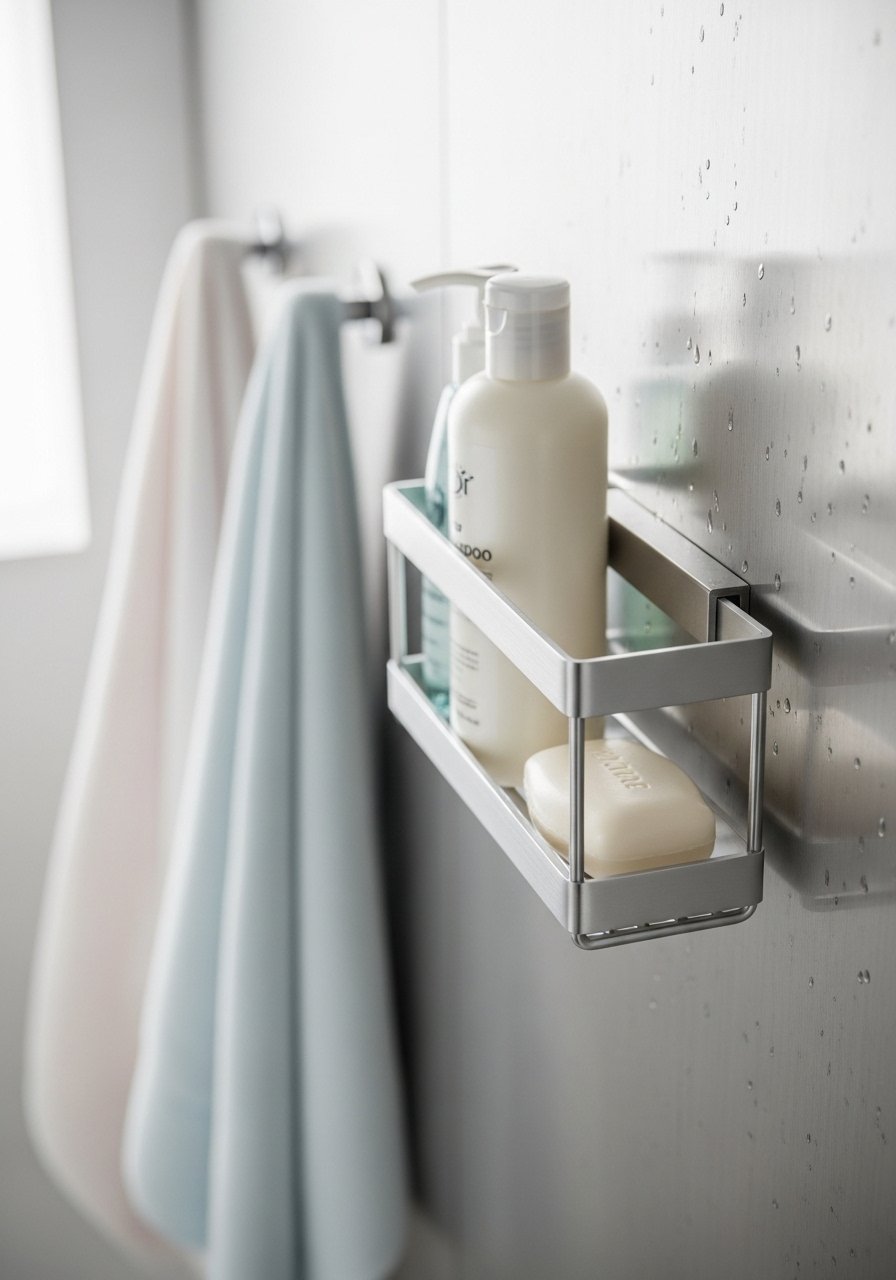
Magnetic caddies stick to metal shower panels or attach with adhesive metal plates. They free up space and are fully removable.
Materials
- Magnetic shower caddy (slim)
- Adhesive metal plates (if shower surface isn't magnetic)
- Isopropyl alcohol
- Microfiber cloth
- Measuring tape
Instructions
- Clean mounting area with isopropyl alcohol and dry.
- Install adhesive metal plates per instructions if needed; let set 24 hours.
- Attach magnetic caddy and test weight capacity. Avoid overloading.
How to Display or Gift It
Use caddy for travel-size bottles and coordinate with a hanging loofah. For gifting, include hotel-size toiletries.
- Removable Shower Niche Shelf Using Suction Brackets
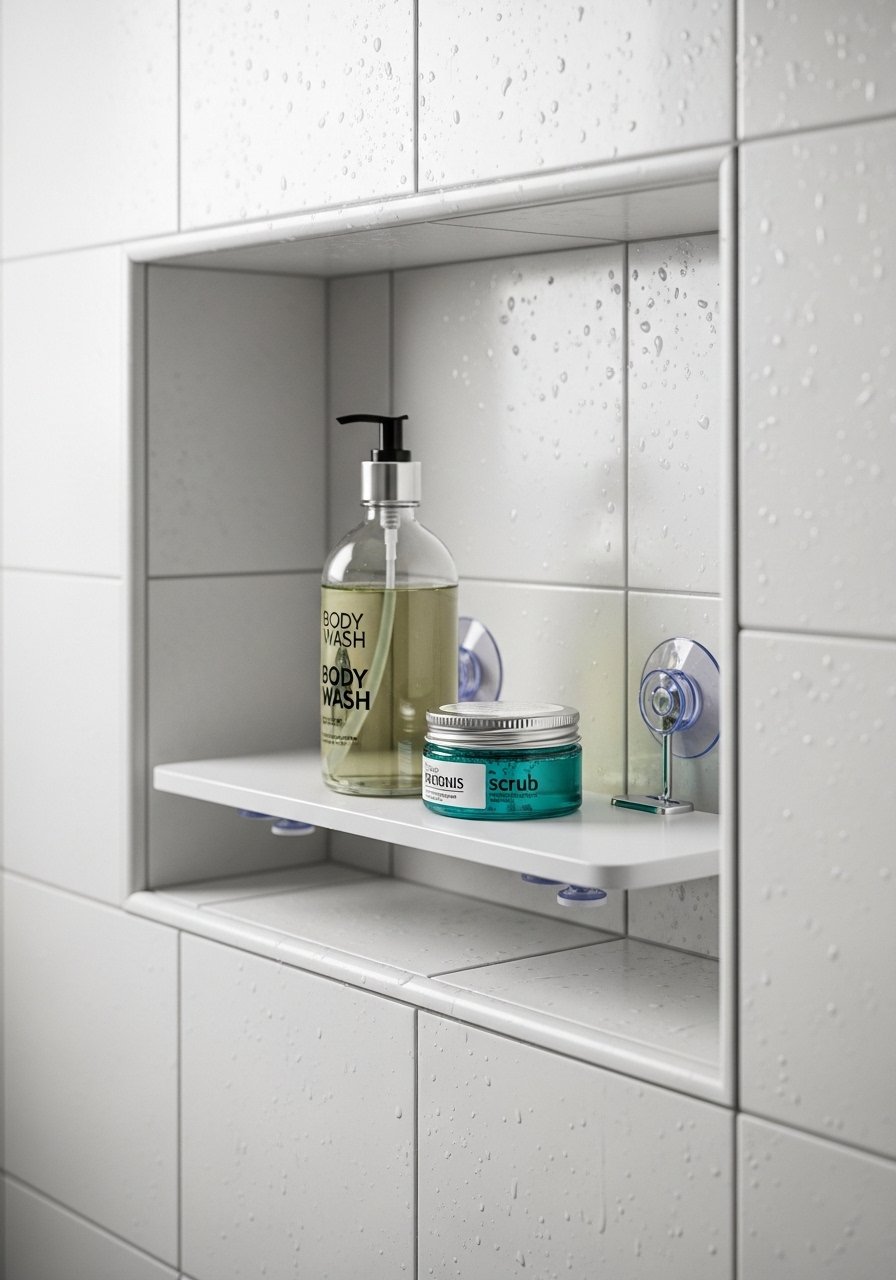
If your shower lacks shelving, a removable niche shelf gives storage without drilling. Suction brackets adhere strongly to clean tile.
Materials
- Glass shelf cut to niche size (tempered)
- Heavy-duty suction brackets (2)
- Rubbing alcohol
- Microfiber cloth
- Level
Instructions
- Clean niche surfaces with rubbing alcohol and dry fully.
- Mount suction brackets per instructions and press firmly.
- Place glass shelf and check for level. Test load slowly.
How to Display or Gift It
Use small amber glass bottles for soaps to create a spa feel. Remove shelf when moving and pack in bubble wrap.
- Cork Drawer Liners for Moisture Control

Cork protects drawers from spills and adds a warm texture. It's easy to cut and replace.
Materials
- Cork sheet (12" x 24", 1/8")
- Scissors
- Measuring tape
- Ruler
- Optional adhesive spray (low tack)
Instructions
- Measure drawer base and cut cork sheet to size.
- Place cork, trim if needed.
- Use low-tack adhesive spray if you want it semi-permanent. Let set 15 minutes.
How to Display or Gift It
Pair with labeled glass jars for cotton swabs and cotton balls. Roll spare cork and store in a cylindrical tube.
- Small-Space Plant Wall with Command Strips
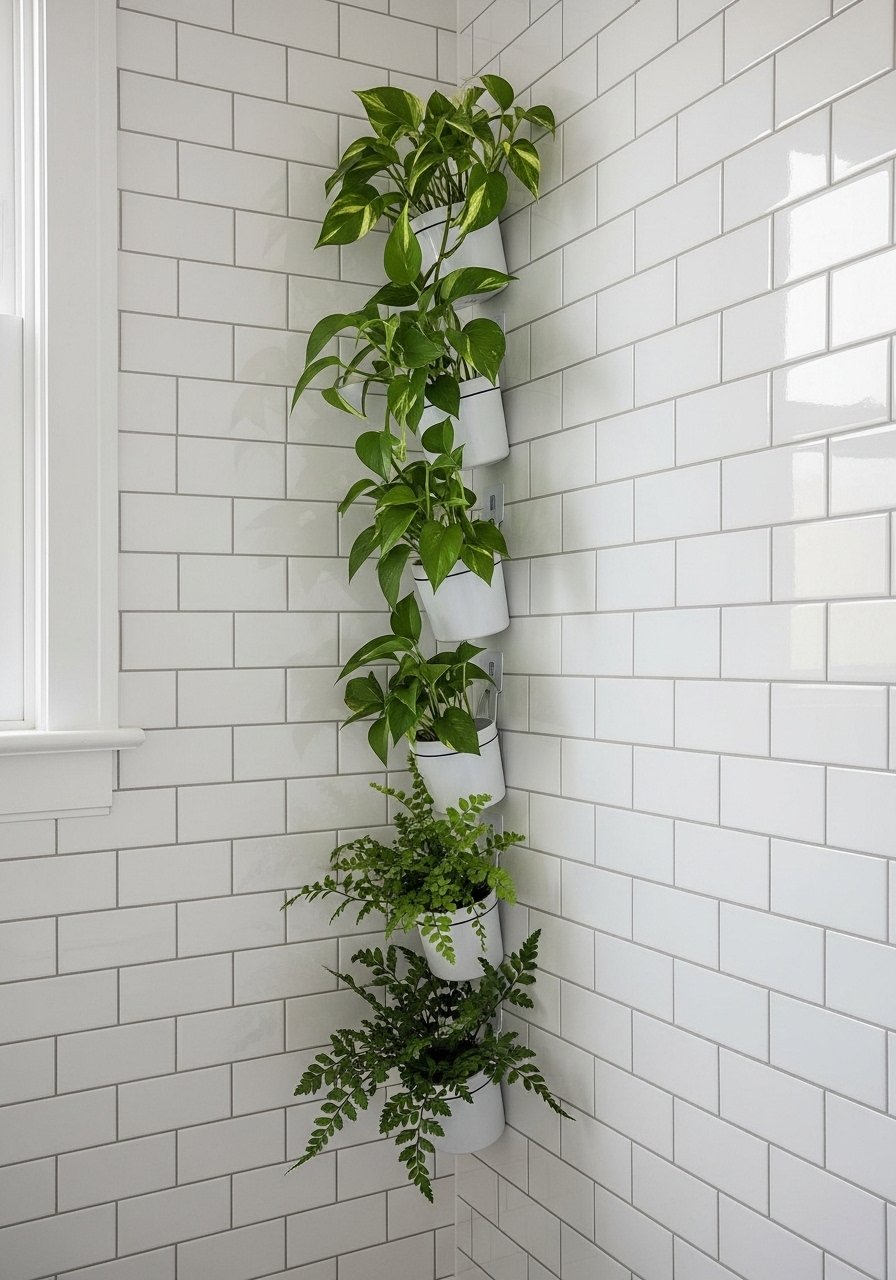
Add greenery without drilling. Small planters mounted with Command strips brighten the room and tolerate bathroom humidity.
Materials
- Small ceramic hanging planters (3–5)
- Command medium strips (per planter)
- Potting mix (small bag)
- Small plants (pothos, fern cuttings)
- Watering syringe
Instructions
- Plant greenery in small planters and water lightly.
- Clean wall area with rubbing alcohol.
- Attach Command strips to planters and press to wall for 30 seconds.
- Wait 1 hour before hanging. Water sparingly to avoid drips.
How to Display or Gift It
Pair with a tiny plant-care kit in a mason jar for gifting. Store extra Command strips in a craft drawer.
- Temporary Heated Towel Rail (Plug-In)

Heated towel rails plug into an outlet and mount with removable brackets, giving spa vibes with no hardwiring.
Materials
- Plug-in heated towel rail
- Removable mounting bracket kit
- Measuring tape
- Level
- Cord concealer (optional)
Instructions
- Mount brackets per instructions using adhesive or small screws if allowed.
- Slide rail into brackets and test heating function.
- Use a cord concealer to tidy the cable.
How to Display or Gift It
Fold matching towels and roll them on a tray. Wrap the rail with a ribbon and pair with luxury soap for a housewarming present.
- Stenciled Linoleum Rug (Waterproof and Washable)

Make a faux rug directly on linoleum or vinyl flooring using a stencil and washable paint. It’s removable and easy to refresh.
Materials
- Large stencil (indoor/outdoor)
- Exterior acrylic paint (sample jars)
- Stiff stencil brush
- Painter’s tape
- Measuring tape
- Clear weatherproof sealer (spray)
Instructions
- Clean floor area and let dry 24 hours.
- Tape stencil in place and dab paint using a stencil brush.
- Remove stencil and let paint dry 1 hour.
- Apply clear sealer and cure 24 hours before foot traffic.
How to Display or Gift It
Place a nonslip mat under the stenciled area for safety. Roll leftover stencil and store flat.
- Upcycled Soap Dispenser Makeover with Spray Paint

Swap cheap plastic dispensers for glass ones and spray-paint lids for a cohesive look. It’s cheap, chic, and fully reversible.
Materials
- Glass soap dispenser
- Matte spray paint (1 can)
- Painter’s tape
- Masking paper
- Rubbing alcohol
- Liquid dish soap (refill)
Instructions
- Disassemble dispenser and clean parts with rubbing alcohol.
- Mask pump and paper the glass if you only want a painted lid.
- Spray paint in thin coats; 10 minutes between coats. Cure 24 hours.
- Reassemble and fill with soap.
How to Display or Gift It
Package a painted dispenser with a small bar soap and ribbon for a thoughtful host gift.
- Removable Grout Covers for Color Pop
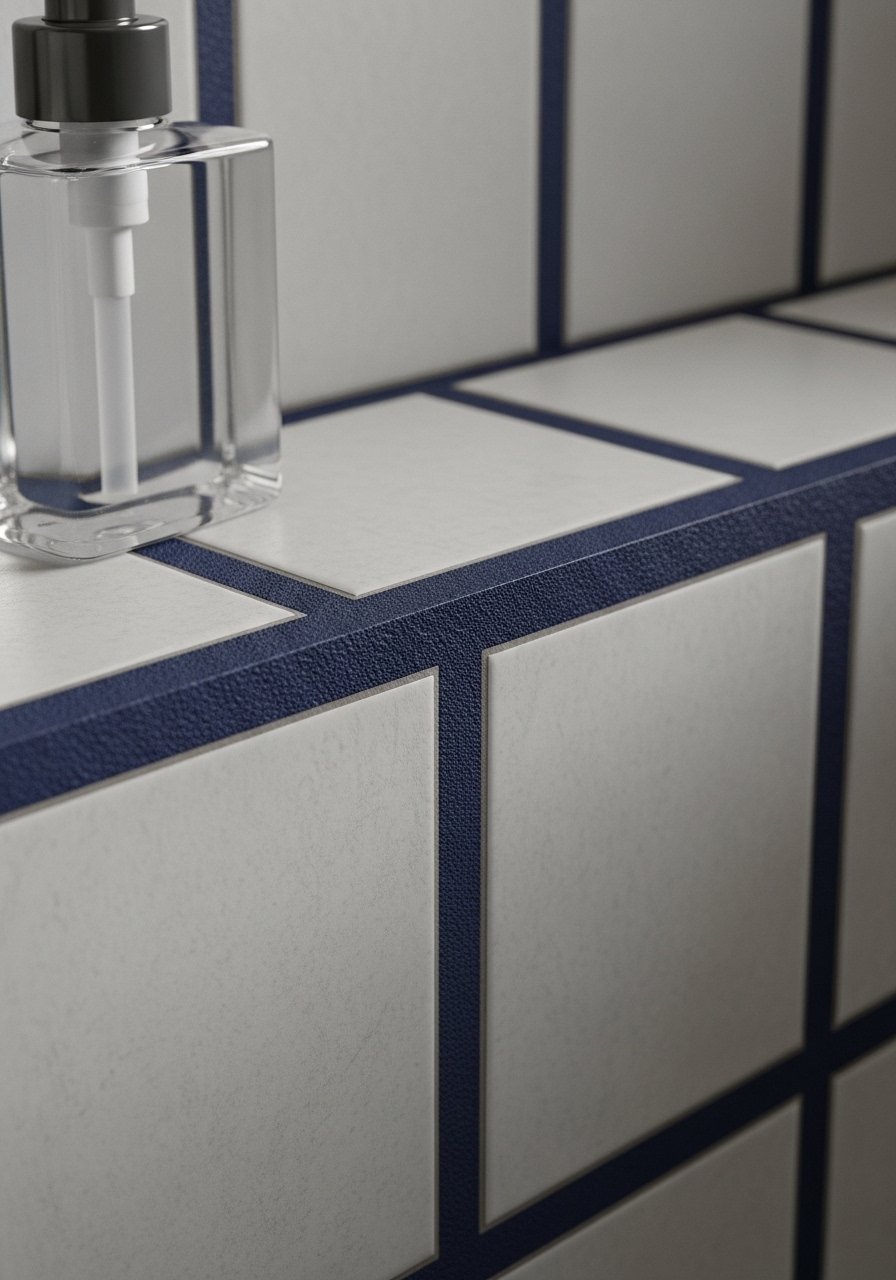
If you like bright grout colors, try removable grout covers—thin strips that sit in grout lines and can be removed later.
Materials
- Removable grout cover strips (pre-cut rolls)
- Scissors
- Squeegee
- Rubbing alcohol
- Microfiber cloth
Instructions
- Clean grout lines and let dry 24 hours.
- Measure and cut strips to length.
- Press strips into grout lines and smooth with a squeegee.
- Let set 12 hours before exposing to water.
How to Display or Gift It
Coordinate accessories like a navy towel set. Keep extra strips in a labeled pouch.
- Temporary Window Frosting Film for Privacy
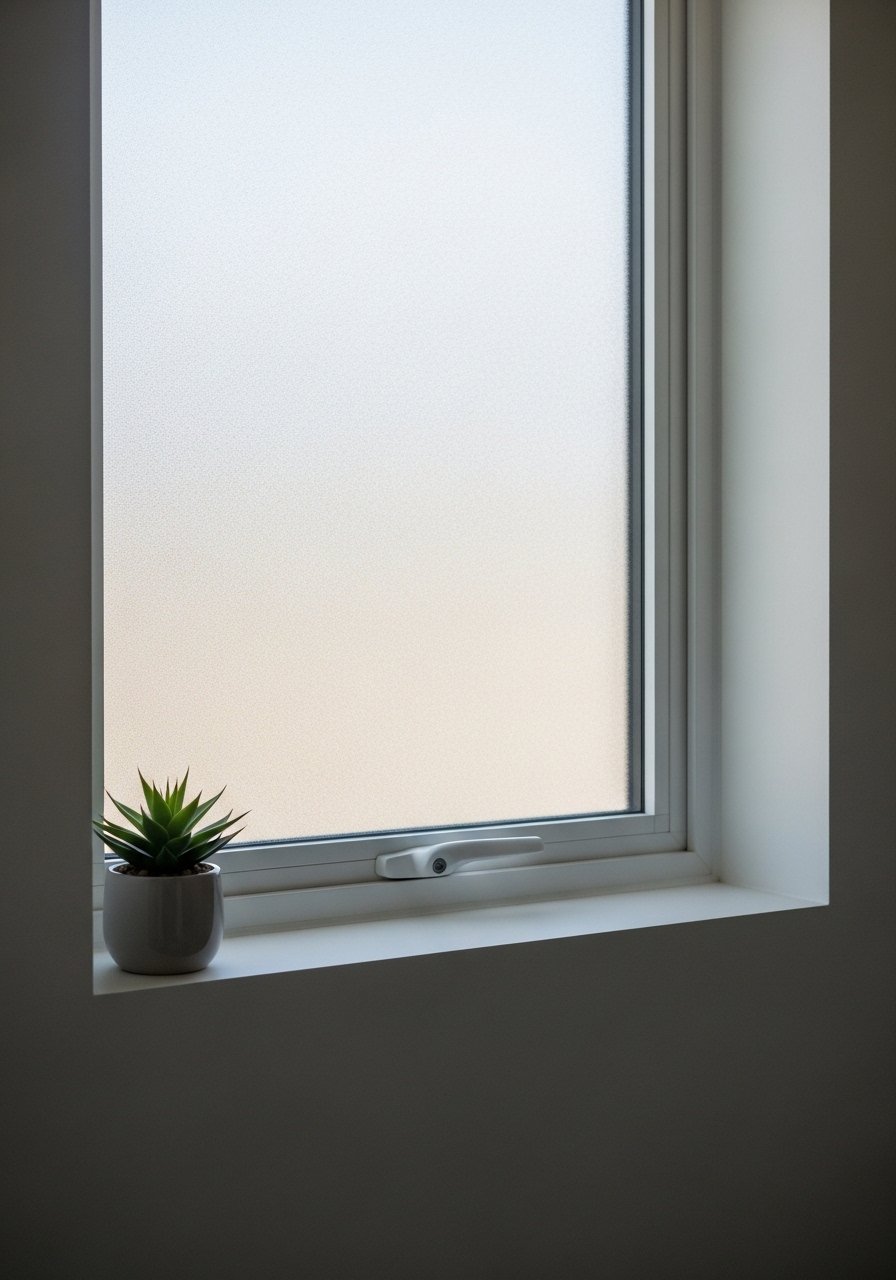
Frosting film gives privacy without curtains. It’s removable and lets in light while keeping the view out.
Materials
- Frosted window film (cut to window size)
- Spray bottle with soapy water
- Squeegee
- Utility knife
- Measuring tape
Instructions
- Measure window and cut film with 1/4" extra on all sides.
- Spray window with soapy water and position film adhesive side down.
- Use a squeegee to remove bubbles and trim edges with a utility knife.
- Let dry 24 hours.
How to Display or Gift It
Add a small potted succulent to the sill for a spa vibe. Store leftover film flat.
- Epoxy-Resin Counter Tray (Non-Permanent Luxury Accent)

A resin tray adds a luxe touch to any vanity. Make it in a silicone mold for an easy, reversible accent—perfect for gifts.
Materials
- 2-part epoxy resin (ArtResin or similar, 16 oz kit)
- Silicone tray mold (small)
- Mixing cups and stir sticks
- Nitrile gloves
- Disposable pipettes
- Isopropyl alcohol (wipe mold)
- Alcohol torch or heat gun
Instructions
- Clean mold with isopropyl alcohol and let dry.
- Measure resin and hardener 1:1 by volume (follow kit). Mix for 3 minutes, scraping sides.
- Add pigments or mica powders, stir gently.
- Pour into mold slowly. Use a small torch briefly to remove bubbles.
- Let cure 24 hours to touch; full cure 72 hours.
- Demold and sand edges if needed.
How to Display or Gift It
Wrap the tray in tissue and tuck it into a kraft box with shredded paper. Store extra resin in original container with cap tight.
You made it to the end—great job. These 25 renter-friendly apartment bathroom remodel ideas give you options from tiny swaps (new hardware, peel-and-stick) to small builds (floating shelves, paneling) that you can remove when you move. Try one project or mix and match several for a coordinated look. Save or pin this list so you can come back to specific projects. Which idea are you trying first? Share your before-and-after photos with friends who rent too.
Trust me, picking up a quality low-temp hot glue gun and a reliable precision craft knife will speed up almost every one of these projects — less fumbling, cleaner edges, happier results.





