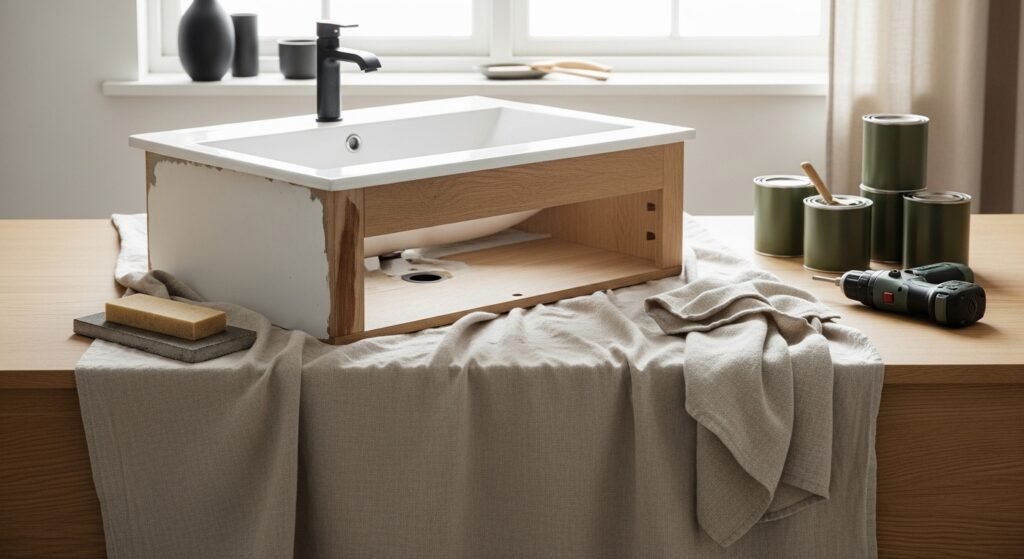
You love the look of a custom built vanity but not the price tag. If you want to remodel a bathroom vanity that looks custom built, stylish, and completely upgraded for less, this one-afternoon, beginner-friendly guide shows you how. You’ll learn how to get clean lines, swap hardware, and create a water-resistant finish that lasts.
A few tools speed the job: low-tack painter’s tape keeps crisp paint edges, and a random orbital sander makes surface prep fast. Both save time and prevent common mistakes.
Follow these steps and you’ll walk away with a bathroom vanity that reads built-in. Expect 3–6 hours active work plus drying time, and I’ll show quick product picks to make each step easier.
Gather and Prep Materials (easy, beginner-friendly)

Start by clearing the vanity and removing drawers and doors. Label each piece with masking tape so reassembly is fast. Sanding and filling are the prep that makes a painted vanity look custom.
- Sand rough spots with a sandpaper set; start with 120 grit then finish with 220 grit for smoothness.
- Use a random orbital sander if you have many flat panels—30 minutes on a standard 24" cabinet.
- Fill dents and gouges with wood filler and let dry 30–60 minutes before sanding.
Pro tip: work in a well-ventilated area and wipe dust with a damp cloth between grits.
Remove, Repair, and Prime (one-afternoon refresh)

Removing hardware and doors makes painting neater and faster. While pieces are off, make repairs and apply a bonding primer if the old finish is glossy.
- Unscrew pulls and hinges using a cordless drill with a screwdriver bit.
- Lightly sand until primer grabs—wipe clean.
- Apply a thin coat of primer (if needed) with a foam brush set for smooth coverage.
Tip: use low-tack painter’s tape to protect countertops and sharp edges. Let primer cure per label—usually 1–2 hours before topcoat.
Give It a Custom Built Look (painting & hardware swap)

A few styling moves create a custom feel: paint in a soft matte, add shaker-style trim, and install modern hardware.
- Paint with a chalk paint or durable cabinet paint in two thin coats. Aim for full coverage before the second coat—usually 30–60 minutes drying between thin coats.
- Add 1/2" trim strips to door faces for a shaker look; attach with wood glue and a few brad nails.
- Swap tired knobs for streamlined matte black drawer pulls. Centered pulls and consistent spacing sell the custom-built effect.
Numbered steps:
- Paint first thin coat, let dry 1 hour.
- Lightly sand with 220 grit; remove dust.
- Paint second thin coat; let cure 4–6 hours before handling.
Pro trick: a small detail brush set helps cut in tight corners and keeps lines crisp without taping.
Finish, Seal, and Reinstall (water-resistant, lasting results)

Sealing is what makes a budget remodel survive bathroom humidity. Use a thin, water-resistant coat and seal around the sink.
- Apply a water-based polyurethane satin in two thin coats. Dry time: 2–4 hours between coats; cure: 24–48 hours.
- Reattach doors and hinges with the cordless drill. Check alignment and adjust.
- Run a bead of clear silicone caulk where the countertop meets the backsplash and around plumbing penetrations to prevent water intrusion.
Quick checks:
- Open and close doors several times after reinstallation to spot sticky paint.
- Wipe handles daily for the first week to ensure finish hardens evenly.
Once reinstalled, the vanity reads like a built-in piece: clean lines, matching hardware, and a durable finish.

You just learned how to remodel a bathroom vanity with pro-looking results and a modest budget. Save this guide and pin it for your next weekend project. If one tool helps the most, a good random orbital sander cuts your prep time in half and makes paint look factory-smooth. Which color or hardware style will you try first? Pin this guide for your next craft afternoon!





