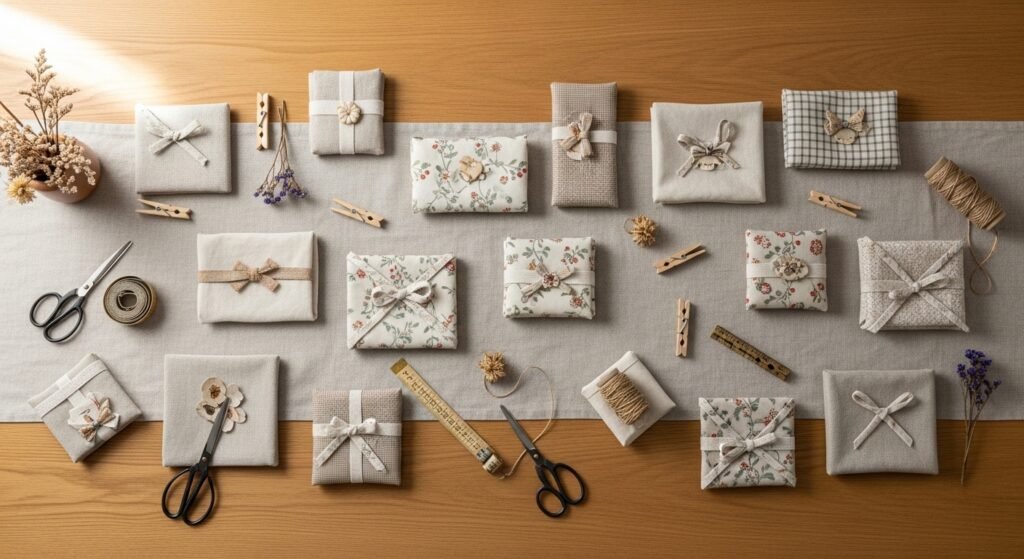
Staring at a pile of fabric scraps and a half-forgotten spool of thread, you might wonder if you can make something that looks boutique without spending a fortune. These budget sewing projects for beginners prove you absolutely can. Each idea here uses everyday materials, simple sewing techniques, and a few helpful tools to create pieces that look high-end but cost almost nothing to make.
You’ll find projects that fit cottagecore, boho, farmhouse, and Japandi styles—everything from tiny zipper pouches to tea towels with designer-style hems. If you want crisp edges, try my go-to rotary cutter and ruler for fast, accurate cutting: rotary cutter set. Or skip the cutting machine and use a trusty craft knife and self-healing mat like this self-healing cutting mat for perfect results.
These budget sewing projects for beginners include full materials lists, step-by-step instructions, drying and pressing times, and display/gift ideas. Pick one, grab a spool of thread, and let’s make something beautiful that looks boutique—without breaking the bank.
- Mini Zipper Coin Pouch
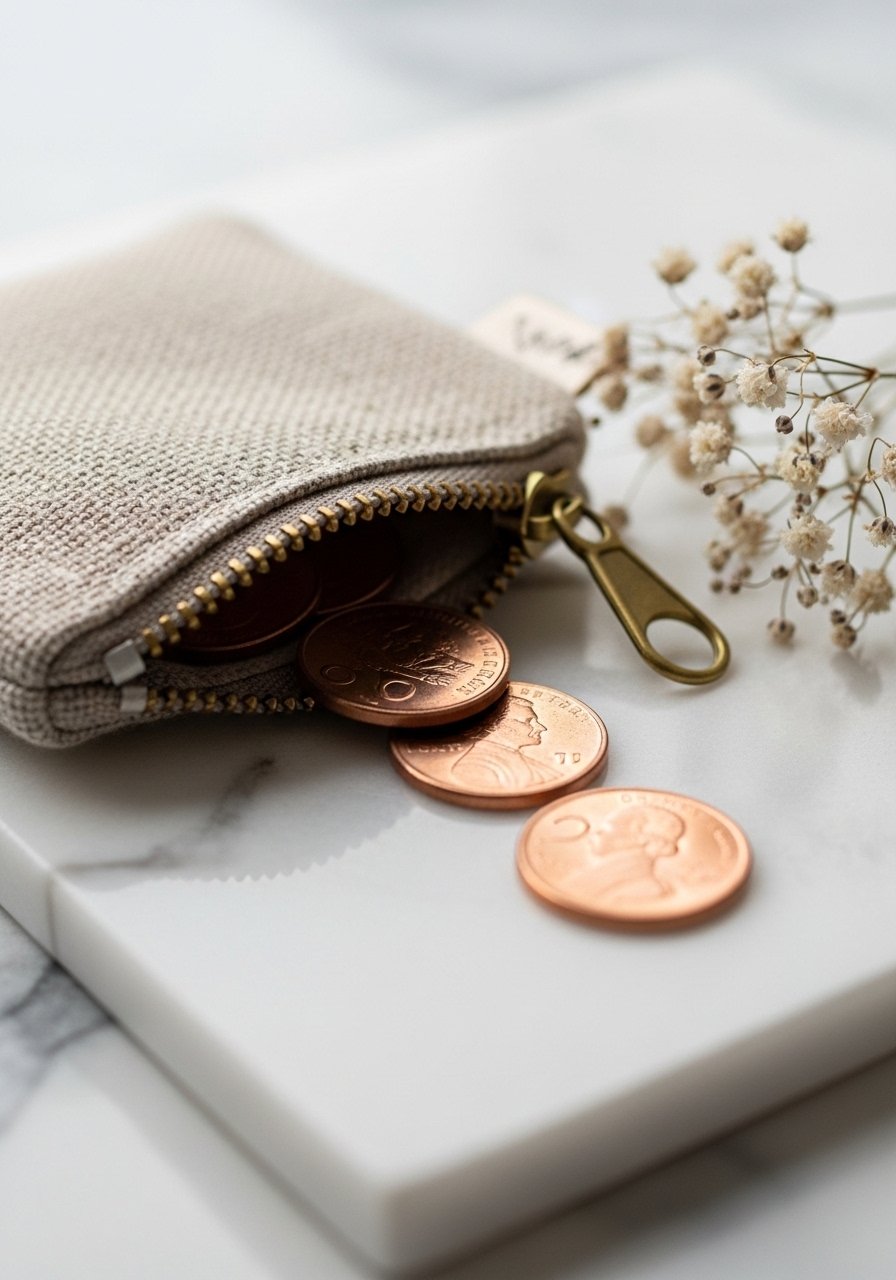
This tiny pouch is perfect for spare change, lip balm, or earbuds. The clean topstitching and brass zipper give it a designer look even when made from scraps. Beginners will love the fast construction and the tactile linen texture.
Materials
- 2 pieces linen or cotton scrap 6" x 5" each
- 7" nylon coil zipper (or shorter you have on hand)
- Lightweight fusible interfacing 5" x 4" (for structure)
- All-purpose polyester thread, 50wt
- One small keyring (optional)
- Basic sewing pins or clips
Instructions
- Fuse interfacing to one wrong side of each fabric rectangle following manufacturer heat settings (usually 2–3 seconds with medium iron).
- Place zipper face down on top of one fabric rectangle along the long edge. Align edges.
- Using a zipper foot, stitch 1/8" from zipper teeth. Repeat for other fabric piece on the opposite side of the zipper.
- Open zipper halfway. With right sides together, match short edges and stitch around the pouch with a 1/4" seam allowance, leaving no gap.
- Trim corners diagonally to reduce bulk. Turn pouch right side out through the zipper.
- Press edges flat and topstitch 1/8" from the seam on both sides to create a crisp edge.
- Add keyring through zipper pull if desired.
Tips: If your zipper foot is new, practice on scrap fabric first. Use a stitch ripper to quickly correct tight seams.
How to Display or Gift It
- Tuck a pouch into a small kraft box with tissue for a chic stocking stuffer.
- Group three pouches on a small wooden tray by color for a boutique vanity display.
- Store extra pouches flat in a stackable craft organizer until you gift them; this avoids crushing zippers. Consider a small craft organizer tray.
- No-Sew Fabric Bowl Liner (Quick Heat Bond)
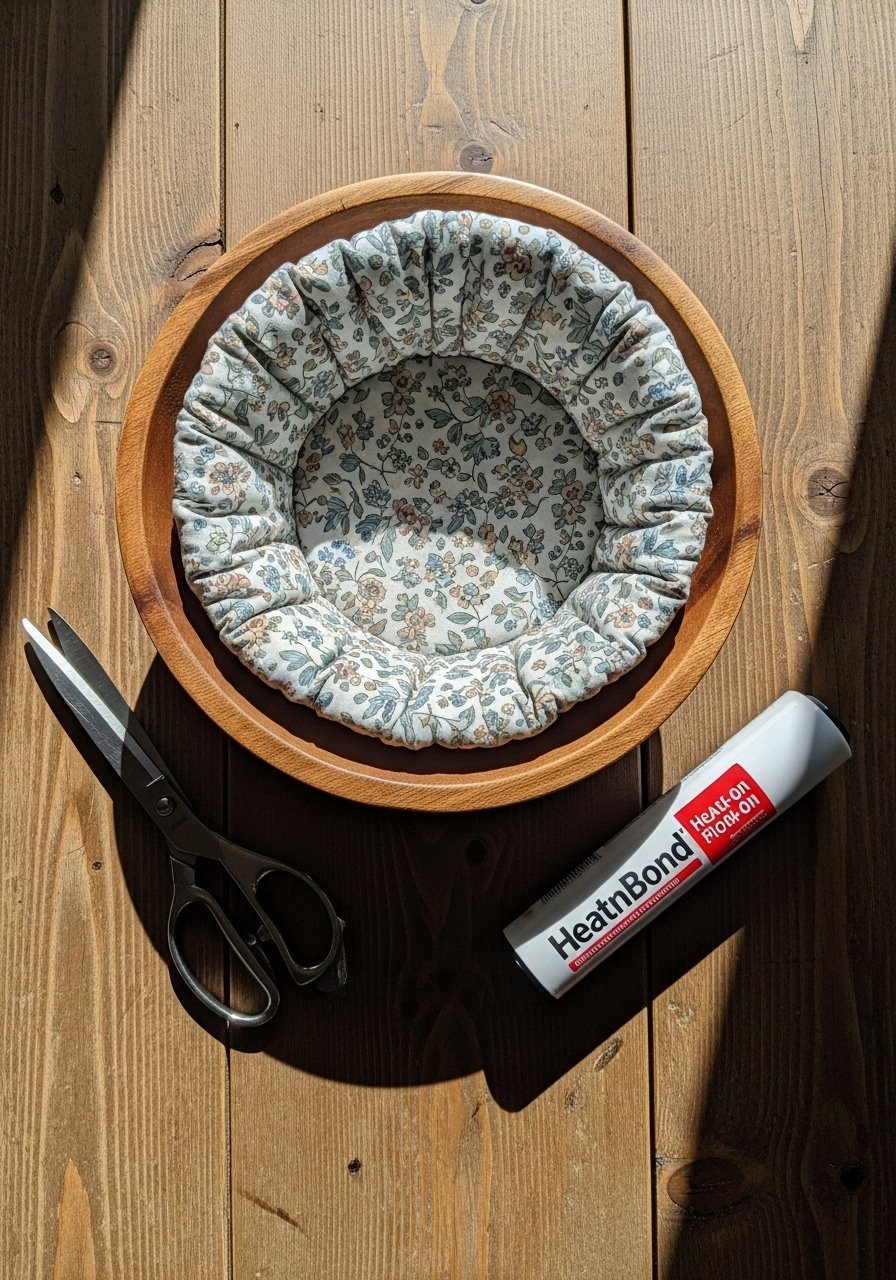
You can make a soft, structured bowl liner with heat-bond tape—no machine sewing required. It’s great for bread bowls, fruit bowls, or organizing makeup. The hand-pressed edge looks tailored and neat.
Materials
- 1 fat quarter cotton or linen (approx 18" x 22")
- Lightweight fusible interfacing or HeatnBond 16" circle
- Heat-bond tape for curved edges
- Hot iron and pressing cloth
- Optional: decorative trim 1 yard
Instructions
- Cut fabric to 16" diameter circle. Cut interfacing/HeatnBond to same size.
- Fuse interfacing to wrong side of fabric per manufacturer (press 8–10 seconds with steam).
- Fold the edge in 1/2" and press with a hot iron for a permanent crease.
- Apply heat-bond tape between the folded edge and the main fabric on reverse, then re-press to seal.
- If using trim, press and glue with a thin line of fabric glue along inner seam.
- Let cool 10 minutes before using to allow bond set.
Drying/Set Time: Let cool and rest for 30 minutes before folding or using.
How to Display or Gift It
- Fill with fresh bread and wrap with a linen napkin for market-style gifting.
- Store flat in a drawer; the fused edge keeps its shape without pressing.
- For a tidy kitchen drawer, use a bamboo drawer organizer.
- Simple Drawstring Jewelry Pouch
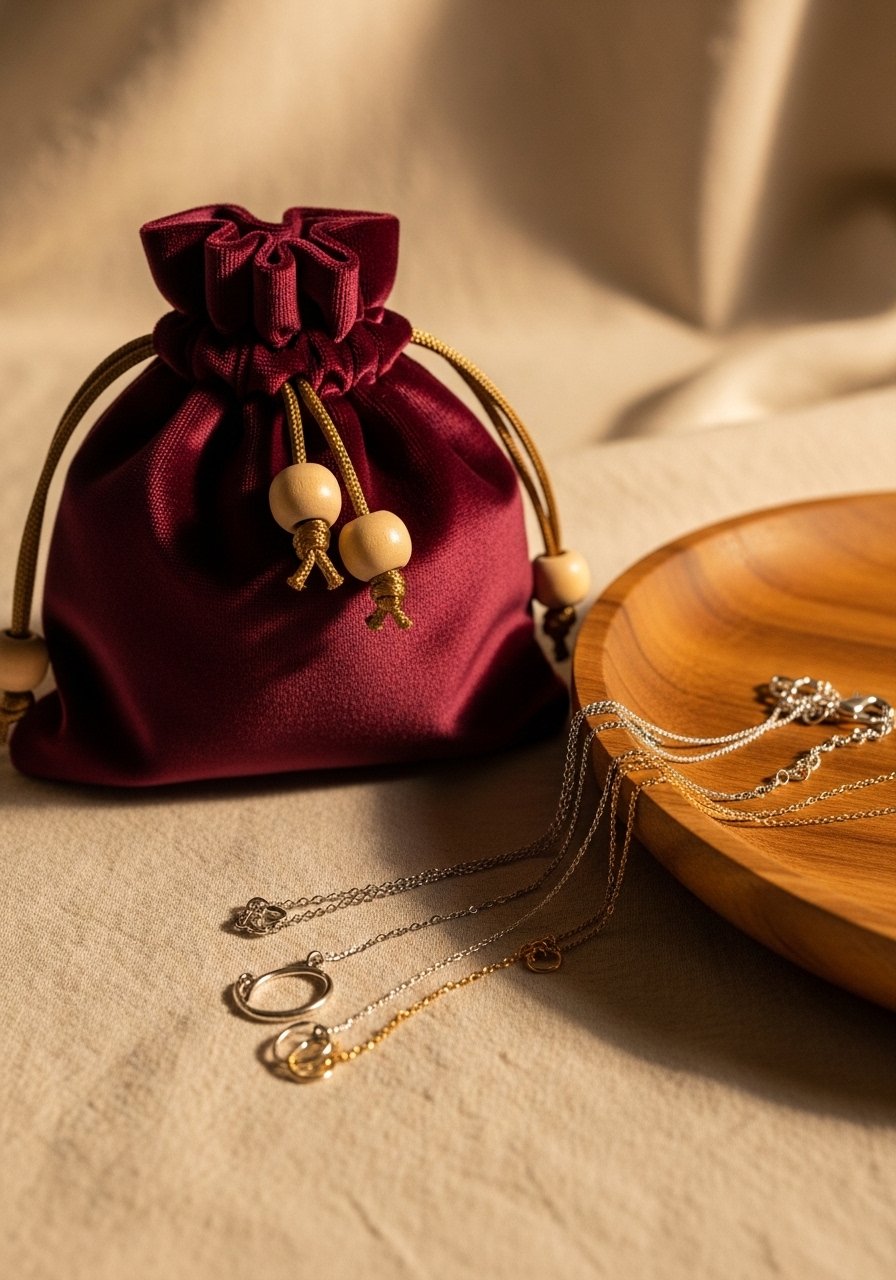
A soft drawstring pouch shows luxury when you choose velvet or silk-look fabric. It’s a perfect beginner sewing project: straight seams and a simple casing. The wooden bead toggles add a natural, high-end touch.
Materials
- 1 piece fabric 6" x 12" (velvet or cotton)
- Cotton cord 18"
- Two small wooden beads
- Matching thread
- Safety pin (to thread cord)
- Sewing clips or pins
Instructions
- Fold fabric right sides together along the long edge. Stitch 1/4" seam to make a 6" x 6" tube.
- Press seam open. Fold top edge down 1/2" then again 3/4" to create a casing. Press and stitch close to inner fold, leaving a 3/4" opening for the cord.
- Turn right side out and press.
- Attach safety pin to cord and feed through casing. Knot the cord ends and add beads.
- Trim excess cord to desired length.
Tips: Velvet can shift—use sewing clips instead of pins. Use a walking foot for textured fabrics.
How to Display or Gift It
- Tuck jewelry in tissue and place in a kraft pillow box for gifting.
- Use several pouches hung on a wooden peg board to display jewelry.
- Store pouches in a fabric storage bin to keep velvet dust-free.
- Reversible Fabric Coasters (Set of 4)
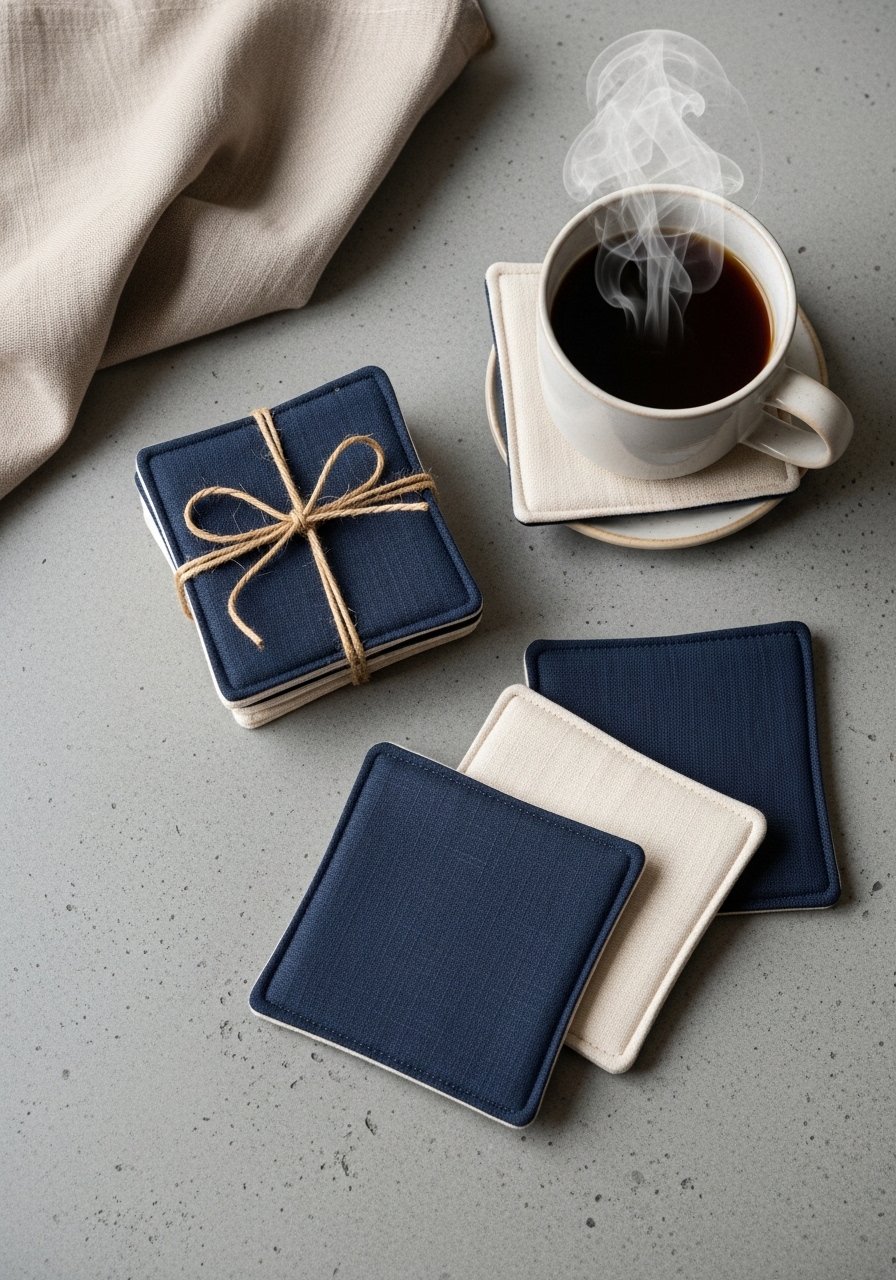
Reversible coasters are a great way to use scraps and try basic quilting-style sewing. Sturdy batting makes them look polished and protects tabletops.
Materials
- 8 squares fabric 5" x 5" (4 pairs)
- 4 squares cotton batting 4.5" x 4.5"
- Thread to match
- Rotary cutter and quilting ruler
- Topstitching needle or walking foot
Instructions
- Pair fabric squares right sides together with batting on top. Pin.
- Stitch around edges with a 1/4" seam, leaving a 2" opening.
- Trim corners and turn right side out through opening.
- Press flat. Slipstitch opening closed by hand or topstitch all around 1/8" from edge.
- Optional: stitch diagonal lines for quilted look.
Tips: Use a clear quilting ruler for perfect squares. Press seams flat for crisp edges.
How to Display or Gift It
- Tie a set of four coasters with twine and a dried sprig for hostess gifts.
- Stack on a small wooden tray next to the coffee station.
- Store wrapped sets in a kraft gift box.
- Patchwork Eye Pillow
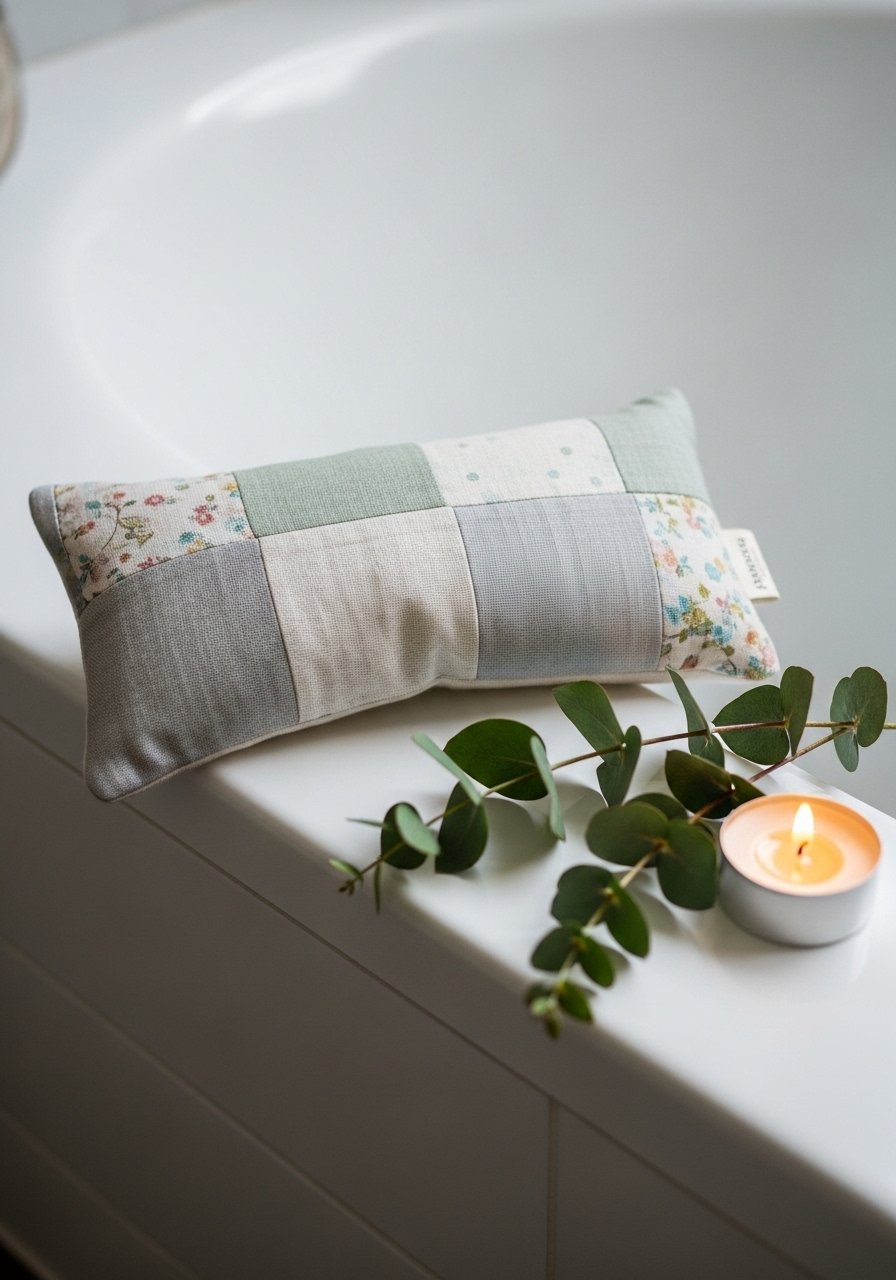
This lavender-scented eye pillow uses small fabric scraps and dried lavender for a spa-level finish. The patchwork front reads high-end when matched in tonal palettes.
Materials
- Two rectangles fabric 9" x 4" (front patchwork, back solid)
- 1/2 cup dried lavender and 1/2 cup flaxseed
- Sewing thread
- Funnel or paper cone
- Iron
Instructions
- Sew patchwork front from small scrap strips to reach 9" x 4". Press well.
- Place front and back right sides together. Stitch 1/4" seam leaving a 2" opening.
- Turn right side out through opening.
- Use funnel to add lavender and flaxseed blend. Fill until pillow is gently plump.
- Slipstitch opening closed and press lightly.
Scent & Rest Time: Let pillow sit 24 hours before first use to allow scent to mellow.
How to Display or Gift It
- Place on a nightstand with a note about lavender’s sleep benefits.
- Wrap in wax paper and tie with twine for gifting.
- Keep extras in a linen storage bag to maintain fragrance.
- Simple Linen Napkins with Rolled Hem
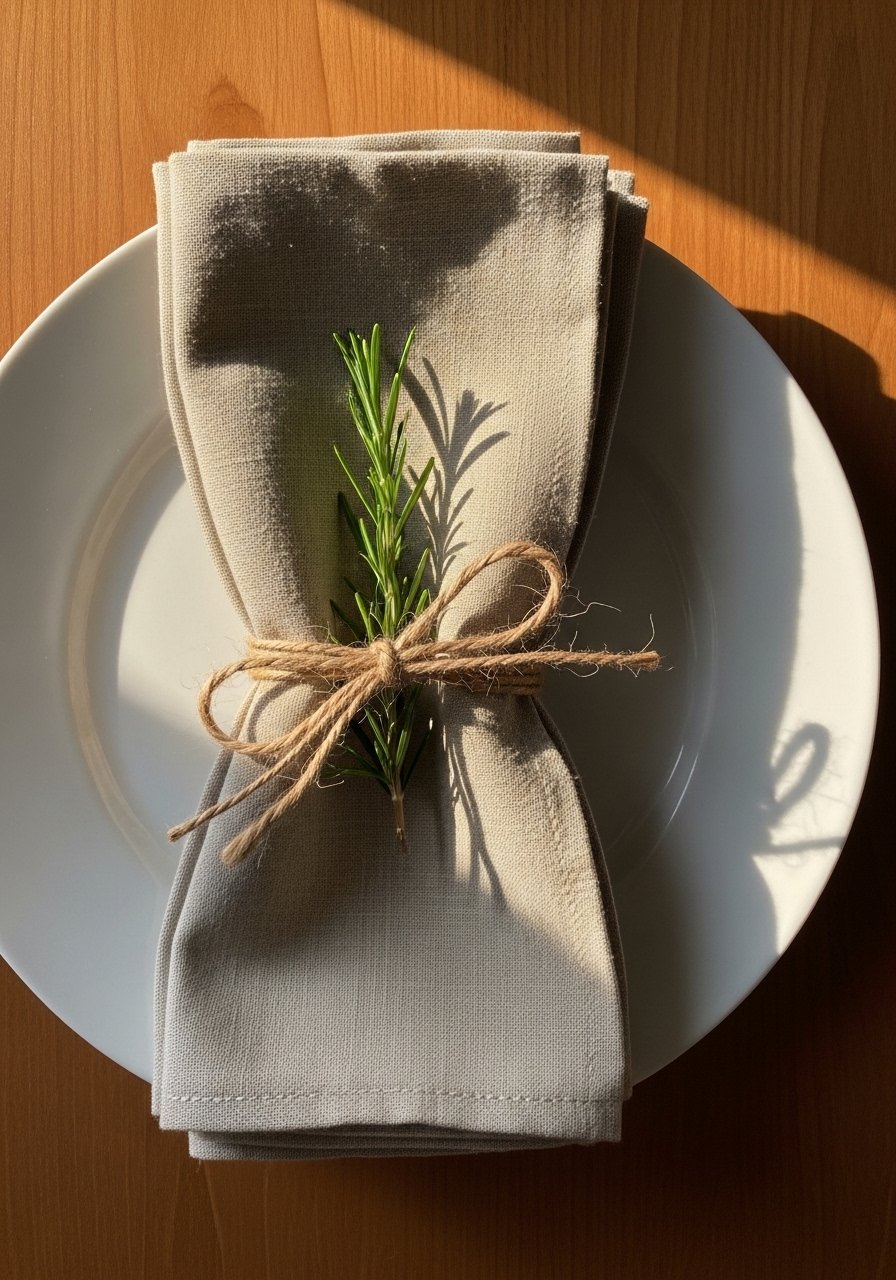
Rolled hems look professional and are easier than you think. Linen offers textured elegance for a table setting without expensive tailoring.
Materials
- 4 pieces linen 18" x 18"
- Coordinating thread
- Fabric marker
- Iron
- Rolled hem presser foot (optional)
Instructions
- Cut napkins to 18" x 18". Press edges 1/4" then again 1/4" for a narrow double fold.
- Stitch all the way around using a straight stitch 1/8" from the inner fold.
- For a finer roll, use a rolled hem foot and stitch slowly.
- Press each napkin with steam for crisp edges.
Tips: Pre-wash linen to allow for shrinkage. Use sizing spray lightly if napkins feel limp.
How to Display or Gift It
- Stack with a sprig of rosemary and tie with twine for hostess gifts.
- Keep folded in a drawer in a linen storage box to avoid creasing.
- Budget Sewing Projects for Beginners: Button-Back Pillow Cover
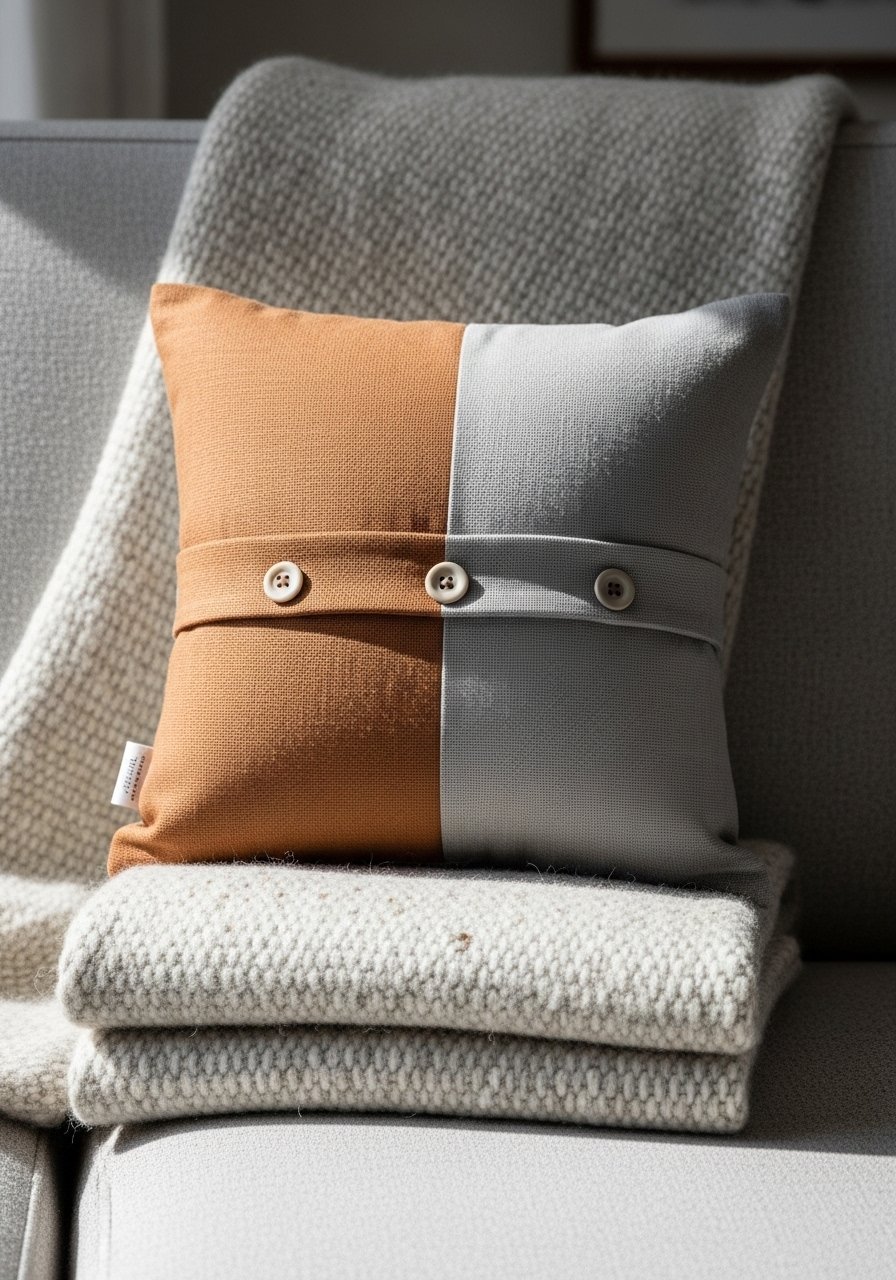
A button-back closure makes a pillow look custom-made without a zipper. It’s a classic finish that reads high-end and is perfect for beginners practicing straight seams and buttonholes.
Materials
- Fabric for pillow 18" x 42" (for a 16" pillow)
- Matching thread
- Three medium buttons (approx 5/8")
- Sewing machine buttonhole foot or hand-sew buttons
- Pillow insert 16"
Instructions
- Cut fabric to 18" x 42". Fold right sides together lengthwise to create a tube.
- Stitch down the long edge with a 1/2" seam.
- On one end, fold 1/2" and press. On the other, fold 1" twice to create button placket.
- Mark three button positions evenly spaced (approx 1.5" apart).
- Create buttonholes using buttonhole foot or hand sew. Attach buttons on the corresponding placket.
- Turn right side out, press edges, and insert pillow.
Buttonhole Tip: Test buttonhole size on scrap fabric first. Use a buttonhole foot if your machine has one.
How to Display or Gift It
- Layer pillow on your couch with contrasting textures.
- Wrap in kraft paper and include care instructions when gifting.
- Store pillow inserts in a vacuum storage bag to save space.
- Elastic-Waist Simple Drawstring Skirt (No-Pattern)
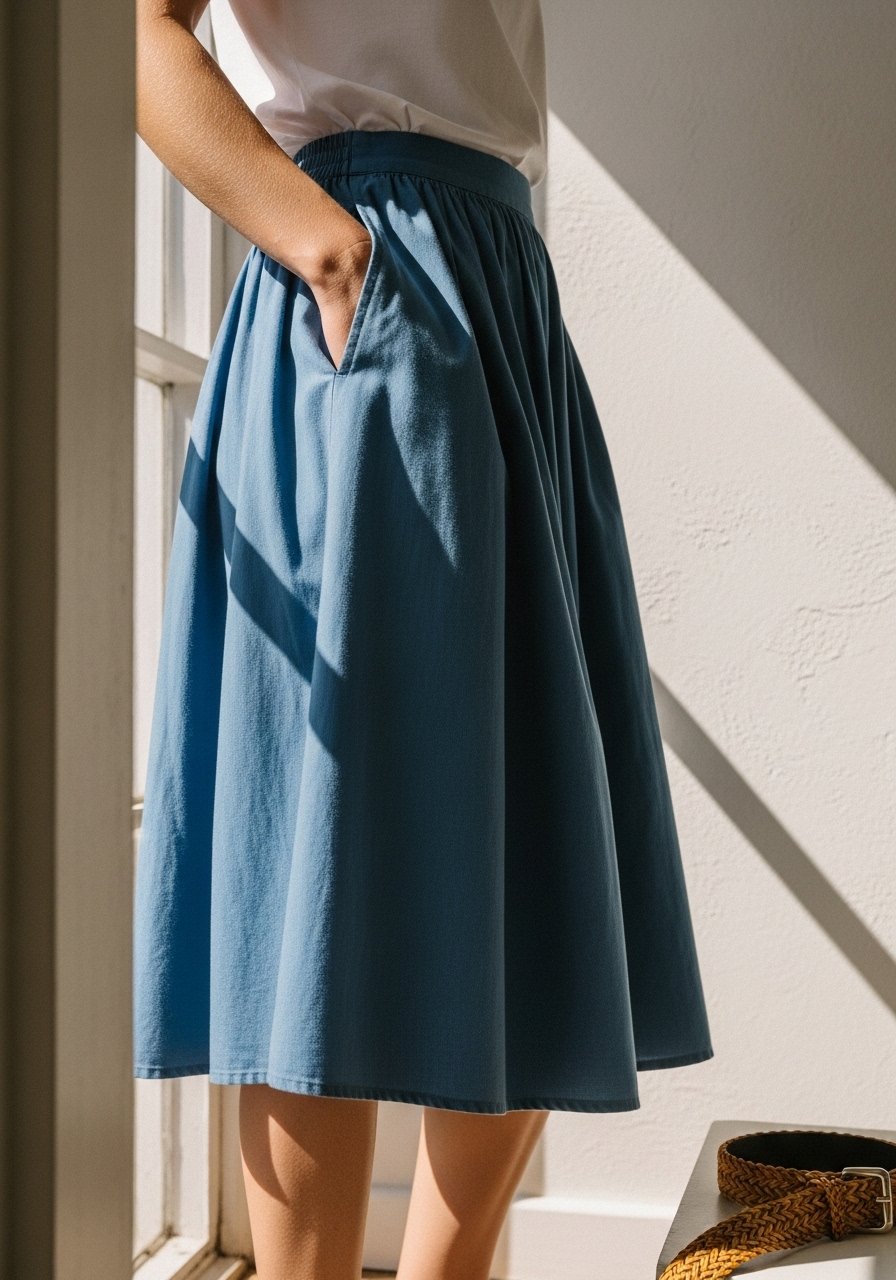
This no-pattern skirt uses a rectangle of fabric and elastic—perfect for beginners wanting wearable projects. Pockets and a neat waistband give it a boutique feel.
Materials
- 2 yards lightweight cotton or linen (or adjust length)
- 1" elastic 28"-34" depending on waist size
- Thread
- Fabric scissors
- Safety pin
Instructions
- Measure your waist. Cut fabric width = twice waist measurement + 2" for gathering and seams. Cut length = desired skirt length + 2.5" for hem and waistband.
- Fold fabric right sides together and stitch a 1/2" seam down the long side to create a tube.
- Hem bottom by folding 1/4" then 1/4" and stitching.
- Fold top edge down 1.25" to make the casing for 1" elastic. Leave a 2" opening.
- Thread elastic through with safety pin, overlap ends 1" and zigzag stitch securely.
- Close casing opening and distribute gathers evenly.
Fit Tips: Baste first with a long stitch and try on before finishing waistband to adjust gather amount.
How to Display or Gift It
- Pair with a simple linen top for a market-ready look.
- Fold and place with a care card in a recycled box for gifting.
- Keep folded in a drawer organizer.
- Tea Towels with Bias Tape Corners
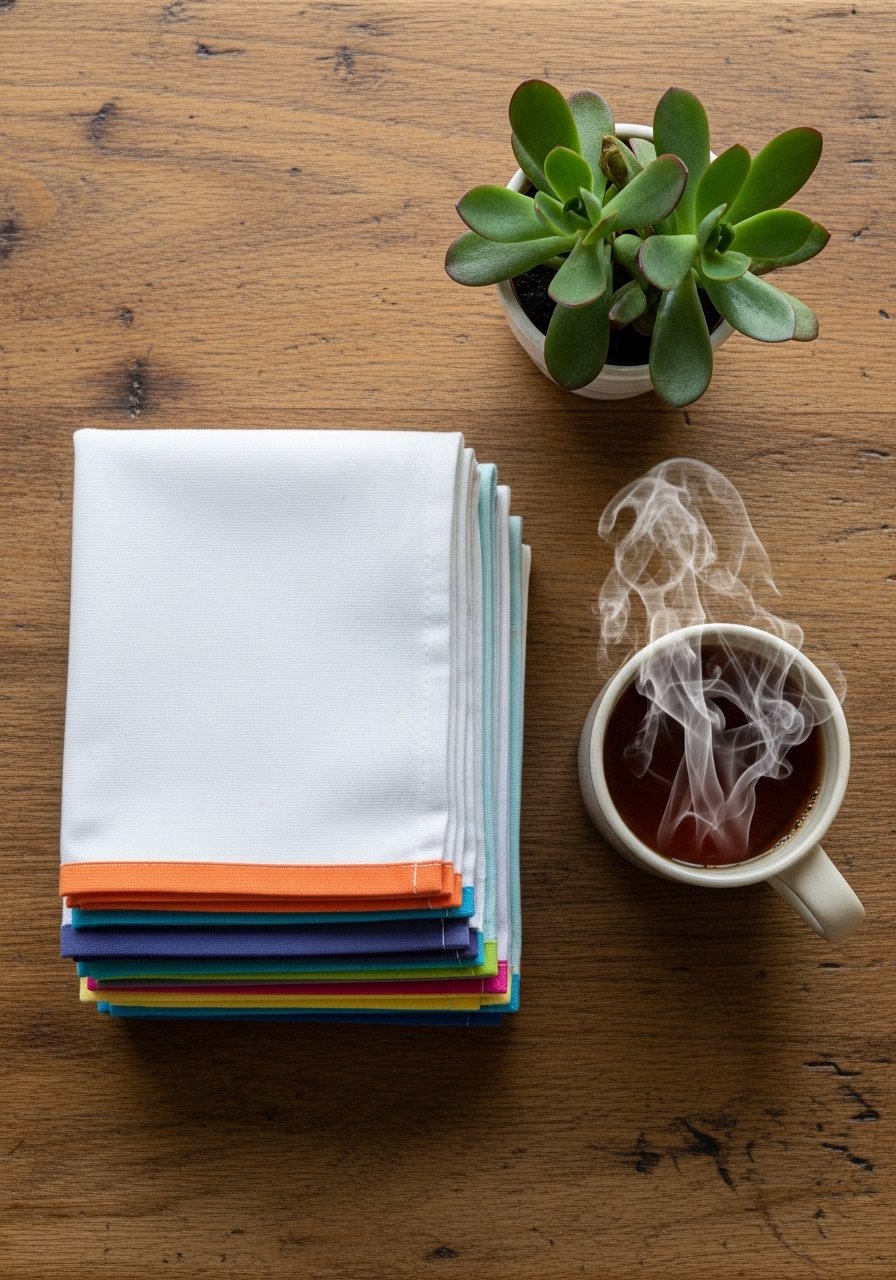
A simple bias-taped corner turns plain tea towels into boutique kitchen linens. Use cotton or linen; pressed bias provides neat, durable corners.
Materials
- Cotton or linen tea towel 18" x 28" (or made from a fat quarter)
- Bias tape 2 strips 18" each
- Thread
- Flat iron
Instructions
- Hem towel edges by folding 1/4" then 1/4" and stitching.
- Place folded bias tape over corner, mitering the corner neatly. Pin or clip in place.
- Stitch bias tape close to inner fold. Fold remaining tape around edge and stitch on top side for clean finish.
- Press towel flat.
How to Display or Gift It
- Roll with a wooden spoon and tie with twine for kitchen gifting.
- Hang on a peg rail for a farmhouse look.
- Store bundled towels in a [mason jar] as part of a farmhouse gift set: mason jars.
- Simple Patch Pocket Apron
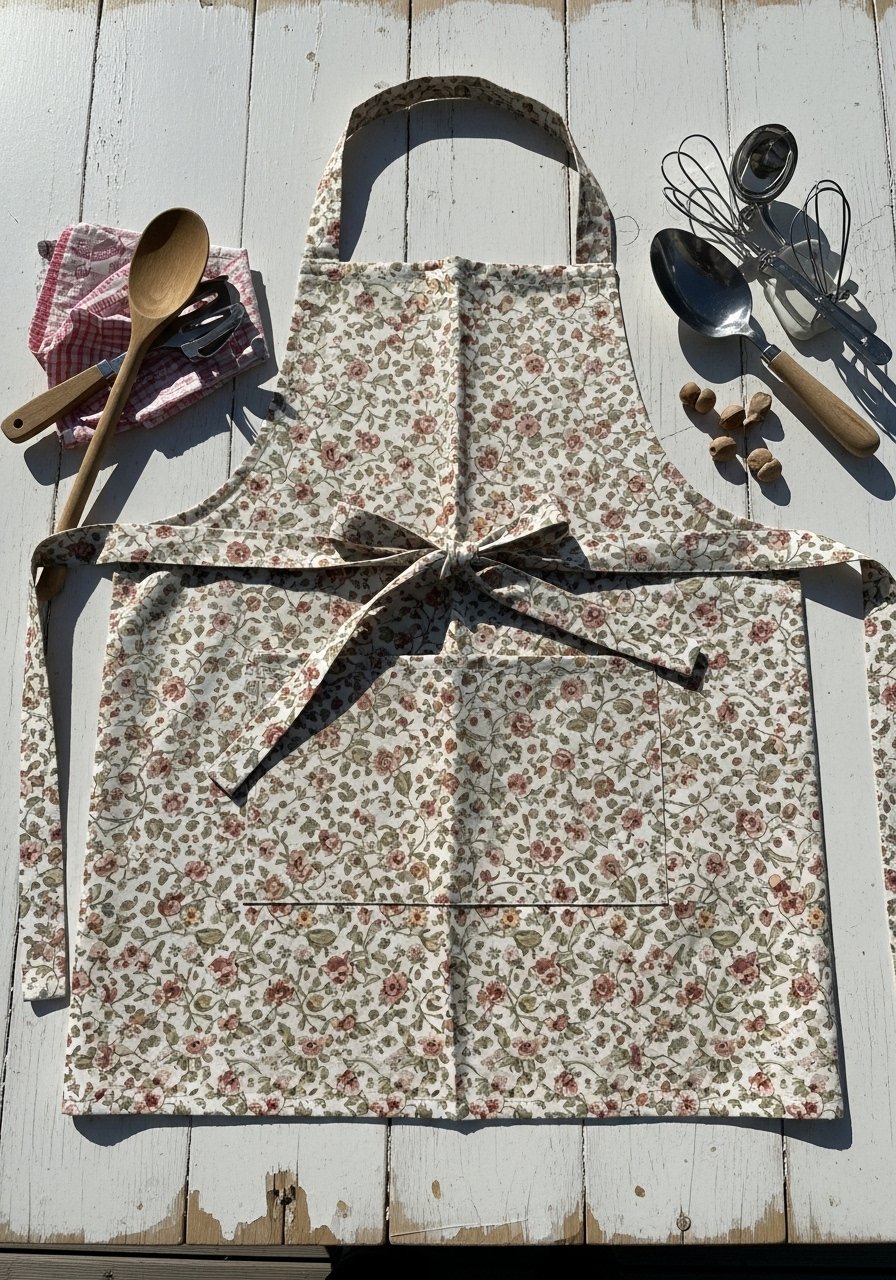
A half-apron with a large pocket is practical and stylish. The pocket can be trimmed with contrast fabric for a high-end look.
Materials
- 1/2 yard main fabric
- Contrast fabric 6" x 10"
- Thread
- 2 bias ties 28" each
- Sewing clips
Instructions
- Cut main fabric to 22" x 18". Hem bottom and sides with double 1/4" folds.
- Cut contrast pocket 10" x 8", fold top 1/4" then 1/2" and stitch to create a neat top edge.
- Fold pocket sides under 1/4" and topstitch onto apron centered.
- Attach bias ties to upper sides with 1/2" seam allowance, reinforcing with backstitching.
- Press entire apron for a polished look.
How to Display or Gift It
- Fold and pair with a set of kitchen towels in a box for hostess gifts.
- Hang on a hook near the stove for everyday use.
- Store with other textiles in a kitchen drawer organizer.
- Simple Cloth Napkin Rings (Sewn Tube)
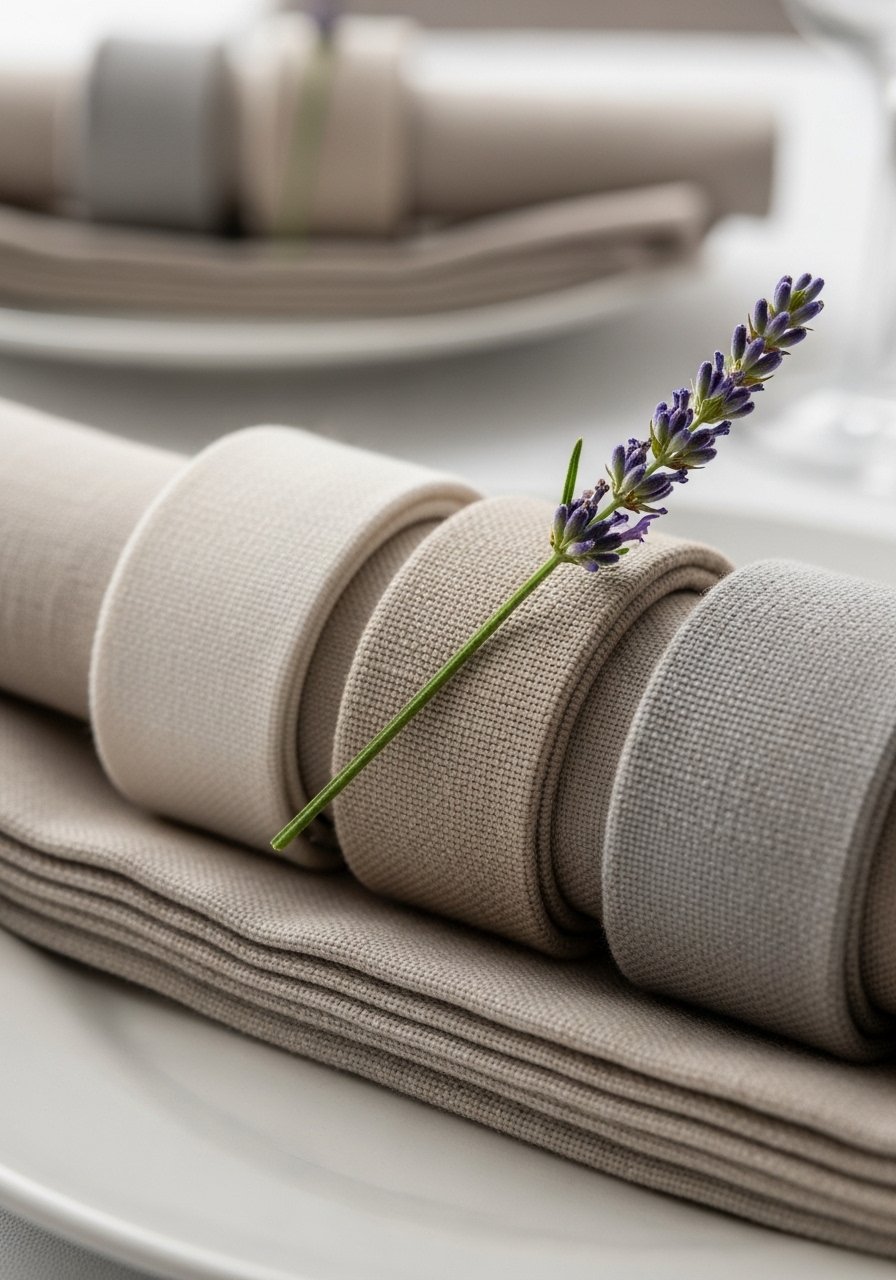
Quick strip sewing and stuffing turn into luxe-looking napkin rings. Use linen or burlap for textural contrast.
Materials
- 4 strips fabric 5" x 3" each
- Thin batting or stiff interfacing 4 pieces 4.5" x 2.5"
- Thread
- Sewing clips
Instructions
- Fold fabric strip right sides together lengthwise and stitch 1/4" seam, forming a tube.
- Turn tube right side out. Press seam flat.
- Insert interfacing or batting for structure.
- Slip stitch opening closed and press.
How to Display or Gift It
- Slide on rolled napkins and tie with a sprig for a wedding or dinner party.
- Store rings nested in a small craft organizer box.
- Simple Sunglasses or Phone Slip (Felted Wool)
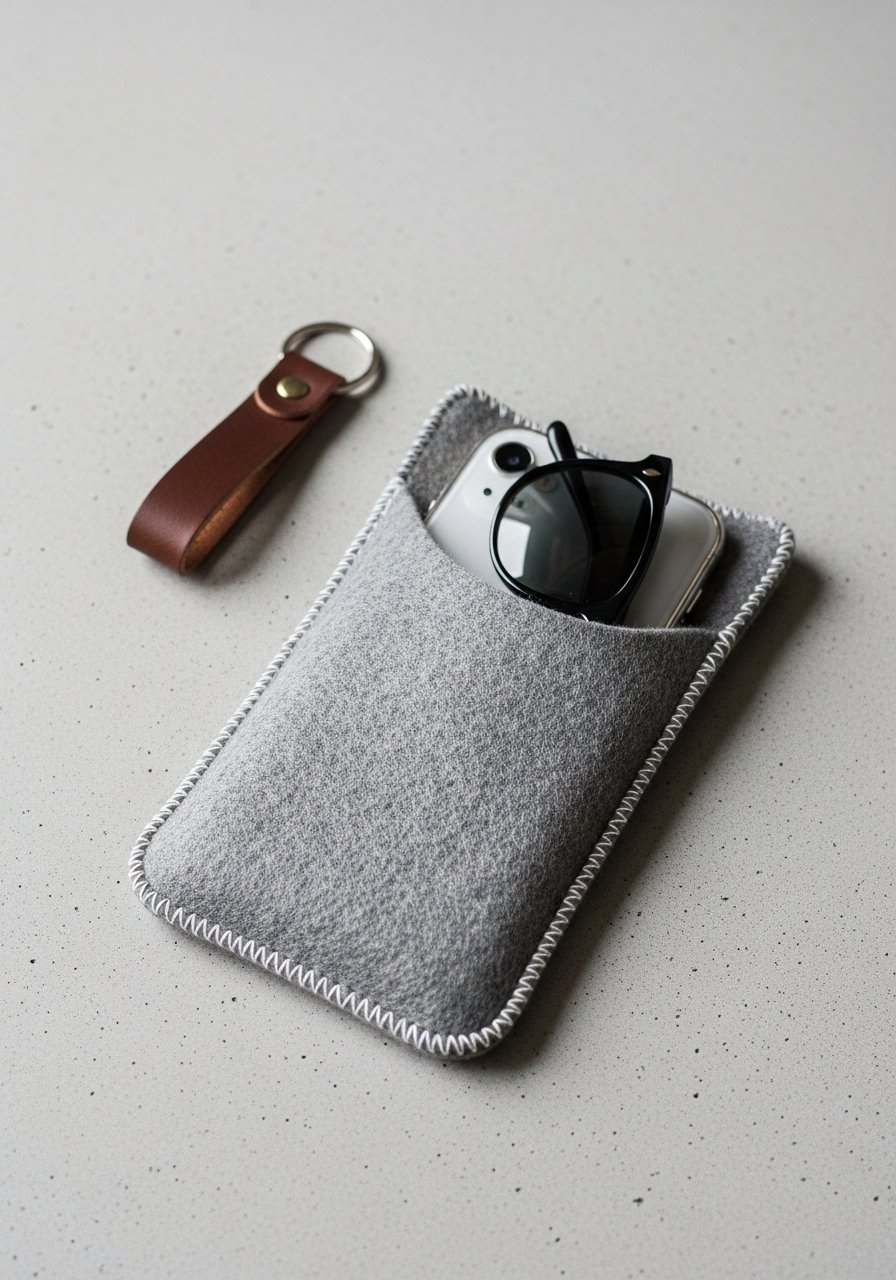
Felted wool is forgiving, doesn’t fray, and gives a boutique finish. A soft phone slip takes 15 minutes and protects screens.
Materials
- Felted wool 7" x 4"
- Thread
- Embroidery floss (for decorative stitch)
- Scissors
- Button or snap (optional)
Instructions
- Fold felt right sides together and stitch sides with 1/4" seam.
- Turn right side out. Add decorative blanket stitch with embroidery floss along top edge.
- Add button or snap if desired.
How to Display or Gift It
- Pair with sunglasses inside a small kraft box for gifting.
- Store slips in a leather valet tray by the door.
- Budget Sewing Projects for Beginners: Pleated Face Mask (Fabric Layered)
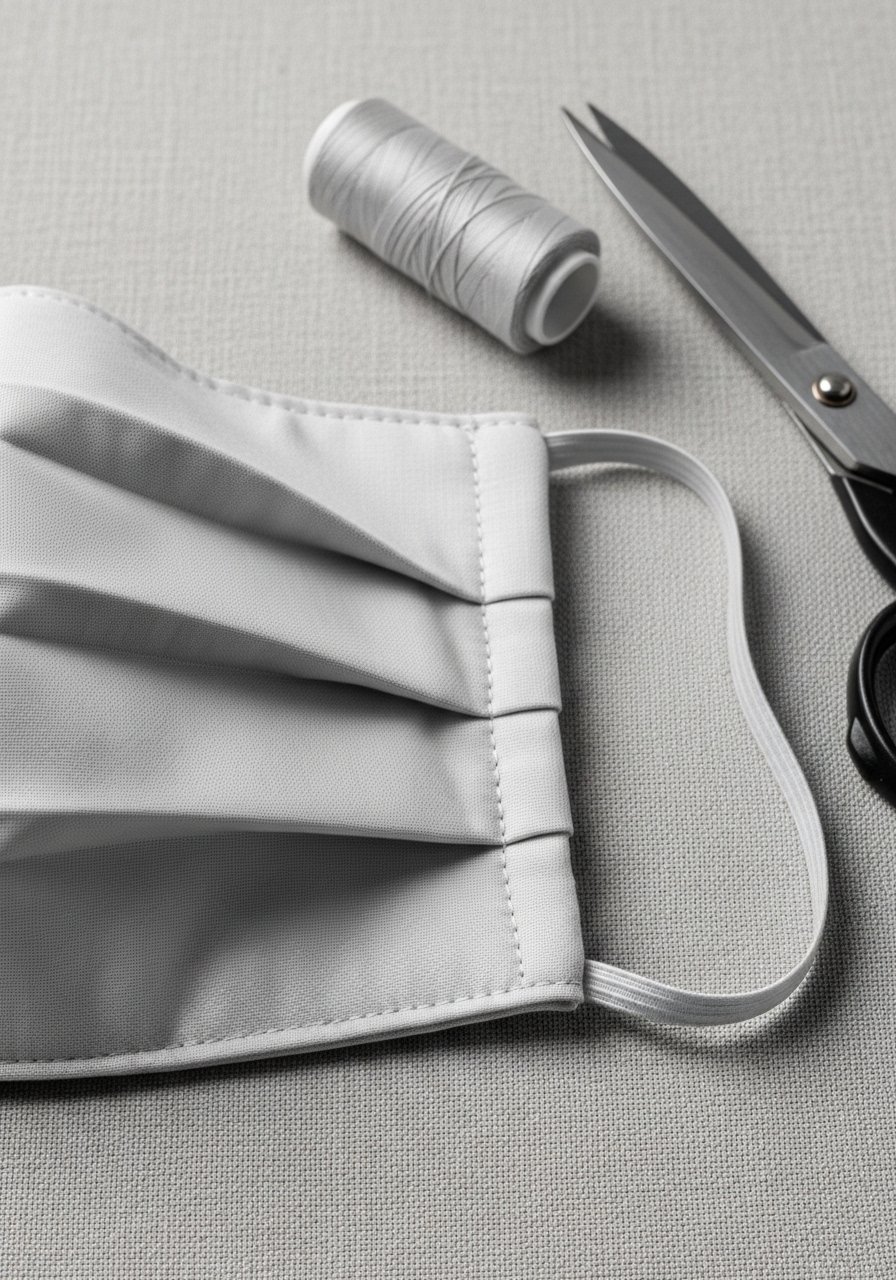
A pleated mask is functional, quick, and looks tailored when finished with crisp pleats and topstitching. Use two layers of tightly woven cotton.
Materials
- Two fabric rectangles 9" x 6" each
- Elastic ear loops 2 pieces 7" each (or ties)
- Thread
- Iron
- Seam allowance 1/4"
Instructions
- Stack the two rectangles wrong sides together. Press center.
- Create three evenly spaced pleats (approx 1/2" each) and press with iron.
- Stitch short sides with 1/4" seam allowance leaving space to insert elastic.
- Insert elastic into short side tunnels and sew ends securely with bar tack.
- Topstitch around entire mask 1/8" for a finished look.
Care: Machine wash warm and dry on medium. Replace after heavy wear.
How to Display or Gift It
- Place masks in a small muslin bag for gifting.
- Keep extras in a small fabric pouch near your entryway.
- DIY Fabric Book Cover
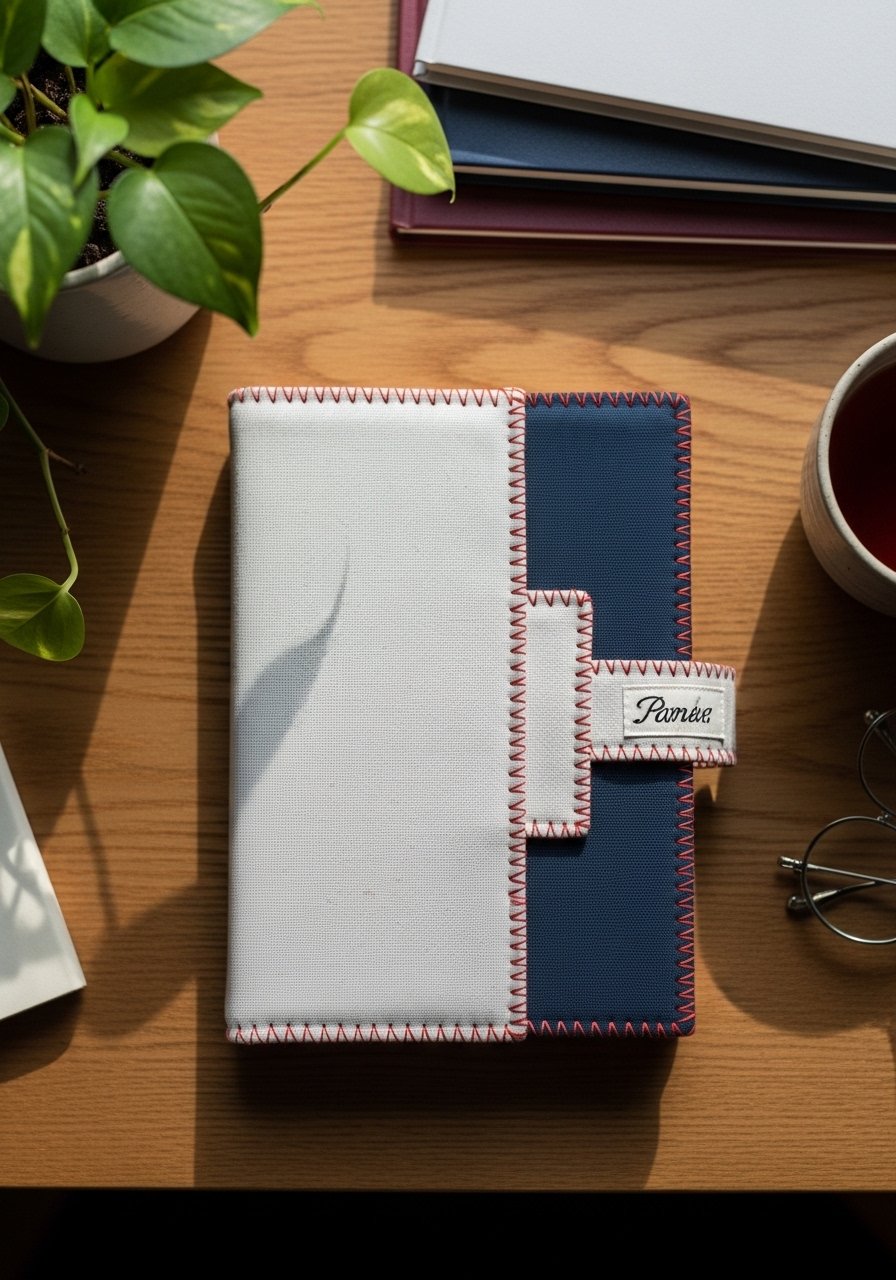
A book cover gives an old paperback a designer look and protects covers. Use cotton for crisp folds.
Materials
- Fabric 14" x 10"
- Thread
- Iron
- Fabric marker (for personalization)
Instructions
- Measure book height + 1/2" and width open + 4" for flaps. Cut fabric accordingly.
- Fold in side flaps and topstitch edges to create pockets.
- Slide book covers into pockets snugly.
- Personalize with hand-stitched initials if desired.
How to Display or Gift It
- Wrap a book in a cover and tie with twine for a cozy gift.
- Store wrapped books on a shelf for a curated look.
- Simple Elasticized Pillowcase (Envelope)
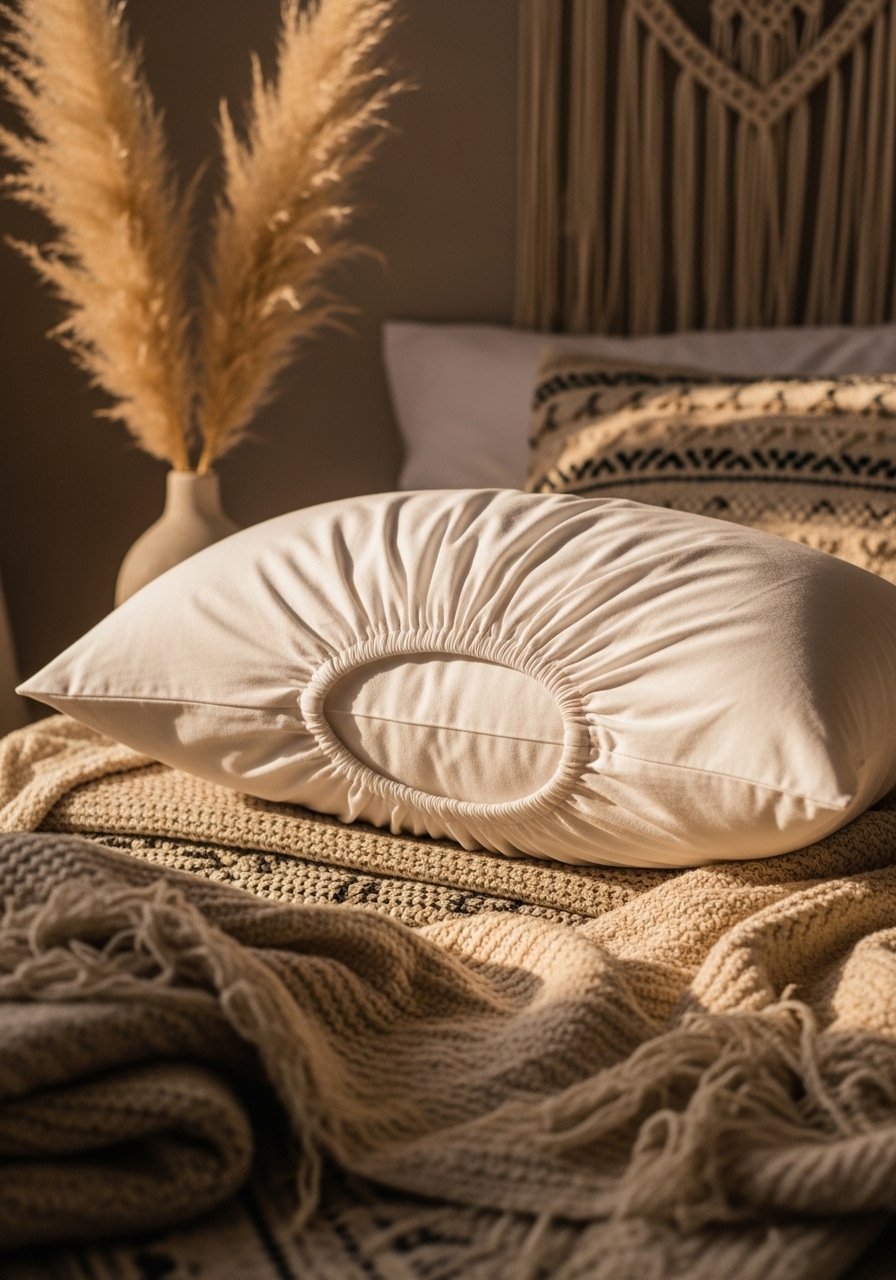
Add an elasticized back to a pillowcase for a neat, tailored fit. This small detail feels custom and keeps inserts snug.
Materials
- Rectangle fabric 20" x 32"
- 1/4" elastic 16"
- Thread
- Safety pin
Instructions
- Fold fabric right sides together lengthwise and stitch a 1/2" seam.
- Hem bottom edge with a double fold.
- Create a back opening by folding fabric so edges overlap 4". Sew edges leaving a 3/4" casing at the overlap for elastic.
- Thread elastic through casing and stitch ends securely.
How to Display or Gift It
- Pair pillowcase with a matching throw for gift sets.
- Keep extra covers in a fabric storage cube.
- Simple Fold-Over Clutch (Magnetic Snap)
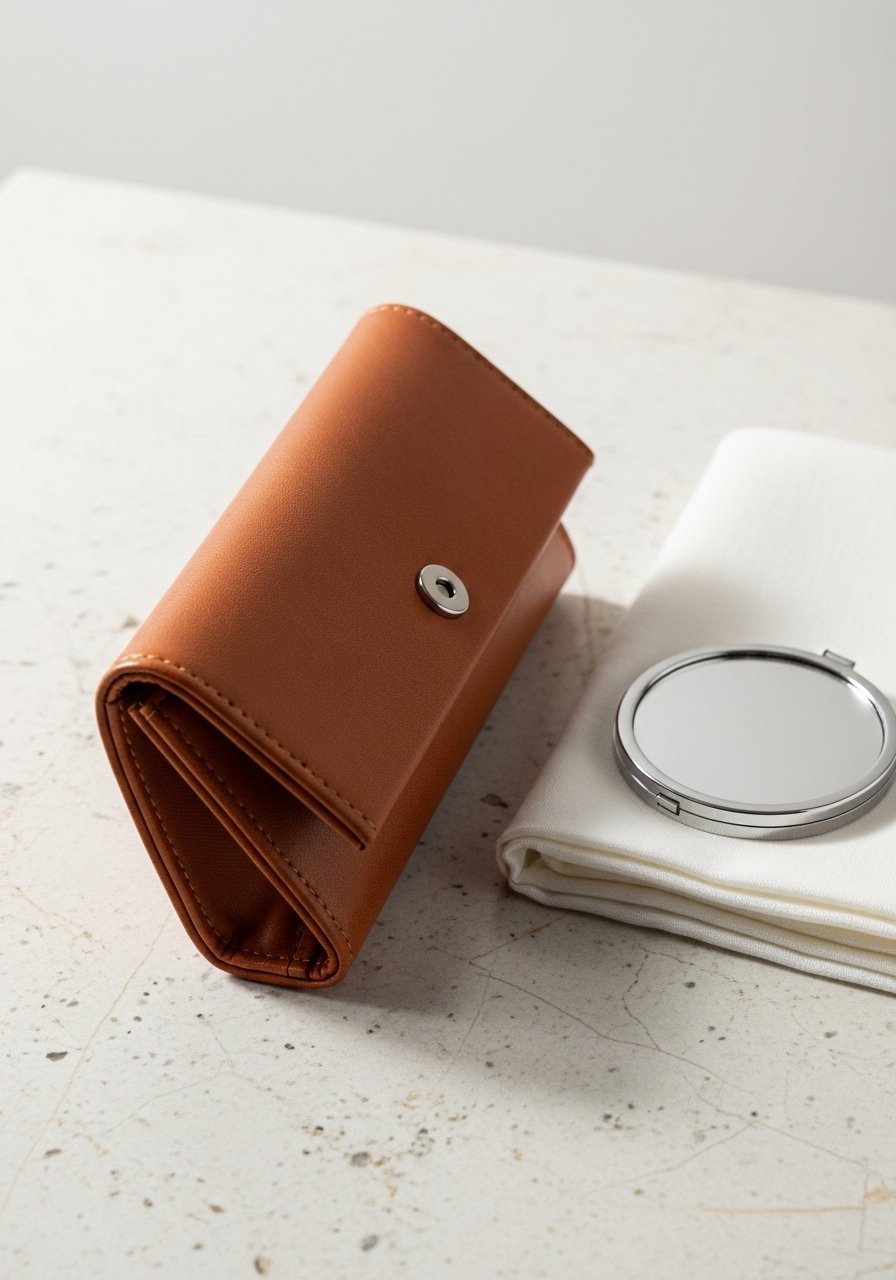
A fold-over clutch in faux leather or canvas looks expensive when edges are crisp and a magnetic snap is used.
Materials
- Main fabric or faux leather 12" x 8"
- Lightweight interfacing 11" x 7"
- 1 magnetic snap
- Thread
Instructions
- Fuse interfacing to wrong side of fabric.
- Fold bottom up 4" to create the body, leaving 4" flap to fold over.
- Topstitch sides. Attach magnetic snap per manufacturer instructions.
- Press edges for a crisp fold.
How to Display or Gift It
- Slip into a gift box and line with tissue for a chic gift.
- Store clutch in a small dust bag.
- Quick Eyelet Curtain Tiebacks
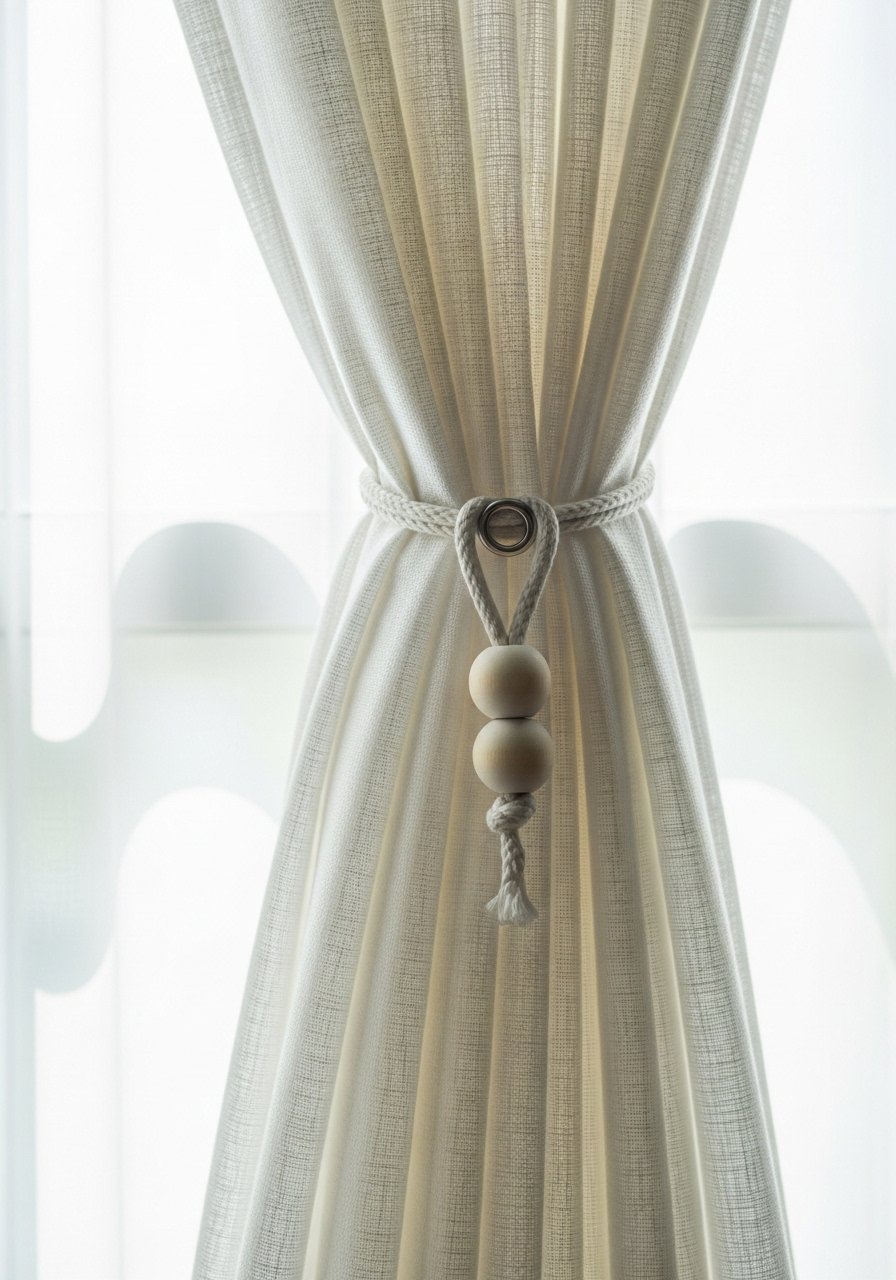
Tiebacks are a subtle detail that make simple curtains look tailored. Use an eyelet kit for a clean fastening point.
Materials
- Fabric strip 24" x 4"
- 1 eyelet kit
- Wooden bead (optional)
- Thread
Instructions
- Fold fabric strip right sides together and stitch long edge. Turn right side out.
- Fold ends in and press. Insert eyelet 1.5" from end per kit instructions.
- Add bead to loop if desired and knot to secure.
How to Display or Gift It
- Tie back curtains to show how they’ll look.
- Pair with a curtain rod sample for a housewarming gift.
- Felted Wool Key Fob with Leather Accent
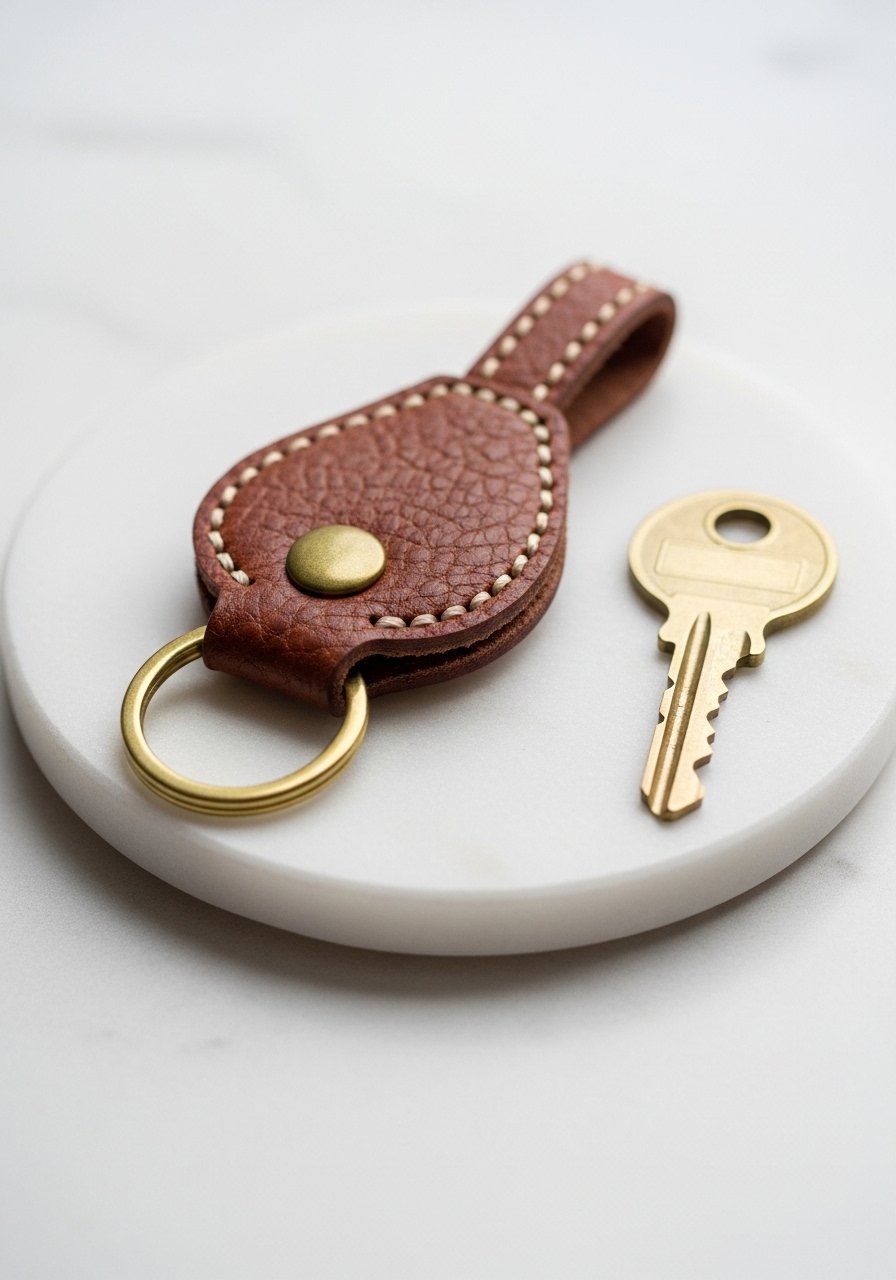
A small felt and leather key fob looks artisanal and luxe. Quick stitching and a brass ring finish the look.
Materials
- Felt piece 3" x 2"
- Leather scrap 1" x 2"
- Brass key ring
- Embroidery thread
Instructions
- Cut felt into key fob shape. Fold leather over top and stitch leather to felt.
- Sew around edge with blanket stitch and attach key ring.
- Burnish leather edge lightly if desired.
How to Display or Gift It
- Attach to a small gift tag or tuck into a jewelry box for gifting.
- Store extras in a small wooden dish.
- Rustic Burlap Utensil Wraps
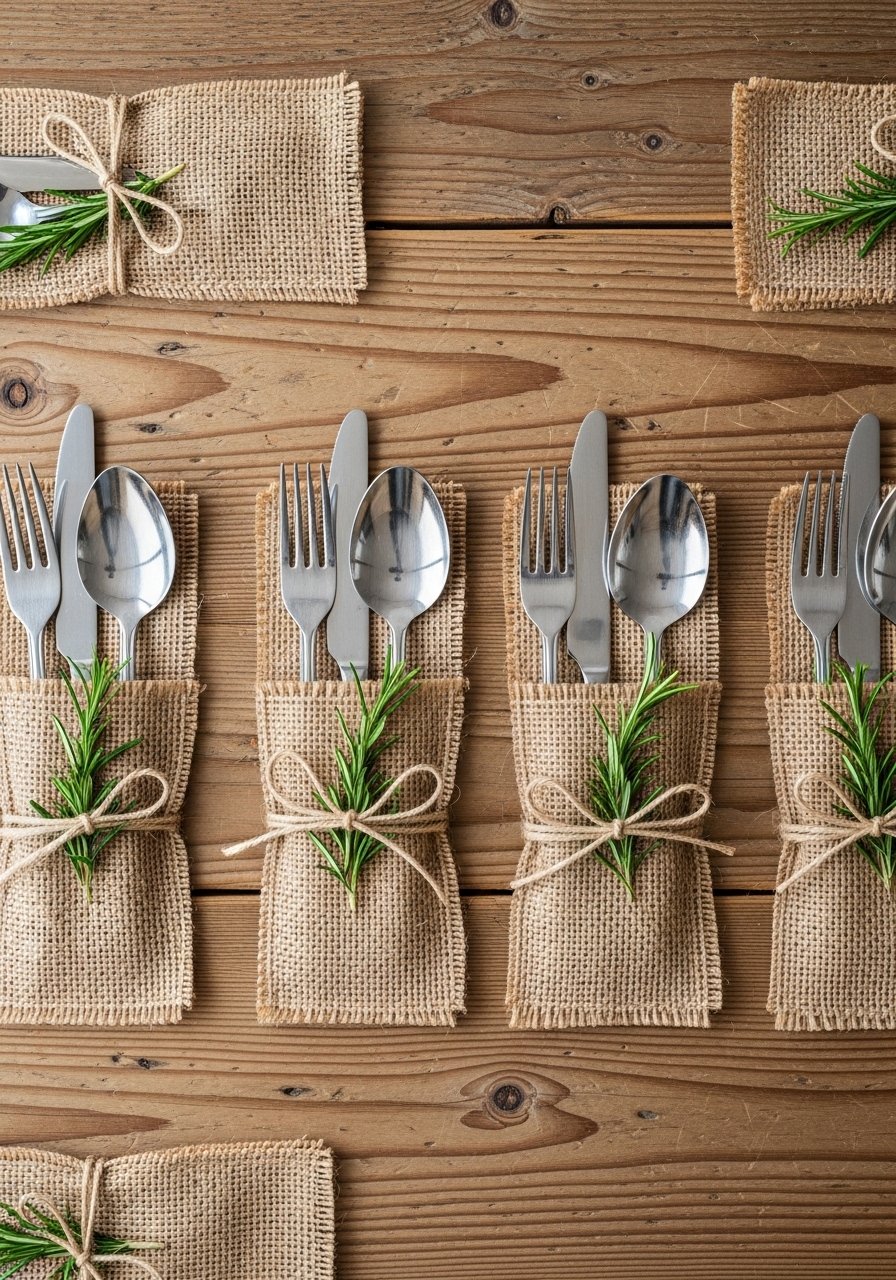
Burlap utensil wraps make tablescape styling effortless. A simple wrap with a stitched pocket looks handmade and curated.
Materials
- Burlap or linen 12" x 6" per wrap
- Thread
- Twine for tying
- Sewing clips
Instructions
- Fold fabric into a pocket shape and stitch sides with 1/4" seam.
- Fold top edge into a neat hem and stitch.
- Press and tuck utensils into pocket and tie with twine.
How to Display or Gift It
- Line up on place settings for rustic weddings.
- Store bundled in a linen basket.
- Simple Fabric Headband (Twist or Knot)
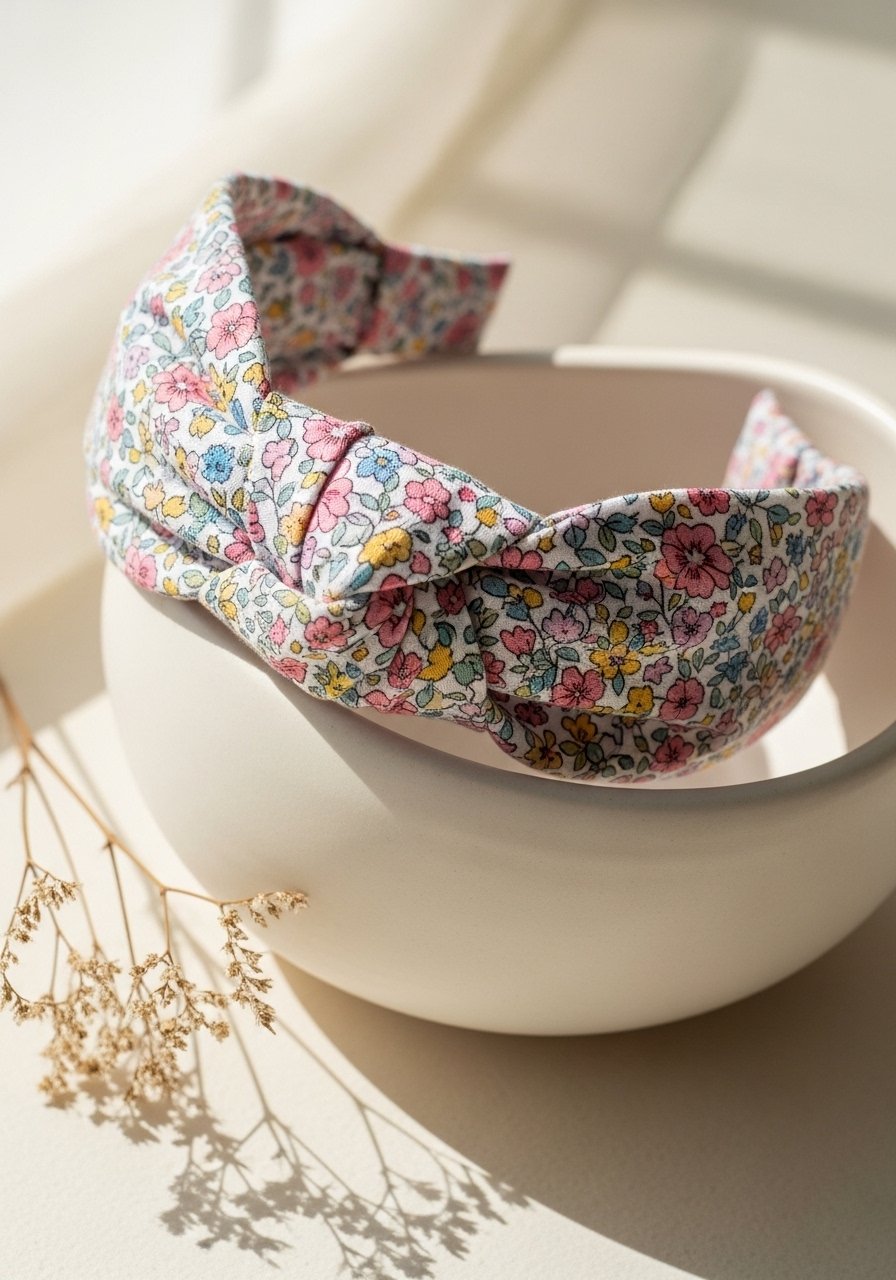
A fabric knot headband is trendy and quick. Use a strip of fabric and a bit of elastic for comfort.
Materials
- Fabric strip 20" x 4"
- 1/2" elastic 2"
- Thread
Instructions
- Fold fabric lengthwise and stitch into a tube. Turn right side out.
- Thread elastic through the center and stitch ends.
- Tie or sew a knot in center to create the twist look.
- Stitch ends together, covering seam with knot.
How to Display or Gift It
- Place headband on a small card and slide into a cello bag for gifting.
- Store on a small bracelet stand.
- Simple Oven Mitt (Layered Cotton)
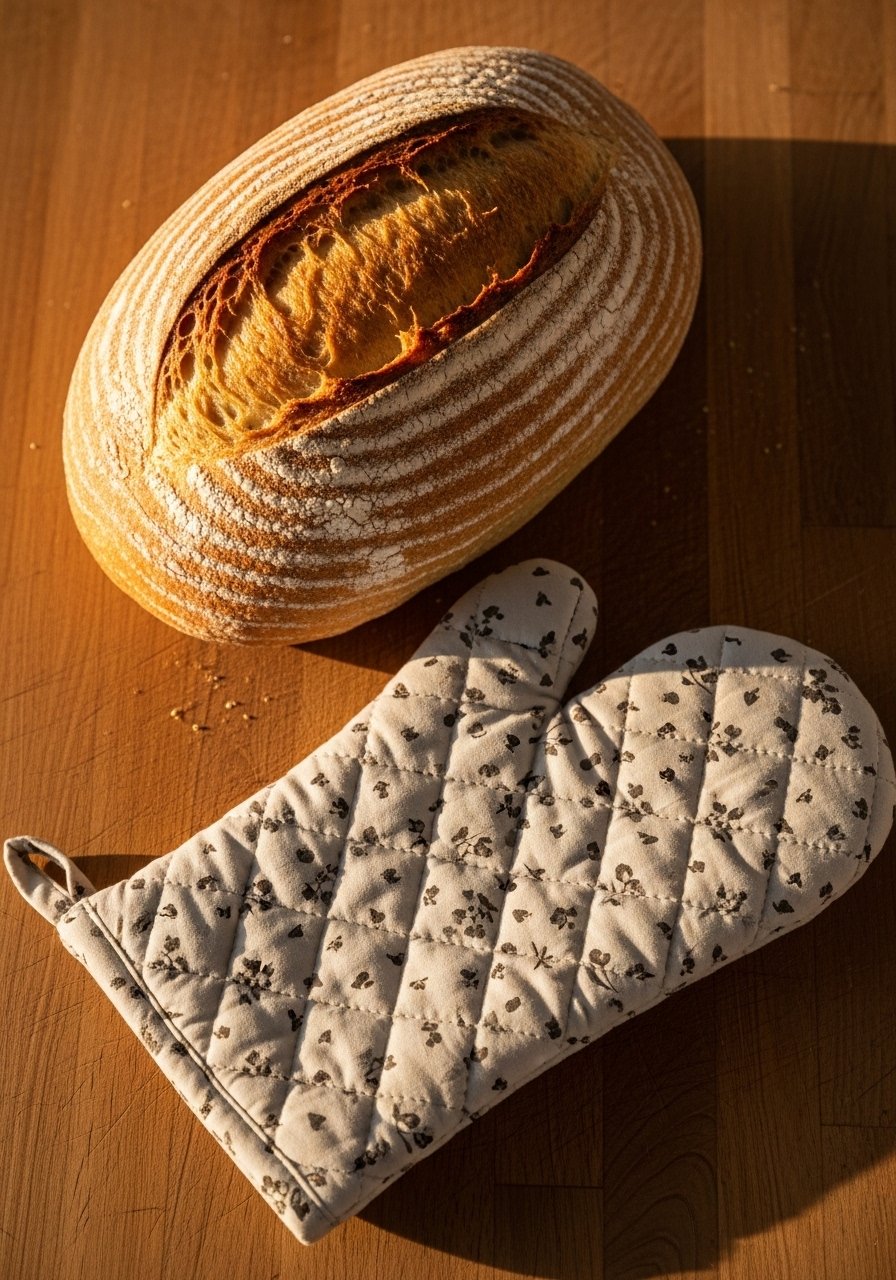
A lined oven mitt with batting feels durable and looks handmade by a studio maker. Layer cotton, batting, and a cotton lining.
Materials
- Outer fabric 10" x 18"
- Cotton batting 10" x 18"
- Lining fabric 10" x 18"
- Thread
- Quilting ruler
Instructions
- Layer outer fabric, batting, and lining. Quilt 1" apart or as desired.
- Cut two mitt shapes from quilted fabric plus two lining shapes.
- Place mitts right sides together and stitch around leaving opening at wrist.
- Turn right side out and slip stitch opening closed.
- Add hanging loop if desired.
Heat Tip: Test with oven mitted hand to ensure insulating batting thickness is adequate.
How to Display or Gift It
- Pair with oven towel and wooden spoon in a kraft box.
- Hang on an oven rack using a small loop.
- Simple Drawstring Produce Bag (Mesh or Cotton)
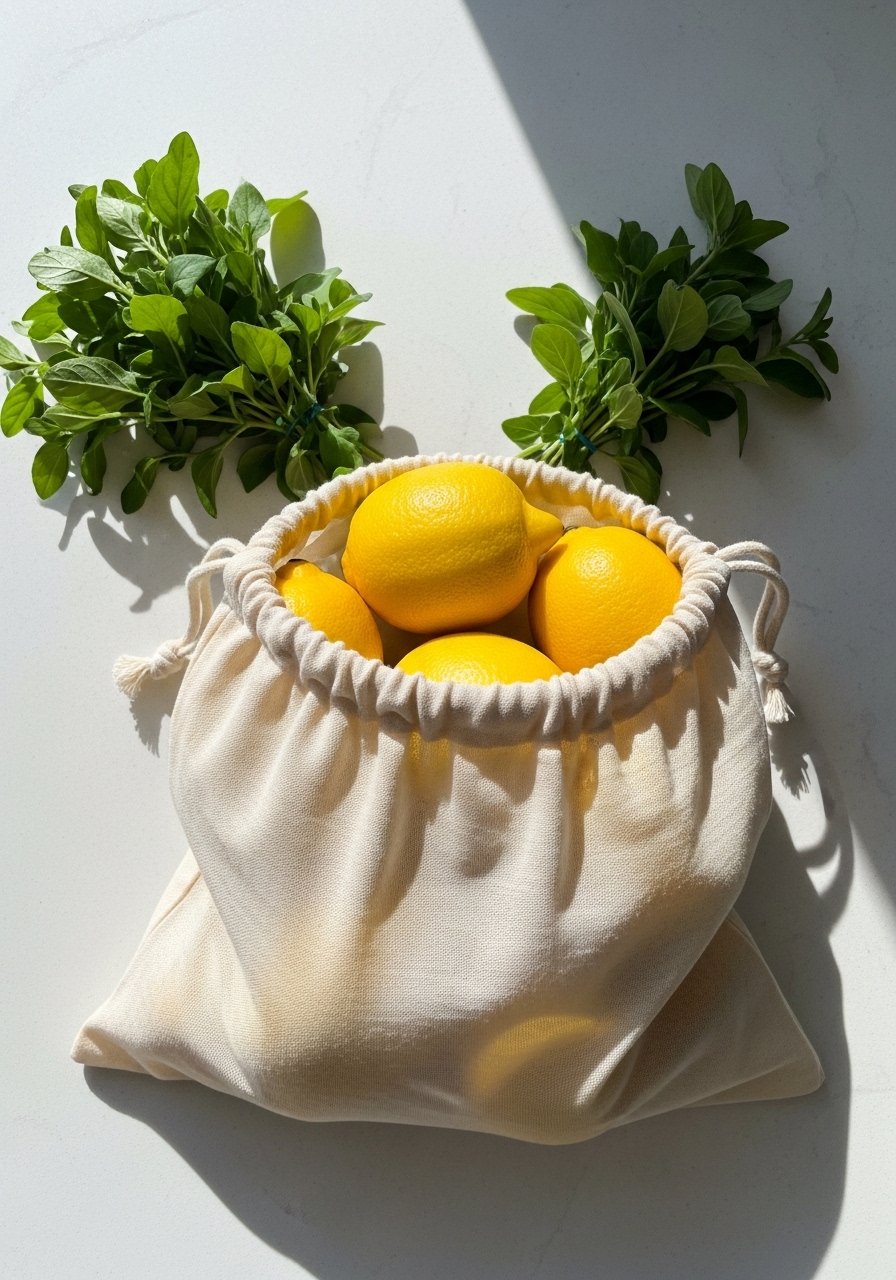
Make reusable produce bags from lightweight cotton or mesh. They’re eco-friendly and look artisan when sewn neatly.
Materials
- Fabric 12" x 16" per bag
- Cord 18"
- Thread
- Safety pin
Instructions
- Fold fabric right sides together and stitch sides with 1/4" seam.
- Fold top 1/4" then 1" to create a casing. Stitch leaving 1.5" opening.
- Thread cord through casing, knot ends, and trim.
How to Display or Gift It
- Bundle a set of bags with a produce market card.
- Store rolled in a cotton mesh produce tote.
- Patchwork Tote Bag (No-Pattern)
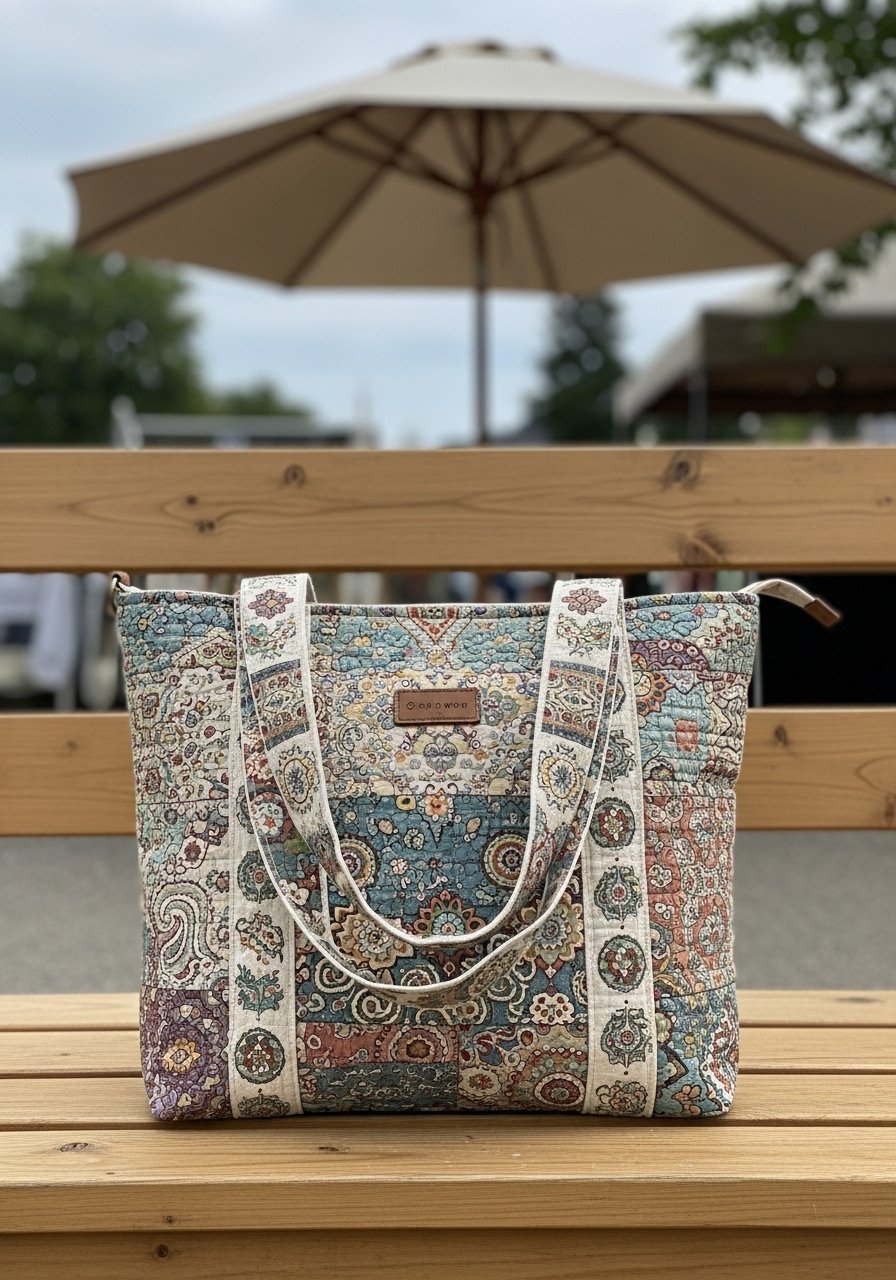
A patchwork tote makes great use of larger scraps and has a high-end artisan vibe when pieced in a coordinated palette.
Materials
- Patchwork squares to make front/back 15" x 15"
- Lining fabric 16" x 16"
- Interfacing for straps and base
- Webbing or fabric straps 24" each
Instructions
- Sew patchwork panels to 15" x 15" and press seams.
- Fuse interfacing to panels’ wrong side for structure.
- Place right sides together with lining and stitch around leaving 4" opening. Turn right side out.
- Topstitch opening closed and attach straps by sewing reinforced box stitch.
- Press and add an inner pocket if desired.
How to Display or Gift It
- Fill with market finds and tie a lavender sprig for gifting.
- Store folded in a linen tote organizer.
- Quick Fabric Bookmark with Tassel
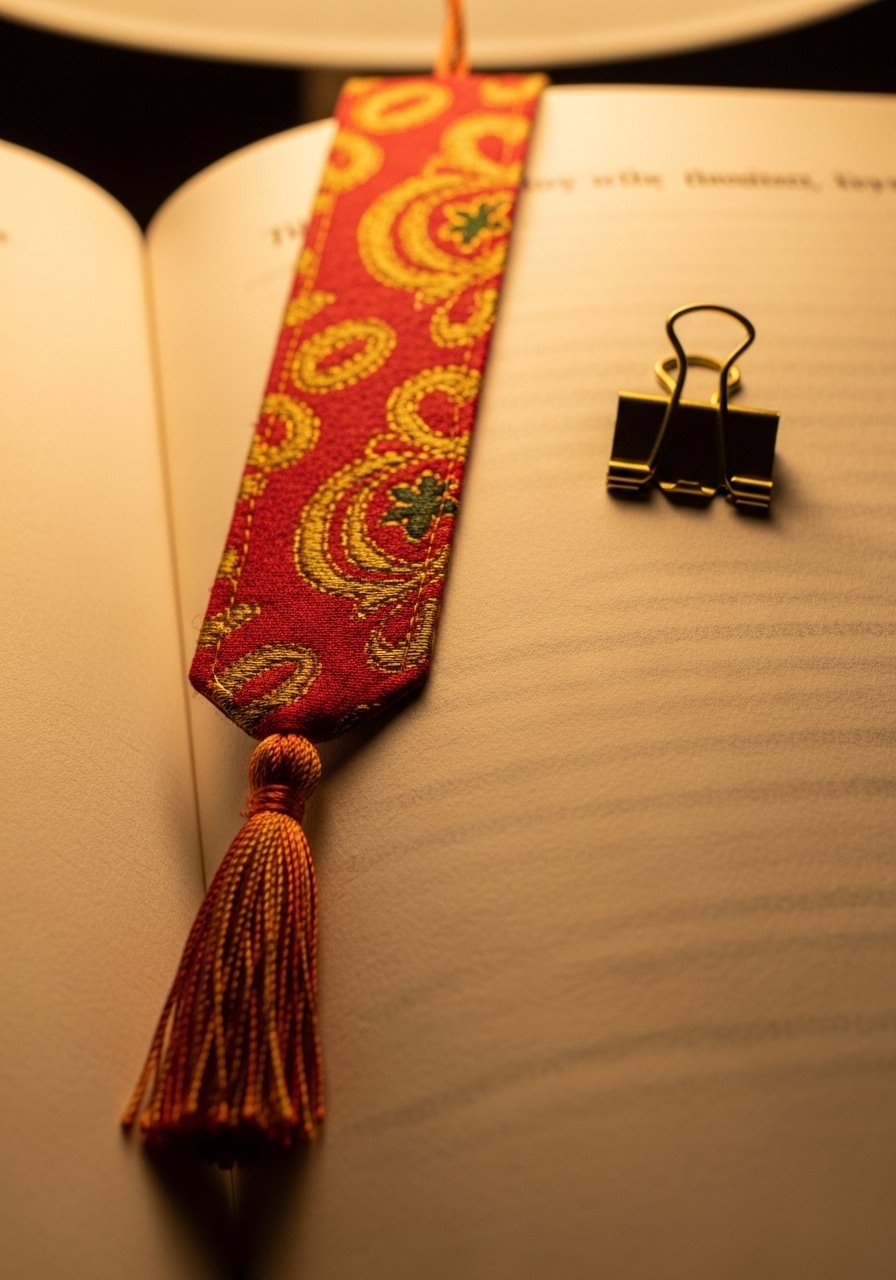
A fabric bookmark with a tassel looks crafted and curated. Great as a tiny, thoughtful gift.
Materials
- Fabric strip 7" x 2"
- Lightweight interfacing
- Embroidery floss for tassel
- Needle and thread
Instructions
- Fuse interfacing to fabric. Fold edges and stitch to create a neat rectangle.
- Create a small tassel from floss and attach securely to one end.
- Press for a finished look.
How to Display or Gift It
- Slip into a book with a handwritten note for a personalized gift.
- Keep bookmarks in a small wooden box for gifting sets.
You made it—24 approachable, budget sewing projects for beginners that look curated and cost next to nothing. There’s something here for every style: cottagecore napkins, Japandi pillow covers, boho totes, and farmhouse kitchen linens. Try one tonight, or pick a few to batch-make for gifts. Pin this list for later and tell a friend which project you’ll try first—what’s calling your name: the patchwork tote, the elegant linen napkins, or the tiny zipper pouch?
Trust me, picking up a quality hot glue gun with temperature control changed how every single one of these projects turned out — no more stringy mess, no more burns. If you want one tool that helped across projects, consider a temperature-controlled option like a hot glue gun.
Happy sewing—and don’t forget to pin your favorites. Which project will you make first?





