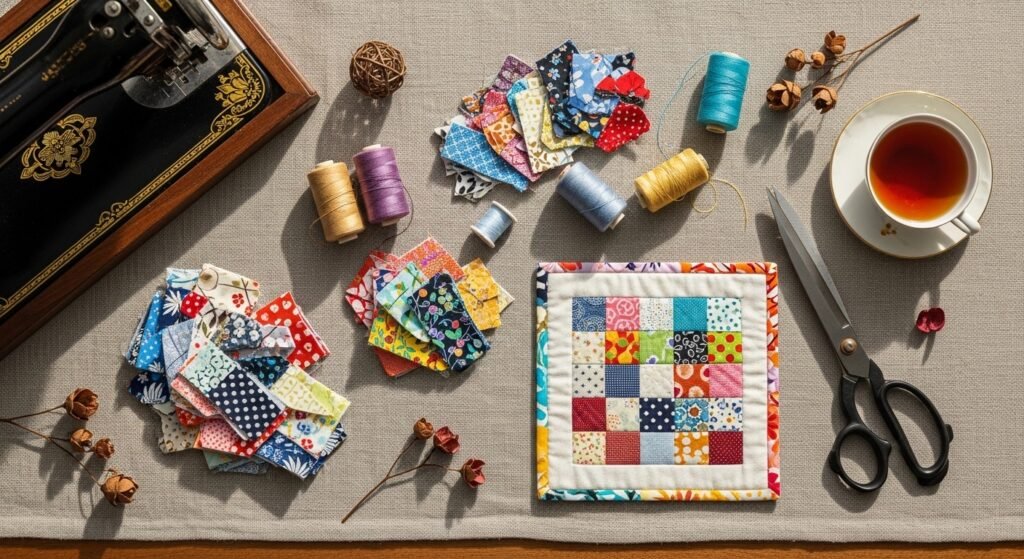
You probably have a basket of fabric scraps that looks guilty every time you walk by. What if those tiny pieces became practical, sustainable decor or sweet handmade gifts? These sewing projects for beginners with scraps are made to use up odds and ends, teach basic stitches, and leave you with pieces that look intentionally curated—not thrown-together.
Throughout this list you'll find quick projects that use simple tools like a Cricut Joy or a sharp rotary cutter and self-healing mat. I mention helpful products as real options, not a shopping sweep—things that speed the process or fix beginner mistakes. Each project includes a full materials list, step-by-step instructions, troubleshooting tips, and a polished display or gifting idea.
You’ll see couch-friendly home accents, kid-friendly crafts, and small sewn gifts. Expect techniques like patchwork, simple applique, straight-line quilting, and no-sew finishing. Pin your favorites, keep scraps out of landfill, and let’s make something adorable.
- Tiny Patchwork Coasters (perfect for coffee corners)
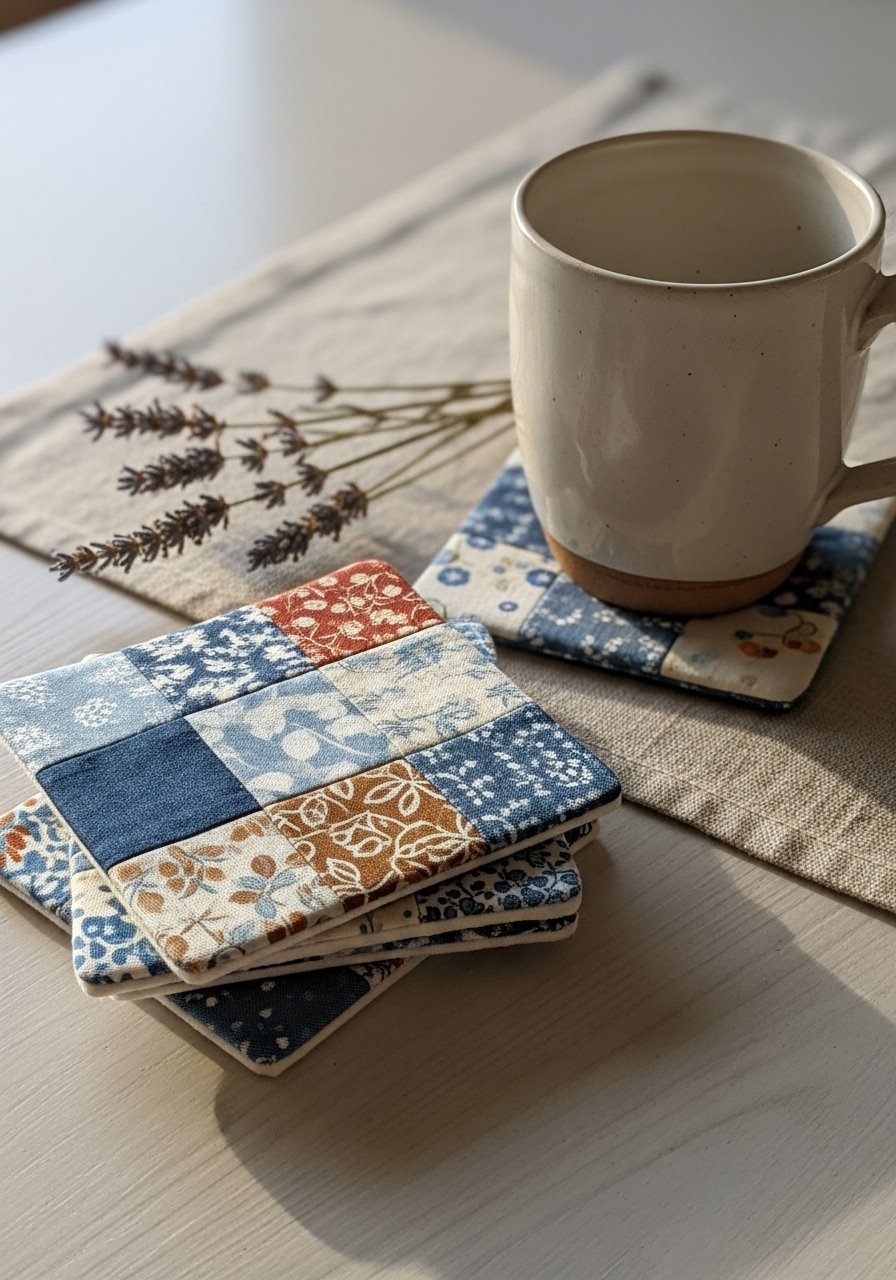
These 4.5" coasters turn scrap strips into a farmhouse-meets-boho set. They’re quick, absorbent, and washable. Beginners love the repetitive straight seams for getting comfortable with seam allowances. The texture is cozy—cotton, a little batting puff, and a stitched edge.
Materials
- 8–12 cotton scrap strips (varied prints), 1" x 5" each
- 4 cotton coaster backings, 4.5" square
- 4 squares of cotton batting, 4.5" square
- Thread (all-purpose, cotton)
- Sewing machine or needle for hand-sewing
- Rotary cutter and self-healing cutting mat, 12" x 18"
- Straight pins or Wonder Clips
- Iron and pressing surface
Instructions
- Arrange strips in a pleasing order to make a 4.5" square patch. Press seams open as you join them.
- Trim the sewn patch to 4.5" x 4.5" using the rotary cutter and ruler.
- Layer patch right side up, batting, and backing right side down. Pin.
- Quilt one line 1/4" from each seam, or stitch diagonally across for texture.
- Trim edges clean so layers match exactly.
- Finish with a topstitch 1/8" from edge or use bias binding for a polished look. Press well.
How to Display or Gift It
These coasters look lovely tied in a set with jute and a sprig of lavender. For storage, stack in a small craft organizer tray or present in a kraft gift box.
- No-Sew Fabric Scrap Bunting

This bunting uses folded pennants and fabric glue—great if you aren’t ready to sew yet. It creates a charming cottagecore banner for parties or a nursery. The finished pennants have soft movement and a matte, tactile look.
Materials
- 10–12 scrap triangles, 6" base x 8" height
- Cotton twill tape or ribbon, 2 yards
- Fabric glue (clear drying) or hot glue gun
- Scissors
- Iron and pressing pad
- Optional: fusible hem tape, 1/4"
- Measuring ruler
Instructions
- Cut triangles from scraps: 6" x 8".
- Fold the top 1/2" on each triangle and press.
- If using fusible tape, fuse the fold to secure.
- Run a line of fabric glue inside the folded top and sandwich the twill tape. Allow glue to set 30 minutes.
- Space pennants about 3" apart while sliding along the tape.
- Knot ends of tape and hang; allow full cure 24 hours for fabric glue.
How to Display or Gift It
Drape across a mantel, window, or hang vertically. Fold gently and store flat in a kraft storage box for reuse.
- Tiny Zipper Pouches (perfect scrap stashbuster)
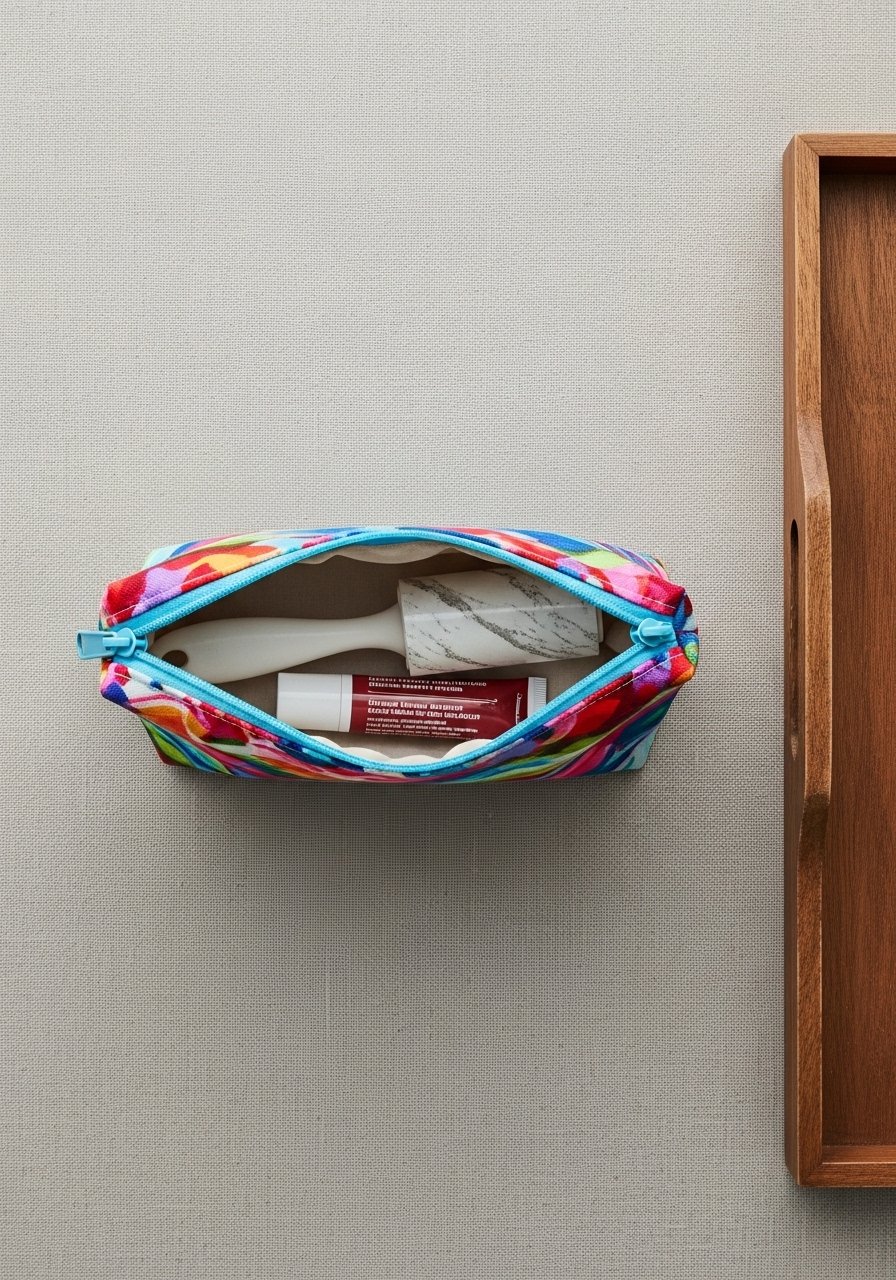
These 4" x 6" zipper pouches are ideal for coins, earbuds, or lip balm. They teach installing lightweight zippers and are satisfying to finish. The pouch has a slightly structured feel when interfaced.
Materials
- Scrap exterior fabric, 4.5" x 7" per pouch
- Lining fabric, 4.5" x 7"
- Lightweight fusible interfacing, 4.5" x 7"
- Small nylon zipper, 5"
- Thread, matching
- Sewing machine and zipper foot
- Scissors and pins
- Optional: small keyring or wrist strap hardware
Instructions
- Fuse interfacing to exterior pieces.
- Place zipper right side down on the exterior top edge and topstitch with zipper foot.
- Add lining right side to zipper and topstitch. Repeat other side.
- Open zipper halfway. Match exterior sides and lining sides, pin.
- Sew around edges leaving a 2" gap in the lining base for turning.
- Trim corners, turn right side out through the gap, push out corners, and hand stitch the gap closed. Press.
How to Display or Gift It
Slide a pouch into a small kraft gift box with a ribbon, or clip it to keys using a small wrist strap. Make a few for a themed gift set.
- Patchwork Fabric Key Fobs (simple wristlets)
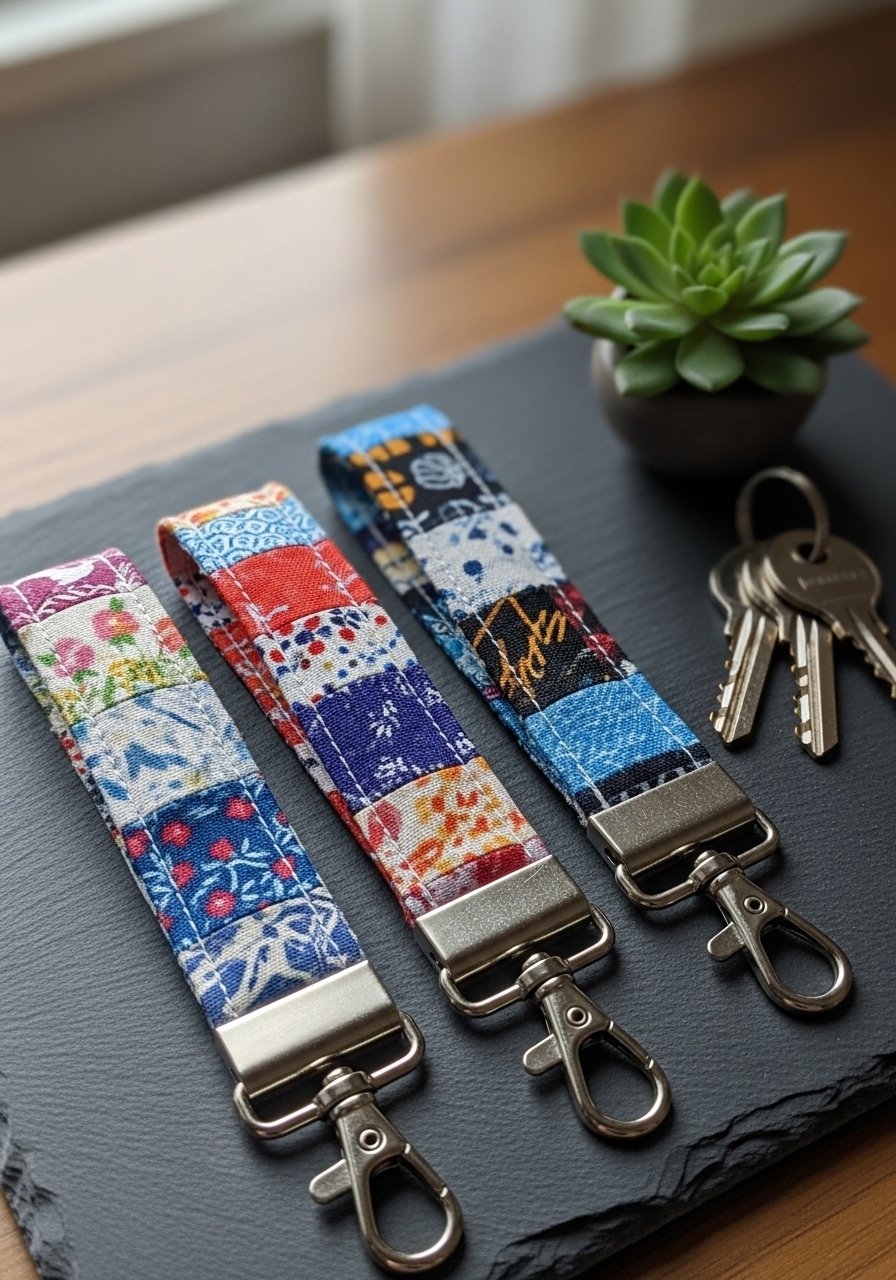
Key fobs are snap-fast, portable, and the perfect intro to working with hardware. They’re tactile with a bit of structure from interfacing and suitable for practice sewing straight lines.
Materials
- Scrap fabric strips, 1.5" x 6"
- Medium-weight interfacing, 1.5" x 6"
- Swivel key clasp hardware, 1 per fob
- Nylon webbing or twill tape, 6"
- Thread, heavy-duty optional
- Snap pliers or rivet tool (optional)
- Sewing machine or needle
- Iron
Instructions
- Sandwich interfacing between two fabric strips and press.
- Fold webbing over key clasp and baste with a few stitches.
- Fold fabric strip lengthwise and topstitch close to edges to encase webbing.
- Stitch both ends securely, backstitching over the clasp area.
- Trim threads and press.
How to Display or Gift It
Bundle several fobs on a small ring and present with a handwritten tag. Store in a small wooden tray by the door.
- Simple Scrappy Headbands (sewing projects for beginners with scraps)

These wrapped or sewn headbands give a polished look from tiny scraps. They teach you to measure, fold, and stitch around a headband base. The finished texture is soft and wearable.
Materials
- Elastic headband blanks or plastic headbands
- Fabric scraps 2" x 24" per band
- Fusible tape (optional)
- Sewing needle or sewing machine
- Hot glue gun or fabric glue
- Scissors and pins
Instructions
- Cut scrap to 2" x 24". Press.
- If using fabric glue, fold the edges 1/4" and glue to the headband, smoothing as you go.
- For sewn version, sew a long tube, turn right side out, and slip over band, securing ends with a few stitches.
- Create a knot or pleat at top by wrapping and tacking with a few stitches.
- Trim excess and hide ends with a dab of glue.
How to Display or Gift It
Pair headbands with a coordinating scrunchie and tuck into a kraft gift bag for a handmade hair set.
- Mini Envelope Napkins (rolled hem practice)
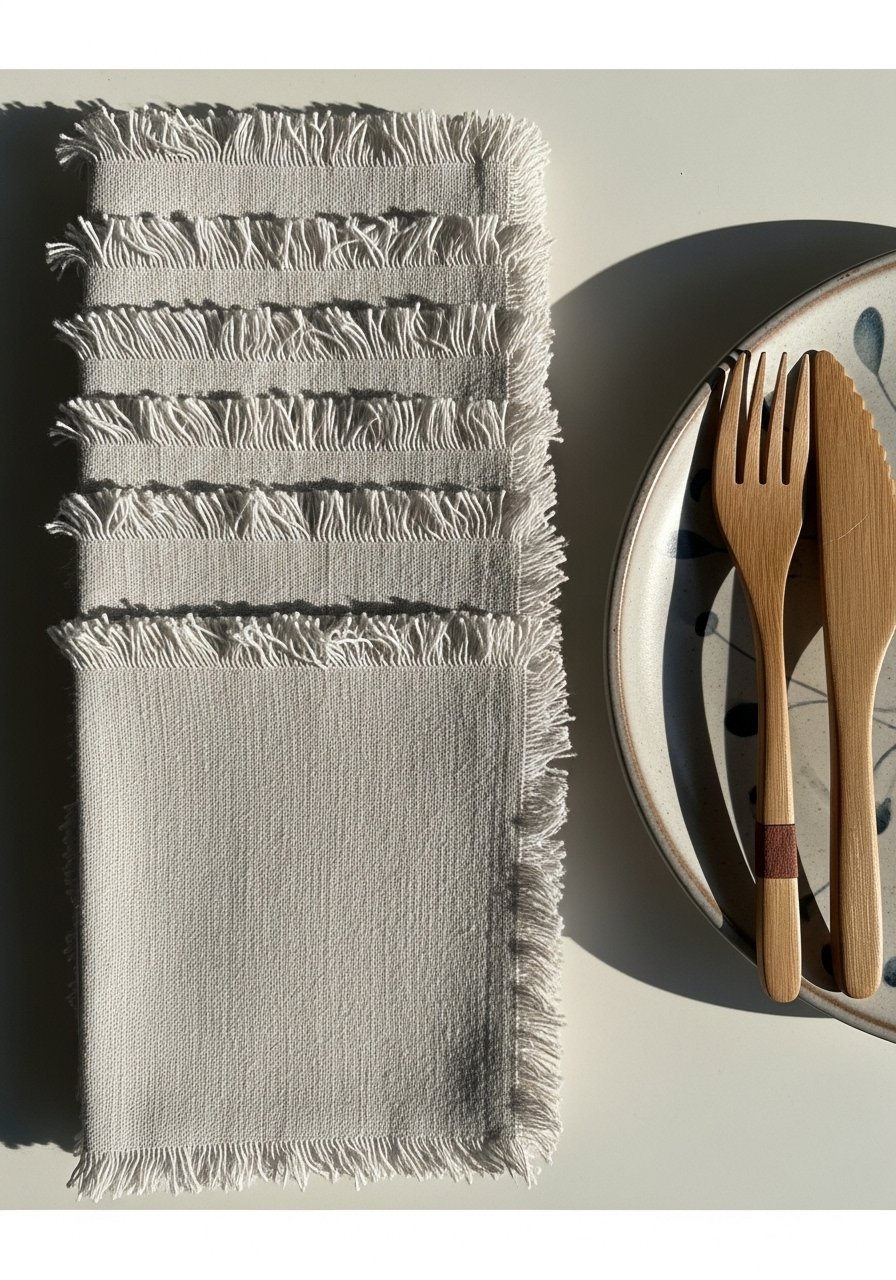
These petite napkins teach you rolling hems and help you practice stitch length. They have a soft heirloom feel and are great for appetizer or bread service.
Materials
- Linen or cotton scraps cut to 8" x 8"
- Thread
- Sewing machine or hand-sewing needle
- Iron and pressing cloth
- Straight pins
- Optional: Fray check
Instructions
- Fold a 1/8" hem twice and press along all edges.
- Pin and stitch 1/8" from the inner fold.
- Repeat for remaining sides.
- For an envelope closure (optional), fold one edge 2" over and topstitch to create a pocket.
- Press again to set hems.
How to Display or Gift It
Stack sets in a linen ribbon and tuck in a sprig of rosemary. Store flat in a stackable craft organizer.
- Scrappy Bookmarks with Embroidery
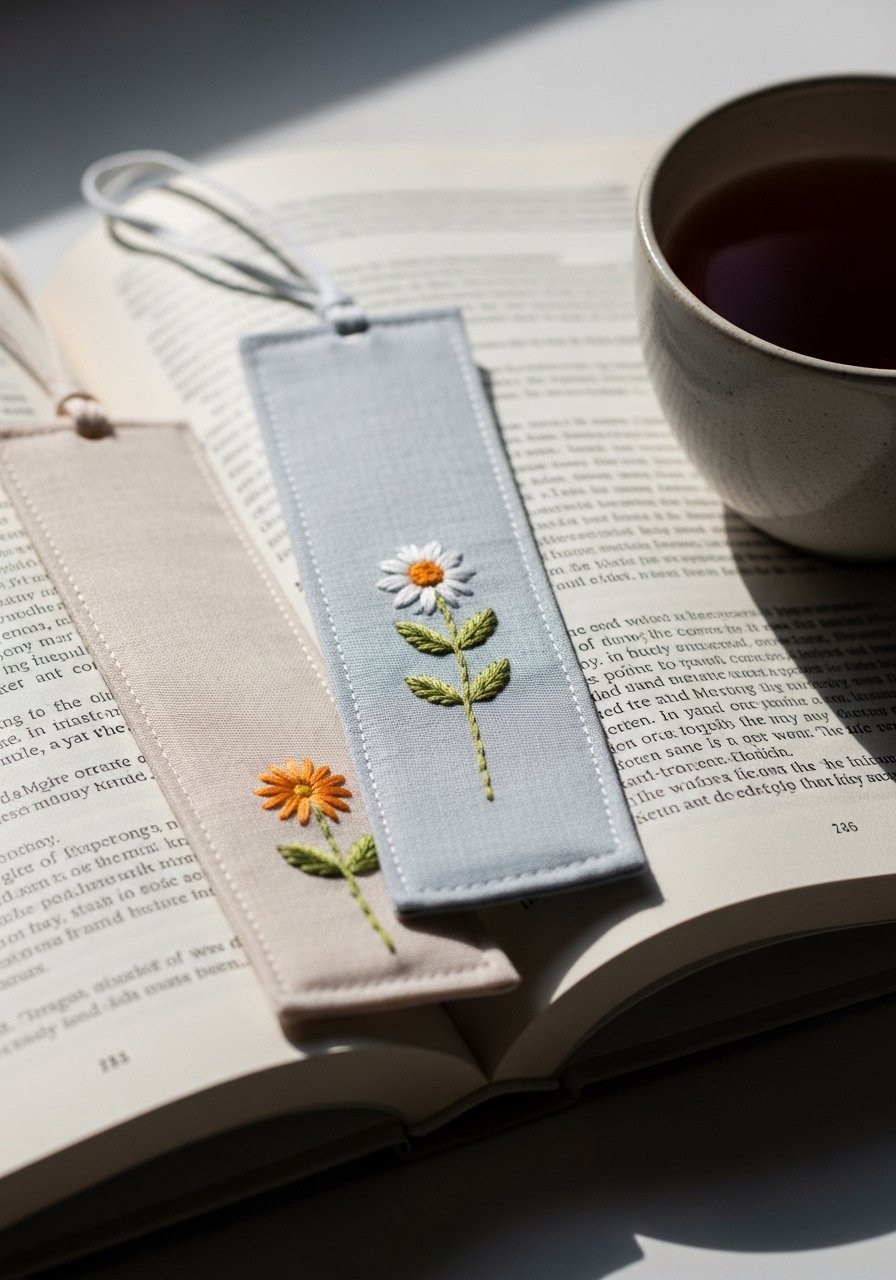
Bookmarks let you practice straight stitches and simple embroidery. They’re thin, durable, and a lovely sew-along project for beginners.
Materials
- Cotton scrap strips, 2" x 7"
- Fusible interfacing, 2" x 7"
- Embroidery floss, small skeins
- Embroidery needle and hoop (optional)
- Thread and needle for edge finishing
- Iron and pressing mat
Instructions
- Fuse interfacing to scrap for stability.
- Draw simple motif and embroider using backstitch and French knots.
- Fold raw edges under 1/4" and stitch closed with small running stitch.
- Press lightly to flatten.
- Optionally topstitch around perimeter for strength.
How to Display or Gift It
Slip into a paperback and gift with a handwritten note. Keep extras in a mason jar on your desk for easy gifting.
- Scrap Fabric Brooches (felt-backed pin)
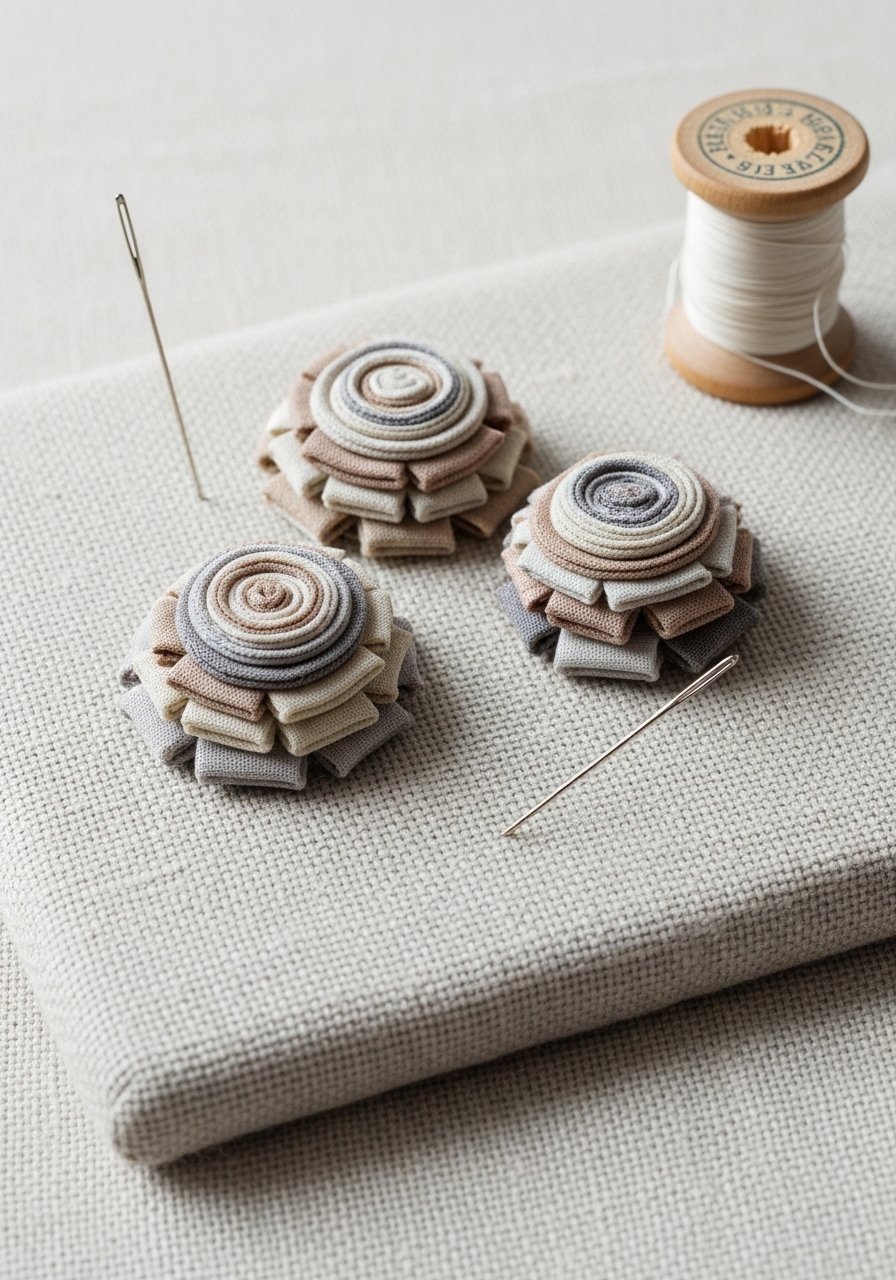
Layered fabric brooches mix scraps and felt to create wearable art. They’re forgiving—raw edges can be hidden under petals—and teach applique basics.
Materials
- Fabric scraps for petals
- Felt backing pieces, 2" diameter
- Hot glue gun or fabric glue
- Brooch pins, 1 per brooch
- Scissors and small needle
- Embroidery thread or beads for center
Instructions
- Cut petal shapes from scraps (3–6 petals).
- Layer petals on felt circle, glue each layer and press.
- Add center bead or embroidered detail.
- Attach brooch pin to back with glue; reinforce with stitching if desired.
- Trim felt to tidy edges.
How to Display or Gift It
Pin to a gift-wrapping bow or a sweater. Store brooches in a small jewelry box.
- Mini Patchwork Wall Hanging (wood dowel finish)

This little quilted wall piece uses simple patchwork and straight-line quilting. The natural dowel finish gives it a Japandi-friendly, calm aesthetic.
Materials
- Multiple cotton scraps pieced into 8" x 10" top
- Batting, 8" x 10"
- Backing fabric, 8" x 10"
- Thread and sewing machine
- Wooden dowel, 10"
- Twine for hanging, 12"
- Fabric glue or topstitching needle
Instructions
- Piece scraps into a rectangle roughly 8" x 10".
- Layer top, batting, backing. Baste with pins.
- Quilt straight lines 1" apart or follow your seams.
- Trim edges and fold top over dowel to create a loop; stitch closed or glue.
- Tie twine to dowel ends and hang.
How to Display or Gift It
Group several mini hangings for a gallery shelf. Ship flat in a rigid mailer or gift rolled in tissue inside a tube.
- Scrappy Mug Rug with Raw-Edge Applique (sewing projects for beginners with scraps)
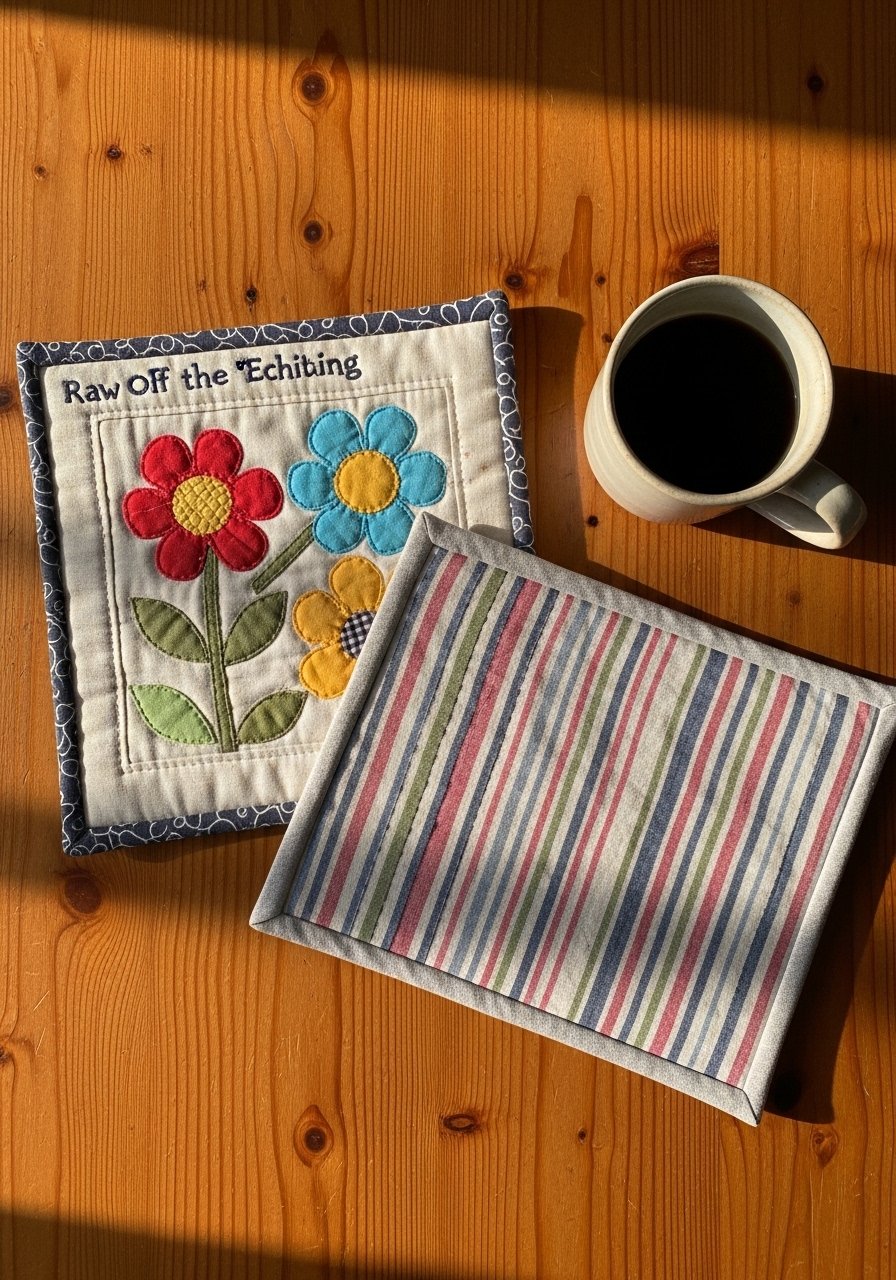
Mug rugs are slightly larger than coasters and let you practice applique. Raw-edge applique frays attractively after washing for a cozy cottagecore vibe.
Materials
- Base fabric, 6" x 8"
- Scrap applique pieces
- Fusible web (e.g., HeatnBond), 6" x 8"
- Cotton batting, 6" x 8"
- Thread
- Sewing machine with zigzag or blanket stitch option
- Scissors and iron
Instructions
- Fuse fusible web to applique scraps, cut shapes.
- Position shapes on base and press to adhere.
- Quilt with batting underneath; stitch close to applique edges using zigzag.
- Trim neatly and press.
- Machine wash once to encourage slight fray if desired.
How to Display or Gift It
Stack mug rugs in a small wooden crate by the coffee station or tie as a hostess gift with baker's twine.
- Scrap-Fabric Eye Mask with Elastic

This curved mask uses basic curved seams and gentle shaping. The finished mask is plush with batting and comfortable against skin.
Materials
- Two curved fabric pieces, 8" x 3.5" (shaped)
- Soft batting or fleece, 8" x 3.5"
- Elastic, 11"
- Sewing machine and small needle
- Thread
- Pins and scissors
Instructions
- Sandwich batting between the two fabric pieces, right sides facing.
- Pin elastic pieces to side seams, looping slightly inward.
- Sew around perimeter with 1/4" seam, leaving a 1.5" gap.
- Turn right side out, press edges, and topstitch to close gap.
- Ensure elastic fit is comfortable; adjust length as needed.
How to Display or Gift It
Pair with a small lavender sachet and present in a small drawstring bag for a sleep kit.
- Fabric Scrap Key Covers (slip-on charm)
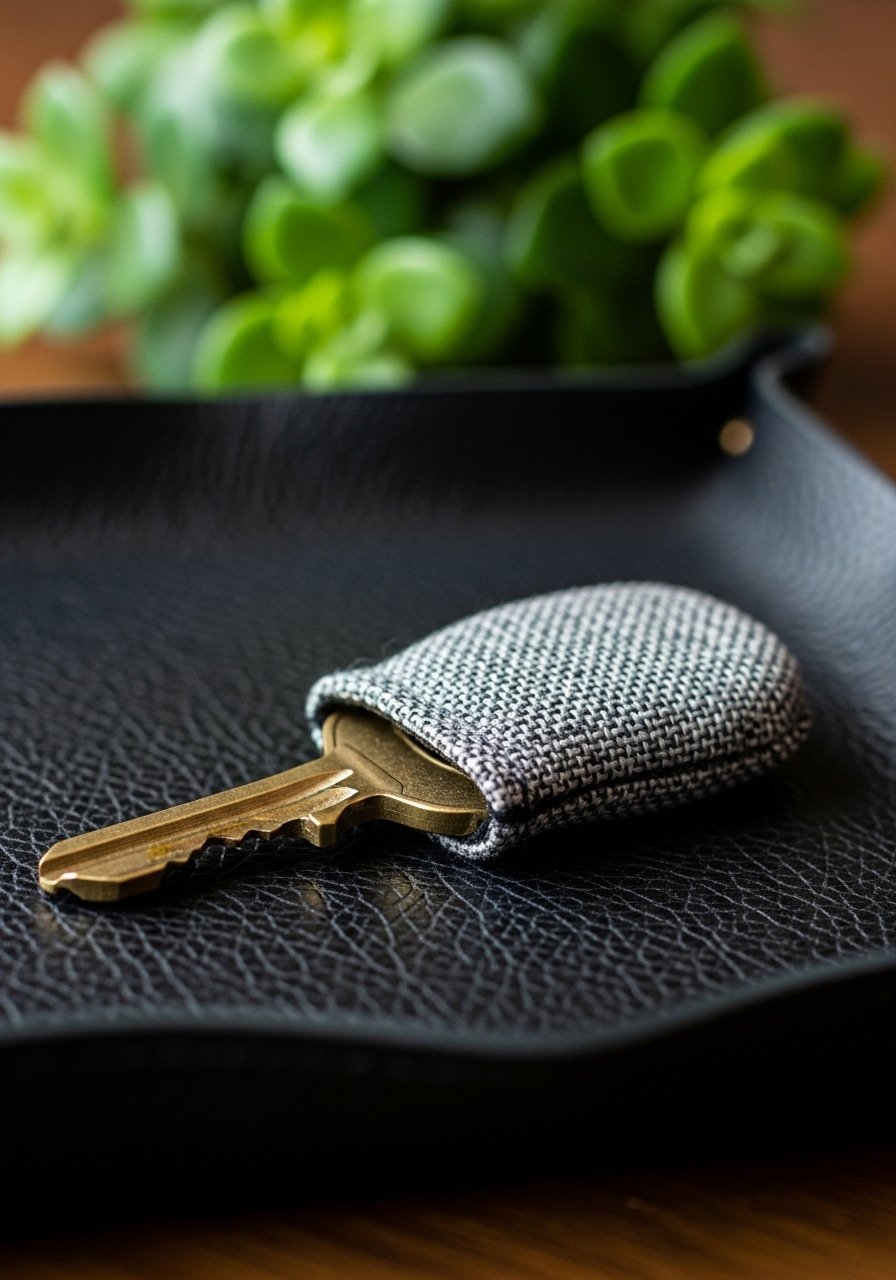
Slip-on key covers use small fabric rectangles sewn to fit key heads. They're quick and teach precise measurement.
Materials
- Fabric scraps, 1.75" x 2.5"
- Fusible interfacing, 1.75" x 2.5"
- Needle and thread or quick topstitch
- Scissors and ruler
- Lighter to seal thread ends (optional)
Instructions
- Fuse interfacing to fabric.
- Fold edges under 1/8" and stitch long sides.
- Slip over key head and catch bottom with a few tight stitches.
- Trim any loose threads.
How to Display or Gift It
Attach to a key ring or present with a small wooden tag for a housewarming gift.
- Patchwork Pencil Case with Button Closure

This longer pencil case practices patchwork, lining, and a simple loop-and-button closure. The texture is sturdy and functional.
Materials
- Patchwork exterior, 9" x 6"
- Lining fabric, 9" x 6"
- Lightweight interfacing, 9" x 6"
- Button, 1 (wooden or accent)
- Thread and sewing machine
- Small length of elastic or fabric loop, 3"
Instructions
- Create a patchwork rectangle measuring 9" x 6".
- Fuse interfacing to exterior.
- Attach loop to top flap area, stitch secure.
- Sew exterior and lining right sides together, leaving gap at bottom to turn.
- Turn right side out and topstitch seam closed.
- Sew button to front and test closure.
How to Display or Gift It
Fill with pens and tie with twine for a teacher gift. Store flat in a desk organizer.
- Simple Scrappy Coin Purse (metal frame)

This tiny purse introduces installing metal frames and working with small curves. The felt lining adds structure and softness.
Materials
- Exterior scraps cut to purse template, 7" x 4" (varies by frame)
- Felt lining, same size
- Metal purse frame, small
- Fabric glue or pliers for frame installation
- Needle and thread for catch-stitch
- Scissors and template
Instructions
- Cut exterior and lining to template.
- Sew exterior pieces together (if patchwork) and press.
- Glue interior of frame with fabric glue and insert fabric, or use pliers per frame instructions.
- Allow glue to cure 24 hours for a secure hold.
- Finish seam allowances inside the frame neatly.
How to Display or Gift It
Fill with a few coins and tuck into a small gift box as a pocket-sized present.
- Scrappy Drawstring Bag for Produce

Lightweight drawstring bags are eco-friendly alternatives to single-use produce bags. Sewing a few makes grocery runs prettier and more sustainable.
Materials
- Lightweight cotton scrap, 14" x 16"
- Cotton twill tape for drawstring, 30"
- Thread and sewing machine
- Safety pin for threading
- Scissors and ruler
- Optional: serger or zigzag stitch to finish raw edges
Instructions
- Fold fabric in half, right sides together, sew side seams with 1/2" seam.
- Hem top edge 1/2" then 1" to create a casing.
- Insert twill tape with a safety pin through the casing and knot ends.
- Turn bag right side out and press.
- Test drawstring action; adjust for smoothness.
How to Display or Gift It
Keep folded in a reusable pouch in your tote. Gift as part of a zero-waste starter kit.
- Tiny Scrap Raspberry Pincushion
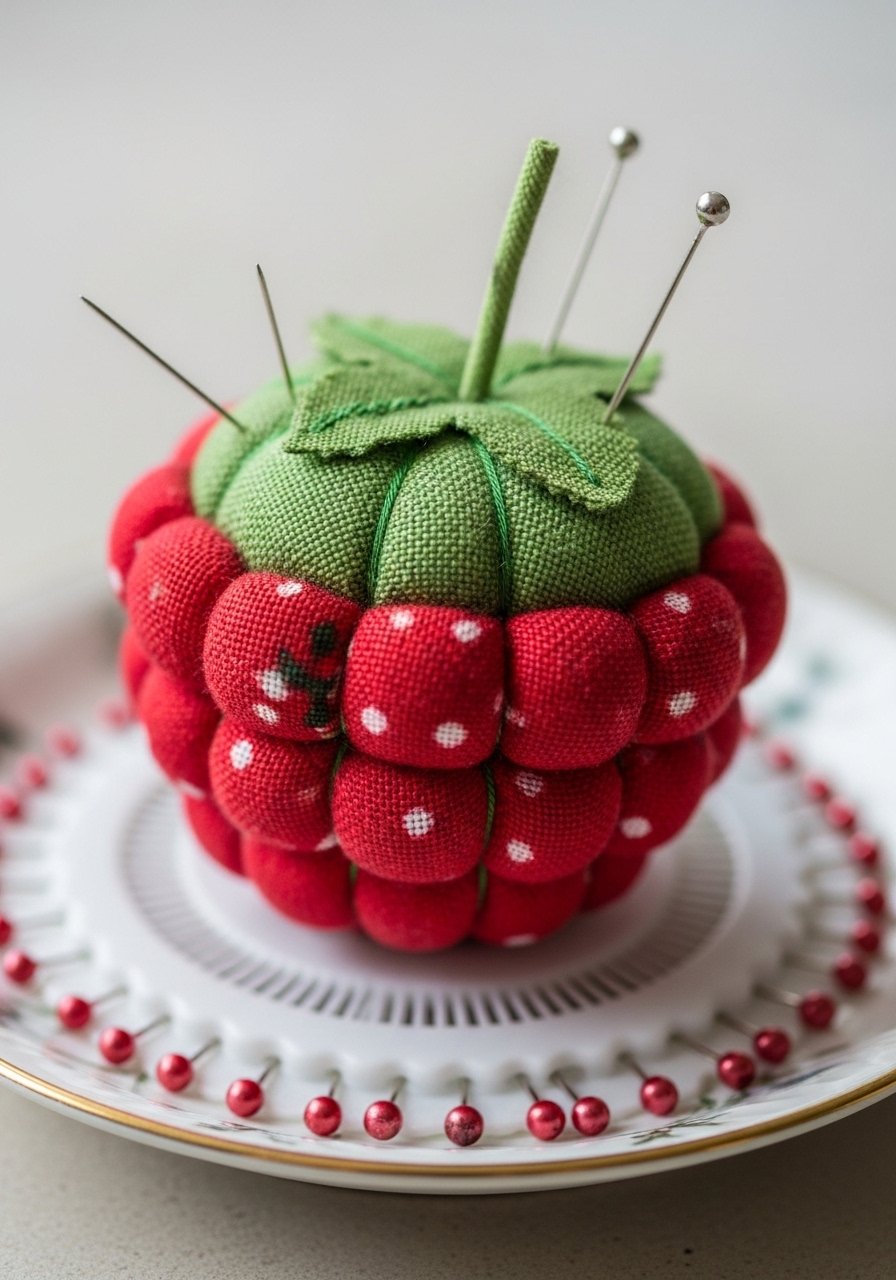
This cute pincushion uses scrap circles and simple gathering stitches. It’s a handy desktop accessory and great for practicing hand-stitching.
Materials
- Scrap cotton circles, 6 x 2.5" diameter
- Embroidery thread
- Two small scrap circles for leaves
- Polyester stuffing or wool, 1/4 cup
- Needle and scissors
Instructions
- Hem one circle’s edge with running stitch and gather into a small cup.
- Repeat to make 5–6 gathered segments.
- Stab-stitch gathered pieces together to form a raspberry shape, filling with stuffing as you go.
- Add leaf pieces to the top and secure with embroidery thread.
- Tie off threads and trim.
How to Display or Gift It
Pin to a ribbon and attach to a sewing kit. Store with other notions in a clear craft organizer.
- Reversible Scrappy Oven Mitt (beginner quilting)

This oven mitt uses thicker batting and teaches you safe, insulated construction. The reversal option makes it fun to match kitchen decor.
Materials
- Exterior fabric scraps, 10" x 12" per mitt
- Thermal batting (Insul-Bright), 10" x 12"
- Quilting cotton for lining, 10" x 12"
- Thread and sewing machine
- Rotary cutter and ruler
- Loop for hanging, 3"
Instructions
- Draw a mitt template and cut two exterior and two lining pieces.
- Layer exterior with thermal batting, quilt as desired.
- Place right sides of exterior and lining together, sew around leaving cuff open.
- Turn right side out and topstitch the cuff edge.
- Add hanging loop and press.
How to Display or Gift It
Hang on a peg or wrap with a tea towel for a hostess gift. Store on a hook in the kitchen or a small wall hook set.
- Little Linen Sachets with Dried Lavender

Sachets are quick, smell delightful, and use up tiny linen scraps. They’re perfect for drawers or as travel gifts.
Materials
- Linen scraps, 4" x 6" per sachet
- Dried lavender, 2 tbsp per sachet
- Thread and needle or machine
- Twine for tying
- Funnel or small spoon for filling
Instructions
- Fold fabric right sides together and stitch three sides, leaving one short side open.
- Turn right side out and press edges.
- Fill with ~2 tbsp dried lavender. Do not overfill.
- Hand stitch the opening closed or tie closed with twine.
- Shake gently to distribute scent.
How to Display or Gift It
Bundle two sachets in a muslin bag and tuck a card. Keep spare sachets in a small drawer organizer.
- Scrappy Camera Strap Cover (comfort and style)

This padded strap cover adds comfort and style to a camera or bag strap. It teaches sewing around curved edges and installing snap closures.
Materials
- Fabric scrap rectangle 3.5" x 11"
- Soft batting strip 3.5" x 11"
- Snaps or velcro for closure
- Sewing machine with zigzag option
- Pins and scissors
Instructions
- Layer fabric and batting, sew a long tube, then turn right side out.
- Fold over your strap and try for fit.
- Attach snaps or a strip of Velcro for closure, overlapping slightly.
- Topstitch around edges for durability.
How to Display or Gift It
Wrap as a camera accessory for hobbyist friends and keep spare covers in a camera bag insert.
- Tiny Stuffed Animals (simple shapes)

Simple stuffed shapes teach you to sew curves, stuff evenly, and close openings invisibly. They're perfect for baby-safe toys when you use child-safe parts.
Materials
- Fabric scraps cut to stuffed animal template (varies)
- Polyester stuffing, 1/3 cup per toy
- Embroidery thread for features
- Needle and small scissors
- Pins
Instructions
- Cut two mirrored pieces from scrap.
- Sew right sides together leaving gap for stuffing.
- Clip curves and turn right side out.
- Stuff firmly but not overstuffed.
- Ladder stitch the gap closed and embroider features.
How to Display or Gift It
Attach to a wooden mobile for nursery decor or pop into a gift box with a bow.
- Scrap Fabric Book Sleeve (padded)

A book sleeve uses padded lining to protect a paperback. This project practices straight seams and button closures for a polished finish.
Materials
- Exterior fabric, 12" x 9"
- Quilting batting, 12" x 9"
- Lining fabric, 12" x 9"
- Button and loop or velcro
- Sewing machine and pins
Instructions
- Layer exterior and batting, quilt if desired.
- Fold to create a pocket sized to your book and sew side seams.
- Add flap with button loop or Velcro closure.
- Turn and press; topstitch for stability.
- Test with book size and adjust.
How to Display or Gift It
Pair with a paperback and a tea bag in a kraft book sleeve box for readers.
- Tiny Applique Shoe Charms for Kids

These charms slip onto laces or straps and let kids personalize shoes. They’re soft, washable, and fun for practicing small applique.
Materials
- Felt or scrap fabric shapes
- Leather or ribbon loop, 1.5"
- Embroidery thread
- Needle and scissors
- Hot glue (optional)
Instructions
- Cut applique shape and back with felt.
- Sew layers together and add a small loop at the top.
- Stitch securely with embroidery thread; reinforce with a dab of glue if desired.
- Slip onto shoe strap or lace.
How to Display or Gift It
Make a set of themed charms and present in a small tin.
- Patchwork Fabric Cozies for Glass Jars

These cozies slip over jars to soften their look and protect hands from cold glass. They use small strips, elastic, and teach casing construction.
Materials
- Patchwork rectangle 10" x 4"
- Elastic, 6"
- Thread and sewing machine
- Safety pin for threading elastic
- Scissors
Instructions
- Sew patchwork into a 10" x 4" rectangle.
- Fold and sew long edges right sides together to make a tube.
- Turn right side out and fold one edge to create a 1/2" casing.
- Thread elastic through casing and secure ends.
- Fit over jar and adjust elastic for snug fit.
How to Display or Gift It
Use as a candle cozy or utensil holder, then package in a gift basket.
- Scrappy Cord Keepers for Charging Cables

Cord keepers use tiny scraps and snap closures. They tidy up chargers and are a great practice for installing snaps.
Materials
- Fabric scrap 2" x 4"
- Fusible interfacing 2" x 4"
- Snaps (plastic or metal)
- Snap pliers or hand press
- Scissors and ruler
Instructions
- Fuse interfacing to fabric.
- Fold in half and sew ends to create a loop.
- Install snaps so the keeper wraps once around the cord.
- Test snap alignment.
How to Display or Gift It
Place several in a small tech pouch for a thoughtful stocking stuffer.
- Tiny Fabric Bow Clips for Hair or Gifts

Bows are quick and teach precise folding and stitching. They double as gift toppers when clipped onto packages.
Materials
- Fabric scraps cut into 2.5" x 4" rectangles
- Alligator clips or hair clips
- Hot glue gun and glue sticks
- Needle and thread
- Scissors
Instructions
- Fold rectangle into a bow shape and secure center with a few stitches.
- Wrap a small scrap around the center and glue or stitch.
- Attach to clip with hot glue and press 30 seconds to set.
- Trim tidy edges.
How to Display or Gift It
Clip to wrapped presents or a hairband. Store in a small fabric pouch.
- Fabric-Covered Magnets

Cover vintage-style button forms with scraps, glue magnet disks to the back, and make a colorful fridge set.
Materials
- Scrap circles for button covers
- Button cover kit (small)
- Magnet disks, 3 per set
- Hot glue gun
- Scissors and pliers (for kit)
- Small template circle for cutting
Instructions
- Cover the button form with scrap fabric per kit instructions.
- Trim and secure fabric.
- Glue magnet disk to back and allow glue to cool 10 minutes.
- Test magnet hold and re-glue if needed.
How to Display or Gift It
Stick to a fridge and pair with a small planner as a practical gift.
- Little Travel Sewing Kits in Tin

These travel tins are perfect for gifting and use tiny scraps to make a pincushion and thread holders. They’re compact and teach small finishing stitches.
Materials
- Small mint tin or metal tin
- Tiny scrap pincushion (see project 16)
- Mini thread spools or embroidery floss
- Small needle and small fabric swatches
- Double-sided tape
Instructions
- Make a tiny pincushion and place in tin with double-sided tape.
- Wind small lengths of thread onto mini spools or cardboard.
- Add a small folded pair of scissors if desired (watch for shipping laws).
- Close tin and label.
How to Display or Gift It
Tuck into a travel-themed gift box or give with a sewing-themed book. Keep tins in a small storage drawer.
- Patchwork Wristlet Purse (small clutch)
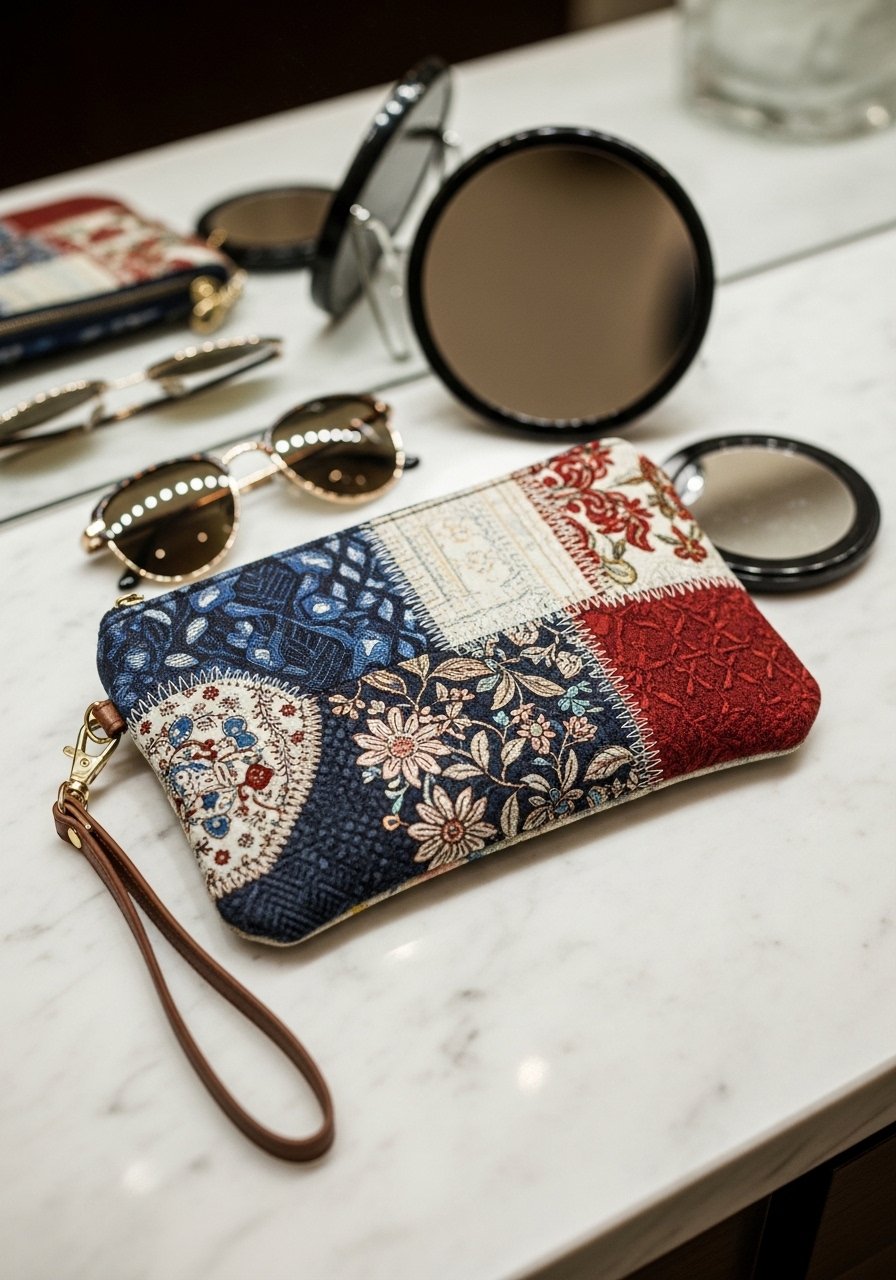
This wristlet finishes the list with a slightly bigger patchwork piece. It teaches attaching hardware and finishing seams neatly. Great for evenings out.
Materials
- Patchwork exterior 9" x 6"
- Lining fabric 9" x 6"
- Foam stabilizer or interfacing 9" x 6"
- Zipper, 8"
- Wrist strap hardware or leather strap
- Sewing machine and zipper foot
- Scissors, pins
Instructions
- Assemble patchwork exterior and fuse stabilizer.
- Install zipper between exterior and lining as with the zipper pouch.
- Sew side seams, leaving no gaps.
- Attach wrist strap to zipper tab using hardware or hand-stitches.
- Turn right side out and press. Topstitch for a finished look.
How to Display or Gift It
Fill with lipstick and a gift card and present in a small gift bag for a chic handmade present.
Soft wrap-up: You just scrolled through 28 approachable, sustainable, and adorable sewing projects for beginners with scraps. From coasters to wristlets, these projects help you practice fundamentals—straight seams, applique, zipper installation—while turning tiny fabric bits into items people use and love. Save or pin the projects you want to try, and start with one that fits your time and tools.
If one tool helps across most projects, a compact hot glue gun with adjustable temperature speeds finishing and keeps raw edges tidy without a fuss. Which scrap-busting project will you make first? Share a photo or gift idea with a friend who hoards scraps—their stash will thank you.





