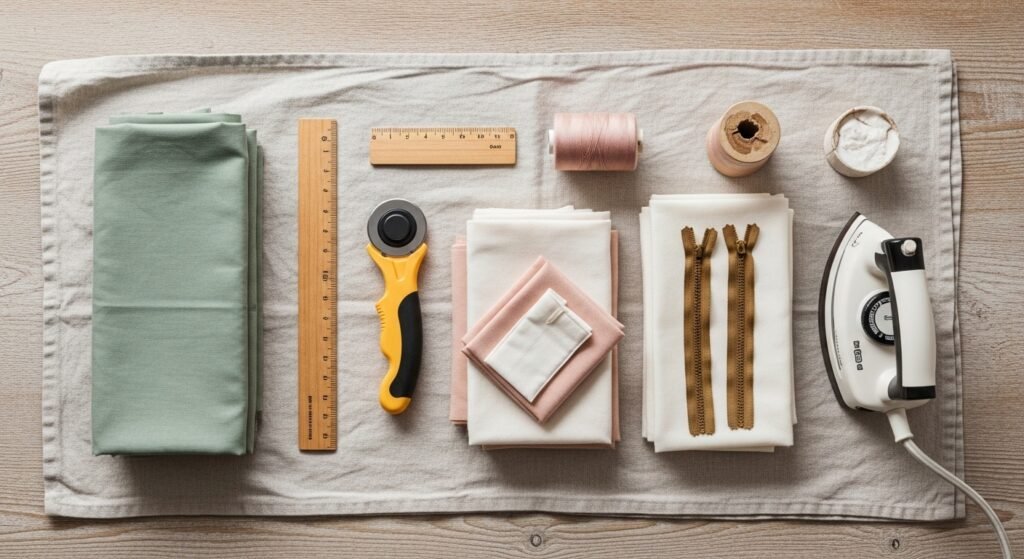
Tired of rummaging through drawers? Learning how to sew a zipper pouch for beginners fixes that clutter in one afternoon and gives you a neat, functional pouch for makeup, pens, or cords. You’ll learn how to cut accurate pieces, stabilize fabric with interfacing, and insert a zipper so the final seams look professional — even if you’ve only sewn straight lines before.
The secret tools that make this fast are a reliable beginner sewing machine and a good zipper foot — they keep your stitching even and let you sew close to the zipper teeth. Try a beginner sewing machine for sturdiness and a sewing machine zipper foot so your lines stay crisp.
Expect to finish a standard 9×6-inch pouch in about 45–75 minutes from cutting to final topstitch. Below are clear steps, tricks to avoid common mistakes, and small-product suggestions that actually speed things up.
Gather and prep fabric like a pro (beginner-friendly, one-afternoon)

Cut two outer fabric rectangles and two lining rectangles: for a finished 9×6-inch pouch cut 10×7-inch pieces (allowing ½-inch seam allowances). Add fusible interfacing to each outer piece to keep the pouch structured; press each section for 8–10 seconds and let cool about 30 seconds before moving it.
- Use a self-healing cutting mat and rotary cutter to get sharp, even edges.
- Square things up quickly with a quilting ruler for straight lines.
- Keep matching thread handy — a polyester sewing thread set works well for durability.
Prep tip: press seams flat before pinning — it saves re-work.
Assemble the pouch body (easy steps, neat seams)

With right sides together, clip or pin the bottom and sides of each fabric sandwich (outer and lining separately). Sew both outer pieces together and both lining pieces together with ½-inch seams. Leave a 3–4 inch gap in the lining’s bottom for turning.
- Sew slowly with a beginner sewing machine set to a medium stitch length (2.5–3).
- Use sewing clips instead of pins near thick seams for less shifting.
- If you make a mistake, a small seam ripper saves time without scarring fabric.
Create boxed corners by folding each bottom corner so side seam meets bottom seam and sewing across about ½ inch from the tip for a flat base.
Sew in the zipper (tricky step made simple)

Attaching the zipper is the step that makes most beginners nervous — but a zipper foot changes everything. With the outer pouch right side up and zipper centered face down on the top edge, baste or clip into place. Sew with the sewing machine zipper foot close to the teeth for a clean edge.
- Place lining over the zipper (right side down) and stitch along the same seam.
- Press the fabric away from the zipper, fold the lining inside, and topstitch about 1/8 inch from the edge to hold the zipper in place.
- Repeat for the other side of the zipper, then turn the pouch right side out through the gap in the lining.
Time saver: use an assortment pack of nylon zippers so you always have the right length for small projects.
Finish edges, press, and store or gift (presentation matters)
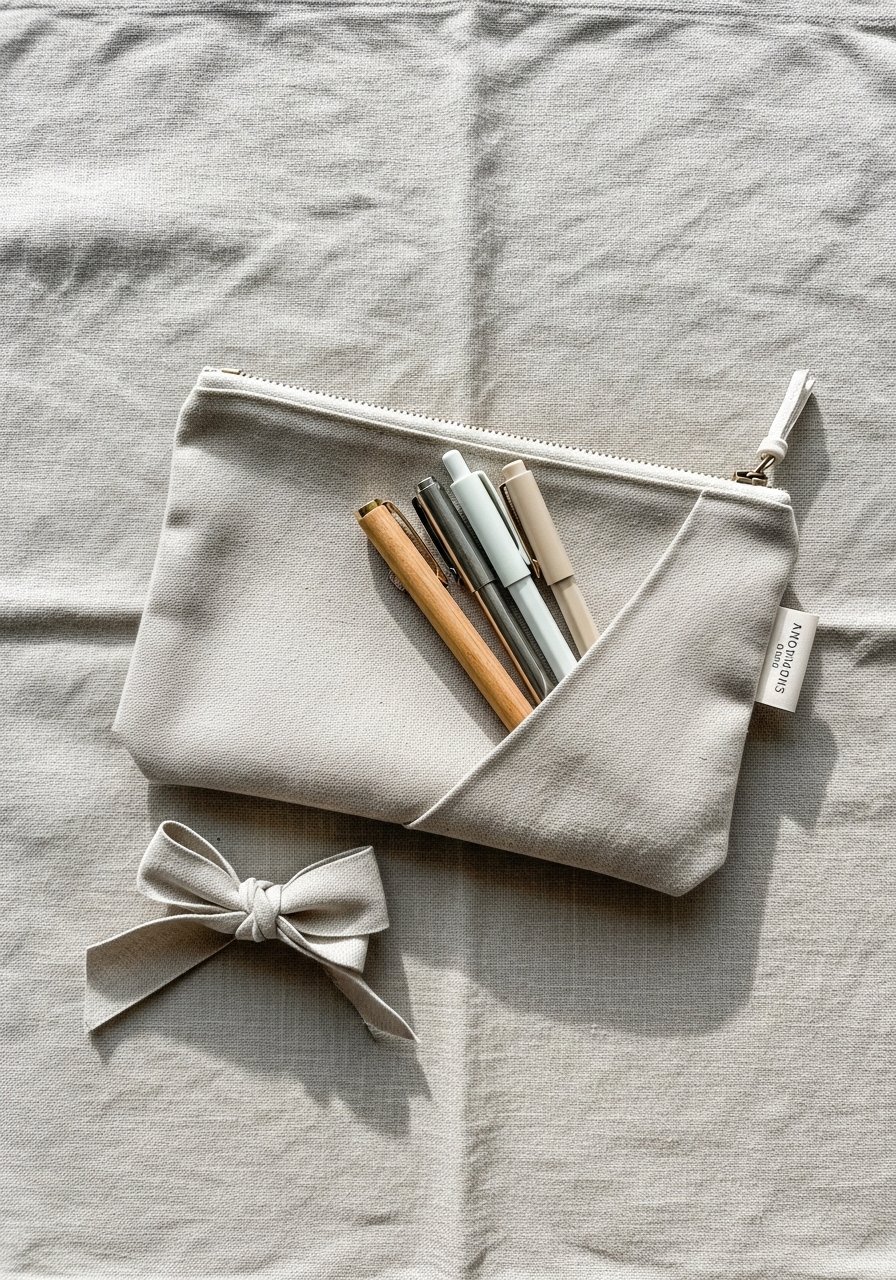
Close the lining gap with an invisible hand stitch or a quick top stitch. Press the whole pouch with a small steam iron for crisp edges; avoid direct steam on fusible interfacing seams for a few seconds to prevent bubbling.
- Store finished pouches in clear zip pouches when batching multiple gifts.
- Make variations: sew larger rectangles for a makeup bag, or use oilcloth for a waterproof option.
Quick troubleshooting:
- If the zipper snags, backstitch a few stitches and re-align with the seam ripper.
- If seams pucker, lower thread tension or use a walking foot on heavier fabrics (try a light woven cotton first).
You just learned how to sew a zipper pouch for beginners that looks neat and works hard. Save this guide, pin it for your next craft afternoon, and share with a friend who needs better organizers. For tidy, repeatable results, a steady beginner sewing machine is the hero tool you’ll use again and again — which pouch will you make first?





