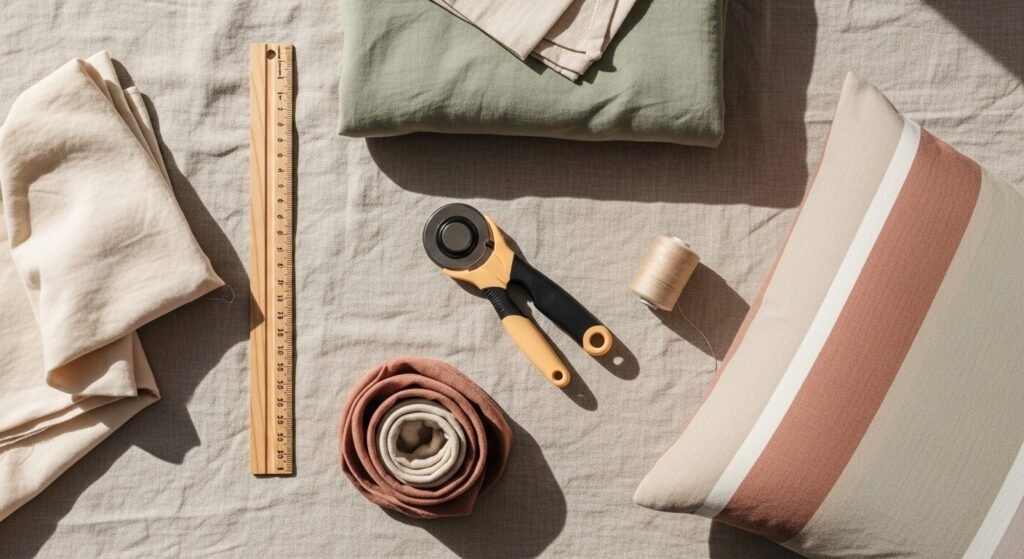
You love the look of handmade pillows but feel intimidated by sewing. What if you could make a crisp, cozy pillowcase in under 30 minutes using only straight stitches? This beginner-friendly pillowcase project uses simple tools and basic sewing skills, so you’ll finish fast and still get a polished result.
How to sew a pillowcase for beginners in under 30 minutes focuses on quick cutting, one long seam, and tidy presses. If you want clean cuts, try a self-healing cutting mat and a rotary cutter — they shave minutes off prep and keep edges straight. Read on to learn exact cuts, stitch tips, and finishing shortcuts.
Prepare and cut your fabric (ready in 5–8 minutes)
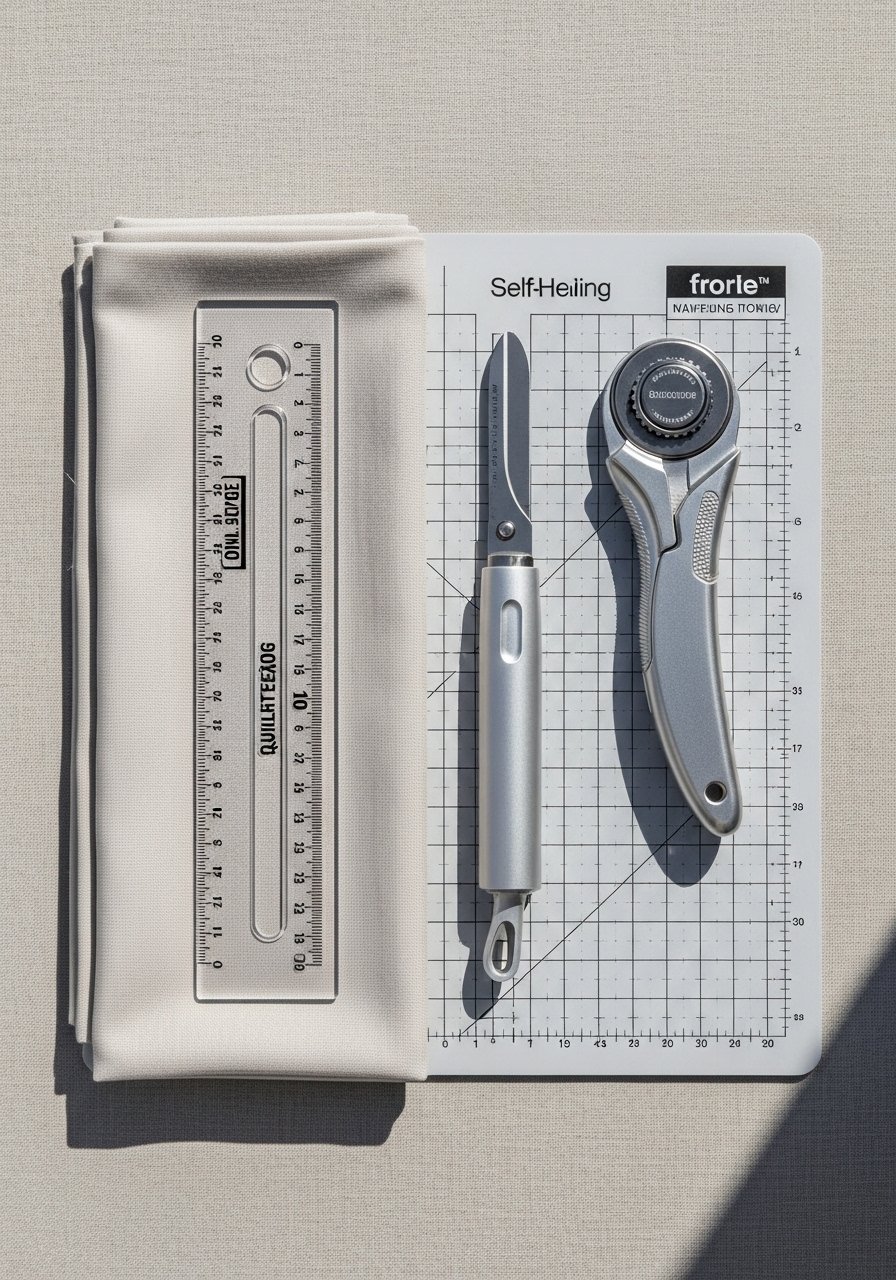
Start with woven cotton or linen — they press flat and slide under a presser foot easily. For a standard pillow (20 x 26 inches), cut one rectangle 21 x 32 inches. That gives about 1/2" seam allowance and a 4" cuff for a neat finish. For queen, add 2 inches to length; for king, add 4 inches.
- Use a quilting ruler to measure precisely.
- Cut on a self-healing cutting mat with a rotary cutter for straight, fast edges.
- Tip: fold fabric right sides together before cutting to save time and keep sides identical.
Sew the main seam — one straight stitch (10–12 minutes)
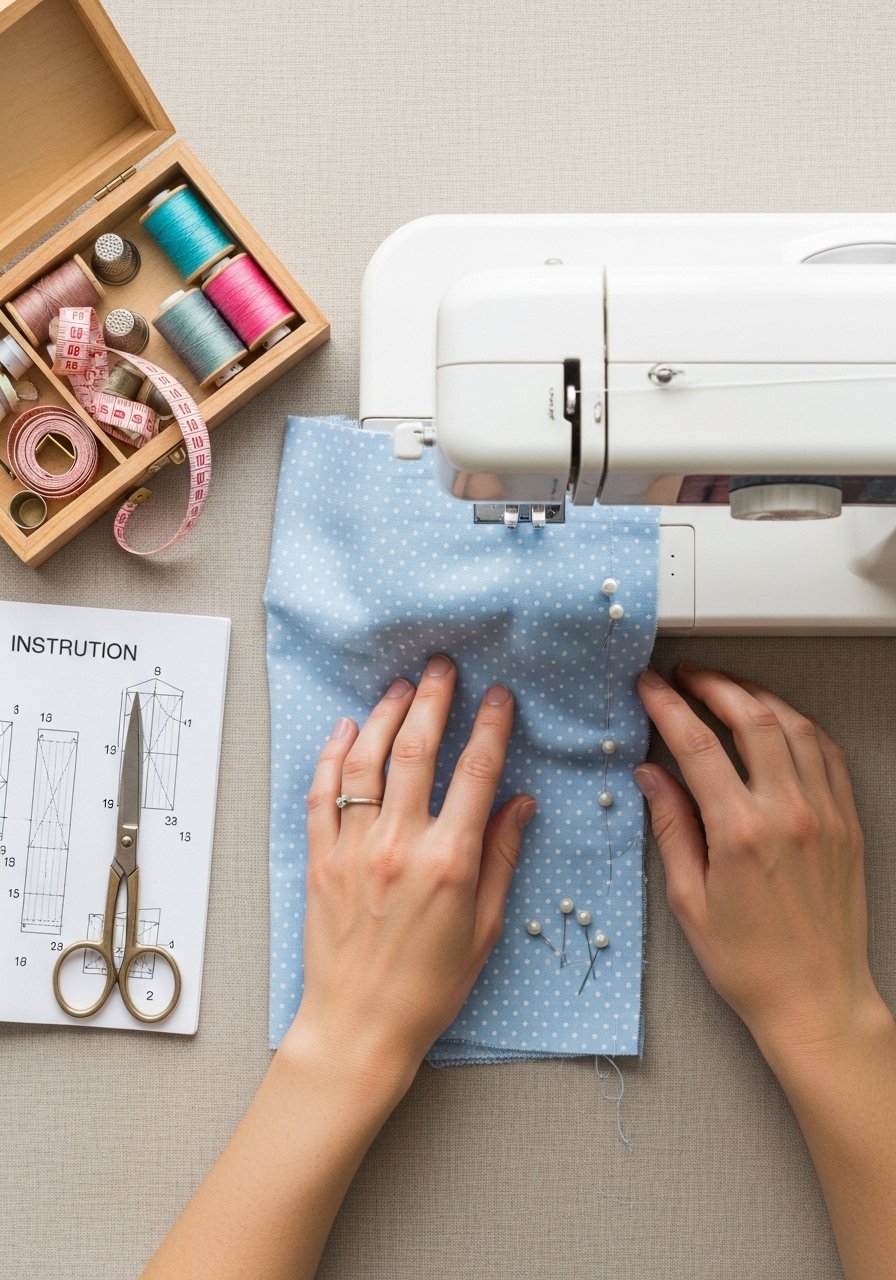
With right sides together, fold the rectangle lengthwise so the short edges meet and raw edges align. You’ll sew one long seam to make the pillowcase tube.
- Pin or clip the long raw edge using fabric clips every 3–4 inches.
- Set your machine for a straight stitch at 2.5–3.0 mm length. If you’re using a lightweight beginner machine, a beginner sewing machine with a basic foot works well.
- Sew a 1/2" seam along the long edge, backstitching at each end.
- Tip: If the fabric shifts, use a walking foot or spray a little starch before sewing for stability. Try all-purpose thread — it’s strong and glides well.
Finish edges and press for a polished look (5–8 minutes)
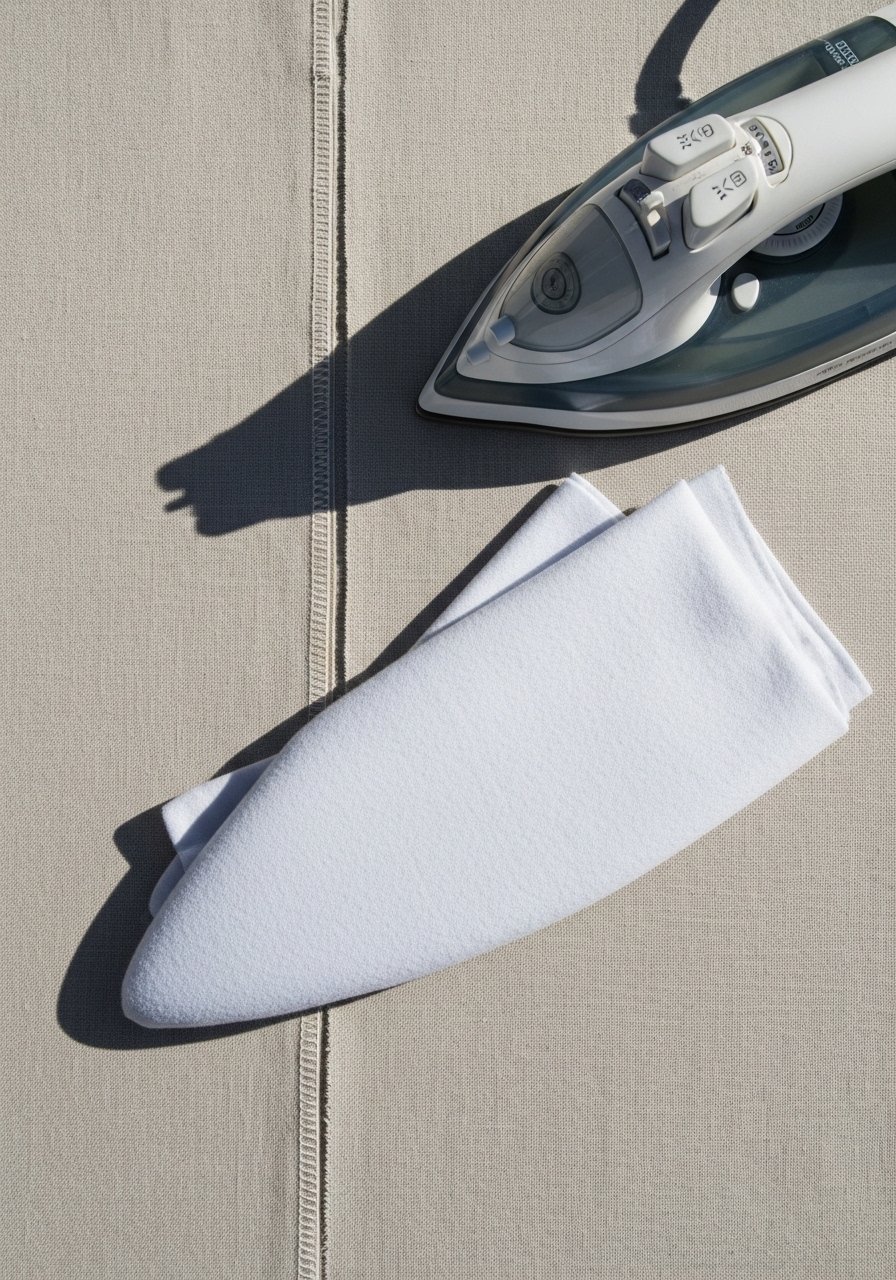
Turn the tube right side out and push corners flat. Create the cuff by folding one open end inward 4 inches, then fold edges so the raw ends are hidden and align.
- Press seams crisp using a clothes iron or a compact travel iron for small spaces. Press for about 30–60 seconds per seam until flat.
- Edge-stitch close to the cuff fold to secure the hem, or topstitch 1/8" from the finished edge for a tailored look.
- Use a seam ripper to remove any stray threads quickly.
Quick finishing tips:
- Trim seam allowances to reduce bulk near hems.
- Use fabric marker to mark folds or seam lines lightly.
- If you want a fray-free edge, zigzag raw edges or use a narrow [zigzag stitch] on your machine.
Care, storage, and gifting (2–4 minutes)
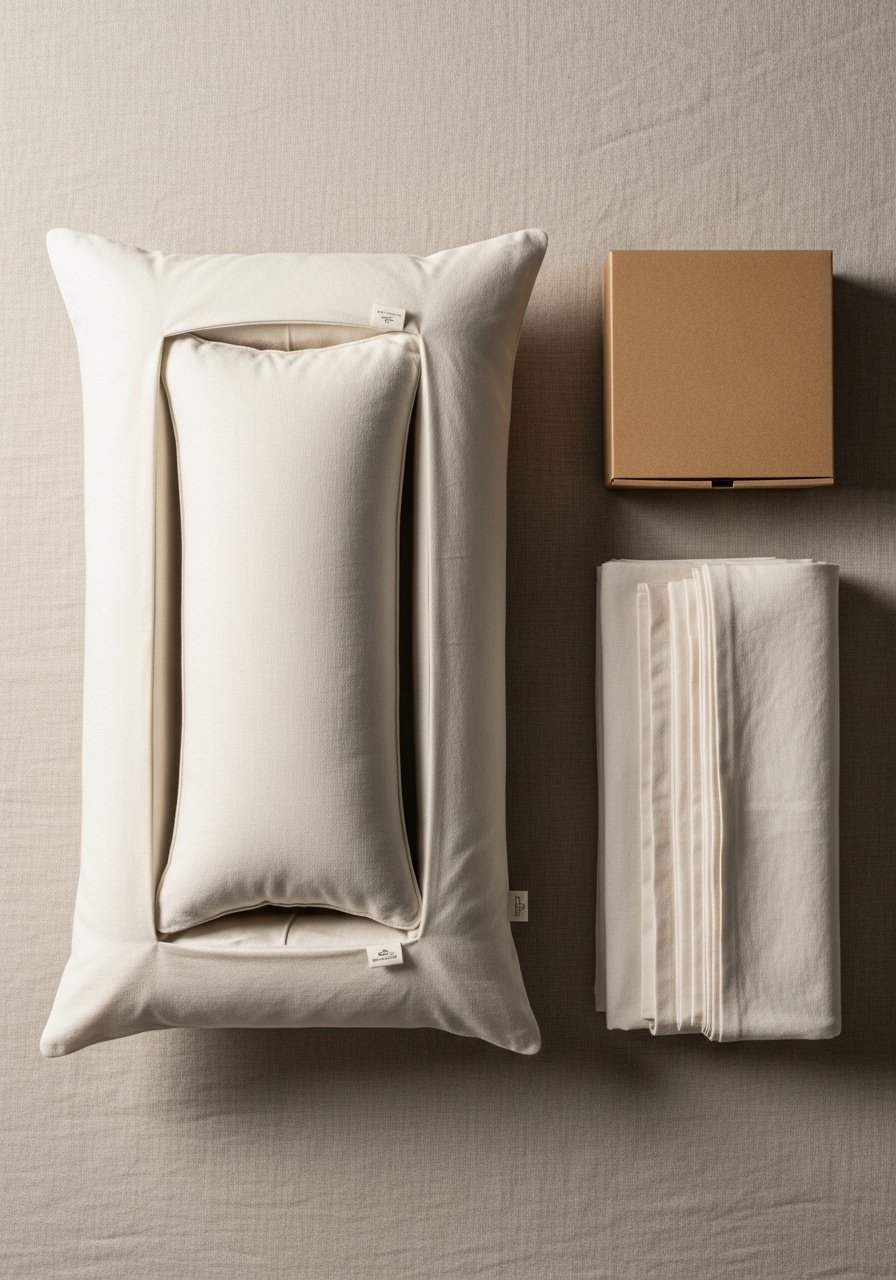
Slide in a pillow insert — a standard pillow insert sized 20×26 fits snugly with the 21 x 32 cut. Launder the finished pillowcase on a gentle cycle and tumble low or line dry; cotton may shrink 1–3%, so prewash fabric if you need exact fit.
For gifting, wrap flat in tissue and tuck into a small kraft gift box or stack a set in a clear zip pouch for easy storage.
You can make multiple pillowcases in a batch — cutting several rectangles and sewing them in a single session cuts overall time dramatically.
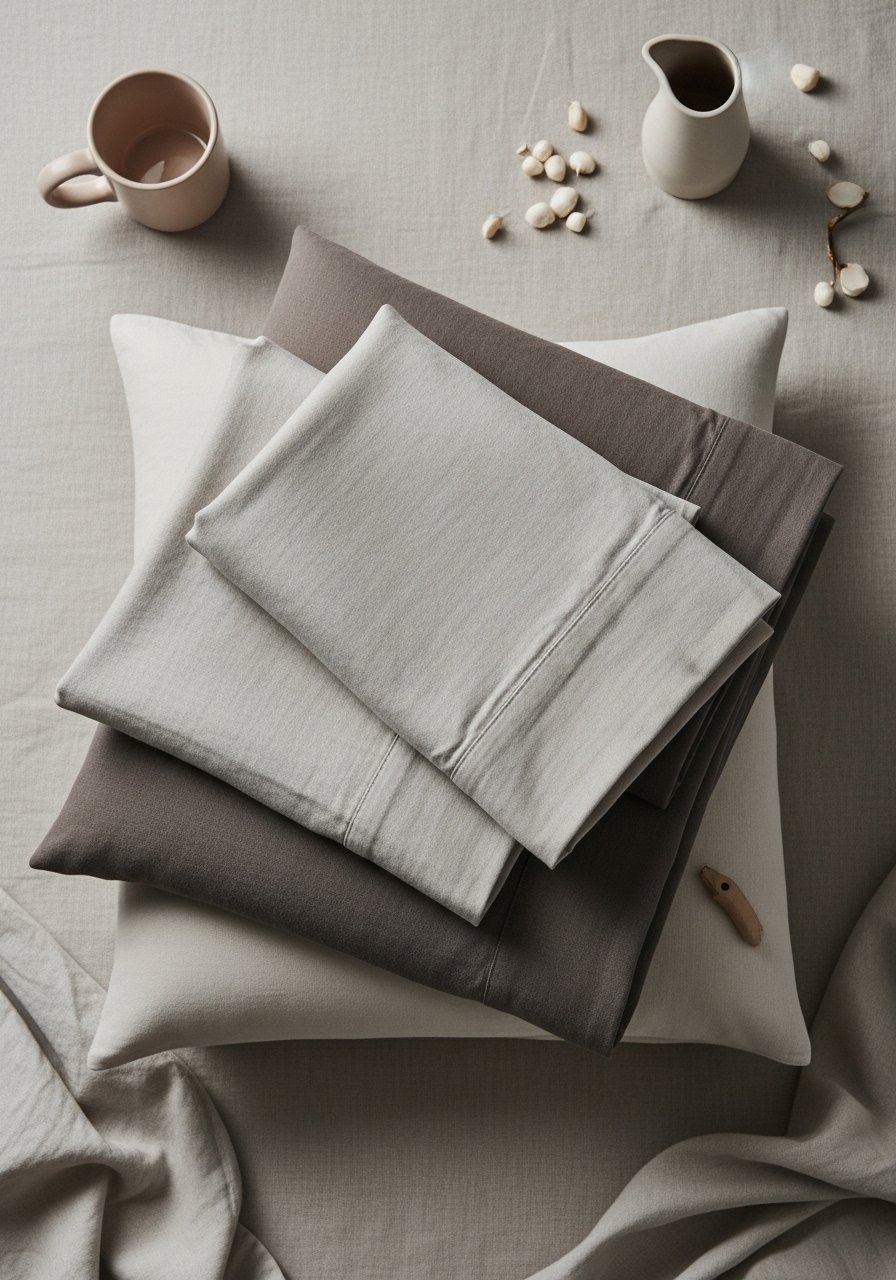
You just learned how to sew a pillowcase for beginners in under 30 minutes using only straight stitches. Celebrate that quick win—pin this guide for your next one-afternoon sewing session and try different fabrics or trims next. If you want one tool that speeds every step, a reliable rotary cutter set is worth it. Which fabric will you sew first? Ready to make it? Let's go!





