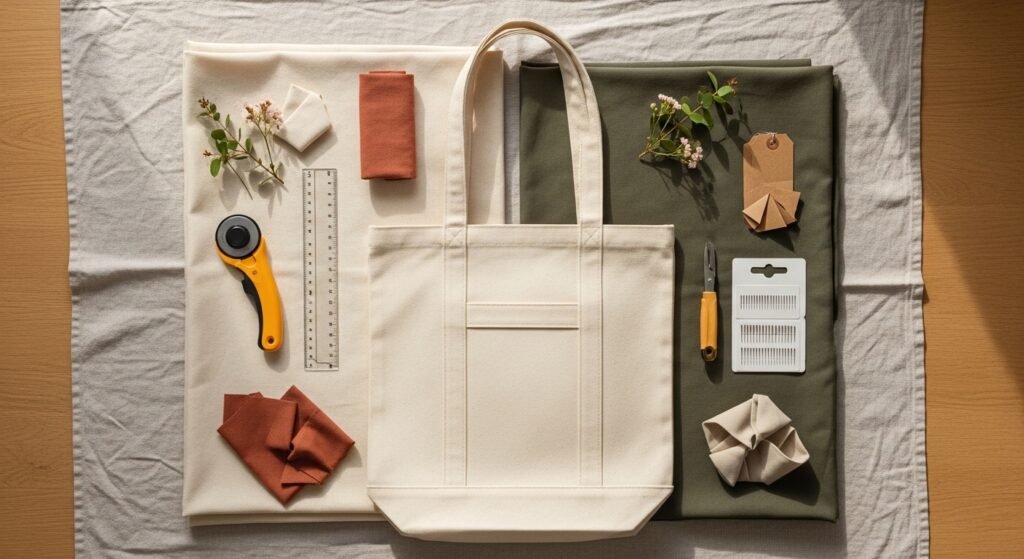
You’re ready to sew a tote bag for beginners but worried it won’t hold up or look finished. You’ll learn a simple, sturdy pattern that’s stylish enough for everyday use and takes about one afternoon from cut to carry. This beginner-friendly tote uses basic straight stitching, a boxed bottom for structure, and simple handles you can reinforce.
The secret tools that speed everything up are a good self-healing cutting mat and a sharp rotary cutter. They make measuring and cutting fast and accurate so the sewing goes smoothly. Read on for exact measurements, step-by-step assembly, and tips that prevent common beginner mistakes.
Gather and prep fabric the easy, one-afternoon way
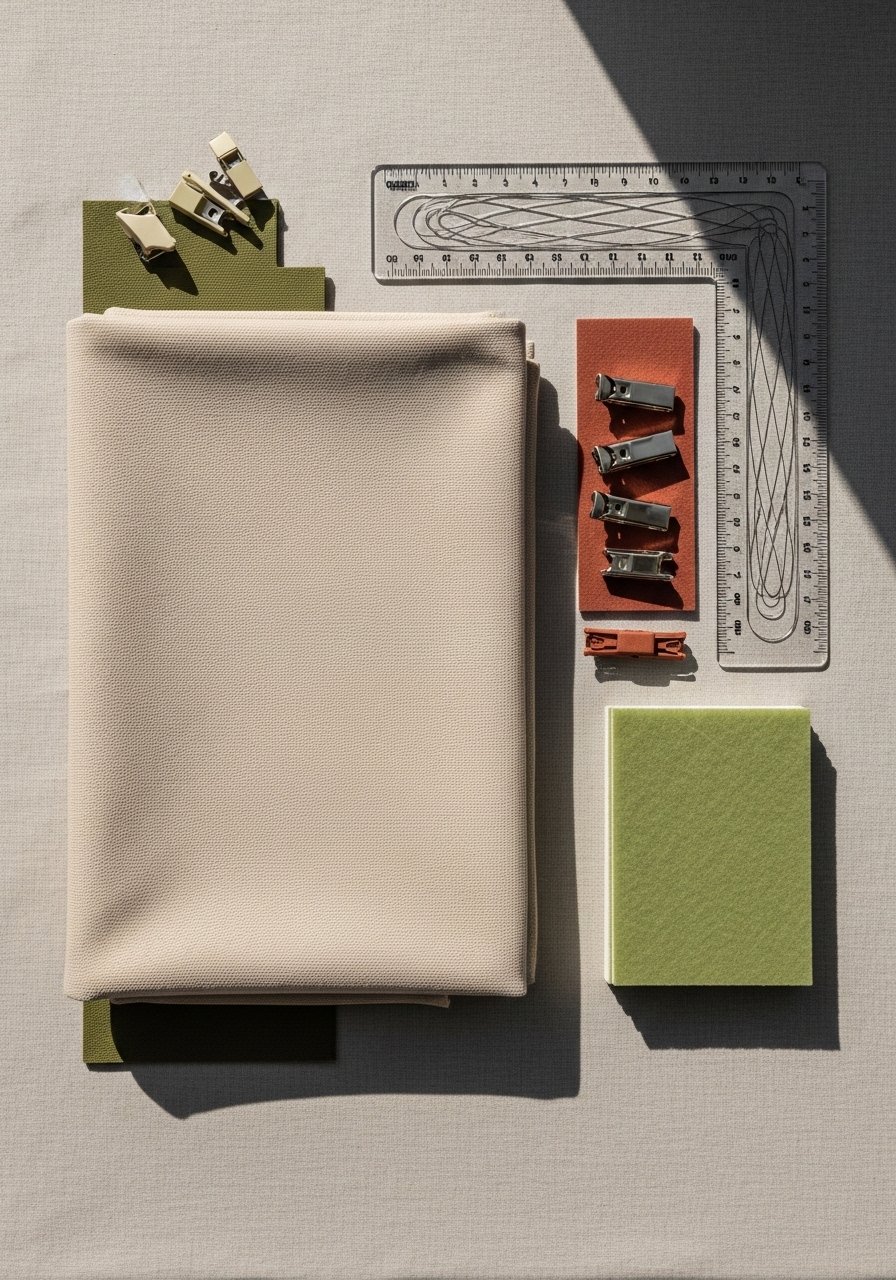
Start with sturdy fabric: choose 12–14 oz canvas for a tote that holds groceries and a laptop. Cut:
- Body: 2 pieces 16" wide x 15" tall
- Lining (optional): 2 pieces 16" x 15"
- Gusset (bottom): 2 pieces 16" x 4" or a single strip 16" x 4"
Fuse a strip of fusible interfacing to the top 2" of body pieces for added rim structure. I like a mid-weight fusible; it keeps corners crisp without stiffening the whole bag. If you prefer unlined, use a heavier canvas or add a single lining panel.
Quick tips:
- Use a clear quilting ruler with your rotary cutter to get straight edges.
- Hold layers together with fabric clips instead of pins for thick canvas.
Cut, stitch, and form the body (beginner-friendly)
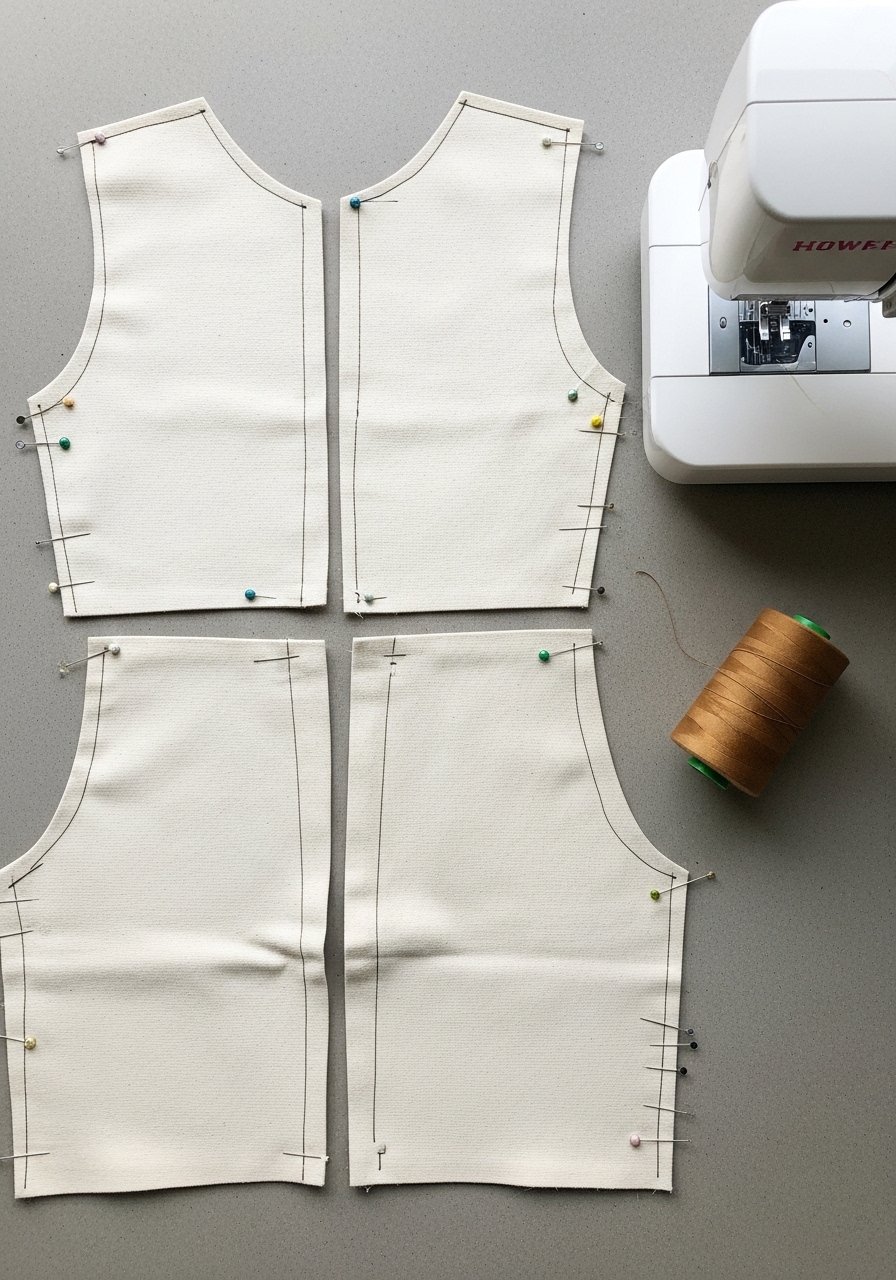
Sewing the body is mostly straight seams—perfect for beginners.
- With right sides together, sew both side seams using a 1/2" seam allowance at 3/8–5/8" if your machine needs it. Reinforce the top 1" with a second row.
- Attach the gusset: match raw edges and sew around the bottom with the same seam allowance.
- Box the corners: measure 1.5" from each side seam at the bottom, fold so seams align, and sew across to create a 4" deep base.
Use a beginner sewing machine with a walking foot if you have thick layers. Swap to a heavy-duty needle pack (size 90/14) to prevent skipped stitches.
Pro tricks:
- Backstitch at seam starts and ends for durability.
- Press seams open with a dry iron between stitches for neater corners—use a pressing cloth to protect canvas.
Add sturdy handles and finishing touches (sturdy & stylish)
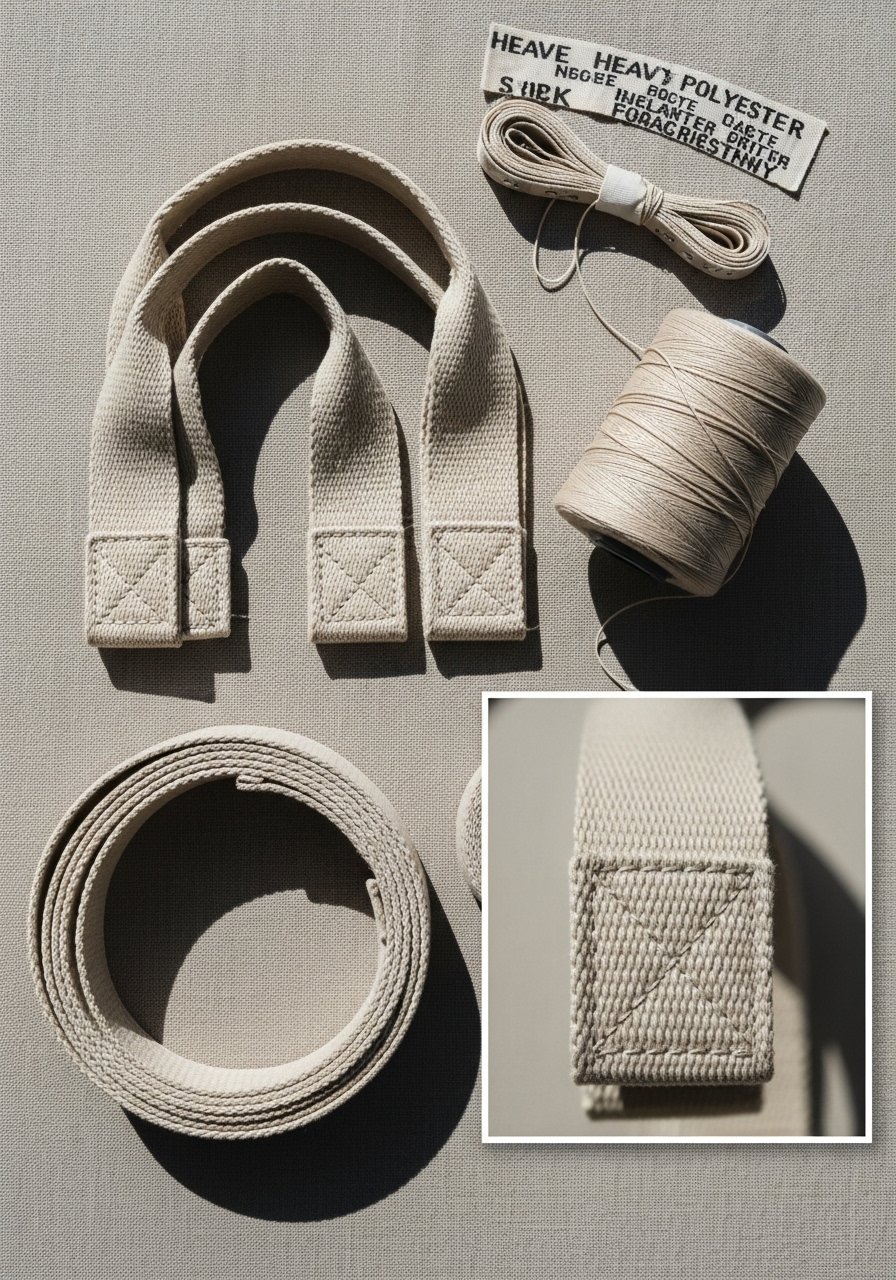
Choose cotton webbing or fabric straps cut 2" wide x 22–24" long for shoulder length. Attach handles 3" in from each side seam and stitch a boxed X for strength.
Steps:
- Fold strap ends under 1/2" and pin or clip to the top edge, aligned with measurement marks.
- Topstitch through all layers with a long, reinforced box-stitch (square with an X). A heavy-duty thread prevents fraying.
- Finish the top with a single-fold hem: turn the raw edge under 1/2", press, then another 1/2" and topstitch around.
If corners feel floppy, add a scrap of interfacing at each inside top corner or dab fabric glue for extra hold before stitching.
Finish, variations, and storage tips (quick options & gift-ready)
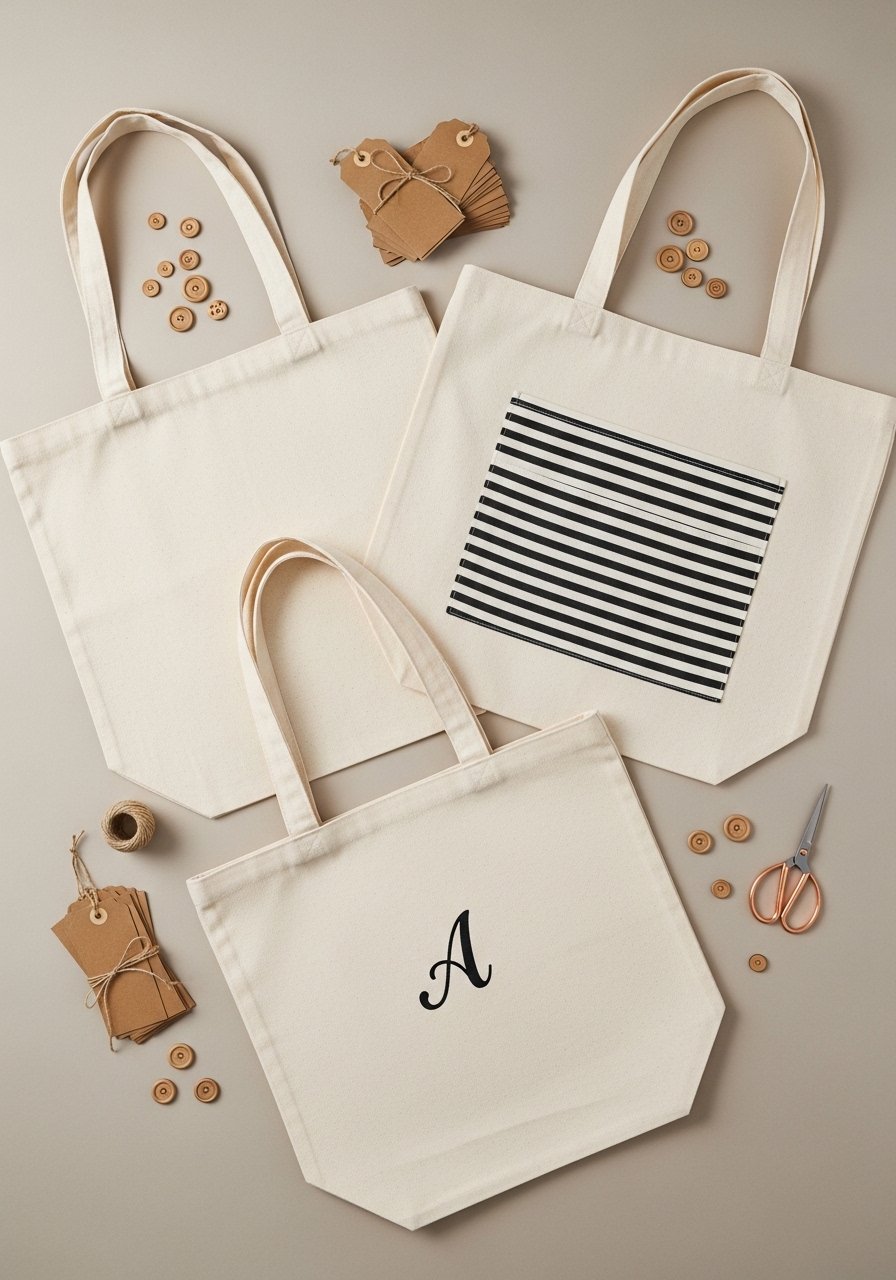
Finish ideas that stay pin-worthy:
- Add an external pocket: cut 8" x 10", fold top 1/2", press and topstitch three sides.
- Use a bias tape maker to create neat straps or edge bindings.
- Embellish with paint or a small patch—allow paint to cure per label (usually 24 hours).
Storage and gifting:
- Fold flat and store in clear zip pouches for shipping or market stalls.
- Stack multiple bags and secure with kraft ribbon for a clean gift-ready look.
Common mistakes to avoid:
- Skipping backstitches at handle attachments.
- Cutting fabric without accounting for shrinkage—prewash canvas if you plan to wash the bag.
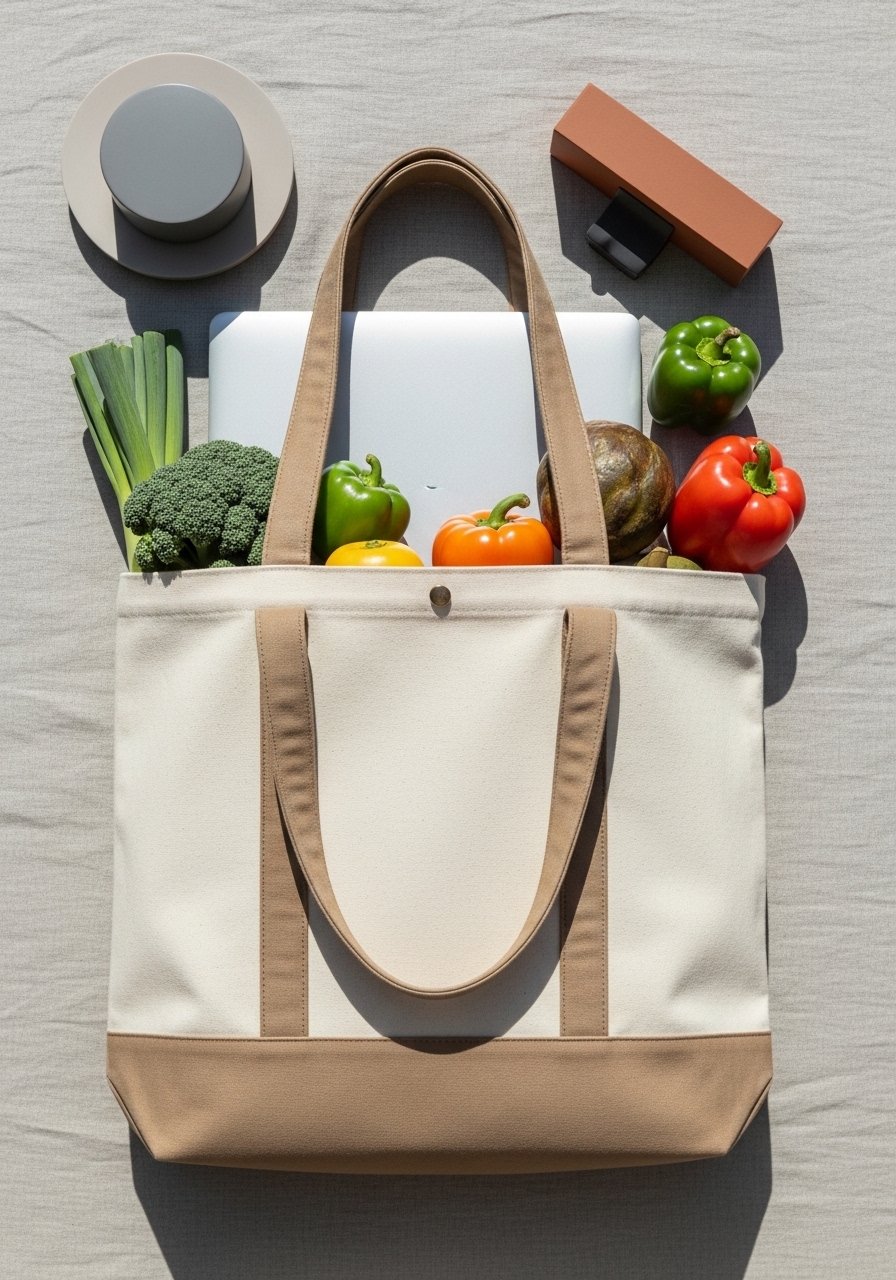
You made a sturdy, stylish everyday tote that you can reproduce in about one afternoon. Keep this guide saved for your next sew-along and pin it for easy reference. If you want a single tool to make the whole process smoother, a quality beginner sewing machine will be the one you use over and over. Ready to make a matching grocery tote or a lined laptop bag next? Pin this guide and share which fabric you’ll try first!





