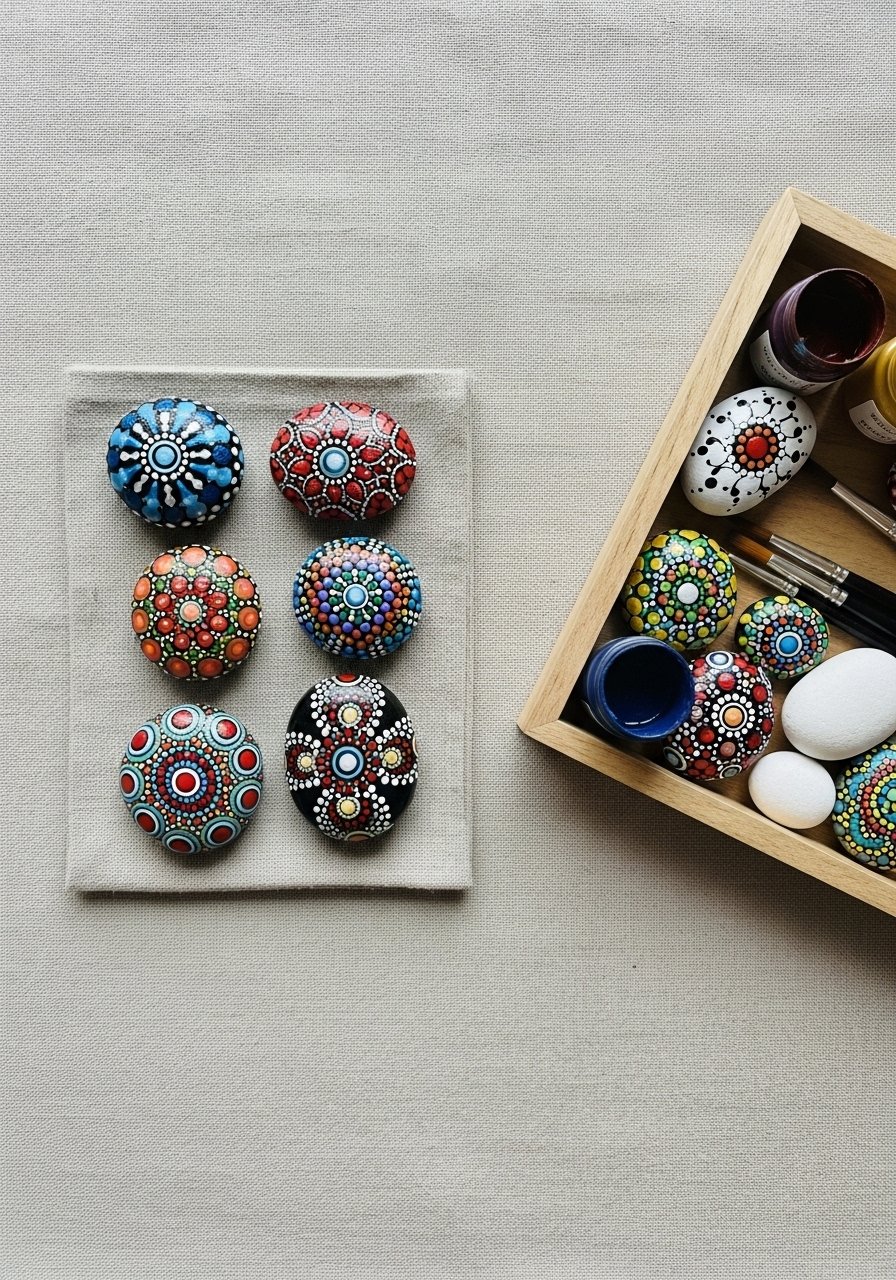
You love the look of glossy, jewel‑like painted stones but hate the streaky paint, peeling, or long wait times. Learning how to paint stones from scratch the right way gives you a perfectly smooth, vibrant, long‑lasting finish that looks shop-made — without the headache.
The secret is simple: smooth, primed stone + thin, even paint layers + the right sealer. Start with a quality white acrylic base and a fine detail brush for crisp edges. Try this white acrylic craft paint set and a fine detail brush set to get buttery coverage and clean lines.
By the end you'll know how to paint stones from scratch in a one‑afternoon session, with exact drying times, sanding tips, and sealing tricks to make your stones weatherproof for garden markers or glossy keepsakes.
Gathering and prepping your materials (easy, beginner-friendly)
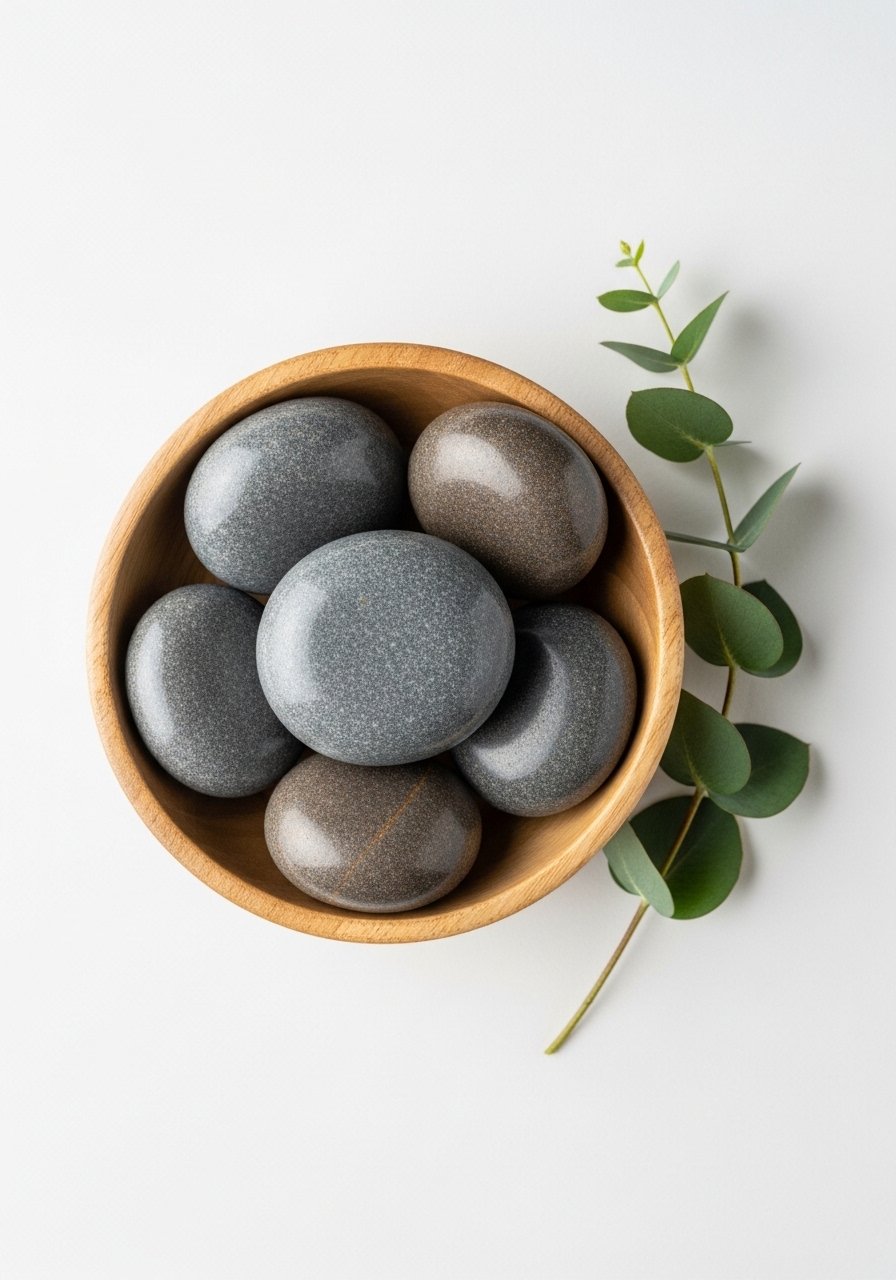
When you learn how to paint stones from scratch, prep saves time. Start by choosing smooth, flat stones (river rocks work best). Clean them with warm soapy water and let them dry completely — usually 30–60 minutes depending on size.
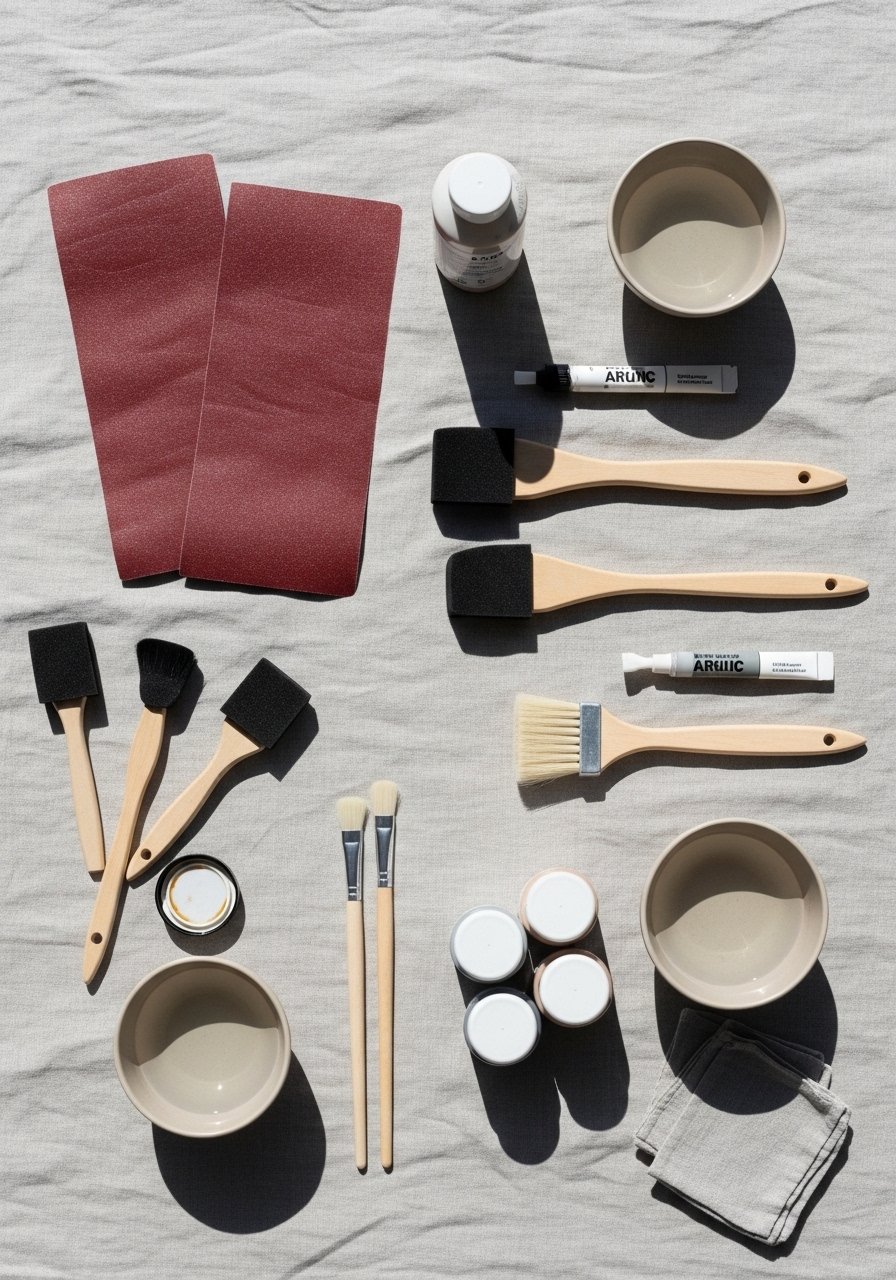
Useful tools that speed this step:
- Use a sandpaper set (start with 180–220 grit, finish with 320–400) to remove pits and get a satin surface.
- Protect your table with a self‑healing cutting mat for a stable, clean workspace.
- Have a foam brush set ready to apply thin base coats without brush marks.
Tip: sand in circular strokes and wipe dust with a damp microfiber cloth before priming.
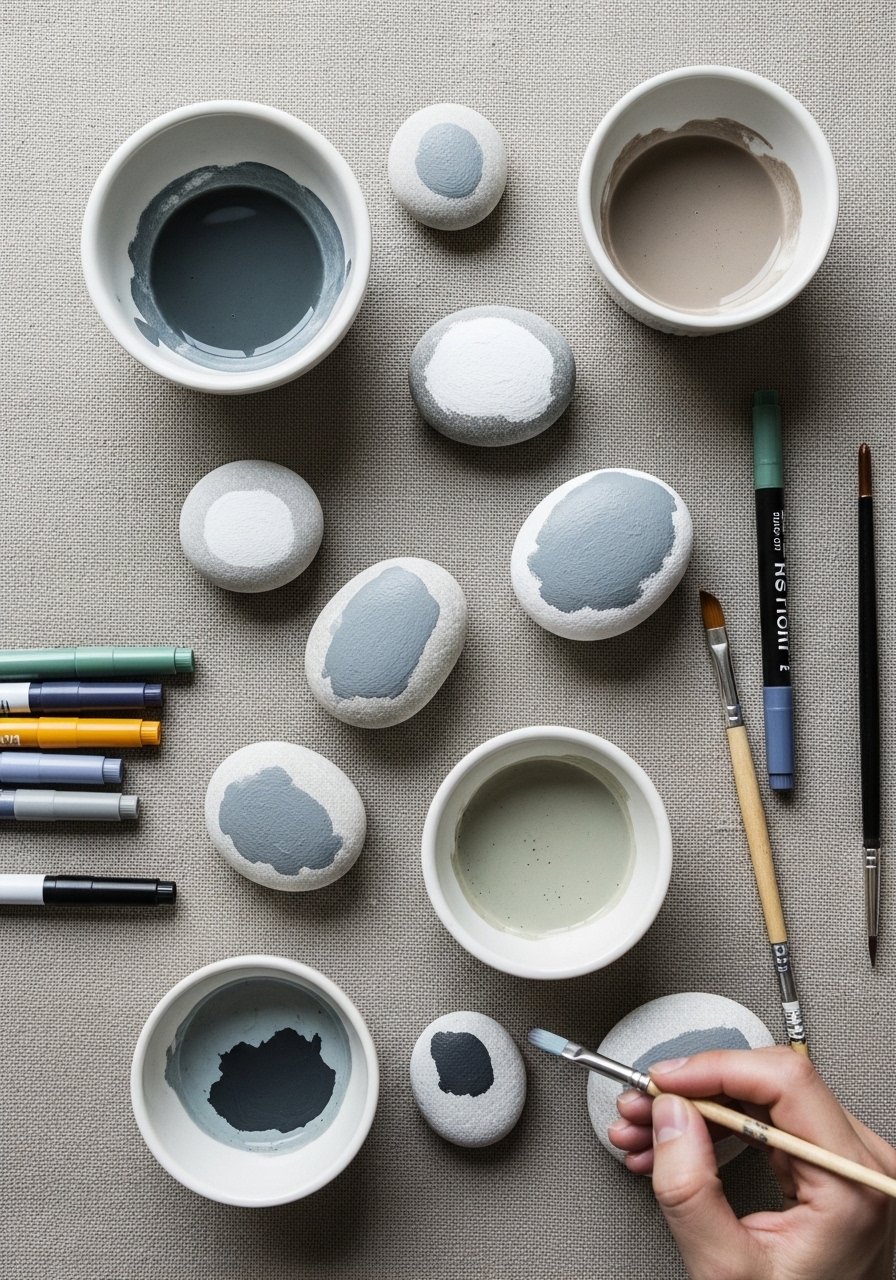
Smoothing and priming the stone surface (one-afternoon prep)

Priming gives you a smooth canvas and brighter final color. When you follow how to paint stones from scratch, prime like this:
- Apply a thin white base coat with a foam brush; you want full coverage but no puddles.
- Let the first coat dry until it’s dry to the touch — about 15–30 minutes — then sand lightly with 320–400 grit for a glassy feel.
- Add a second thin coat; allow 30 minutes to dry to touch and 24 hours to cure before heavy handling.
If you need crisp masked edges, use painter’s tape to block areas before priming. Proper priming means fewer paint coats later and a smoother final look.
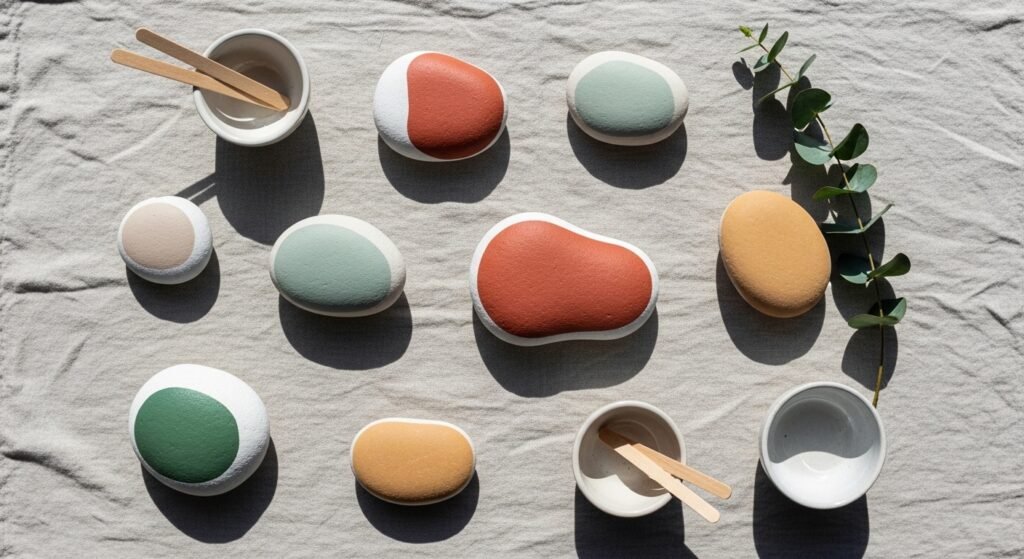
Painting techniques for vibrant, streak-free color (beginner-friendly tips)
To get vibrancy without brush strokes, thin acrylics slightly and build color in layers.
- Use a high‑pigment acrylic paint set for fewer coats.
- Apply base color with a foam brush in long, even strokes; let each thin coat dry 20–30 minutes before the next.
- For details and outlines, use a paint pen set or the fine detail brush set linked above.
- Thin paint with 1–2 drops of water per teaspoon for smoother flow if it feels too thick.
Numbered mini-process:
- Two thin base coats for full opacity.
- Add details after base fully cures to touch.
- Light touch‑up and color‑pop highlights last.
Warning: thick coats cause drips and long cure times. Keep layers thin.
Sealing for a long-lasting, glossy finish (display and outdoor use)
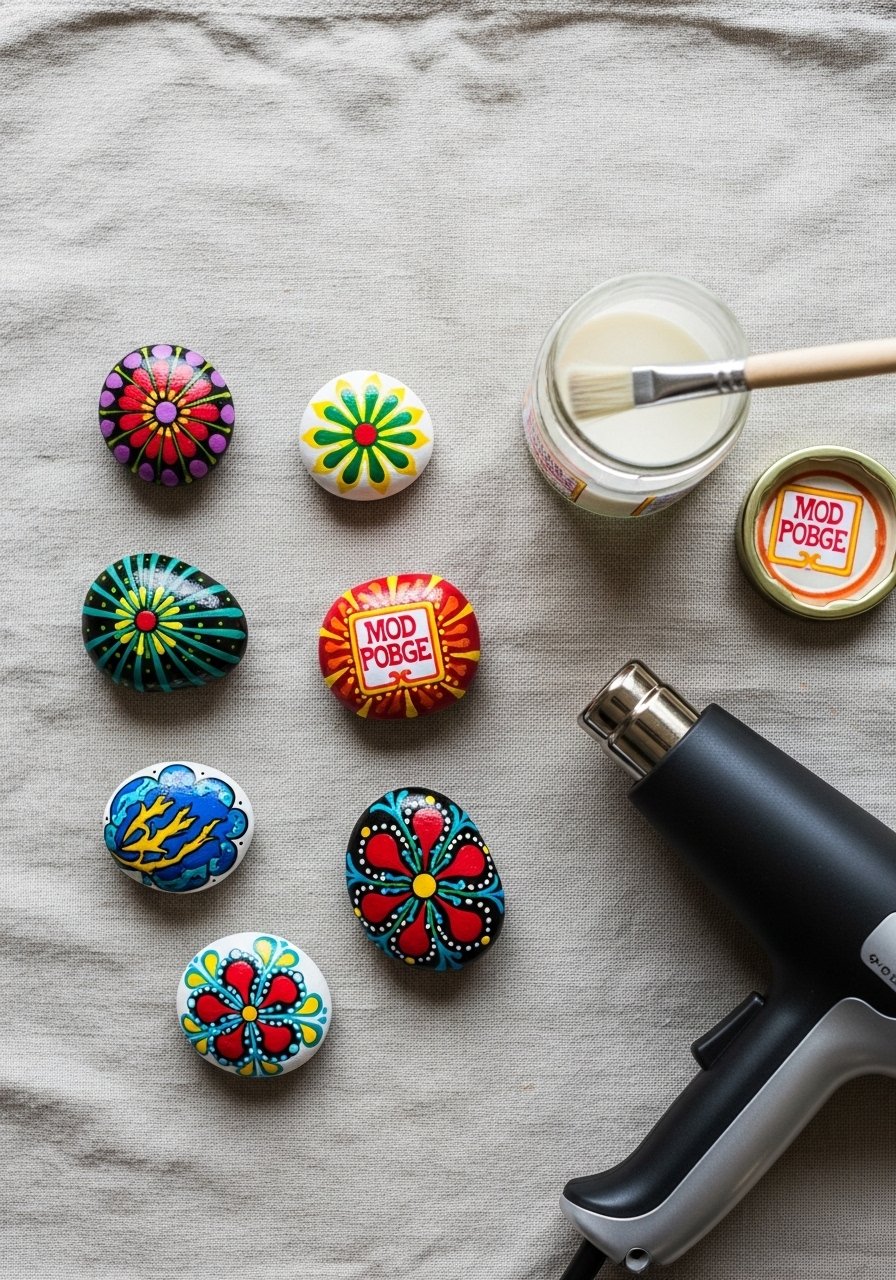
Sealing locks in color and adds durability. Choose your finish based on use:
- For an easy, weatherproof finish, apply two thin coats of Mod Podge Outdoor. Dry time between coats: 15–20 minutes; cure 24 hours.
- For a glassy, museum‑style sheen, use an epoxy resin kit. Mix per directions, pour thin, and use a heat gun briefly to pop bubbles. Resin cure varies (24–72 hours).
- Store finished stones flat until fully cured to prevent warping.
Display tip: keep extra pieces tidy in craft organizer trays for gifting or seasonal decor.
You can now paint stones from scratch with confidence — smooth bases, bright color, and a durable seal. Pin this guide for your next craft afternoon, save the techniques, and share with a friend who loves hands-on projects. Which color palette will you try first?