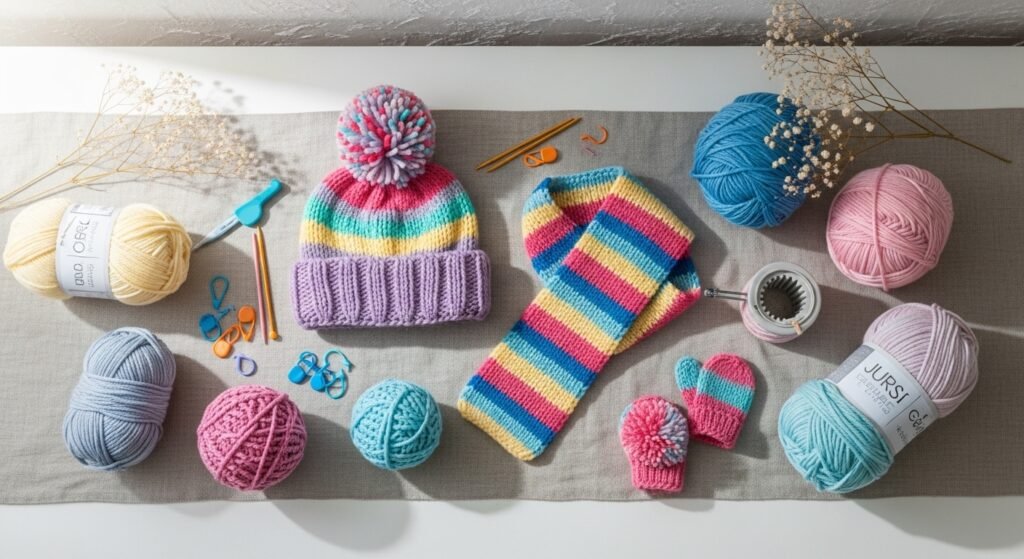
If you want a stack of quick, safe projects that build skills and look delightful, this list is for you. These 21 kid-friendly knitting patterns were chosen to be colourful, tactile, and sized for little hands—perfect for short attention spans and big imaginations. Whether you’re guiding a child through their first garter stitch or knitting a small gift for a classroom swap, you’ll find something here.
I lean on big, forgiving yarn and blunt plastic needles when teaching children; they make stitches easier to see and harder to split. Snag a soft, super-bulky skein like super bulky yarn and a set of plastic knitting needles and you’re ready to go. These projects focus on simple stitches, short make times, and safe finishes so you can relax and enjoy crafting together.
- Pom-Pom Hat (knitting for beginners kids)
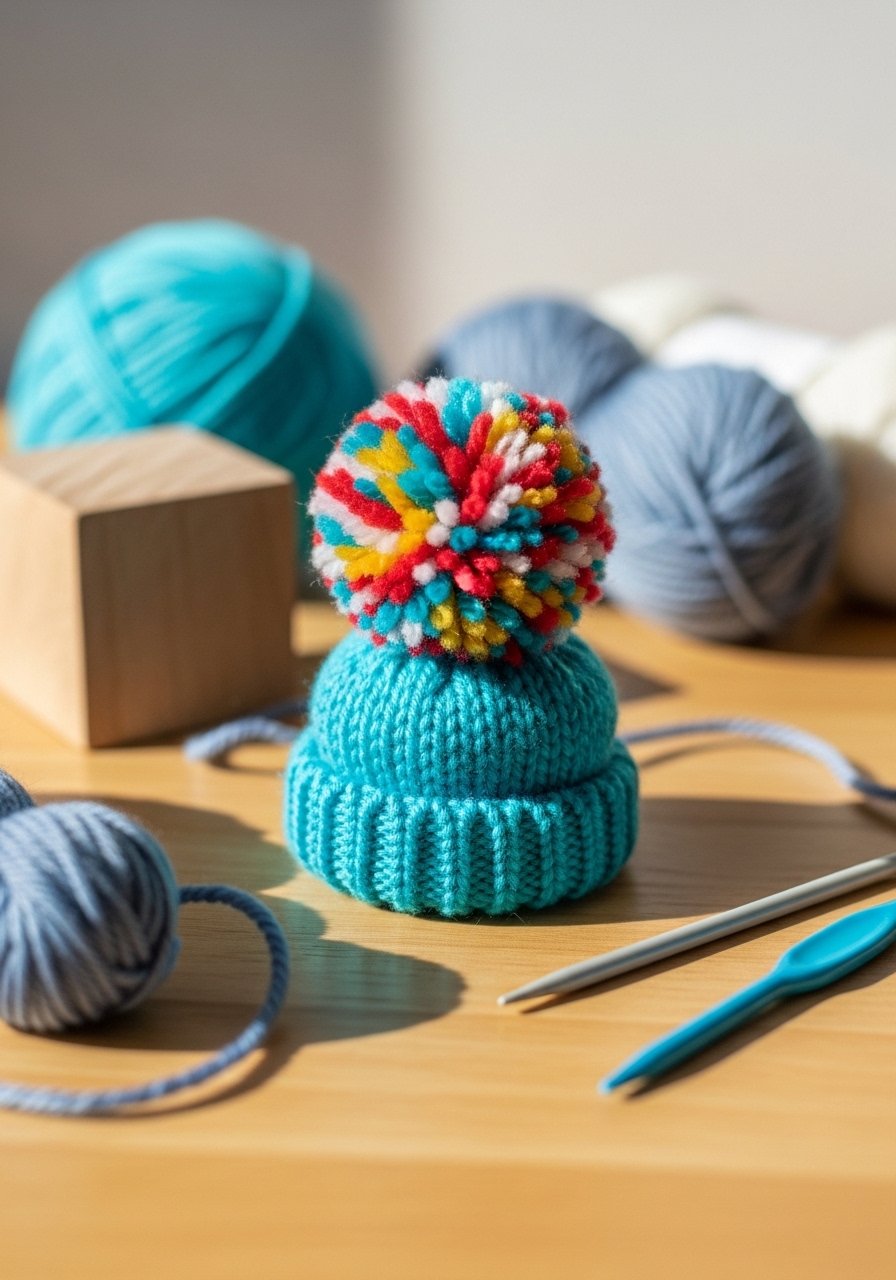
This chunky pom-pom hat knits up fast and feels cuddly in little hands. The large stitches make it easy for new knitters to see progress. Use bold color combos for a cottagecore or playful look—kids adore the texture and the jiggly pom-pom.
Materials
- 1 ball (100g) super-bulky acrylic yarn (~60–80 yards)
- US 13 / 9 mm plastic straight needles (pair)
- 1 large pom-pom maker (4–6 inch) or cardboard template
- Tapestry needle for weaving ends
- Scissors
- Stitch marker (optional)
Instructions
- Cast on 28 stitches loosely on one needle (adjust to child’s head: 18–20 inches circumference).
- Knit every row (garter stitch) for 6 inches or about 10 rows per inch depending on yarn—check fit.
- When length reached, bind off loosely.
- Fold hat in half and sew the back seam with tapestry needle using mattress stitch.
- Make pom-pom following tool instructions (trim to round) and attach securely by threading yarn through top and tying inside hat.
- Weave in all ends. For a sturdier pom, tie an extra knot inside and trim.
How to Display or Gift It
- Stack with a matching knitted scarf and tie with twine in a kraft box for a cozy gift.
- Display on a small wooden peg or child-sized mannequin head.
- Store extra pom-poms in a clear jar like mason jars for easy access.
- Rainbow Striped Scarf (knitting for beginners kids)
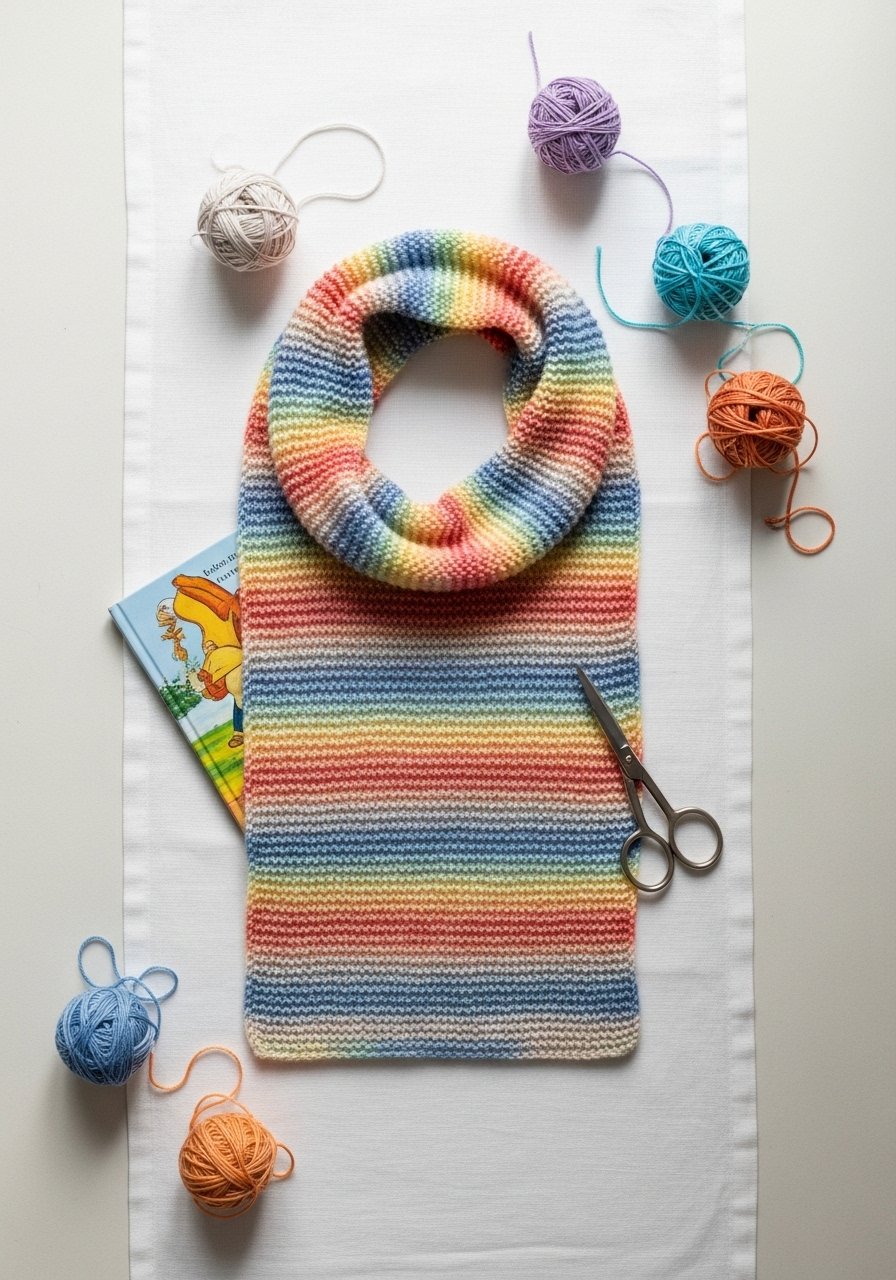
Stripes are a perfect way to practice tension, change colors, and make a cheerful accessory. This short scarf is knit in garter stitch, so kids get instant texture. The bold stripes fit cabin-core and boho palettes depending on color choice.
Materials
- 5 small 50g worsted weight yarn balls in different colors (or scrap yarn)
- US 8 / 5 mm plastic or bamboo needles (pair)
- Tapestry needle
- Scissors
- Stitch markers (optional)
- Measuring tape
Instructions
- Cast on 20 stitches.
- Knit every row (garter stitch) until scarf measures 6 inches.
- Switch colors every 8 rows to make visible stripes; carry yarn neatly or cut and weave tails.
- Continue until scarf reaches 30–36 inches for a child.
- Bind off loosely, leaving a 6-inch tail.
- Weave in ends with tapestry needle. Trim any long tails.
How to Display or Gift It
- Roll the scarf and tie with ribbon; tuck a handmade gift tag inside.
- Pair with a small wooden hanger for a boutique-style presentation.
- Store in a craft organizer tray folded flat to keep it neat.
- Tiny Finger Puppets — Beginner Sewing + Knitting Fun
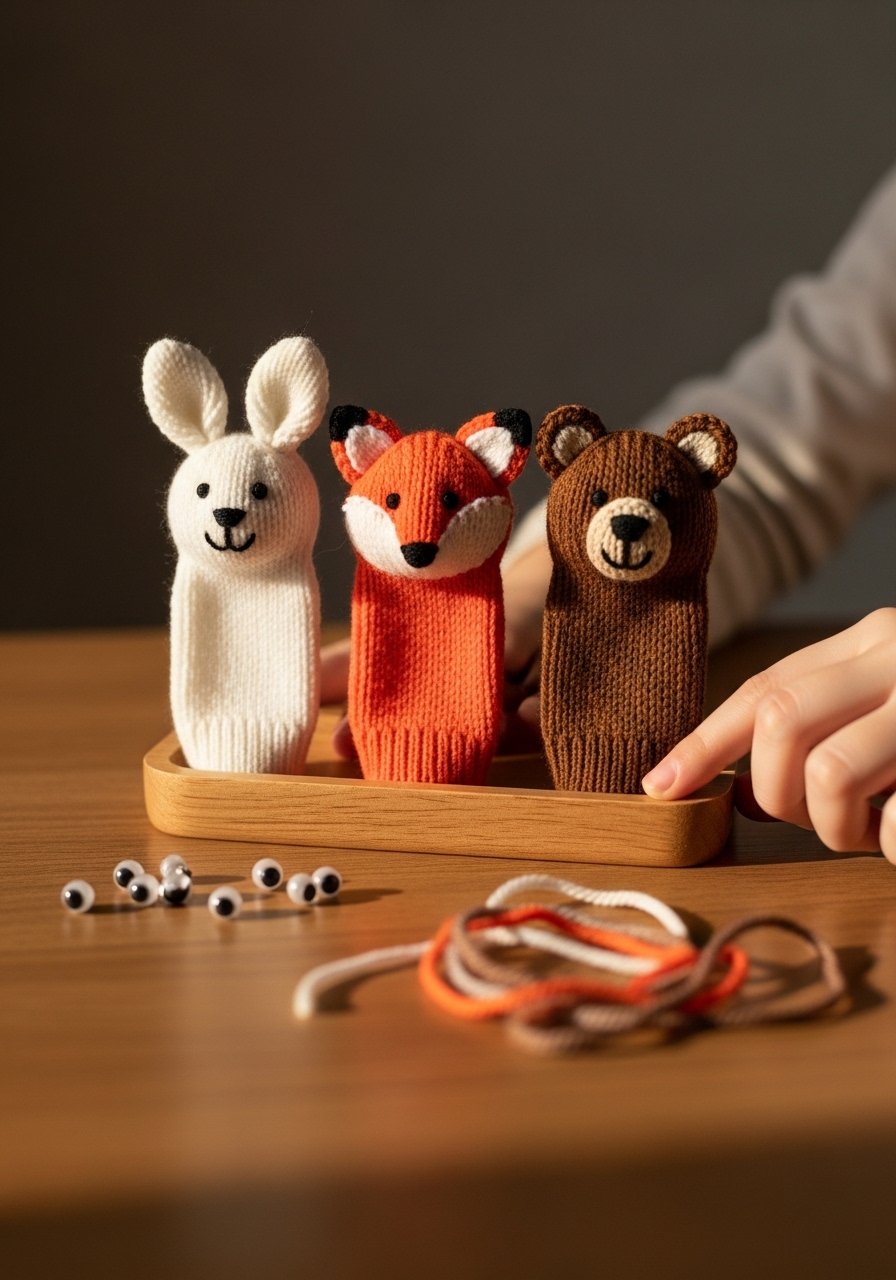
Finger puppets are fast, allow for creative faces, and are great for storytelling. Little hands love decorating them with embroidered features. This project mixes a tiny tube knit and simple sewing—perfect for a first “toy” knit.
Materials
- 50g DK weight yarn (small amount per puppet)
- US 6 / 4 mm double-pointed needles or a short circular
- Small amount of polyester stuffing (2–3 teaspoons)
- Tapestry needle
- Embroidery floss or yarn for facial features
- Safety eyes (use buttons only with adult supervision) or embroidery
- Scissors
Instructions
- Cast on 20 stitches and join in the round, place marker.
- Knit in stockinette (knit every round) for 1.5 inches.
- Decrease: (k2tog) around until 8 stitches remain.
- Stuff lightly, then close with tapestry needle using Kitchener stitch or simple whip stitch.
- Embroider eyes and mouth, or attach safety eyes with washer (adult only).
- Trim any stray hairs, and check seams for secure stitching.
How to Display or Gift It
- Present set of 3 in a small kraft box with tissue paper.
- Store puppets upright in a wooden crate or small jam jar.
- Use as party favors or classroom storytelling props.
- No-Sew Knit Headband (loom or needle)
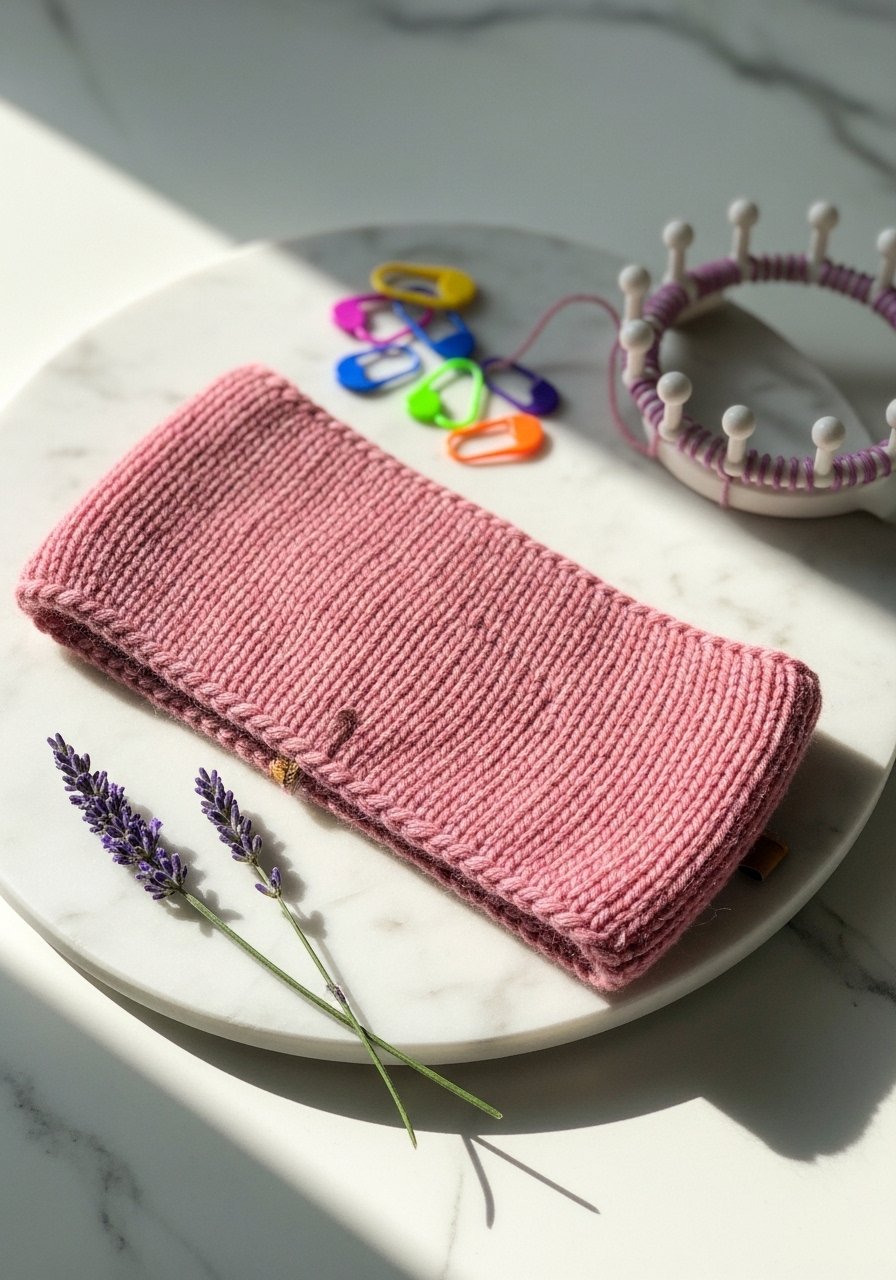
Headbands knit quickly and teach casting on, basic knitting, and binding off. The no-sew finish is great for tiny knitters who are still mastering seaming. Use soft yarn so it sits comfortably behind ears.
Materials
- 50g super-bulky or bulky yarn
- US 10 / 6 mm needles or small round knitting loom
- Tapestry needle
- Scissors
- Measuring tape
Instructions
- Cast on 12 stitches for bulky yarn.
- Work in garter stitch until the piece measures 4 inches (check stretch).
- Bind off, then fold and join ends using a three-needle bind-off or by threading yarn through both edges with tapestry needle for a flat seam.
- Tuck seam inside and weave in ends.
- Try headband on and trim any extra yarn.
How to Display or Gift It
- Slip onto a small card and tie with ribbon for a shop-style gift.
- Display on a little wooden peg board or hook.
- Store headbands flat in a craft organizer tray.
- Easy Fingerless Mitts
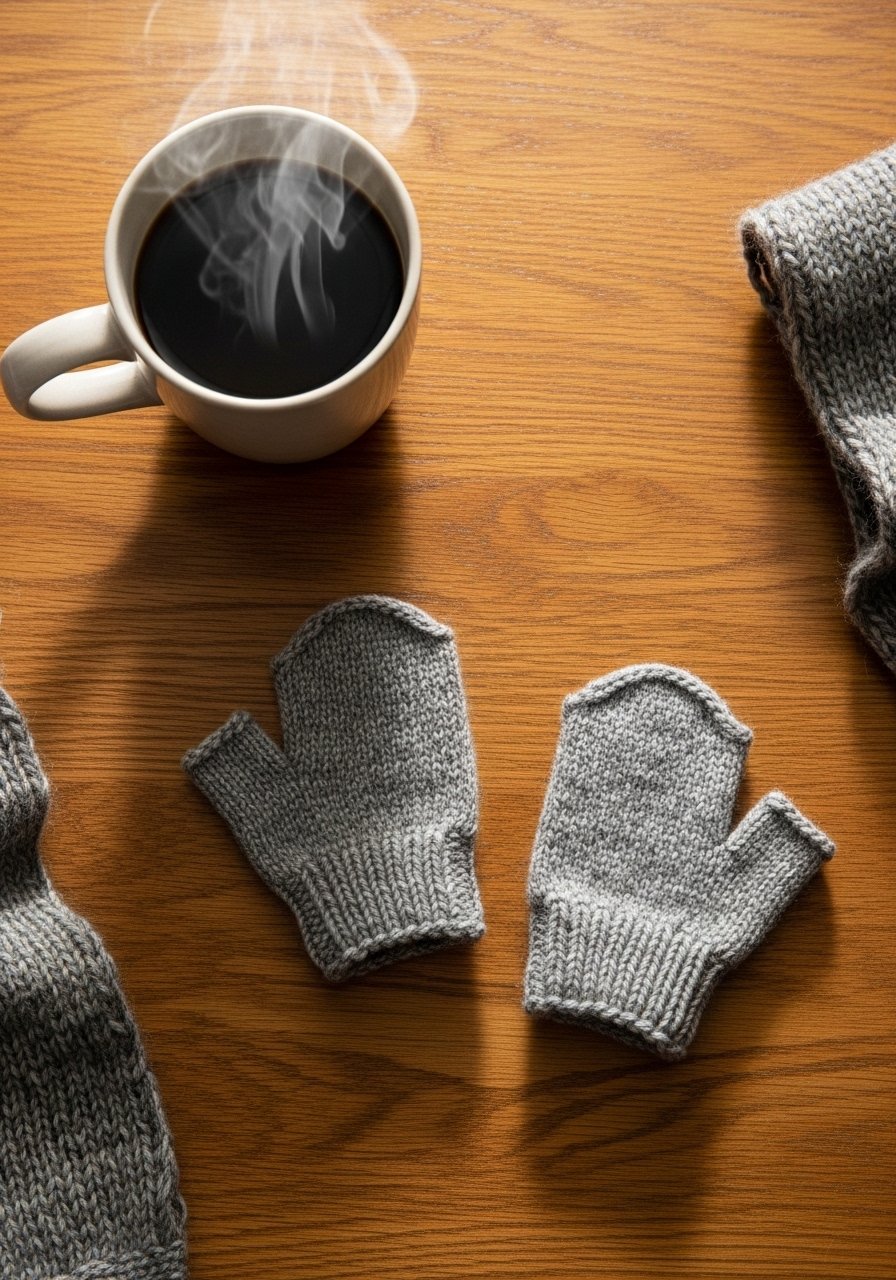
Fingerless mitts let kids learn tubular shapes and simple decreases with instant wearability. They’re perfect for chilly classrooms and keep thumbs free. Use soft wool blends for warmth and durability.
Materials
- 50g worsted yarn (about 80 yards)
- US 6 / 4 mm double-pointed needles or two circulars (16-inch)
- Stitch marker
- Tapestry needle
- Scissors
- Measuring tape
Instructions
- Cast on 28 stitches and join in the round, placing marker.
- Work 2×2 ribbing (k2, p2) for 1.5 inches.
- Knit in stockinette for 3 inches from cast-on.
- Thumb gusset: knit 14, place next 5 stitches on waste yarn or stitch holder for thumb, cast on 2, continue knitting rest. Continue round until mitt measures 6.5 inches.
- Knit cuff ribbing for 1 inch, then bind off.
- Transfer thumb stitches to DPNs, pick up 2 stitches at gap, knit in the round for 1.5 inches, bind off, weave in ends.
How to Display or Gift It
- Pair with a matching hat and wrap in tissue in a kraft box.
- Place on a small tabletop easel for boutique-style display.
- Store mitts flat in breathable fabric bag.
- Mini Stuffed Sheep Toy — knitting for beginners kids
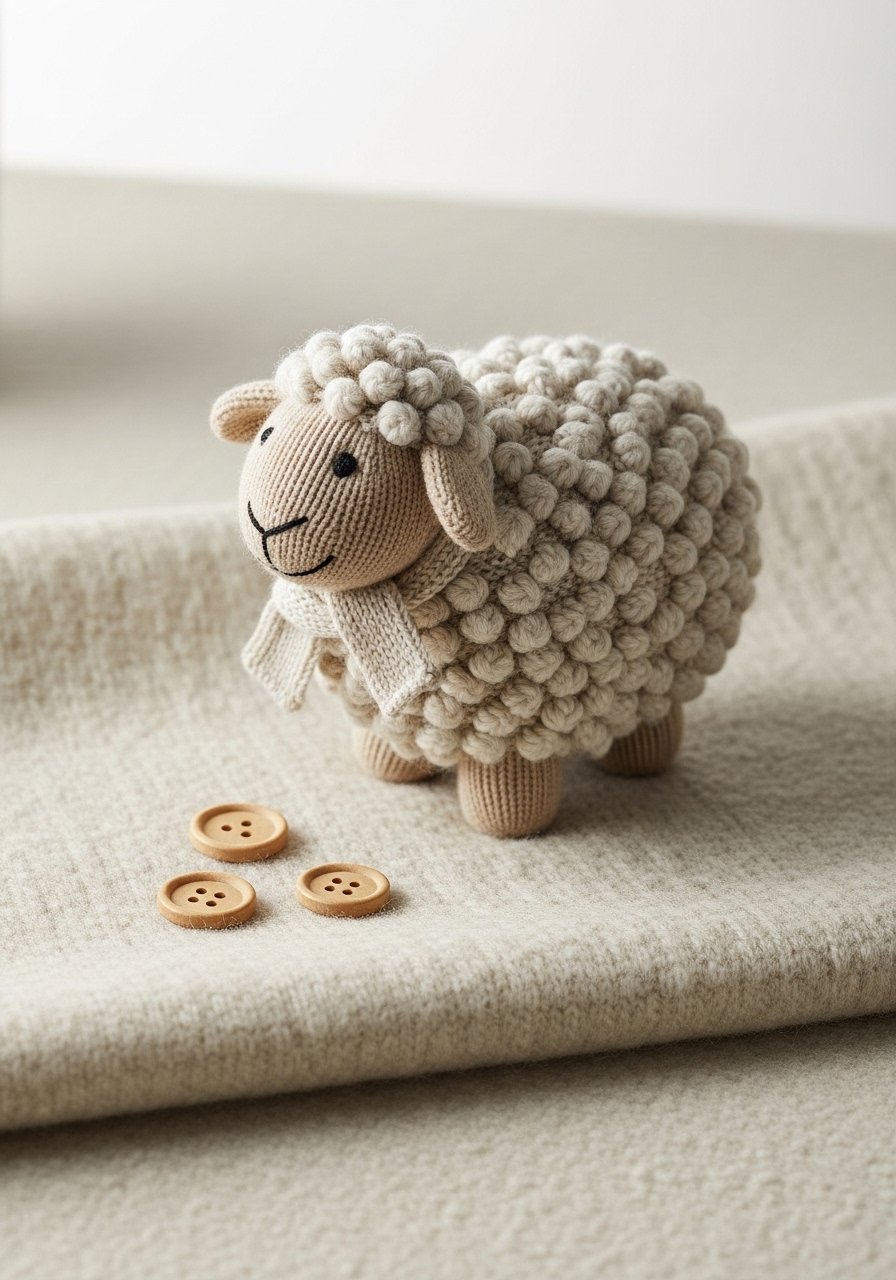
Textured knits like this sheep use simple bobble-like stitches or tufted techniques for a fluffy look without complicated shaping. Kids love the tactile fleece feel and the friendly face.
Materials
- 50g bulky boucle or textured yarn for body
- 50g DK yarn for head and legs
- US 6 / 4 mm needles
- Polyester stuffing
- Tapestry needle
- Embroidery floss for face
- Scissors
Instructions
- Cast on 24 stitches for the body with textured yarn; knit garter stitch for 3 inches.
- Pick up DK yarn, work short rows to form head: knit 2 inches, then decrease to shape.
- Knit four small tubes for legs, each 1.5 inches long; stuff lightly.
- Sew legs to body with tapestry needle.
- Stuff body firmly, close opening, and embroider face with simple French knots and a small smile.
- Trim any loose ends and check seams.
How to Display or Gift It
- Tuck into a small gift box with shredded tissue.
- Sit on a nursery shelf beside books.
- For storage, use a breathable toy bin.
- Baby Booties (simple top-down)
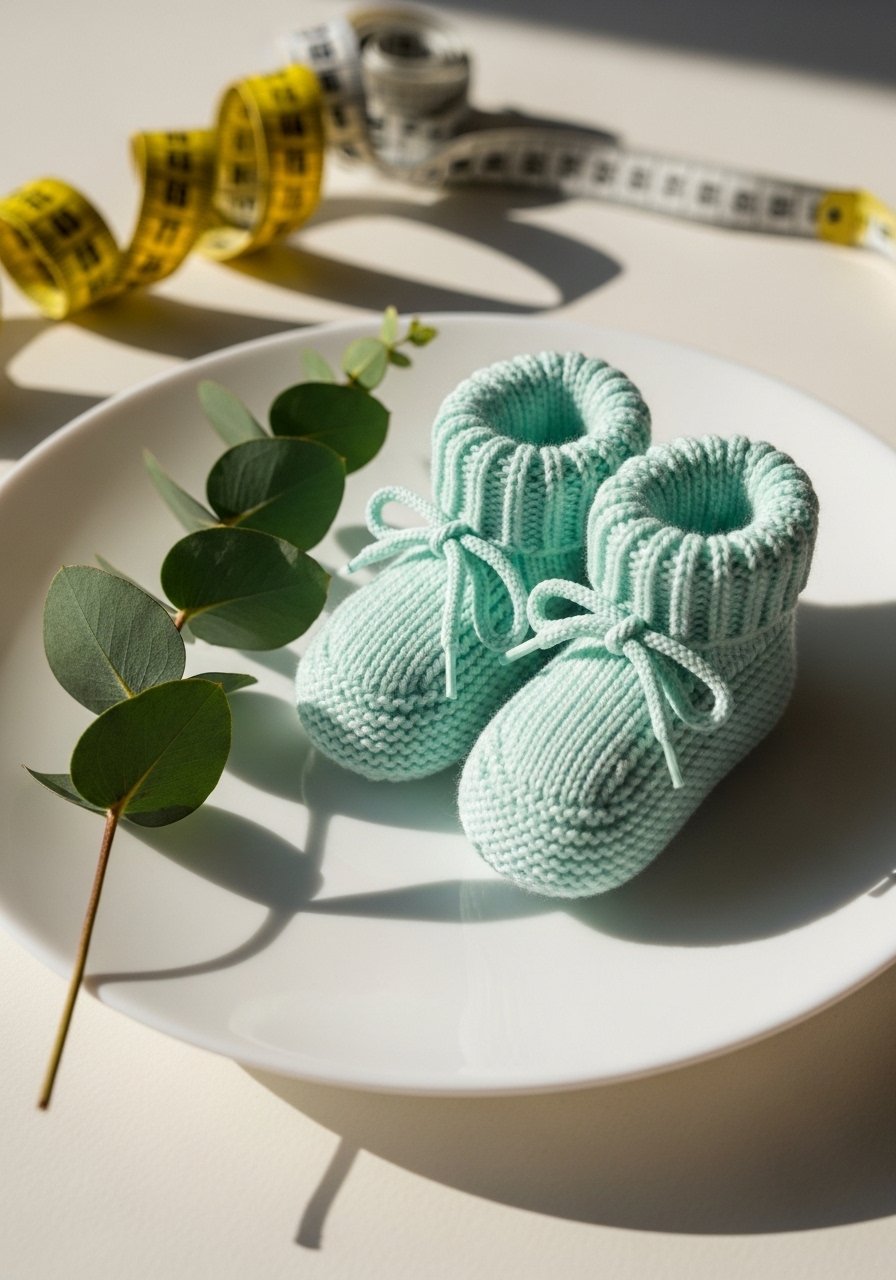
Booties teach shaping and joining simple pieces. These are knit top-down so there’s minimal sewing and instant fit checks. Use machine-washable yarn for practicality.
Materials
- 50g soft worsted yarn (cotton blend recommended)
- US 5 / 3.75 mm double-pointed needles or short circular
- Stitch marker
- Tapestry needle
- Scissors
- Measuring tape
Instructions
- Cast on 28 stitches, join for working in the round.
- Work 1 inch of 1×1 ribbing.
- Knit in stockinette for 1.5 inches, then start toe decreases: (k2tog) every other round until 12 stitches remain.
- Bind off and graft toe closed or whip stitch.
- Make a second bootie matching same length.
- Weave in ends and block lightly if needed; allow 24 hours to settle.
How to Display or Gift It
- Wrap in tissue and tuck a tiny tag with birth details.
- Store in a small keepsake box or display on a shelf.
- Attach a safety pin with a note if giving as a shower gift.
- Knit Coin Pouch with Button Flap
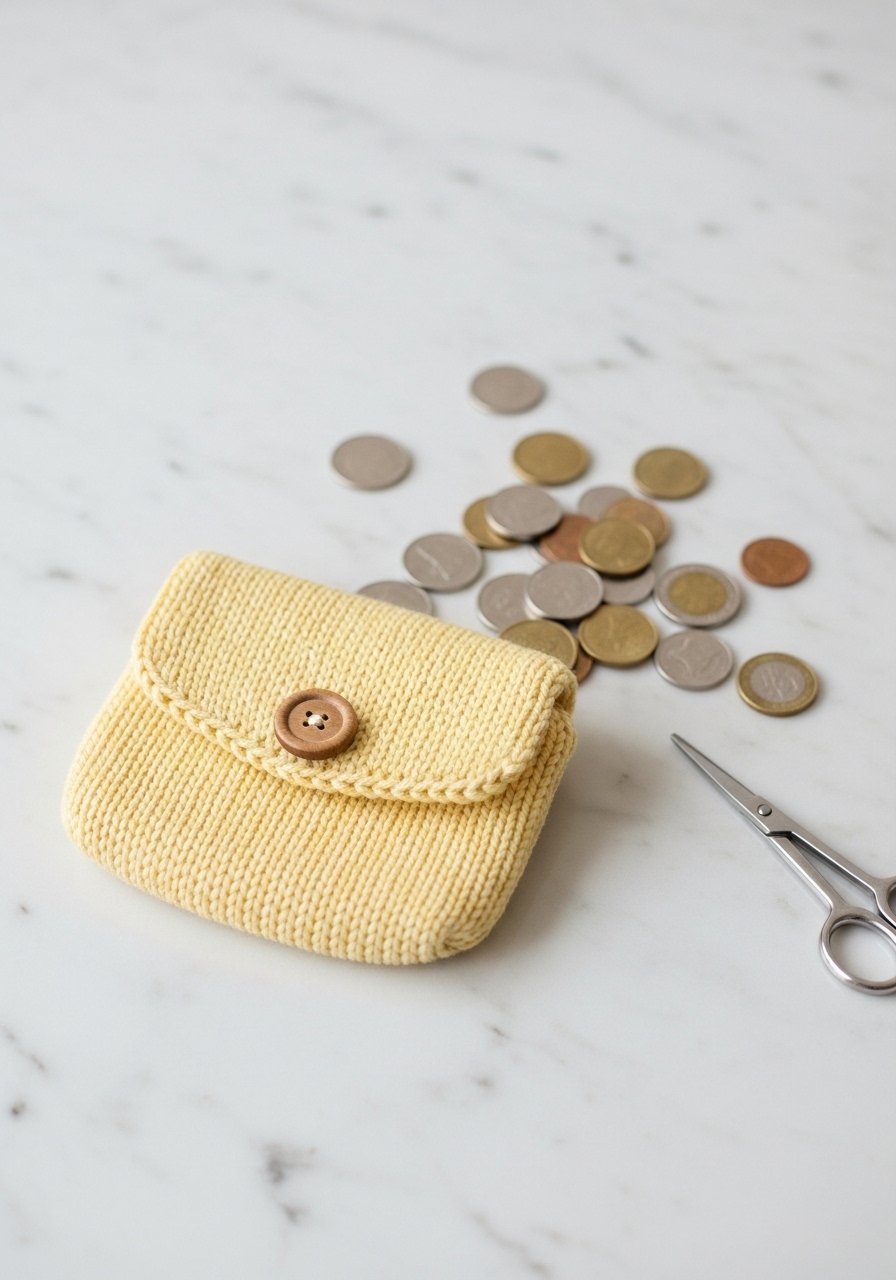
This small pouch teaches short rows or simple gusset shaping and finishing with a button. It’s a great first project for practicing neat edges and sewing on hardware.
Materials
- 25g worsted cotton yarn
- US 6 / 4 mm needles
- Small wooden button
- Tapestry needle
- Fabric glue (optional)
- Scissors
Instructions
- Cast on 20 stitches.
- Work garter stitch for 2.5 inches.
- For pouch sides, fold and seam bottom using mattress stitch, leaving top open.
- On remaining top flap, pick up 10 stitches and knit a short flap 1 inch, bind off.
- Sew button to front and form buttonhole by binding off 3 stitches in center of flap, casting them on same row.
- Weave in ends. If desired, add a fabric lining with a dab of craft glue for extra durability; allow glue to dry 24 hours.
How to Display or Gift It
- Pair with a small tin of stickers for a fun gift.
- Store in a small drawer or a craft organizer tray.
- Use for coins, tiny treasures, or as a gift card holder.
- Knit Washcloths — knitting for beginners kids
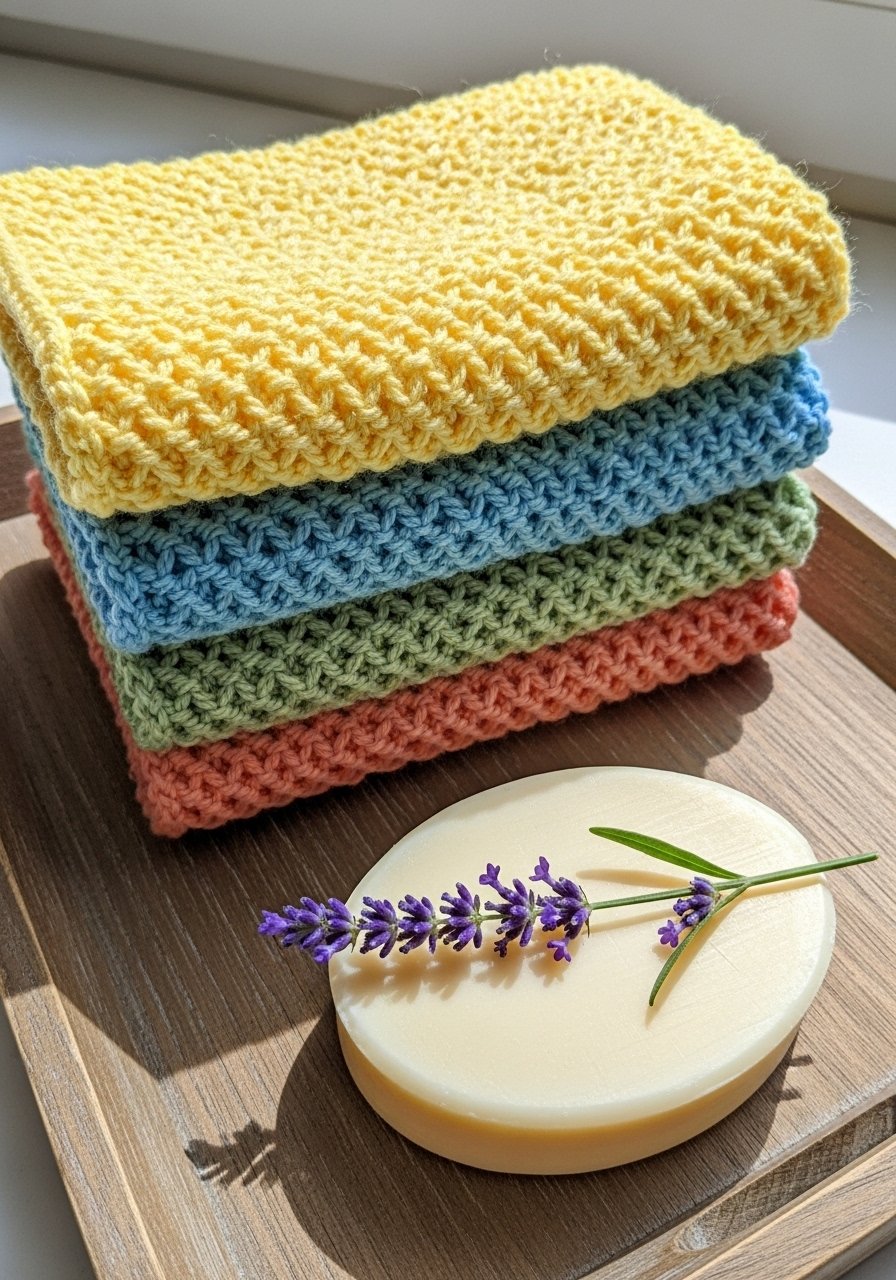
Washcloths are perfect first knitting projects for kids learning to keep even tension and weave in ends. They’re quick, washable, and make useful gifts for teachers or grandparents.
Materials
- 2 balls cotton worsted yarn (one per cloth)
- US 7 / 4.5 mm needles
- Tapestry needle
- Scissors
- Measuring tape
- Blocking mats (optional)
Instructions
- Cast on 30 stitches.
- Knit garter stitch (every row) until square, about 8 x 8 inches.
- Bind off loosely.
- Weave in ends and trim.
- Wash in warm water and lay flat on blocking mat to dry 12–24 hours for even edges.
- Repeat for additional cloths in different colors.
How to Display or Gift It
- Roll a set of three and tie with twine; add a small soap bar.
- Store flat in a drawer or stack on a bathroom shelf.
- Use as a quick make-ahead craft for holiday gifting.
- Striped Neck Warmer (easy cowl)
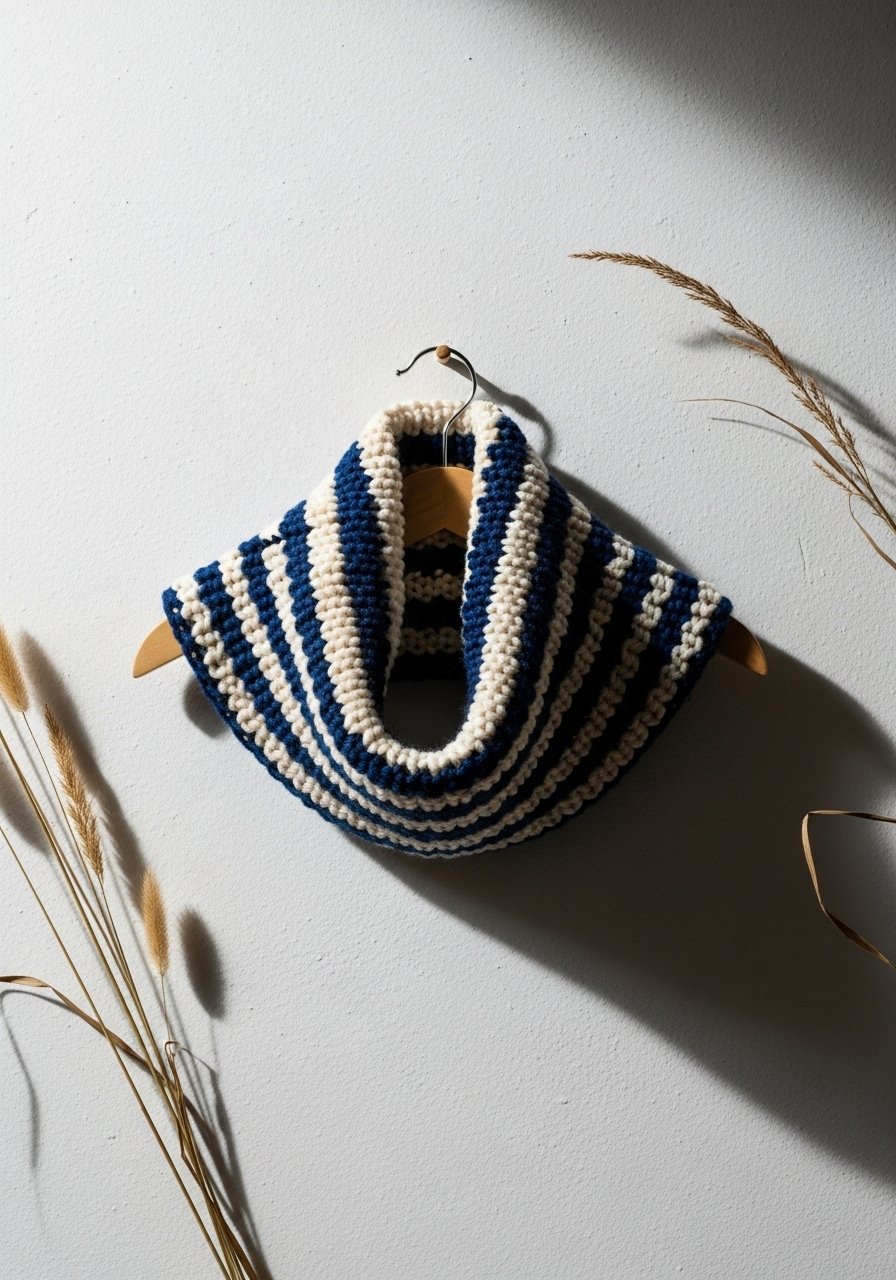
Cowls are a one-piece project that slips on and off—no closures required. The circular knitting keeps hands busy and helps beginners learn rhythm in rounds.
Materials
- 100g bulky yarn (2 colors)
- US 10 / 6 mm circular needle (16-inch)
- Stitch marker
- Tapestry needle
- Scissors
- Measuring tape
Instructions
- Cast on 80 stitches loosely and join in round.
- Work 2 inches in 2×2 ribbing.
- Switch to stockinette (knit all rounds) and alternate colors every 4 rounds.
- Continue until cowl measures 8–9 inches tall.
- Bind off loosely and weave in ends.
- Block on a flat surface if needed for 12 hours.
How to Display or Gift It
- Fold cowl and tuck with a matching hat into a kraft gift box.
- Hang on a small peg or a child-sized coat rack.
- Store folded in a breathable fabric pouch.
- Tactile Bookmark with Tassel — knitting for beginners kids
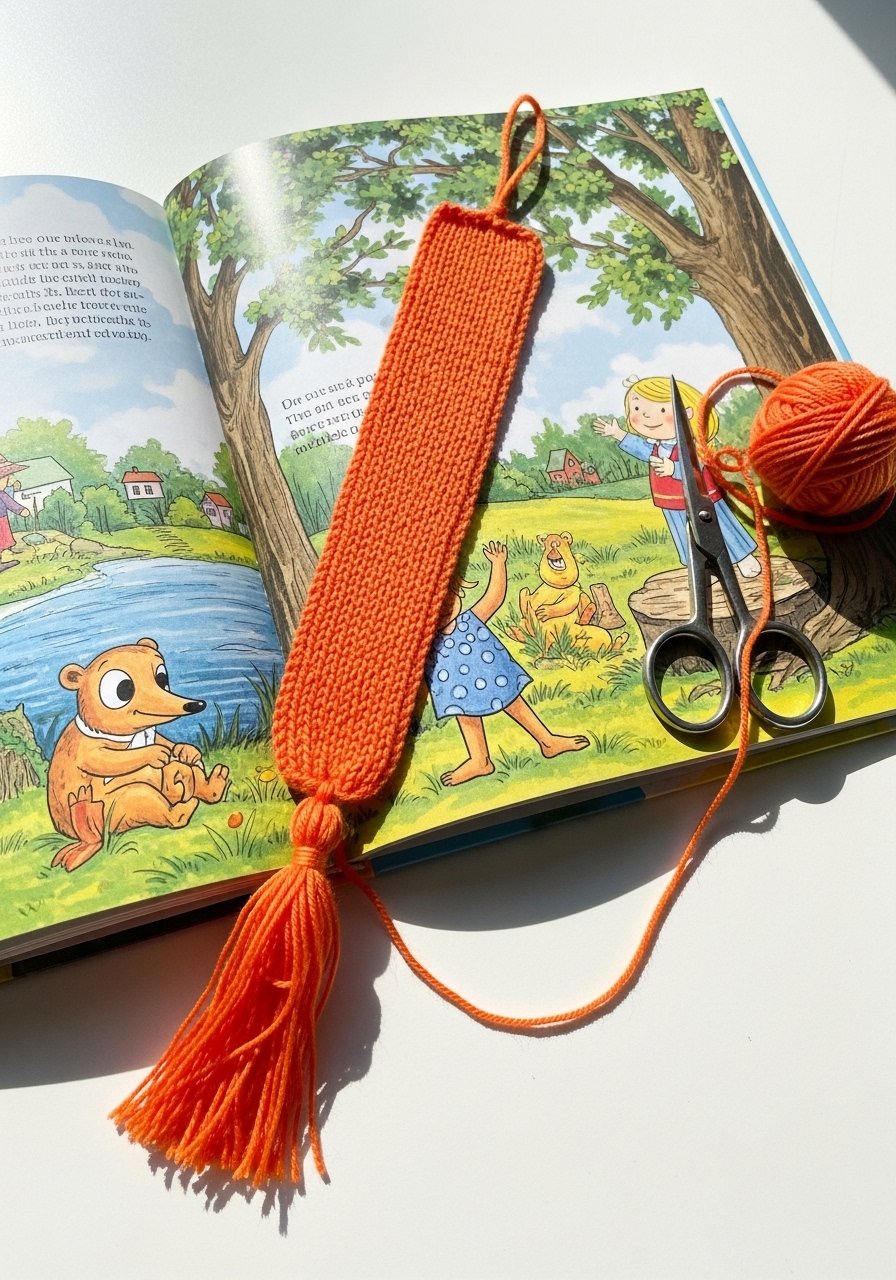
Bookmarks are tiny wins for new knitters—fast to finish and instantly useful. They teach neat edges and how to add a tassel for flair.
Materials
- 25g worsted yarn (small amount)
- US 6 / 4 mm needles
- Tapestry needle
- Scissors
- Small cardboard for tassel (2 inches)
- Measuring tape
Instructions
- Cast on 12 stitches.
- Knit in garter stitch until bookmark is 6–7 inches long.
- Bind off.
- Make a tassel: wrap yarn around cardboard 20 times, tie across top, cut bottom, and attach.
- Sew tassel to one end of bookmark and weave in loose ends.
- Press lightly if needed (steam from a distance).
How to Display or Gift It
- Pair with a small book and tie with ribbon.
- Store in a pencil cup or small jar with other bookmarks.
- Great as party favors or classroom tokens.
- Play Sandwich Squares (mini food play set)
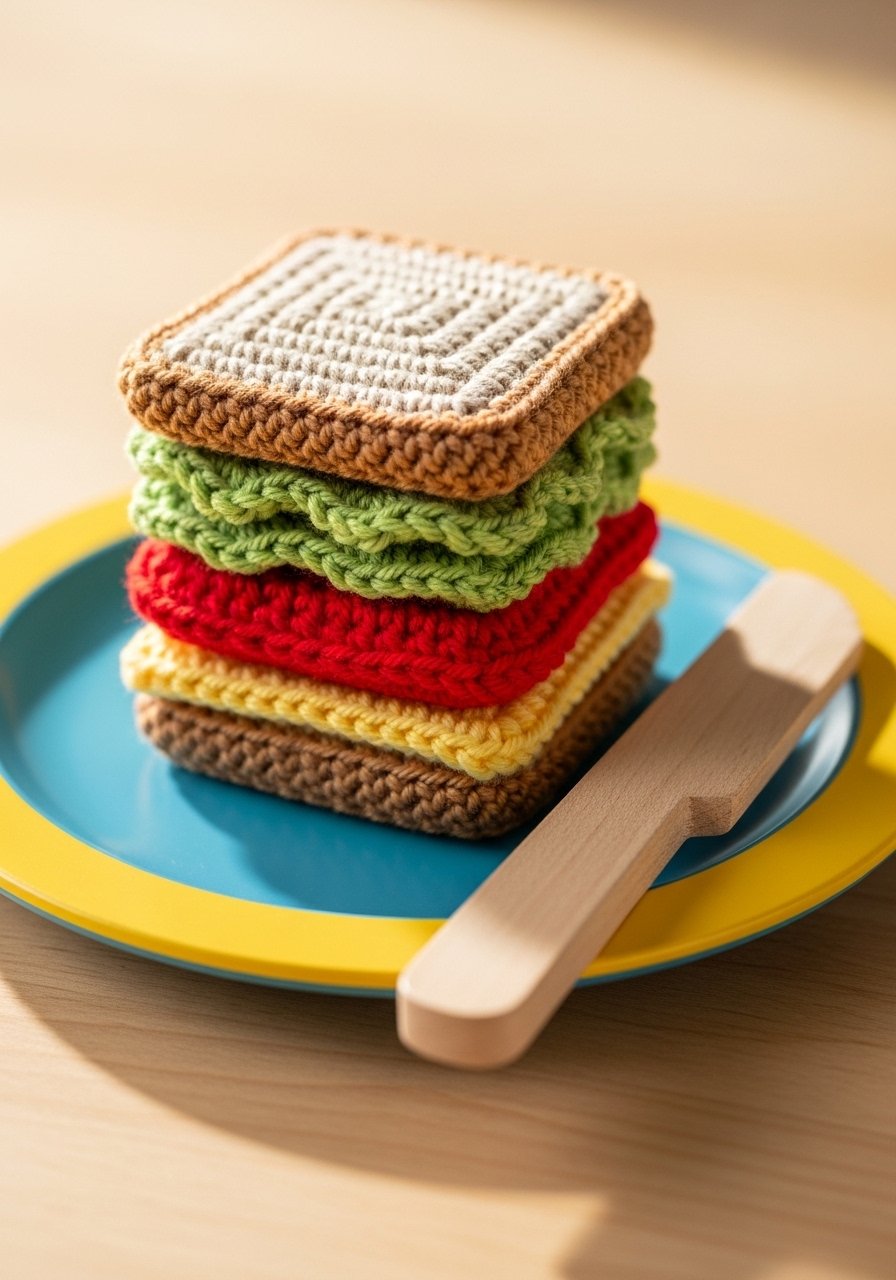
Mini food pieces teach color changes and simple rectangle knitting. They’re safe for play when sewn securely, and kids love arranging their own pretend lunches.
Materials
- Small scraps of yarn in brown, green, red, yellow
- US 6 / 4 mm needles
- Tapestry needle
- Polyester stuffing (optional for puffier pieces)
- Scissors
Instructions
- Cast on 16 stitches for each square.
- Knit garter stitch for 2.5 inches, bind off.
- For lettuce, pick textured stitch or use loop yarn for fun.
- Sew squares together lightly or leave separate for play.
- Add small stitches for tomato seeds with embroidery floss.
- Ensure all ends are woven in and knots are secure.
How to Display or Gift It
- Pack in a small cloth sandwich bag as a play set.
- Store in a toy box or fabric pouch.
- Great as stocking stuffers or playdate gifts.
- Soft Knit Ball
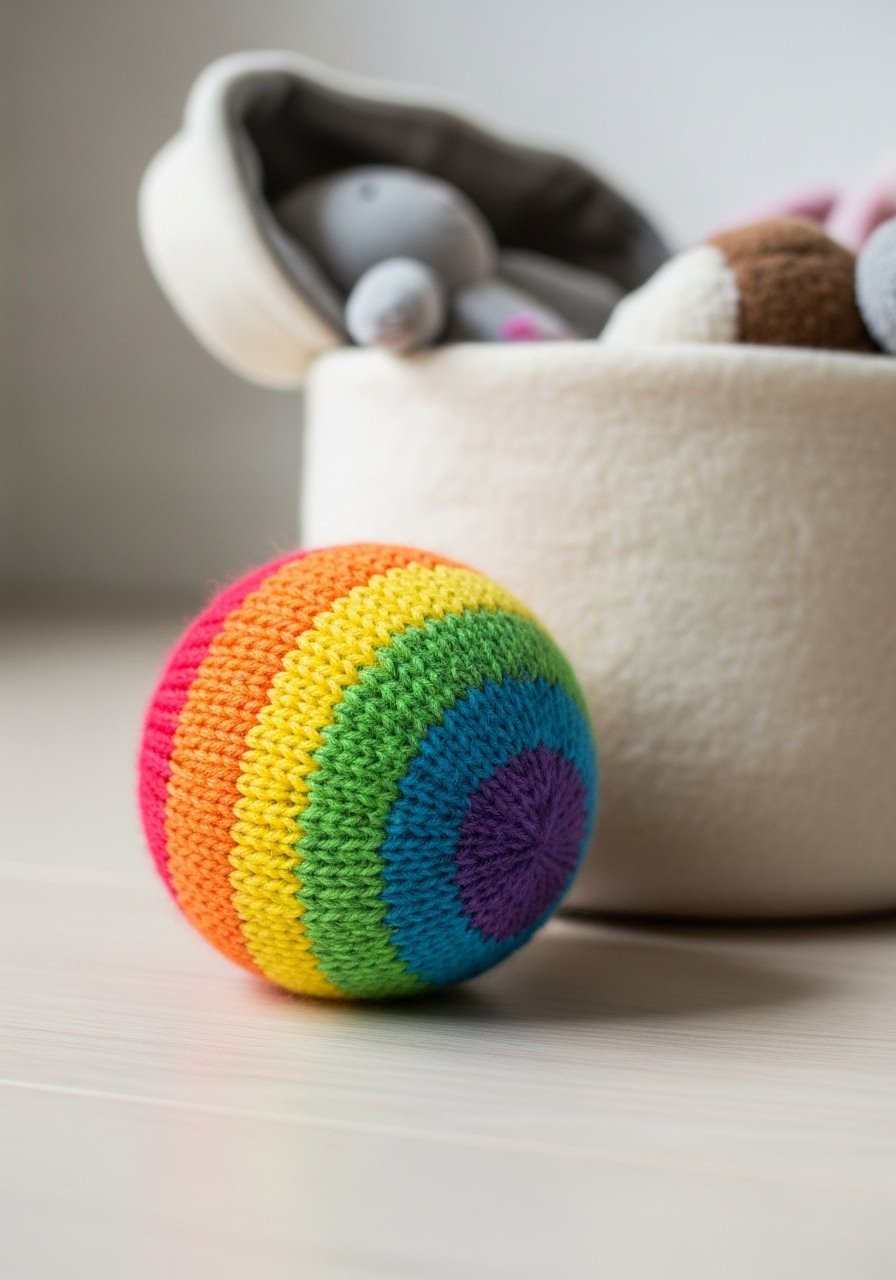
Knit balls are wonderful for tossing games and sensory play. Use a simple tube knit stuffed firmly for a squishy, safe toy.
Materials
- Small amount of worsted yarn (approx 30 yards)
- US 7 / 4.5 mm needles
- Polyester stuffing
- Tapestry needle
- Scissors
- Stitch marker
Instructions
- Cast on 18 stitches and join in round.
- Knit in stockinette until tube is 3.5 inches long.
- Decrease evenly until 6 stitches remain.
- Close most of the opening, stuff firmly, finish closing.
- Shape ball with hands to even it out.
- Play gently; check for loose seams periodically.
How to Display or Gift It
- Tuck into a small fabric basket or gift box.
- Use as a nursery decoration on a shelf.
- Store in a breathable toy bin.
- Chunky Blanket Square — colorful cuddle square (knitting for beginners kids)
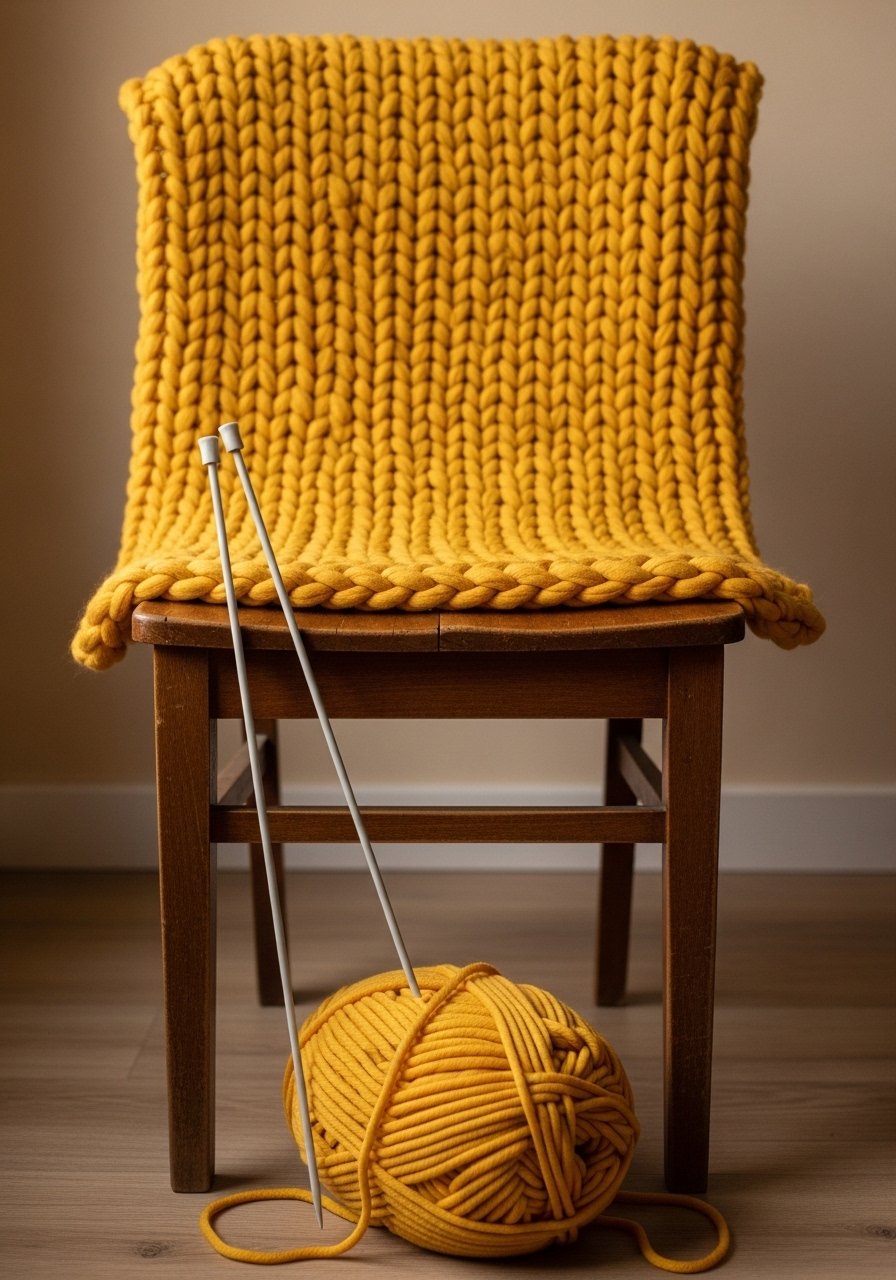
Blanket squares are excellent for short attention spans: knit one square at a time and stitch together later. They teach consistent tension and make a bright throw for a child’s bed.
Materials
- 1 ball (100g) super-bulky yarn per square
- US 15 / 10 mm needles
- Tapestry needle
- Scissors
- Measuring tape
- Blocking pins (optional)
Instructions
- Cast on 20 stitches.
- Knit garter stitch until square measures 12 x 12 inches.
- Bind off and weave in ends.
- Make as many squares as desired and sew together using mattress stitch.
- After assembly, block lightly on a mat for 24 hours for even seams.
- Trim any long tails and tuck in securely.
How to Display or Gift It
- Drape over a child-sized chair or bed.
- Roll and tie with ribbon for gifting.
- Store folded in a breathable cotton bag.
- Animal Ear Beanie
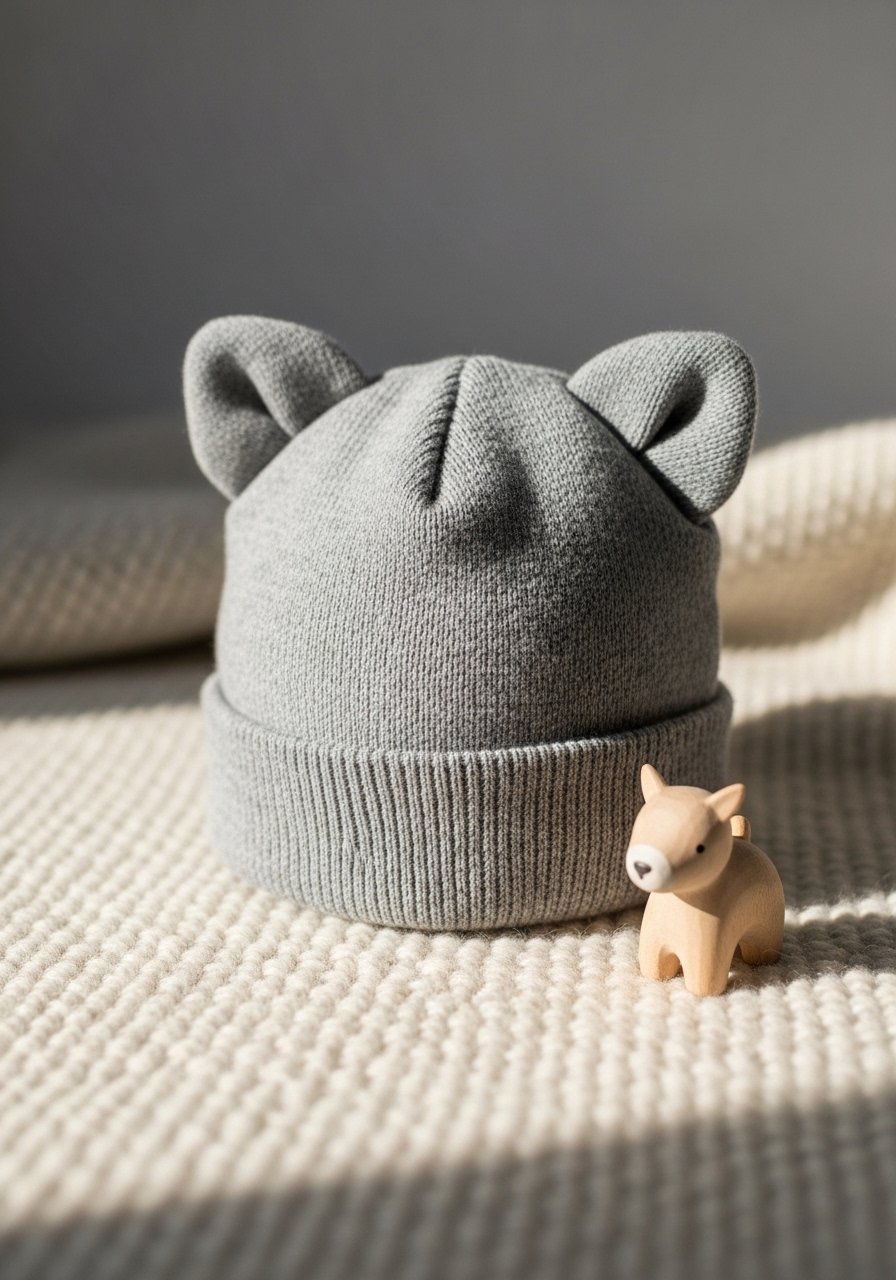
Adding simple ears adds character and is a great introduction to shaping. This beanie uses basic decreases and seaming to attach ears.
Materials
- 100g bulky yarn
- US 10 / 6 mm circular needle (16-inch) or DPNs
- Stitch markers
- Tapestry needle
- Scissors
Instructions
- Cast on 64 stitches and join in round.
- Work 2 inches of ribbing.
- Knit in stockinette for 5 inches from cast-on.
- Decrease evenly each round until 8–12 stitches remain; gather and close.
- For ears, cast on 8 stitches, knit triangular ear by decreasing every other row until 2 stitches remain, then bind off. Make two.
- Sew ears to top of beanie with tapestry needle, secure firmly.
How to Display or Gift It
- Place on a mini wooden peg or child-sized mannequin.
- Pair with mittens for a matching set.
- Store in a drawer or hang on a hook.
- Simple Doll Sweater
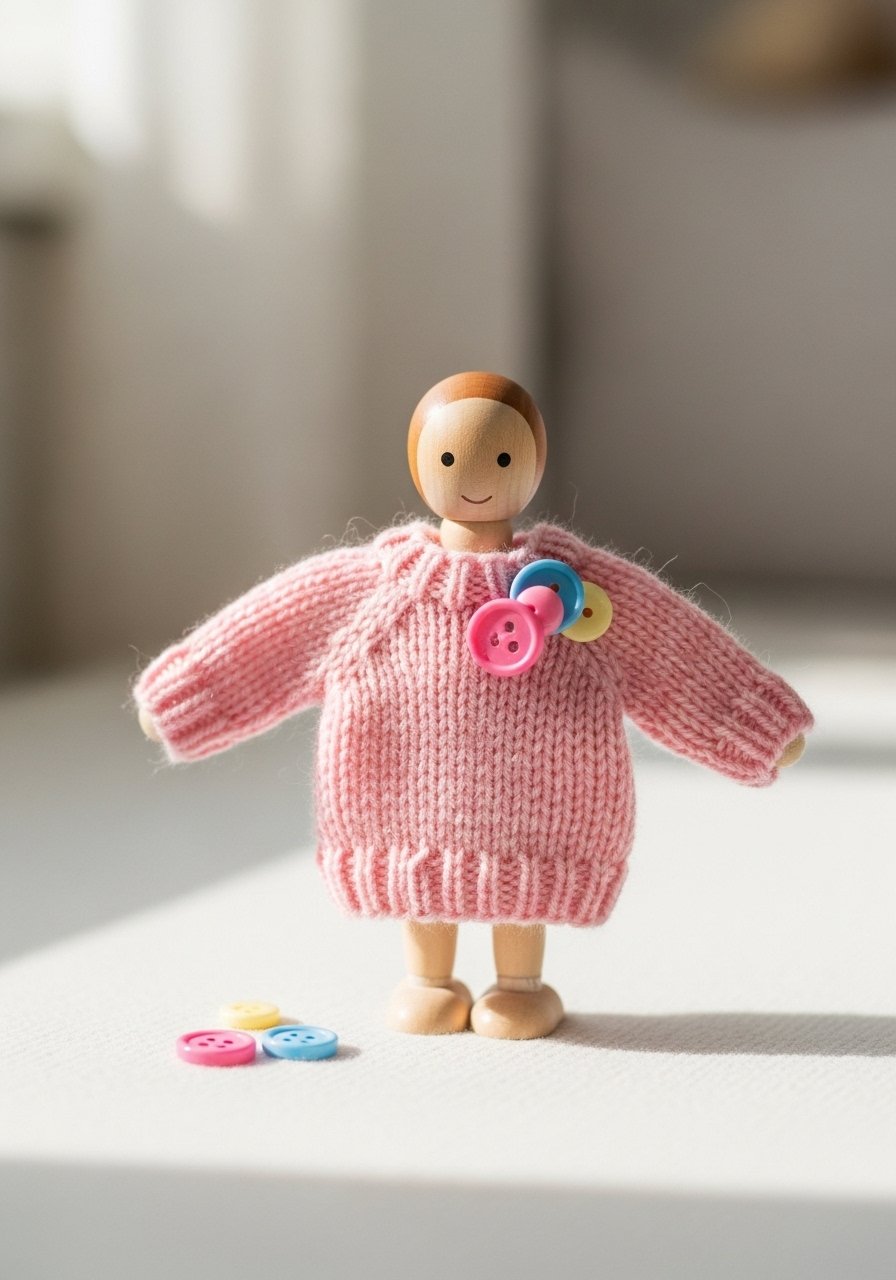
Doll clothes are small, quick, and teach proportions. This easy sweater uses a back-and-forth rectangle joined at sleeves, great for practicing seaming.
Materials
- Small amount of DK yarn (approx 50 yards)
- US 4 / 3.5 mm needles
- Tapestry needle
- Small buttons (sewn on securely)
- Scissors
- Measuring tape
Instructions
- Cast on 40 stitches and knit garter stitch for 4 inches (body).
- Bind off 10 stitches at start of next two rows for armholes.
- Continue each side separately for 1.5 inches to shape shoulders, bind off.
- Sew side seams leaving space for sleeves.
- Pick up stitches around armhole and knit a small cuff 1 inch, bind off.
- Sew on buttons for closure.
How to Display or Gift It
- Dress a doll and tuck into a small gift box.
- Store mini garments on a small hanger or in a box.
- Perfect for doll-loving kids and imaginative play.
- Knit Flower Brooch
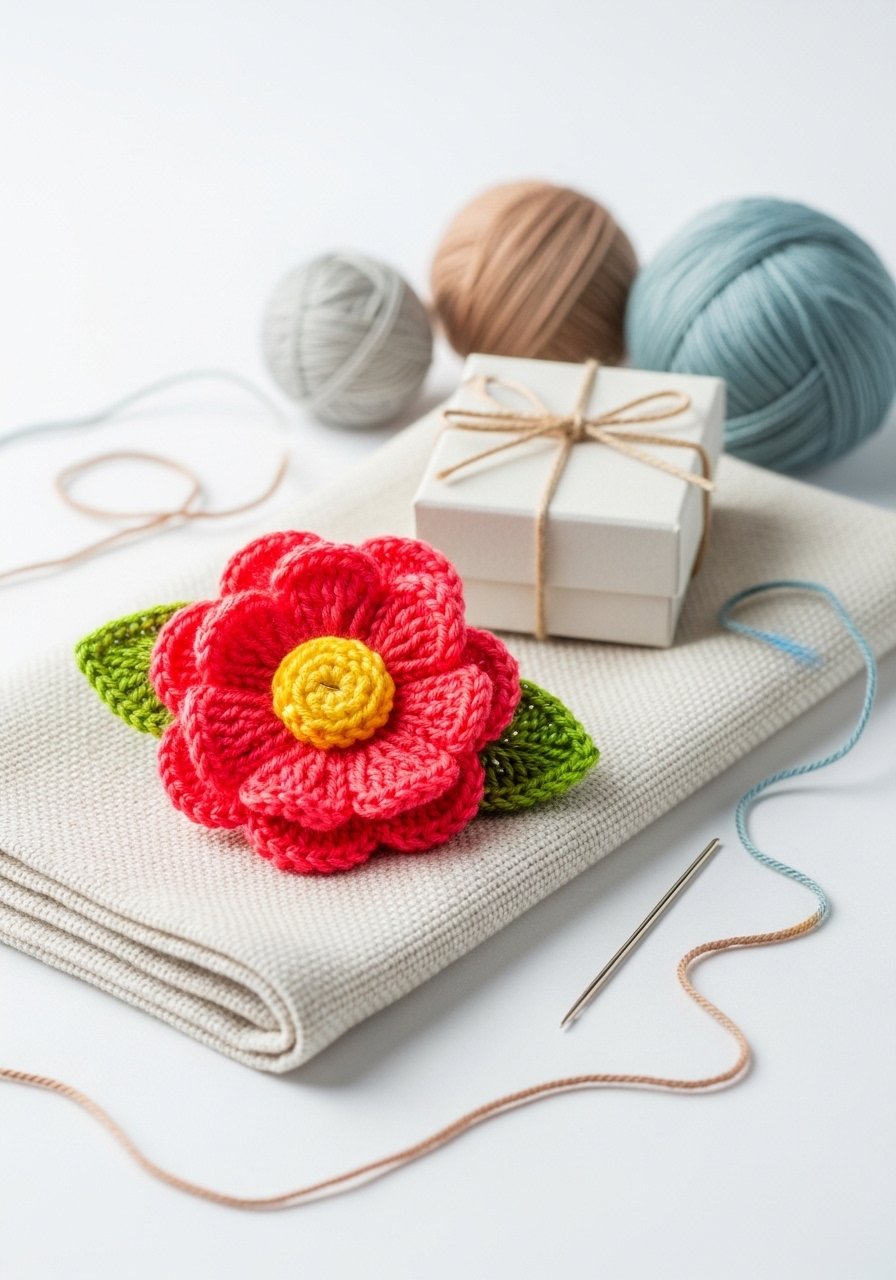
This little flower is an excellent first shaping project. Attach to a safety-pin brooch back for a wearable finish that’s safe when sewn on by an adult.
Materials
- Small scrap yarn in two colors
- US 6 / 4 mm needles
- Tapestry needle
- Scissors
- Small brooch pin (sew-on style)
- Hot glue gun (adult use) optional
Instructions
- Cast on 12 stitches.
- Knit garter stitch for 1 inch, bind off.
- Fold strip into a flower shape and stitch through center to hold petals.
- Attach a brooch pin by sewing it securely to the back; add a dab of hot glue for reinforcement (allow 10 minutes to set).
- Trim any stray threads.
- Pin to cardigan or bag.
How to Display or Gift It
- Attach to kraft-wrapped gifts as an extra.
- Store in a small jewelry box to keep shape.
- Great party favors or teacher gifts.
- Pom-Pom Keychain
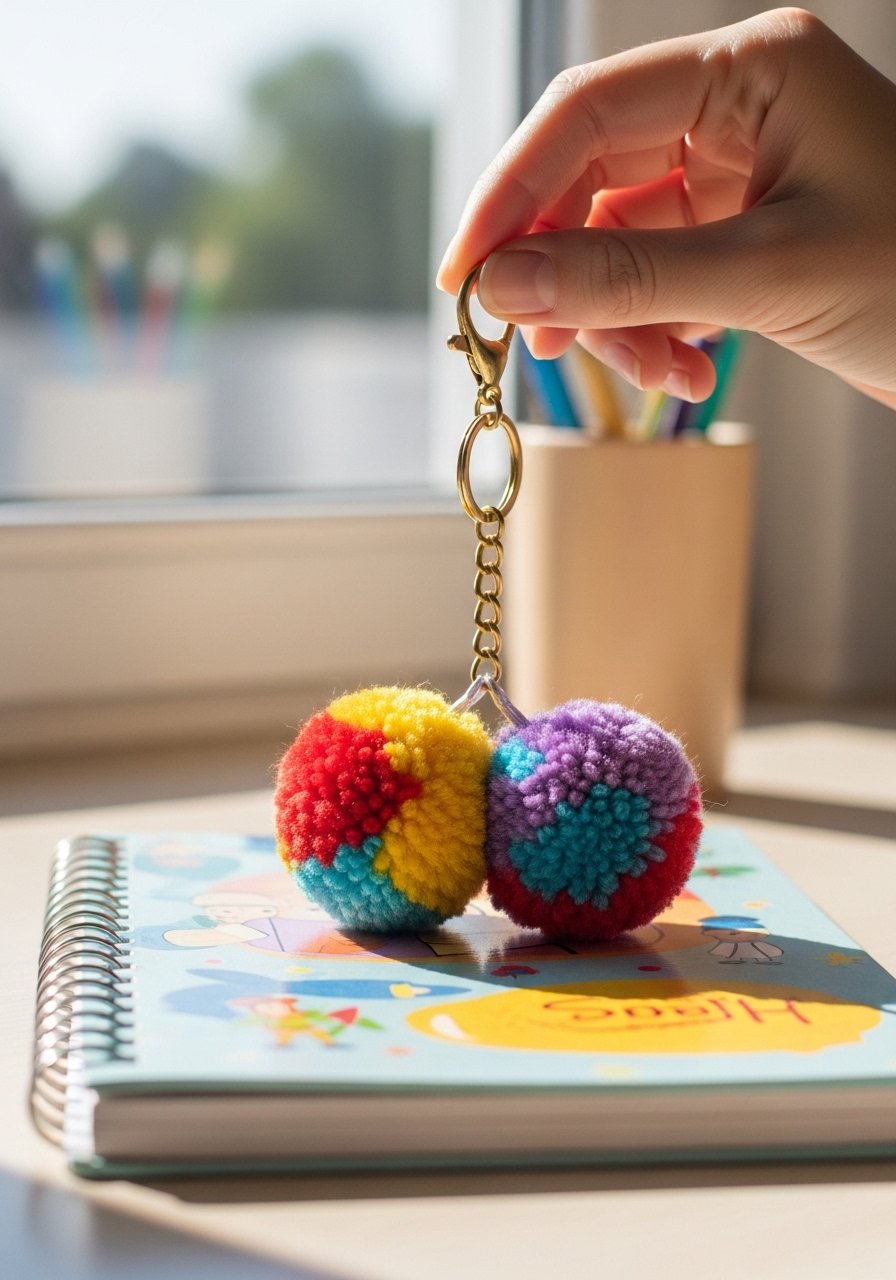
This quick project is fun and tactile. Make sure the metal ring is attached by an adult and that small parts are kept away from very young children.
Materials
- Small amounts of yarn
- Pom-pom maker or cardboard
- Small keyring (adult attach)
- Tapestry needle
- Scissors
- Hot glue (optional, adult use)
Instructions
- Make a pom-pom using your tool and trim to shape.
- Thread a loop of yarn through center and tie to keyring.
- Secure knot and apply a tiny dab of hot glue to knot (allow 10 minutes to set).
- Trim ends and fluff pom.
- Check ring connection is secure before giving to a child.
How to Display or Gift It
- Clip onto backpack zipper or lunchbox for instant color.
- Place on a small card and add to a party favor bag.
- Store with other small accessories in a craft organizer.
- Knit Play Crown
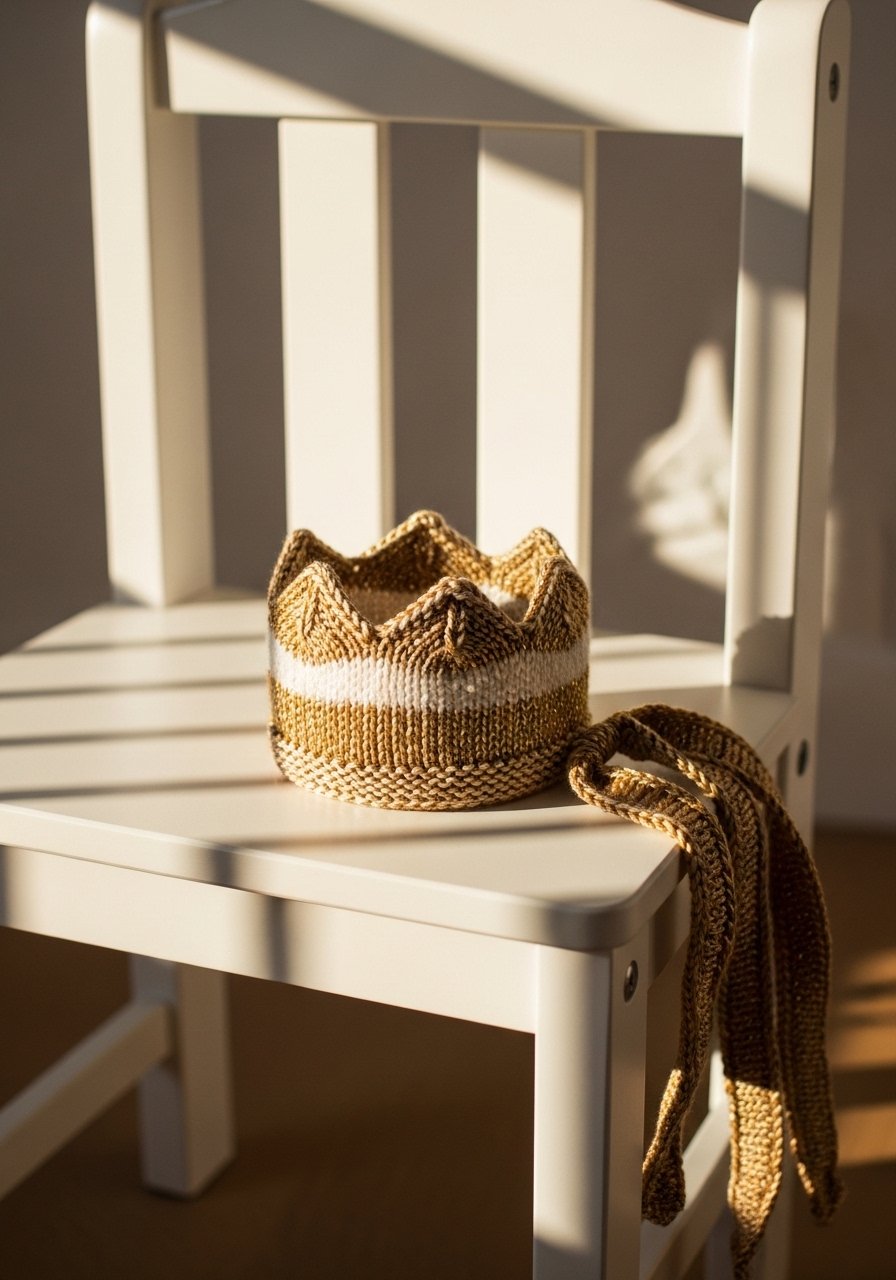
A crown uses simple shaping for peaks and is a fun prop for dress-up. Use sparkly yarn for a regal effect.
Materials
- Small amount of worsted yarn in main and contrast color
- US 6 / 4 mm needles
- Stitch markers
- Tapestry needle
- Scissors
- Measuring tape
Instructions
- Cast on 40 stitches and work garter stitch for 1 inch.
- For peaks, k6, bind off 4 across row to create points.
- Work a row on each peak separately to shape (about 2 rows each).
- Sew sides together to form a circle that fits child’s head (measure and adjust).
- Weave in ends and add a ribbon tie if desired.
How to Display or Gift It
- Present in a small box with tissue paper.
- Hang on a peg for costume storage.
- Ideal for party crowns or imaginative play.
- Sunglasses Case — knitting for beginners kids
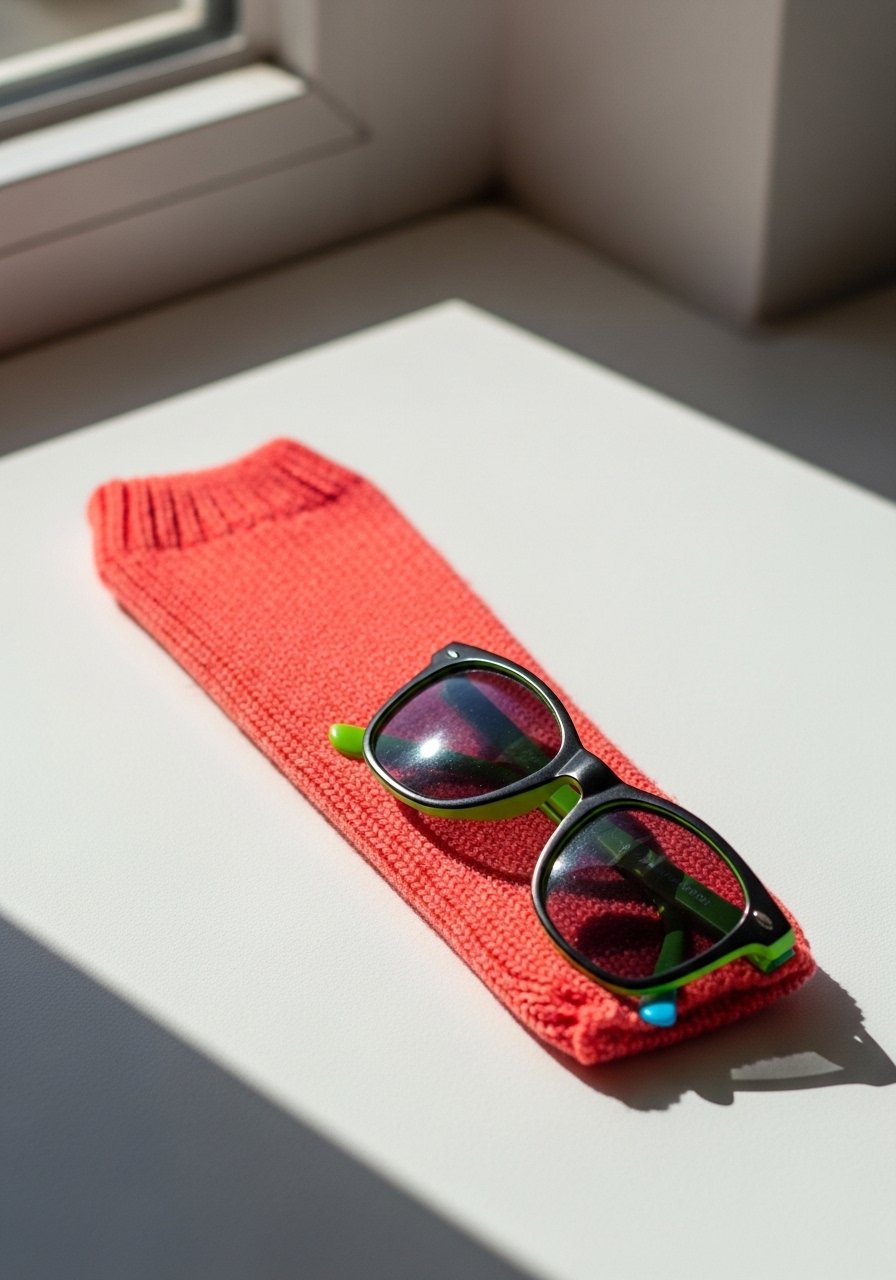
A slim sunglasses sleeve is a handy project that teaches neat seams and creates a protective home for small shades.
Materials
- 25g worsted cotton yarn
- US 6 / 4 mm needles
- Tapestry needle
- Scissors
- Measuring tape
- Small button (optional)
Instructions
- Cast on 24 stitches.
- Knit garter stitch until piece measures 7 inches.
- Bind off and seam long edge using mattress stitch, leaving top open.
- For a flap, fold top 1.5 inches, sew one side and attach button to front if desired.
- Weave in ends and press lightly.
- Slide sunglasses into sleeve and check fit.
How to Display or Gift It
- Pair with sunglasses in a small gift box.
- Store on a hook near the door for easy grab-and-go.
- Fold and tuck into a backpack pocket.
- I-Cord Bracelet — simple tubular knit
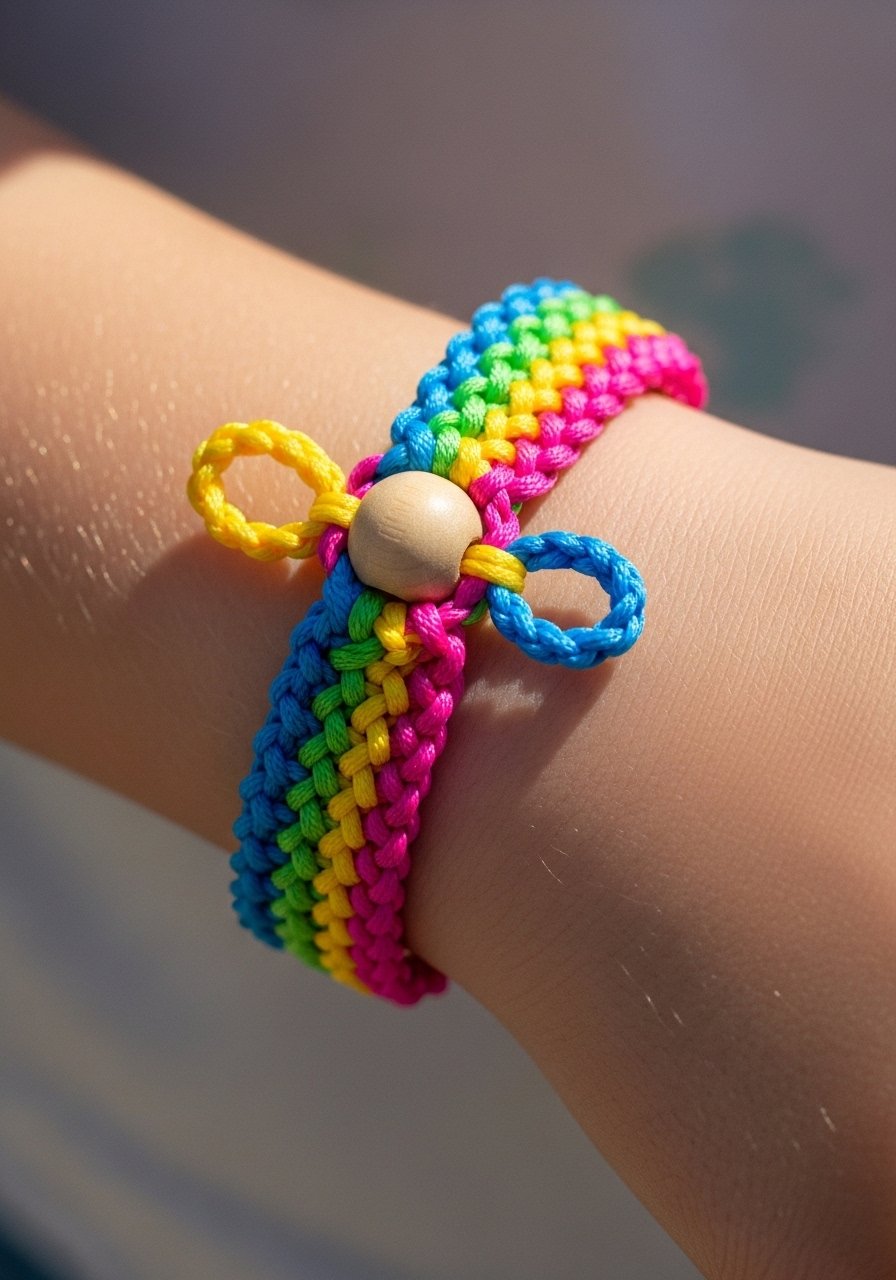
I-cord is a neat technique that makes a tubular cord—great for bracelets and necklaces. It’s calming for little hands and finishes fast.
Materials
- Small amount of DK yarn
- US 6 / 4 mm double-pointed needles (set of 3)
- Small wooden bead (optional)
- Scissors
- Tapestry needle
Instructions
- Cast on 4 stitches onto three DPNs.
- Slide stitches to the other end and knit across in stockinette, pulling tight to form tube. Repeat until cord is 6–7 inches.
- Thread bead if using, then stitch ends together securely.
- Weave in ends and trim.
- For a snug fit, try on and adjust length before finishing.
How to Display or Gift It
- Stack several bracelets in a small jewelry box.
- Use as friendship bands for playdates.
- Store on a peg or in a shallow tray.
You’ve just breeze-walked through 21 cheerful, safe, and colorful projects that are perfect for little hands and growing skills. There’s something here for the earliest stitches—simple garter squares and washcloths—to small shaping wins like booties and mitts. Pin this list now so you can come back when the next craft day rolls around, and share a favorite project with a friend who loves color and quick wins.
If you want one tool that helps across many of these projects, a soft set of tapestry needles makes finishing so much faster and tidier — they’re my go-to for weaving in ends without frustration. Which project will you try first? Tell me which colors your kid loves and I’ll suggest a mini color palette to match.


