
Knitting a thick, cozy throw shouldn’t feel intimidating. If you’ve searched “How to Knit a Blanket for Beginners” and felt stuck at the yarn aisle, you’re not alone. You’ll get a plush, well-finished blanket even if you’ve never finished a sweater before. This guide shows you how to knit a blanket for beginners step by step so the edges are neat and the throw is perfectly cozy.
Start with a good pairing of yarn and large needles — they determine how fast and thick your blanket becomes. I like using super bulky yarn and a set of 15mm knitting needles for that squishy, one-afternoon effect. Read on for yarn quantities, stitch counts, finishing tips, and photo-friendly styling ideas.
Gather and prep your materials (beginner-friendly supplies)
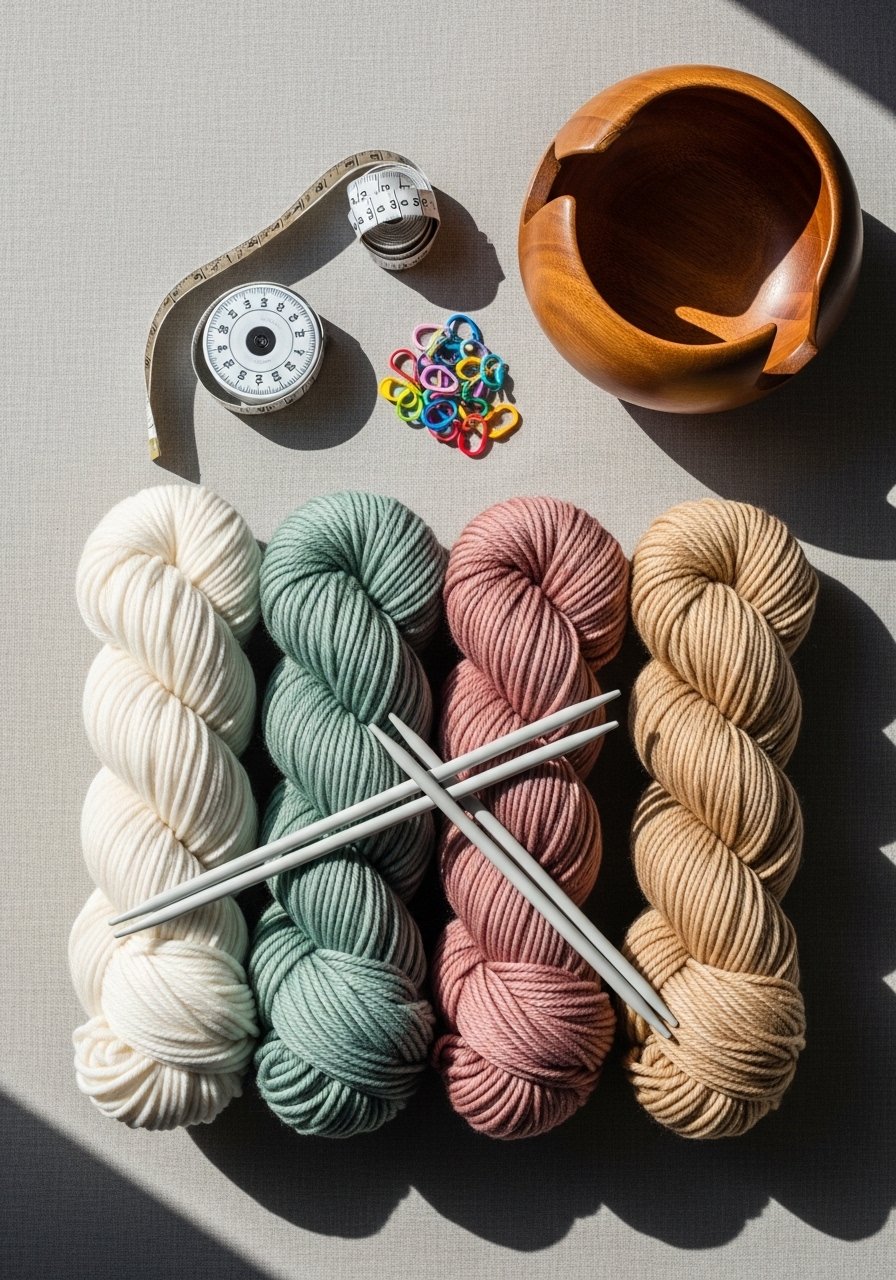
- Choose a target size: a cozy throw is typically 50 x 60 inches. For super bulky yarn, plan on 6–10 skeins (about 1000–1500 yards) depending on stitch density.
- Quick helpers: a wooden yarn bowl keeps yarn from rolling away, and a flexible measuring tape speeds up checking width.
- Prep tip: Wind skeins into center-pull cakes so your yarn feeds smoothly while knitting.
Cast on and master the basic stitch (easy knit blanket technique)
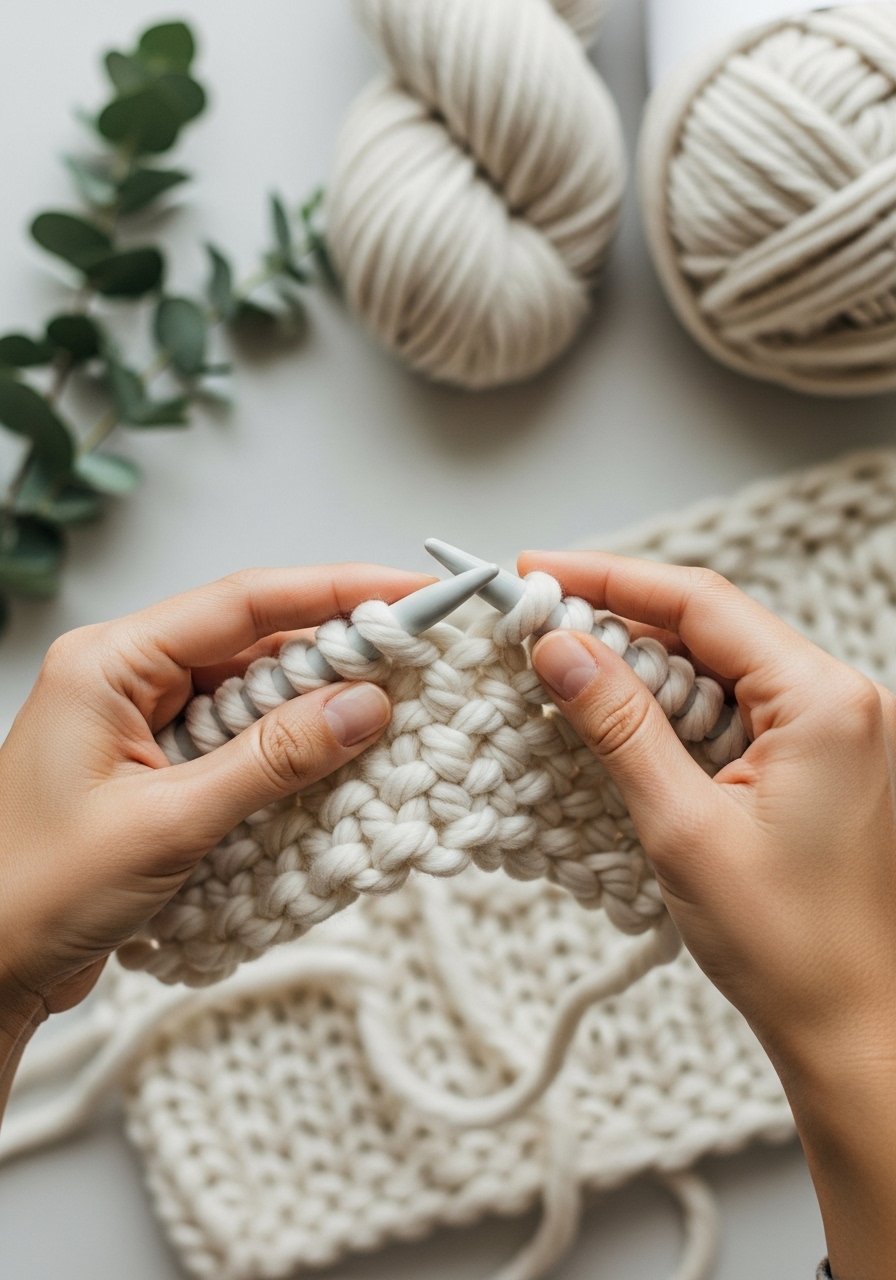
Start with a long-tail cast-on or simple knit-on cast that creates a stretchy edge. For a 50-inch width, cast on 40–60 stitches with super bulky yarn (gauge will vary—swatch a 6-inch square to check). Learn the knit stitch first; it creates a squishy garter texture that lies flat and is forgiving for beginners.
- Cast on desired number of stitches.
- Knit every row for garter stitch — no purling required.
- Check width after 8–12 rows and adjust if needed.
- Use stitch markers to mark the middle for spacing fringe or stripes.
- If you drop a stitch, a crochet hook rescues it fast.
Build rows fast and save time (one-afternoon and batch tips)
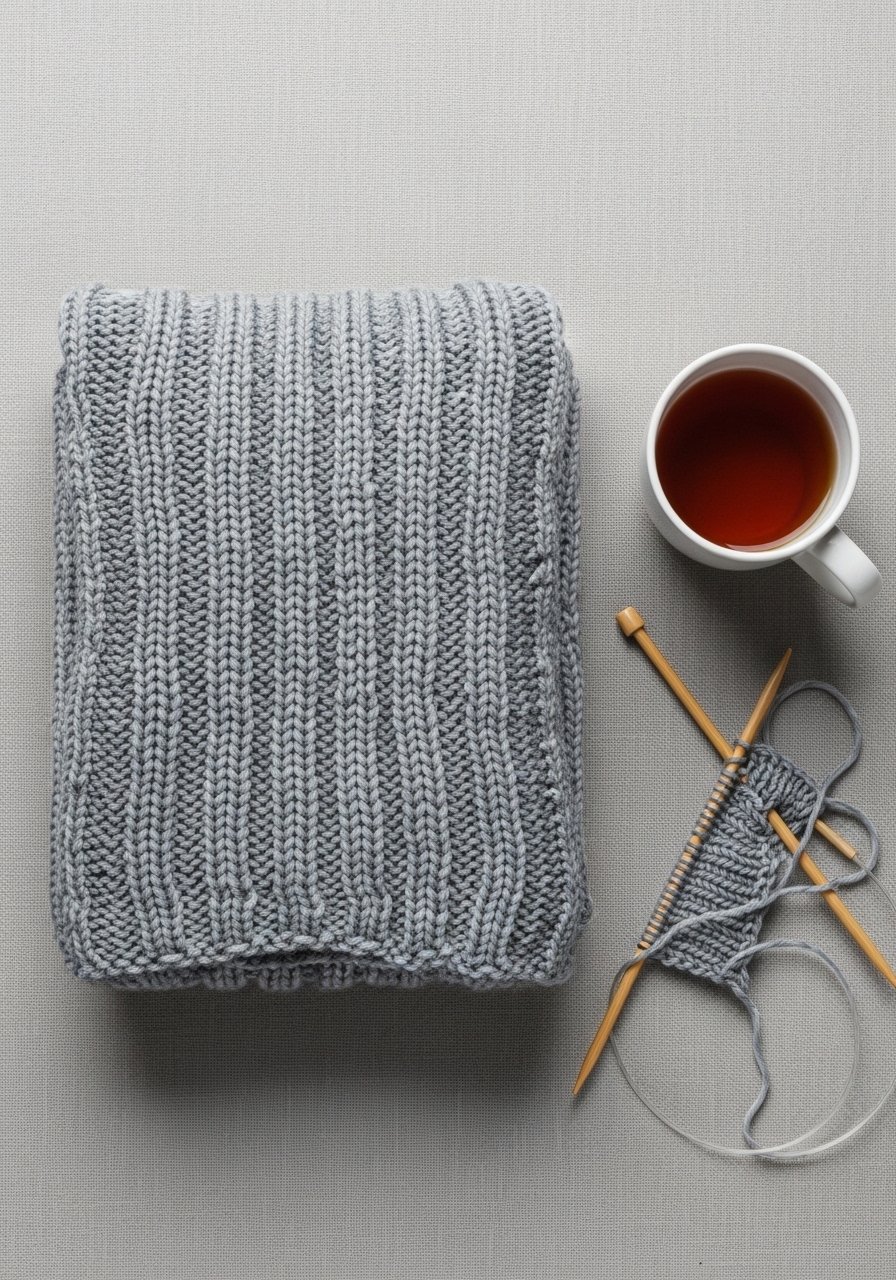
Knitting a chunky blanket is about rhythm. Expect 6–12 hours of knitting for a throw, broken into short sessions if needed. Try these time-savers:
- Use larger needles—each row knits faster. Consider jumbo circular needles if your stitch count is wide.
- Work in sections: knit panels and join with a neat seam to reduce long needle handling.
- Track rows with a row counter ring to keep even length.
Gauge note: chunky yarns vary. If your blanket looks too tight, drop down a needle size for a looser drape, or pick up a larger needle for more squish.
Finish like a pro: edges, seams, and blocking (perfectly finished throw)
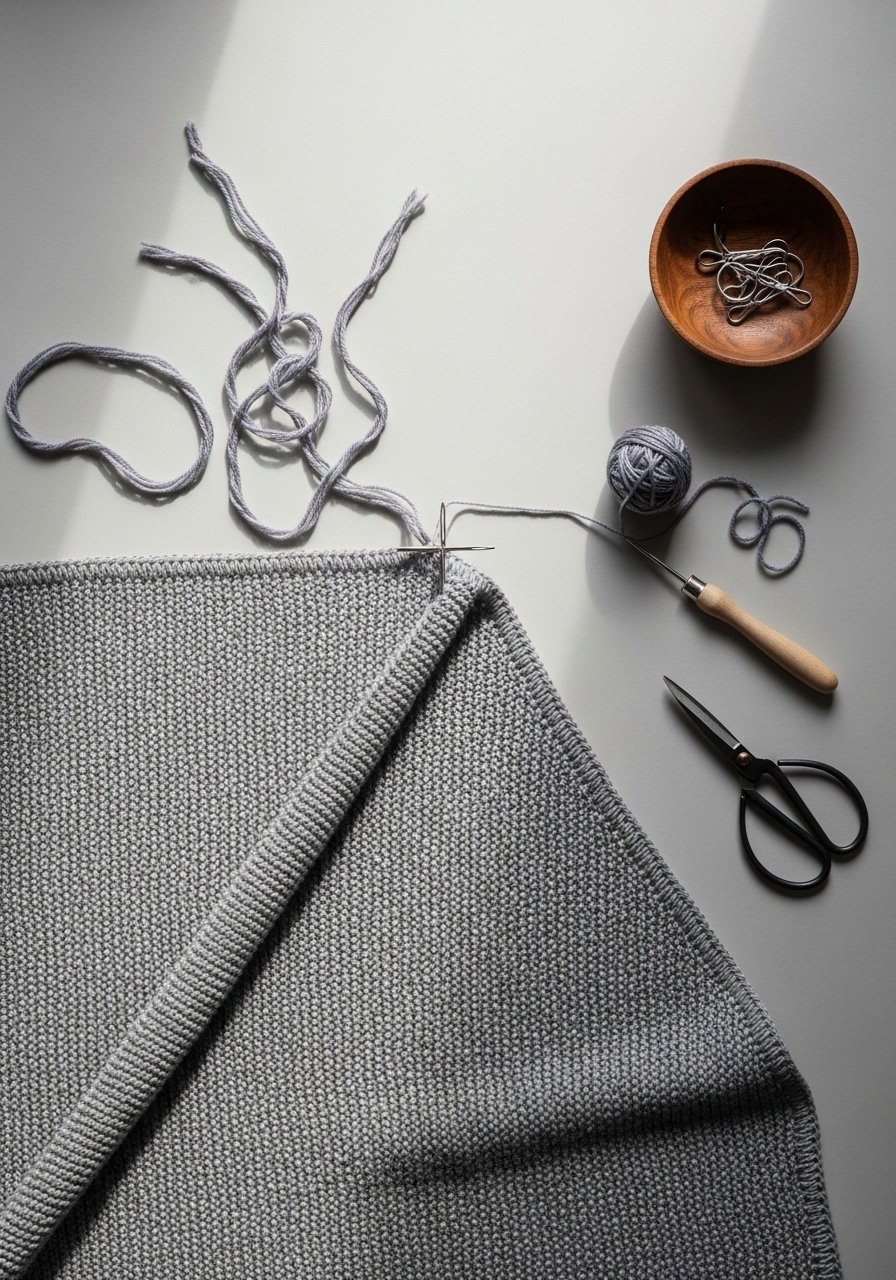
Finishing makes your blanket look shop-quality. Weave in ends with a large tapestry needle using neat back-and-forth stitches. For joined panels use mattress stitch for an invisible seam. If you want fringe, cut lengths consistently with a fabric ruler/scissors set.
Blocking helps even out stitches:
- Lay flat on a neutral blocking mat or foam pad.
- Gently shape edges, pin with rust-free pins, and let dry 24–48 hours depending on humidity.
- Store folded in a woven storage basket to keep texture intact.
You’ll avoid a common mistake: rushing to weave ends. Take 10–15 minutes per end — it’s what keeps the blanket from unraveling after washing.
You just learned how to knit a blanket for beginners that’s thick, cozy, and cleanly finished. Pin this guide for your next craft afternoon and grab a few skeins to get started. If one tool stands out, a set of large, comfortable 15mm knitting needles makes the whole process faster and more satisfying. Which yarn color will you choose for your first throw?


