You’ve wanted a warm hat but felt stuck by patterns, tiny mistakes, or time. Learning how to knit a hat for beginners fixes that: a single skein, a simple rib, and basic decreases give you a perfectly shaped, cozy hat in an afternoon. You’ll learn the exact stitches, timing, and little tricks that make the shape sit right on your head.
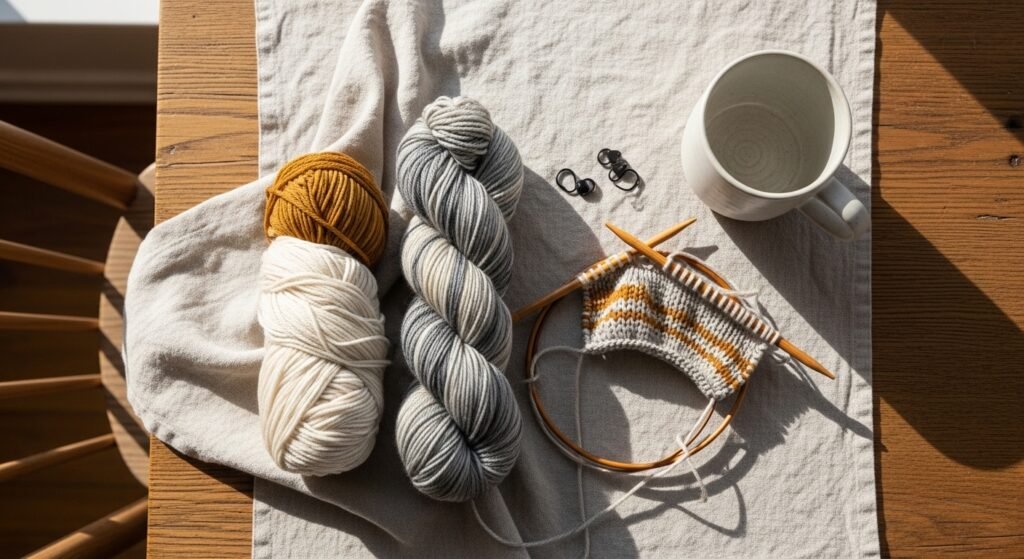
Start with a soft worsted yarn and a smooth circular needle that lets your stitches glide. I recommend a 100g worsted yarn (about 200 yards) and a US 8 (5mm) 16" circular needle to get a standard adult size worsted weight yarn 100g skein and US 8 circular needles 16 inch. These help you hit common gauge right away.
In this guide you’ll: set up your workspace, cast on and knit a neat ribbed brim, work the hat body flat in the round, shape the crown with clear decrease steps, and block for that polished fit. Expect about 2–4 hours depending on speed.
Gather and prep for one-afternoon knitting (beginner-friendly)
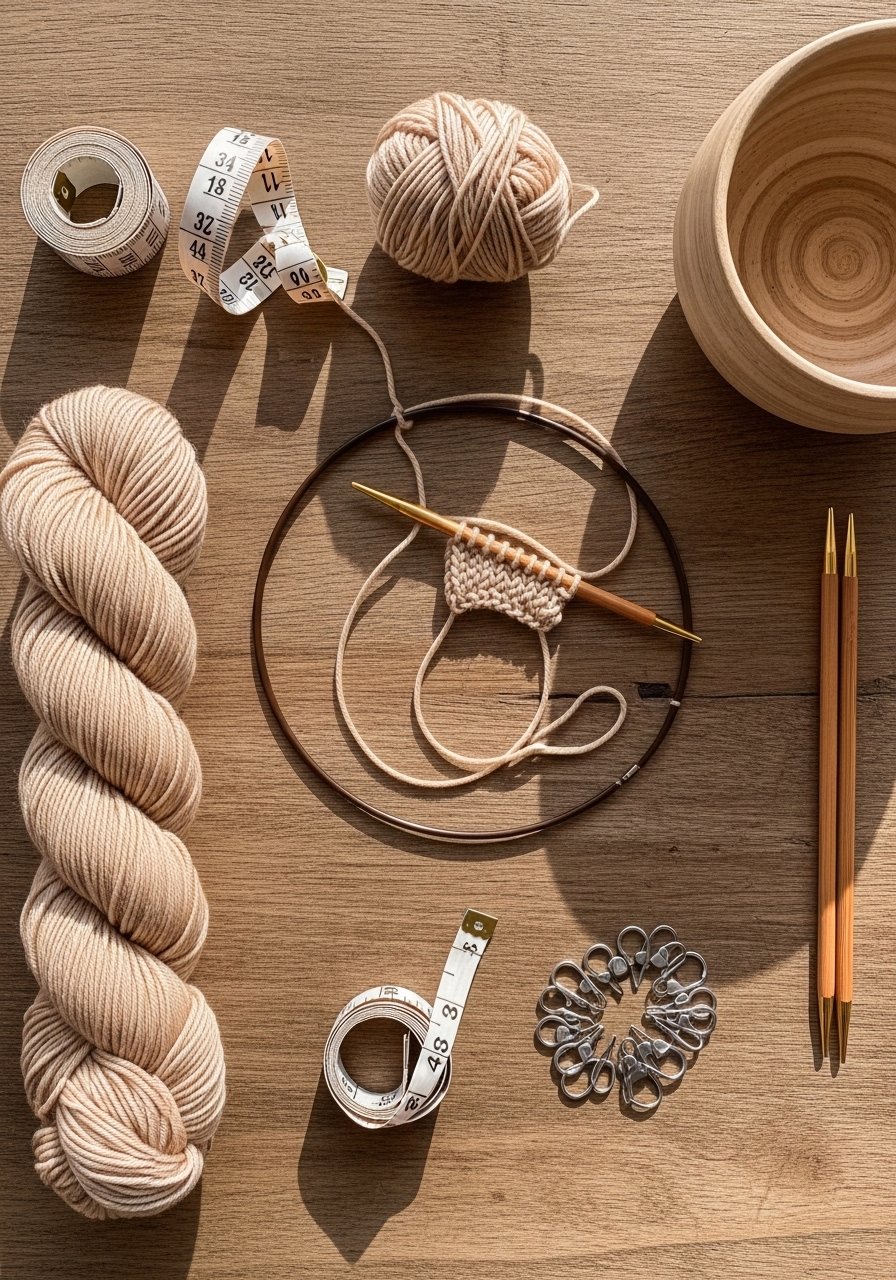
Before you cast on, prep saves time:
- Check gauge: aim for 18–20 sts = 4 inches with worsted yarn on US 8 needles.
- Measure head circumference: most adult sizes are 20–22 inches; subtract 1–2 inches for stretch.
- Wind your skein into a center-pull ball using a yarn swift and ball winder set for tangle-free knitting.
- Use locking stitch markers to mark round starts.
Pro tip: A yarn bowl keeps the yarn feeding smoothly as you work.
Cast on and knit the brim (easy rib for structure)
Cast on and join:
- Cast on the number of stitches that match your gauge and desired circumference (e.g., 100 sts for 22" at 18 sts/4").
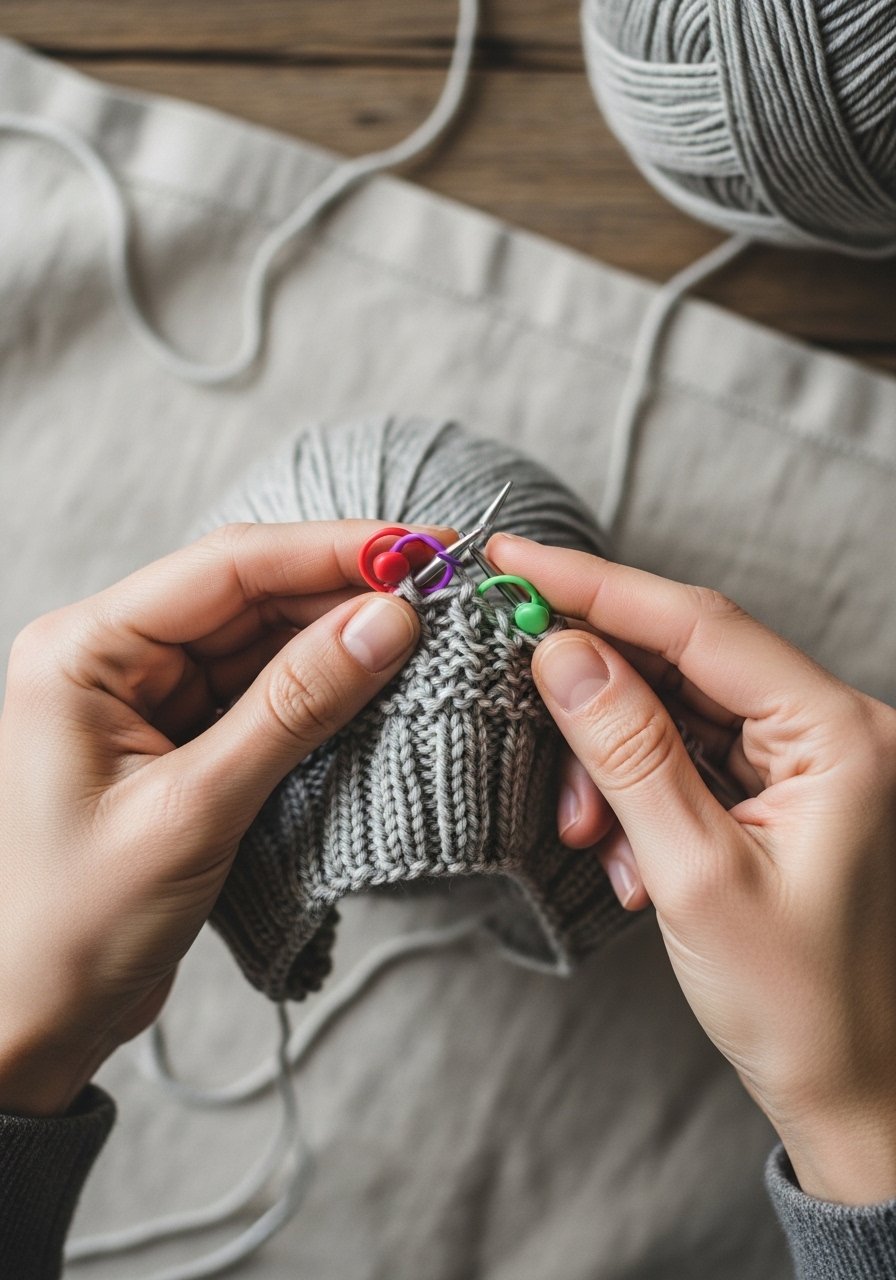
- Join carefully to avoid twisting; place a locking stitch marker at the beginning of the round.
- Work 1×1 rib (k1, p1) for 1.5–2 inches for a snug brim.
Quick tips:
- Use a smooth, tapered tapestry needle set to weave in ends cleanly later.
- If your cast-on edge looks tight, switch to a larger needle for the first row and then back to US 8.
Knit the body and shape the crown (step-by-step decreases)
After the brim:
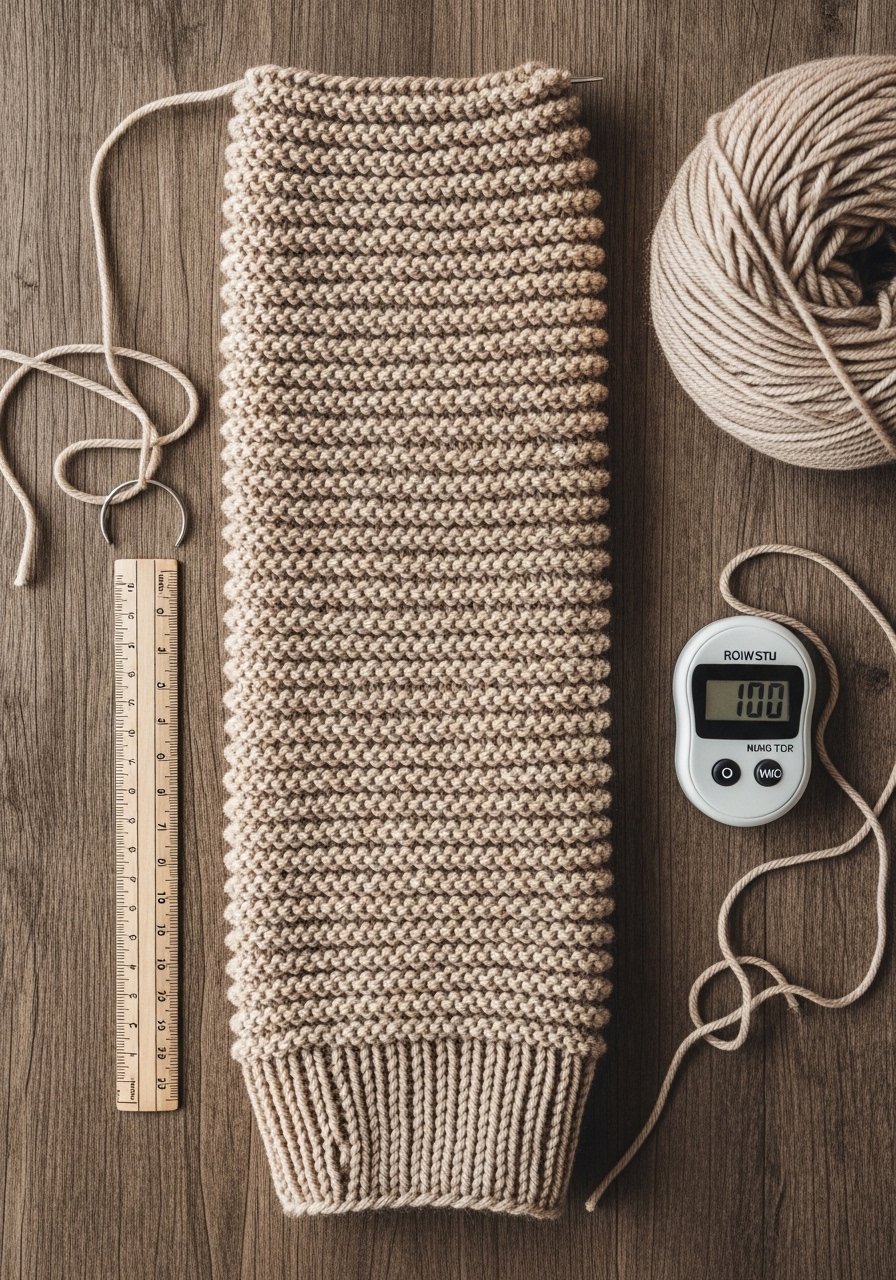
- Knit in stockinette (knit every round) until the hat measures 7–8 inches from cast-on for a slouchy fit or 8–9 inches for a standard crown.
- Begin crown shaping with numbered decreases:
- Round 1: K8, k2tog repeat to end.
- Round 2: Knit all sts.
- Round 3: K7, k2tog repeat.
- Continue this pattern, reducing the k-count by one between decreases every other round until you have 8–12 stitches left.
Use double-pointed needles when the remaining stitches no longer fit comfortably on the circular needle. A knitting row counter helps track decrease rounds.
Pro trick: Place a stitch marker before decreases — it helps keep repeats accurate and prevents uneven shaping.
Finish, block, and present (no-sew finishing and storage)
To finish:
- Thread remaining stitches onto a tapestry needle, pull tight, and weave in ends.
- Wet-block the hat for a smooth crown: soak briefly, press out excess water, shape on a blocking mat or rounded form, and let air dry 12–24 hours.
- Store in a stackable craft organizer tray or gift in a kraft box for a tidy presentation.
Avoid long drying near heat — it can change fiber drape. If you plan to make several hats, a soft tape measure and a yarn swift set speed up prep.
You’ve just worked through how to knit a hat for beginners with clear shaping and a neat finish. Pin this guide for your next one-afternoon project and try a color stripe the next time you knit. Which yarn color will you pick for your first hat?


