You know that moment when your child wants to draw a cute animal and ends up tangled in eraser crumbs and frustration? Learning how to draw animals for kids should be fun, not fiddly. This guide breaks down simple, beginner-friendly steps so every little artist can create adorable creatures in one afternoon.
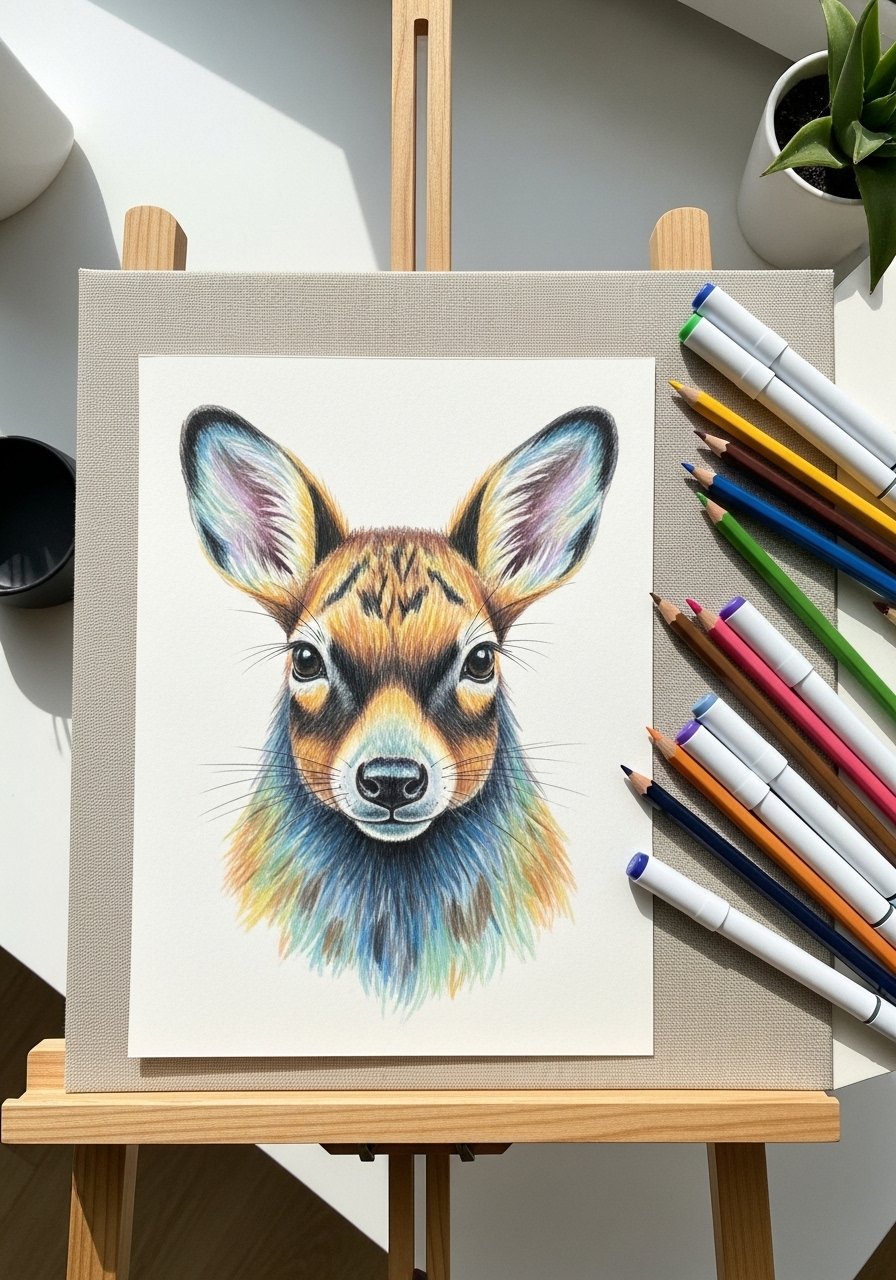
Start with the right paper and pencils — I like a spiral sketchbook because pages lie flat and a graded graphite pencil set for easy line control. Try a spiral sketchbook and a basic graphite pencil set for crisp lines kids can erase cleanly.
You’ll learn how to build animal shapes from basic circles, add expressive features, and finish with color or shading. Expect about 20–45 minutes per sketch for simple animals, and I’ll share tidy storage and display tips so every drawing gets the spotlight.
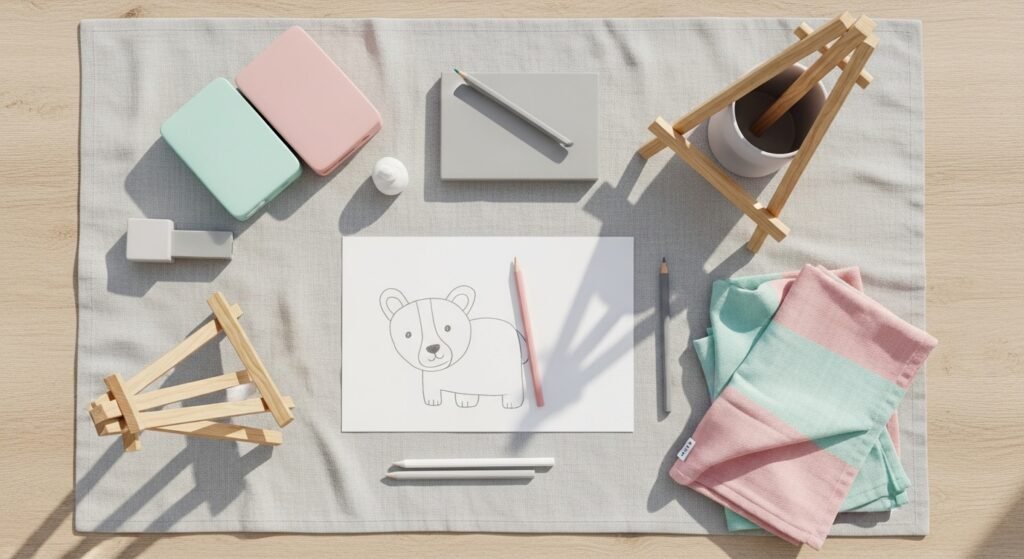
Gather and Prep Your Materials (easy, beginner-friendly)
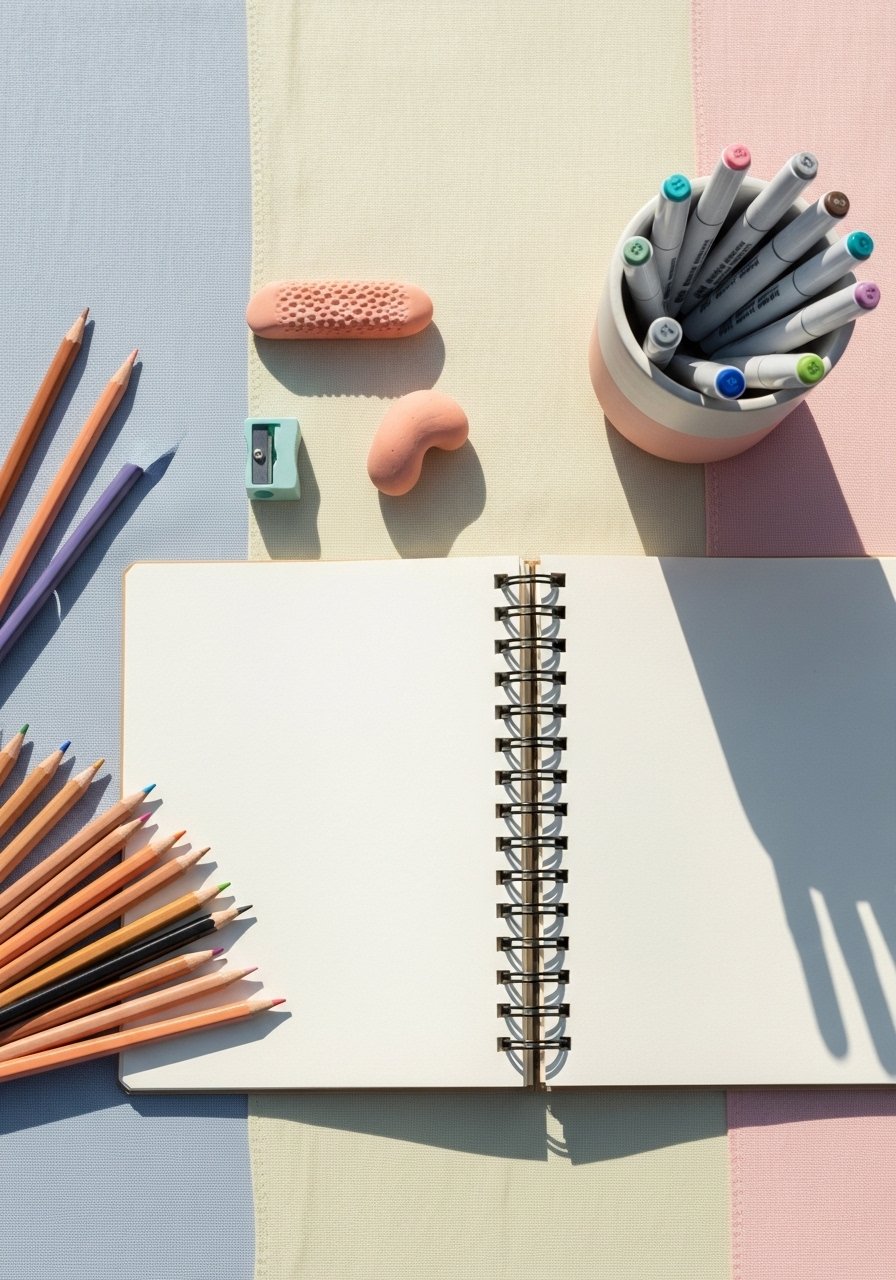
Set up a calm workspace so kids can focus. Lay a sheet of your sketchbook flat and organize a few pencils by hardness. A kneaded eraser lifts graphite gently, and a quality pencil sharpener keeps tips ready for detail.
Quick tips:
- Use a HB for general lines and a 2B for darker outlines.
- Keep a small craft organizer tray nearby for pencils and eraser bits.
- Limit choices: 3 pencils, 1 eraser, 1 sharpener, and a few color tools to avoid overwhelm.
Draw Basic Shapes and Build the Form (step-by-step)
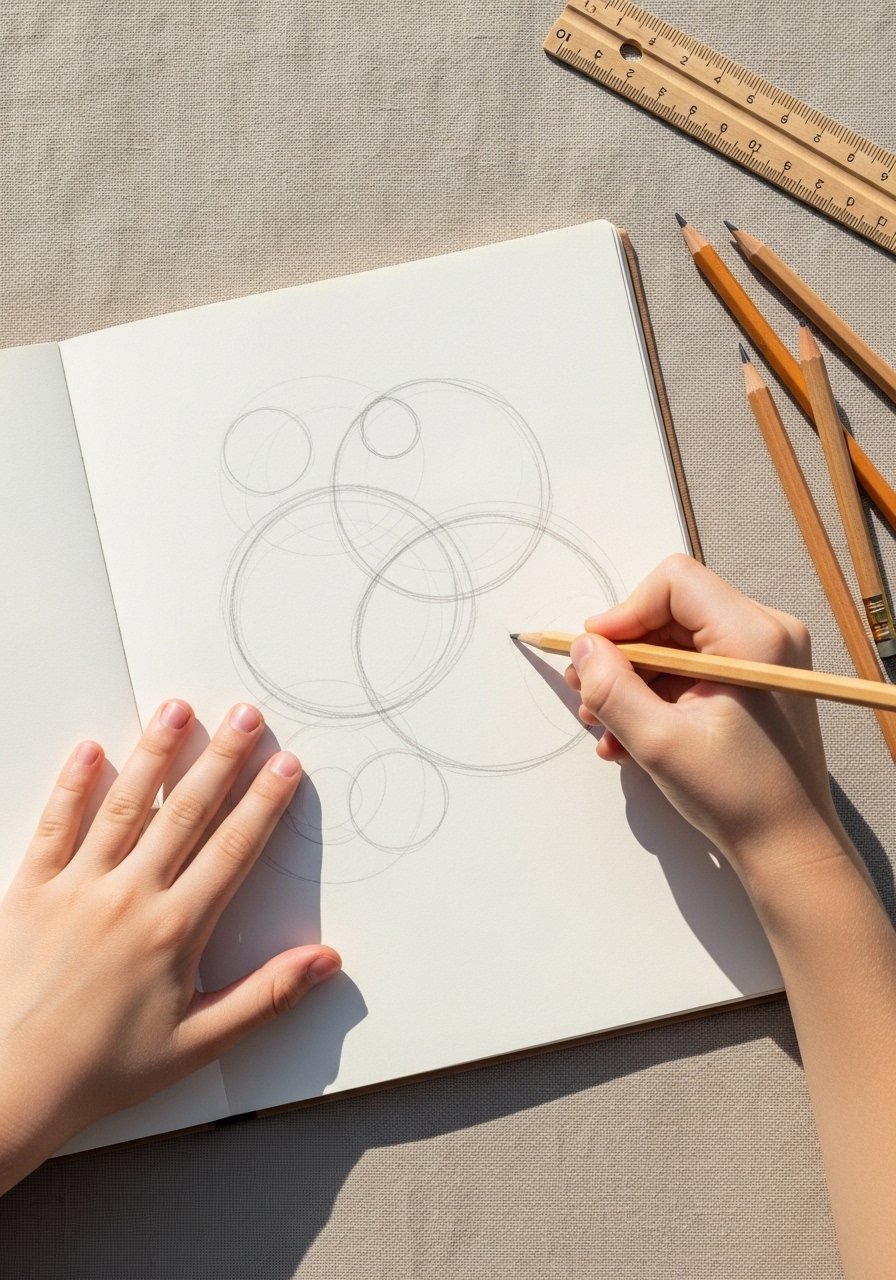
Start with simple shapes — circles, ovals, and rectangles — to block out the animal’s body.
- Lightly sketch a circle for the head and a larger oval for the body.
- Connect with gentle lines to form the neck and guideline for limb placement.
- Add small circles where joints and paws will go.
Numbered sub-steps:
- Draw head circle about 2–3 inches wide for a small page sketch.
- Place the body oval slightly lower and overlapping by 1/4 to make a cute, compact look.
- Sketch limb guidelines as thin lines — these are your placement helpers.
A clear plastic ruler helps keep symmetry when drawing patterns or stripes.
Add Features and Personality (easy eyes, noses, and expressions)
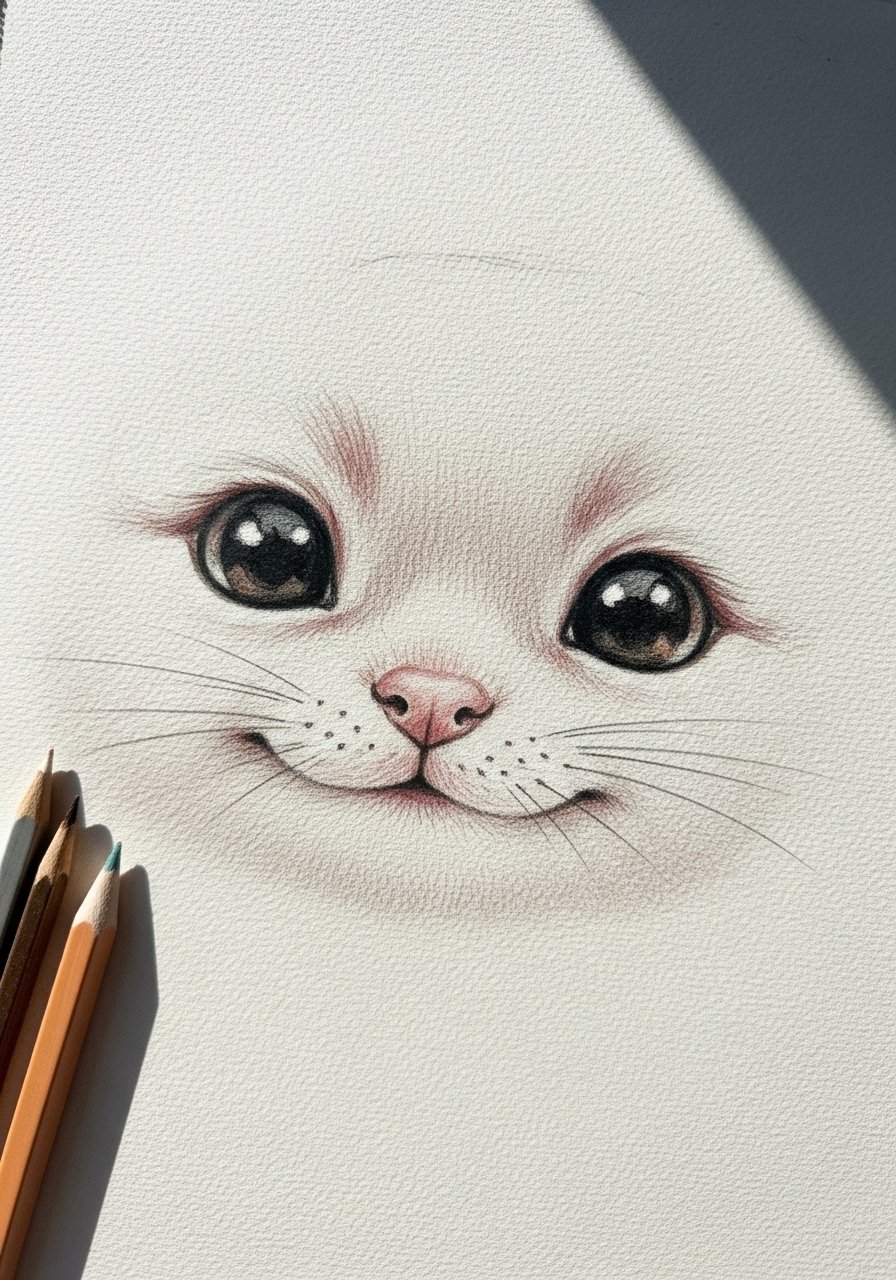
Now turn shapes into character. Eyes and mouth are everything for cute animals.
- Draw large, round eyes (about 1/3 the head size) with a tiny white highlight for sparkle.
- Keep noses simplified — an upside-down heart or a small oval works.
- Use short, curved lines for smiles and tiny dashes for whiskers.
Pro tricks:
- Use a blending stump to soften shadows under the chin.
- Fix smudges with a kneaded eraser shaped into a point.
- If proportions feel off, lightly use a transparent circle stencil to re-block the head.
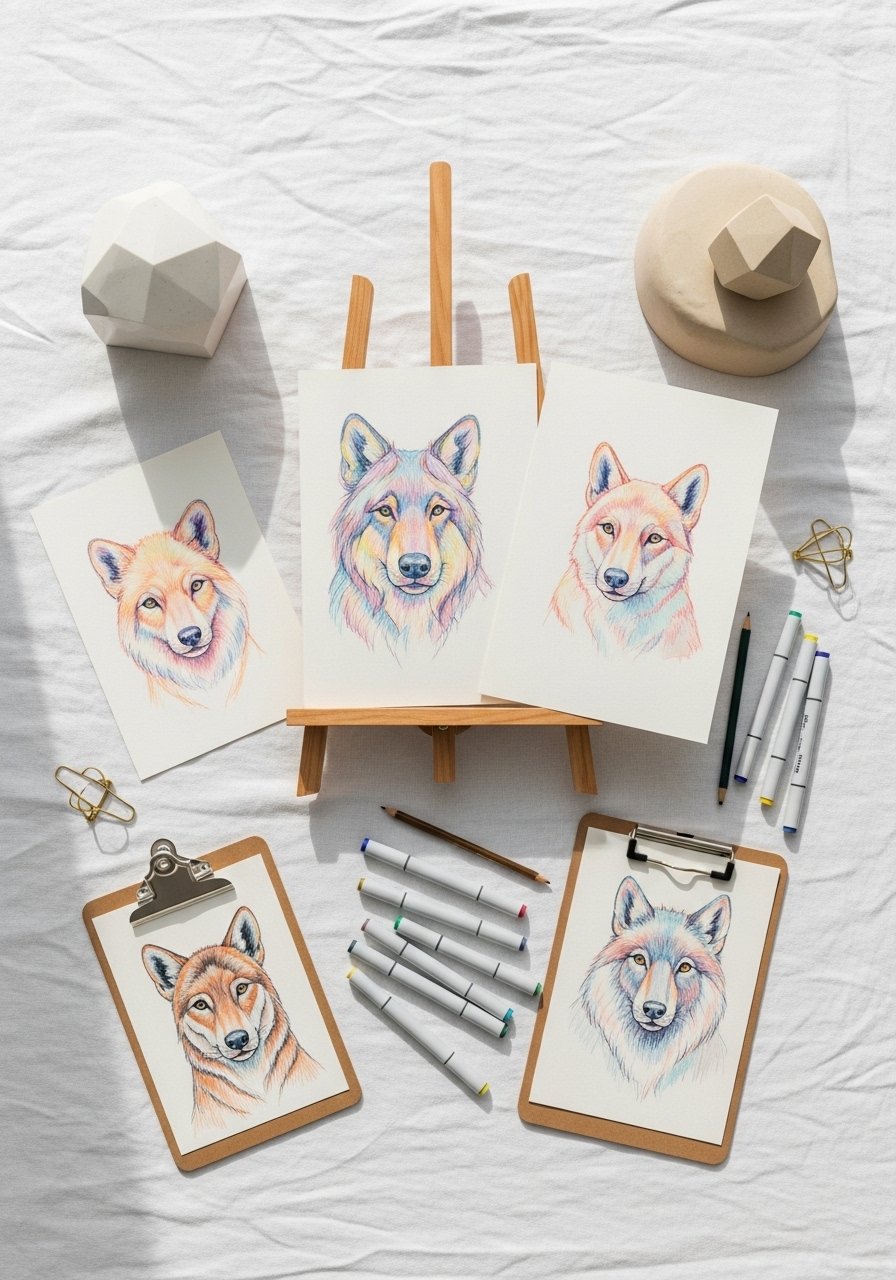
Color, Shade, and Display (one-afternoon, pin-worthy finish)
Finish with color or soft shading.
- For rich, blendable color, use a colored pencil set and layer light strokes.
- For bold, quick color, pick a washable marker set — markers dry instantly so kids can move on quickly.
- Let pencil shading settle for 5–10 minutes before erasing stray lines.
Display and storage:
- Pop favorites on a small wooden easel for a rotating mini gallery.
- Keep extra sketches flat in clear zip pouches and stack in a craft organizer tray.
Wrap up each session by wiping the workspace with a soft cloth — no long drying times, just tidy storage and ready-to-pin finished art.
You just helped a little artist go from scribbles to sweet creatures — fast, fun, and beginner-friendly. Save this guide, pin a few steps, and try one animal a week to practice shapes and expressions. If you want one tool to keep coming back to, a reliable graphite pencil set makes the drawing process so much smoother. Pin this guide for your next craft afternoon — which animal will your child draw first?


