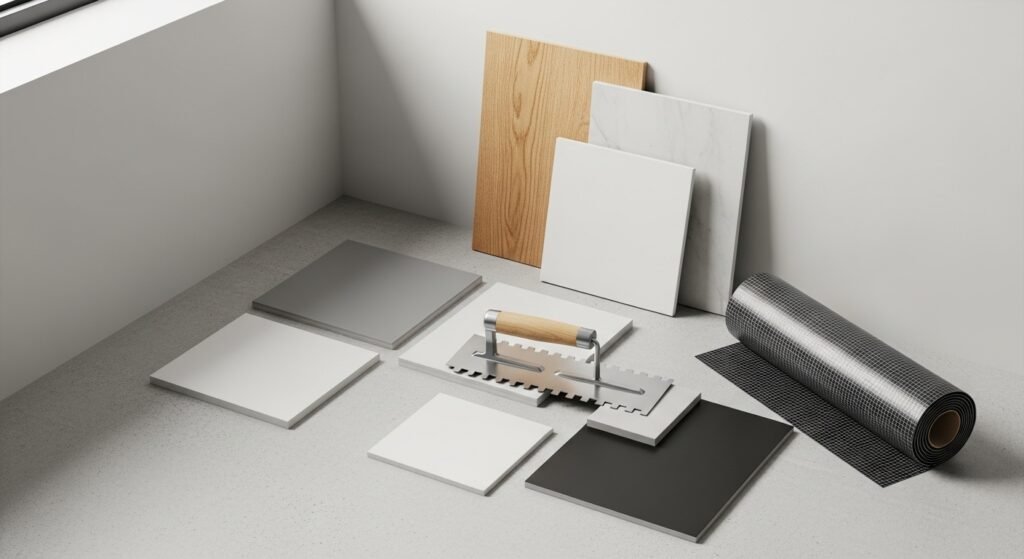
You look at your dated bathroom and know the floor is the fastest way to remodel a bathroom floor that is durable, beautiful, and completely transforms the entire space. The right floor hides years of wear, handles moisture without drama, and updates the room’s whole vibe in a weekend or two.
Start smart: a good waterproofing membrane and a quality notched trowel change the outcome. I use a waterproofing membrane and a notched trowel to get even coverage and consistent mortar thickness.
Read on and you’ll learn step-by-step how to demo safely, prep your subfloor, choose between porcelain tile or luxury vinyl plank, and finish grout and transitions for a pin-worthy result.
Strip, demo, and inspect the subfloor
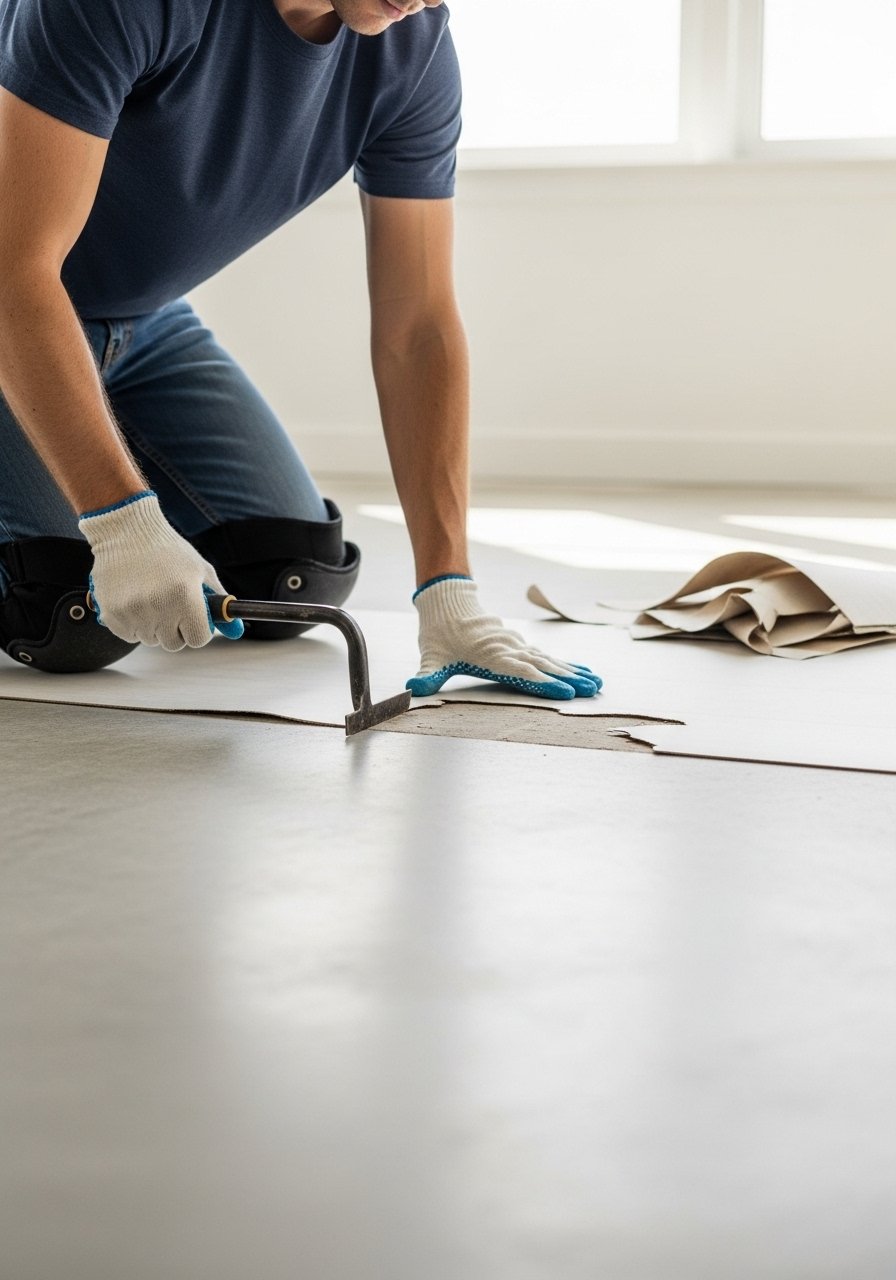
First, remove baseboards and the existing floor. Work in 2–4 hour bursts so you don’t burn out—the whole demo often fits into one afternoon for a small bath. Use an oscillating multi-tool or pry bar to lift glued vinyl or chipped tile. Wear gloves and a dust mask.
Tips:
- Numbered quick checks: 1) Look for soft spots; 2) Check height at the doorway; 3) Note any mold or water damage.
- If the subfloor is uneven more than 1/4" over 4 ft, plan to level it with a self-leveling compound.
Repair, level, and waterproof the floor
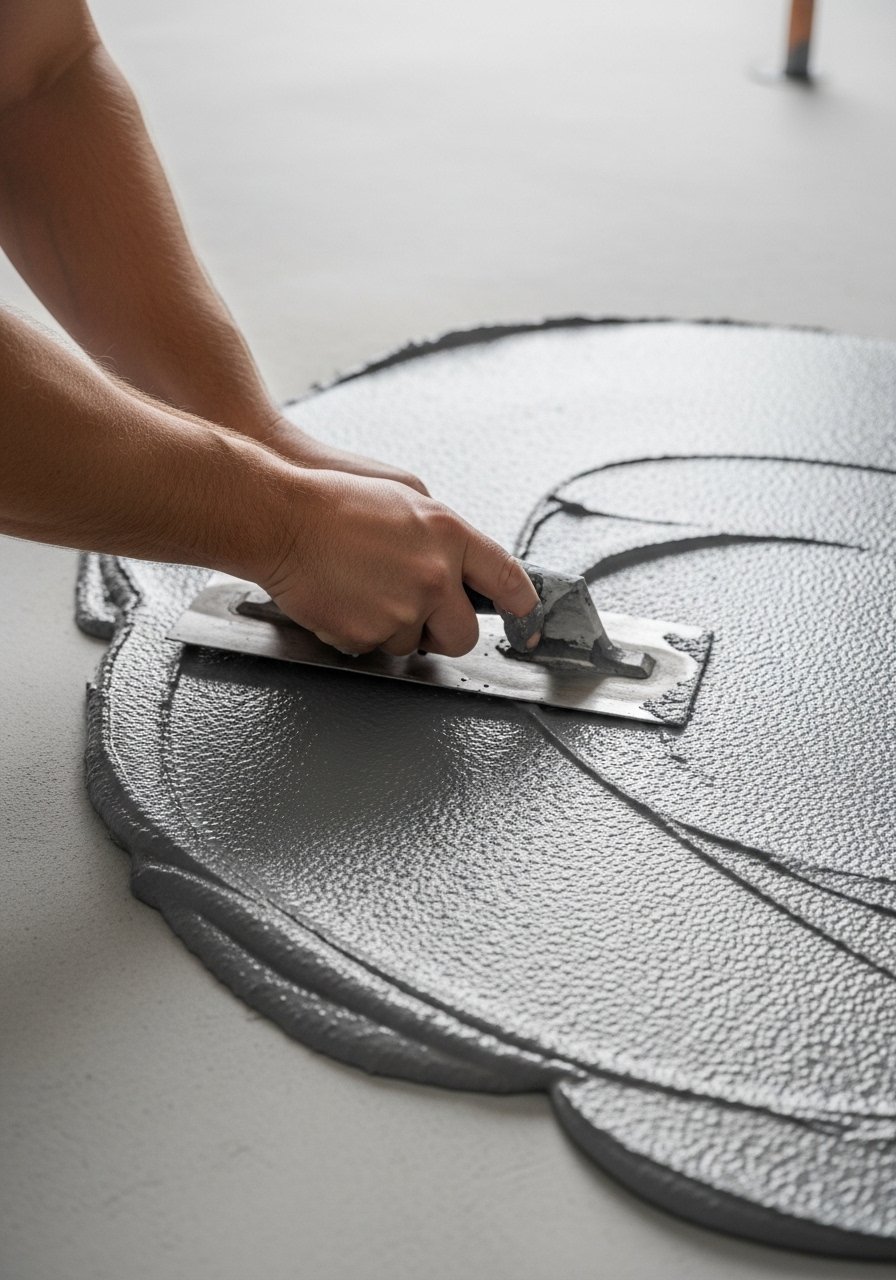
Solid subfloor work makes your remodel a bathroom floor that lasts decades. Replace any rotten plywood with new sheets or add a layer of cement backer board for tile installs. Use a cement backer board cut to fit and fastened with corrosion-resistant screws.
Waterproofing steps:
- Clean and prime the surface.
- Roll on two coats of a waterproofing membrane, following the drying time on the product label (usually 1–2 hours between coats).
- Let cure 24 hours before tiling.
Pro tip: For speed, a floor primer reduces bubbles and improves adhesion.
Lay tile or luxury vinyl plank like a pro
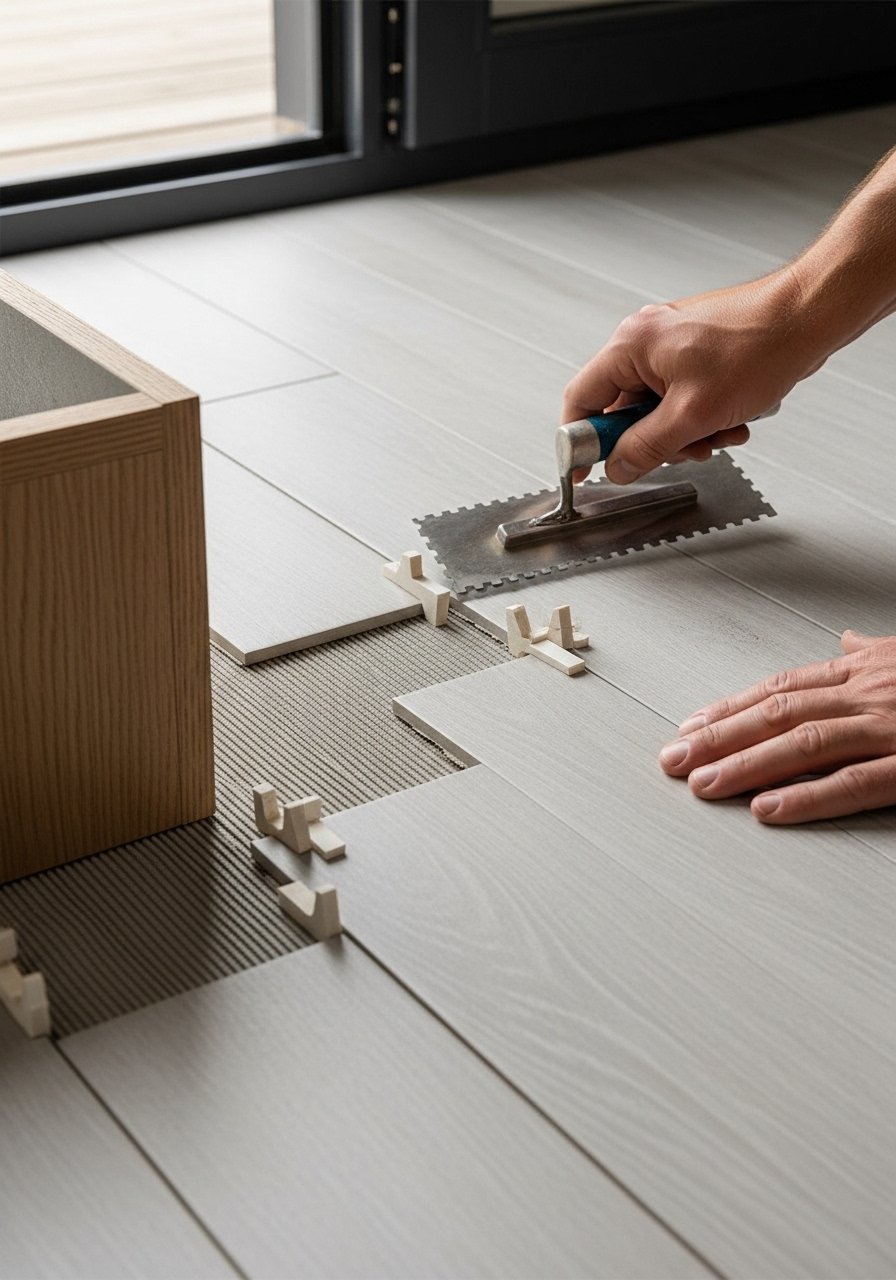
Choose a durable finish: large-format porcelain tiles or rigid-core luxury vinyl plank (LVP). Both can remodel a bathroom floor beautifully; pick porcelain for longevity and LVP for faster installation.
If you tile:
- Spread thin-set with a notched trowel and press tiles with a rubber mallet.
- Use tile spacers for consistent grout lines.
- A wet saw handles tricky cuts; rent if you won’t use it again.
If you install LVP:
- Follow the manufacturer’s acclimation time (usually 48 hours).
- Use a recommended vinyl floor adhesive for glue-down products and a floor roller to remove bubbles.
Quick sequence:
- Snap a chalk line for your starting row.
- Dry-lay a row to check layout.
- Work outward and keep expansion gaps (per product specs).
Grout, seal, and finish transitions
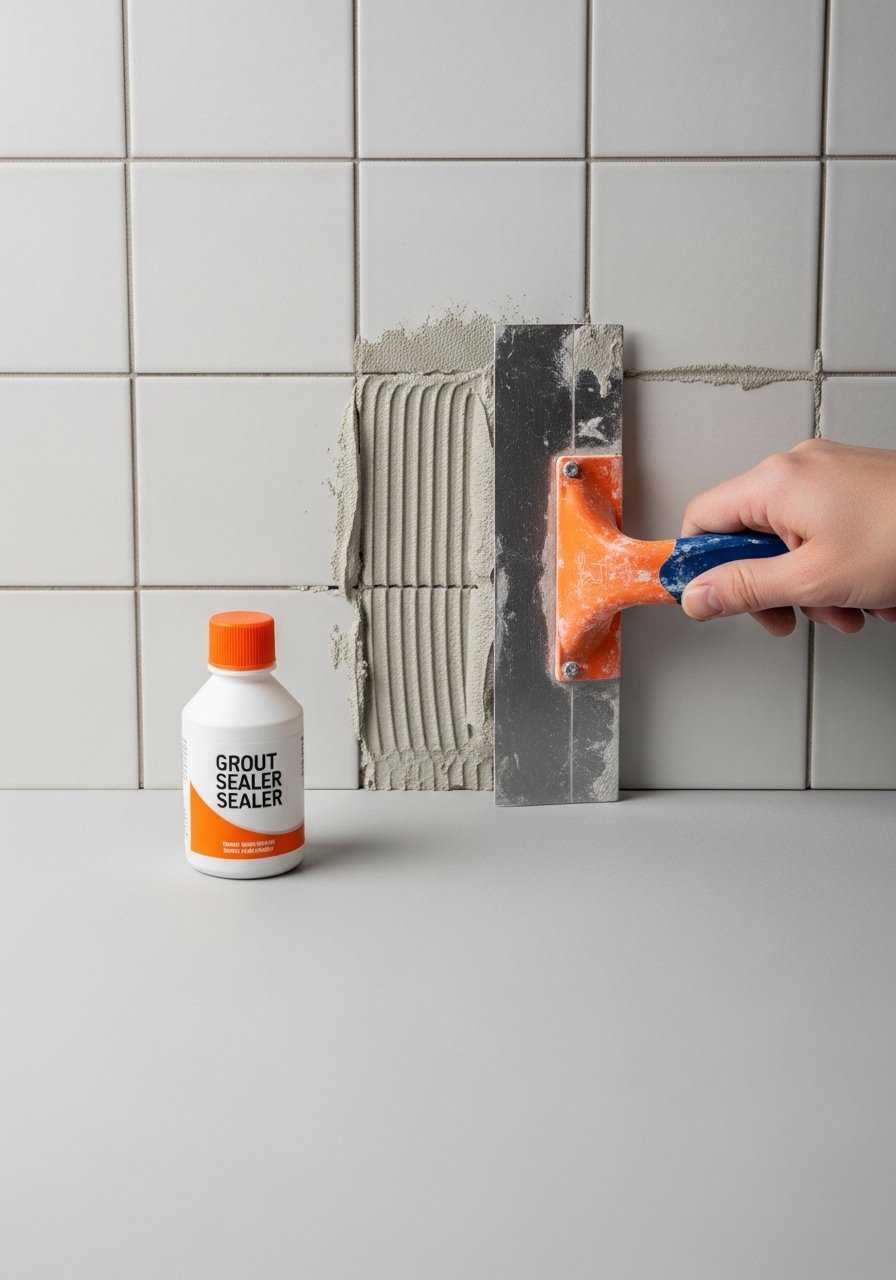
Grouting and finishing make the project feel finished. For tile, pick an epoxy grout in a color that complements your tiles—epoxy is stain-resistant and perfect for wet rooms. Apply with a grout float, wipe with a damp sponge, and let grout cure 24–72 hours depending on the product.
Seal and finish:
- Seal grout lines with a grout sealer after full cure.
- Use a silicone bathroom caulk at wall and tub joints.
- Install transition strips to join to adjacent floors cleanly.
Maintenance tip: A gentle tile cleaner keeps grout looking new without stripping sealers.
You just gave your bathroom a brand-new foundation that looks high-end and stands up to daily life. Save this guide and pin it for your next weekend project—start by grabbing the notched trowel and a roll of waterproofing membrane. Which look are you choosing—porcelain or LVP? Pin this guide for a pin-worthy bathroom refresh and share with a friend who’s planning a remodel!





