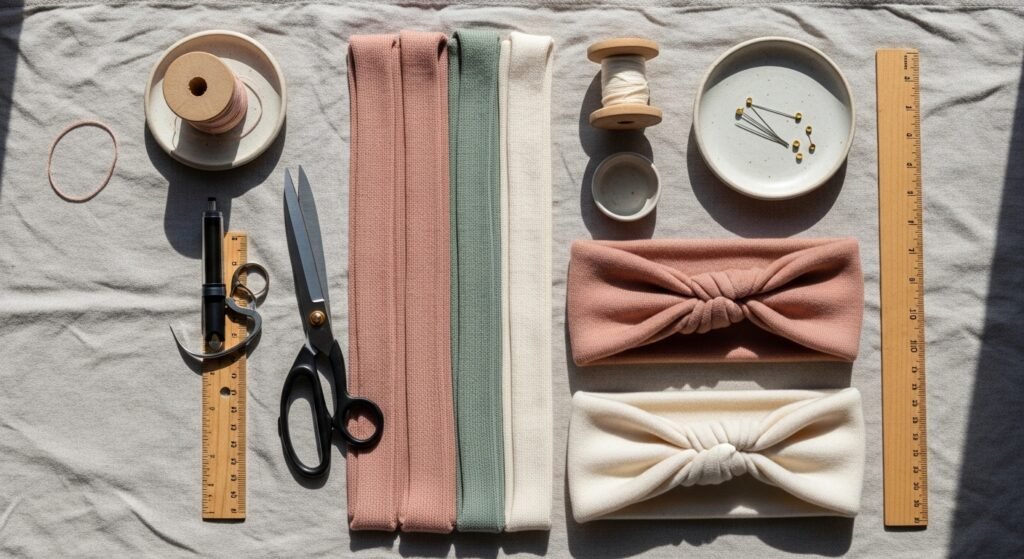
You want a stylish, stretchy headband you can make in minutes, even if sewing feels intimidating. Sewing a fabric headband for beginners is one of the fastest wearable projects — soft, comfy, and forgiving if your seams aren’t perfect. You’ll be finished in about 20–30 minutes and have a headband that stays put during workouts or a quick errand run.
The secret tools that make this easier are a steady cutting surface and a reliable sewing machine. I pre-cut on a self-healing cutting mat with a rotary cutter for crisp edges, and I use a lightweight beginner sewing machine set to a stretch stitch for durable seams.
Follow this quick guide and you’ll learn how to sew a fabric headband for beginners, including sizing tips, a simple sewing method, a no-sew shortcut, and styling ideas you’ll want to pin.
Gather and prep materials — beginner-friendly and budget DIY
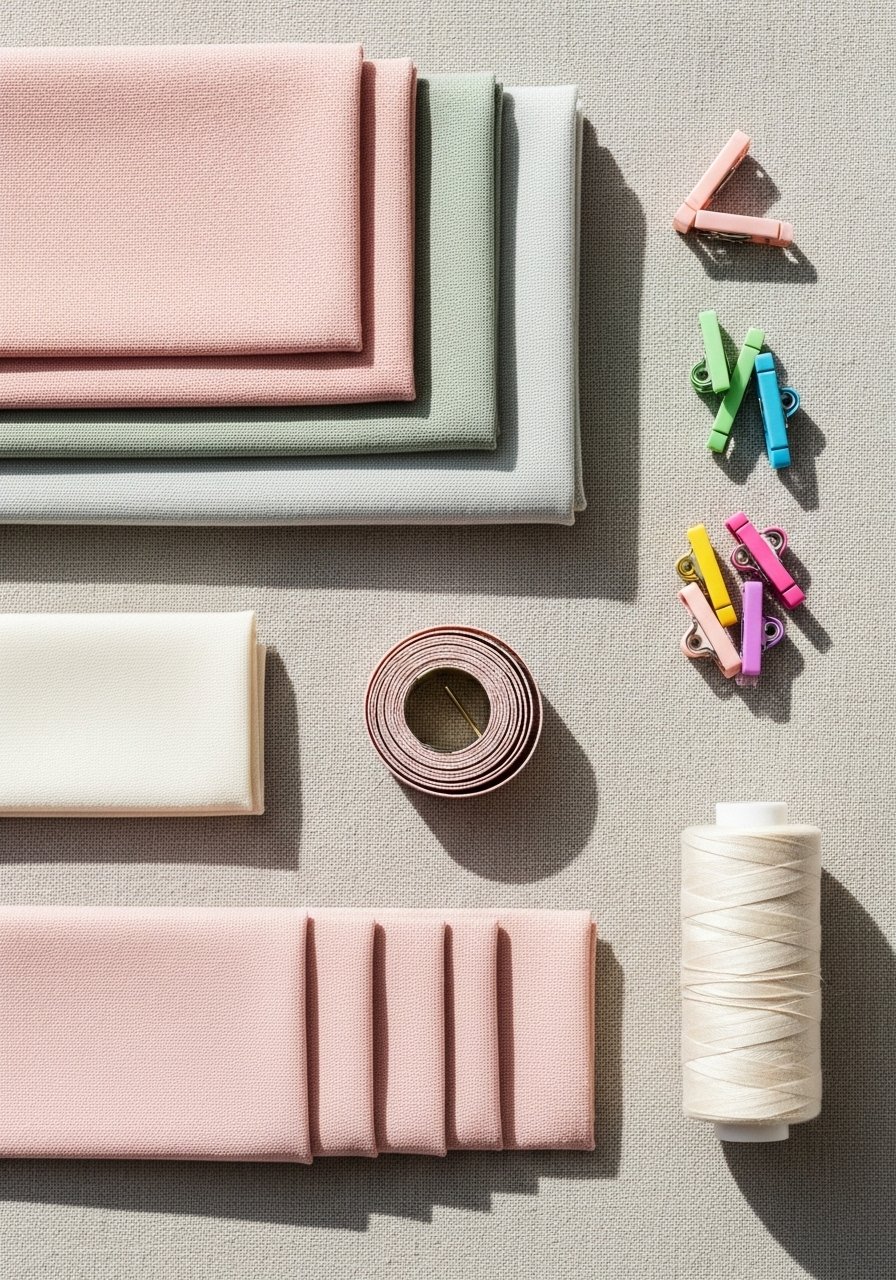
Choose a soft knit like cotton-spandex jersey or rib knit for stretch — you want fabric that recovers well after pulling over your ears. Cut a single rectangle or two layers for a lined band.
Quick prep tips:
- Measure your head: adult average is 21–23 inches. If your fabric stretches a lot, plan for 18–20 inches finished length.
- For width, cut 4 inches to make a 3–3.5 inch finished band after folding.
- Use a fabric measuring tape and mark with washable chalk.
- Keep edges tidy with a self-healing cutting mat and rotary cutter for fast, straight cuts.
Cut your fabric & get dimensions right — easy one-afternoon project

Accurate cutting saves time when you sew. For a single-layer stretchy headband:
- Cut a strip 18–20 inches long and 4 inches wide for adults.
- For a lined headband, cut two strips the same size and stack them, right sides together.
Pro tips:
- If you prefer a snug fit, subtract 1–2 inches from the length.
- Use fabric scissors or a rotary cutter for clean edges.
- Hold layers with sewing clips instead of pins to avoid snagging knits.
Sew the headband — simple stitches for stretchy fabric

Sewing technique that works for beginners:
- Fold the strip lengthwise, wrong sides together, and pin or clip the long edge.
- Sew along the long edge with a 1/4 inch seam allowance using a stretch stitch or zigzag.
- Turn the tube right side out and press flat with your hands (no hot iron needed for some knits).
Numbered steps for joining ends:
- Overlap ends by 1/2 inch and sew with a stretch stitch, or
- For a cleaner loop, insert one raw end into the folded end to hide the seam before stitching.
Helpful product mentions:
- Use a ballpoint sewing machine needle so the needle slips between knit fibers.
- A good polyester thread gives stretch to seams.
- Keep a seam ripper close for quick fixes.
Add a twist or try a no-sew shortcut — creative variations

Want a knotted look?
- Cut two pieces, tie a loose knot, then flatten and stitch across the center seam to secure.
No-sew option: - Use fabric glue to bond raw ends inside the folded tube. Clamp with sewing clips and let dry 12–24 hours for full strength.
Tips and warnings:
- Don’t over-stretch the band while sewing — it can cause wavy seams.
- If the center seam is bulky, trim seam allowances and use a stretch stitch to keep comfort.
Care, styling, and storing — pin-worthy finishing
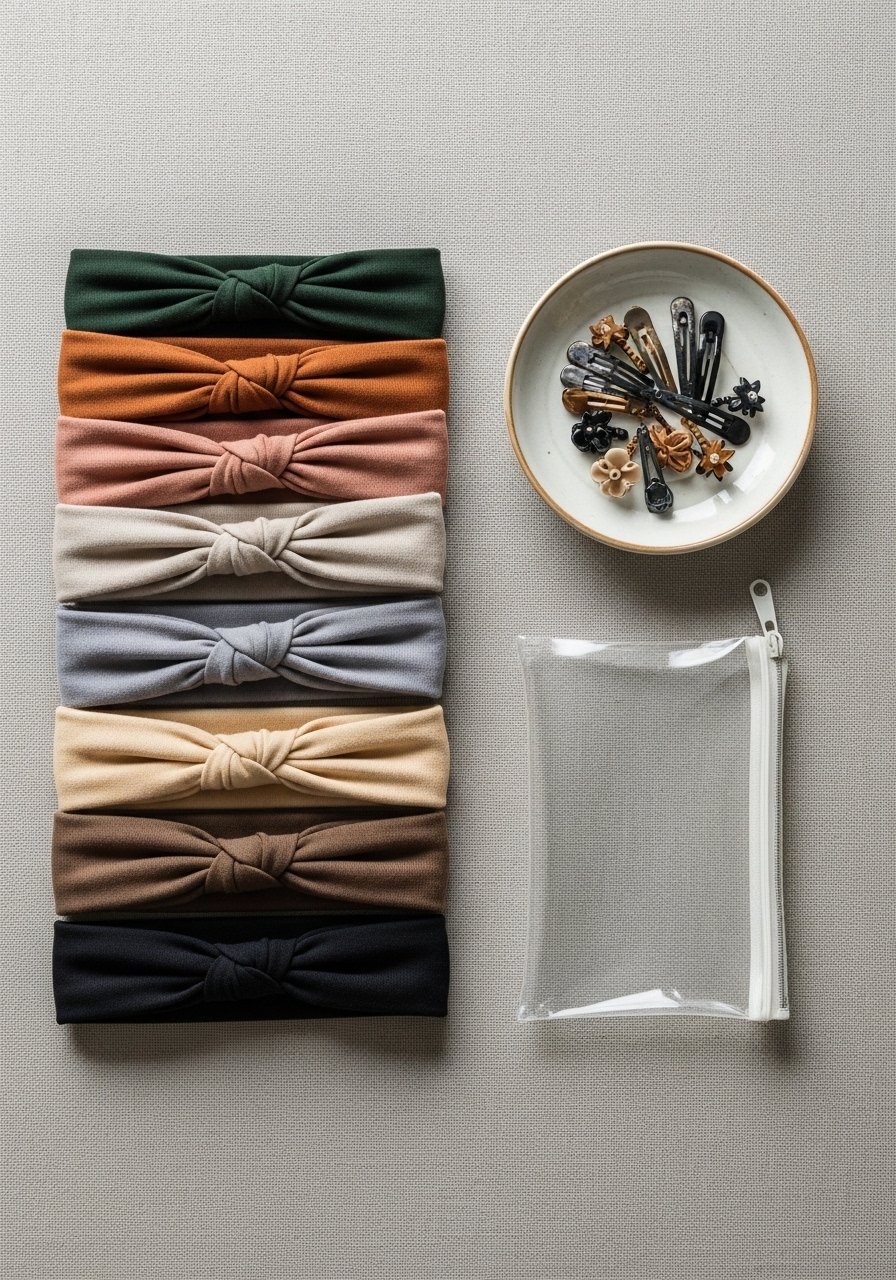
Wash on gentle cycle and air-dry to keep stretch. Store flat in clear zip pouches or roll into small bundles in a craft organizer.
Style ideas:
- Make matching sets in blush, sage, and cream for gifting.
- Sew a batch in one afternoon and pop them in a small gift box for friends.
A quick trick: label sizes with a fabric sticker if you make gift sets.
You made a wearable headband fast — save this tutorial for your next craft afternoon and pin the finished looks for outfit ideas. Once you try a lightweight beginner sewing machine, you’ll make these on repeat. Which color will you sew first? Pin this guide and share it with a friend who loves quick, wearable projects!





