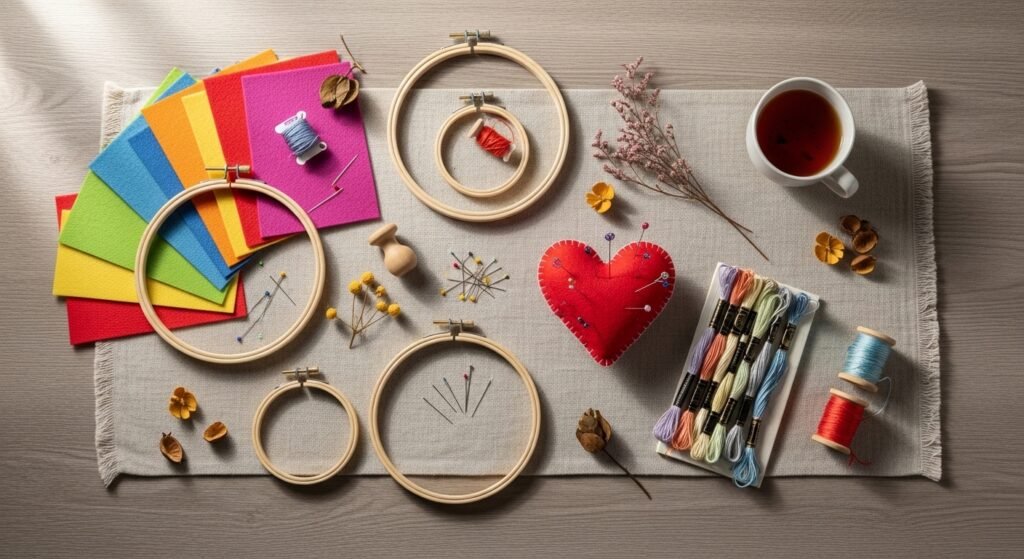
If you love the slow, satisfying rhythm of needle and thread, you’re in the right place. These 22 gorgeous hand sewing projects for beginners require no machine and still look incredibly neat—perfect for quiet afternoons, gifting, or building your skills one stitch at a time. Whether you like cozy cottagecore, clean japandi, or relaxed boho, there’s a project here that will suit your vibe.
You’ll find clear materials lists with exact quantities, step-by-step instructions with drying or set times, and troubleshooting tips to avoid common beginner mistakes like puckering or uneven stuffing. I mention a favorite tool or two in each project where it helps—like using an embroidery hoop set to keep fabric taut or a self-healing cutting mat for neat trimming. Pin what you love, stash the page for later, and let the projects guide your next cozy sewing session.
- Tiny Felt Heart Pincushion — beginner-friendly gift
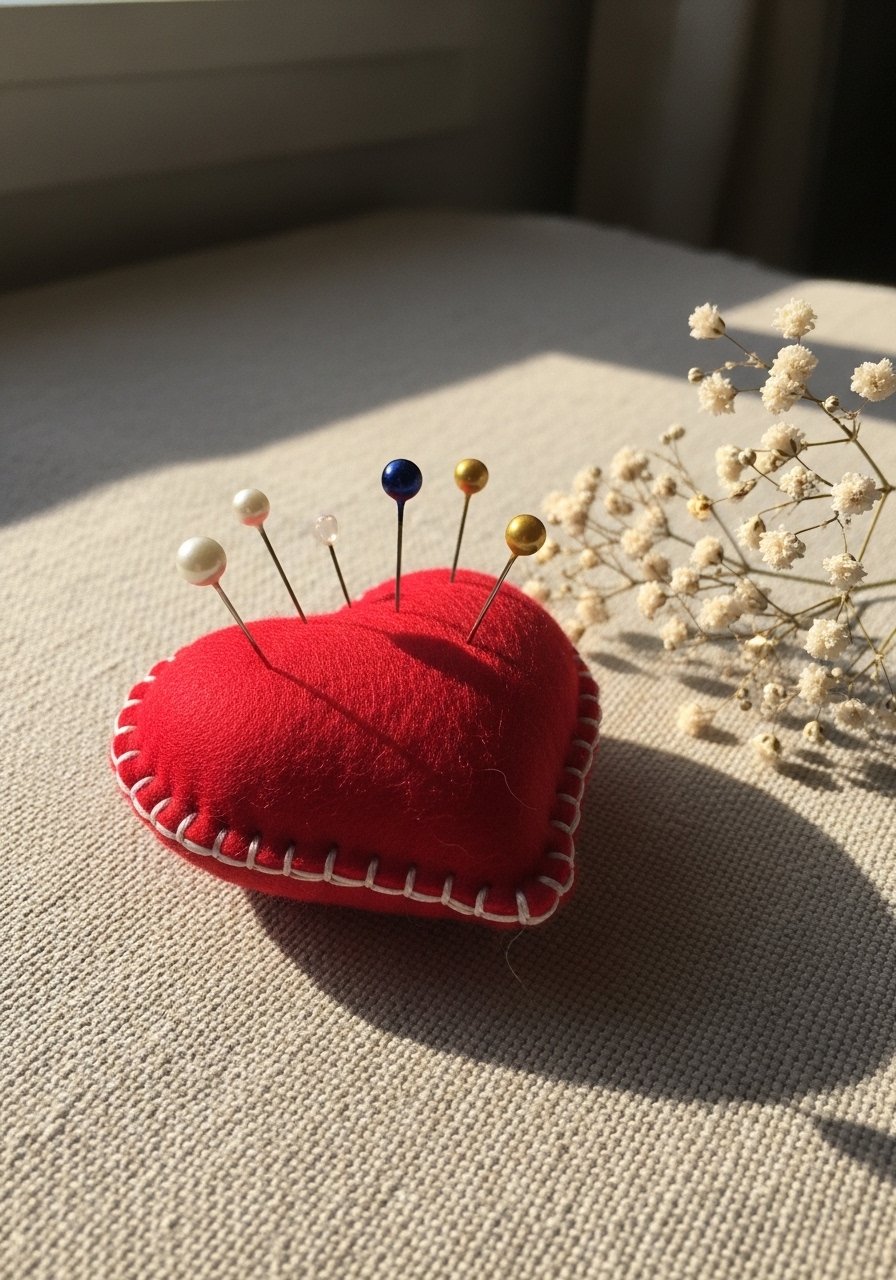
This little felt heart makes a tidy, portable pincushion. The rounded shape and neat hand stitches look professional, yet it’s quick to finish. It’s perfect for beginners and makes a sweet handmade gift that sits prettily in a sewing basket. The felt feels plush and soft in your hands; the finished cushion is about 3 x 3 inches.
Materials
- 2 felt squares, wool-blend, 4 x 4 inches each (contrasting colors)
- Embroidery needle, size 5, pack of 6
- Polyester stuffing, 1/4 cup
- Embroidery floss, 6-strand, 20 inches (for decorative stitches)
- Sharp fabric scissors
- Straight pins, 10
- Optional: fabric marker
Instructions
- Trace a 3-inch heart template on the felt with a fabric marker.
- Cut two identical hearts on the cutting mat for clean edges.
- Thread needle with 18–20 inches of floss, tie a small knot.
- Place hearts together and use a whip stitch to sew around, leaving a 1-inch gap.
- Stuff with polyester filling until firm but not overstuffed.
- Finish with small neat stitches to close gap and knot off. Trim threads.
How to Display or Gift It
- Tie a tiny ribbon around the pincushion and tuck it into a small kraft box.
- Keep several in a mason jar by your sewing station for an organized look.
- Store extras flat in a stackable craft tray if not gifting. Consider a small wooden gift box for presentation.
- Beginner Running-Stitch Tea Towel (cottagecore accent)
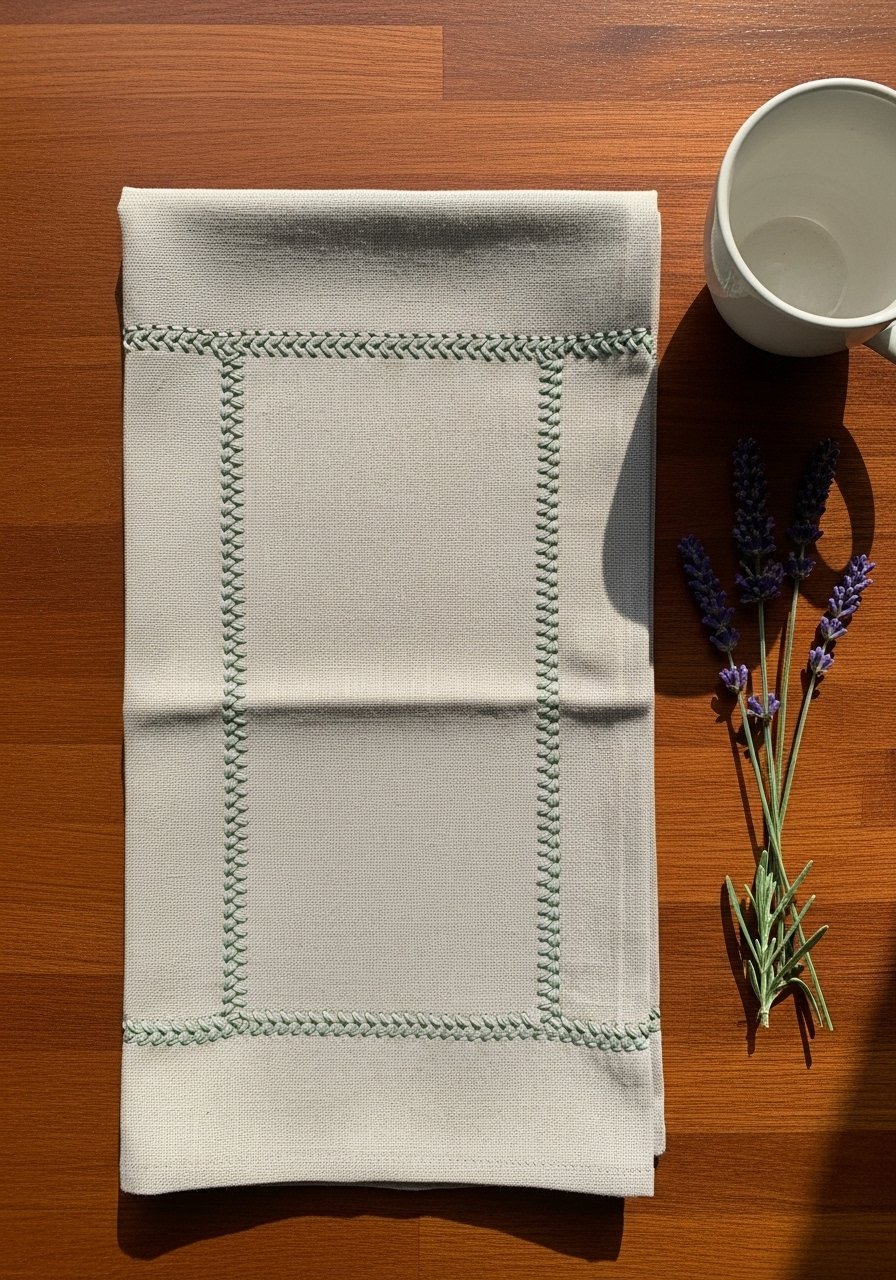
This plain linen towel gets a handmade border using a simple running stitch. The result is subtle and elegant—ideal for cottagecore or farmhouse kitchens. The stitch feels meditative and gives the linen a textured edge that softens with washing.
Materials
- Plain linen tea towel, 20 x 28 inches
- Embroidery floss, 3 skeins (choose color)
- Embroidery needle, size 7
- Fabric marking pen
- Ruler or quilting ruler
- Iron and ironing board
- Thread snips
Instructions
- Prewash and press towel; mark a 1-inch border from edges.
- Thread a length of floss (no more than 30 inches) and knot end.
- Begin a running stitch ¼ inch from the raw edge, spacing stitches 1/8–1/4 inch apart.
- Work around the towel, keeping tension even to avoid puckering.
- At corners, make a small diagonal stitch to turn neatly.
- Finish by tying thread ends on the underside and pressing gently.
How to Display or Gift It
- Fold and tie with twine for a market-style gift.
- Hang over an oven handle or wooden peg rack for a styled kitchen display.
- Store flat to avoid creasing; a linen storage box keeps towels tidy.
- Embroidery Hoop “Hello” Wall Tag
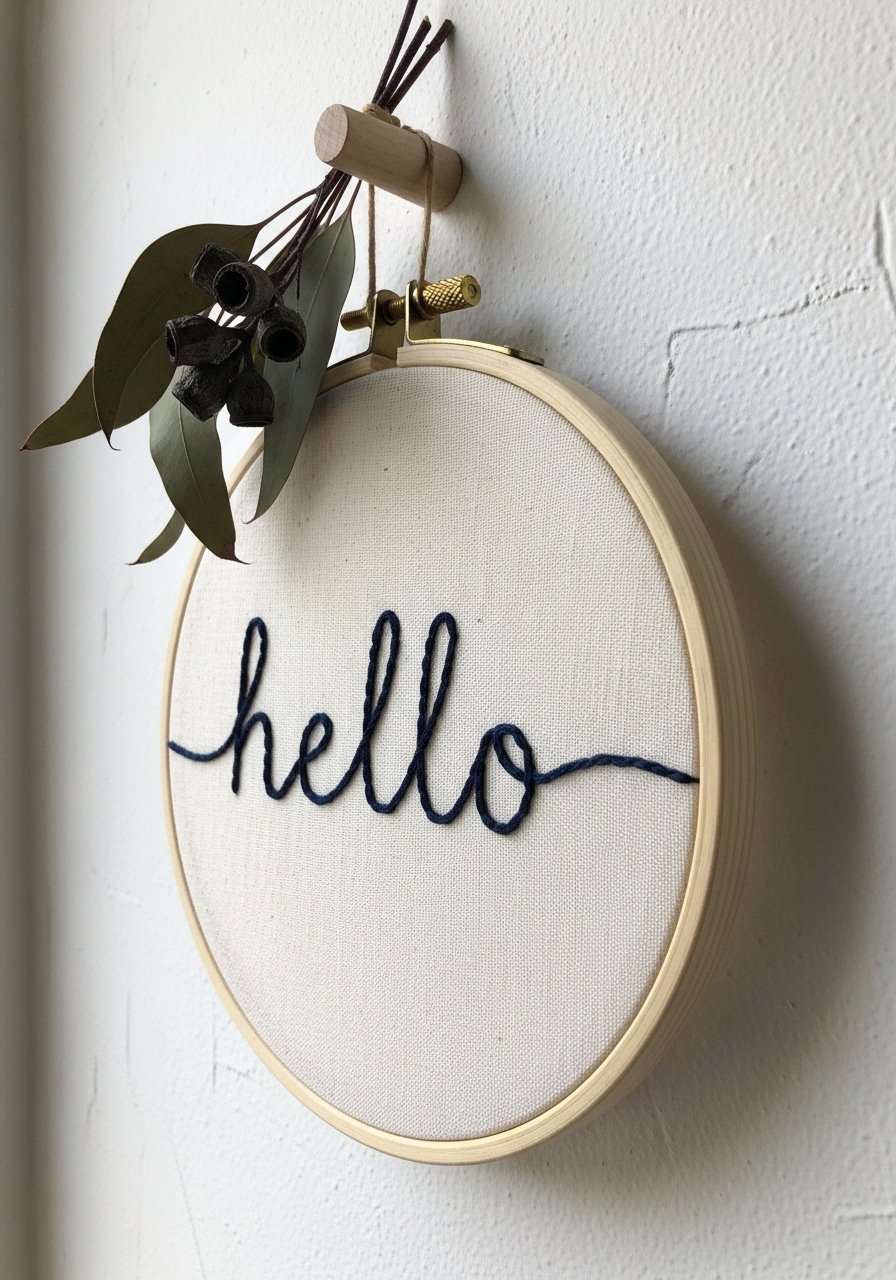
This quick hoop art teaches basic backstitch and layout. The clean script looks modern in japandi or minimalist rooms. It’s lightweight and ready to hang straight away; the fabric inside is slightly taut and smooth to the touch.
Materials
- 6-inch embroidery hoop
- Cotton muslin circle, 8 inches diameter
- Embroidery floss, navy, 10–12 inches
- Embroidery needle, size 7
- Pencil for tracing design
- Scissors
- Small hoop hanger or ribbon
Instructions
- Trace the word lightly on the muslin with a pencil.
- Place fabric in hoop and tighten until taut.
- Use a backstitch for clean lines; keep stitches 3–4 mm long.
- Finish by knotting on the back and trimming excess thread.
- Trim fabric around hoop, leaving ½ inch, and tuck under hoop back.
- Add ribbon and hang.
How to Display or Gift It
- Group with other small hooped art for a gallery wall.
- Place on a small easel for tabletop display.
- Pop into a gift bag with a small wooden easel for presentation.
- Simple Felt Succulent Trio (no watering required)
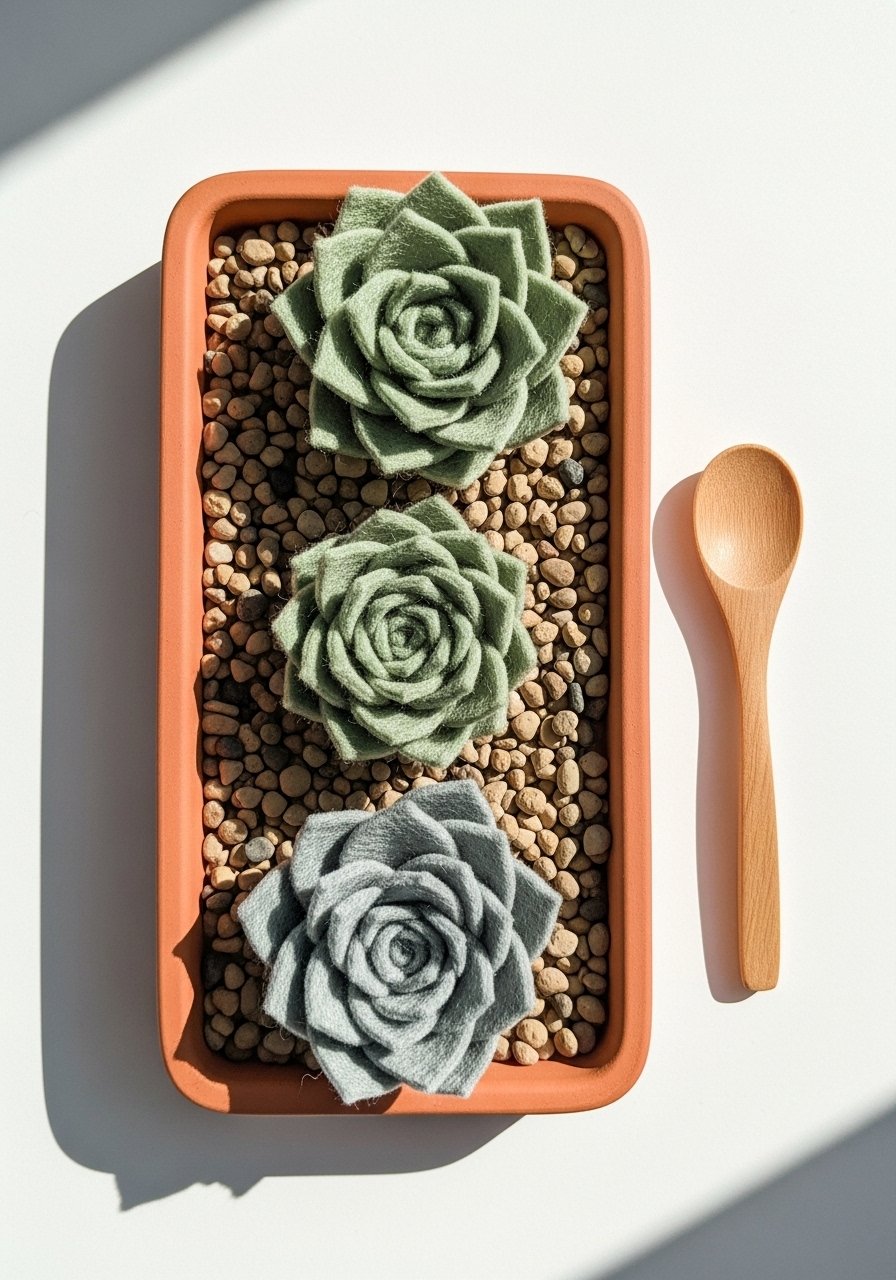
These felt succulents give a playful, tactile accent without any care. They’re stuffed lightly so the leaves keep their shape and look realistic from a few feet away. Great for desks, shelves, or gifts.
Materials
- Wool-blend felt sheets, assorted greens, 3 colors
- Embroidery floss, matching greens
- Polyester stuffing, small amount
- Fabric glue, 1 oz (optional)
- Scissors and fabric shears
- Glue gun (optional)
- Small terracotta tray or dish
Instructions
- Cut leaf templates in graduated sizes; cut 5–7 leaves per succulent.
- Sew pairs of leaves using a ladder stitch leaving ½ inch gap.
- Add a thin amount of stuffing between pairs for volume.
- Slip stitch closed and arrange leaves around a felt circle base.
- Attach with small whip stitches or a dab of fabric glue and press to set (10 minutes).
- Glue to terracotta tray with hot glue if needed.
How to Display or Gift It
- Arrange in a shallow dish on a shelf or windowsill.
- Tie a set with twine and include a note for gifting.
- Store in a compartmentalized craft organizer to keep shapes safe.
- Linen Eye Mask with Satin Lining
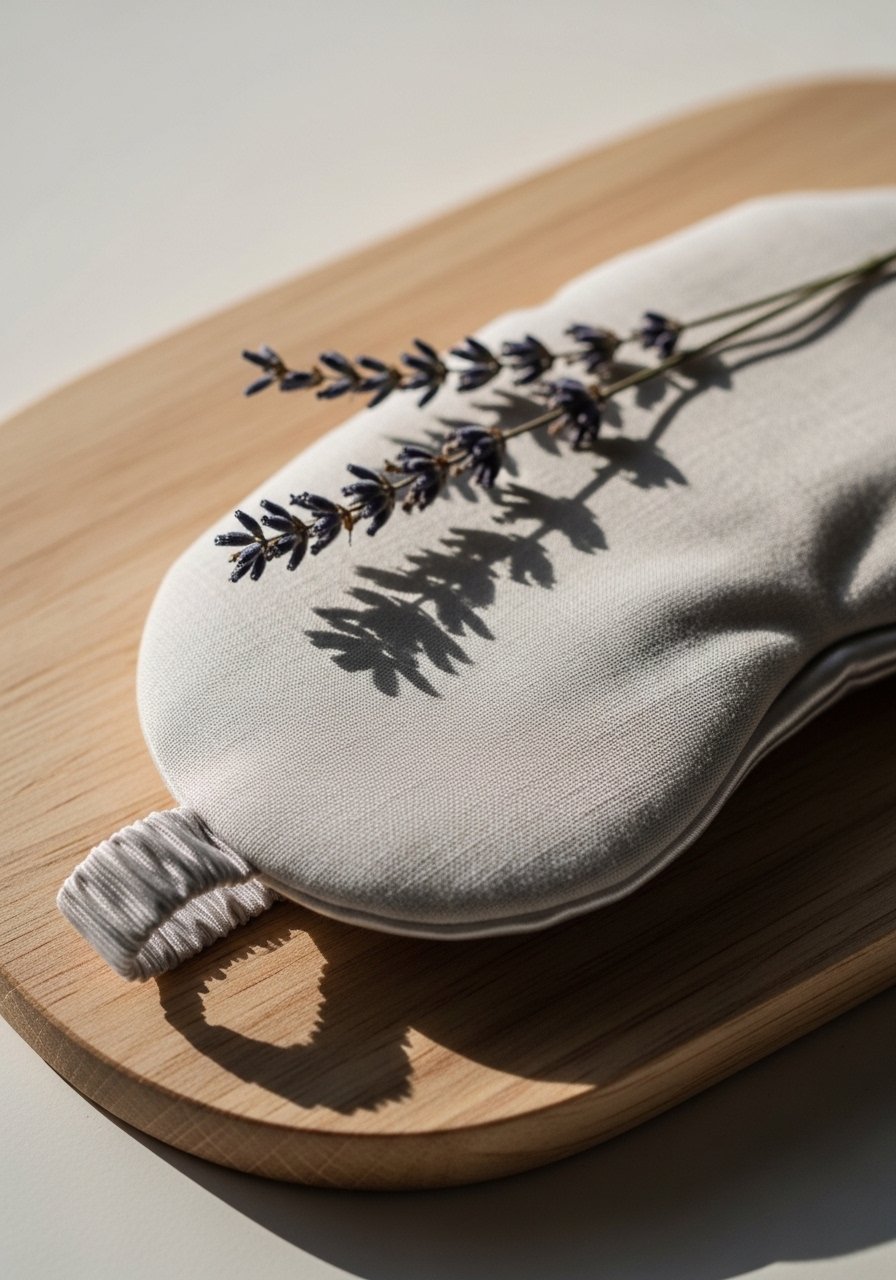
Sewn entirely by hand, this eye mask has a soft satin interior and linen exterior that feels cool on the skin. It’s a soothing project that introduces curved seams and elastic insertion.
Materials
- Linen fabric, 10 x 6 inches
- Satin lining, 10 x 6 inches
- Elastic strap, 12 inches
- Polyester stuffing or thin batting, 1/4 cup
- Hand-sewing needle and thread
- Fabric pins
- Scissors and small safety pin
Instructions
- Cut two linen and two satin pieces from a template (about 8.5 x 4.5 inches finished).
- Sandwich batting inside outer linen and lining.
- Pin and stitch around curve with a backstitch, leaving 2-inch gap.
- Thread elastic ends into side seams before closing; stitch securely with several backstitches.
- Stuff lightly, making sure to distribute evenly.
- Close gap with small slip stitches. Press gently.
How to Display or Gift It
- Place with a small lavender sachet in a kraft box.
- Stack in a soft drawer or cosmetic organizer to avoid creasing.
- Pair with a sleep spray and tuck into a gift box set.
- Classic Felt Button Garland
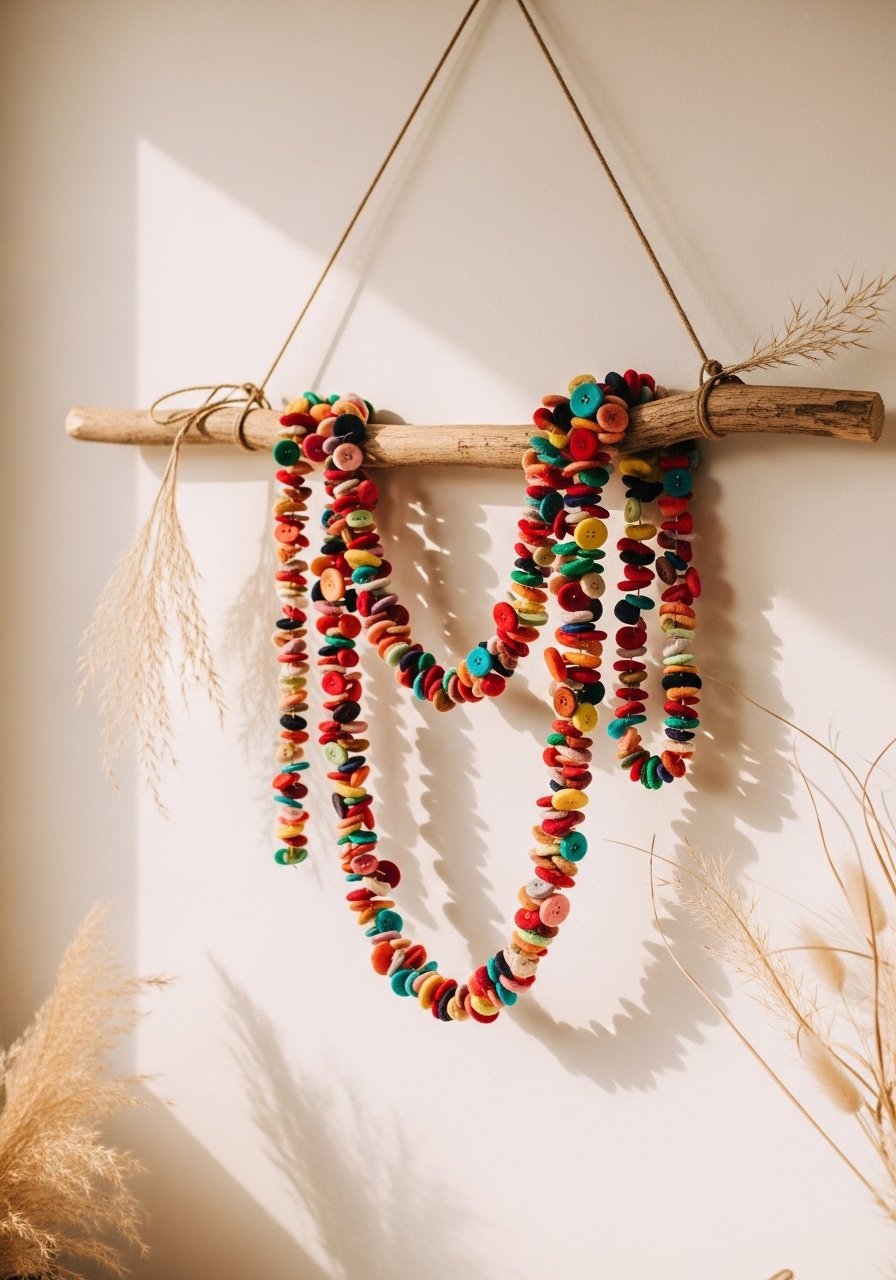
A string of felt “buttons” sewn onto twine creates a warm seasonal garland. The round shapes and soft texture add instant cozy charm. It’s an easy way to practice whip stitch and spacing.
Materials
- Wool felt circles, 40 pieces, 1.25 inches diameter
- Twine, natural jute, 3 yards
- Embroidery needle, large-eye
- Scissors
- Ruler or measuring tape
Instructions
- Cut or punch 40 felt circles in two colors.
- Thread twine onto needle and tie a knot at one end.
- Fold each circle in half and stitch through the fold onto twine, spacing 1 inch apart.
- Repeat until garland length is 3 feet.
- Tie loops at ends for hanging.
- Trim stray fibers and press gently to shape.
How to Display or Gift It
- Drape above a mantle, bookshelf, or entry table.
- Bundle for gifting in a tissue-lined box and add a kraft tissue pack.
- Store by winding into a labeled craft organizer to avoid tangles.
- hand sewing projects for beginners: Simple Patchwork Mug Cozy
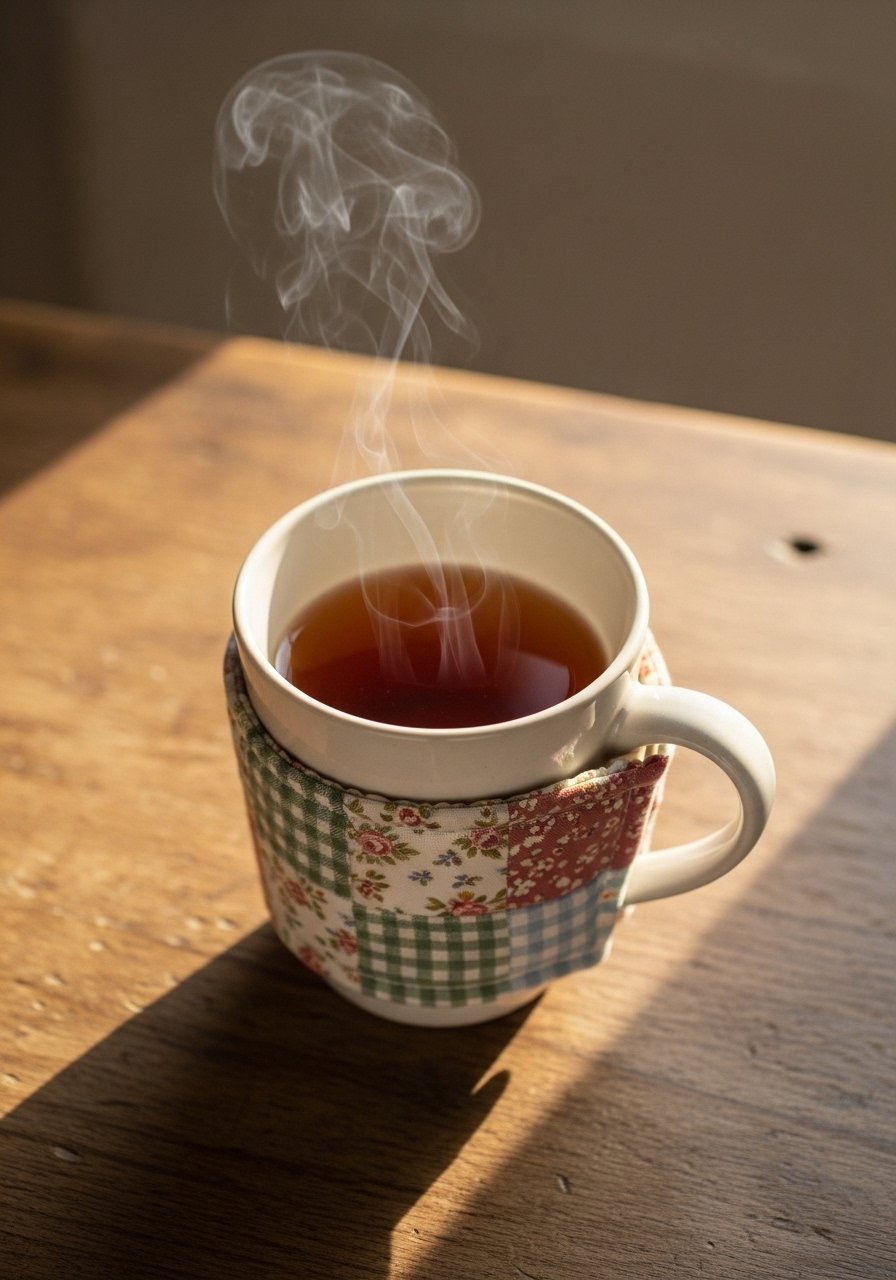
This cozy keeps hands comfortable and cups insulated. It’s a gentle introduction to tiny patchwork, straight seams, and button closures. The finished piece wraps around a standard 12–16 oz mug and feels soft but structured.
Materials
- Cotton fabric scraps, 12 squares 2.5 x 2.5 inches
- Thin quilt batting, 6 x 4 inches
- Button, 1 (¾ inch)
- Embroidery floss, 10 inches
- Needle and thread
- Fabric glue (optional)
- Scissors and ruler
Instructions
- Sew squares together into a 3 x 4 rectangle using small running stitches.
- Layer batting and lining; baste edges with long running stitches.
- Sew around edges with a whip stitch to close.
- Add button and loop closure using embroidery floss.
- Trim excess and press.
- Wash on gentle cycle if needed and reshape.
How to Display or Gift It
- Bundle with a mug and tea sachet in a small gift bag.
- Store stacked with similar cozies in a kraft box.
- For display, use a simple wooden tray or a small serving tray.
- hand sewing projects for beginners: Beginner Cross-Stitch Bookmark
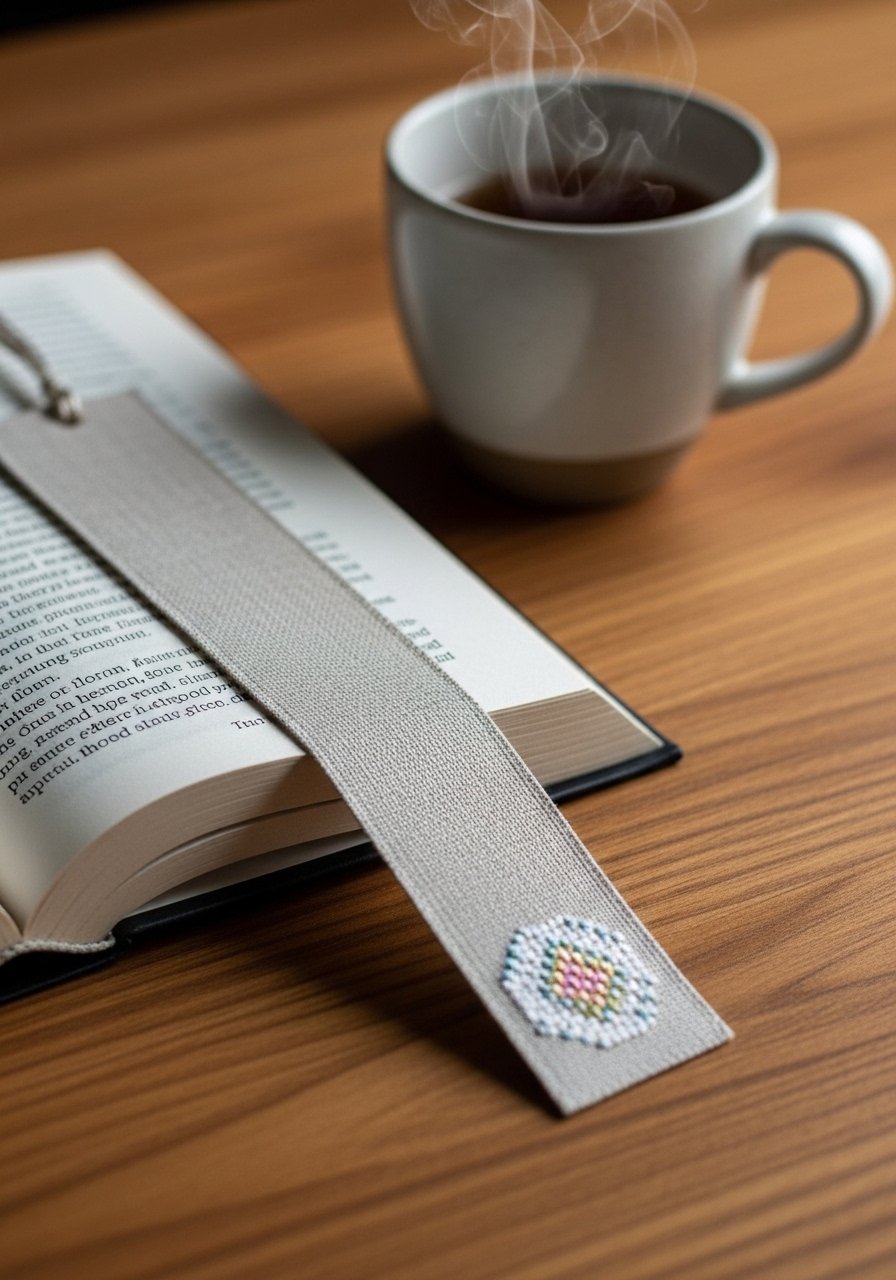
Cross-stitch is a calm, precise craft and makes practical bookmarks. This slim linen bookmark uses a simple motif repeated for a neat, even look. It’s portable—perfect for stitching on the go.
Materials
- Evenweave linen strip, 2 x 8 inches
- Embroidery floss, 1-2 colors
- Tapestry needle, size 24
- Small embroidery hoop (optional)
- Scissors
- Fray-check or clear glue, 1 tsp
Instructions
- Mount linen in hoop or keep flat with fingers.
- Use a basic cross-stitch, following a 10 x 20 grid pattern.
- Keep stitches uniform and tension light.
- Trim with ¼-inch margins; apply fray-check and let dry 10 minutes.
- Fold margins to back and slip-stitch closed.
- Press lightly with a cloth.
How to Display or Gift It
- Slip into a book and tie with twine for gifting.
- Store in a slim bookmark box to protect edges.
- Consider a bookmark display box if making multiple to sell or give.
- Simple Drawstring Jewelry Pouch
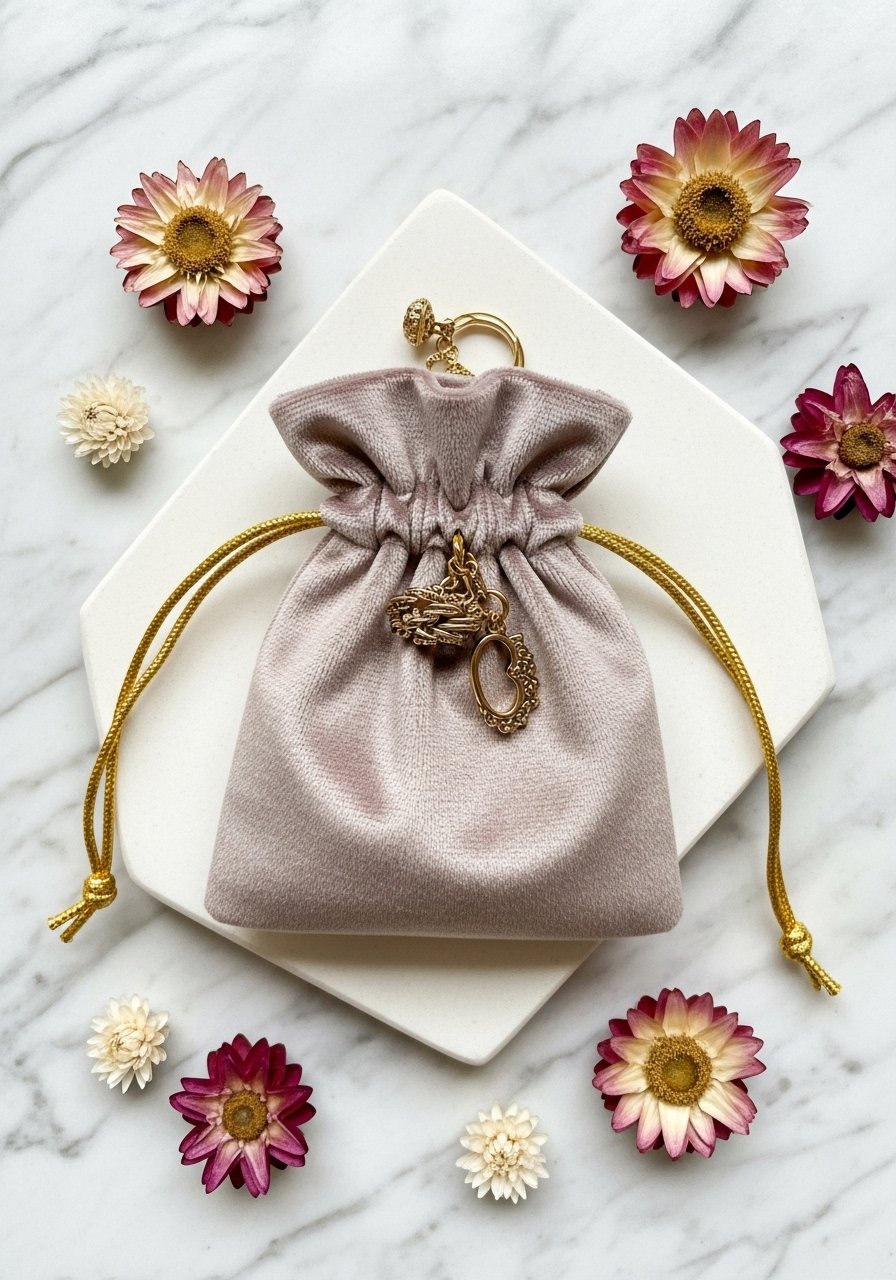
A velvet or cotton drawstring pouch elevates gifting and protects jewelry. Hand-sewing the casing tidy and even gives a polished result. The finished pouch measures 3 x 4 inches—ideal for rings and studs.
Materials
- Velvet or cotton, 6 x 8 inches
- Satin for lining, 6 x 8 inches
- Cord, 18 inches
- Eyelet (optional) or stitched casing
- Hand-sewing needle and thread
- Safety pin for threading cord
- Scissors and ruler
Instructions
- Place right sides together and stitch sides with running stitch, leaving top open.
- Fold top to create a ½-inch casing; stitch near edge leaving a small opening.
- Attach safety pin to cord and thread through casing.
- Knot ends and test drawstring operation.
- Trim threads and turn right side out.
- Optionally add small beads to cord ends.
How to Display or Gift It
- Pair with a small jewelry card in a kraft box.
- Store finished pouches in a compartmented organizer.
- Consider using a small jewelry gift box for presentation.
- Wool Roving Needle Felted Pin Dish (hand sewing meets felting)
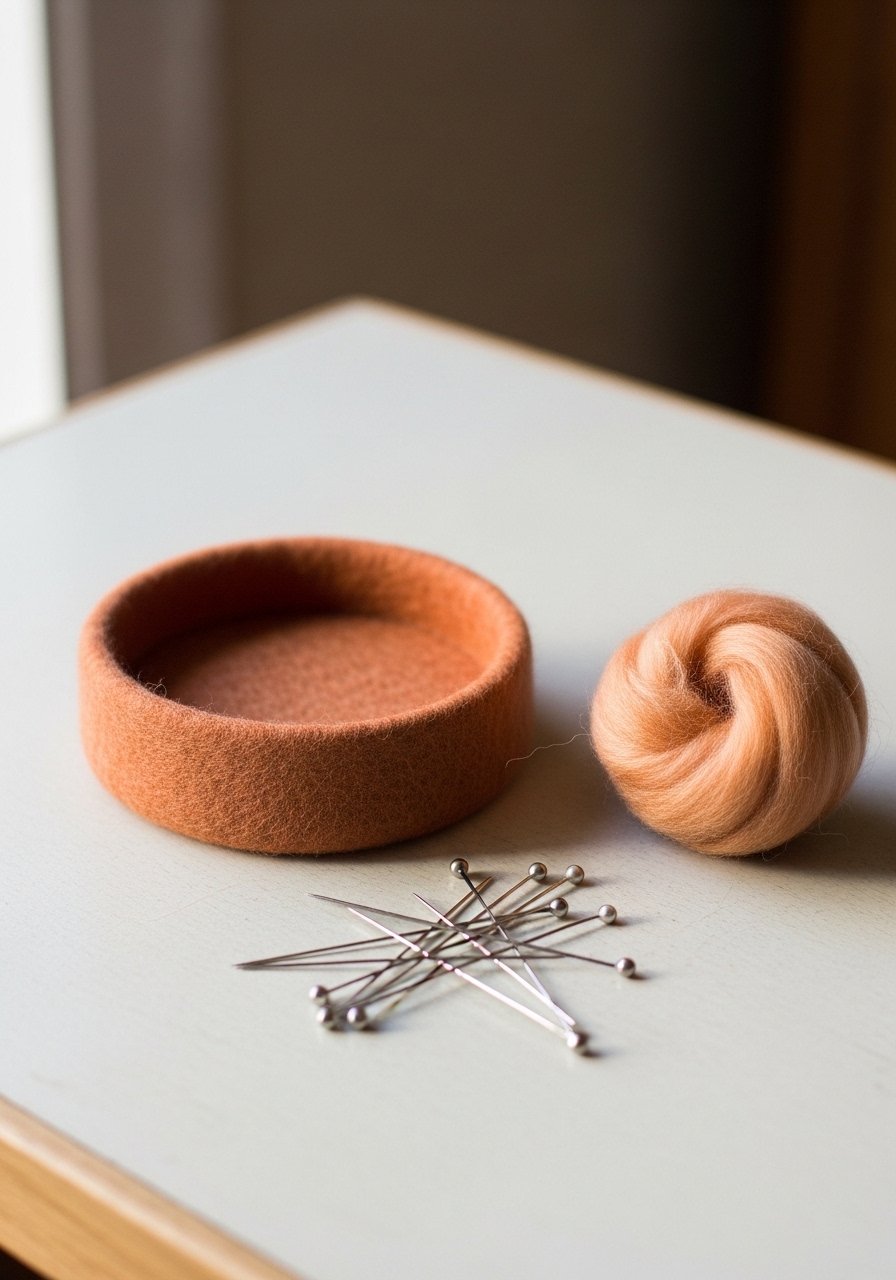
This little dish uses needle felting to create a soft, sturdy bowl that holds pins or rings. It’s tactile and feels dense under your fingers—perfect for a sewing station.
Materials
- Wool roving, 50 g
- Felting needle set
- Foam felting pad
- Small bowl form (optional)
- Scissors
- Tweezers for shaping
Instructions
- Wrap roving around a small bowl form to roughly shape a bowl.
- Use felting needle to repeatedly poke fibers until compact.
- Add layers and shape, aiming for 10–15 minutes of felting per layer.
- When dense, remove form and continue shaping until firm.
- Trim stray fibers and smooth with light poking.
- Test by placing pins inside; dish should hold shape.
How to Display or Gift It
- Use by your sewing station or bedside table.
- Wrap with tissue paper in a small box for gifting.
- Store in a fabric-lined drawer to keep shape.
- Easy Wool Appliqué Coasters
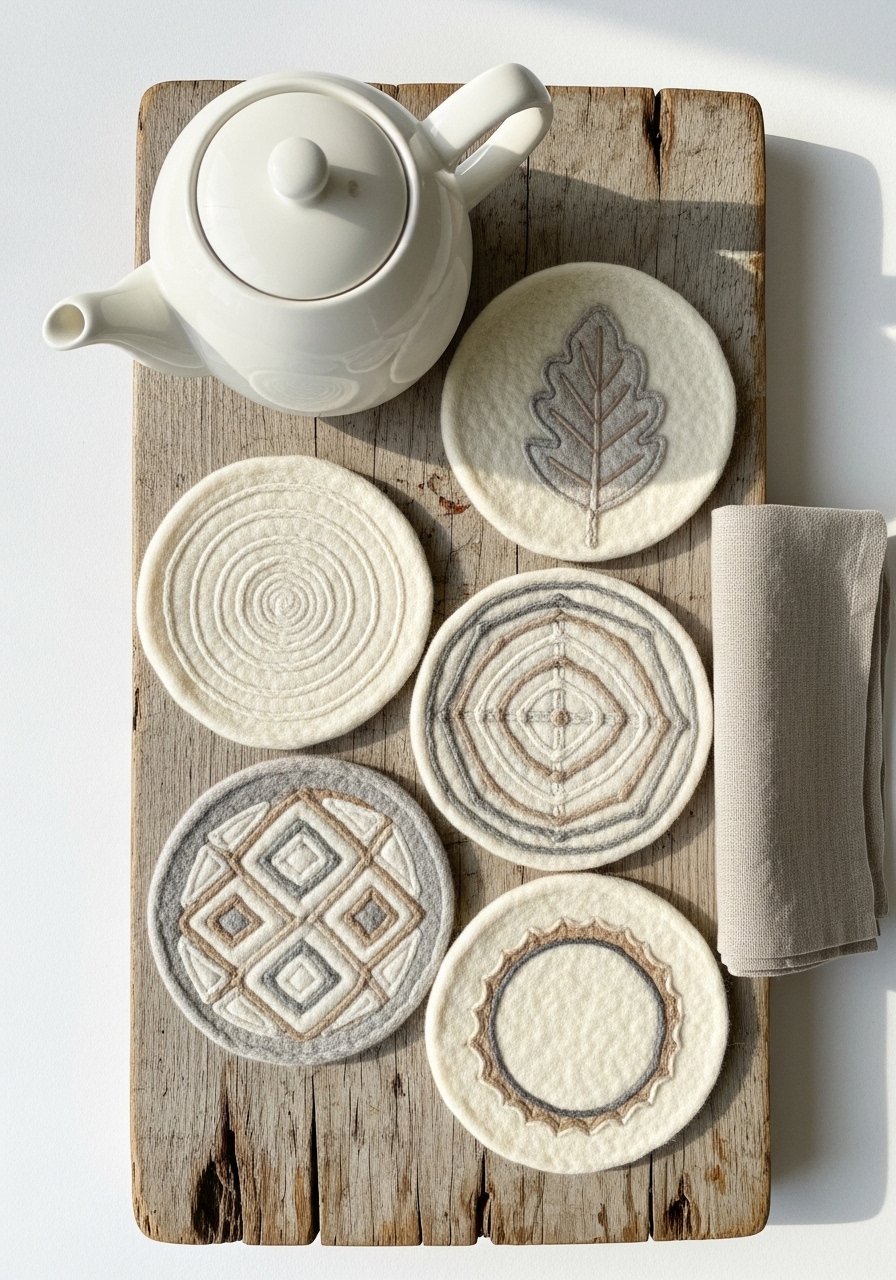
Appliqué is a forgiving way to add design without complicated sewing. These wool coasters are absorbent, sturdy, and make a cohesive set for guests. Each finishes at 4 inches diameter.
Materials
- Wool felt sheets, 4 pieces 4 x 4 inches
- Contrast felt for appliqué shapes
- Fabric glue, small tube
- Blanket stitch thread (embroidery floss)
- Embroidery needle
- Scissors and ruler
Instructions
- Cut coaster base and appliqué shapes.
- Use fabric glue sparingly to position shapes; let tack for 5 minutes.
- Secure appliqué with blanket stitch, spacing stitches 3–4 mm.
- Repeat for all coasters.
- Let set 24 hours before use if glue used.
- Trim edges cleanly.
How to Display or Gift It
- Stack and tie with ribbon for a hostess gift.
- Keep in coaster holder on your coffee table.
- Store flat in a drawer lined with tissue.
- Tiny Needlebook with Pocket
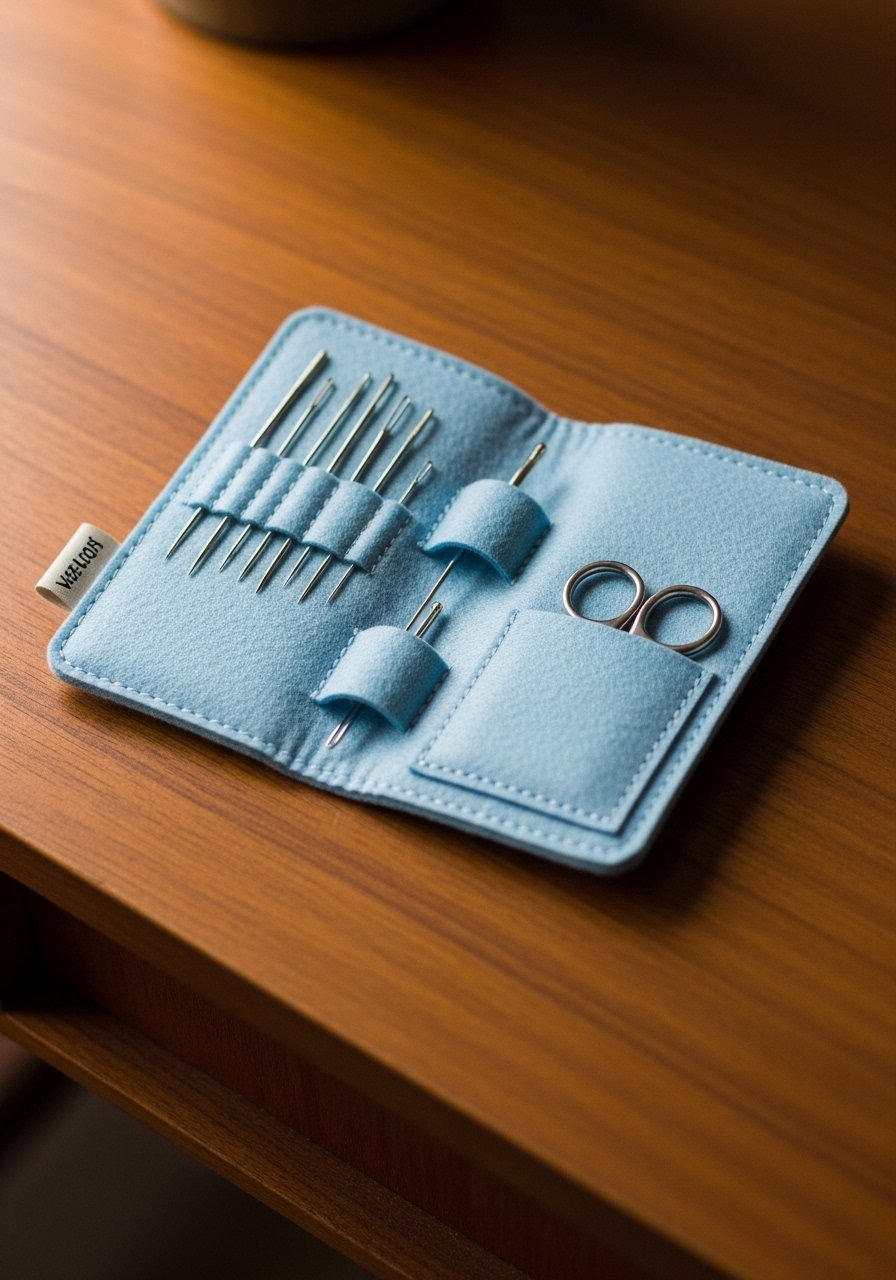
A needlebook organizes needles and small sewing tools. It’s slim, pocket-sized, and a lovely intro to attaching pockets by hand. Finished size 4 x 6 inches folded.
Materials
- Wool felt cover, 6 x 8 inches
- Thin felt pages, 4 pcs 6 x 3.5 inches
- Snap or small button for closure
- Embroidery floss for binding
- Hand-sewing needles
- Small ribbon for marker
Instructions
- Fold cover and mark center line.
- Stitch felt pages to cover using pamphlet stitch, spacing evenly.
- Add a pocket on one inner side with whip stitches.
- Attach snap or button for closure.
- Trim edges and add ribbon bookmark.
- Organize needles and small tools.
How to Display or Gift It
- Slip into a sewing kit or tote.
- Gift with a small set of fine needles in a craft organizer.
- Keep flat to protect pages.
- Hand-Sewn Eyelet Key Fob
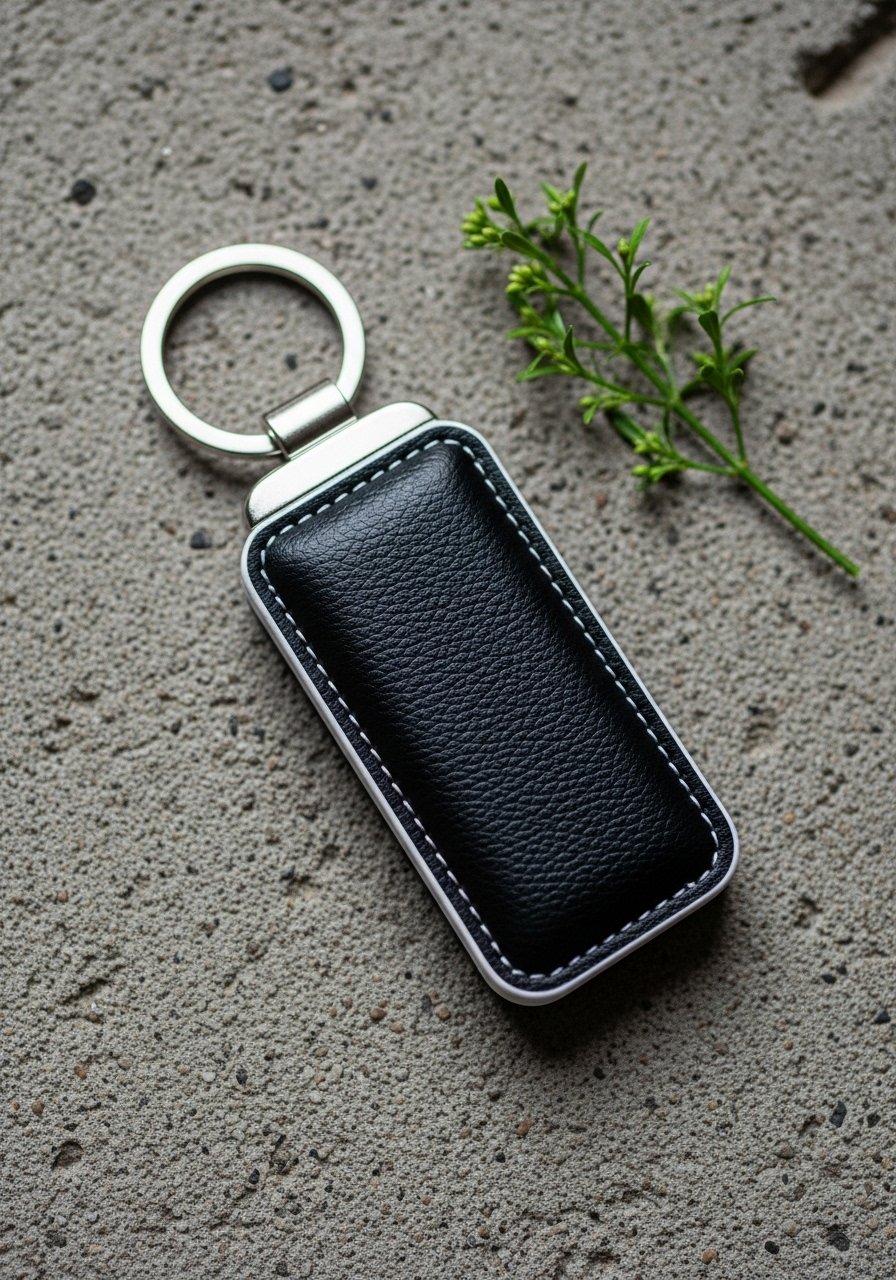
This sturdy key fob is practical and stylish. It introduces working with hardware like key rings and rivets. Result is compact and very durable.
Materials
- Faux leather or canvas strip 8 x 2 inches
- Key ring, metal, 1
- Snap or rivet set
- Hand-sewing needle (leather needle if using faux leather)
- Waxed thread, 12 inches
- Small hammer and setter (for rivet)
Instructions
- Fold strip to create loop; attach key ring inside fold.
- Punch hole for rivet or snap and set according to tool instructions.
- Reinforce with waxed thread saddle stitch across fold.
- Trim edges and burnish if using faux leather.
- Test with keys for strength.
- Use a small file to smooth hardware edges.
How to Display or Gift It
- Pair with a card and small protective pouch.
- Store in a small drawer or bowl near your door.
- Consider a key ring gift pouch for presentation.
- hand sewing projects for beginners: Beginner Needle-Tied Bunting
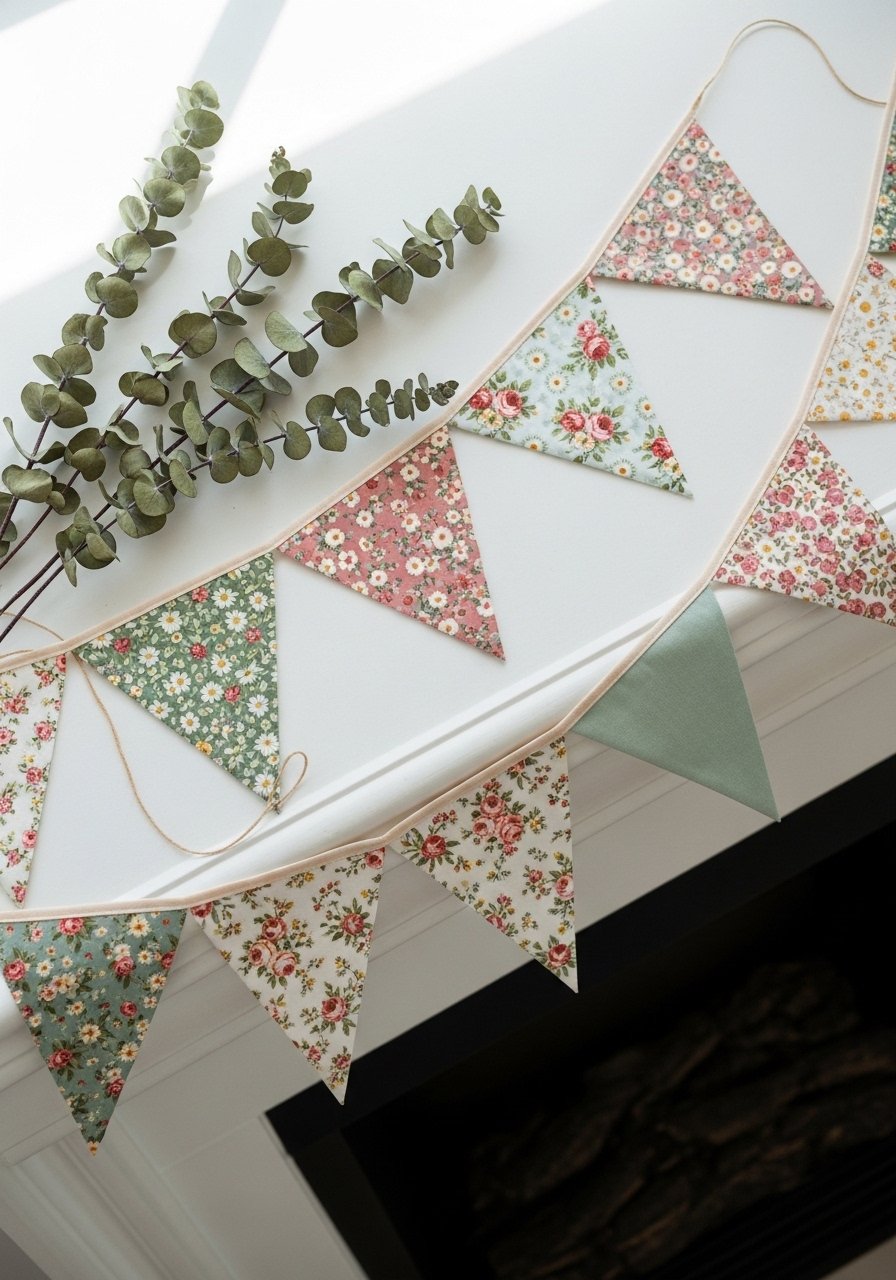
Tiny bunting flags are perfect for seasonal decor, parties, or nurseries. Needle-tied edges give a handmade look without machine hemming. Flags measure 5 x 6 inches each.
Materials
- Fabric scraps, 6 triangles 5 x 6 inches
- Twill tape or cotton bias, 3 feet
- Thread to match
- Hand needle
- Fabric marker
- Scissors and pins
Instructions
- Fold and mark each triangle’s edges with ¼-inch seam allowance.
- Hand stitch folded edges with small running stitches.
- Attach flags to twill tape at 4-inch intervals with whip stitch.
- Tie small knots at tape ends for hanging loops.
- Press lightly with cloth.
- Hang and adjust spacing.
How to Display or Gift It
- Drape across a mantle, frame, or crib.
- Roll carefully and store in a long box to keep creases out.
- Gift with a small hook set for hanging; a twine and hook kit works well.
- hand sewing projects for beginners: Mini Felt Story Board for Kids
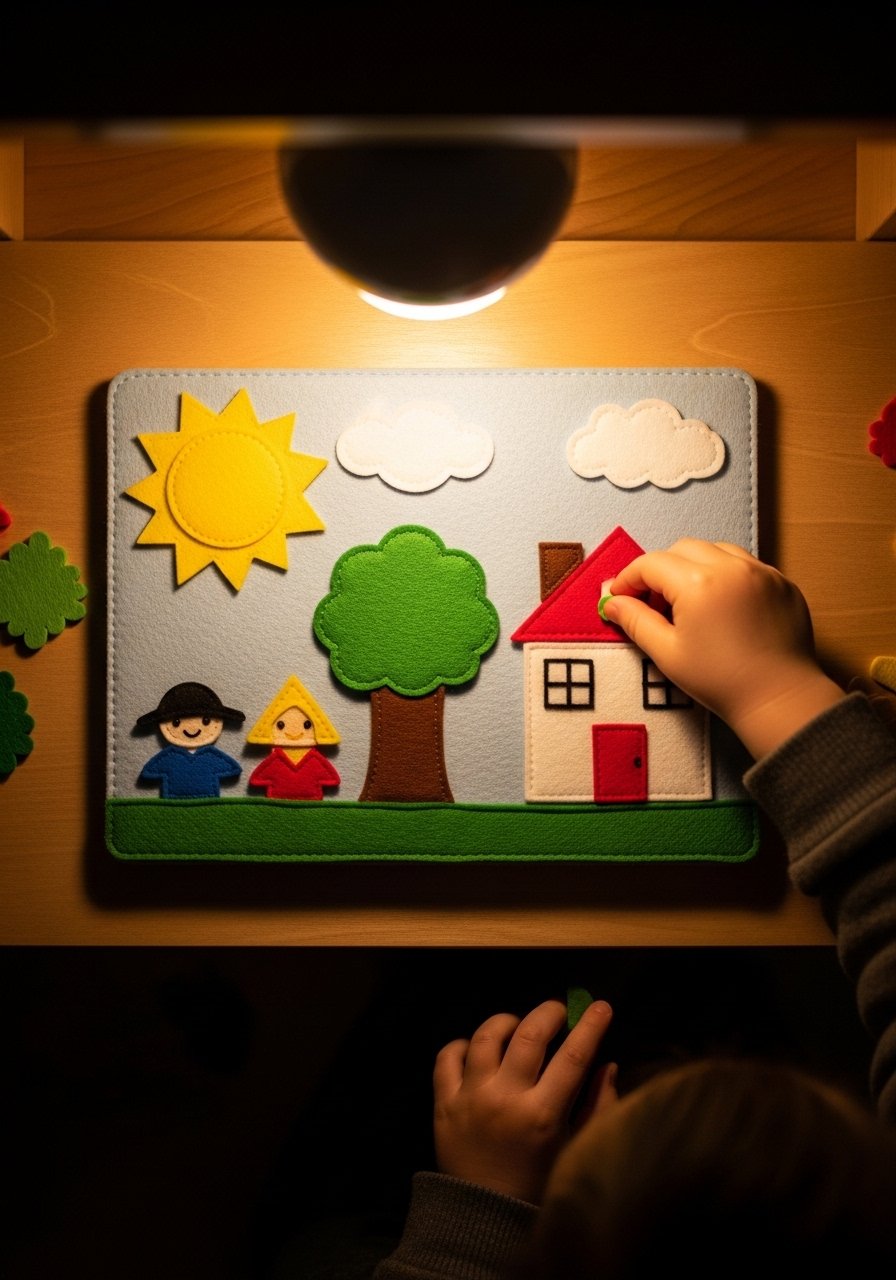
This interactive board uses felt shapes that stick gently to a felt background. It teaches fine motor skills and imaginative play. The board measures 9 x 12 inches and is lightweight.
Materials
- Stiff felt board, 9 x 12 inches
- Colored felt sheets for characters
- Embroidery floss for details
- Fabric glue for small pieces, 1 tsp
- Scissors and small velcro dots (optional)
- Storage pouch for pieces
Instructions
- Cut a background and multiple character shapes.
- Add simple embroidered faces or details to shapes.
- Optionally add small velcro dots to backs for stronger adhesion.
- Arrange pieces on board during play; press to secure.
- Store pieces in a labeled pouch when finished.
- Replace any worn pieces as needed.
How to Display or Gift It
- Gift with a small wooden tray to hold characters.
- Keep in a play basket or shelf for easy access.
- Consider a small fabric storage pouch for pieces.
- Pocket-Sized Hand Warmers (rice-filled)
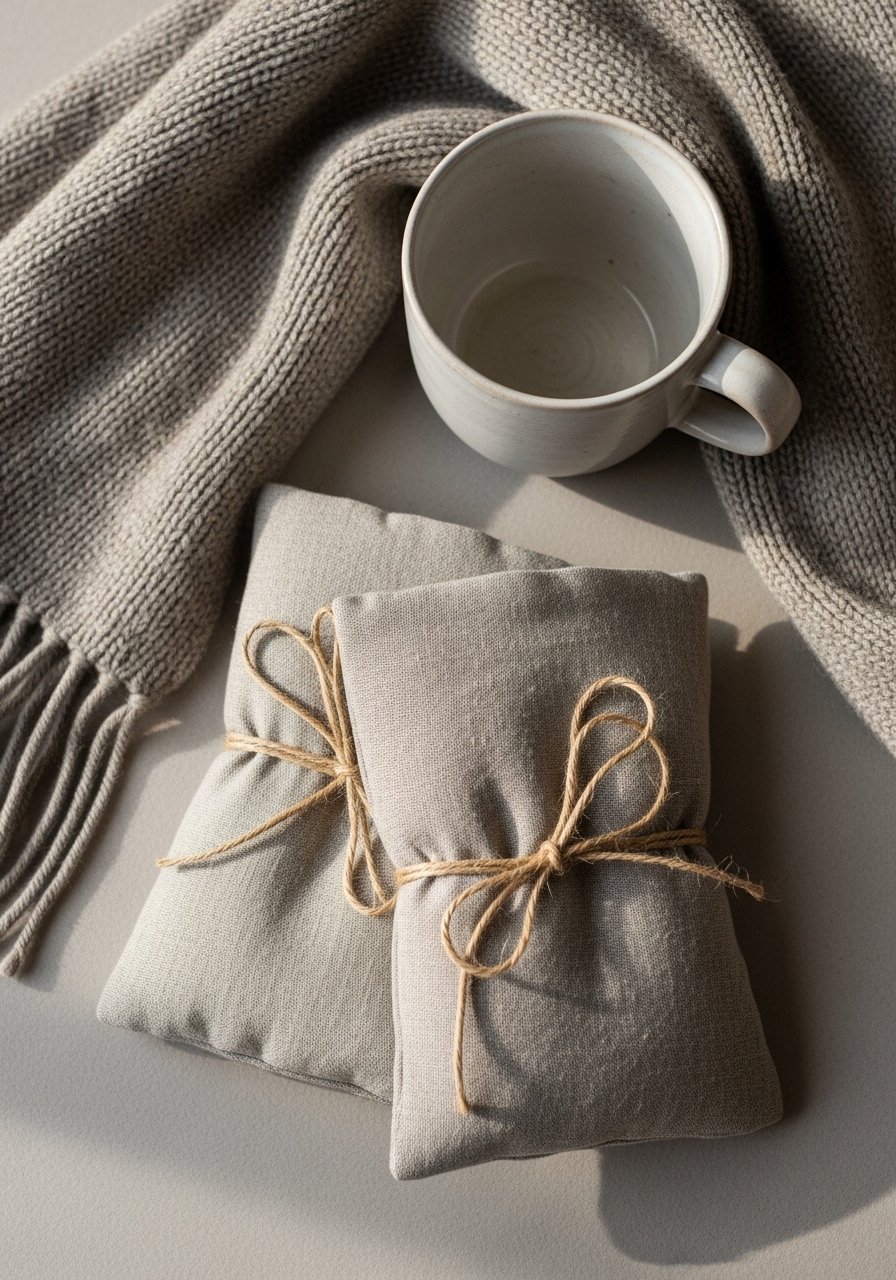
These rice-filled warmers are microwavable and perfect for pockets or gloves. The neat top stitching and simple shape make them approachable for beginners. Each warmer is 4 x 6 inches and warms in 30–45 seconds.
Materials
- Linen fabric, 8 x 6 inches (makes two)
- Uncooked rice, 1 cup
- Sewing needle and thread
- Funnel or paper to fill
- Small measuring cup
- Heat-safe label for gifting
Instructions
- Fold fabric right sides together and stitch around leaving a 1-inch gap.
- Turn right side out and press edges flat.
- Use a funnel to fill with ½ cup rice; don't overfill.
- Slip-stitch the gap closed with invisible hemming stitch.
- Heat in microwave 30–45 seconds and test warmth.
- Replace rice or stitch new seam if leaking.
How to Display or Gift It
- Wrap in muslin and tie with ribbon for gifting.
- Store in a dry jar when not in use.
- Include a microwave-safe gift tag set for handmade gifts.
- Simple Hand-Embroidered Napkins (set of four)
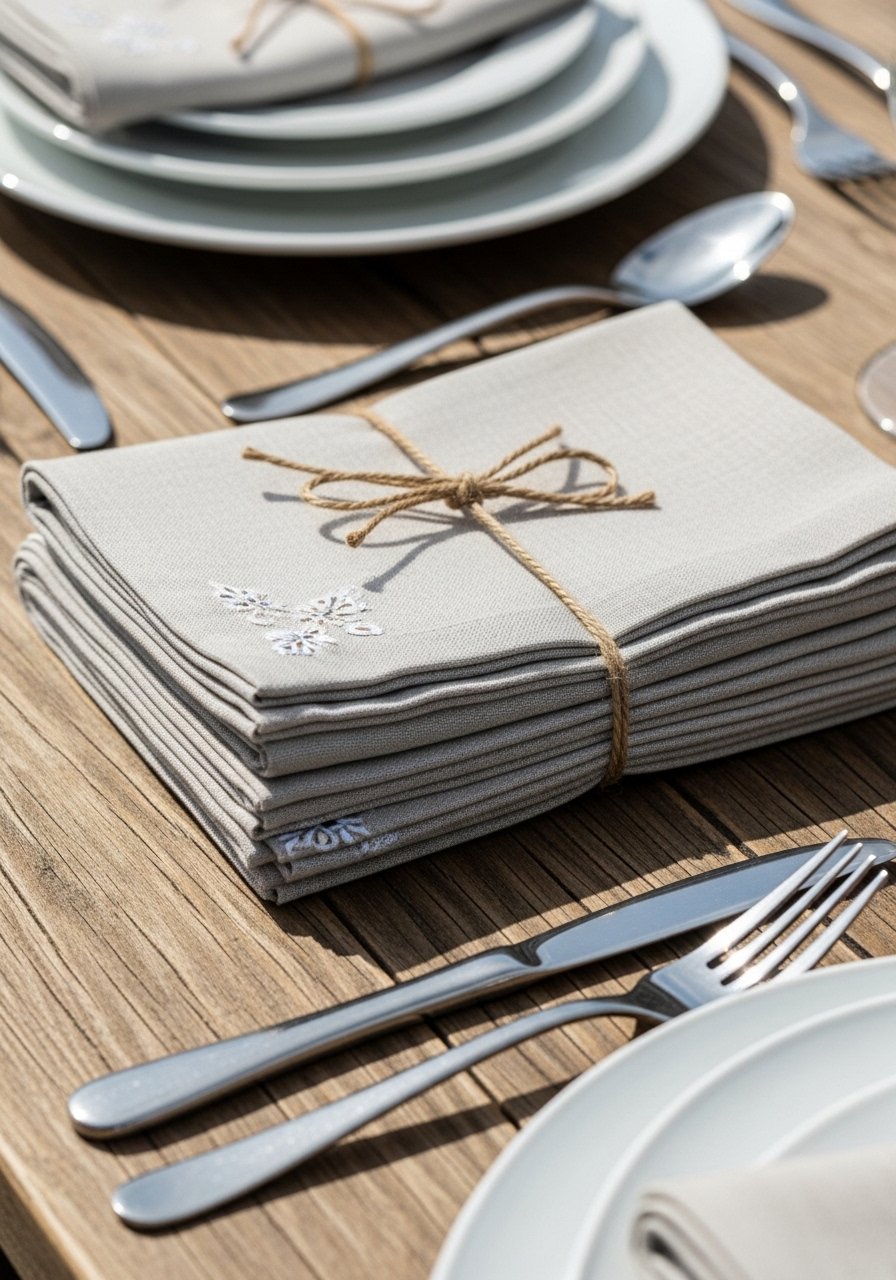
Tiny corner embroidery motifs add quiet elegance to napkins. This project teaches satin stitch and French knots and yields a coordinated set that feels boutique. Each napkin is 18 x 18 inches finished.
Materials
- Linen napkins, set of 4
- Embroidery floss, 4 colors, small amounts
- Embroidery needle, size 7
- Small hoop (optional)
- Fabric marker and ruler
- Iron
Instructions
- Mark tiny motifs in napkin corners.
- Use satin stitch for filled areas and French knots for dots.
- Keep stitches small (2–4 mm) for neatness.
- Press from the back with a cloth to avoid flattening stitches.
- Wash gently if needed and reshape while damp.
- Store flat to keep motifs crisp.
How to Display or Gift It
- Wrap napkins in kraft paper and twine.
- Store stacked in a drawer with acid-free tissue.
- Pair with a napkin ring set for gifting.
- Hand Sewing a Simple Soft Toy — Little Bunny
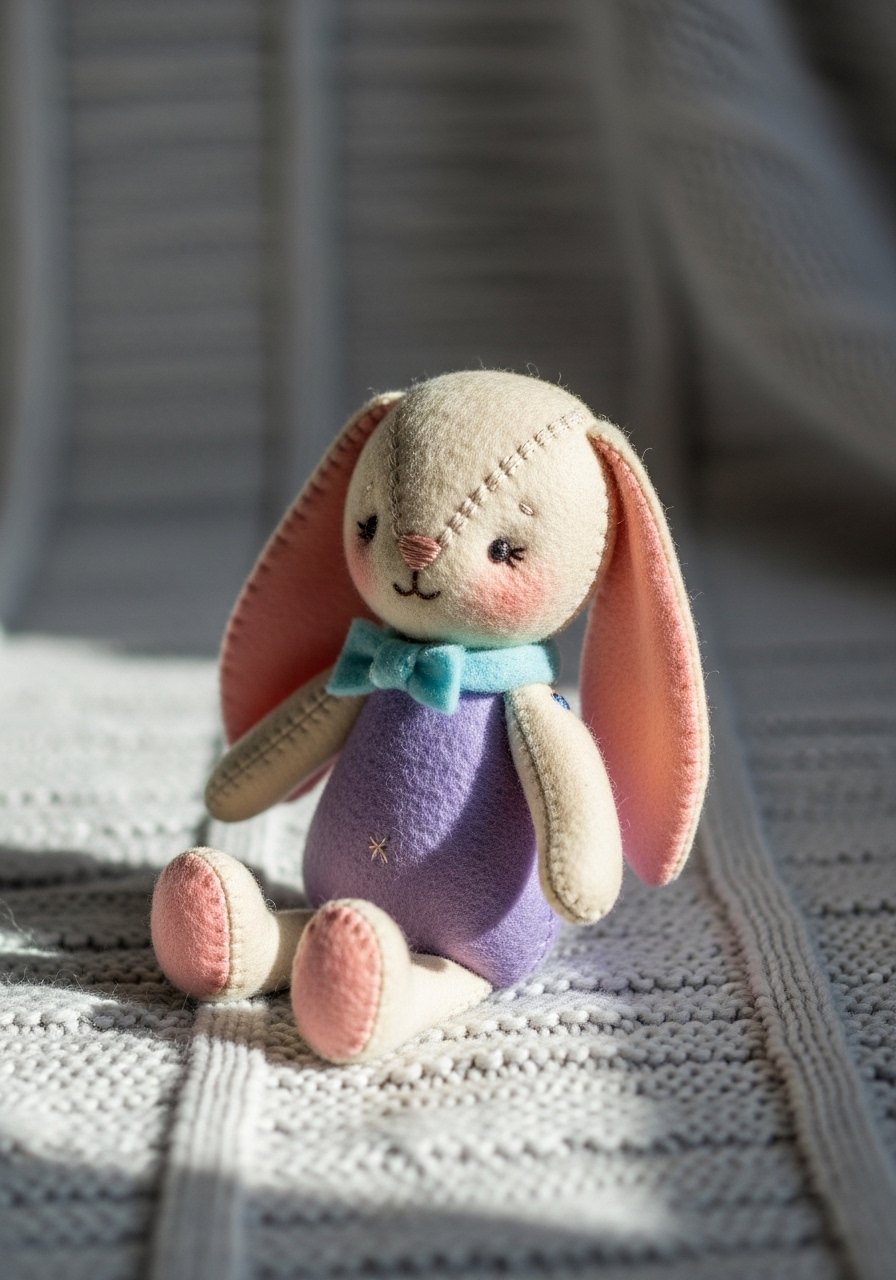
A soft toy teaches shaping and small-detail sewing. This little bunny is under 8 inches tall and uses simple ladder stitch closures and embroidered facial features. It’s soft and squeezable—great as a first toy.
Materials
- Cotton fabric or fleece, 8 x 12 inches
- Polyester stuffing, ½ cup
- Embroidery floss for eyes and nose
- Needle and thread
- Scissors
- Small safety eyes (optional)
Instructions
- Cut two mirrored bunny shapes from template.
- Sew around edges with ladder stitch, leaving base open.
- Stuff gradually to shape ears and body.
- Finish base with ladder stitch, keeping tension even.
- Embroider nose and eyes or attach safety eyes per instructions.
- Trim threads and shape fur with a soft brush if using fleece.
How to Display or Gift It
- Add a tiny fabric scarf or tag and tuck into a gift box.
- Keep in a breathable toy storage basket.
- Consider a small toy storage basket for safekeeping.
- Easy Hand-Bound Fabric Journal Cover
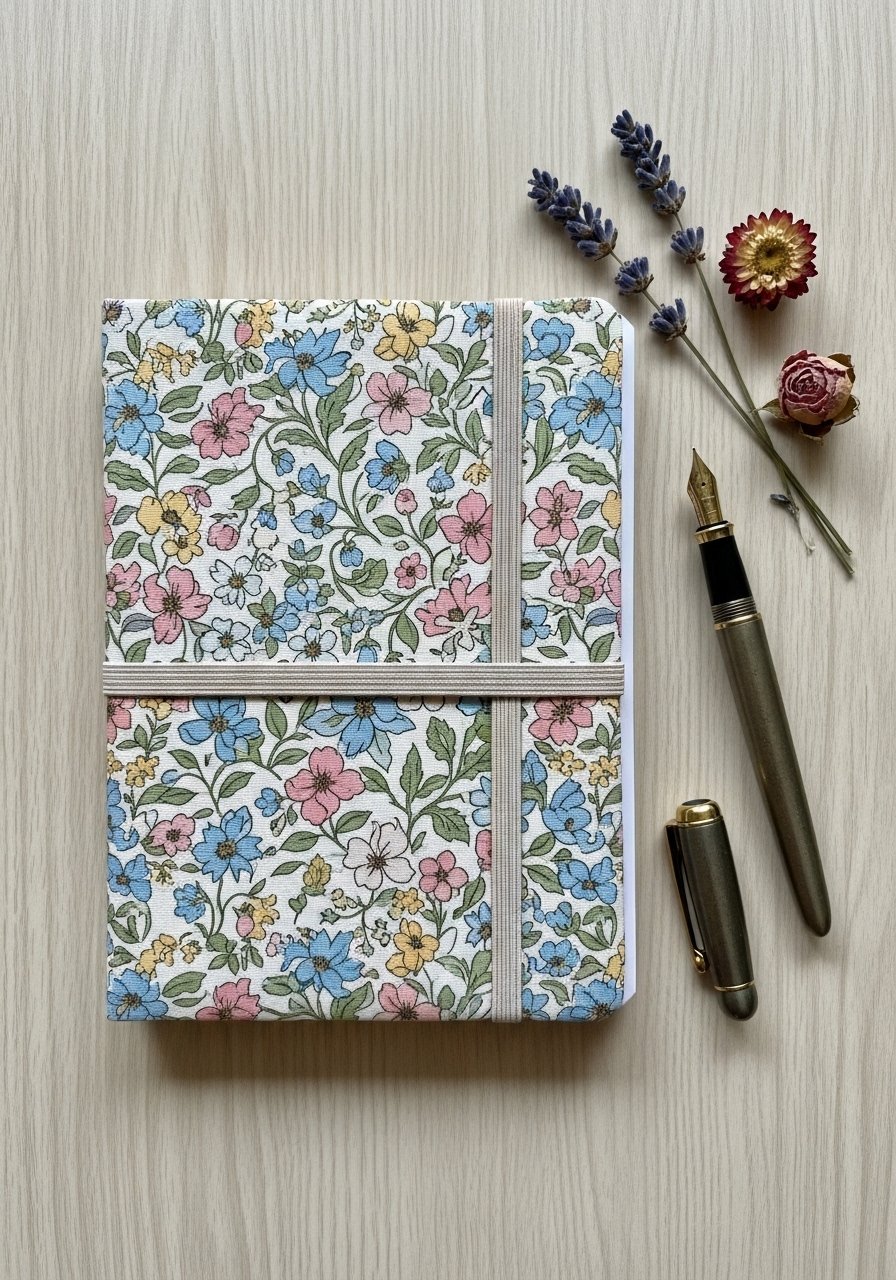
This cover slips over an existing paperback to give it a fabric finish. It uses neat hand-stitched seams and an elastic loop. The cover protects the book and looks handmade and cozy.
Materials
- Cotton fabric, 12 x 8 inches
- Elastic, 8 inches
- Needle and thread
- Ruler and scissors
- Small button (optional)
- Book approx 5 x 7 inches
Instructions
- Fold fabric to create pockets for the book covers.
- Stitch side seams with small backstitches.
- Attach elastic at the back center for closure.
- Add optional button to front for decoration.
- Slide book into pockets; press lightly.
- Use as travel notebook cover.
How to Display or Gift It
- Pair with a refillable notebook for gifting.
- Store in desk tray or journal shelf.
- Use a notebook set for multiple covers.
- Small Hand-stitched Keyhole Curtain Tie (leaf motif)
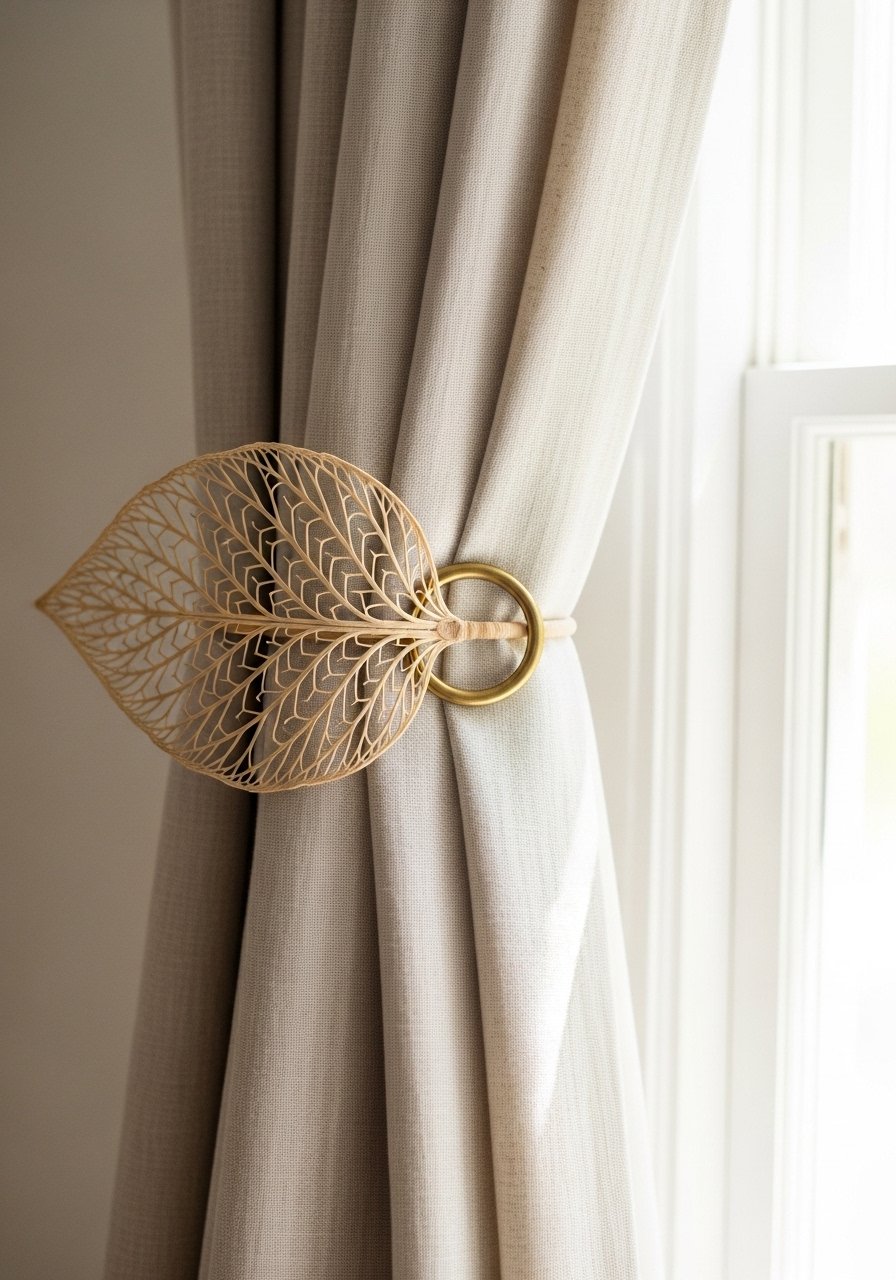
This tieback adds a handmade accent to lightweight curtains. The leaf motif uses simple blanket stitches and finishes with a brass ring. It’s simple and very effective at adding character.
Materials
- Cotton or linen, 6 x 12 inches
- Brass ring, 1.25 inches
- Embroidery floss for decorative stitches
- Needle and thread
- Scissors and measuring tape
Instructions
- Cut leaf template and two mirrored pieces.
- Stitch around edge with blanket stitch, leaving top open for ring.
- Insert ring and secure with several sturdy stitches.
- Finish and trim threads.
- Attach to curtain and test strength with gentle pull.
- Add protective backing if rubbing on fabric.
How to Display or Gift It
- Use as a thoughtful housewarming gift with a short note.
- Store spare tiebacks in a small drawer.
- Pair with a pack of brass rings if making several.
- Hand-Embroidered Fabric Gift Tags
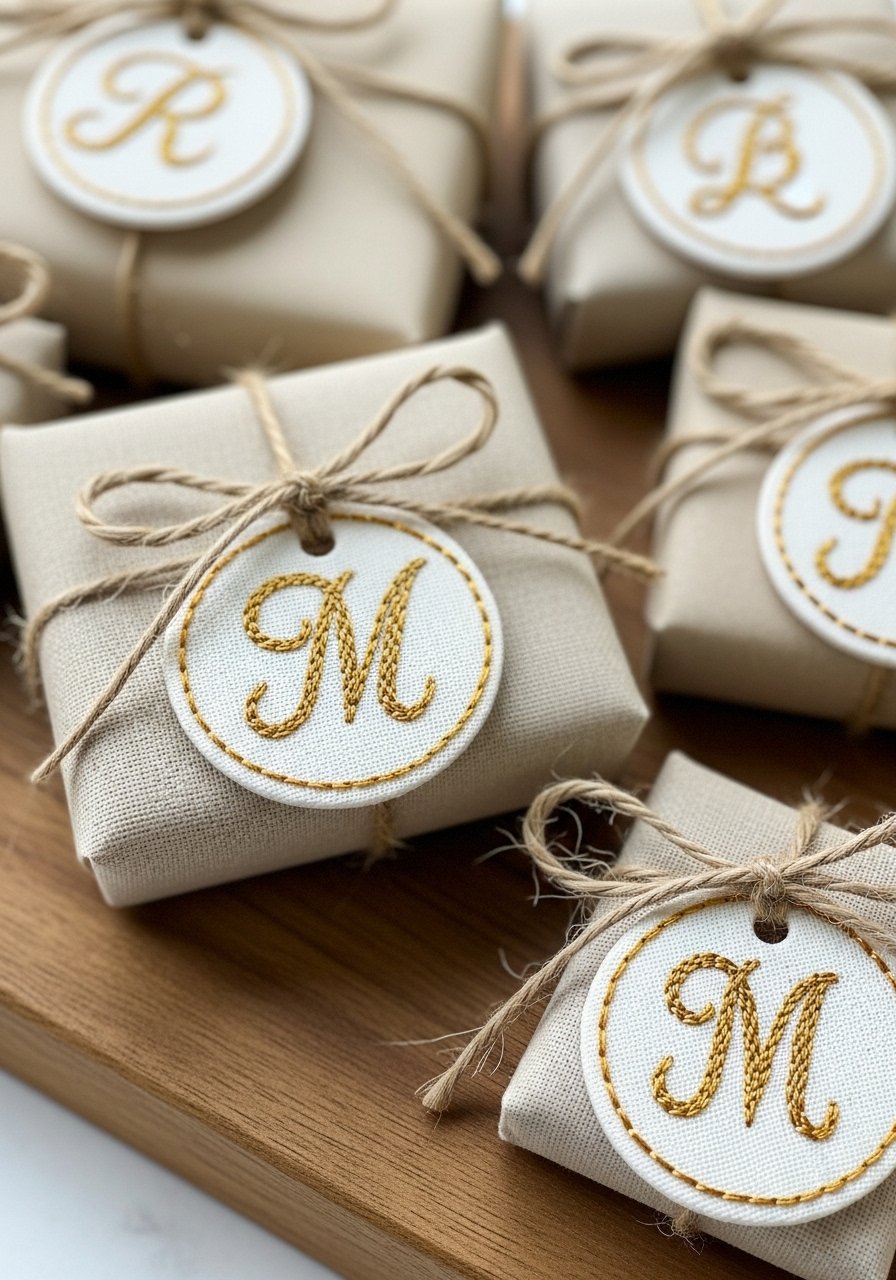
Make gift wrapping personal with fabric tags stitched by hand. They’re small, charming, and introduce initial stitching and finishing edges. Each tag is 2.5 inches diameter.
Materials
- Linen or cotton circles, 6 pieces 2.5 inches
- Embroidery floss in metallic or standard colors
- Needle and small hole punch
- Twine, 6 pieces 6 inches
- Fray-check, small bottle
Instructions
- Embroider initials with backstitch on fabric circles.
- Apply fray-check to edges and let dry 10 minutes.
- Punch a small hole and thread twine for tying.
- Attach to gifts and press lightly if needed.
- Store flat to keep embroidery crisp.
- Replace fraying tags as needed.
How to Display or Gift It
- Use to label party favors or special parcels.
- Store in a small envelope between projects.
- Consider a small tag storage tin for finished tags.
- Hand-Sewn Quilted Patch Pocket Tote (mini)
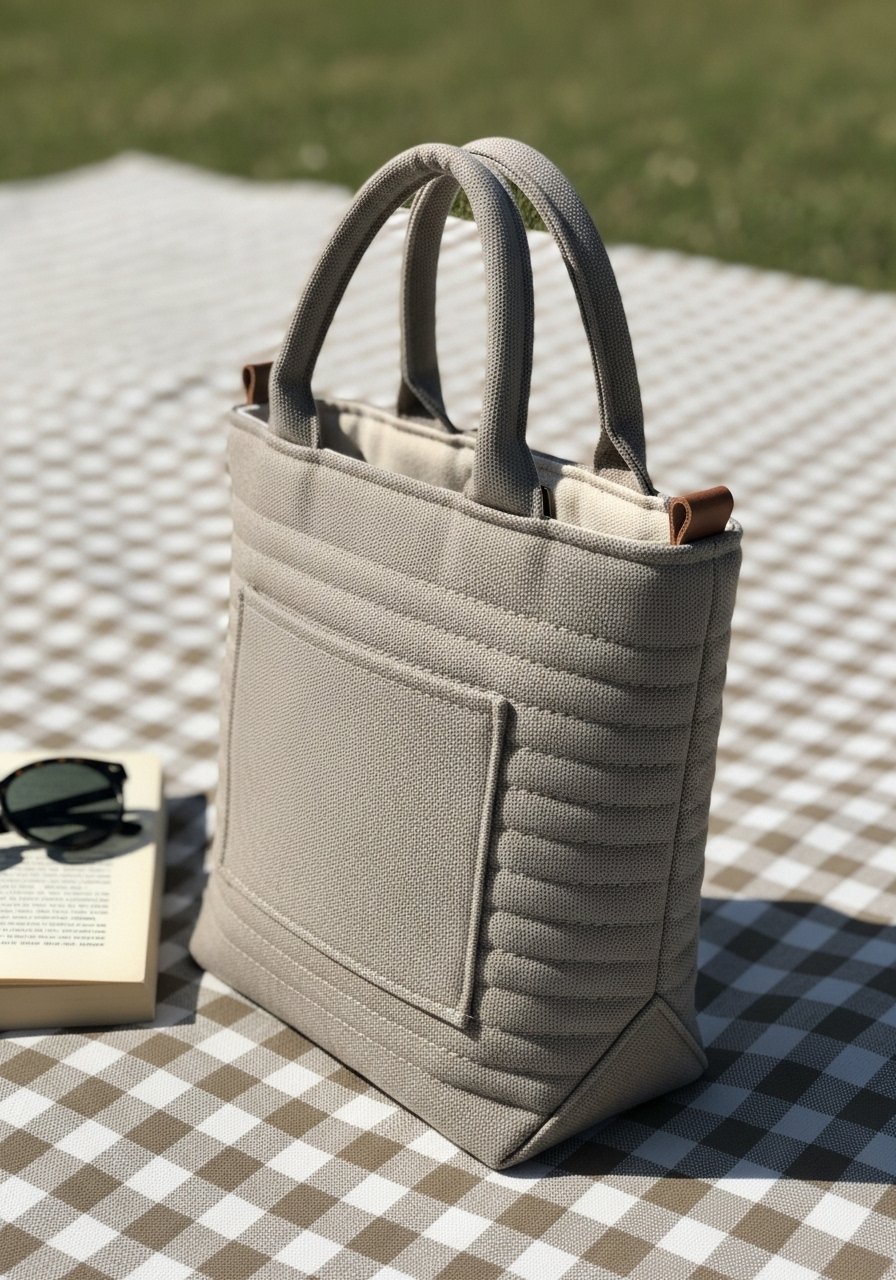
A mini tote with a quilted pocket is a satisfying project that combines hand quilting and seam finishing. It’s roomy enough for errands and sturdy when stitched with tight seams. Finished size 10 x 8 inches.
Materials
- Canvas fabric, 12 x 14 inches
- Quilting cotton for pocket, 6 x 8 inches
- Thin batting for pocket, 6 x 8 inches
- Handles (pre-made), 12 inches each
- Needle and heavy-duty thread
- Ruler and tailor’s chalk
Instructions
- Prepare pocket by layering cotton and batting; quilt with straight running stitches ¼ inch apart.
- Attach pocket to canvas front with small whip stitches.
- Fold canvas for tote body and stitch sides with backstitches for strength.
- Turn bag right side out and topstitch around opening for a clean finish.
- Attach handles with reinforced stitches—stitch an X for durability.
- Trim threads and press seams flat.
How to Display or Gift It
- Use as a market tote for small errands or gifts.
- Fold and store in a shelf or tote organizer when not in use.
- Consider gifting with a small notebook and pen inside; a mini notebook set pairs well.
Thanks for stitching along—what a lovely set of projects you’ve got to choose from. These 22 hand sewing projects for beginners cover a range of stitches, fabrics, and styles so you can build skills while making useful, giftable pieces. Save this pin for later and try one project a week to see real progress. Which project are you trying first—felt hearts, an embroidered hoop, or a mug cozy? Share your makes with friends or tuck them into gift boxes for holidays.
One last tip: a compact hot glue gun with temperature control helped with a few no-sew bits and finishing (less stringing, better adhesion). Happy sewing—and I can’t wait to see what you make! Hot glue gun temperature control





