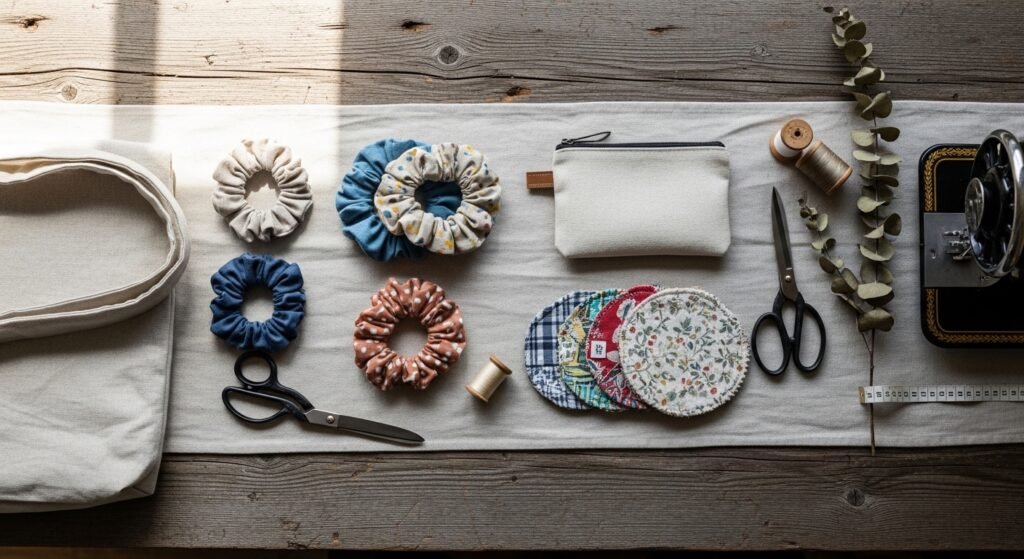
You know that feeling when a simple stitch turns into something you’re proud of? That’s exactly what these sewing projects for beginners aim to give you: quick wins that build skill and look lovely on shelves, in gift boxes, or on your own couch.
Inside you’ll find 25 approachable projects that cover hand-sewing and machine-sewing basics, stylish finishes (think cottagecore napkins and boho pillows), and practical pieces you’ll use every day. Each project includes exact materials, step-by-step instructions, drying or setting times when relevant, and handy troubleshooting tips.
If you don’t have a machine yet, try a beginner model like my go-to Brother beginner sewing machine for an affordable, reliable option. Keep a hot glue gun nearby for no-fuss trim work and fast finishing touches. Ready? Grab your fabric scissors and let’s sew something beautiful.
- Simple Fabric Coasters — beginner-friendly, fast gift idea
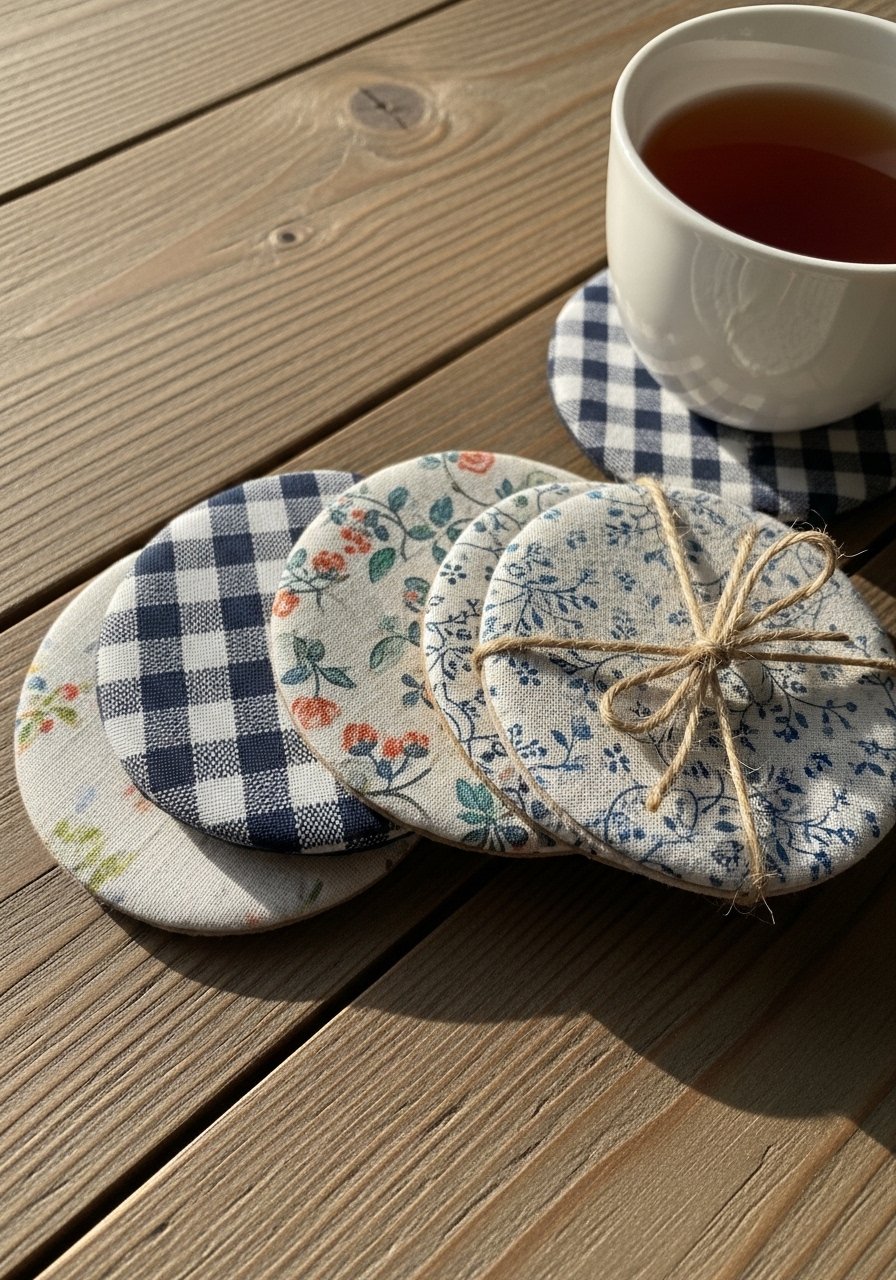
These fabric coasters are an instant mood-lifter. They’re thick, absorbent, and sew up in under an hour, making them perfect for practicing straight seams and corners. The finished set feels soft to the touch and has a bit of weight thanks to batting, so it sits nicely under a mug.
I prefer using a rotary cutter for clean circles, but a steady pair of scissors works just as well. For faster cutting, try a self-healing cutting mat.
Materials
- 2 fat quarters cotton fabric (outer and inner), 8"x8" each per coaster
- 1 piece cotton batting, 8"x8" per coaster
- All-purpose thread, 50 wt, neutral color
- Fabric scissors or rotary cutter
- Straight pins or clips
- Iron and ironing board
- Optional: fusible fleece, 8"x8" (for extra thickness)
- Measuring tape or quilting ruler
Instructions
- Cut two fabric squares and one batting square to 8"x8" for each coaster.
- If using fusible fleece, fuse it to the wrong side of one fabric square following manufacturer instructions (press for 8–10 seconds at medium heat).
- Layer: fabric right side up, batting, then lining fabric right side down. Pin or clip.
- Sew a 1/4" seam around the edge leaving a 2" gap for turning. Backstitch at start/end.
- Clip corners diagonally without cutting stitches to reduce bulk.
- Turn right side out through gap. Use a point turner for crisp corners.
- Press flat and topstitch 1/8" from edge all the way around to close the gap and add polish.
How to Display or Gift It
Tie a set of four with natural twine and tuck a dried lavender sprig under the bow for a cottagecore gift. Display them next to a kettle on a tray or stack them near your favorite mug rack. Store extras flat in a fabric box or a stackable craft organizer.
- No-Elastic Scrunchie — quick sew, beginner satisfaction
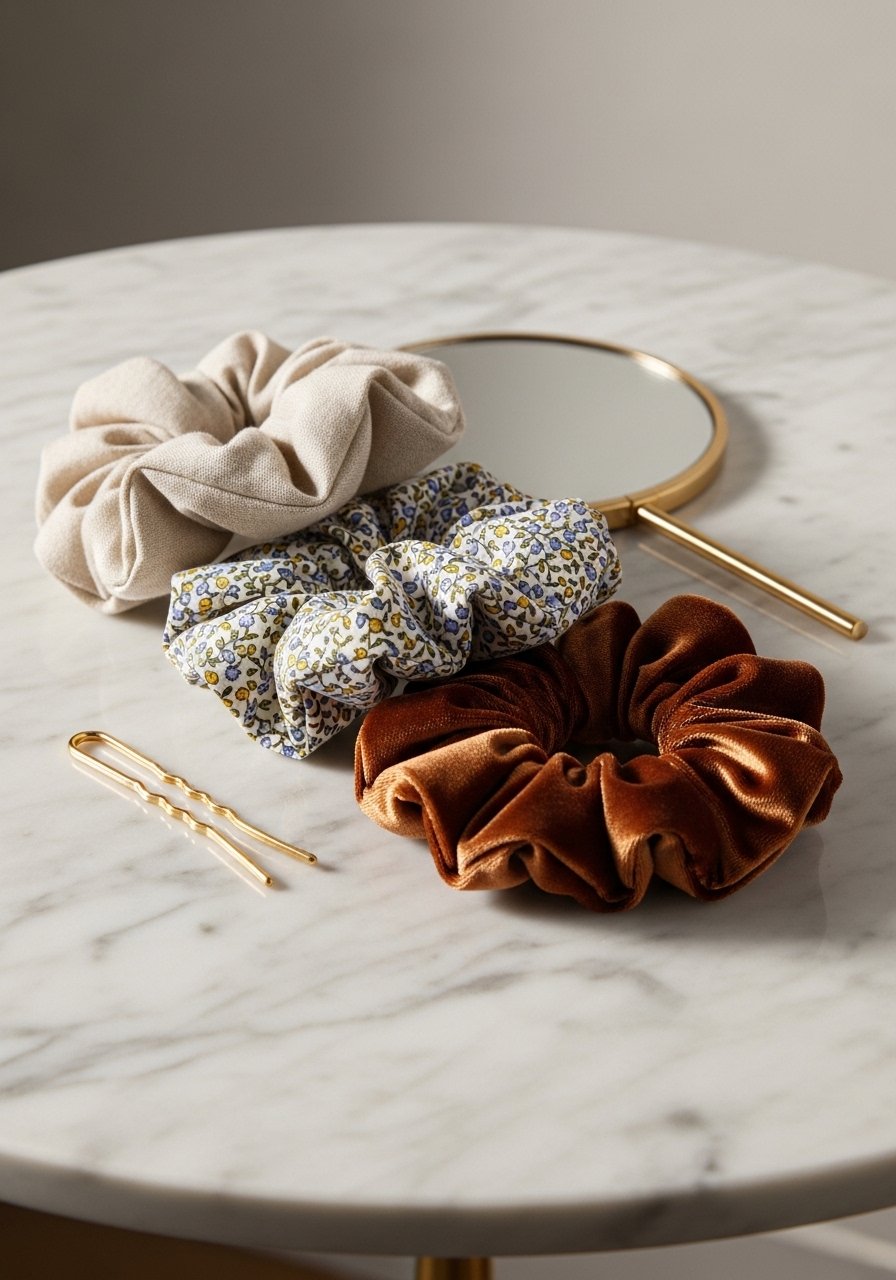
Scrunchies are tiny, fast, and forgiving for new stitchers. They teach you seam allowances and handling tubular pieces. The fabric gathers into a soft ruffle that feels luxurious against hair.
I use a safety pin to thread elastic, but a seam ripper and a pair of sharp fabric scissors make the job smoother.
Materials
- Fabric scraps, 18"x4" rectangle per scrunchie
- 1 piece 1/4" elastic, 8"
- All-purpose thread
- Safety pin
- Fabric scissors
- Sewing machine or needle for hand-sewing
- Iron and pressing surface
Instructions
- Cut fabric to 18"x4". Fold lengthwise with right sides together.
- Sew a 1/4" seam along the long edge, leaving short ends open.
- Turn tube right side out using a safety pin or turning tool.
- Press tube flat, seam centered.
- Thread the elastic through with a safety pin. Overlap elastic ends 1/2" and zigzag stitch or sew securely by hand.
- Tuck raw fabric ends inside tube and hand-stitch closed with ladder stitch.
- Distribute gathers evenly and press lightly—do not iron elastic.
How to Display or Gift It
Bundle a set of three in a small kraft box with a ribbon for quick gifting. Store loose in a small glass jar on your vanity or a mason jar set to keep them visible and pretty.
- Reversible Fabric Napkins — farmhouse table pick
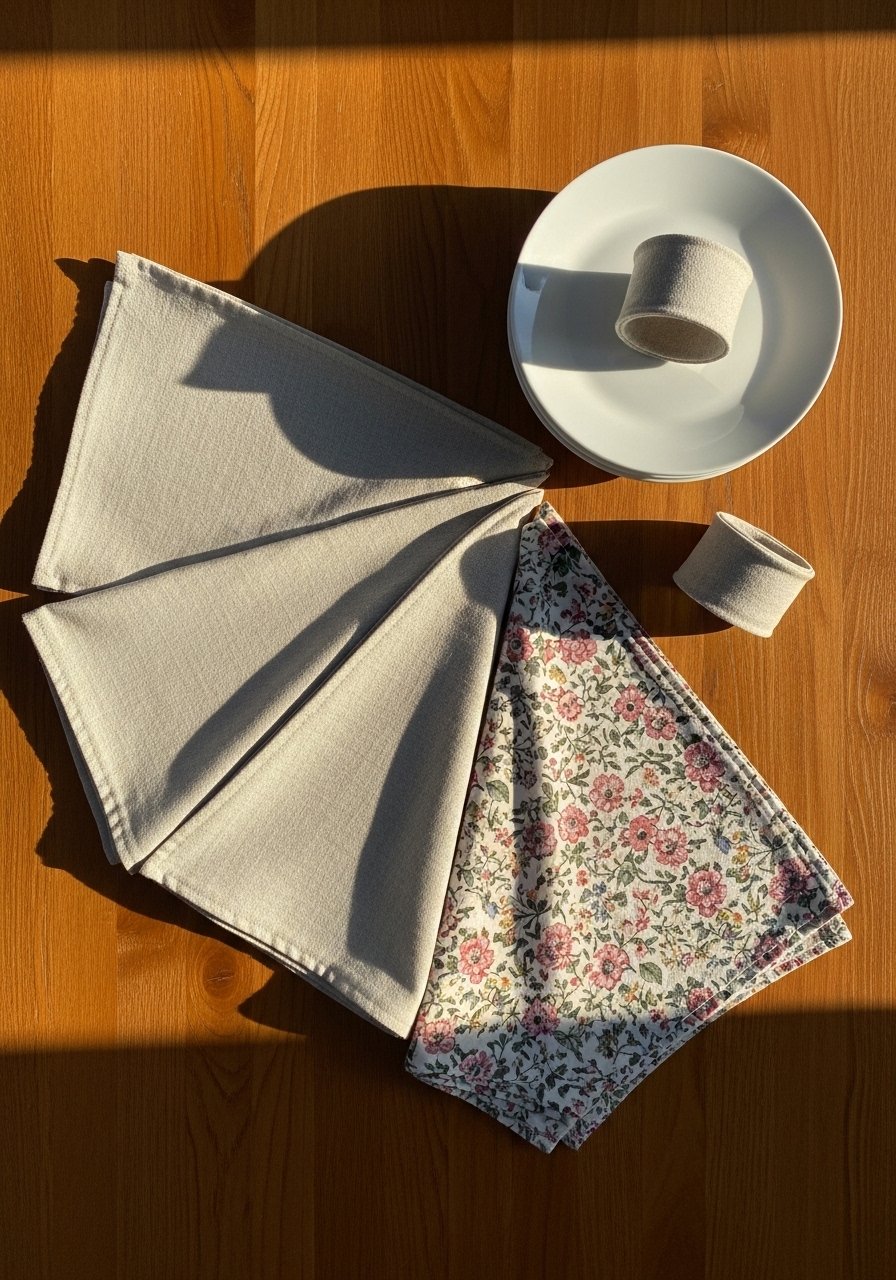
Reversible napkins teach you to finish raw edges and press precision seams. They feel rustic yet refined—perfect for farmhouse or japandi table settings. Each napkin has a crisp hand and soft drape.
Use a rotary cutter and quilting ruler for straight, even edges. A rotary cutter set speeds cutting.
Materials
- 1/2 yard linen or cotton (for two napkins) per color or pattern
- All-purpose thread
- Iron and pressing surface
- Rotary cutter and quilting ruler or scissors
- Straight pins
- Optional: fabric pencil for marking
Instructions
- Cut two squares 18"x18" for each napkin (one for each side).
- Place right sides together and pin all four edges.
- Sew a 1/4" seam around, leaving a 3" gap on one side for turning.
- Clip corners and turn right side out.
- Press edges flat and fold the gap seam inside.
- Topstitch 1/8" from edge all the way around to close the gap and finish the napkin.
- Give one final press, using steam for a crisp finish.
How to Display or Gift It
Fold into thirds and tuck into place settings or roll and secure with a simple twine napkin ring. Store flat in a linen drawer or a breathable fabric storage box to prevent creasing. A small linen storage box keeps them tidy.
- Easy Zipper Pouch — practice zippers without fear
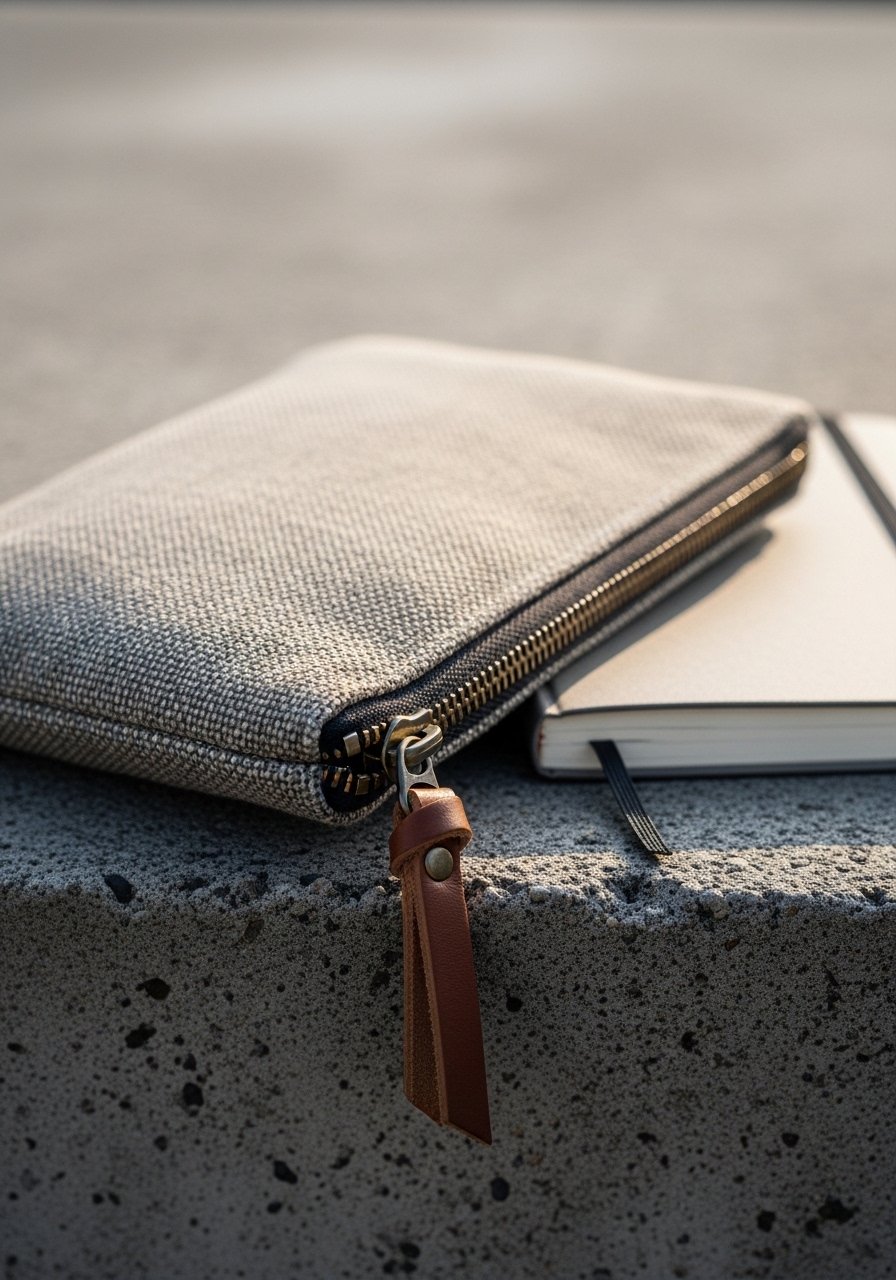
Zippers intimidate a lot of beginners, but this small pouch breaks the process down into tidy steps. You’ll finish with a snuggly, lined pouch that’s great for coins, sewing notions, or cosmetics.
I like installing zippers with a zipper foot on the machine. If you don’t have one, a zipper foot is an inexpensive add-on that helps a lot.
Materials
- 1 rectangle outer fabric, 9"x6"
- 1 rectangle lining fabric, 9"x6"
- 1 zipper, 8"
- All-purpose thread
- Zipper foot or standard presser foot
- Pins or clips
- Iron and pressing surface
- Optional: small leather tab for zipper pull
Instructions
- Cut outer and lining rectangles 9"x6".
- With right side up, align zipper face down on the top edge of outer fabric. Pin.
- Using zipper foot, sew zipper to fabric edge. Repeat for lining on the other side.
- Open zipper halfway. Place right sides of outer and lining together and pin around edges.
- Sew around perimeter with 1/4" seam, leaving bottom open.
- Trim corners, turn right side out through zipper opening.
- Push corners out, press, and topstitch along both sides of zipper for a finished look.
How to Display or Gift It
Snap a mini gift tag to the zipper pull and tuck in a small set of lip balm or stationery. These stack nicely in a toiletry caddy or on a shelf. Keep extra pouches in a fabric storage bin for gifting later.
- Patchwork Pillow Cover — introduce quilting basics
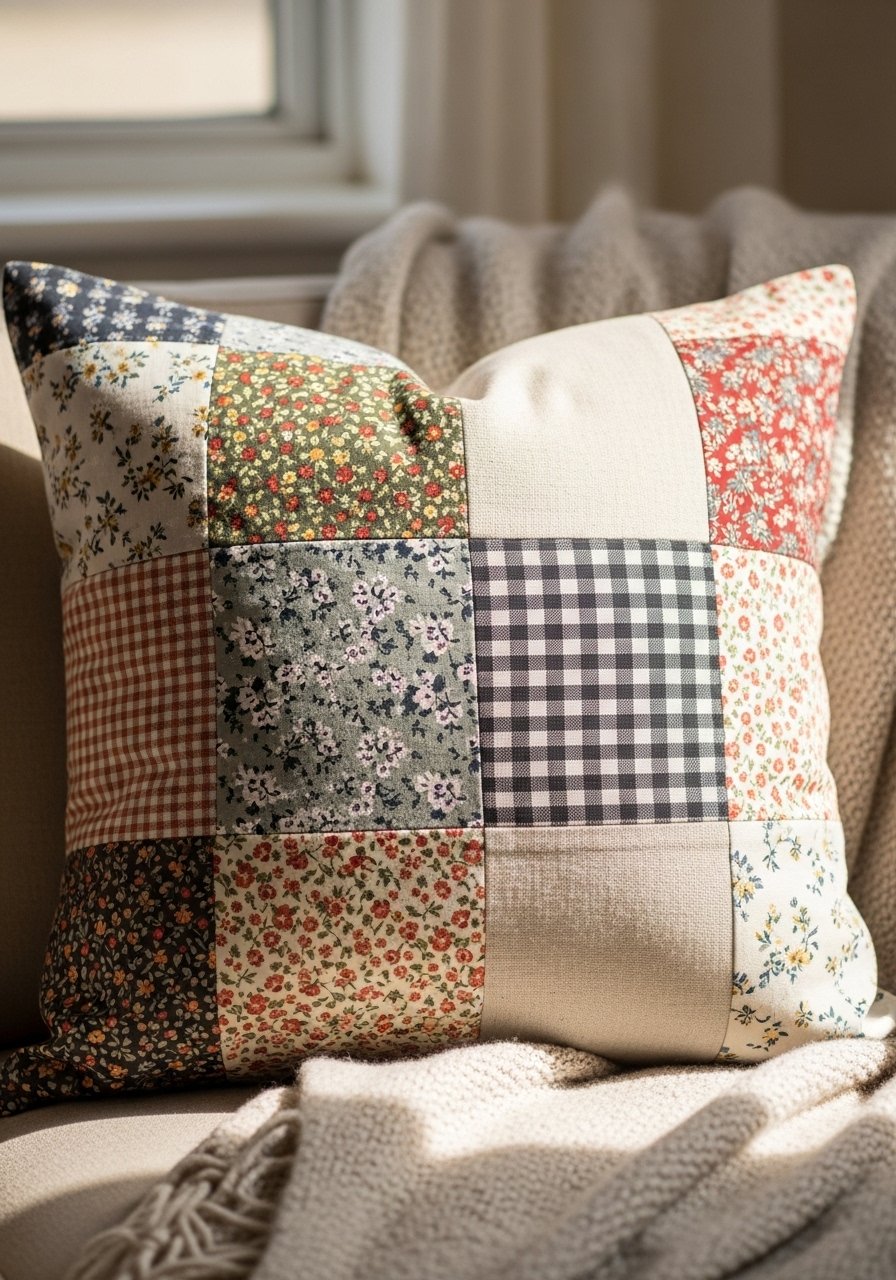
Patchwork pillows are a gentle intro to quilting-like sewing and pattern placement. You’ll learn accurate seam allowances and pressing for crisp patchwork. The tactile patchwork reads warm and handmade on any couch.
Using a walking foot keeps seams even when sewing multiple layers. Try a walking foot for sewing machine if you have a quilting plan.
Materials
- Assorted fabric scraps (12 pieces 4.5"x4.5" for a 12-patch front)
- Backing fabric 18"x18"
- Pillow insert 16"x16"
- All-purpose thread
- Rotary cutter and quilting ruler
- Pins or clips
- Iron for pressing
Instructions
- Cut patches to 4.5"x4.5" to finish at 4"x4" after seams.
- Sew patches into rows with a 1/4" seam. Press seams to one side.
- Sew rows together, nesting seams and pressing flat.
- Trim patchwork to 16"x16" finished size.
- Cut backing 16"x16" and place right sides together with patchwork.
- Sew around edges with 1/4" seam, leaving a 4" gap.
- Turn right side out, press, insert pillow, and hand-stitch gap closed or topstitch to finish.
How to Display or Gift It
Mix and match with textured throws for a layered look. These make lovely hostess gifts; slip the pillow into a breathable gift bag. Store extra inserts in a vacuum storage bag set to save space.
- Simple Tote Bag — functional and customizable
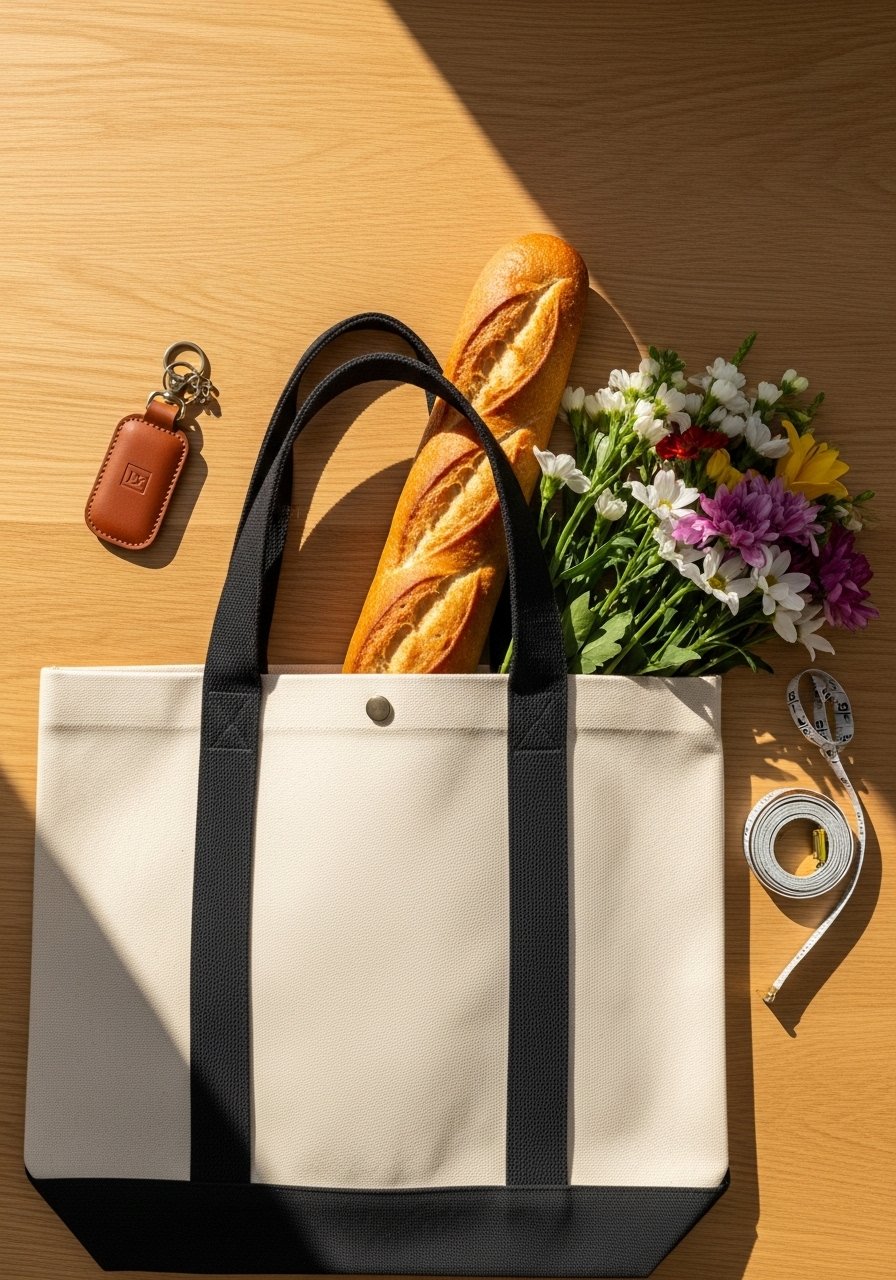
A classic tote is a beginner sewing milestone. It teaches you working with heavier fabric, topstitching, and strap attachment. The finished tote is sturdy with clean lines and very useful for errands or farmer’s market trips.
Use a heavy-duty needle and all-purpose thread for canvas. A pack of heavy-duty sewing needles helps when sewing thick seams.
Materials
- Outer fabric (canvas), 1/2 yard
- Lining fabric, 1/2 yard
- Webbing or fabric straps, 2 pieces 24" each
- All-purpose heavy-duty thread
- Sewing machine heavy needle, size 90/14
- Pins or clips
- Measuring tape, ruler
- Optional: magnetic snap closure
Instructions
- Cut outer panels 15"x14" (two) and lining panels same size.
- Fold straps to desired length and secure ends.
- Attach straps to outer panels 3" from side seams, basting securely.
- Sew side and bottom seams of outer panels with 1/2" seam.
- Repeat for lining, leaving a 4" gap at bottom for turning.
- Box the corners by folding each bottom corner flat and sewing across 1.5" from the point.
- Insert lining into outer bag, right sides together, and sew around top edge. Turn bag right side out through lining gap, stitch gap closed and press top edge, then topstitch 1/8" from top.
How to Display or Gift It
Fill with a small plant or market goods for a present. Tote straps can be replaced with patterned webbing for a boho or japandi look. Store folded in a breathable fabric storage bin when not in use.
- Bias Tape Headband — small sewing with big style
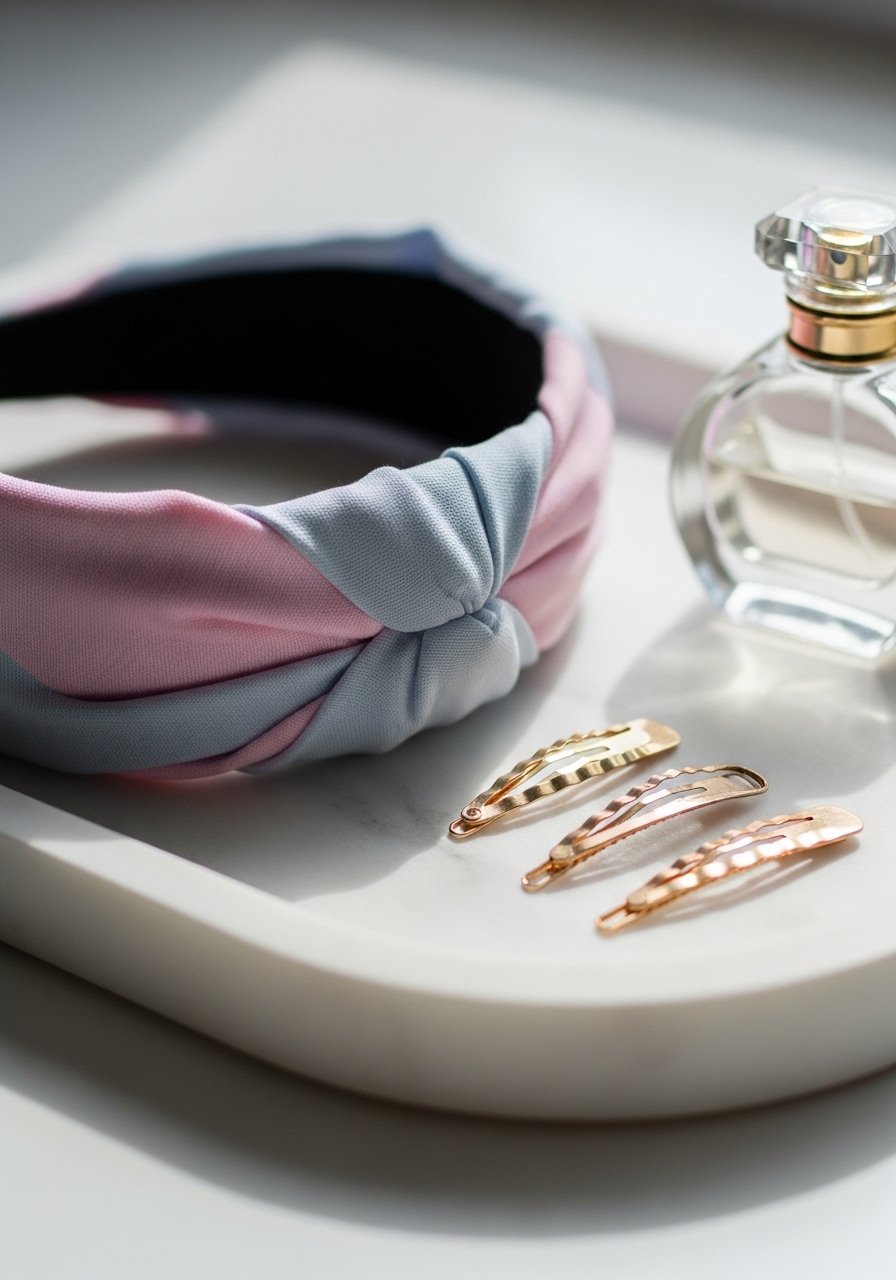
Headbands made from bias-cut fabric have gentle stretch and sit comfortably. This project introduces bias tape creation and sewing curved pieces, great for learning how fabric grain affects drape.
A bias tape maker speeds folding but isn’t required. I often use a bias tape maker tool for consistent results.
Materials
- Fabric 6"x22" (one strip or two pieced)
- Interfacing (lightweight), 6"x22"
- All-purpose thread
- Elastic 1/4" or headband base, 6"
- Safety pin
- Iron and pressing surface
- Sewing machine or hand needle
Instructions
- Cut fabric on the bias 6"x22" for extra flexibility.
- Fuse interfacing to wrong side if desired for stability.
- Fold and press edges in using a bias tape maker or by hand.
- Sew long seam down the tape to create tube.
- Thread elastic through and secure ends with a few stitches.
- Tuck raw ends and sew closed or attach to a headband base.
- Finish with topstitching for a neat ridge.
How to Display or Gift It
Place a single band on a ceramic tray in a bedroom or tuck into a small gift box with matching clips. Keep extra bands in a small jewelry box or small drawer organizer.
- Felt Bookmarks — hand-sewing, perfect for kids
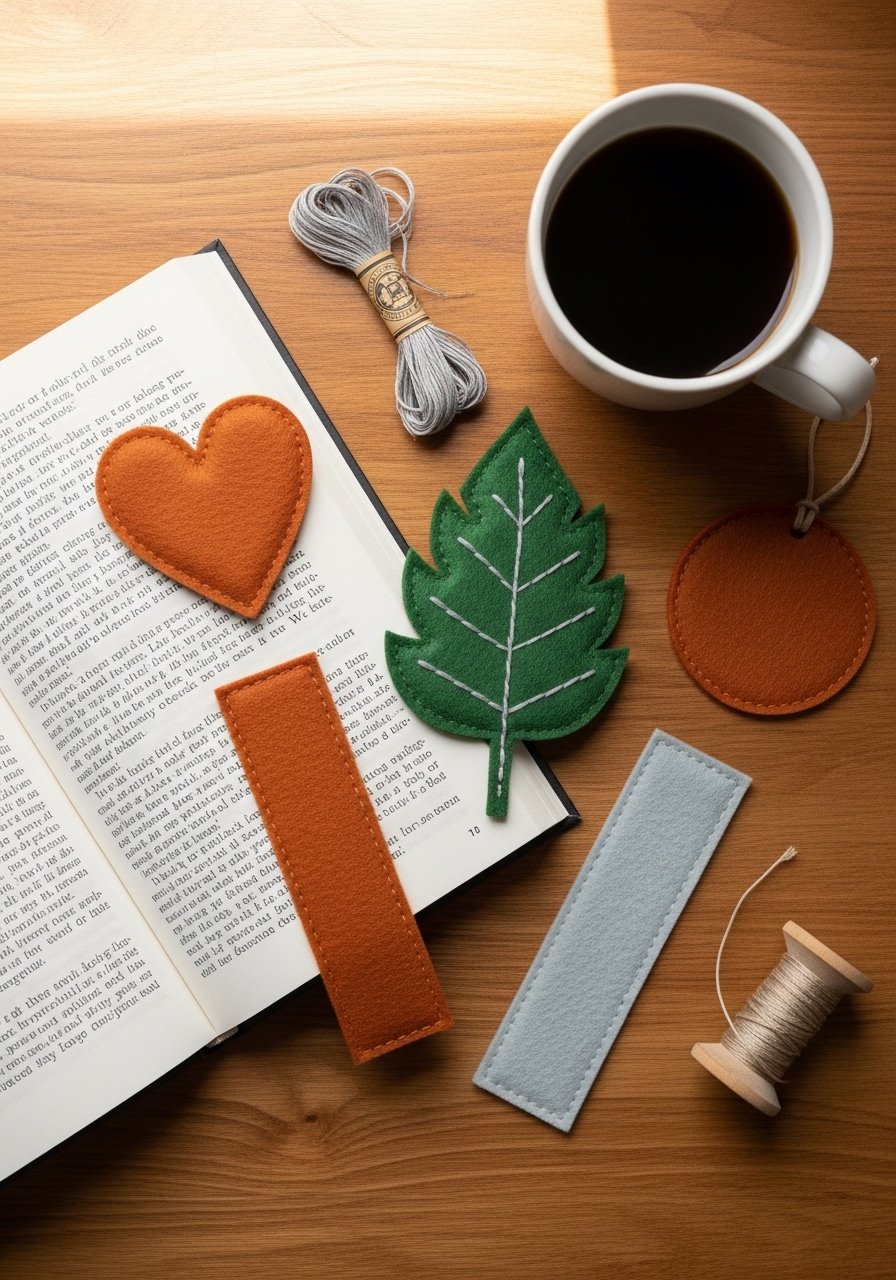
These felt bookmarks are great for practicing hand-sewn blanket stitches and simple applique. They’re tactile and make lovely little gifts for readers of all ages.
Embroidery needles and floss make the stitching pop. Try a set of embroidery floss for color variety.
Materials
- Felt sheets, 2 colors, 6"x6" each per bookmark
- Embroidery floss, assorted colors
- Embroidery needle
- Fabric scissors
- Paper template for shapes
- Small decorative buttons or beads
Instructions
- Trace your bookmark shape onto paper and cut template.
- Cut two felt pieces per bookmark using template.
- Layer pieces and pin or clip.
- Thread embroidery floss and use blanket stitch or running stitch around edges.
- Add applique or button details with small stitches.
- Tie off floss with a neat knot and trim ends close.
- Press gently (avoid high heat on felt) to flatten.
How to Display or Gift It
Bundle a set into a kraft envelope with a short note for a book-loving friend. Store loose bookmarks in a small jar on a bedside table or inside a book nook organizer.
- Simple Eyeglass Case — padded and protective
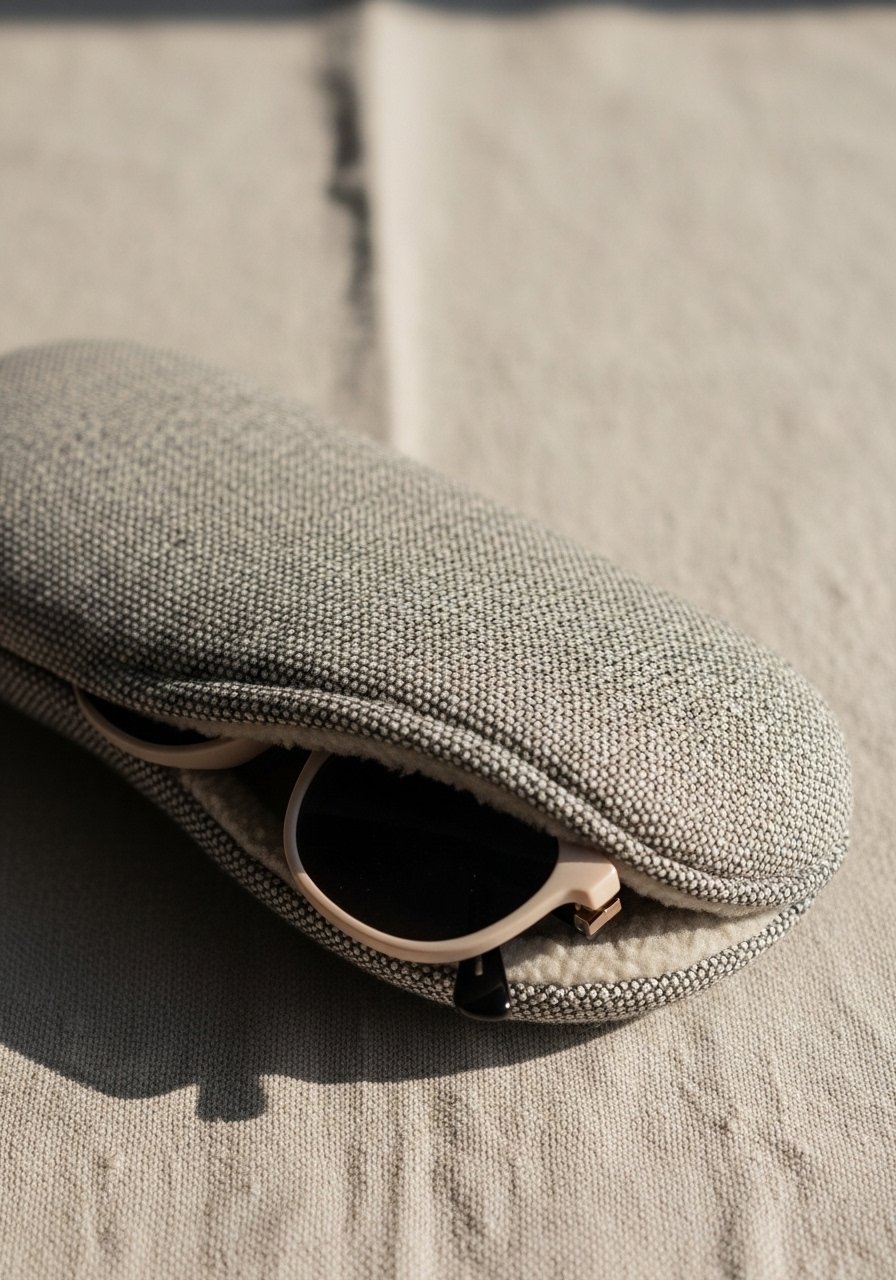
A padded eyeglass case is a quick project that combines lining, padding, and curved seams. It’s useful for practicing turning and hand-finishing a small opening.
Use fusible fleece for padding and a foam brush for smoothing any adhesive if needed.
Materials
- Outer fabric, 8"x7"
- Lining fabric (soft fleece), 8"x7"
- Fusible fleece 8"x7"
- All-purpose thread
- Sewing machine or hand needle
- Scissors, pins
- Iron and pressing surface
Instructions
- Cut outer, lining, and fusible fleece to 8"x7".
- Fuse fleece to outer fabric per manufacturer directions (press 8–10 seconds).
- Place outer and lining right sides together and sew around, leaving a 2" gap on long side.
- Clip curves carefully and turn right side out.
- Press and hand-stitch the gap closed or topstitch around the perimeter.
- Fold one end down to form pocket and stitch sides in place to create the case shape.
- Add a snap or small magnet if desired (test to ensure it doesn’t scratch lenses).
How to Display or Gift It
Slide sunglasses inside and tuck into a small gift bag for a tidy present. Store in a drawer or purse; a small travel organizer keeps cases neat.
- Simple Drawstring Bag — multipurpose and quick
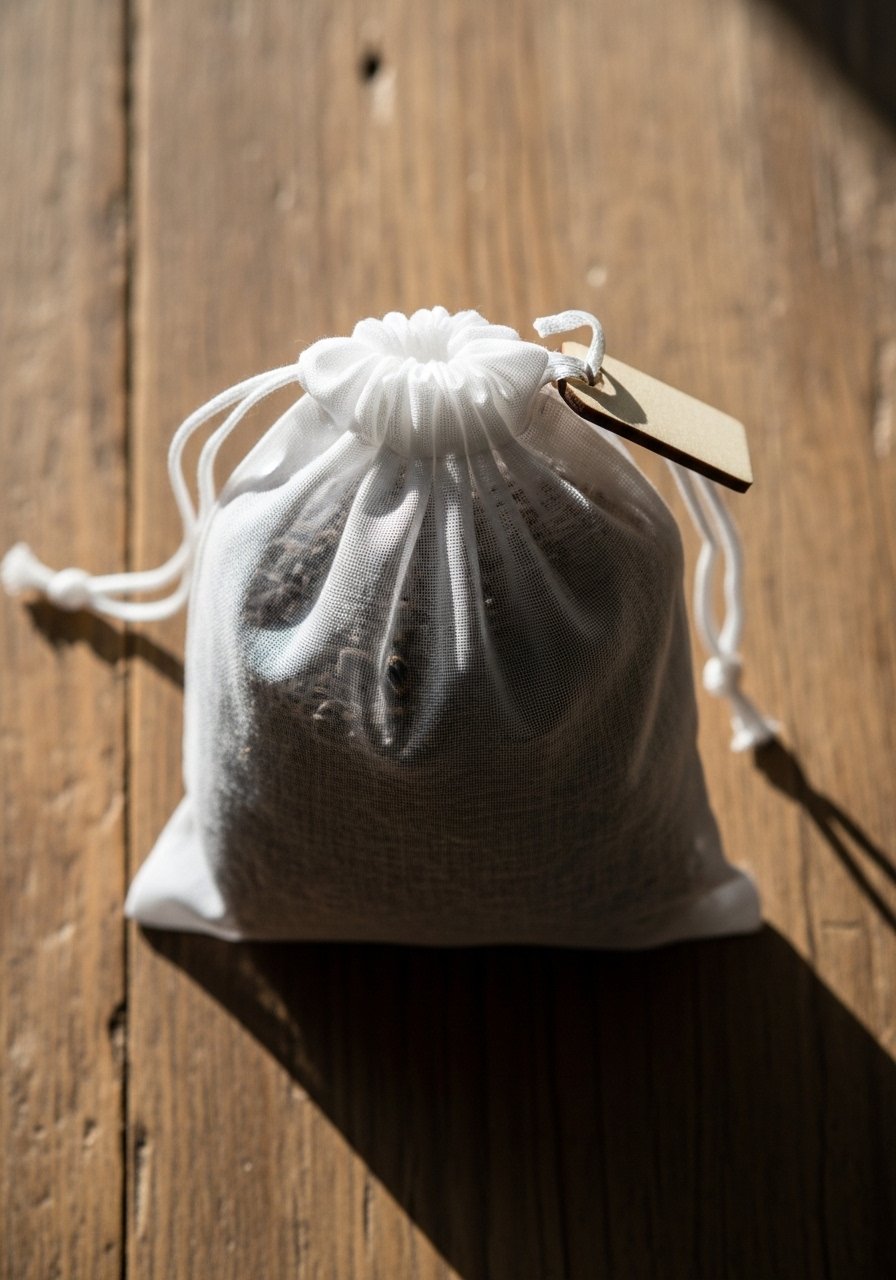
Drawstring bags are practical for produce, gifts, or travel. Sewing straight seams and channeling a casing for the drawstring teaches precision and finishing.
Use cotton twill or muslin and a cord stopper set for adjustable closures.
Materials
- Outer fabric, 12"x14"
- Casing fabric (same or contrasting), 2"x12"
- Drawstring cord or ribbon, 30"
- All-purpose thread
- Pins or clips
- Safety pin for threading
- Sewing machine or needle
Instructions
- Cut fabric 12"x14" and fold with right sides together to make a 12"x7" bag.
- Sew the side seams with a 1/4" seam.
- Fold the top edge down 1/2" then again 1" to form a casing. Stitch close to edge leaving openings at both sides for the cord.
- Attach a safety pin to cord and thread through casing.
- Tie cord ends and knot to prevent slipping.
- Turn bag right side out and press top seam.
- Test drawstring movement and adjust knots as needed.
How to Display or Gift It
Fill with small soaps or dried herbs and tie with a ribbon for a thoughtful gift. Store multiple bags flat in a basket or a linen drawer organizer.
- Oven Mitt (Simplified) — padded and functional
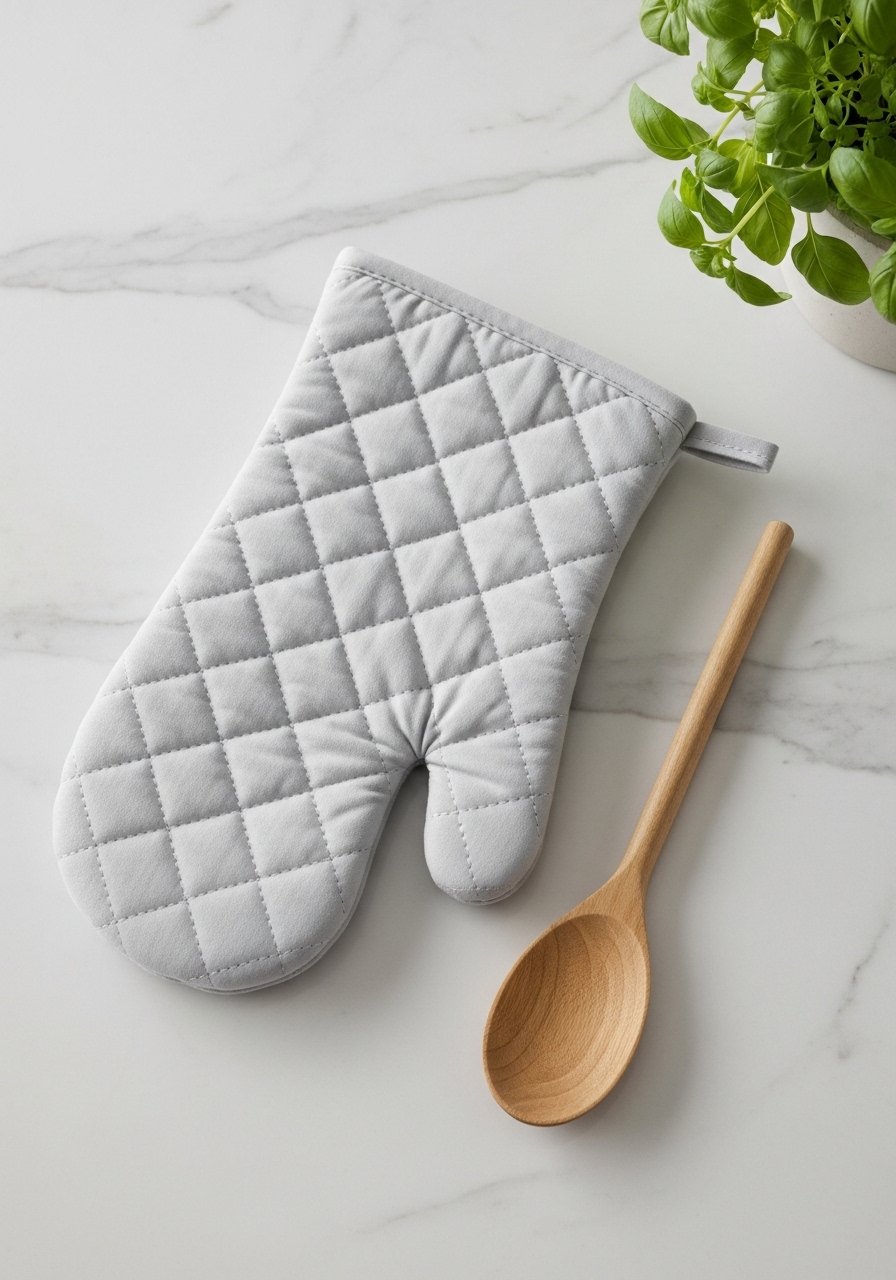
This simplified oven mitt uses cotton batting and straight lines to give heat protection without heavy quilting. It’s sturdy and teaches layering, quilting lines, and binding.
Use cotton batting and a heat-resistant layer such as Insul-Bright; pick up an Insul-Bright roll for oven-safe projects.
Materials
- Outer cotton fabric, 10"x14"
- Lining fabric, 10"x14"
- Cotton batting or Insul-Bright, 10"x14"
- All-purpose thread
- Pins or clips
- Sewing machine with heavy needle
- Bias tape for edging, 1" wide, 20"
Instructions
- Print or draw a mitt template and cut outer, lining, and batting pieces on the fold.
- Layer outer fabric and batting and stitch vertical quilting lines 1" apart.
- Place lining and batting together without quilting.
- With right sides together, align outer and lining and sew around perimeter leaving a gap for turning.
- Trim seam allowance and turn right side out.
- Press and bind edges with bias tape, sewing close to edge.
- Add a hanging loop of bias tape before final stitching.
How to Display or Gift It
Hang on a pegboard or hook near the stove. Pair with a matching tea towel and package in a kraft box for gifting. Use a small wooden easel to display in a gifting vignette.
- Machine-Sewn Baby Burp Cloths — soft, practical set
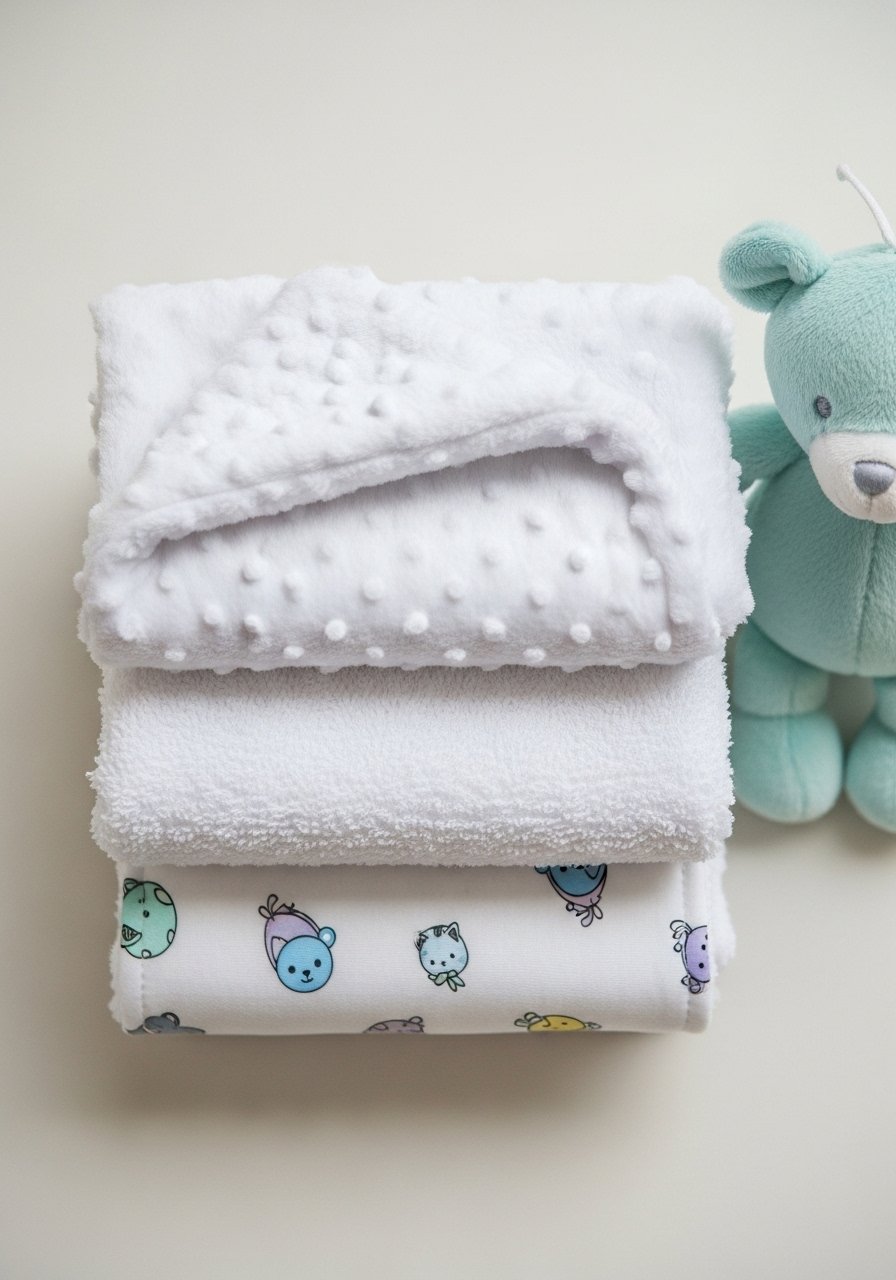
These burp cloths are soft, absorbent, and sew up quickly. You’ll practice sewing through multiple layers and finishing curves. They’re practical for new parents and make a thoughtful handmade gift.
Use a walking foot or slow sewing speed for thick layers. A walking foot helps manage seams.
Materials
- Cotton top fabric, 10"x12" per cloth
- Minky or terry backing, 10"x12" per cloth
- Cotton batting (optional), 10"x12"
- All-purpose thread
- Pins or clips (strong)
- Sewing machine with heavy needle
- Rotary cutter and mat
Instructions
- Cut all layers to 10"x12". Stack as top, optional batting, then backing.
- Pin layers together, aligning edges.
- Sew around perimeter with 1/4" seam, leaving 2" gap.
- Clip corners and turn right side out.
- Press and topstitch closing gap and around perimeter to keep layers secure.
- Repeat for each cloth, about 20–30 minutes per piece.
- Wash before gifting to pre-shrink and soften materials.
How to Display or Gift It
Fold and tie with a soft ribbon or place in a muslin drawstring bag. Store clean burp cloths in a nursery drawer or a stackable fabric organizer.
- Simple Apron — beginner garment with style
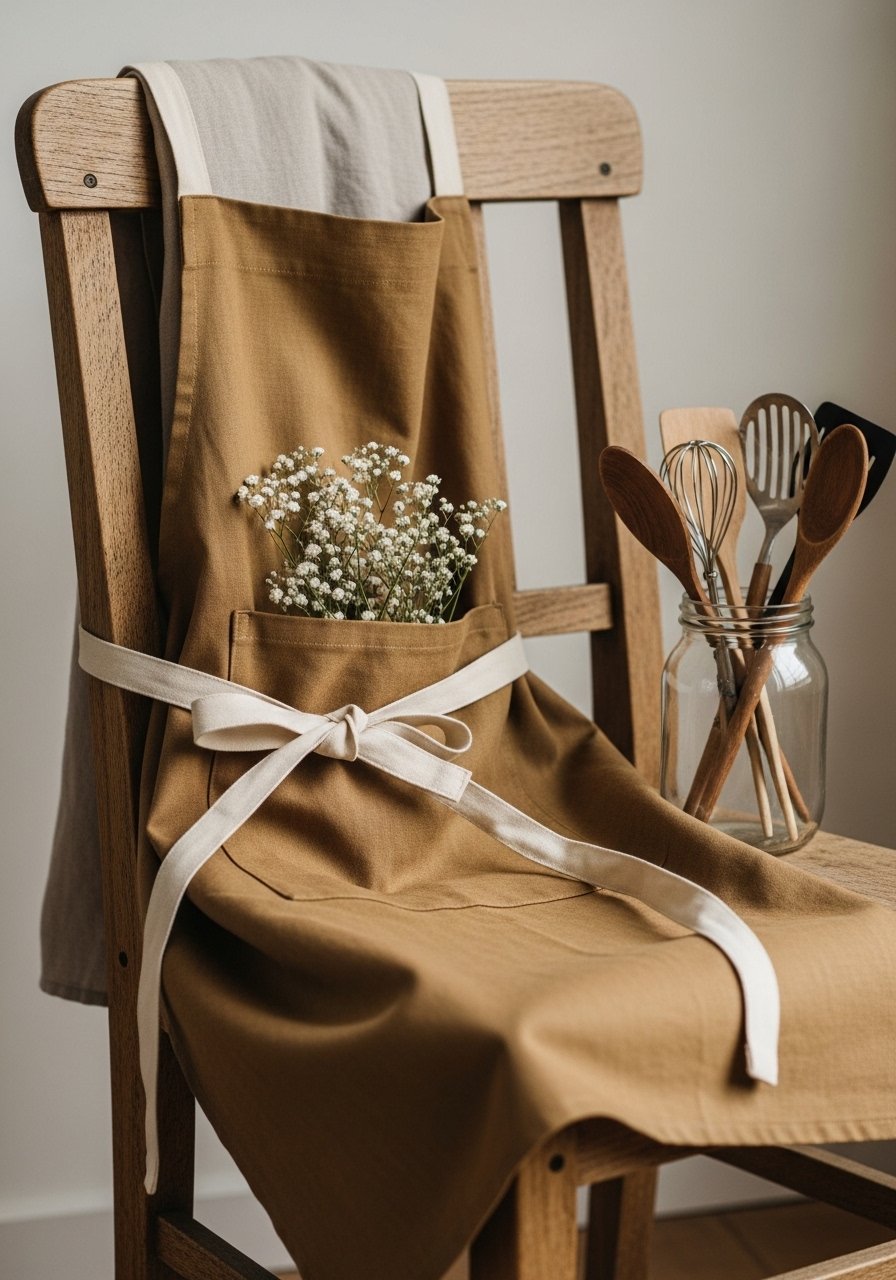
An apron introduces you to measuring for fit and adding pockets. It’s a forgiving project that practices long seams and neat edges and suits cottagecore and farmhouse aesthetics.
Use a mid-weight cotton like canvas or duck cloth. A fabric ruler set keeps hems straight.
Materials
- Outer fabric (canvas), 1/2 yard
- Lining or pocket fabric, 1/4 yard
- Waist ties 2 at 30" each
- All-purpose thread
- Pins or clips
- Sewing machine and heavy needle
- Measuring tape and chalk
Instructions
- Cut main apron panel 20"x24". Cut pocket 10"x7" and ties 30"x4".
- Hem the sides and bottom of the main panel 1/4" then 1/2".
- Fold pocket top 1/4" twice and topstitch. Press pocket flat.
- Place pocket centered 4" from top and stitch three sides to secure.
- Fold ties in half lengthwise, sew, turn right side out, and press.
- Attach ties at side seams, reinforce with a box stitch.
- Try on and adjust tie lengths if needed.
How to Display or Gift It
Hang on a peg in the kitchen or gift with a small jar of wooden spoons. Store flat or on a hanger; a fabric hanger cover keeps it dust-free.
- Simple Patch Pocket Pouch — learn pocket placement
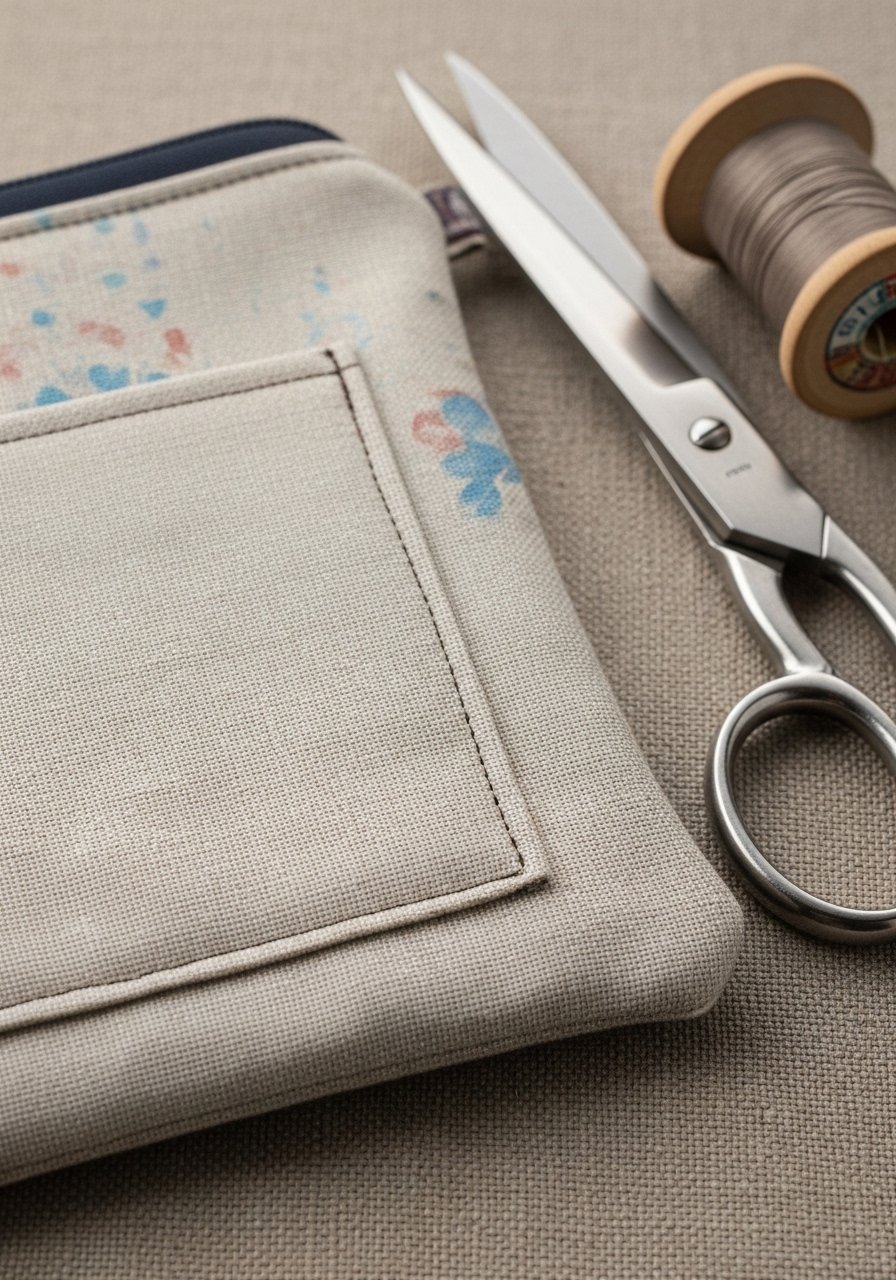
This pouch builds on zipper pouch skills but emphasizes pocket placement and decorative stitching. It’s a great practice piece before garment pockets.
A magnetic snap can make pocket closures neat; I reach for a magnetic snap set for this.
Materials
- Main fabric 10"x8"
- Pocket fabric 5"x6"
- Lining fabric 10"x8"
- Zipper 7"
- All-purpose thread
- Pins or clips
- Iron and pressing surface
Instructions
- Cut main and lining pieces to 10"x8" and pocket to 5"x6".
- Hem pocket top and press. Place pocket on main fabric and topstitch three sides.
- Install zipper as in zipper pouch instructions.
- Sew lining and outer together, turn, and finish edges with topstitching.
- Reinforce pocket corners with a small bar tack or extra stitches.
- Test pocket depth with items to ensure fit.
- Add decorative stitching or embroidery for personality.
How to Display or Gift It
Fill with stationery or small toiletries and place in a gift box. Store extras in a drawer organizer for easy access.
- Simple Fabric Basket — sewn structural piece
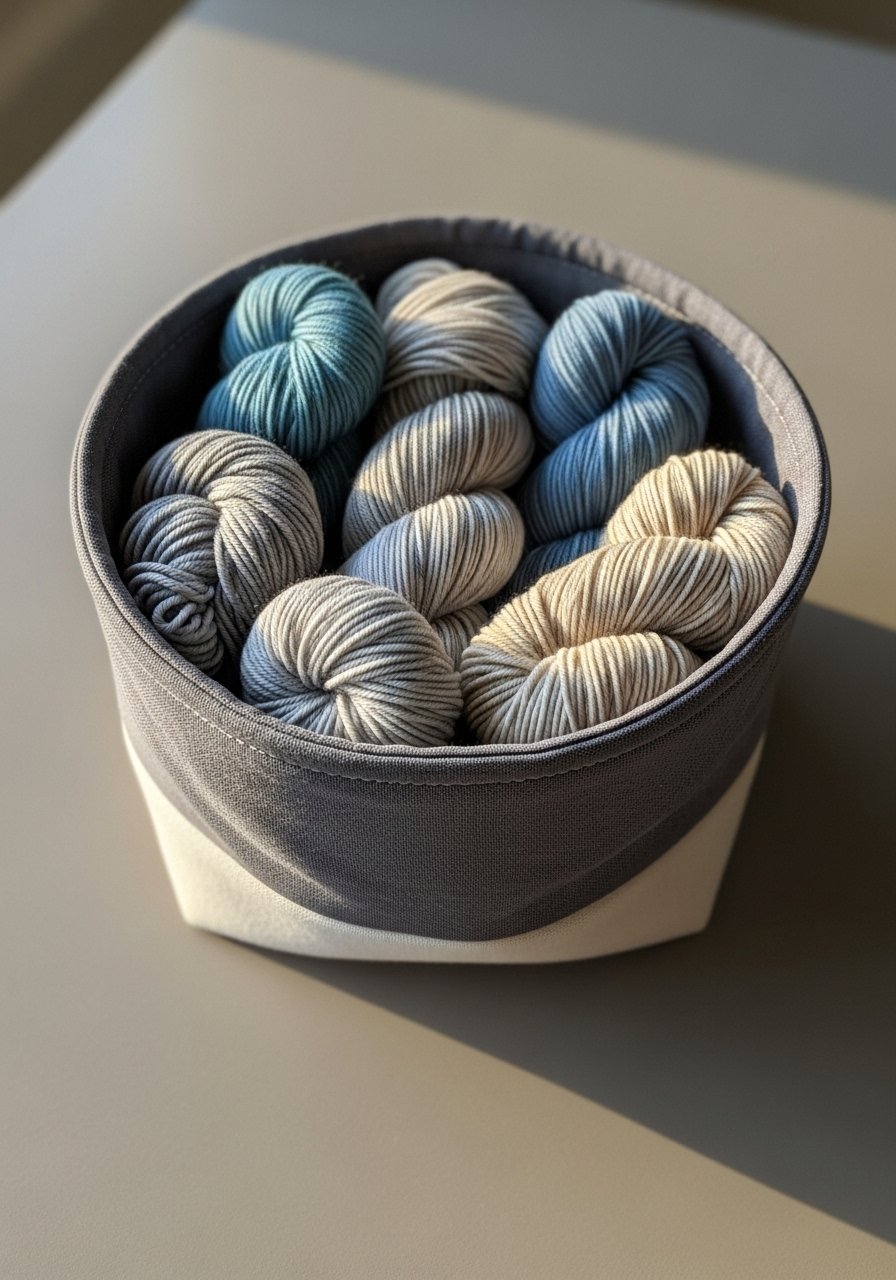
A fabric basket introduces structure with interfacing and boxed corners. It’s a satisfying project that teaches you how to make soft, freestanding forms.
Interfacing is key here; try a heavy-duty decorative interfacing for stiffness.
Materials
- Outer fabric 12"x12"
- Lining fabric 12"x12"
- Heavy interfacing or stabilizer 12"x12"
- Thread
- Pins or clips
- Sewing machine with walking foot recommended
- Measuring ruler
Instructions
- Cut outer, lining, and interfacing to 12"x12".
- Fuse interfacing to wrong side of outer fabric per instructions.
- Sew outer sides together with 1/4" seam to form a box.
- Repeat for lining but leave a 3" gap in base seam.
- Box corners by folding each corner and sewing across 1.5" from point.
- Insert lining into outer and stitch top edge or fold over to form rim.
- Turn basket right side out and press rim flat.
How to Display or Gift It
Use to hold yarn, plants in a wrapped pot, or toiletries. Stack smaller baskets inside larger ones for storage; a storage cubby keeps them tidy.
- Minimalist Cloth Face Mask (non-medical) — practical sewing
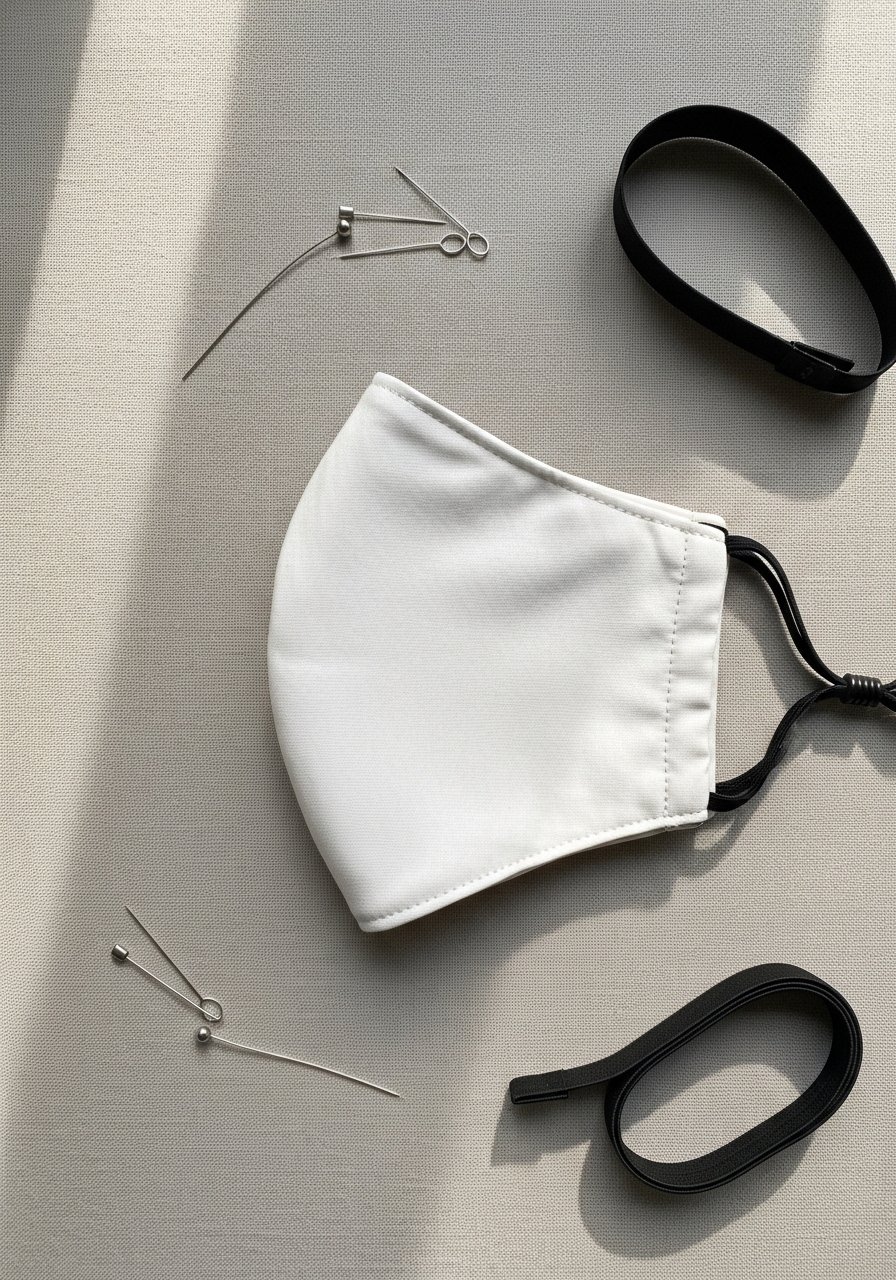
A simple cloth mask reinforces curved sewing and attaching elastic or ties. It’s a practical piece to practice accuracy and edge finishes.
Use cotton quilting fabric and 1/8" elastic. A pack of elastic cord makes loop adjustments easy.
Materials
- Cotton fabric, 9"x7" rectangle
- Lining fabric (cotton), 9"x7"
- Elastic 1/8", 14" per mask or fabric ties 2 at 18"
- All-purpose thread
- Sewing machine or needle
- Scissors and pins
Instructions
- Cut two rectangles 9"x7". Place right sides together.
- Sew around long edges with 1/4" seam, leaving short sides open.
- Turn right side out and press seams flat.
- Fold short edges inward 1/4" and topstitch to form channels for elastic.
- Thread elastic through channels and tie securely, adjusting for fit.
- Pleat mask to fit face, pinning each pleat and topstitching down sides to secure.
- Wash before wearing; machine wash and air dry.
How to Display or Gift It
Package with a small care card explaining wash instructions and store in a fabric pouch. A small fabric pouch set keeps masks stacked and clean.
- Fabric Cord Organizer — tidy travel tech
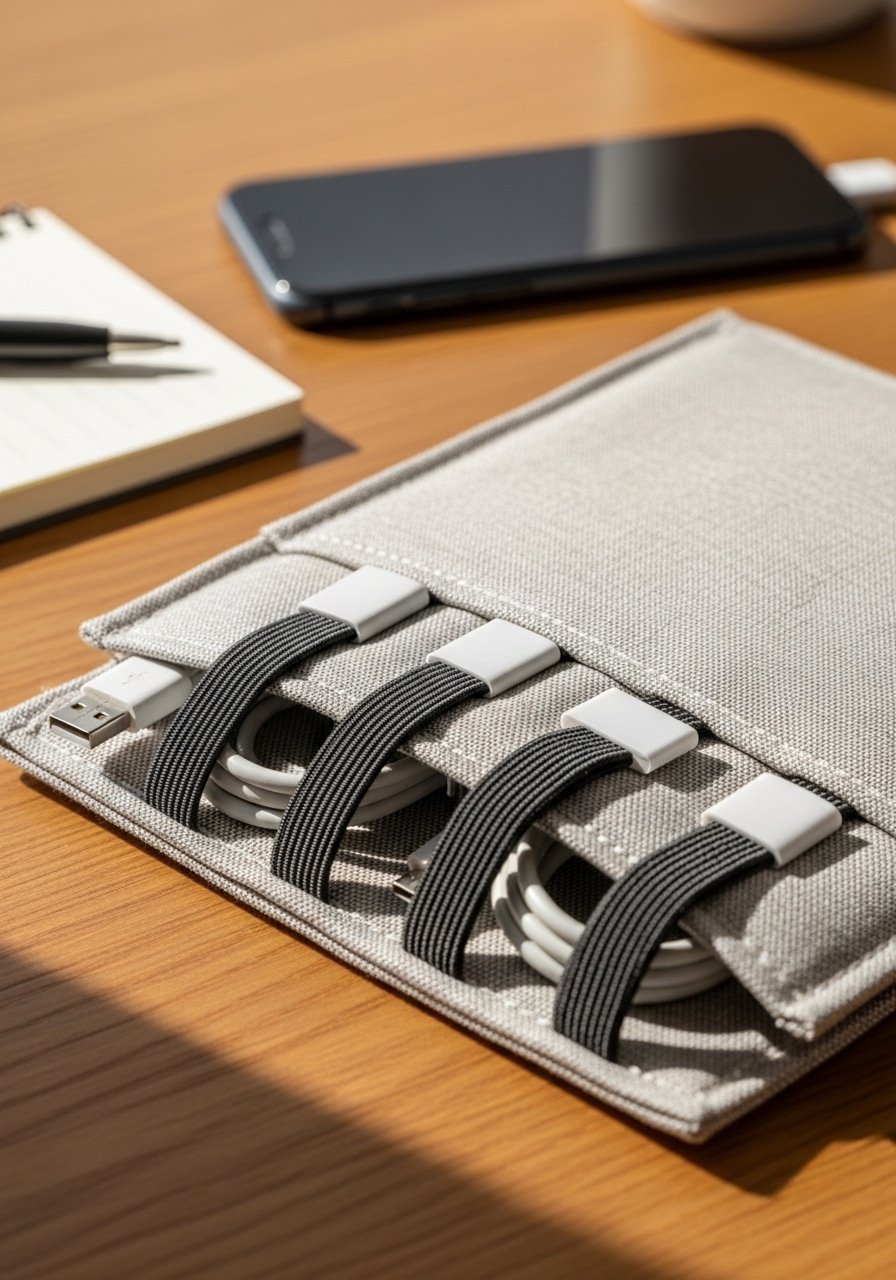
Cord organizers are compact, teach elastic attachment, and are great for using scraps. They’re practical for travel, helping you keep chargers and earbuds untangled.
Use a pack of small elastic bands or strips for internal loops.
Materials
- Outer fabric 9"x6"
- Lining fabric 9"x6"
- Thin batting or felt 9"x6"
- Elastic strips 4 at 3" each
- Thread
- Pins or clips
- Hook-and-loop tape or snap closure
Instructions
- Layer outer, batting, and lining and stitch perimeter leaving a gap.
- Turn right side out and press smooth.
- Mark and stitch four parallel rows of elastic loops along the interior.
- Sew a snap or hook-and-loop closure to the flap edge.
- Fold into organizer shape and test cord fit.
- Adjust loop spacing if cords bunch.
- Topstitch around the edges for a polished finish.
How to Display or Gift It
Fill with phone cords and earbuds and tuck into a travel case. Keep several in a travel organizer for easy access on trips.
- Decorative Fabric Bunting — party-ready and cheerful
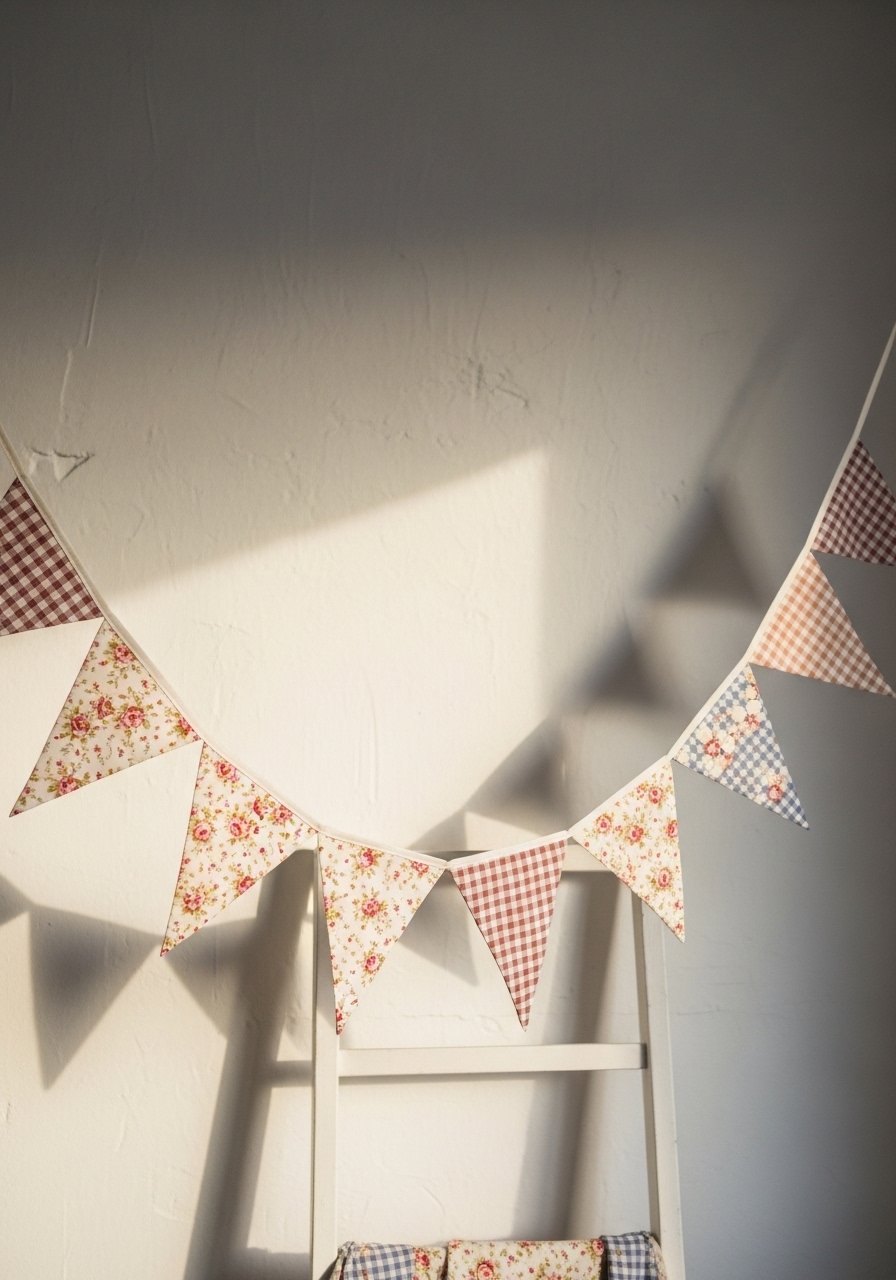
Bunting is a forgiving project that teaches repetitive cutting, consistent seam allowances, and neat bias binding. It’s great for parties or seasonal decor.
I use a long strip of cotton tape and a bias binder or cotton tape roll for neat finishing.
Materials
- Assorted fabric scraps (8 triangles 6"x8" finished)
- Cotton tape or binding, 6'
- All-purpose thread
- Pins or clips
- Rotary cutter and ruler
- Iron and pressing surface
Instructions
- Cut triangles on the fold so each measures 6"x8" finished.
- Sew two triangles right sides together and trim seam allowance.
- Turn right side out and press flat.
- Slide each triangle onto the cotton tape, spacing evenly.
- Add decorative topstitching if desired.
- Test the spacing by hanging before securing ends.
- Knot or finish tape ends and hang.
How to Display or Gift It
Drape across a mantel or a party table and store flat in a gift tube for reuse. Keep in a gift tube or storage sleeve to prevent creasing.
- Simple Fabric Key Fob — small, satisfying
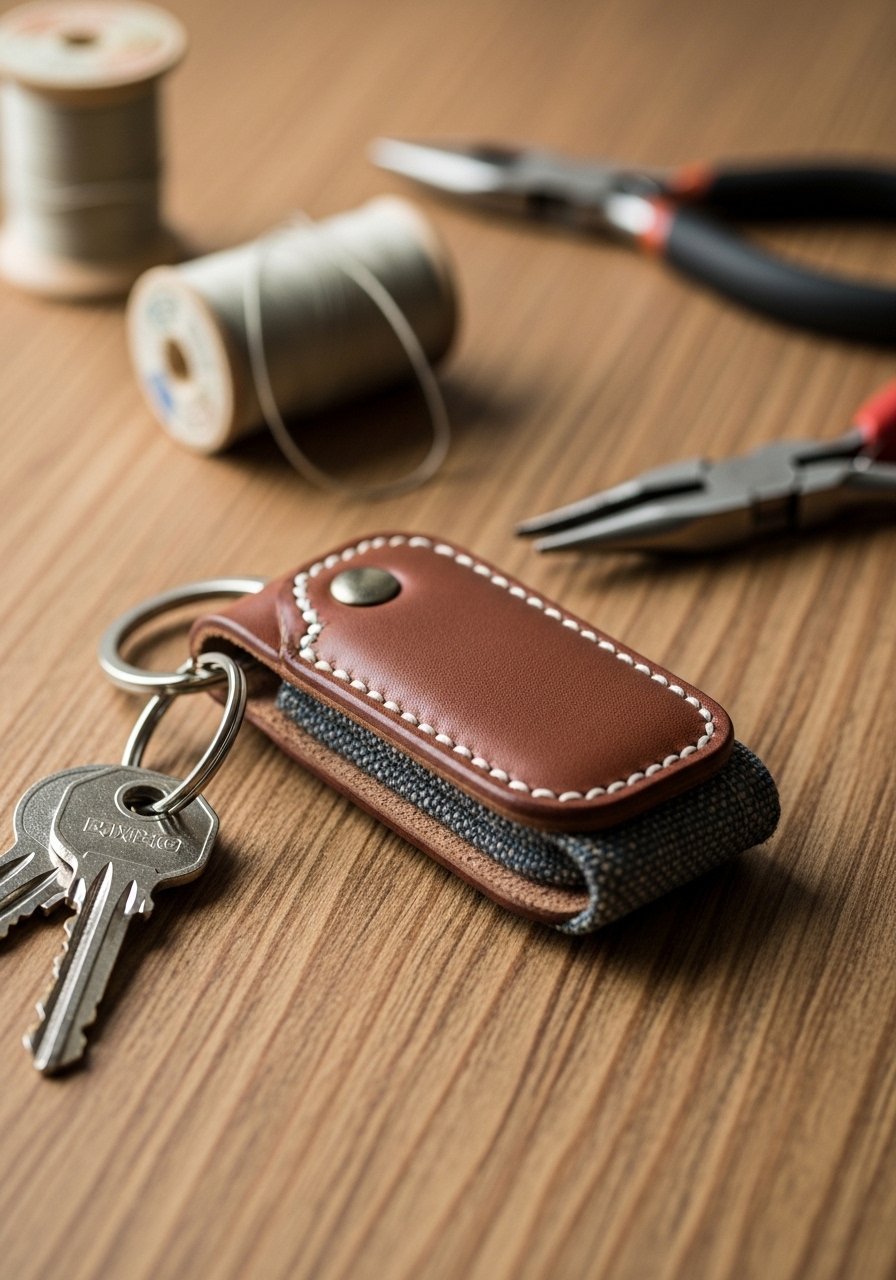
Key fobs teach attaching hardware and sewing small, reinforced pieces. They’re quick, useful, and make great swap gifts.
A small pack of key fob hardware speeds finishing. Try a key fob hardware kit.
Materials
- Outer fabric leatherette or canvas 4"x2"
- Lining fabric 4"x2"
- Interfacing or thin foam 4"x2"
- Key fob hardware kit (metal loop and clamp)
- Thread and needle
- Pliers for hardware
- Scissors and ruler
Instructions
- Layer fabric and interfacing, stitch around perimeter with 1/8" seam.
- Turn, press, and topstitch for a finished edge.
- Fold short ends together and insert into hardware clamp per kit instructions.
- Use pliers to crimp hardware securely.
- Test the strength by tugging gently on the fob and checking seam integrity.
- Trim any excess thread or fabric for a neat finish.
- Attach to keys and enjoy.
How to Display or Gift It
Pair with a small card and tuck into a kraft envelope. Keep extras in a small craft organizer tray so hardware stays tangle-free.
- Simple Linen Eye Pillow — relaxing and spa-ready
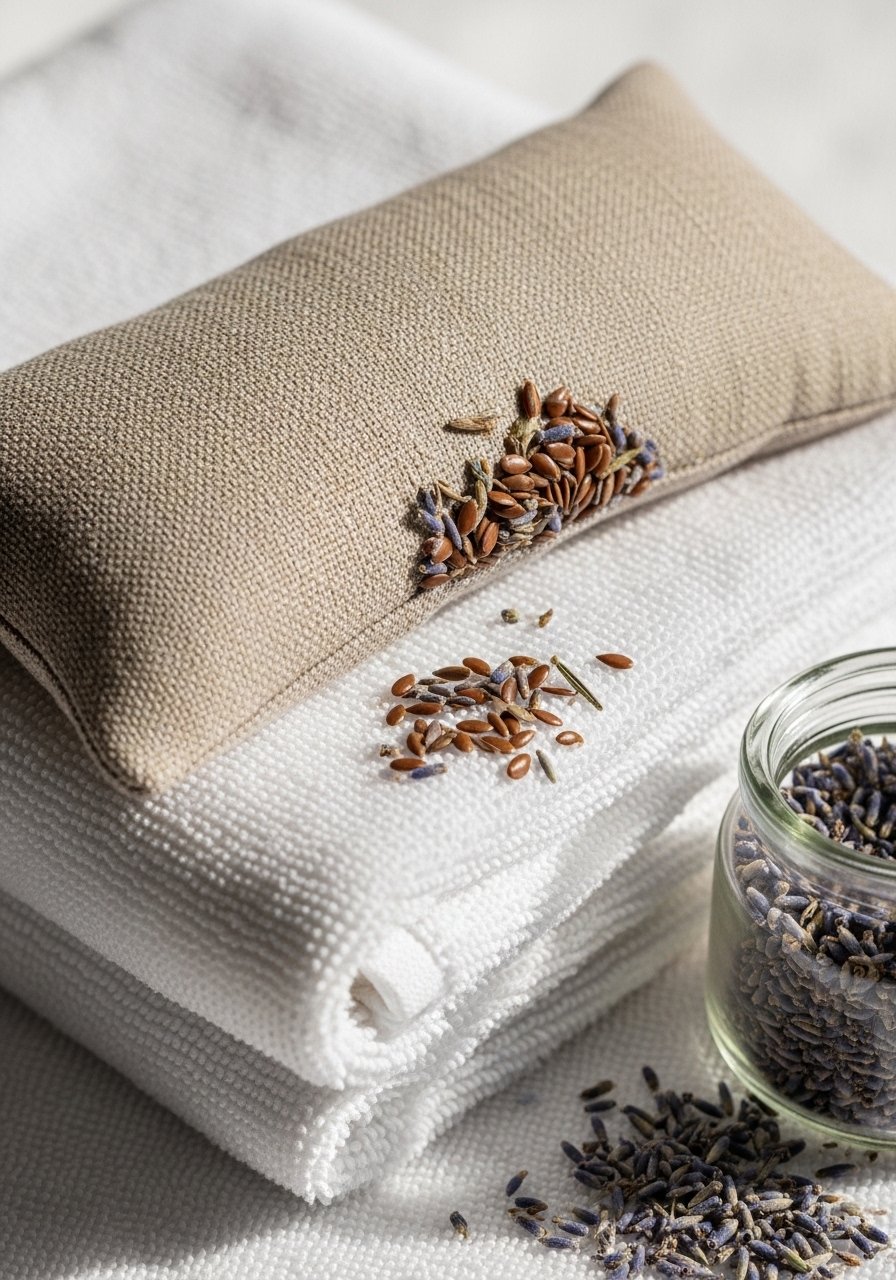
Eye pillows are slow-sew but forgiving and teach small finishing techniques. Use flax seed and dried lavender for weight and fragrance—great for mindfulness and gifting.
Use food-safe flax or buckwheat hulls and a small funnel or scoop set to fill neatly.
Materials
- Linen fabric 9"x4"
- Sewing thread
- Flax seed or buckwheat hulls 1 cup
- Dried lavender 1–2 tablespoons
- Pins or clips
- Sewing needle for ladder stitch
- Small funnel or measuring cup
Instructions
- Cut two rectangles 9"x4" and sew right sides together leaving a 2" gap.
- Turn right side out and press edges flat.
- Mix flax seeds with dried lavender in a bowl.
- Use funnel to fill pillow to desired weight (~1 cup).
- Hand-stitch gap closed with ladder stitch.
- Heat seal edges lightly if using synthetic fabrics (not linen).
- Chill or heat per user preference; if heating, warm in 10–20 seconds increments to avoid overheating.
How to Display or Gift It
Wrap in tissue and place in a small gift box with instructions for warming/cooling. Store in a cool, dry place; use a small kraft gift box set for multiple pillows.
- Quick Patch Repair — visible mending practice
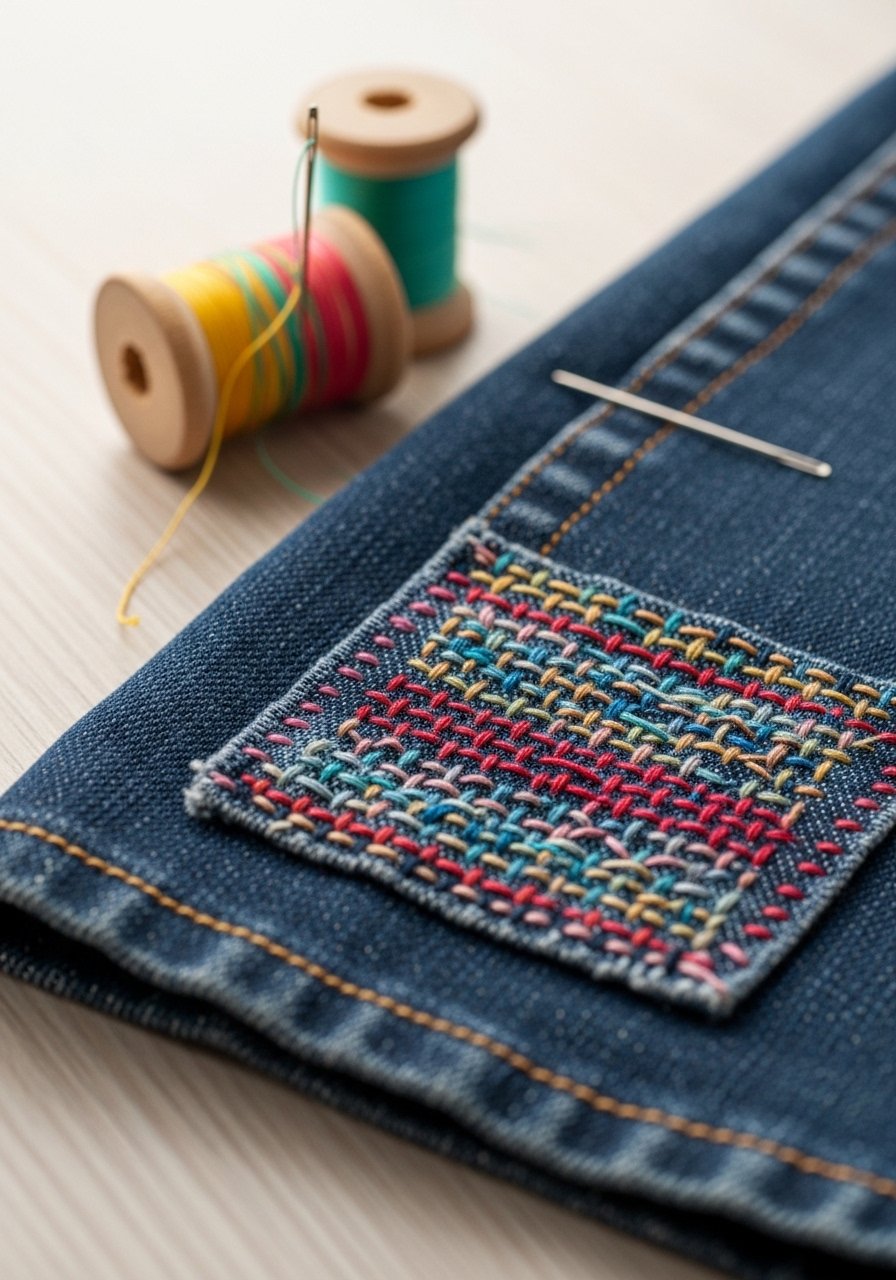
Visible mending adds character while repairing jeans, shirts, and linens. It’s a lovely introduction to hand-stitching and sashiko-style patterns.
Use stranded embroidery floss or sashiko thread. A sashiko thread set makes decorative stitching pop.
Materials
- Patch fabric (contrast cotton), 4"x4"
- Garment needing repair
- Embroidery floss or sashiko thread
- Embroidery needle
- Scissors
- Water-soluble fabric marker
- Thimble (optional)
Instructions
- Cut patch slightly larger than hole (~4"x4").
- Press patch and place over hole, tacking with a few stitches.
- Mark stitch lines for sashiko or running stitch.
- Use sashiko or running stitch to secure patch and create a decorative pattern.
- Knot thread securely on the wrong side.
- Trim any loose threads and press lightly.
- Wash the garment as usual to blend stitches.
How to Display or Gift It
Use visible mending as a style statement on jackets or tote bags. Keep patches and thread in a small portable sewing kit for on-the-go repairs.
- Wool-Felt Hot Pad — rustic kitchen accent
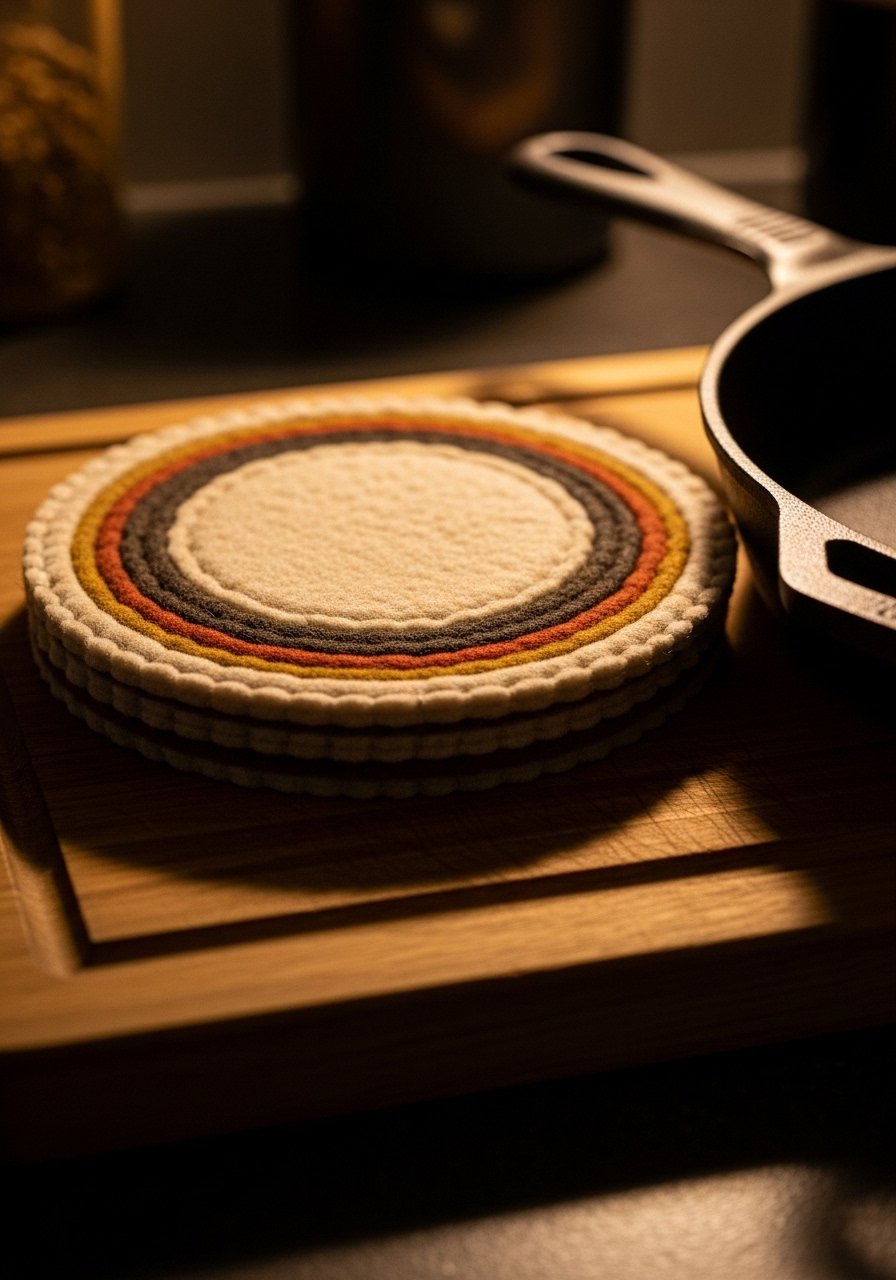
Wool-felt hot pads are heat-resistant, thick, and sew up with simple hand or machine stitching. They teach layering and edge finishing with a rustic aesthetic perfect for farmhouse kitchens.
Use pre-cut wool felt or a felt pack. A felt sheet set gives color options.
Materials
- Wool felt circles 2 at 7" diameter
- Embroidery floss for decorative stitching
- Sewing needle or sewing machine
- Scissors
- Chalk pencil for marking
Instructions
- Stack felt circles and mark stitch pattern if desired.
- Use decorative whipstitch or blanket stitch around the edge to bind the layers.
- Add concentric stitching for extra thickness.
- Test heat resistance with a warm pan—avoid direct flame.
- Trim any stray fibers.
- Finish with a small hanging loop if desired.
- Wash by hand if needed and air dry flat.
How to Display or Gift It
Display on the stovetop handle or tuck into a kitchen gift basket. Store flat to maintain shape; a kitchen drawer organizer keeps these accessible.
- Simple Embroidered Tea Towel — household heirloom
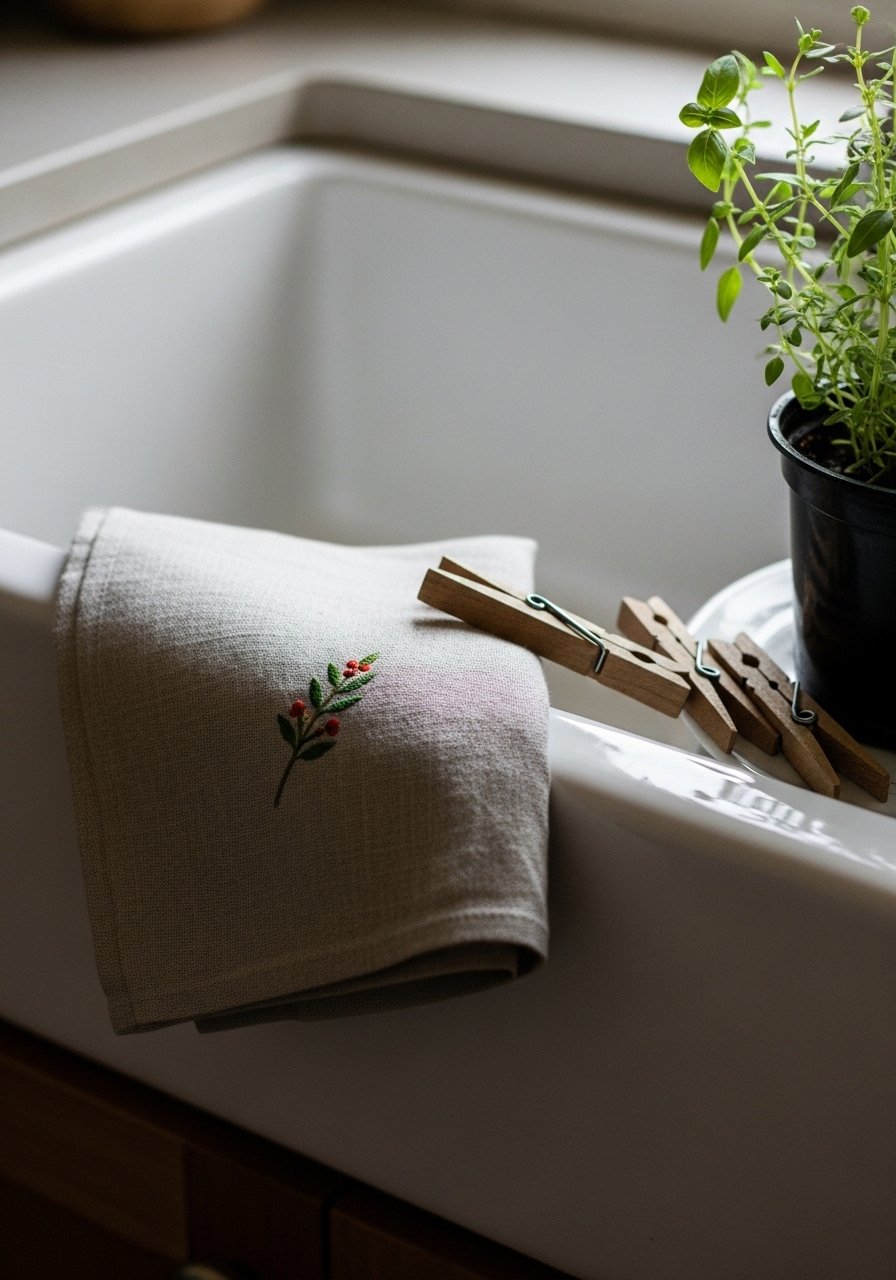
Embroidered tea towels teach basic stitch vocabulary and give you relaxed hand-sewing practice. Choose cottagecore motifs like sprigs, motes, or simple lettering for a charming look.
Pick a linen towel and an embroidery kit if you want guided patterns.
Materials
- Linen or cotton tea towel
- Embroidery floss in 2–3 colors
- Embroidery needle
- Water-soluble marker
- Small hoop (optional)
- Scissors
Instructions
- Mark design lightly on towel corner with marker.
- Place fabric in hoop if using to keep tension even.
- Start with simple backstitch and satin stitch for small filled areas.
- Stitch slowly to keep even spacing—take 30–60 minutes per motif depending on complexity.
- Tie off floss securely on wrong side.
- Remove any marker with water after stitches are completely dry.
- Press towel gently to flatten.
How to Display or Gift It
Fold into a set and tie with twine for hostess gifts. Store in a kitchen drawer or hang on a towel bar; a kitchen towel rack displays them beautifully.
- Simple Quilted Table Runner — pattern play
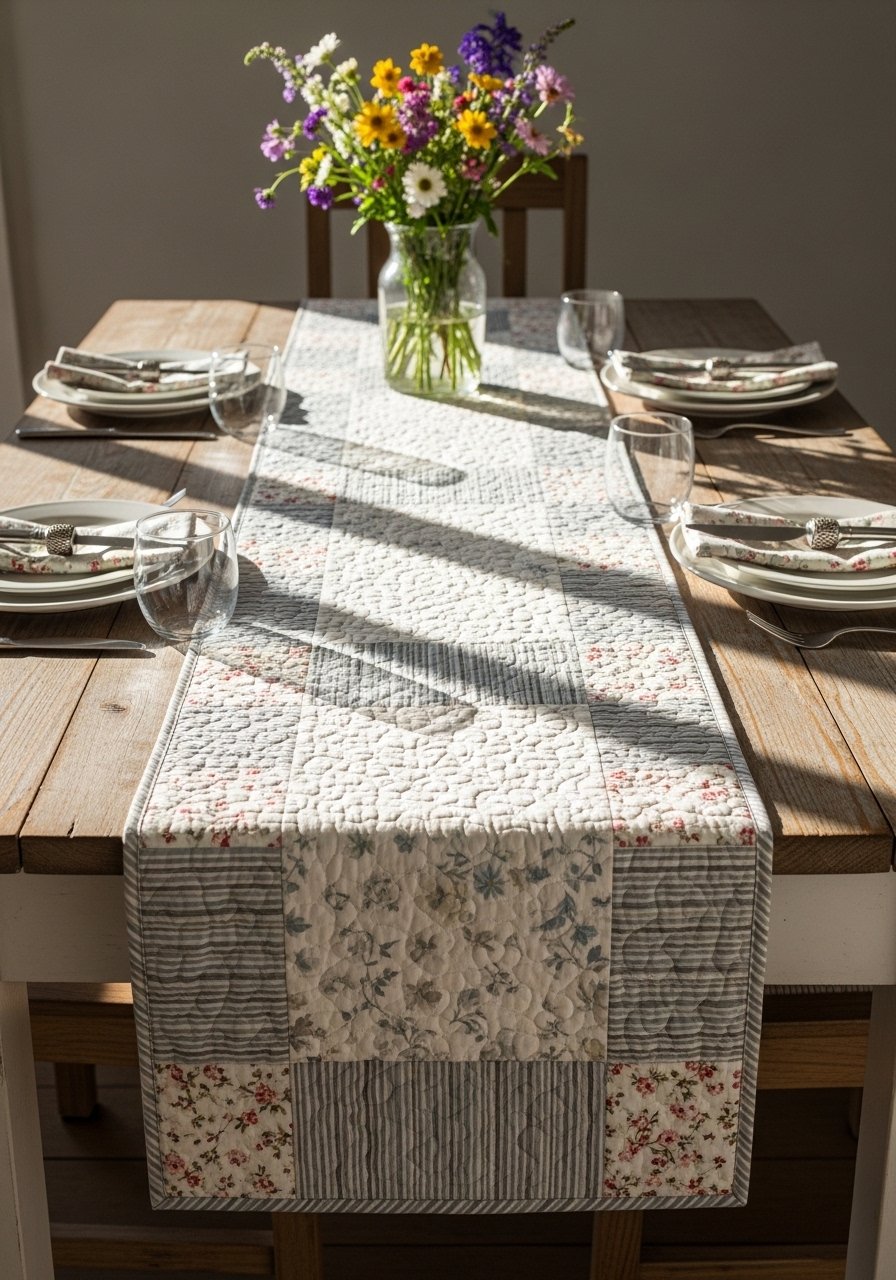
A table runner combines piecing and quilting without the commitment of a full quilt. It’s a great intro to quilting scale and color placement and adds seasonal flair to your table.
A quilting ruler and rotary cutter make cutting precise; try a quilting ruler set.
Materials
- Assorted quilt cotton scraps for top, total 1/2 yard equivalent
- Backing fabric 18"x40"
- Cotton batting 18"x40"
- Thread for quilting
- Rotary cutter, mat, and quilting ruler
- Pins or clips
- Sewing machine with walking foot recommended
Instructions
- Cut strips or blocks for your desired pattern to assemble a 16"x36" runner.
- Sew blocks or strips together with 1/4" seams, pressing as you go.
- Trim top to 16"x36" finished.
- Layer top, batting, and backing and baste with pins.
- Quilt with straight lines or free-motion if comfortable—stitching every 1"–2" gives structure.
- Trim excess batting and backing and bind edges with bias binding.
- Press and let the runner rest for 24 hours before first wash.
How to Display or Gift It
Use seasonally as a centerpiece base and swap out decor. Fold runner for storage in a drawer or roll and tie for gifting with a ribbon. Keep in a table linen storage box to preserve folds.
- Beginner Sewn Velvet Pillow — luxe finish for a first project

Velvet looks luxe but can be forgiving when sewn carefully. This pillow teaches handling slippery fabric, pressing without crushing the pile, and finishing invisible zippers or envelope closures.
A walking foot and a fine sewing needle for velvet keep stitching smooth.
Materials
- Velvet fabric, 1/2 yard (for 16"x16" pillow cover)
- Lining fabric 16"x16"
- Pillow insert 16"x16"
- All-purpose thread
- Walking foot recommended
- Scissors and pins (use clips to avoid pinning holes)
- Invisible zipper 16" or pattern for envelope back
Instructions
- Cut velvet to 17"x17" to allow seam allowance for a 16"x16" pillow.
- If using a zipper, install along one side with right sides together and zipper foot.
- Sew remaining seams with 1/2" seam allowance, using clips to avoid crushing velvet.
- Trim seams and turn right side out, brushing nap with a lint brush.
- Insert pillow and zip closed.
- Steam lightly on the wrong side to relax pile—do not press hard.
- Fluff and adjust nap direction for even appearance.
How to Display or Gift It
Layer on a sofa with contrasting textures—linen, knit, or leather. Gift as a pair in a kraft box or wrap in tissue in a decorative pillow storage bag.
You did it — 25 approachable sewing projects that teach useful skills and look lovely around the home. From tiny key fobs to cozy pillows, these projects will help you build confidence with seams, zippers, and finishing techniques. Pin this guide for your next craft day and try one project a week to watch your skills grow.
Which project will you start with? Share a photo or tag a friend who should sew along with you. And if you’re stocking a new kit, a reliable hot glue gun and a good beginner Brother sewing machine changed how I approach every single one of these projects — cleaner finishes and faster sewing make crafting more fun.





